Week 4
Things I did this week:
- test the design rules for 3D printer
- design and 3D print an object that could not be made subtractively
- 3D scan an object
test the design rules for 3D printer
I used the stl files provided in the class website under design rules. I worked on the group assignment together with Haoheng, Kai, Quincy, Lanson, Skye, Keunwook.
At first I didn't chose the correct settings, I didn't select the Genetic PLA filament and the type 'Original Prusa i3 MKS3' printe. The printer took a long time to heat up and didn't actaully printed anything.
- Overhang-supported
I didn't realize at first that we were testing out how supports works, so the first time I printed the piece without supports. The bottom surface of the supported overhang piece turned out really nice. failure case: without support
 with support, before removing support
 with support, after removing support
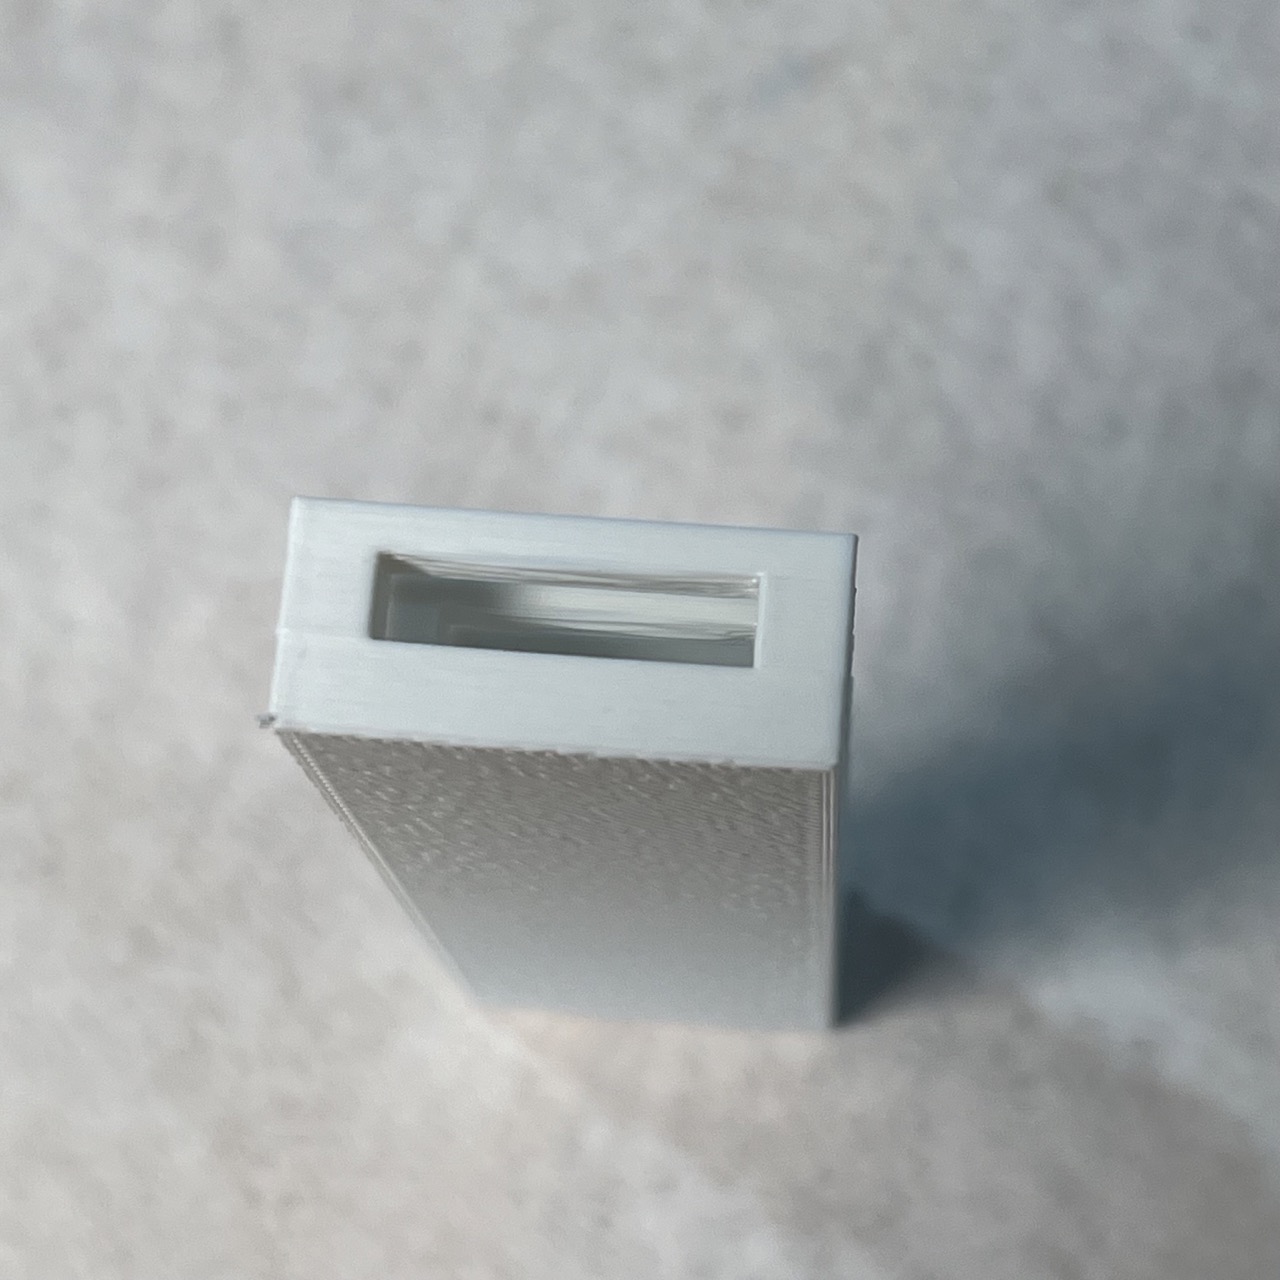
- Clearance
This was the same as overhang, which creates a big mess. Taking off the support took a long time and requires patience. The result is the same as shown in the class, less than or equalt to 0.2mm is too tight and cannot be removed, others are fine.


- Angle
It turned out really nice, I got a clean surface around 40 degrees, starting at 30 degrees, the bottom surface starts to become uneven.

- Overhang-unsupported
Without support, overhang can be a mess, and none of them creates a clean buttom surface. This suggests never 3D print a overhang piece without support.

- Bridging
Bridging works really well without support, the buttom surface starts to be slightly uneven starting around 14mm, but even for 20mm separation for the bridge it does not create a mess.
- Wall thickness
The 0.2mm thick wall surprisingly survived, the 0.1mm wall is too thin to be printed out. All gaps are visible from the top, but the 0.1mm and 0.2mm thick gaps are not really visible from the bottom.

- Dimensions
I measured dimensions of both top and bottom side. The dimension difference seems more concerning on the bottom side, but I think it is probably due to excess brim material. top view
 bottom view
 top outside dimension
 top inside dimension
 bottom ouside dimension
 bottom inside dimension
- Anistropy
The result is nice and neat.

- Surface finish
The result is nice, but it left a trace of the starting and ending point of each circle.

- Infill
I forgot to stop the printing process, the piece is very light. I also think 100% infill creates a warning.
design and 3D print an object that could not be made subtractively
- I designed a chain (originally going for a sheet, but ended up with a chain).
- This is the design post printing.
- This is after I removed the supports, one of the chain broke, and there was one ring containing spaghetti. But overall I'm happy with the result.
- This is another design of a ball inside a box.
- One more random design that I came up with.
- A different view.


3D scan an object
This is a video of me 3D scanning my water bottle (with the super expensive 60k 3D scanner).
It went really well, I'm very satisfied with the result. It captures a lot of details of the water bottle.
I used the texture functionality to add the color of my water bottle back. There were some bugs where the software keeps converting the color back, but reboot fixed the problem.