|
Assignment #7 11/7/2005 |
How to Make
almostAnything MAS863 | Fall 2005 |
|||
| RETURN |
Assignment:
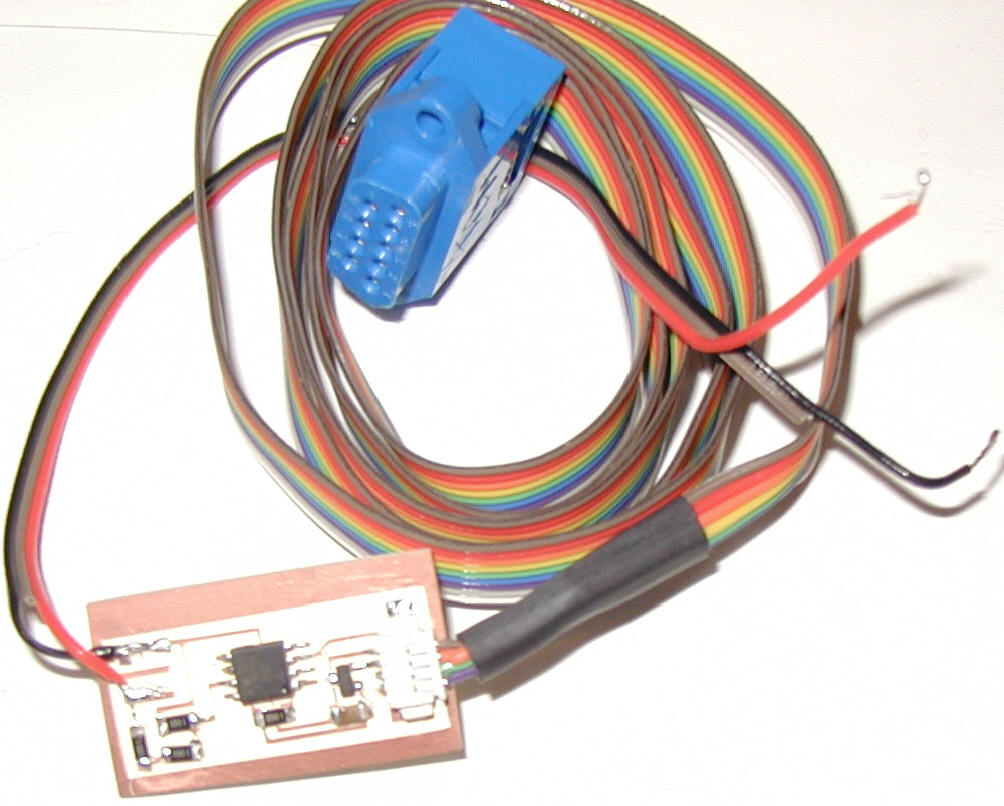
This week we have a group assignment to make "The Fab Lab Tool" which is a multifunction measuring device for the Fab Lab, here is the link in work: HTMAA - How to Measure Almost Anything The functions were divided up and we are working in small teams of 2. Stacy and I are working on the DVM - Digital Voltmeter. Our goal this week was to make our own board based on the Hello boards, write the code to program the ATtiny13 as well as a python routine to make it work. Then we will combine it with the other class members functions and develop an integrated tool over the next few weeks. Project:
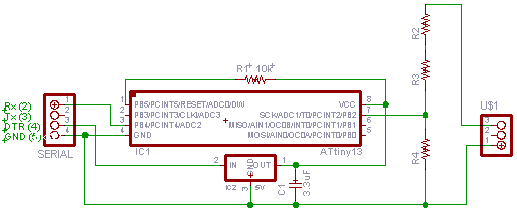
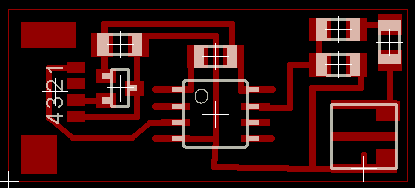
Tasks: 1. The board is based on Neil's Hello3 board. We modified the input connector section with a simple voltage "divider" using resistors. We used 3 resistors of the same value to simplify the calculations and step-down the input voltage from a high end of +15v to +5v. We used 1K ohm resistors. (The use of 3 vs. 2 resistors does decrease the accuracy due to individual device tolerances - we may want to modify this later.) Using V = IR, the high end current calculates to 5mA, this allows for other pins to be used simultaneously (if the group needs them) while remaining well below the ATtiny13 max value of 40mA.
2. The assembly code was modified by using Neil's Hello4 code, basically using the ADC code with some minor modifications. I defer to Stacy's site on this item as she was the 1st to arrive at Success in the coding! 3. Challenges configuring my laptop might be worth mentioning - took a lot of time and there are not many others running windows XP. Some steps involved - all sources can be found on the FABLAB site under software:
4. The python code was developed with great help from Seth and Shani and again I point to Stacy's page for the details on this item as she was instrumental in making it happen. 5. On to making added features. |
|||