Assignment 3: How to Make a FabISP
This week we were asked to make a Fab-able in system programmer (ISP) using one of three different methods: milling a PCB with the modela high-precision CNC mill, etching a board with Sodium Persulfate, or vinyl cutting a flexible circuit board. I used all three; although I only stuffed and debugged the milled and etched boards. Below is the process I took for creating the FabISP (using the etched board) as a demonstration.
I started with the Milled PCB and it programmed the first time, but I had to spend some time debugging the device in order for my computer to recognize the device. The problem had to do with my soldering technique for the 5 USB pins (which are very tiny). Once I reflowed the solder to the traces, my computer recognized the device instantly (luckily the fix wasn't too involved).

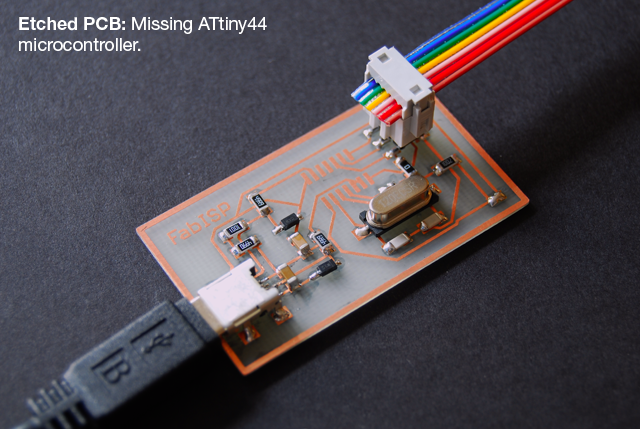
I next decided to try to make another board using the etched PCB's we made during the etching tutorial with David Cranor. I learned a lot from soldering the first board, so this one went much smoother. The problem arose when we couldn't find any of the ATtiny44 micocontrollers anywhere around the shop. Because of this, I couldn't quite finish the job, although I'm optimistic that this one will work the first time because I believe my soldering techniques have improved quite a bit.
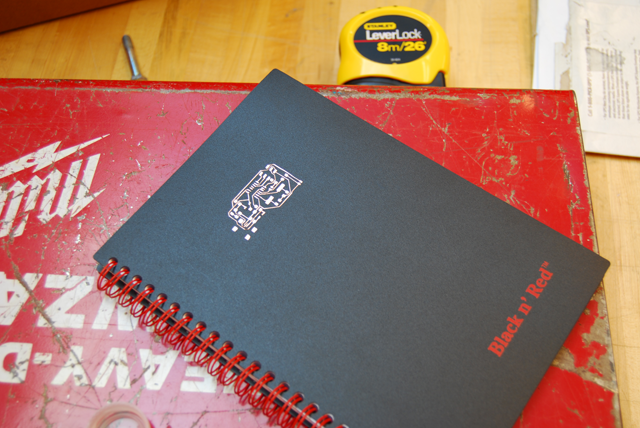
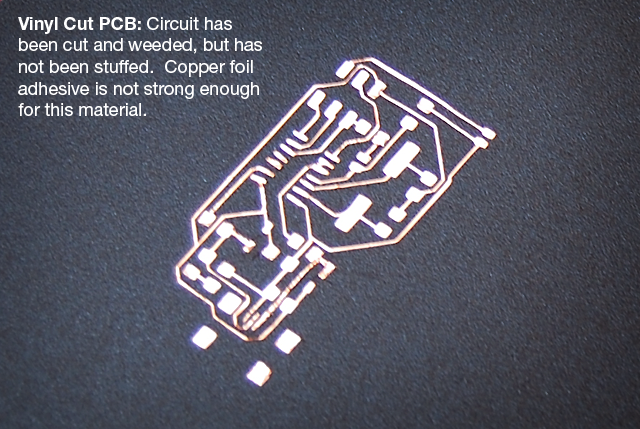
I also vinyl cut one of the circuits to see if I could make a FabISP on the cover of my notebook (to use Arthur's expression, "I'm trying to use my notebook to program my notebook"). I had used the vinyl cutter in the last excercise, but it's amazing how much faster it is than the modela. The problem is that it took my almost 45 mins to weed the circuit and was a pretty difficult procedure. Ultimately, I found that the surface texture of my notebook (black vinyl) is a little rough and the adhesive from the foil didn't quite stick as well as I had hoped. I still want to try to stuff this board, but I'm not sure how much confidence I have that all of the foil traces will stick to this surface.
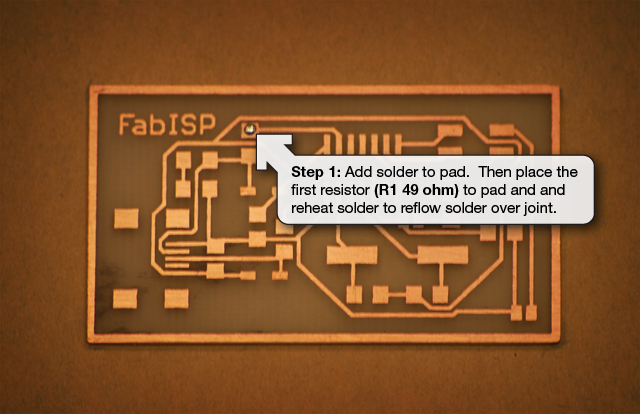
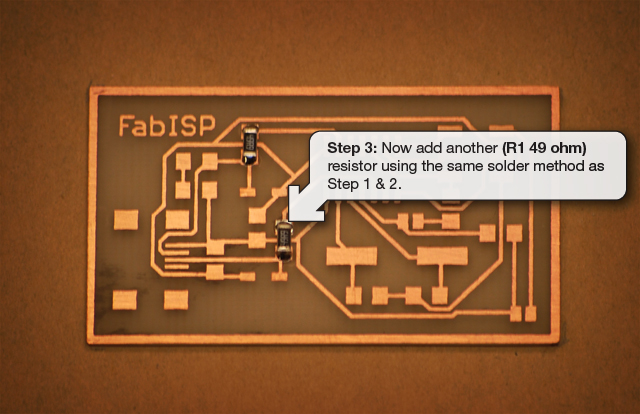
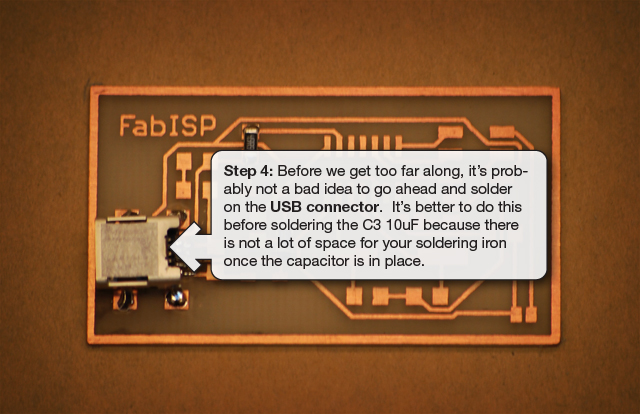
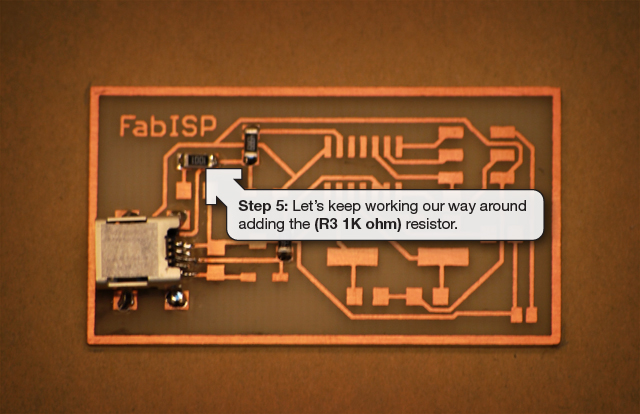
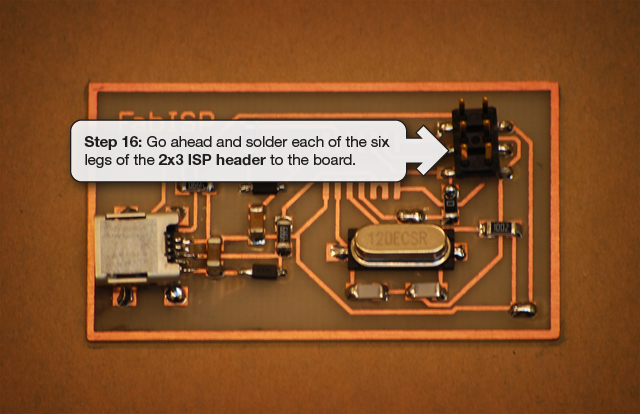
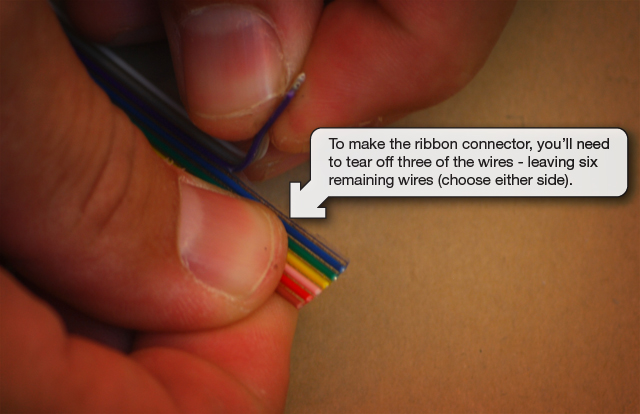
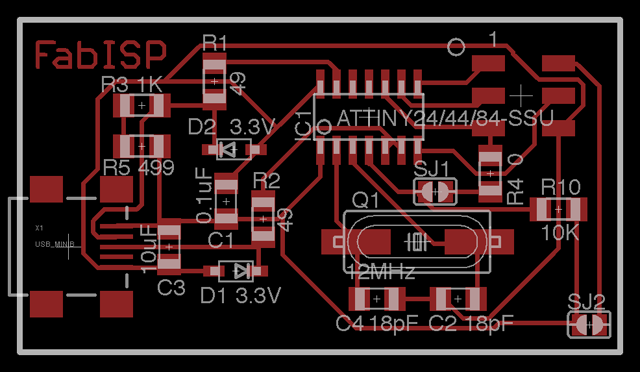
Let's look at the stuffing procedure. We'll start by examining at the FabISP schematic generated in Eagle (by David Mellis). The board connects to the computer using a Mini USB cable. It connects to the target (the board being programmed) with an 6-pin cable on the 2x3 ISP header.
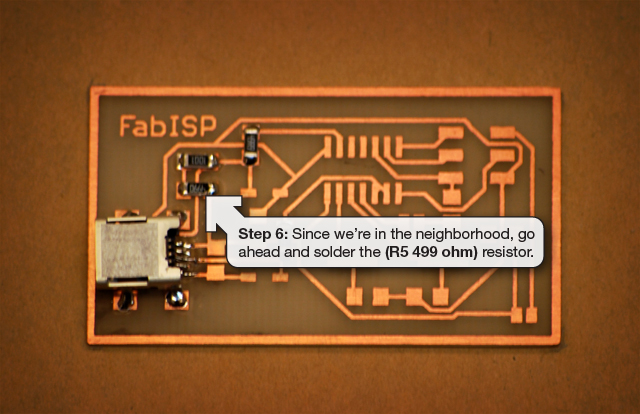
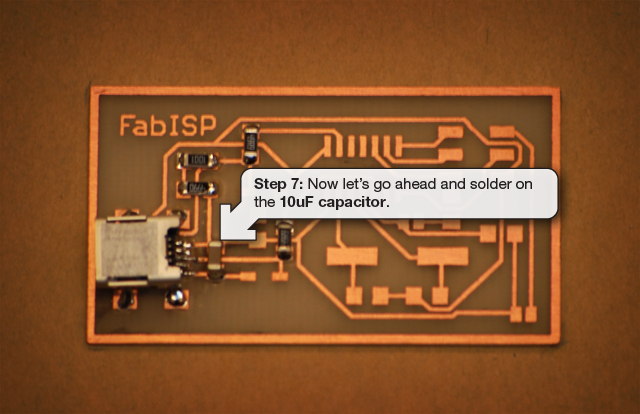
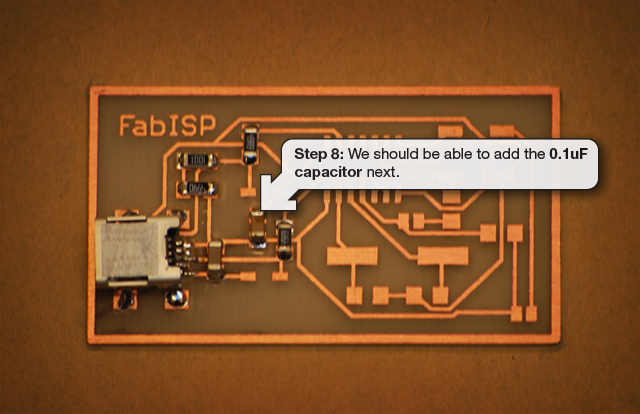
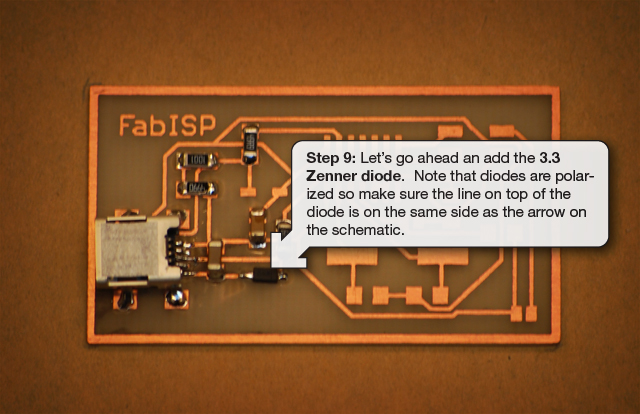
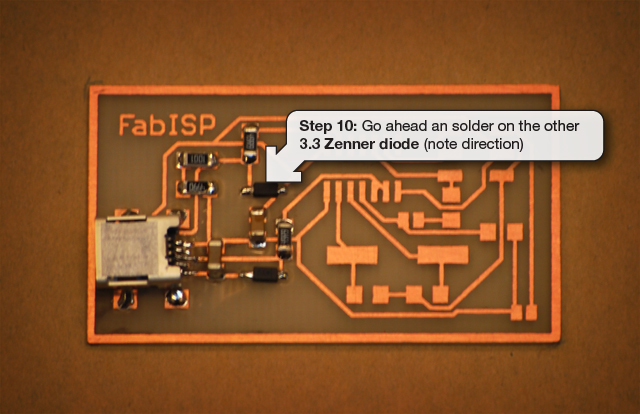
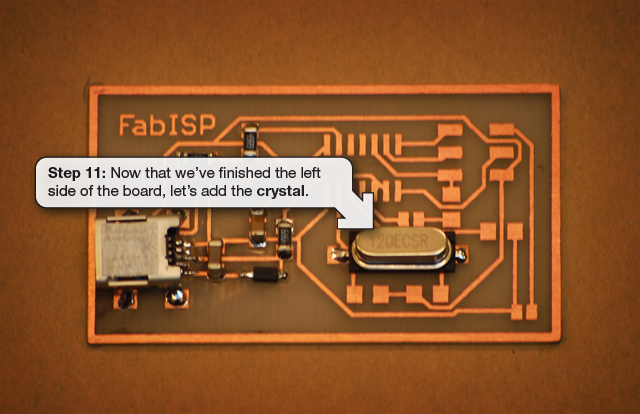
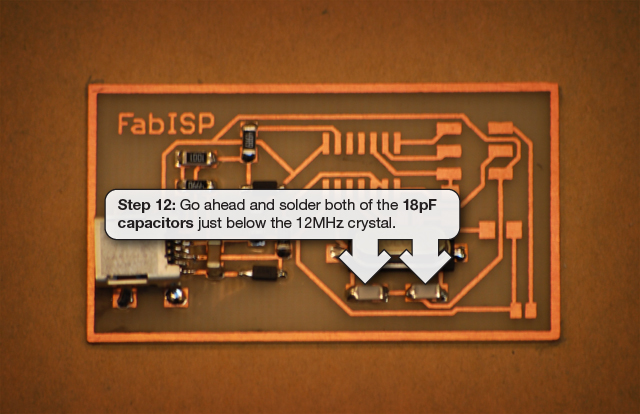
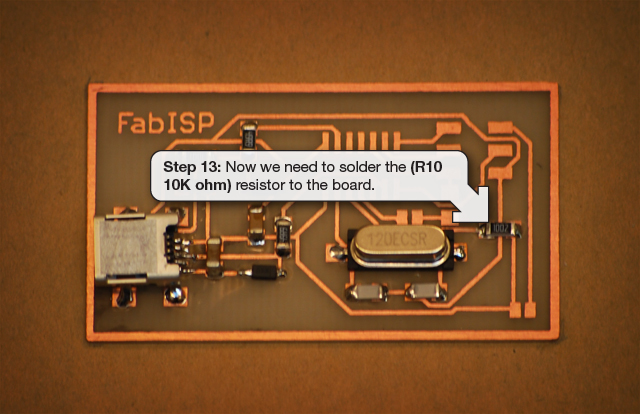
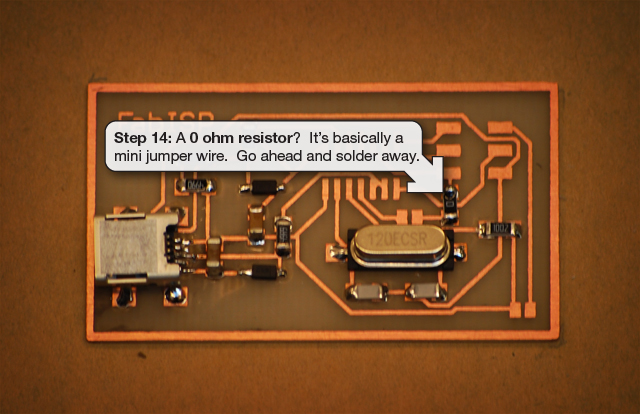
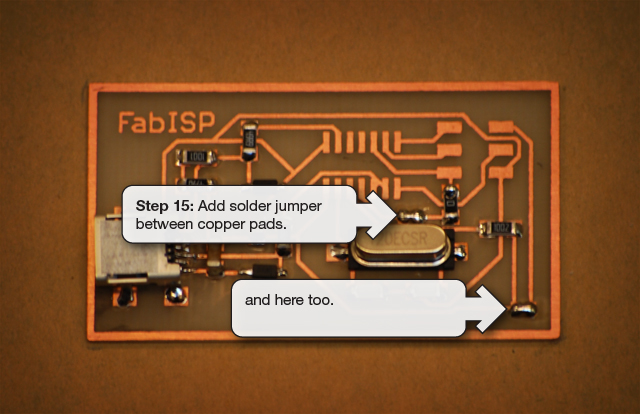
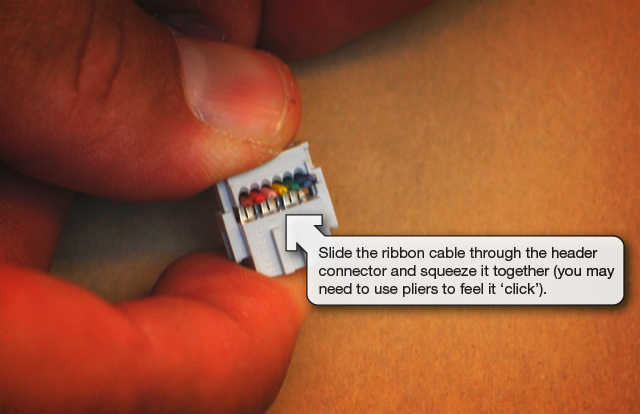
Now, let's start soldering all of the hardware components onto the board (called 'stuffing').