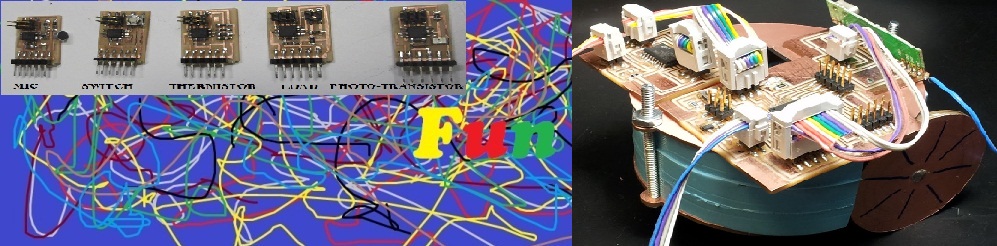


Assignments
pBoard
Its a place where I can paint , and collaborate with people and save everything at pCloud in real time
1) Using as Painting Board
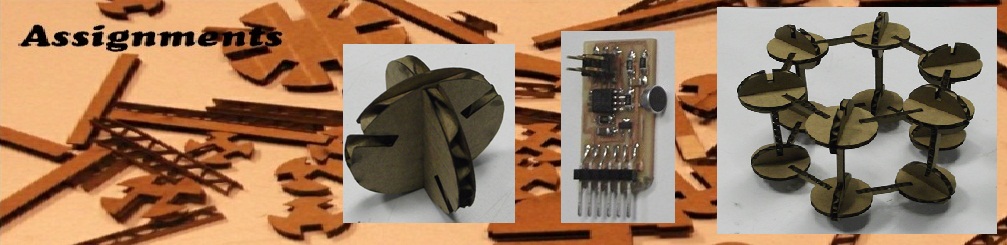
I am a painter and I wanted a painting board so I decided to make my own.
I can change the board, change the angle, height fo the board. Also there is a place to keep color palette, brush etc. I keep my papers and others stuffs in the shelf.
The board should be clamped and a weight should be kept at the base to keep it stable.
2) Using for Research
On pBoard, I can do all my derivations/calculations. If an idea come into my mind I can just write it down on the board. I don't have to worry about saving it in my computer as pBoard automatically save its status on pCloud.
Below is the video of my pBoard in working.
Whats Next -
1) Using image processing to recongnize faces so when more then one people are writting on the pBoard. It will save them in differently So I can keep track of individuals contribution.
2) Giving instructions to the pBoard by just writing in it. For example writing "save" on the pBoard will save the current state of the board in pCloud.
Design Steps and Shopbot Tutorial
1) Design the layout in your favorate designing software (I used inkscape) and export the desig as .dxf file.
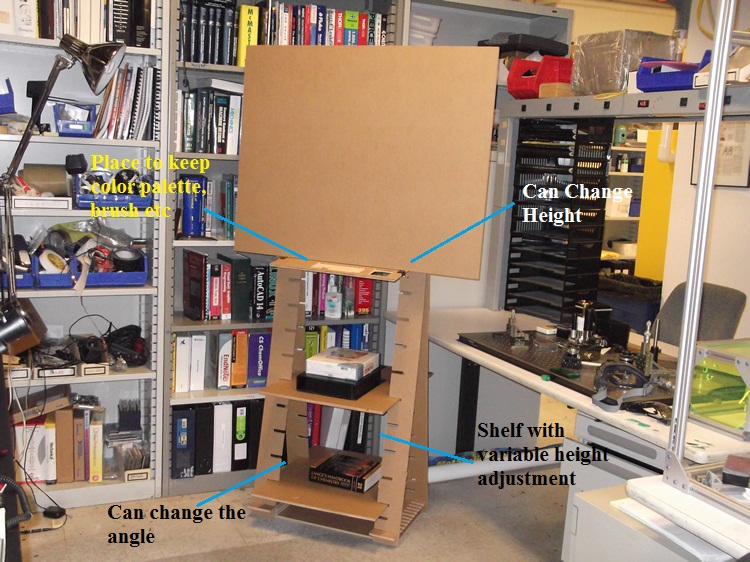
2) Open the .dxf file in PartWorks2D. In the Job Setup window set the setting as shown below
 and click OK
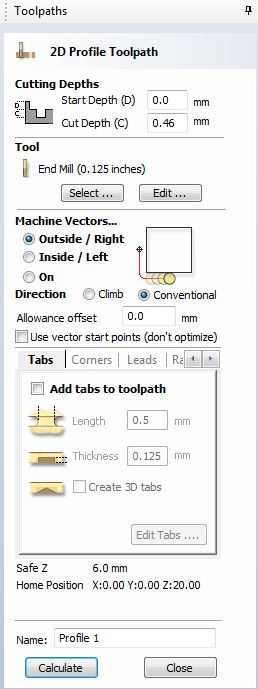
Select the part to be cut -> go to Toolpaths (right side of the window, pin it so that it stay there) -> Click "Create profile Toolpath" -> Select the Endmill -> set the settins as shown below
Click on calculate. New window will apear with the toolpath. You can preview your toolpath by clicking on "Preview Toolpath". Save the toolpath by clicking the Save button (floppy symbol) with the settings shown below
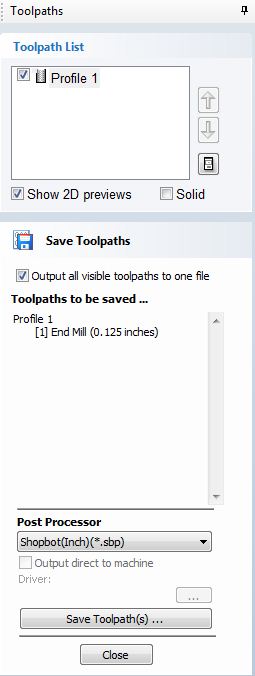
The file will be saved as .sbp file forma.t
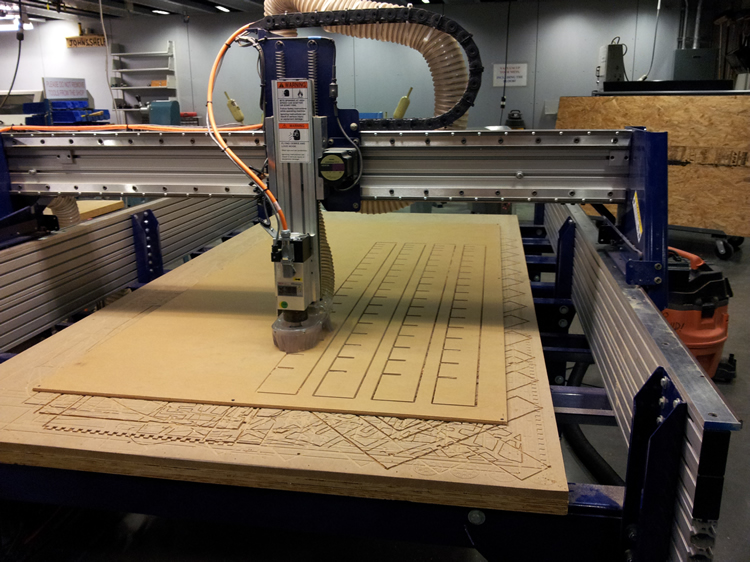
3) Screw the plywood/sheet into the base of shopbot
4) Turn on shopbot -> -Turn on the Dust --> Open Shopbot Console - > Press reset button - > press K , a keyboard will apear. Now you can use arrow keys to navigate the shopbot head.
4) Zero X & Y - Navigate the shopbot head to the location where you want it to be z,y zeroed. Go to zeros -> Zero x and y.
5) Zero z using the metal plate
6) Load your -> Start -> Ok -> press the green switch so that spindle start spinning -> Press OK in next window and the shopbot will start cutting.
Note -
For creating pocket use "Create Pocket Toolpath" in step 2
Use vaccum pump to clean the left over dust while the shopbot is cutting