| HOW TO MAKE (ALMOST) ANYTHING MAS.863.12 |
|
PROJECTS | ABOUT | CONTACT | ||||||||
 |
||||||||||||
|
|
|||||||||||
| EMBEDDED PROGRAMMING - week7 | ||||||||||||
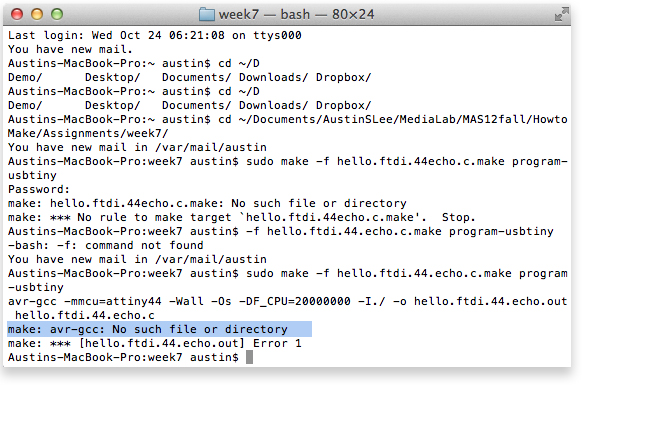
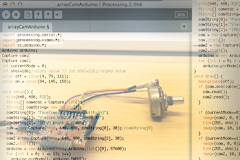
| In week 5, I covered using Fab ISP to program the ATtiny44 through Arduino. This week I programmed my board in C to echo back keyboard input. I went through tutorials from previous years. As mentioned in week 3, you will first need to download a firmware from Fab Acadey Electronics Production page to program the board in C using the Fab ISP. Here is a simple instruction on how to prepare for programming which I should have covered in week 3: After unzipping to firmware open the terminal and Navigate to the folder where I saved it. (cd ~/Downloads/firmware) Make sure you connected the Fab ISP to the laptop using USB connector. In terminal, first type: (make clean) Then type: (make hex) Then type: (make fuse) Then type: (make program) Initially, I encountered an error indicating I had no such file such as avr-gcc in terminal. To fix this issue, I needed crosspack for AVR development which is a development enviornment for ATmel's AVR microcontrollers for Mac OS X. You can download the crosspack-AVR from this link. On mac OS X, the FabISP work from the avrdude. | ||||||||||||
 |
||||||||||||
| Programming the ATtiiny with the Echo C Code | ||||||||||||
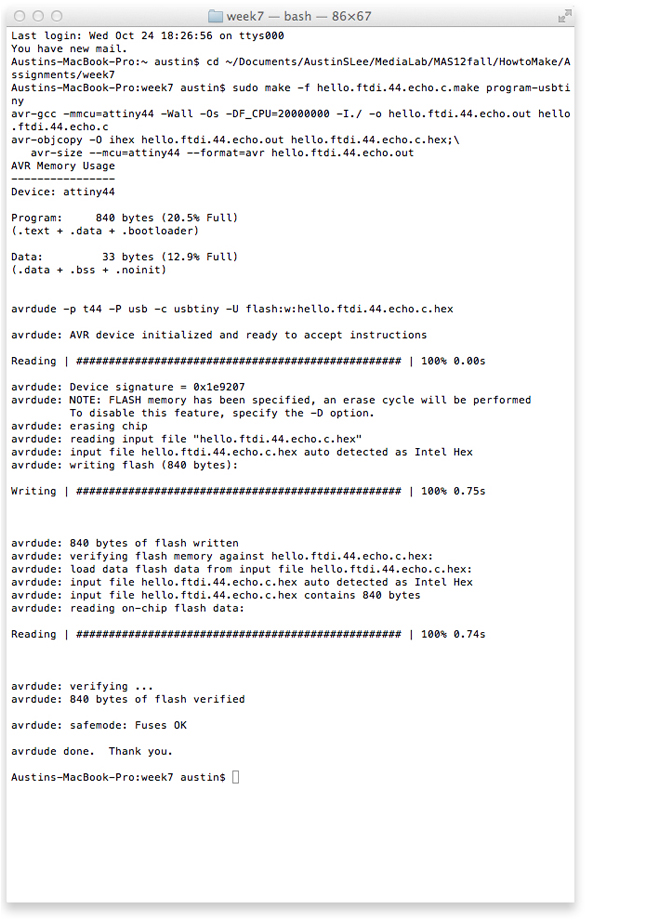
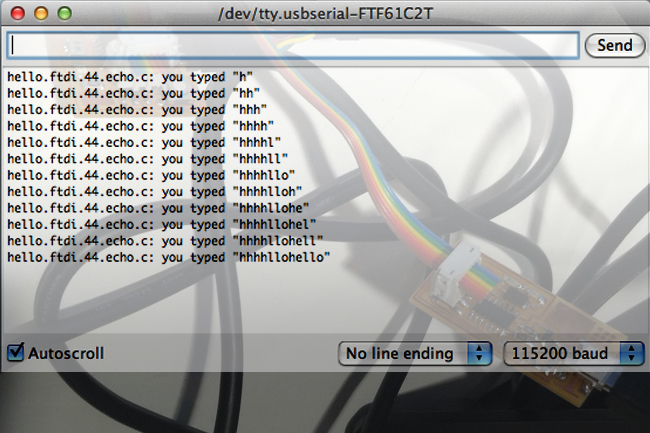
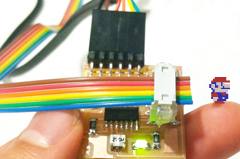
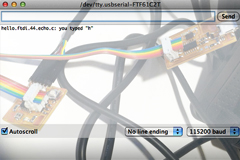
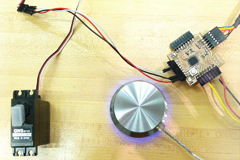
| This tutorial is based on several Fab archives. I used Neil's C code for the programming. You can find the source codes under host communication section from How To Make (Almost) Anything 2012 class's week 7 lesson page. Download the hello.ftdi.44.echo.c and hello.ftdi.44.echo.c.make files. I connected the Fab ISP with the board I made last time to blink LED. I powered the LED board through ftdi cable. First, in terminal the following line is used for setting up the fuses. After navigating to the folder where the files are saved, type:(sudo make -f hello.ftdi.44.echo.c.make program-usbtiny-fuses) Note that if you burned boot loader through Arduino you can skip this first step. Then type: (sudo make -f hello.ftdi.44.echo.c.make program-usbtiny) Open Arduino, go to Tools menu and select Serial Monitor. If you type and press select, the board will echo back your input. | ||||||||||||
 |
||||||||||||
 |
||||||||||||
FINAL PROJECT PROPOSAL.
My ideas for the final project- week1 |
PRESS-FIT CONSTRUCTION KIT.
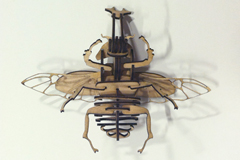
Learn how to make something using vinyl cutter and laser cutter - week2 |
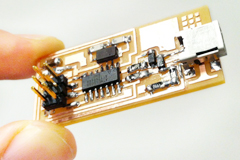
FAB ISP (IN-SYSTEM PROGRAMMER) Learn how to make a custom PCB - week3 |
||||||||||

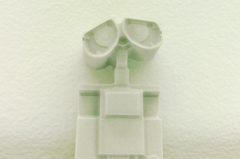
3D SCANNING AND PRINTING. Learn how to make 3D printed model - week4 |
ELECTRONICS DESIGN. Learn how to redraw the echo hello-world board - week5 |
MOLDING AND CASTING. Learn how to design a 3D mold, machine it, and cast parts from it - week6 |
||||||||||
EMBEDDED PROGRAMMING. Learn how to program a custom board to do something - week7 |
MAKE SOMETHING BIG. Learn how to make SOMETHING BIG through computer-controlled machining- week8 |
INPUT DEVICES. Learn how to add sensor to a microcontroller board and read it - week9 |
||||||||||
COMPOSITES. Learn how to assemble a 3D mold, and lay up a fiber composite part in it - week10 |

OUTPUT DEVICES. Learn how to add an output device to a microcontroller board and program it to do something - week11 |
INTERFACE AND APPLICATION PROGRAMMING. Learn how to write an application that interfaces with an input &/or output device - week12 |
||||||||||
NETWORKING AND COMMUNICATIONS. Learn how to build a wired &/or wireless network with at least two nodes - week13 |
MECHANICAL/MACHINE DESIGN. Learn how to design or modify a machine and automate the machine - week14 |
FINAL PROJECT. My final project for How To Make (almost) Anything - week15, 16 |
||||||||||

MAS.863 Learn about the How To Make (almost) Anything course at MIT |
||||||||||||
| Copyright © 2012 by AUSTIN S. LEE | ||||||||||||