making something big
This week I wanted to build a rocking crib for my sister's baby, who is due in March. Try as I might, I wasn't able to get some quality alone time with any of the Shopbots.
learning rhino: modeling and extruding curves
With my girlfriend's help, I came up with some sketches of the rocking crib. I originally wanted the back of the crib to curve forward like an old-school pram (top of sketch). Given that I was pretty unsure about how any of the joints would work, I decided for something more simplistic (bottom): a tapered basket with two curved rocking supports.

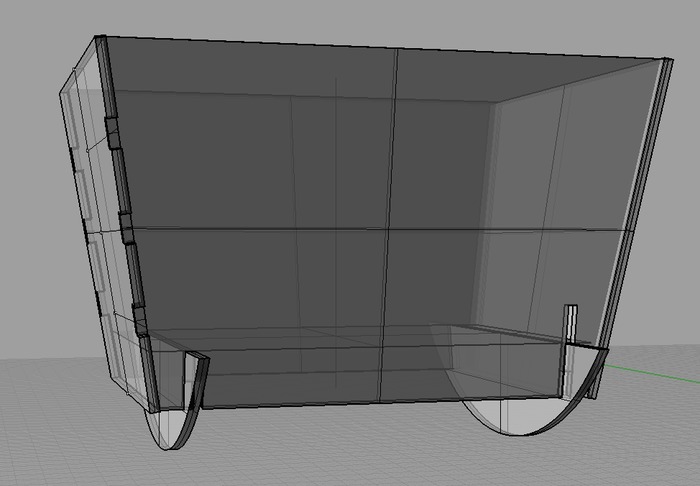
I continued to learn how to use Rhino this week. Where in the molding/casting week, I extruded curves from an existing SVG, this week James helped me draw my own curves and model the crib in 3D. I learned that there are many ways to arrive at the same 3D model: drawing and mirroring curves, lofting the base to the top, and just drawing all the curves manually. Some combination of these techniques got me to an initial 3D model for the crib.

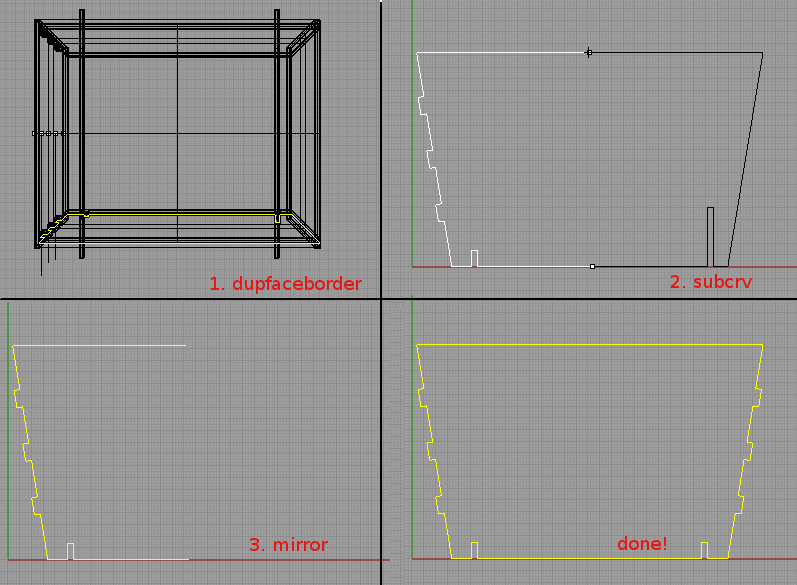
I learned that, since my design was fairly symmetrical, I only had to make sure things fit well in 3D for one quarter of the design. From there, I laid out the crib's faces in 2D and mirrored the curves to get symmetrical notches, tabs and holes. James advised that I use holes instead of notches for the corner joints. I extracted faces, cut them in half and mirrored them to get the symmetrical path for each surface.

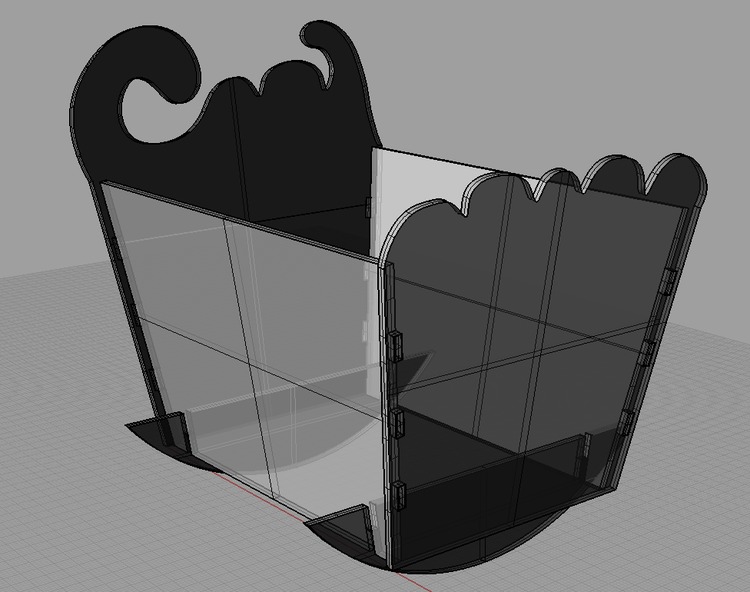
Lastly, I added a little flair to the crib: some curly cloud shapes on the headboard and footboard, and the baby-to-be's family name!

The final 3D model for the crib, reconstructed from the 2D curves.

prepping for the shopbot
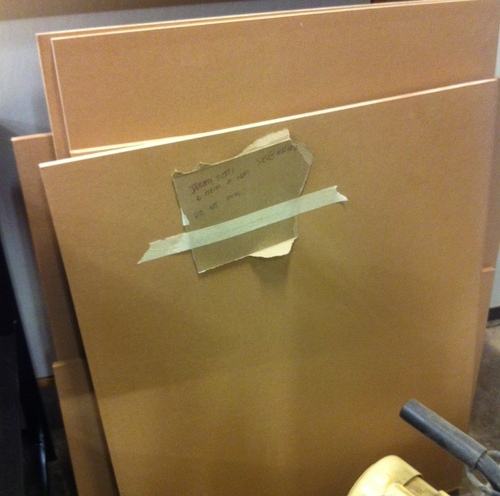
The design fit well onto a 4' x 8' piece of MDF. However, in the arch section, the TAs urged us to get our cutting done as early as possible since the architecture open house was on the week and the Shopbots would be in high demand. I was a little time constrained on the weekend, so I tried to give myself the flexibility to cut on the architecture fablab's Shopbot, rather than just the N51 Shopbot.
I got my slab of MDF cut into small pieces that could fit onto the 4'x2' bed of the fablab Shopbot: 3'x2' for the crib sides, 2.5'x2' for the footboard and rockers, 2.5'x2.5' for the headboard and 2.5'x1.5' for the shelf.

Turns out my brain was broken and I designed my headboard too big, but David Costanza told me the Shopbot could handle 4'x2.5'. I split the Rhino file into separate DXFs to perform 4 cuts: two (2) cuts for the sides, one cut for the footboard+rockers and one cut for the headboard+shelf. After some weird buggy behavior in Partworks, with the help of David, I was able to fillet corners and save Shopbot toolpaths.
all ready to cut
Unfortunately, I couldn't find time this week when both the Shopbot was free and a TA was available to help me setup my Partworks files and cut. Will try again in a couple days when the craze from the open house subsides.
files
- crib in Rhino
- Drawing files: all curves, head/shelf, foot/rockers, sides
- ShopBot toolpaths: head/shelf, foot/rockers, sides