TOO-MANY-KEY-CHAIN
3D SCANNING
So 3D scanning something not very simply shaped is tough! I wanted to try to scan objects that I would find difficult CAD-ing traditionally, and so picked some objects with complex curves and overlapping shapes.
I tried...
|
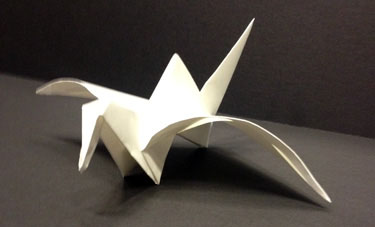
... an origami bird on the Minolta:
- I followed Jin Joo's amazing instructions on how to use the Minolta
- Whilst the individual scans seemed to turn out ok, the alignment of all of the scans together wasn't very good at all, and so it was impossible to merge the scans together successfully into a watertight model
- DIDN'T WORK
|
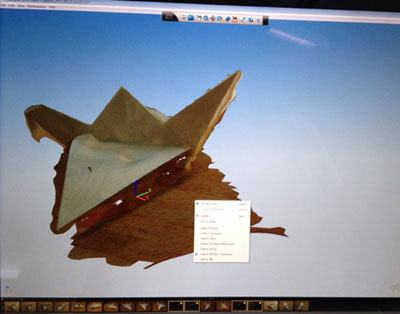 |
...an origami bird using Autodesk's free 123D Catch software, which turns an array of photos of an object into a 3D CAD model:
- I was expecting this software not to work at all, but after a couple of attempts I got a reasonable CAD model of the bird
- Download the software
- **Take lots of photos of the object you want to CAD - moving around the static object rather than moving the object around in space**
- Upload and let the software do it's stuff!
- You can edit the resulting mesh to cut away the surface that the object was resting on
- The top surface of the model was great - however the software struggles to model narrow bottomed objects and so the underside of my model was completely unfinished and would be a lot of extra CAD work to get it to become watertight
- BETTER, BUT STILL DIDN'T REALLY WORK
|
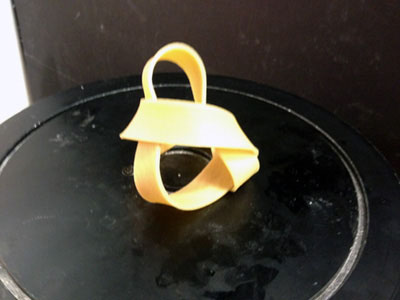 |
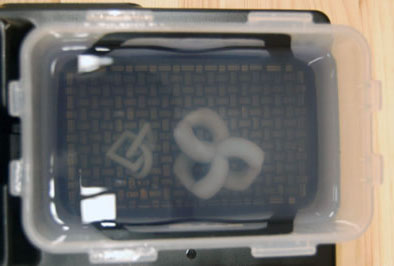
...a twisted elastic band using the Minolta:
- I thought that the simpler surface of the elastic band and generally more compact shape would make the elastic band easier to scan
- However, the alignment of the multiple scans still did not line up
- I tried to use the Manual Registration tool in the GeoMagic software, but even realigning the individual scans to match up a bit more did not help to create a model which could be merged into a watertight model
- DIDN'T WORK
|
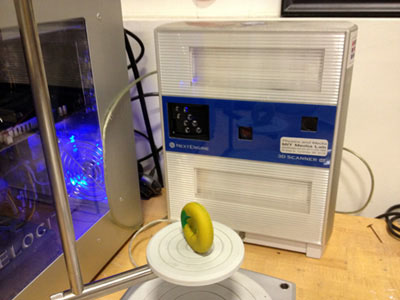 |
...a plasticine doughnut, plain and simple, on the NextEngine scanner:
- The NextEngine scanner seemed to be easier to focus and get the scans to align
- Putting the stand with the object on it closer to the laser than the measuring wire dictates ended up with a better result - just look at the live streaming picture to see when the object looks in focus
- Default settings are pretty good
- Scan and wait...
- Export to Solidworks or Rhino to edit - here you can cut away jagged areas and patch holes using extruded surfaces turned to meshes and boolean intersections to refine your shape and make it watertight
- Export an .slt file to send to the 3D printer!
- WORKED!
|
I thought that scanning objects would be a simpler way to create 3D models of things that I would find hard to CAD using a traditional parametric software such as Solidworks. However, my experience with the scanners in the CBA workshop show that you still need to scan quite simple objects to get a good model. Once you have this model, you can then manipulate them using Rhino fairly easily to make more complex shapes - see below:
HOW TO MAKE A 3D SCANNED AND EDITED MULTI-SECTION KEY CHAIN
1: SCAN A SHAPE TO BE ONE OF THE RING SECTIONS
See scanning the plasticine doughnut on the NextEngine scanner above... |
|
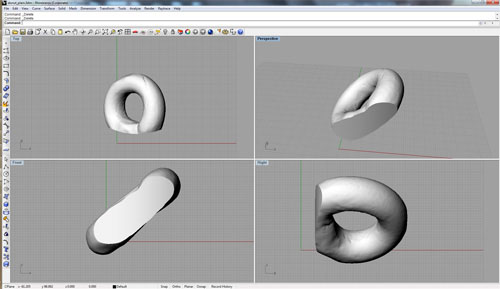
2: IMPORT THE MESH FILE INTO RHINO AND CLEAN UP
- The resulting scanned file is a mesh file and is easiest to edit in Rhino
- Patch any holes by extruding a surface through the mesh around the hole (Draw an arc and then use Surface>Extrude to extrude a surface the shape of the arc)
- Turn the surface into a mesh (in the Mesh menu)
- Use the Mesh Boolean>Intersection tool to create a surface of the original scan with the unwanted part removed
|
|
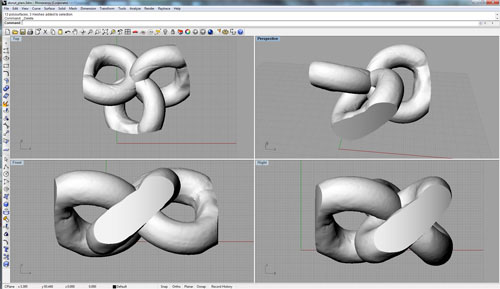
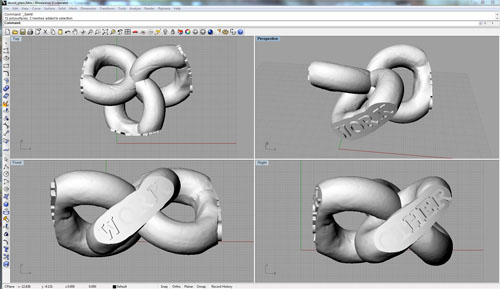
3: EDIT THE CLEANED UP SCANNED MESH
Now you can start to play around with your scanned mesh.
- I wanted to create a 3 sectioned keychain so that I can divide my many keys into 'HOME', 'WORK' and 'OTHER' keys easily
- Here I copied and pasted the cleaned up mesh and rotated and repositioned the meshes to new locations using the Transform tools - I overlapped the 3 rings in the middle so that the keychain would be a solid object when printed
- I wanted to mark the different sections with which keys were on them, so I added 3D text to the flatted section of the rings using the Text tool
- When you're finished, make sure all the solids and surfaces are turned into meshes and use the Boolean Union tool in the Mesh menu to join all the parts together
- Export a .stl file
|
4: 3D PRINT THE .STL FILE
Either:
- Send the .slt file to 3dprint@cba.mit.edu - thanks Tom and John!
Or:
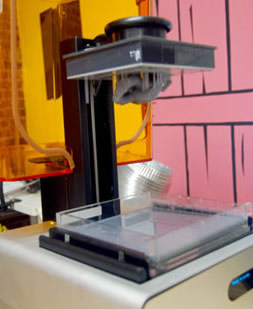
- Use your very own desktop 3D printer, such as the Form1 from Formlabs - thanks David and Max!
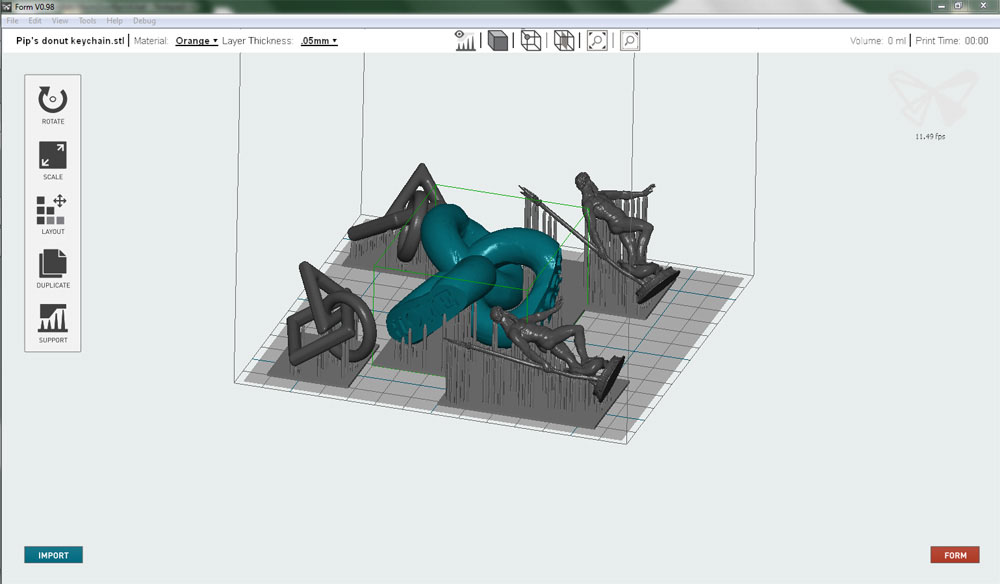
- Import your .stl file into the 3D printing software by clicking on the nice big button on the bottom left
- The software positions the parts on the build platform and you can use the toolbar on the left to add duplicates of the model if you need, and scale or rotate it to position them to build most effectively
- Generate supports for the parts so that overhanging bits and strange geometries build correctly
|
 |
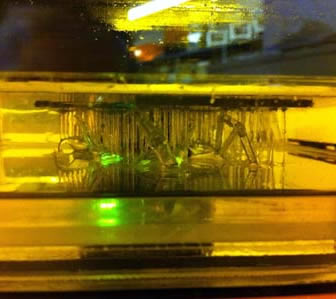  |
- Click Form to send your build to the 3D printer (with fresh resin poured into the build platform) to print!
|
|
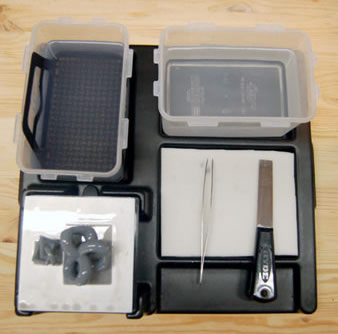
- Once the part has finished printing, remove the build platform from the printer and place on the finishing tray
|
 |
- Remove the part from the support structures by gently pulling it up and sideways, breaking the support structures off the part - **Don't forget to wear gloves!**
- Put it into the isopropyl alcohol bath for a few minutes to remove the excess resin from the parts
- Cleanse the part in the water bath, and leave it to dry
|
|
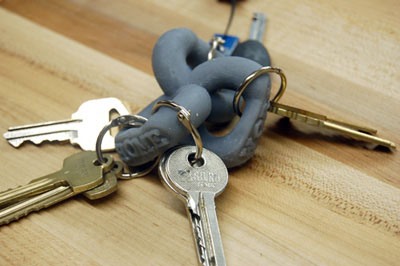
- Add your keys to your new keychain!
|