Introduction
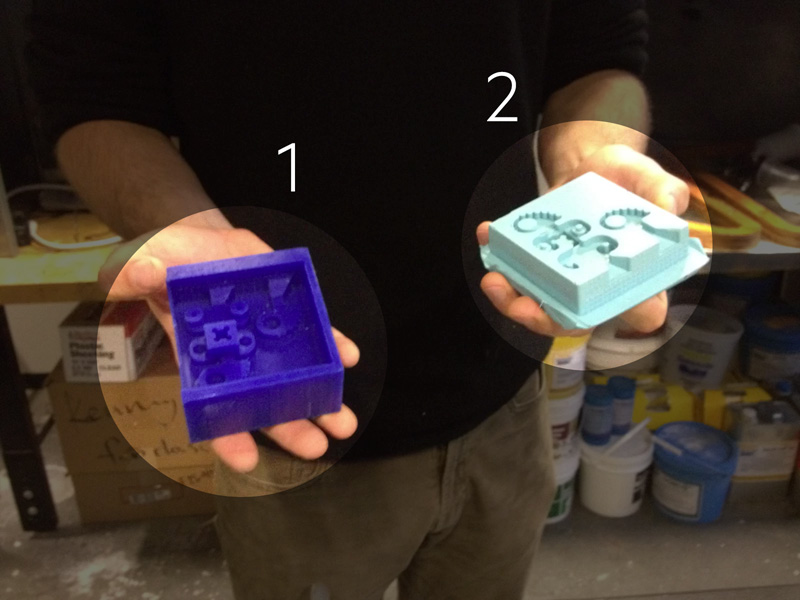
This is what you will be doing:

Image created by Karina Lia Penedo Silvester
Getting started
A couple mantras for molding:
- Step 1: Mill the positive. Step 2: Cast the negative. Step 3: Pour the positive
- Think through these steps while designing your piece
- Air bubbles are the enemy
Beginner's tips for designing your piece
- For your first piece, make a one piece mold. Then, move on to two or multi-part molds
- Making thin parts is challenging because of surface tension; it's tough to get out all the air bubbles.
Materials
Materials for making the positive hard mold for the negative flexible mold.
- Wax low density polyethylene
- Highly malleable material that has a smooth surface finish
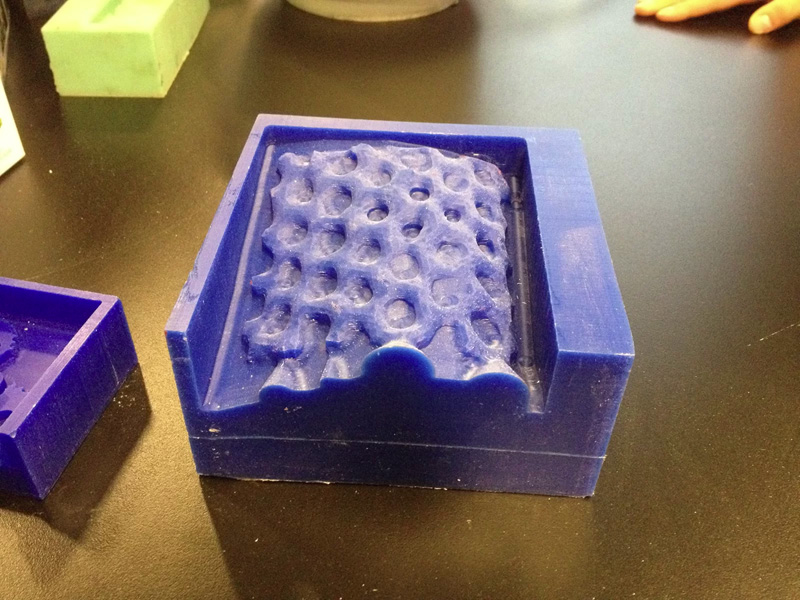
A mold made from LDP wax
Materials for making the negative flexible mold for the casted piece
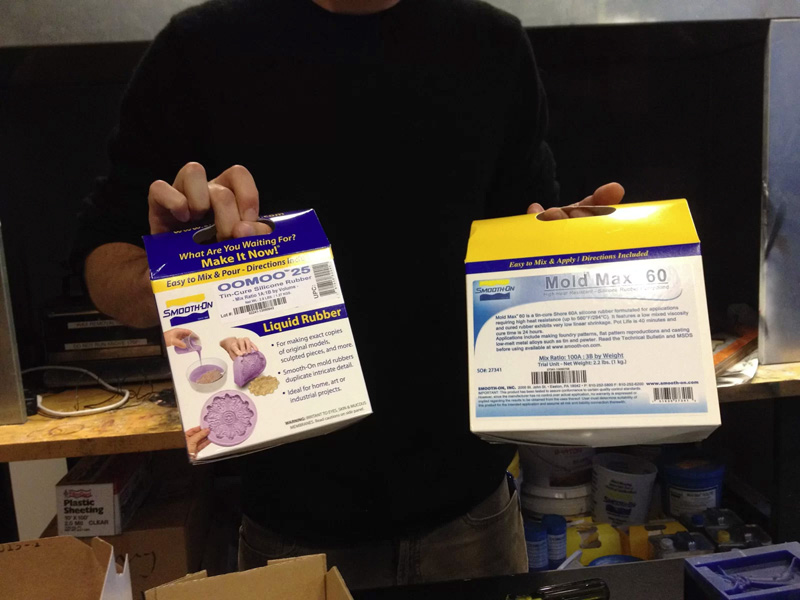
- OoMoo
- Magical low temperature silicone that is highly flexible. Oomoo makes a great material for molds that cast low temperature thermoplastics
- MoldMax
- High temperature silicone that is flexible. Use for casting metals.
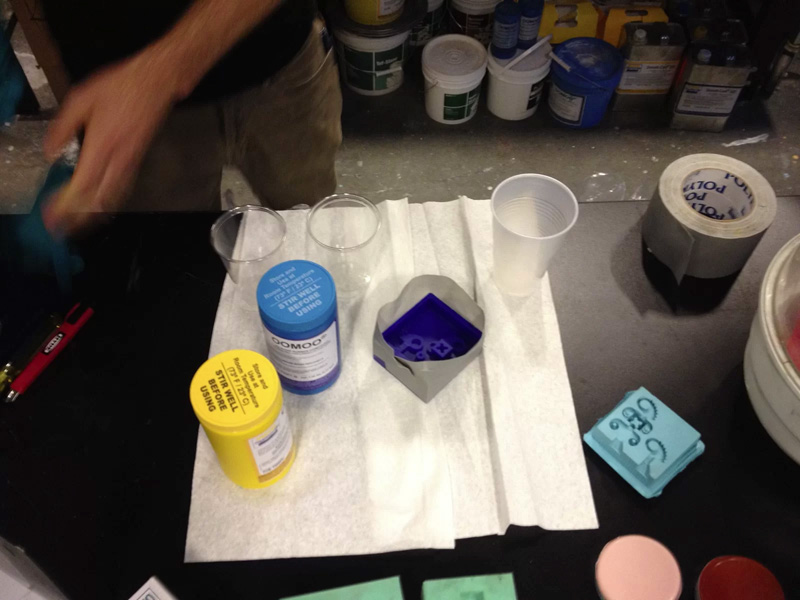
This is what OoMoo and Moldmax look like in the package.
Casting the OoMoo Negative Mold
1. Mill the wax positive part
2. Prepping the Oomoo
- Put duct tape around the milled wax part to create walls
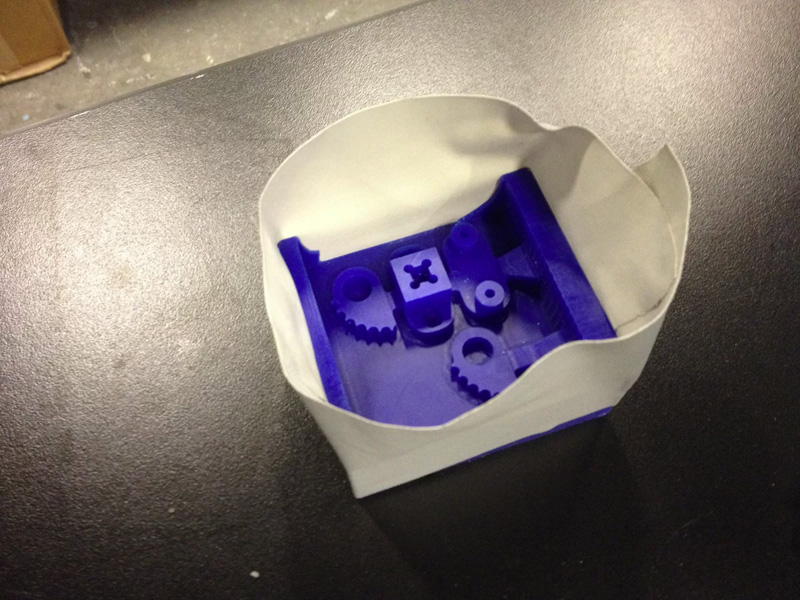
- Place the piece on top of a wipe on the counter
- Put on some latex gloves. Things will get messy.
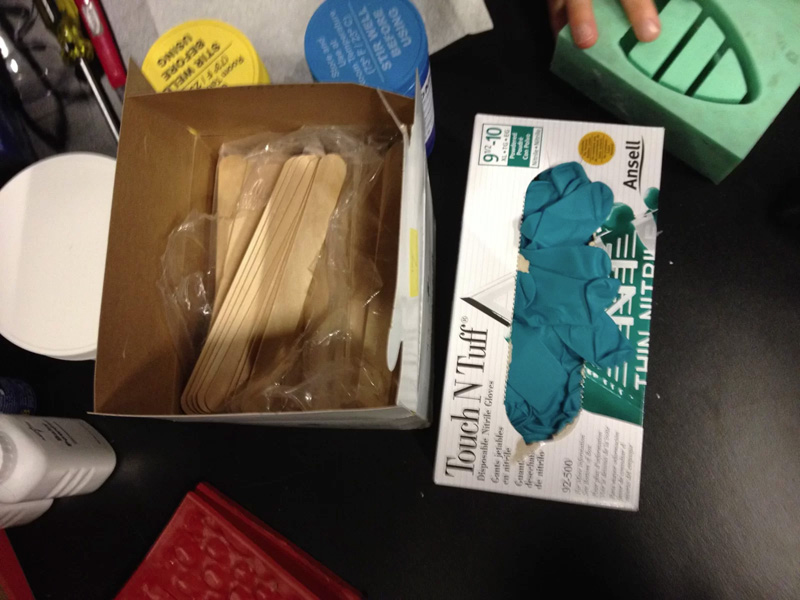
- Seperately stir both part A and part B compounds with a disposable wooden rod
- Ooomoo is a volumetric 1:1 mix. You will need to measure out an equal amount of each before mixxing.
3. Figure out the amount of silicone you need
- An easy way to calculate the volume of the wax mold is to pour water into it and then measure the volume. If you do this, make sure the wax mold is dry before pouring silicone into it.
- If you're in a hurry, you can also just guesstimate the volume. You will want to estimate on the high side to make sure you have enough silicone.
- Once you have the volume required, divide it half to figure out the amount of each componet
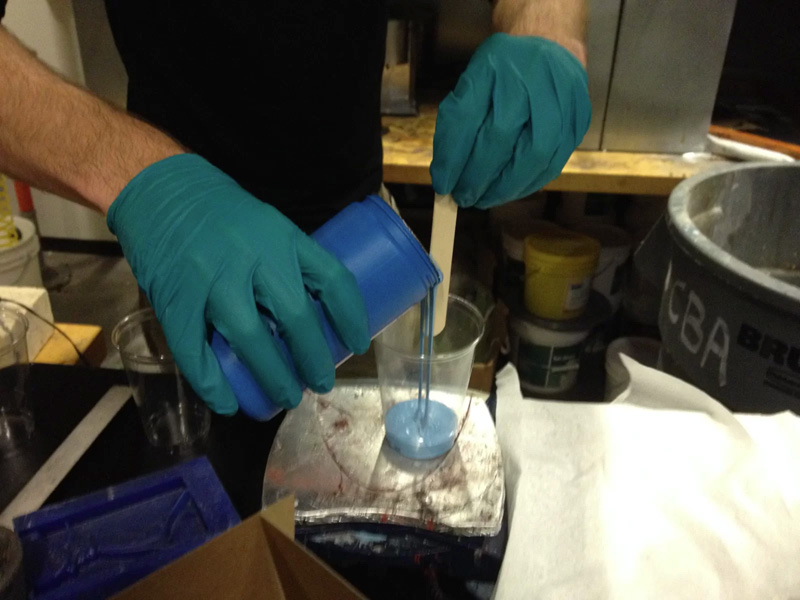
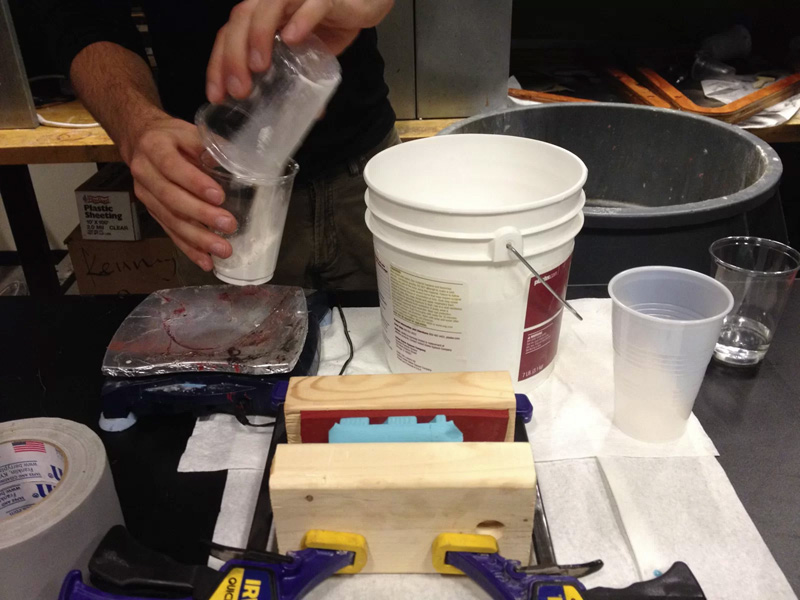
- Now pour each component into a separate drinking cup. You can line them up side by side to make sure you have equal volume.
- A good way to do this is to use the wooden stick trick: pour the Ooomoo down the wooden stick into the cup. This way the Oomoo goes into the cup instead of down the side of the container.
- If you get Oomoo on the side of the container when pouring, wipe it off!
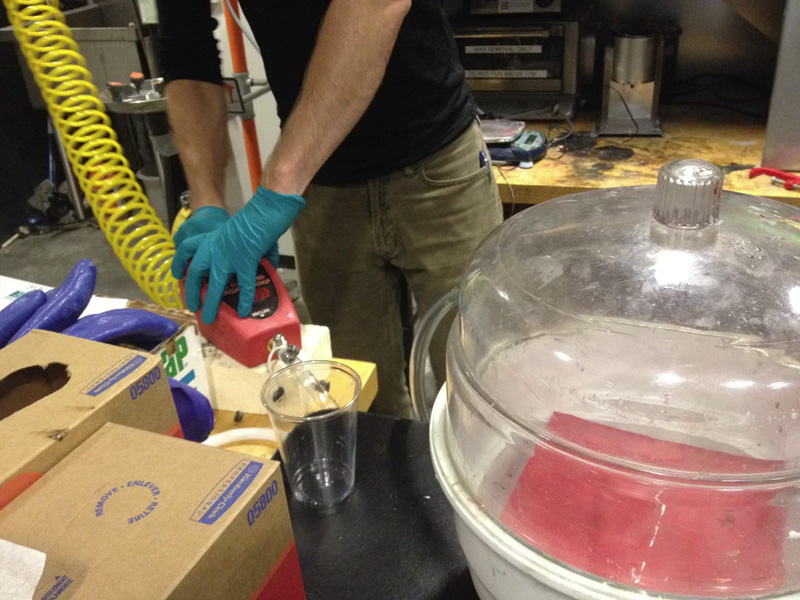
4. Get the vacuum ready.
- Note: we’re using a Venturi vacuum. They’re cool; check ‘em out on the Wikipedias.
- Connect the venturi vacuum to the shop air supply.
5. Mixxing two Oomoo compounds together
- Use a clear cup for the mixxing
- Pour in both components.
- Scrape around the edges with the edge of a wooden rod.
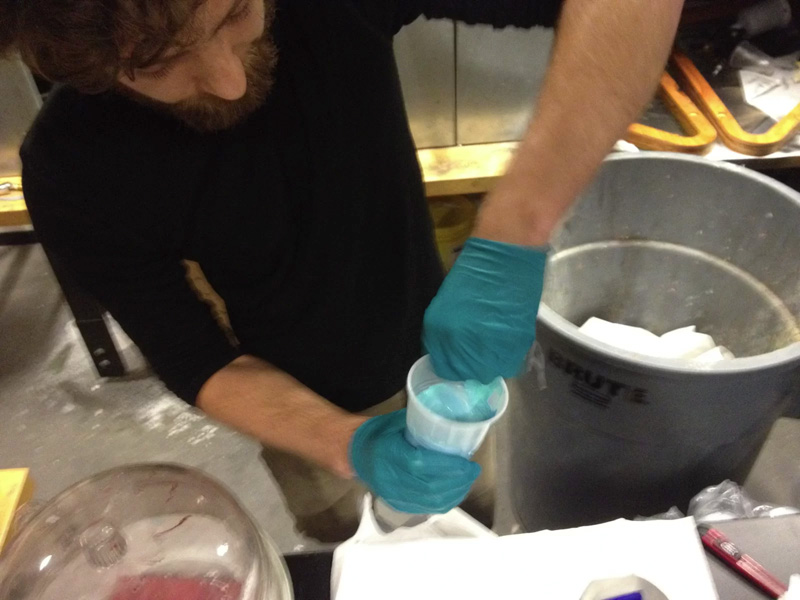
- Get down into the bottom of the cup
- Stir until no blue-green spirals. It should all be one color.
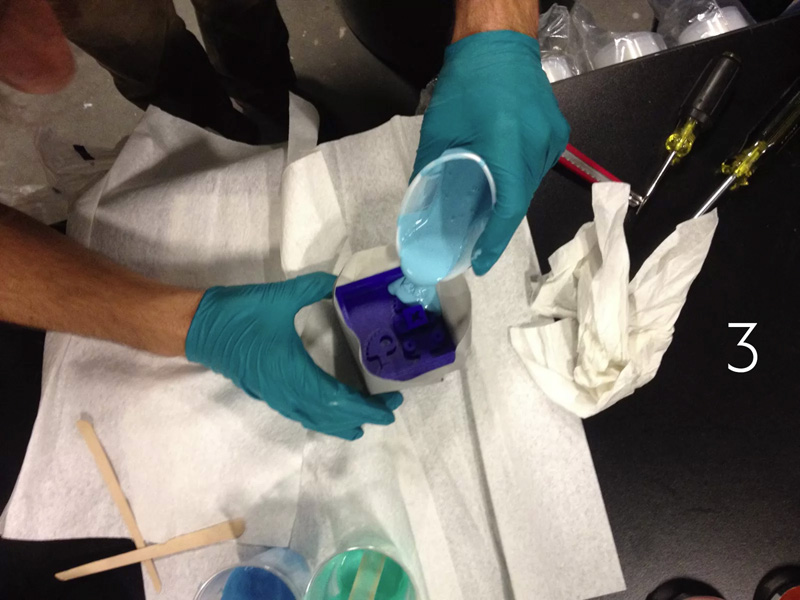
6. Pouring
- Pour into lowest part of mold first to reduce air bubbles
- Pouring on a tilt so it flows up the bottom surface
7. Vacuum curing
- Put wax mold with wet silicone mixture into the vacuum. Close top. Turn on the vacuum.
- You should see bubbles slowly coming out.
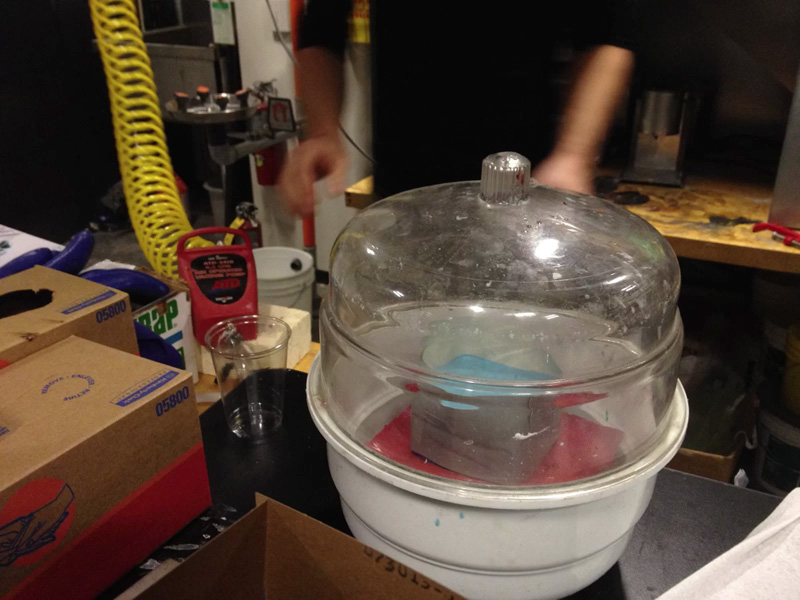
- Leave it in the vacuum for about 30 minutes until it has solidified a bit. At this point no air bubbles should be able to get into the mold.
- The OoMoo container instructrs users to allow OoMoo to cure for 75 minutes. Full hardness will take more time
8. Cleaning
- Throw everything away in the trash after curing.
- Don’t put any material in the sink
- Wipe down any surfaces if needed
Casting drystone into the OoMoo Mold
1. Set up for casting
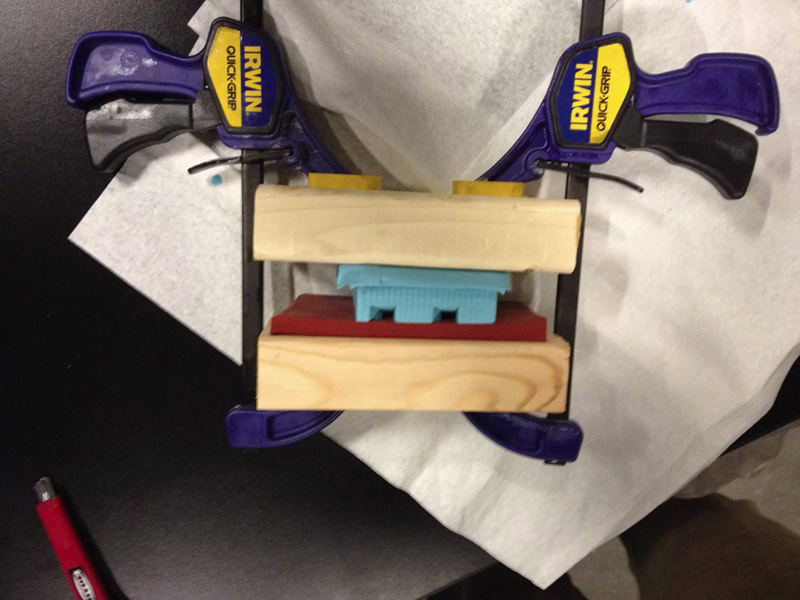
- Grab two wooden 2x4 blocks for holding the mold and two quick grips for clamping
- Be careful about deformation of the silicone while setting up your part.
- If it’s a one-piece cast, like we did here, use a flat backing material between the mold and the wood. You'll want to use something like plastic or metal. Don't use a porous material like wood because the drystone will seep in.
2. Mixing drystone
- Drystone instructions say 100 parts of powder to 20 parts of water by mass. We used more water (4:1 ratio) to reduce viscosity and help the Drystone flow into the mold. Note: this will slightly reduce the strength of the cured Drystone.
- Warmer water means a faster cure; if you want a longer pot life, don’t use warm water.
- You can measure the water and powder using a scale. Again, use drinking cups to measure out each component
- If you’re going to do a lot of casting with drystone, wear a respirator.
- Now, mix the two components
- Use same scrape edges trick to get in all dry material. Rule of thumb is to stir a little bit more than you think you should
- The solution should begin warming up (it's an exothermic reaction).
3. Pouring in the drystone
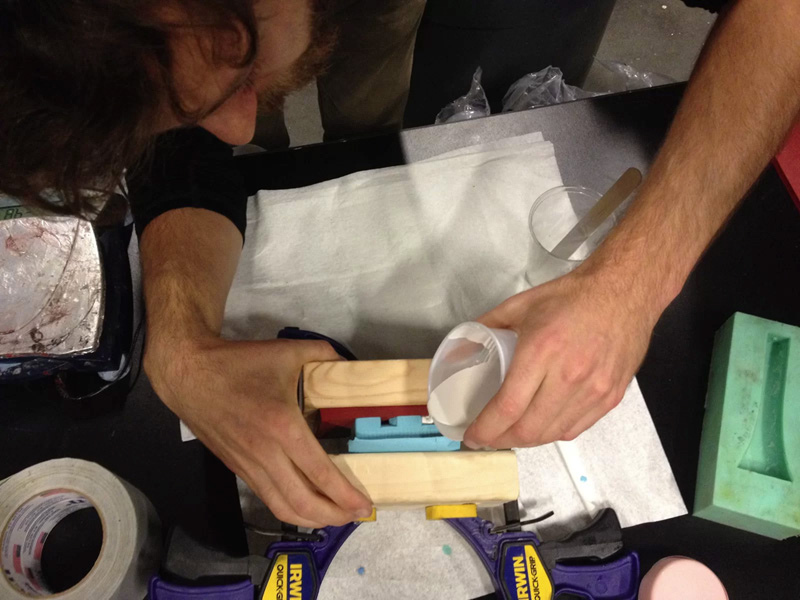
- Pour drystone into the top of the silcone mold.
- Shake, vibrate and move the clamped piece up and down to get air bubbles out and move the drystone down into the mold. If the drystone is too viscous, it won't be able to get into the mold.
- Be very careful with clamping the mold. It's very easy to deform the shape of the silcone ... and thus you're piece.
Be a good how to maker
- High temp stuff is only from 9-5
- Clean up after yourself! This stuff gets messy!
- Bear in mind that there is a 1/2 container of OoMoo designated for each How-To-Maker
Materials
Materials for making the positive hard mold for the negative flexible mold.
- Wax low density polyethylene
- Highly malleable material that has a smooth surface finish
- Highly malleable material that has a smooth surface finish
A mold made from LDP wax
Materials for making the negative flexible mold for the casted piece
- OoMoo
- Magical low temperature silicone that is highly flexible. Oomoo makes a great material for molds that cast low temperature thermoplastics
- MoldMax
- High temperature silicone that is flexible. Use for casting metals.
This is what OoMoo and Moldmax look like in the package.
Casting the OoMoo Negative Mold
1. Mill the wax positive part
2. Prepping the Oomoo
- Put duct tape around the milled wax part to create walls
- Place the piece on top of a wipe on the counter
- Put on some latex gloves. Things will get messy.
- Seperately stir both part A and part B compounds with a disposable wooden rod
- Ooomoo is a volumetric 1:1 mix. You will need to measure out an equal amount of each before mixxing.
- An easy way to calculate the volume of the wax mold is to pour water into it and then measure the volume. If you do this, make sure the wax mold is dry before pouring silicone into it.
- If you're in a hurry, you can also just guesstimate the volume. You will want to estimate on the high side to make sure you have enough silicone.
- Once you have the volume required, divide it half to figure out the amount of each componet
- Now pour each component into a separate drinking cup. You can line them up side by side to make sure you have equal volume.
- A good way to do this is to use the wooden stick trick: pour the Ooomoo down the wooden stick into the cup. This way the Oomoo goes into the cup instead of down the side of the container.
- If you get Oomoo on the side of the container when pouring, wipe it off!
- Note: we’re using a Venturi vacuum. They’re cool; check ‘em out on the Wikipedias.
- Connect the venturi vacuum to the shop air supply.
- Use a clear cup for the mixxing
- Pour in both components.
- Scrape around the edges with the edge of a wooden rod.
- Get down into the bottom of the cup
- Stir until no blue-green spirals. It should all be one color.
- Pour into lowest part of mold first to reduce air bubbles
- Pouring on a tilt so it flows up the bottom surface
- Put wax mold with wet silicone mixture into the vacuum. Close top. Turn on the vacuum.
- You should see bubbles slowly coming out.
- Leave it in the vacuum for about 30 minutes until it has solidified a bit. At this point no air bubbles should be able to get into the mold.
- The OoMoo container instructrs users to allow OoMoo to cure for 75 minutes. Full hardness will take more time
- Throw everything away in the trash after curing.
- Don’t put any material in the sink
- Wipe down any surfaces if needed
3. Figure out the amount of silicone you need
4. Get the vacuum ready.
5. Mixxing two Oomoo compounds together
6. Pouring
7. Vacuum curing
8. Cleaning
Casting drystone into the OoMoo Mold
1. Set up for casting
- Grab two wooden 2x4 blocks for holding the mold and two quick grips for clamping
- Be careful about deformation of the silicone while setting up your part.
- If it’s a one-piece cast, like we did here, use a flat backing material between the mold and the wood. You'll want to use something like plastic or metal. Don't use a porous material like wood because the drystone will seep in.
2. Mixing drystone
- Drystone instructions say 100 parts of powder to 20 parts of water by mass. We used more water (4:1 ratio) to reduce viscosity and help the Drystone flow into the mold. Note: this will slightly reduce the strength of the cured Drystone.
- Warmer water means a faster cure; if you want a longer pot life, don’t use warm water.
- You can measure the water and powder using a scale. Again, use drinking cups to measure out each component
- If you’re going to do a lot of casting with drystone, wear a respirator.
- Now, mix the two components
- Use same scrape edges trick to get in all dry material. Rule of thumb is to stir a little bit more than you think you should
- The solution should begin warming up (it's an exothermic reaction).
3. Pouring in the drystone
- Pour drystone into the top of the silcone mold.
- Shake, vibrate and move the clamped piece up and down to get air bubbles out and move the drystone down into the mold. If the drystone is too viscous, it won't be able to get into the mold.
- Be very careful with clamping the mold. It's very easy to deform the shape of the silcone ... and thus you're piece.
Be a good how to maker
- High temp stuff is only from 9-5
- Clean up after yourself! This stuff gets messy!
- Bear in mind that there is a 1/2 container of OoMoo designated for each How-To-Maker