Project 08
Composites
When this class began, I couldn’t wait to get to composites. I have never really explored composites (unless you count paper maché, which I guess I do…) and I thought, working with composites will be an amazing process, I will only want to do composites after learning how. In reality, this process is messy, really messy. Not only is it messy, but the variables are abundant and the tools provided to us were definitely catered towards the learning process (e.g. failure). It seemed like the process involved so much guessing and so many irreversible steps that this would not scale well. After finishing my part, feeling a bit discouraged about the promise of composites, I then witnessed the art of composites, and am reinvigorated to take advantage of such an organized and beautiful craft.
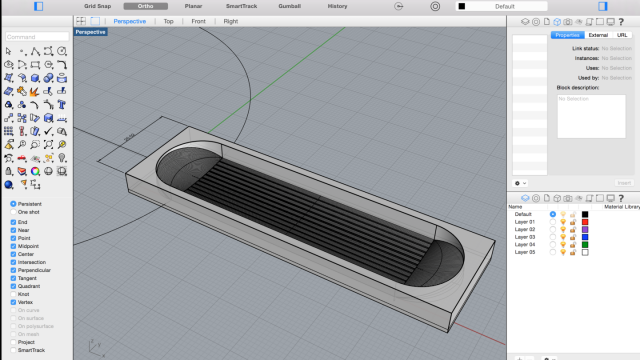
Model
- snow/skate board – simple to model, get to practice the craft
- positive to negative
- curvature for strength
- ribs for direction
Cut Foam + Laser Material
- 4000 rpm
- .5″ Ball endmill
- loss of detail for sake of time
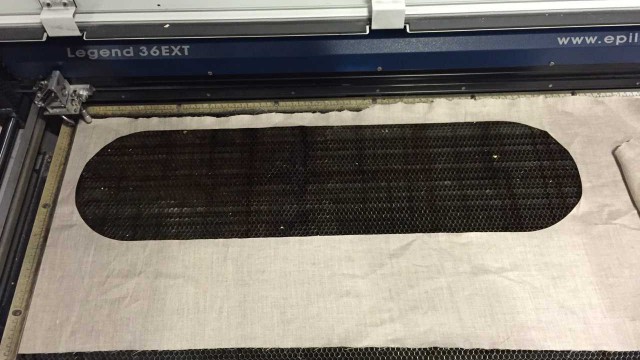
Material
- 2 linen
- 7 burlap
- 1 piece of found lace
Lay Up
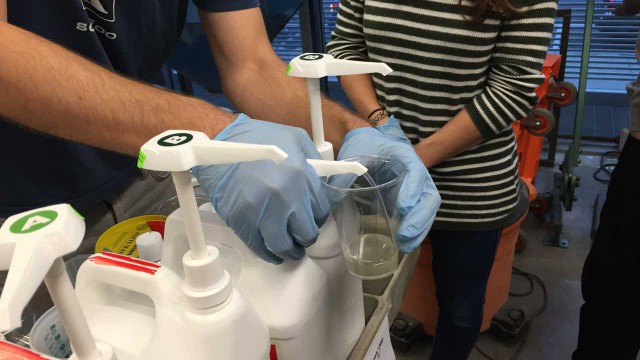
Wow, this is definitely a multiperson job. Thanks to Palash and some smart planning we were able to get the board and its 10 layers in place in a a reasonable amount of time. We first filled a bunch (6 cups) with part A, 4 pumps each cup, and then went back to add the kicker, part B, when we were ready to mix.
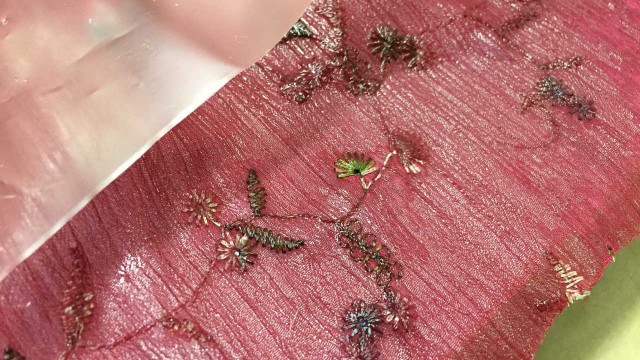
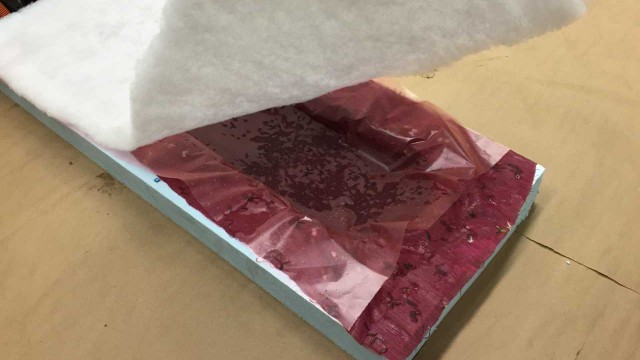
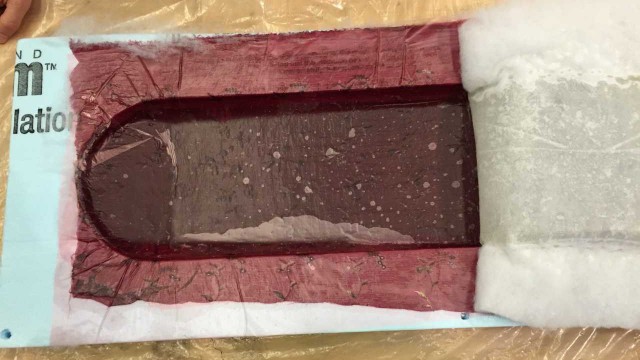
Decided to get a little fancy with some scrap material. Wasn’t quite sure how it would come out. Later I would find that it looks a lot like a fruit roll up.

Dry run with materials was a little daunting, but not crazy. Once the epoxy is mixed, this gets quite hectic.
Vacuum
The vacuuming was definitely a learning experience from bag making to valve placement. Along with images I note some of my findings :)
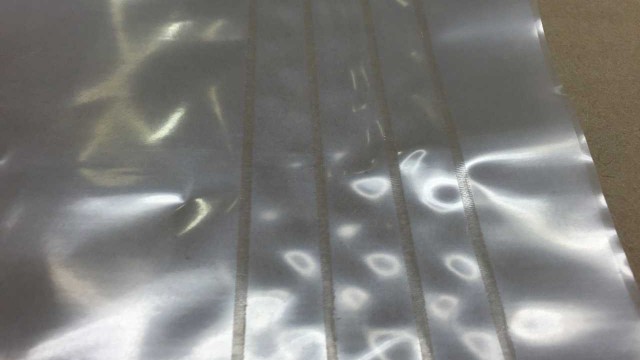
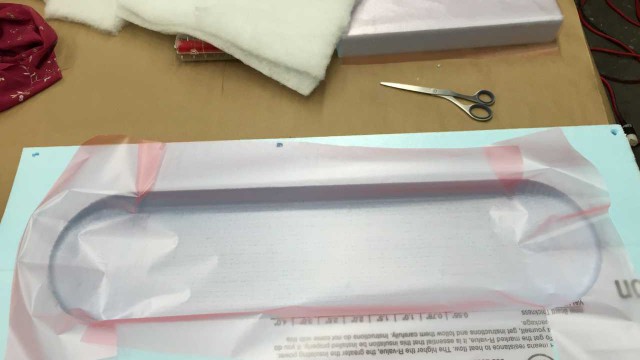
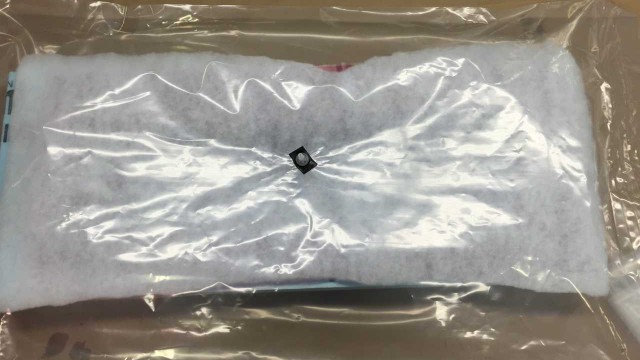
Instead of using the premade ziplock bag, I wanted to have the experience of making my own. I made 4 seals just to make sure no air would leak in. Note that once a wrinkle gets into the heat seal, it is very difficult to remove it.
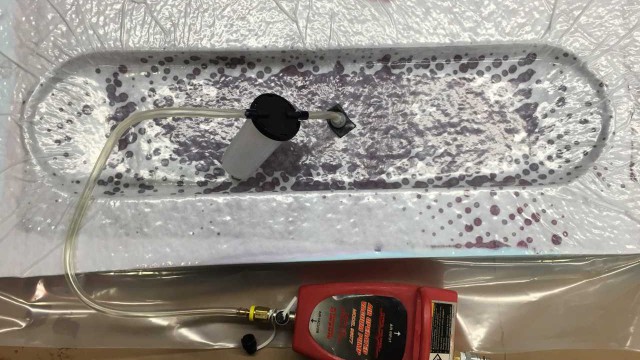
Glad I used the pump with the resin catch… Placing the vacuum in the middle of the object might not have been the best decision since it started to suck up a bit of the resin before removing all of the air.
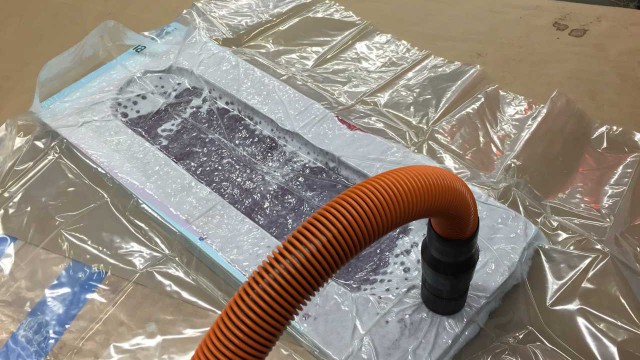
Oh, wait, this is a different vacuum and different bag! So apparently I didn’t make the best sealed bag, and I thought I could do better, so before the piece set, I cut my piece out of my hand made bag, placed it in a ziplock bag and made sure to place the valve in a place that felt better suited to not suck up a lot of resin, but suck out the air.
Finishing
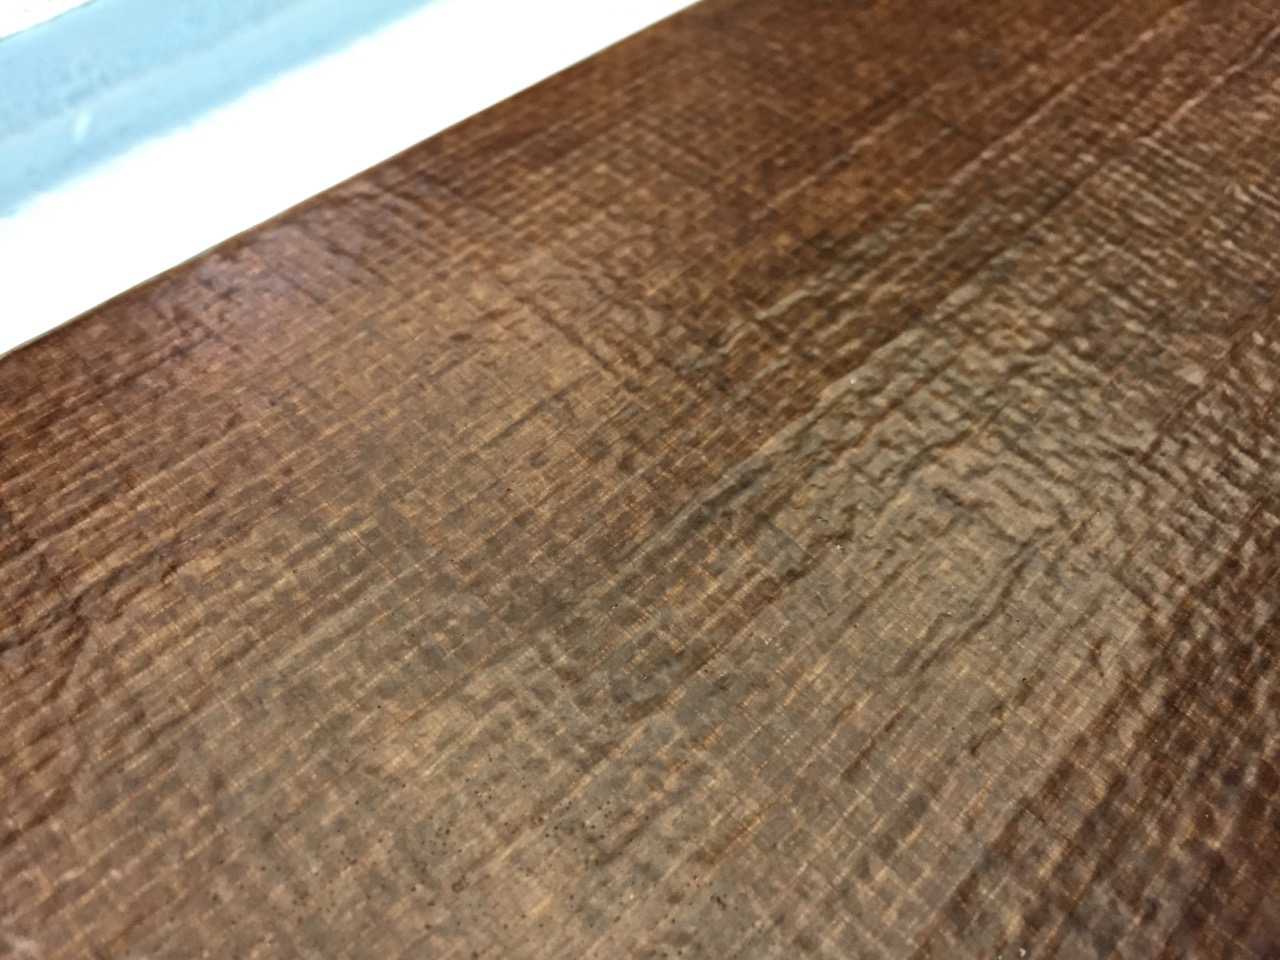
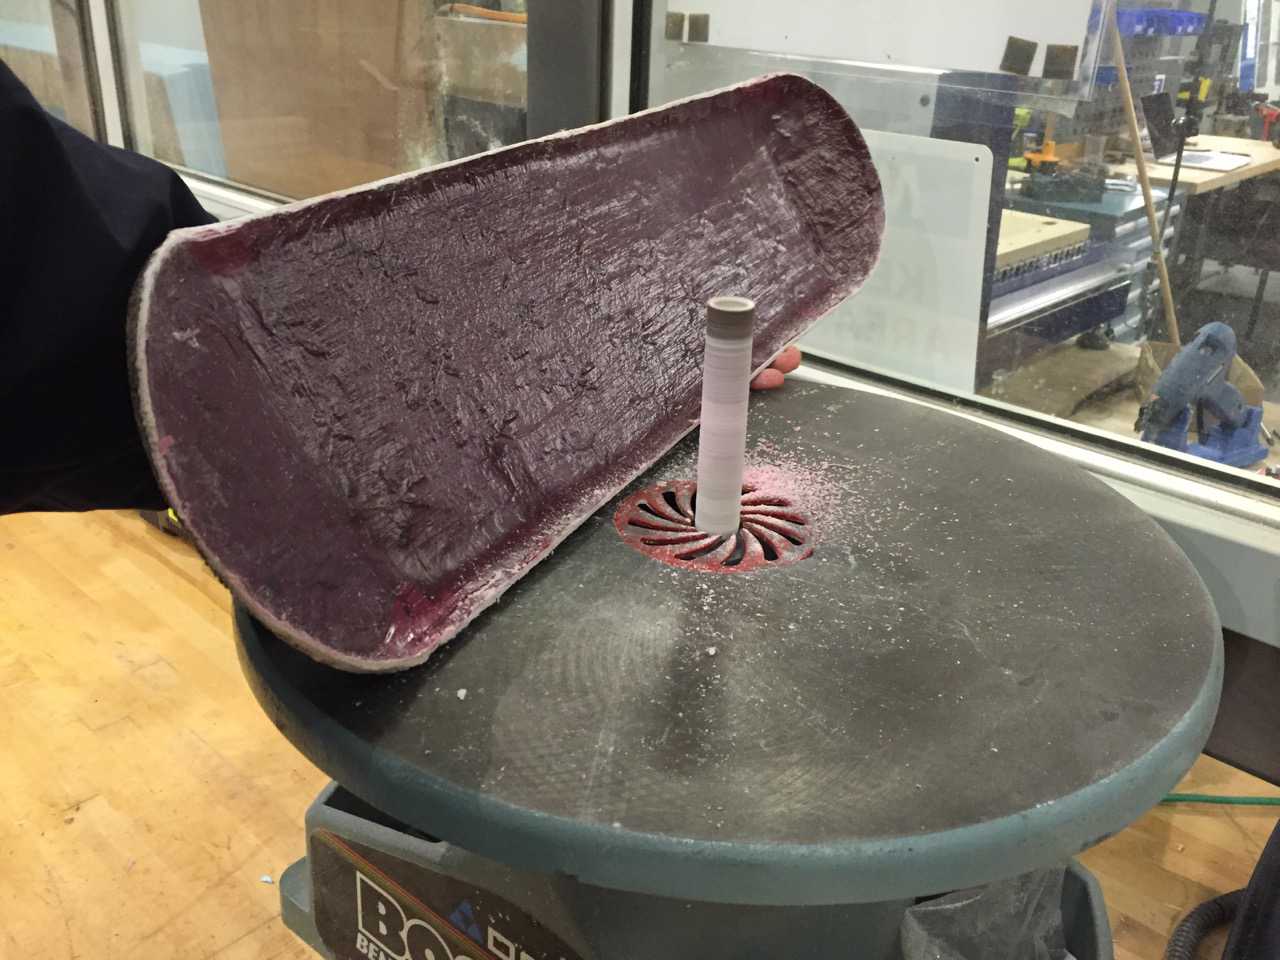
Once the piece had cured over night, it was still quite malleable, which was a good time to use a carpenter’s knife to cut off any excess material. At this point, I simply let the piece sit for another 24 hours before attempting to do any more cleanup. My tool of choice is this post power sander to grind back the edges, get close to the final shape I want and then move to hand sanding before I accidentally sand too far. The final sanding resulted in smooth edges, but left a bit of chalky finish between the fibers. I am thinking it might be nice to add some epoxy around this space at the end as a final shiny coat.
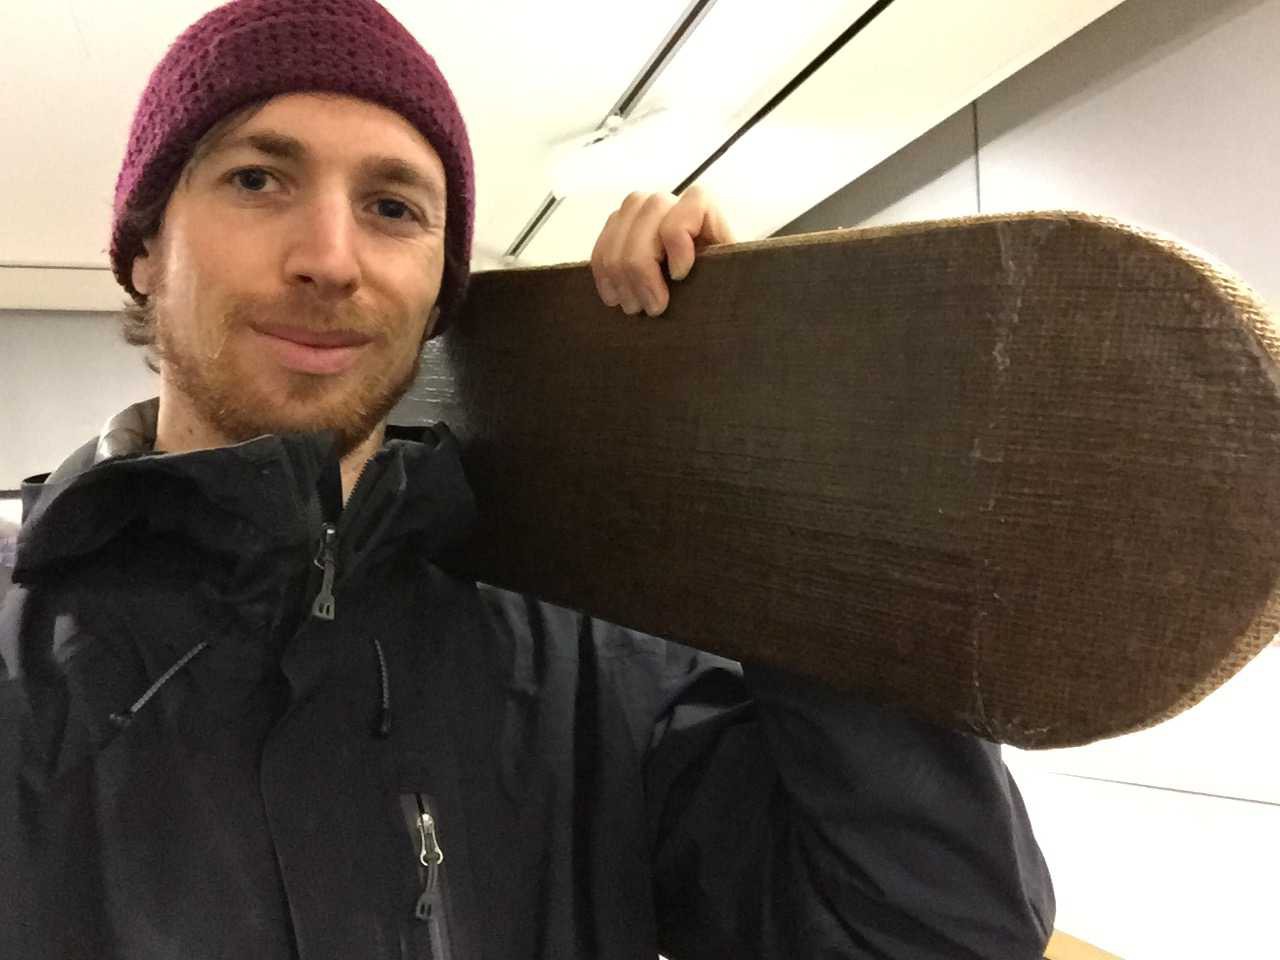
Winter is Coming
Whether we like it or not, it is a fact, winter is coming (unfortunately sooner than the next season of Game of Thrones). Looking forward to taking this board out to slip and slide and hopefully not break any bones. Also considering mounting an old cut down ski to the bottom so I have some actual edges to control the board with.