Project 10
Output Devices
A couple of weeks ago I decided to make an board to display the MIT Media Lab’s new logos, on a 7 x 7 charlieplexed display, but I have made little progress on getting the board to respond and have little interest in soldering another 100 components. That said, I have more relevant tasks at hand, like moving a static object with internal momentum. Yes, that’s right, I plan to actuate my dice with reaction wheels, so this is a great week to experiment with motors.
I ordered some 10mm diameter vibration motors which will be easy to drive directly from the output pins. VCC is definitely enough voltage, and current I believe to run all 3 motors at full capacity.
Reaction Wheels
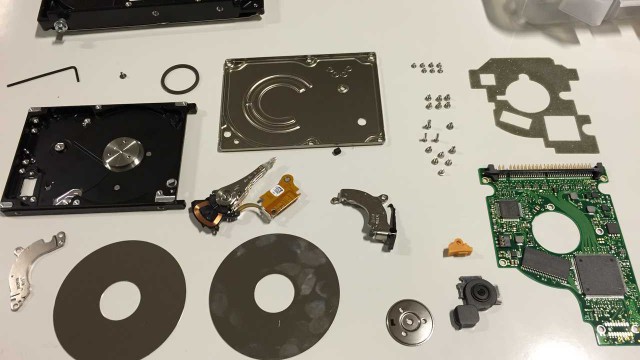
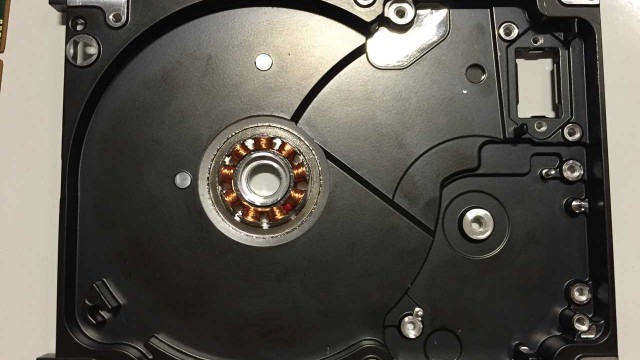
Researching reaction wheels, I found that even a “cheap” reaction wheel for a small box satellite can cost upwards of $35,000. At the same time, I was searching for very stable salvaged motors, and started pulling apart old hard drives. I thought, if I could use 3 hard drive motors to drive a decent reaction wheel, this might have other applications besides my dice. Sadly, I guess others were aware of this before I was, the hard drive motors encasement is the entire enclosure. It is all one continuous piece. As you can see below, if I wanted to use the motor, I would either need to cut the enclosure (not an easy task) or simply leave the motor in the enclosure.
Even though the hard drive won’t be useful for my purposes, there were some great things to learn from the process. For example, how a hard drive motor works. The motors often have 4 wires which represent a single ground and then 3 out of phase AC voltages. To drive this from an Arduino, one can PWM the three pins, but also need a couple other parts to achieve a smooth transition of voltages. Here is a tutorial on driving a hard drive motor with an Arduino (youtube video).
RFduino
The RFduino is an incredibly small package for an Arduino compatible SOC (system on a chip) which includes BLE (Bluetooth Low Energy) communication. Because of its small size, (15mm x 15mm), it is perfect for fitting inside of a 16mm x 16mm die. To program the board, generally one would break out the pins on the final board, but I won’t have room for that, so I am building a programming jig. The jig allows me to align the RFduino to make contact with the pins for programming, then the chip can be removed and used in its final configuration.
http://www.rfduino.com/product/rfd22301-rfduino-ble-smt/
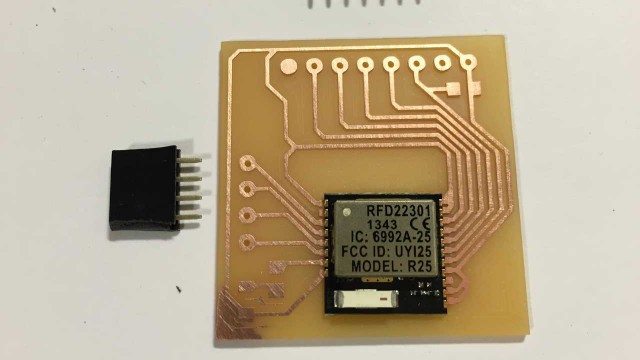
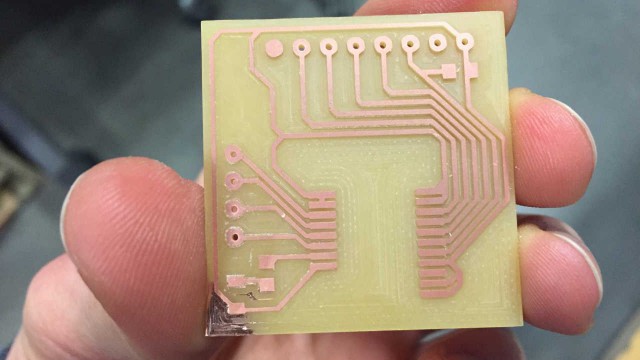
And this is when I realize that the components for the female headers were poorly measured. Headers pitch doesn’t fit.
Eagle
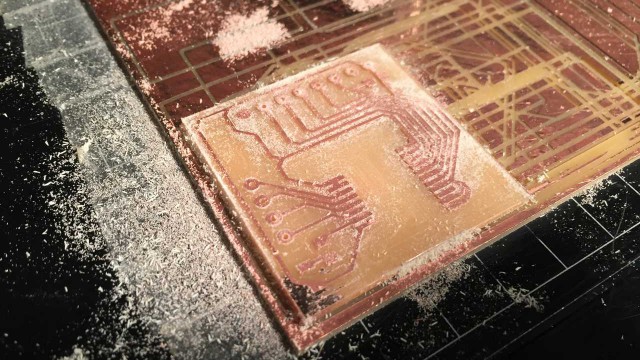
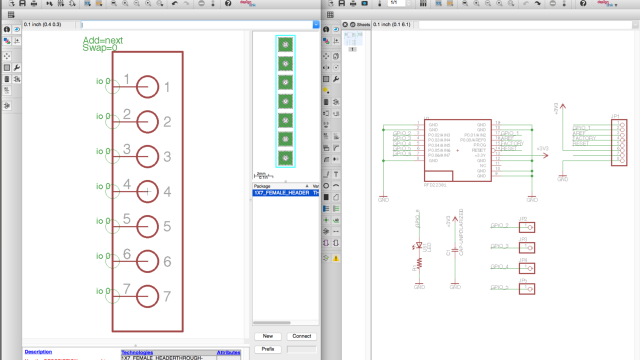
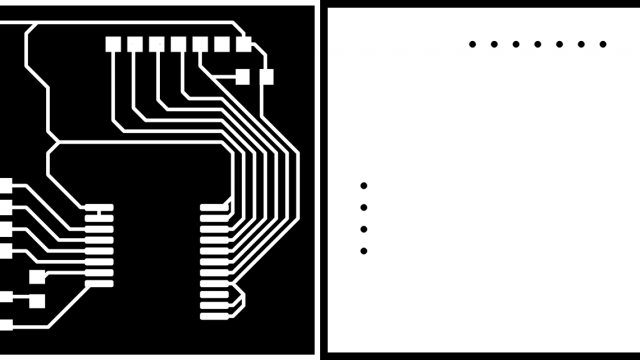
After milling a board with a bad landing pad for a component, it was clear that I needed to learn to make my own components. There is a great tutorial by SparkFun.
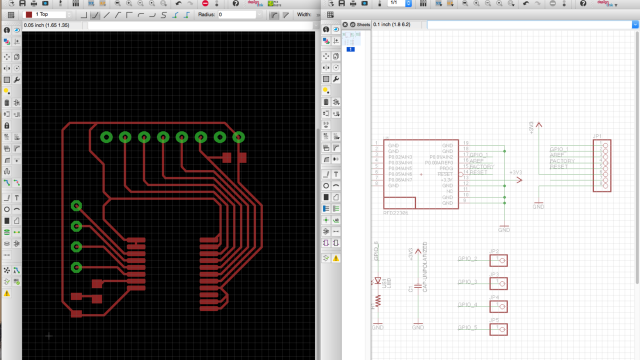
This is before I make my own component, I tried to work quickly and use an existing 1×8 pin header. Ultimately it was a waste of time not to make my own component.
