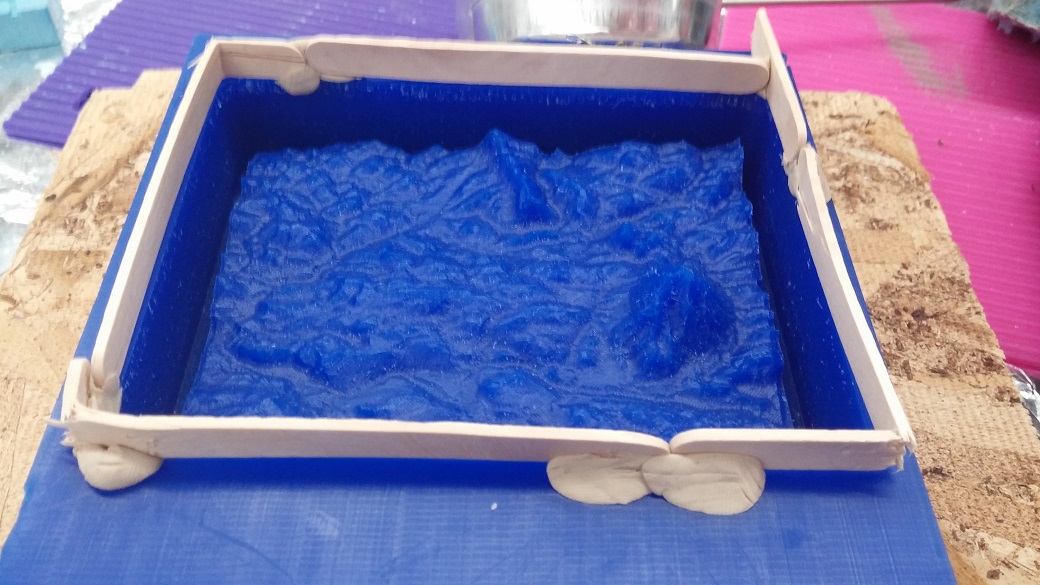
Right off the bat I realized it was a good thing I set the top of the model to be 1mm deep in the toolpath. Because this is a 1-piece open top mold, if the depth was 0 then the top of Ascutney would have been right at the top of the Oomoo surface, and would have poked through. I felt that even 1mm would be too thin for the negative mold, and that the model could spring a leak after a while, so I used clay and popsicle sticks to build a miniature dam which would allow the Oomoo to be poured deeper.
| «Previous Project | Back to Index | Next Project» |
3. Casting
|
||
| Using popsicle sticks and clay to extend the depth of the mold, to give the Oomoo negative a thicker base. | ||
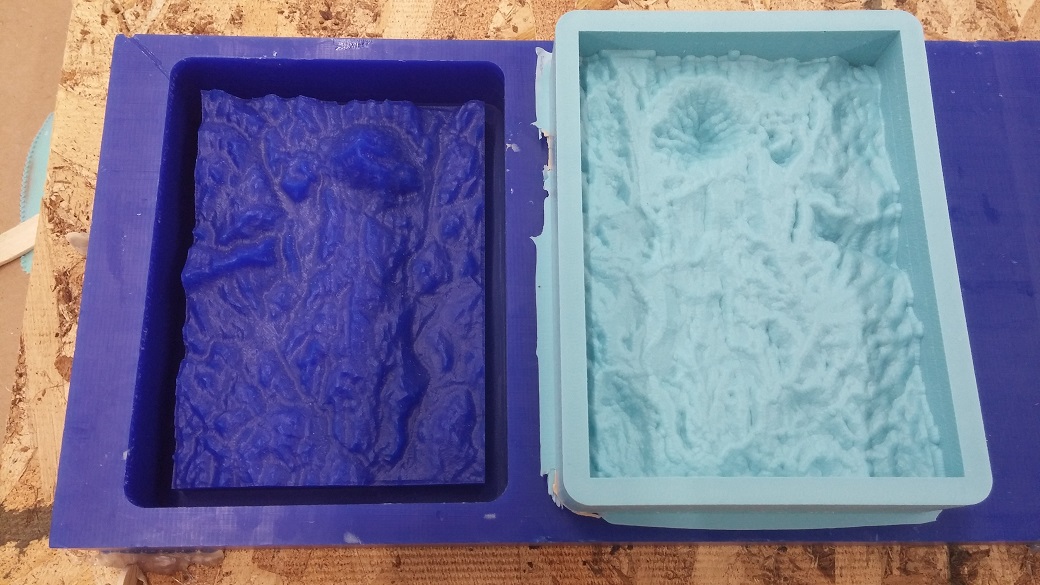
I made a rough guestimate for the amount of Oomoo I would need by calculating the volume of the outer troughed box and then subtracting the dimensions of the interior terrain (presumed to be a rectagle for simplicity). I ended up needing about 500ml of Oomoo, and to my surprise this ended up being almost perfect. Waste not, want not. The wax cast was still mounted on the OSB sacrificial board, and so I smacked the whole assembly on the table repreatedly trying to get any bubbles out. After my arms got tired, I left, and returned the next morning and extracted my Oomoo cast.
|
||
| Oomoo (negative) mold. | ||
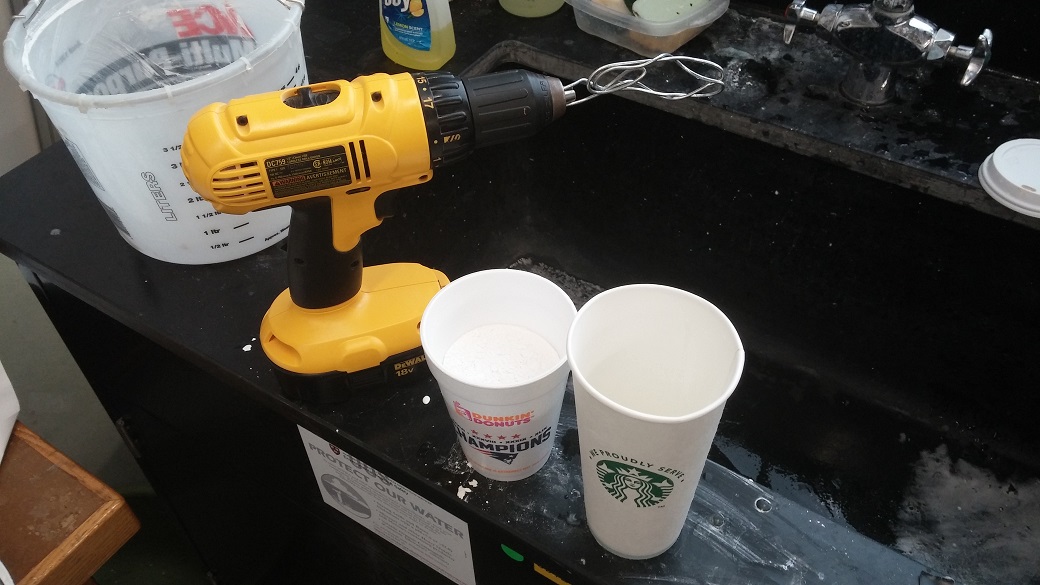
Now I was finally ready to cast my hydrostone model. I could not find mixing cups in the lab, and the Science Center cafe wanted to charge me $0.45 per cup I took, so I ended up gettting scrappy and "rescued" a few Starbucks cups from recyling bins. Waste not, want not. The directions for the hydrostone advised mixing it with an electric mixer, but a mixing head for the drill I made one out of a coat hanger I found in the scrap pile and twisted it up into a rough auger... do I need to say it again?
|
||
| Getting scrappy: Coat hanger mixing auger in the drill, and recycled Starbucks cups for mixing. | ||
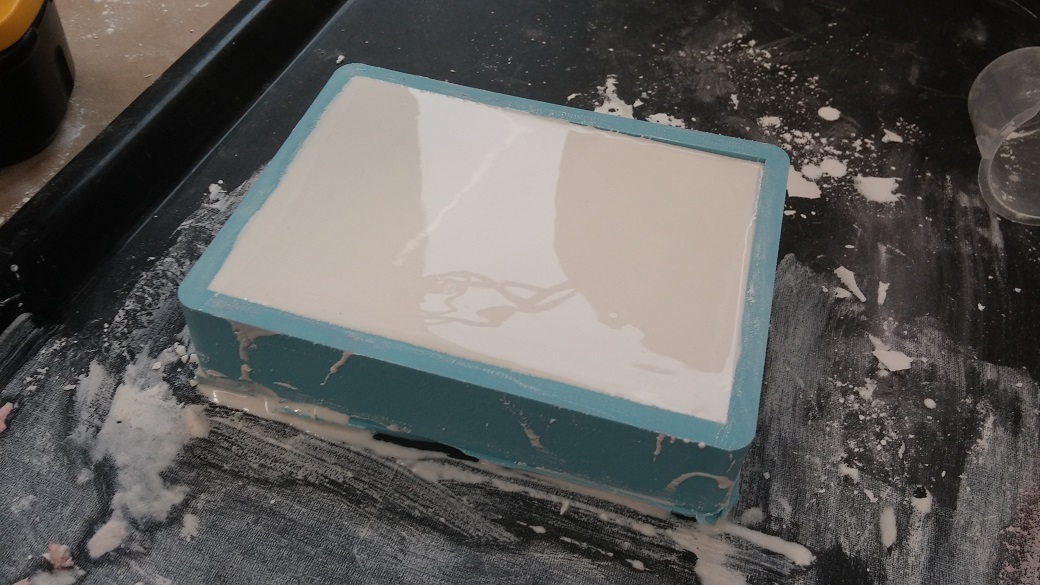
After following the directions for the recommended mixing ratio, the resulting mixture was far too viscous. I added water until it got down to a yoghurt-like consistency (though a melted milkshake might be more accurate), and poured. I smacked it around a bit more trying to get any bubbles out, and used a popsicle stick to squeegee off the top so there would be a flat base. Because this mold is open-faced, the base will be the exposed surface, which will be likely to curve when over-filled due to surface-tension. After letting it dry for about 3.5 hours, I extrated my final cast.
|
||
| Oomoo mold filled with liquid hydrostone. | ||

|
||
| All three processes - Wax mold, Oomoo negative, and final hydrostone cast. | ||
|
||
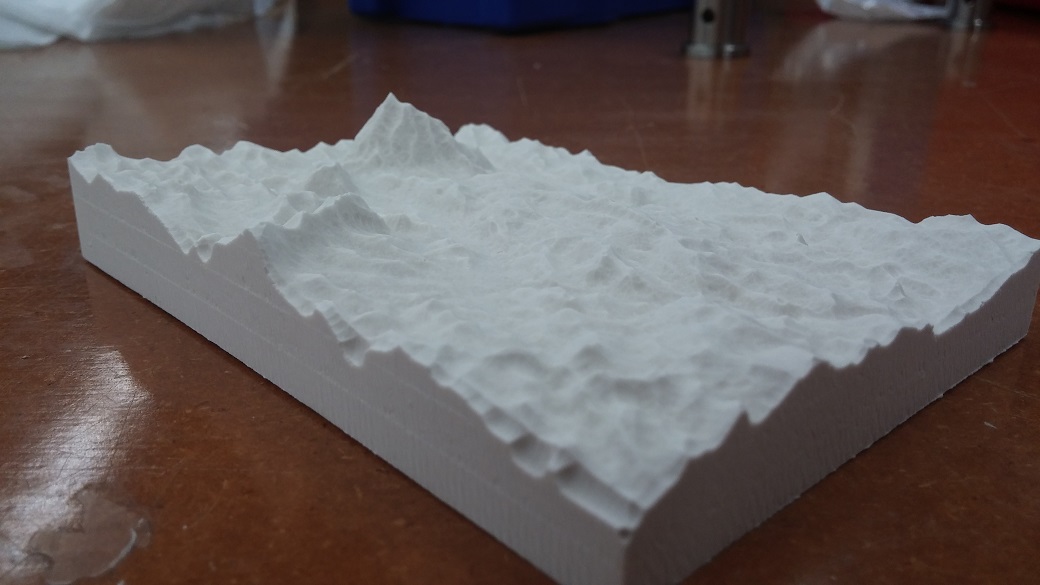
| A little slice of home. | ||
And there you have it! The final result was a bit bubbly. I noticed each bubble was on the peak of a ridge or mountain, and so I concluded the bubbled must get trapped in those convex cavities and have more trouble escaping. Next time, I think I should either use an even more watery mixture of hydrostone, or perhaps apply a coating to the mold to reduce sticking (though I am worried the would affect the fidelity of the cast). In either case, I was quite pleased with the final product. It felt a little bit like home.