Week 2 - PCB Production
How to Make (Almost) Anything - Manolis Zampetakis
Plan
The assignment for this week was to create a programmer for avr microcontrollers. From the option that we were given in the class for the design I choosed the first and most common one because it was the one that I could understand better. The design for this can be viewed in the next figure.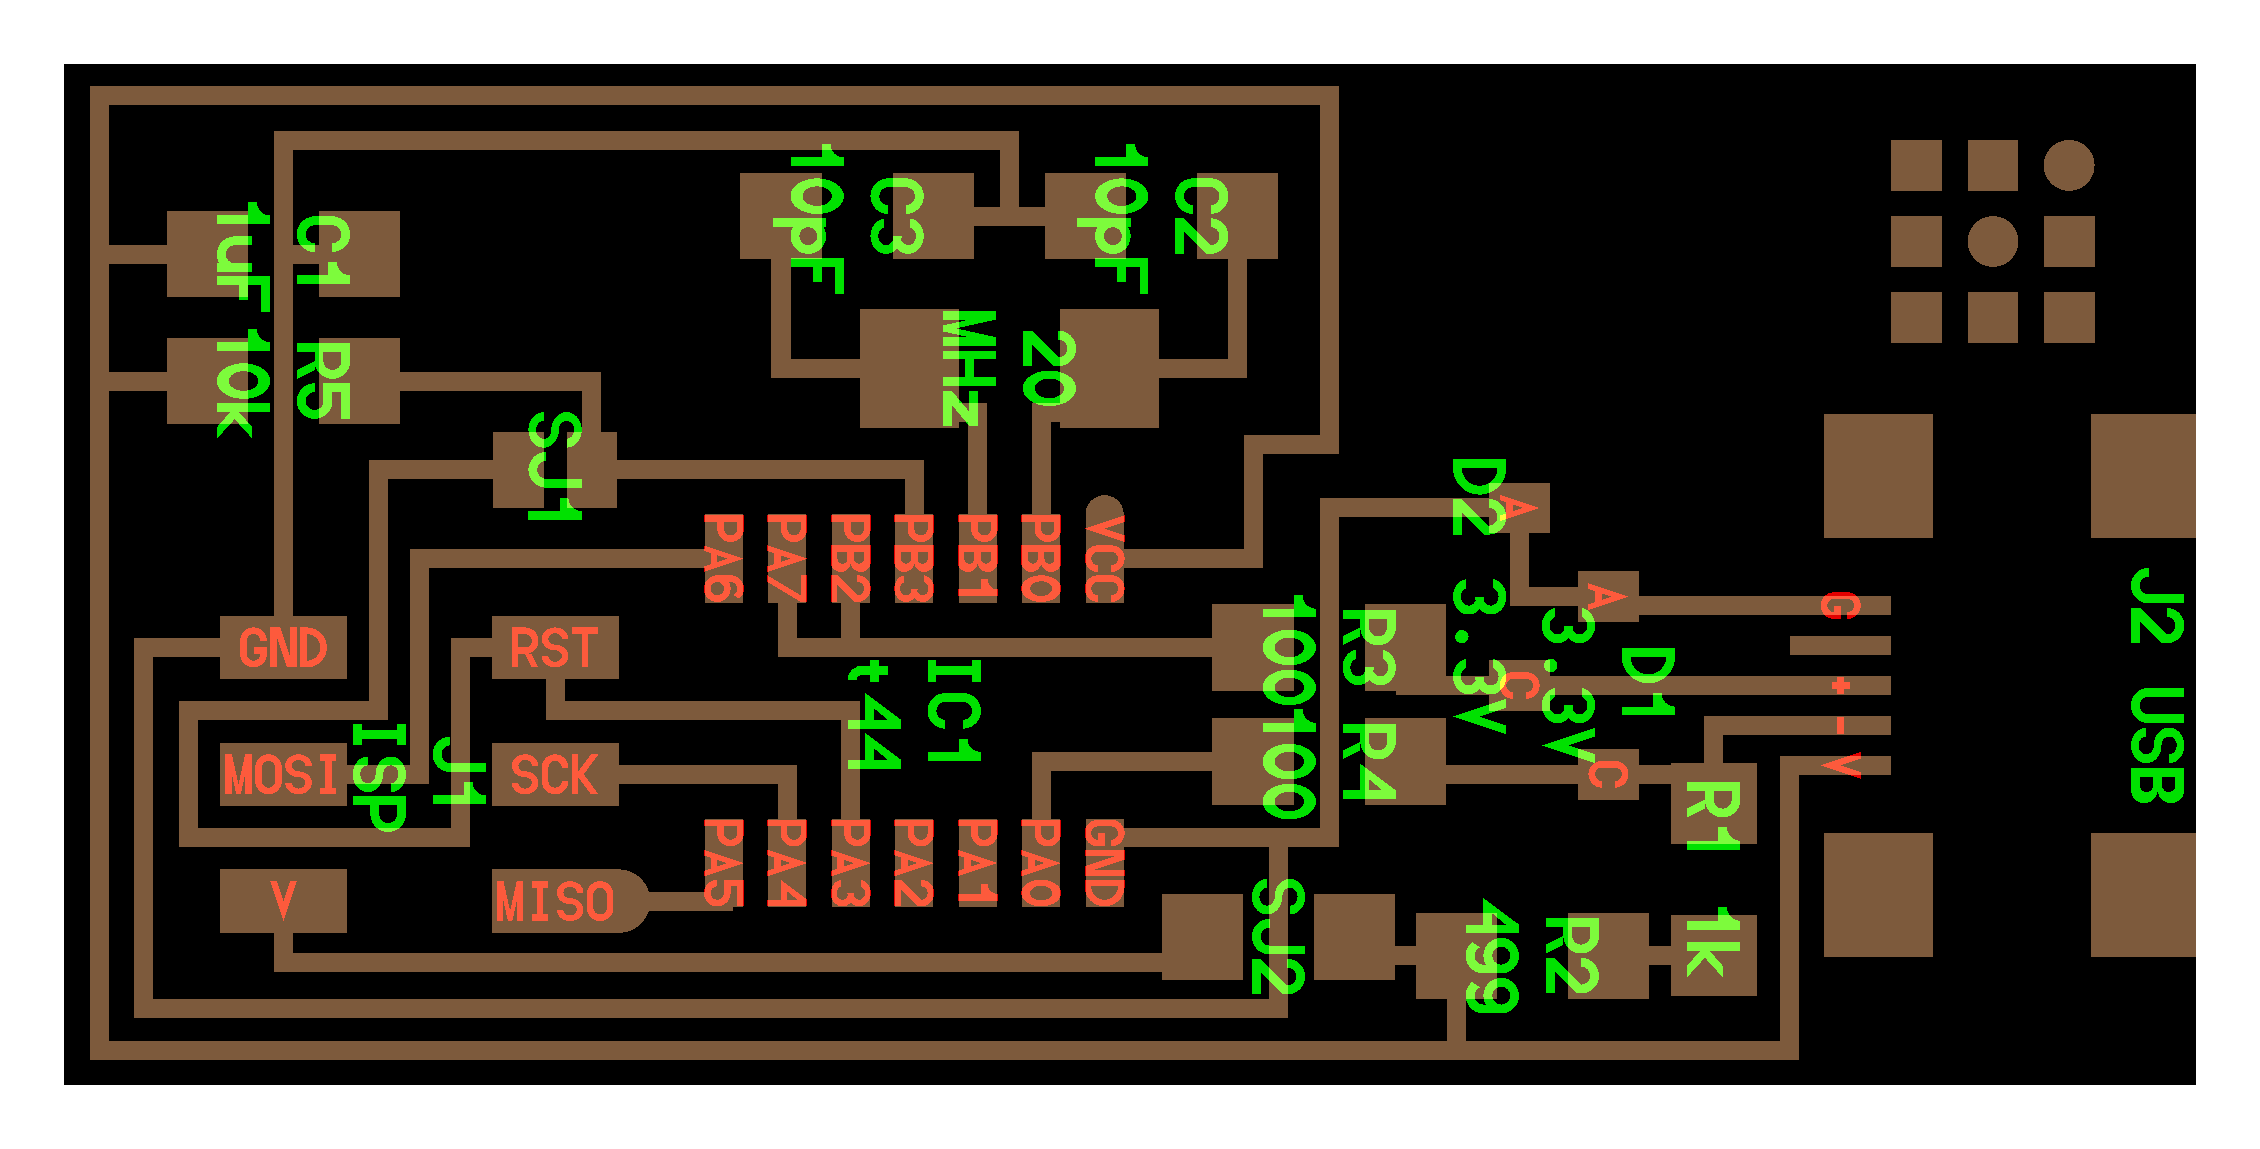
Milling Proccess
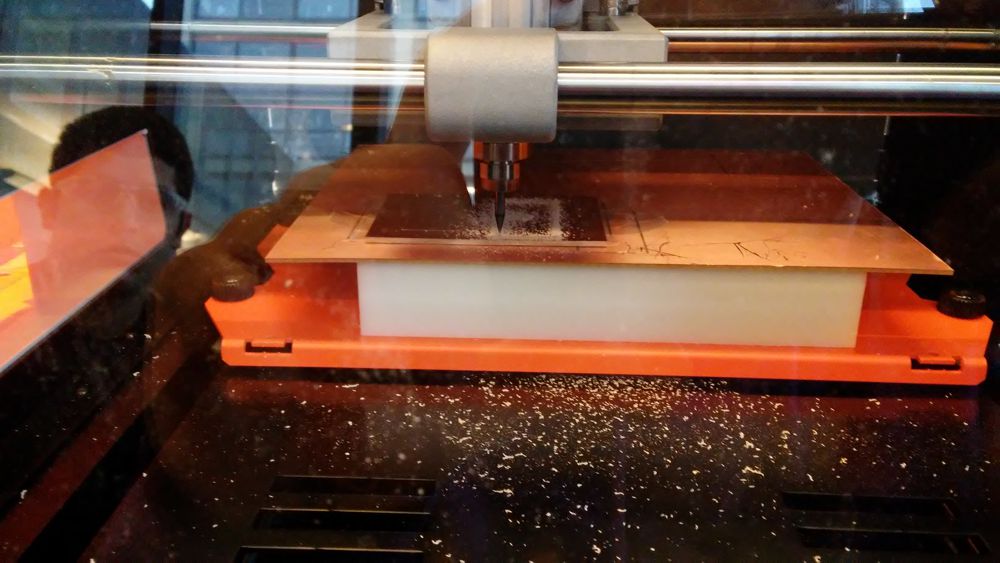
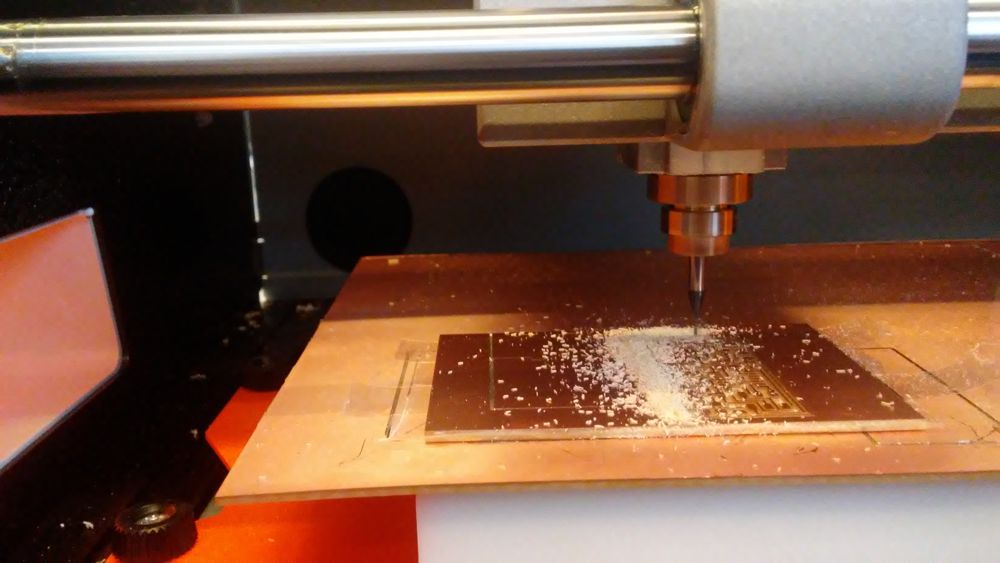
The milling process was quite straightforward. I uploaded the design in the fab modules and imported the configuration for the traces and the interior. For the traces I used the 1/64'' end mill while for the interior the 1/32'' to cut completely through the board.We did a lot of mistakes during this proccess though. The first one was that when putting in the 1/64'' end will we forgot to push it very close to the surface of the board and as a result the bronze was not removed in all the depth.
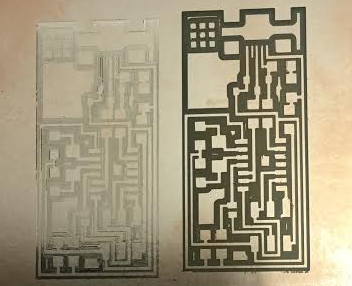
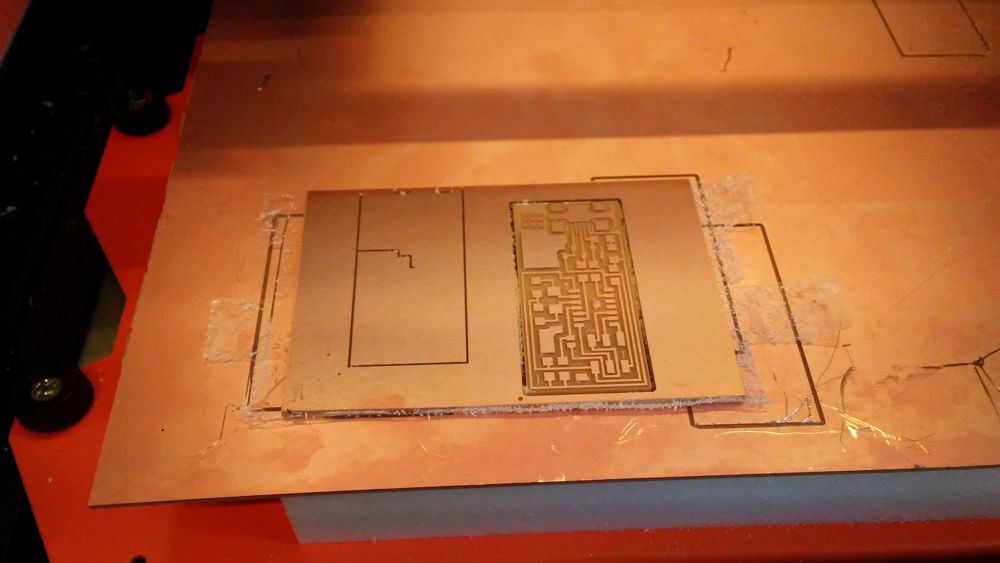
The second mistake that we did was that the second time we cutted the interior of the board the board had been moved a bit and the traces at the outside part of the board were destroyed.
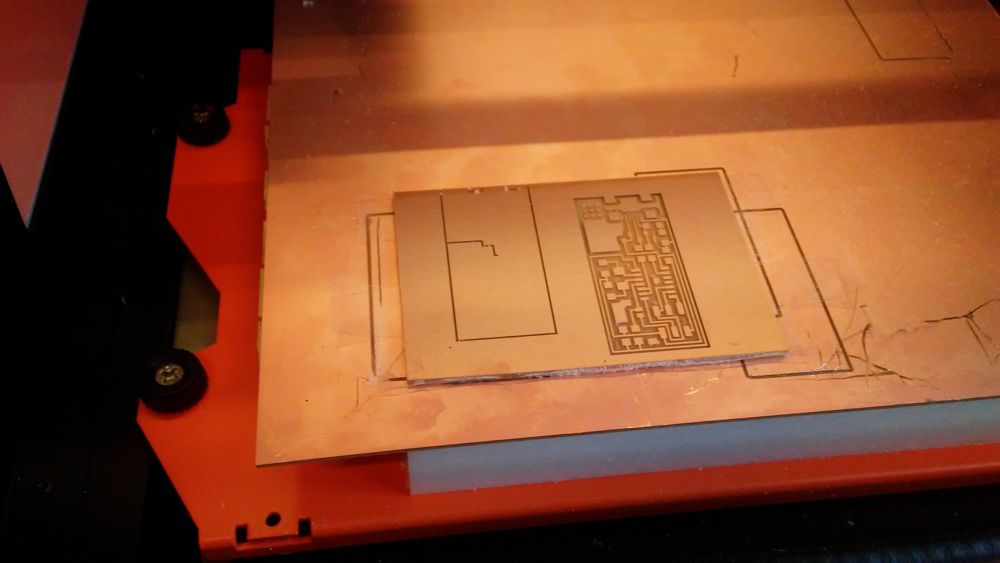
The third time everythign went well and the board was done.
 |
 |
 |
 |
Soldering
After we were done cutting the board, it was time to start soldering the components. At the first attempt I started soldering the components from the right to the left. This was not a good idea since when we were about to solder the attiny44a component we did a mistake and put it in the wrong direction. When we realized the mistake it was to late and the proccessor is very difficult to be removed. The result was to break the traces in the attempt to remove the proccessor and we had to cut the board again.
|
|
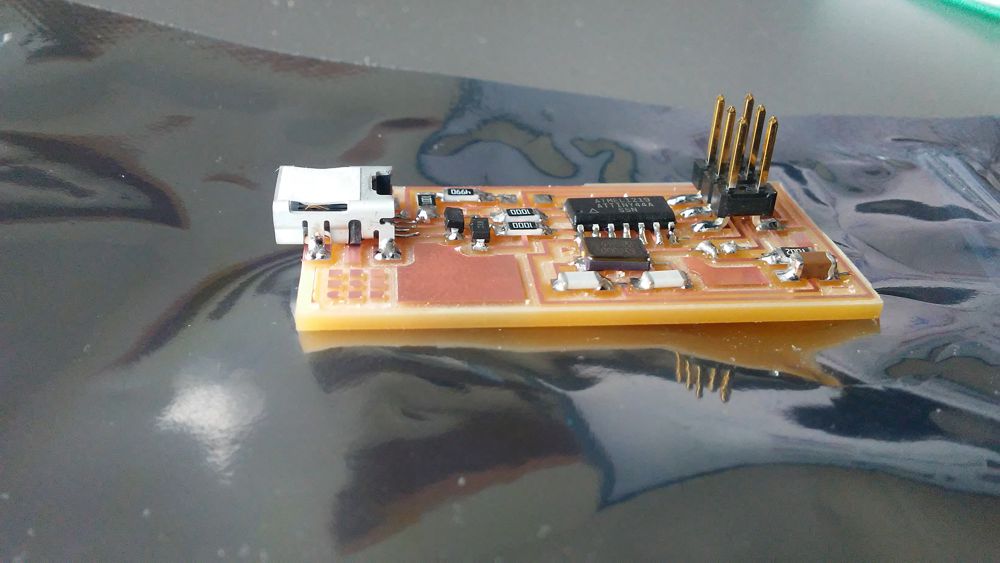
The second time we began by soldering the attiny44a first and then the mini USB port since those are the most difficult pieces to solder correctly.
Programming
After plugging in the board to the usb to power it up, I followed the "make hex, sudo make fuse, sudo make program" approach and the board was programed properly. Luckily, I didn't run into any other issues while programming. A resource I found very useful for all the programming steps and debugging the board is the tutorial on assembling and programming the fabISP which explains the whole process.
Lessons Learned
i. Be patient: a lot of the mistakes distribed above we done because I was in a hurry to finish the assignment. Its better to spend time to double check stuff than trying to do everything from the beggining.
ii. Always check the orientation of the components.
iii. It is a good idea to start with those in case something goes wrong and you need a new board.