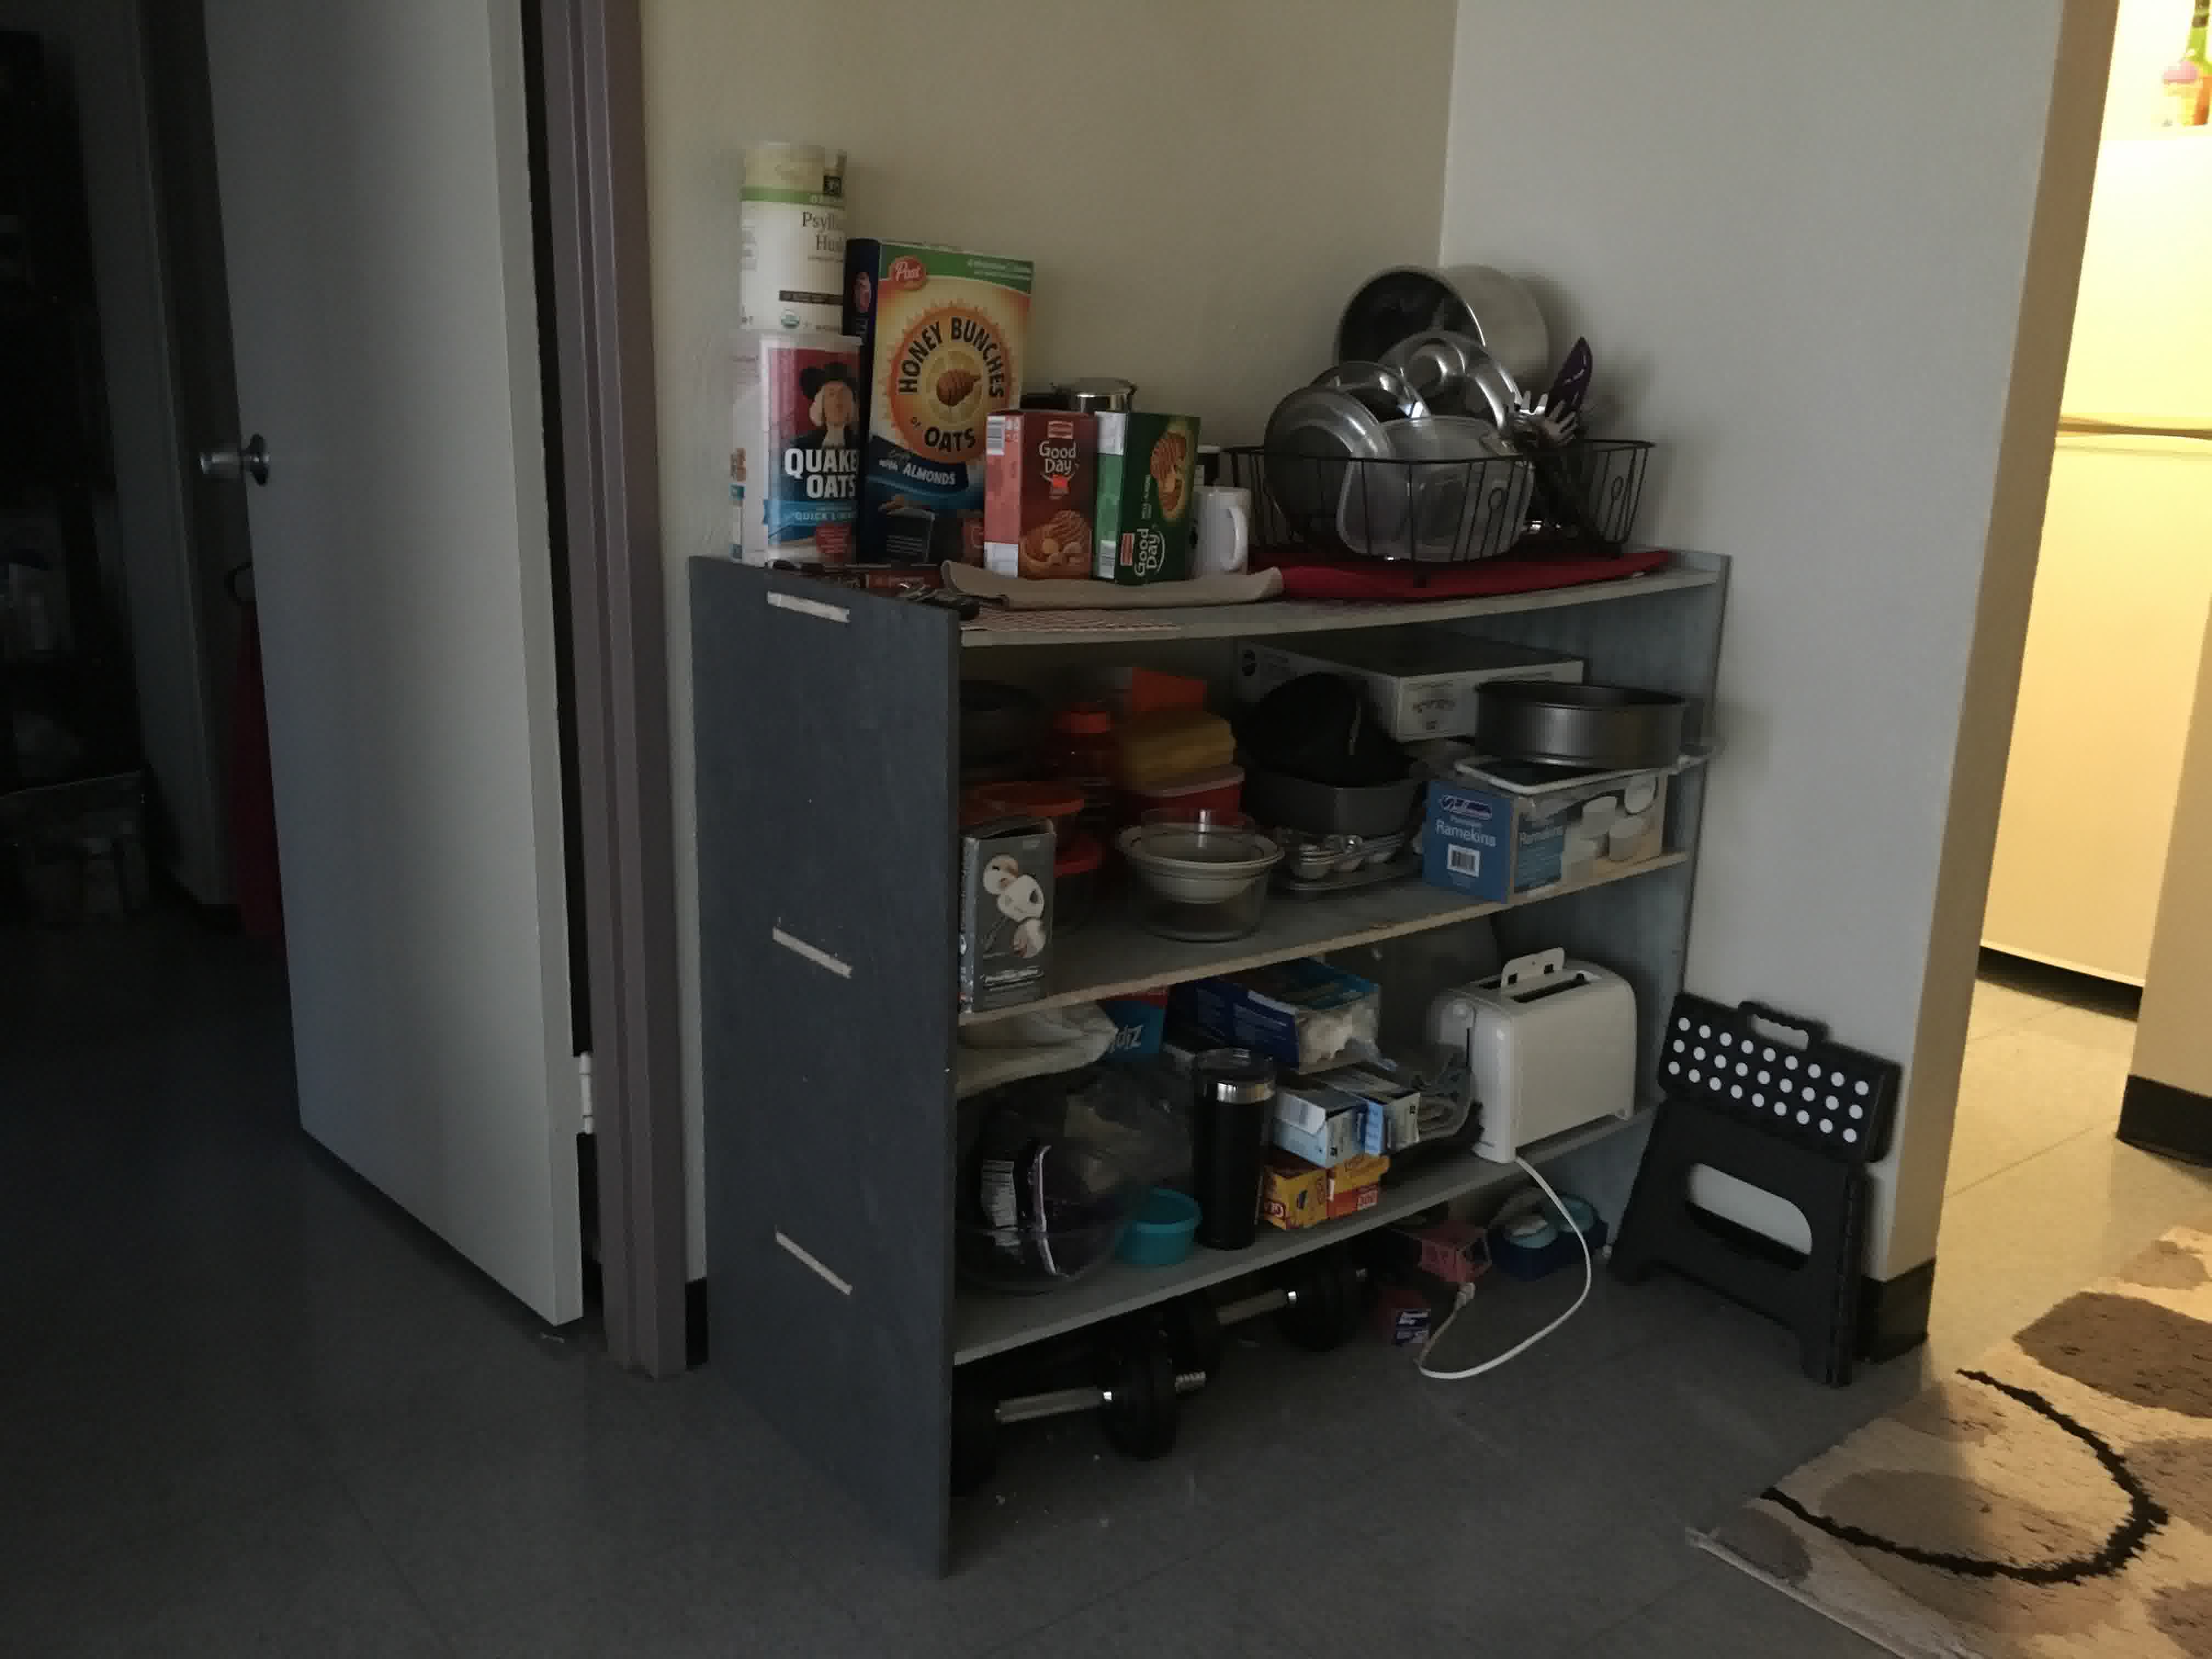
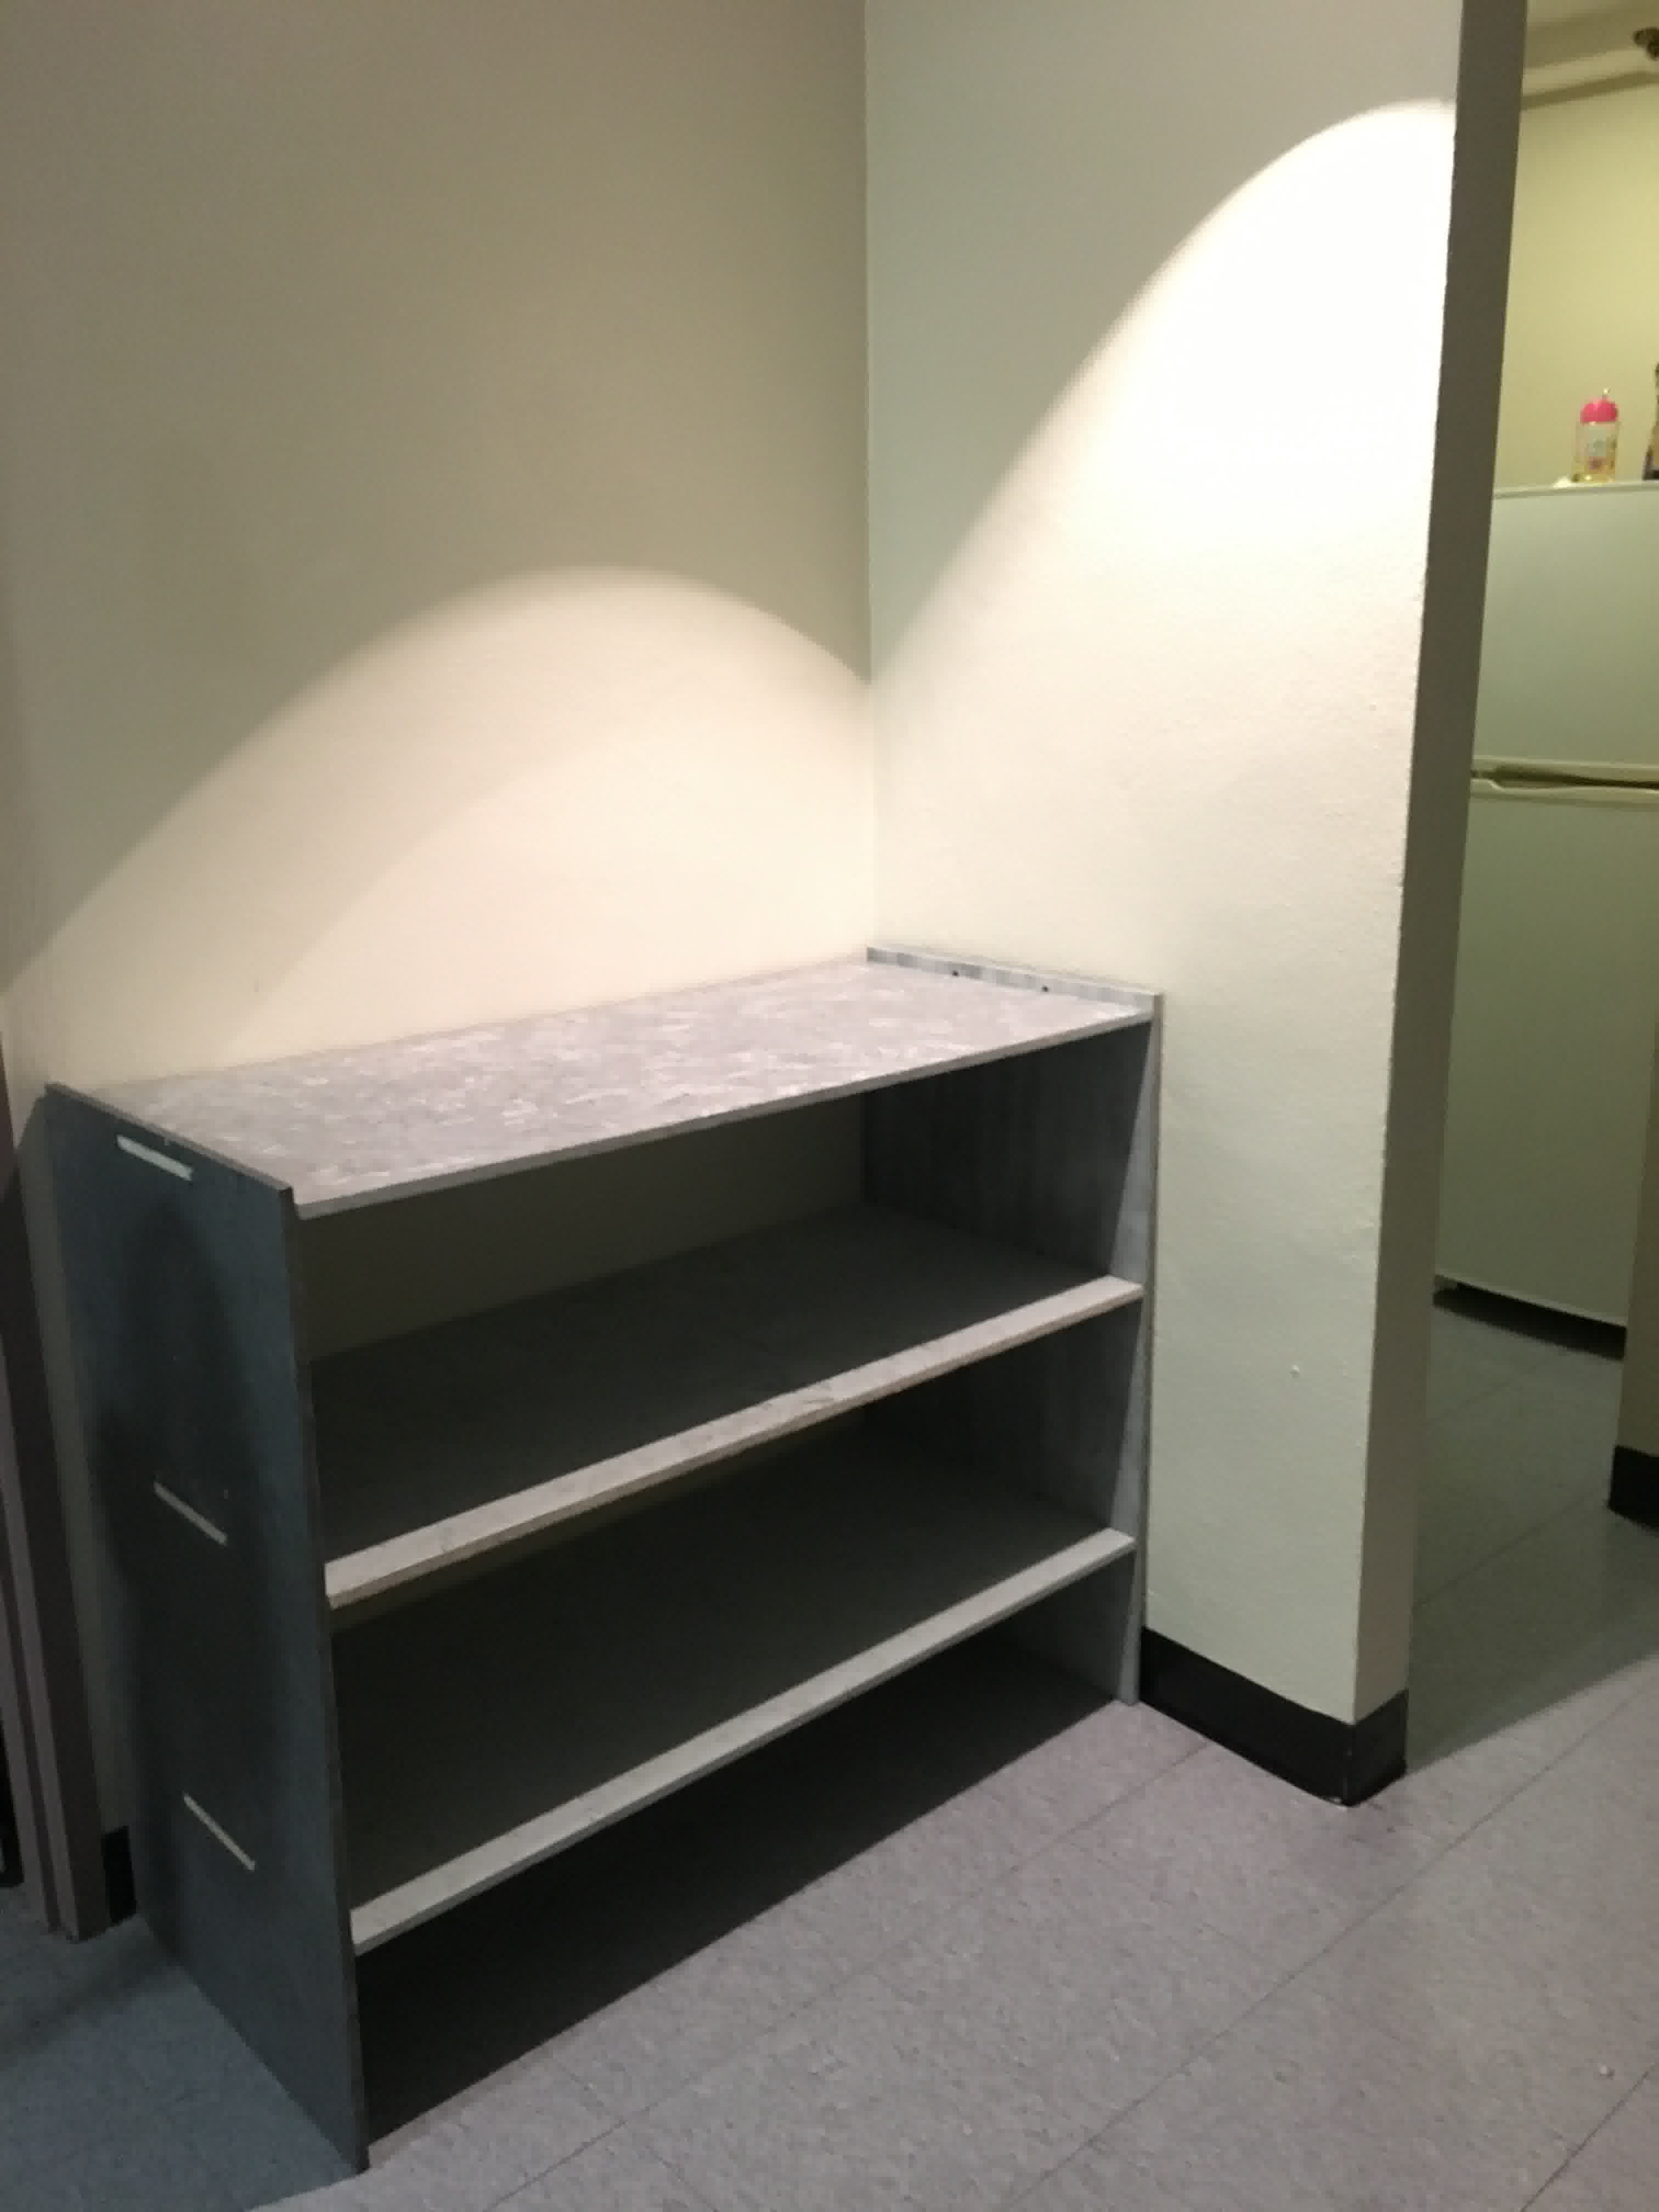
This week's assignment was very interesting. Partly because I moved into my apartment in Westgate this Fall, and I have been thinking about buying a table with shelves as an extension for my kitchen. The space is quite large and I was hoping to find something that fits well in that space. I did some digging on the internet but didn't quite find the right size for my space. So, when we were assigned to make something big this week, I decided to make a big table with 3 shelves !! I made sure to use the whole sheet of wood. The dimensions of the table would be 20" x 42" x 36".
The material we were given this week was the OSB (Oriented Strand Board) which is not so great for long term use, but for the purpose of making a table for the class, it should work great..

2D Drawing using Rhino
I used Rhino to make my 2D drawings mostly because I was learning a new software, and wanted to get better at it. So far, I have learned OnShape, SolidWorks and Rhino, and have explored around with Antimony. It would be great to try out more softwares in the future assignments.
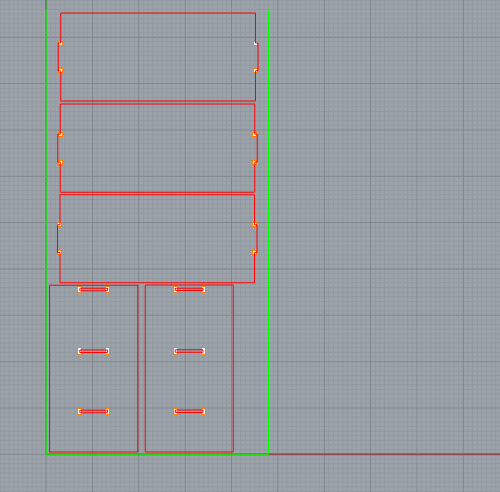
Some things to consider for CNC milling are: Add the contours on a separate layer. The rectangles in a contour will be cut by the CNC with circular edges unless we place drill holes which gives a dogbone sort of structure to it. But works great for press fit applications.
I used the Onsrud CNC machine in the N51 shop. First we merge the Rhino file with Mastercam and then pick the stock dimensions. Next step would be to add tool paths depending on what we are trying to do. Then, we can verify operations where the computer shows a simulation of all the operations. Once we are convinced that the simulation shows what we want, we are ready to cut!
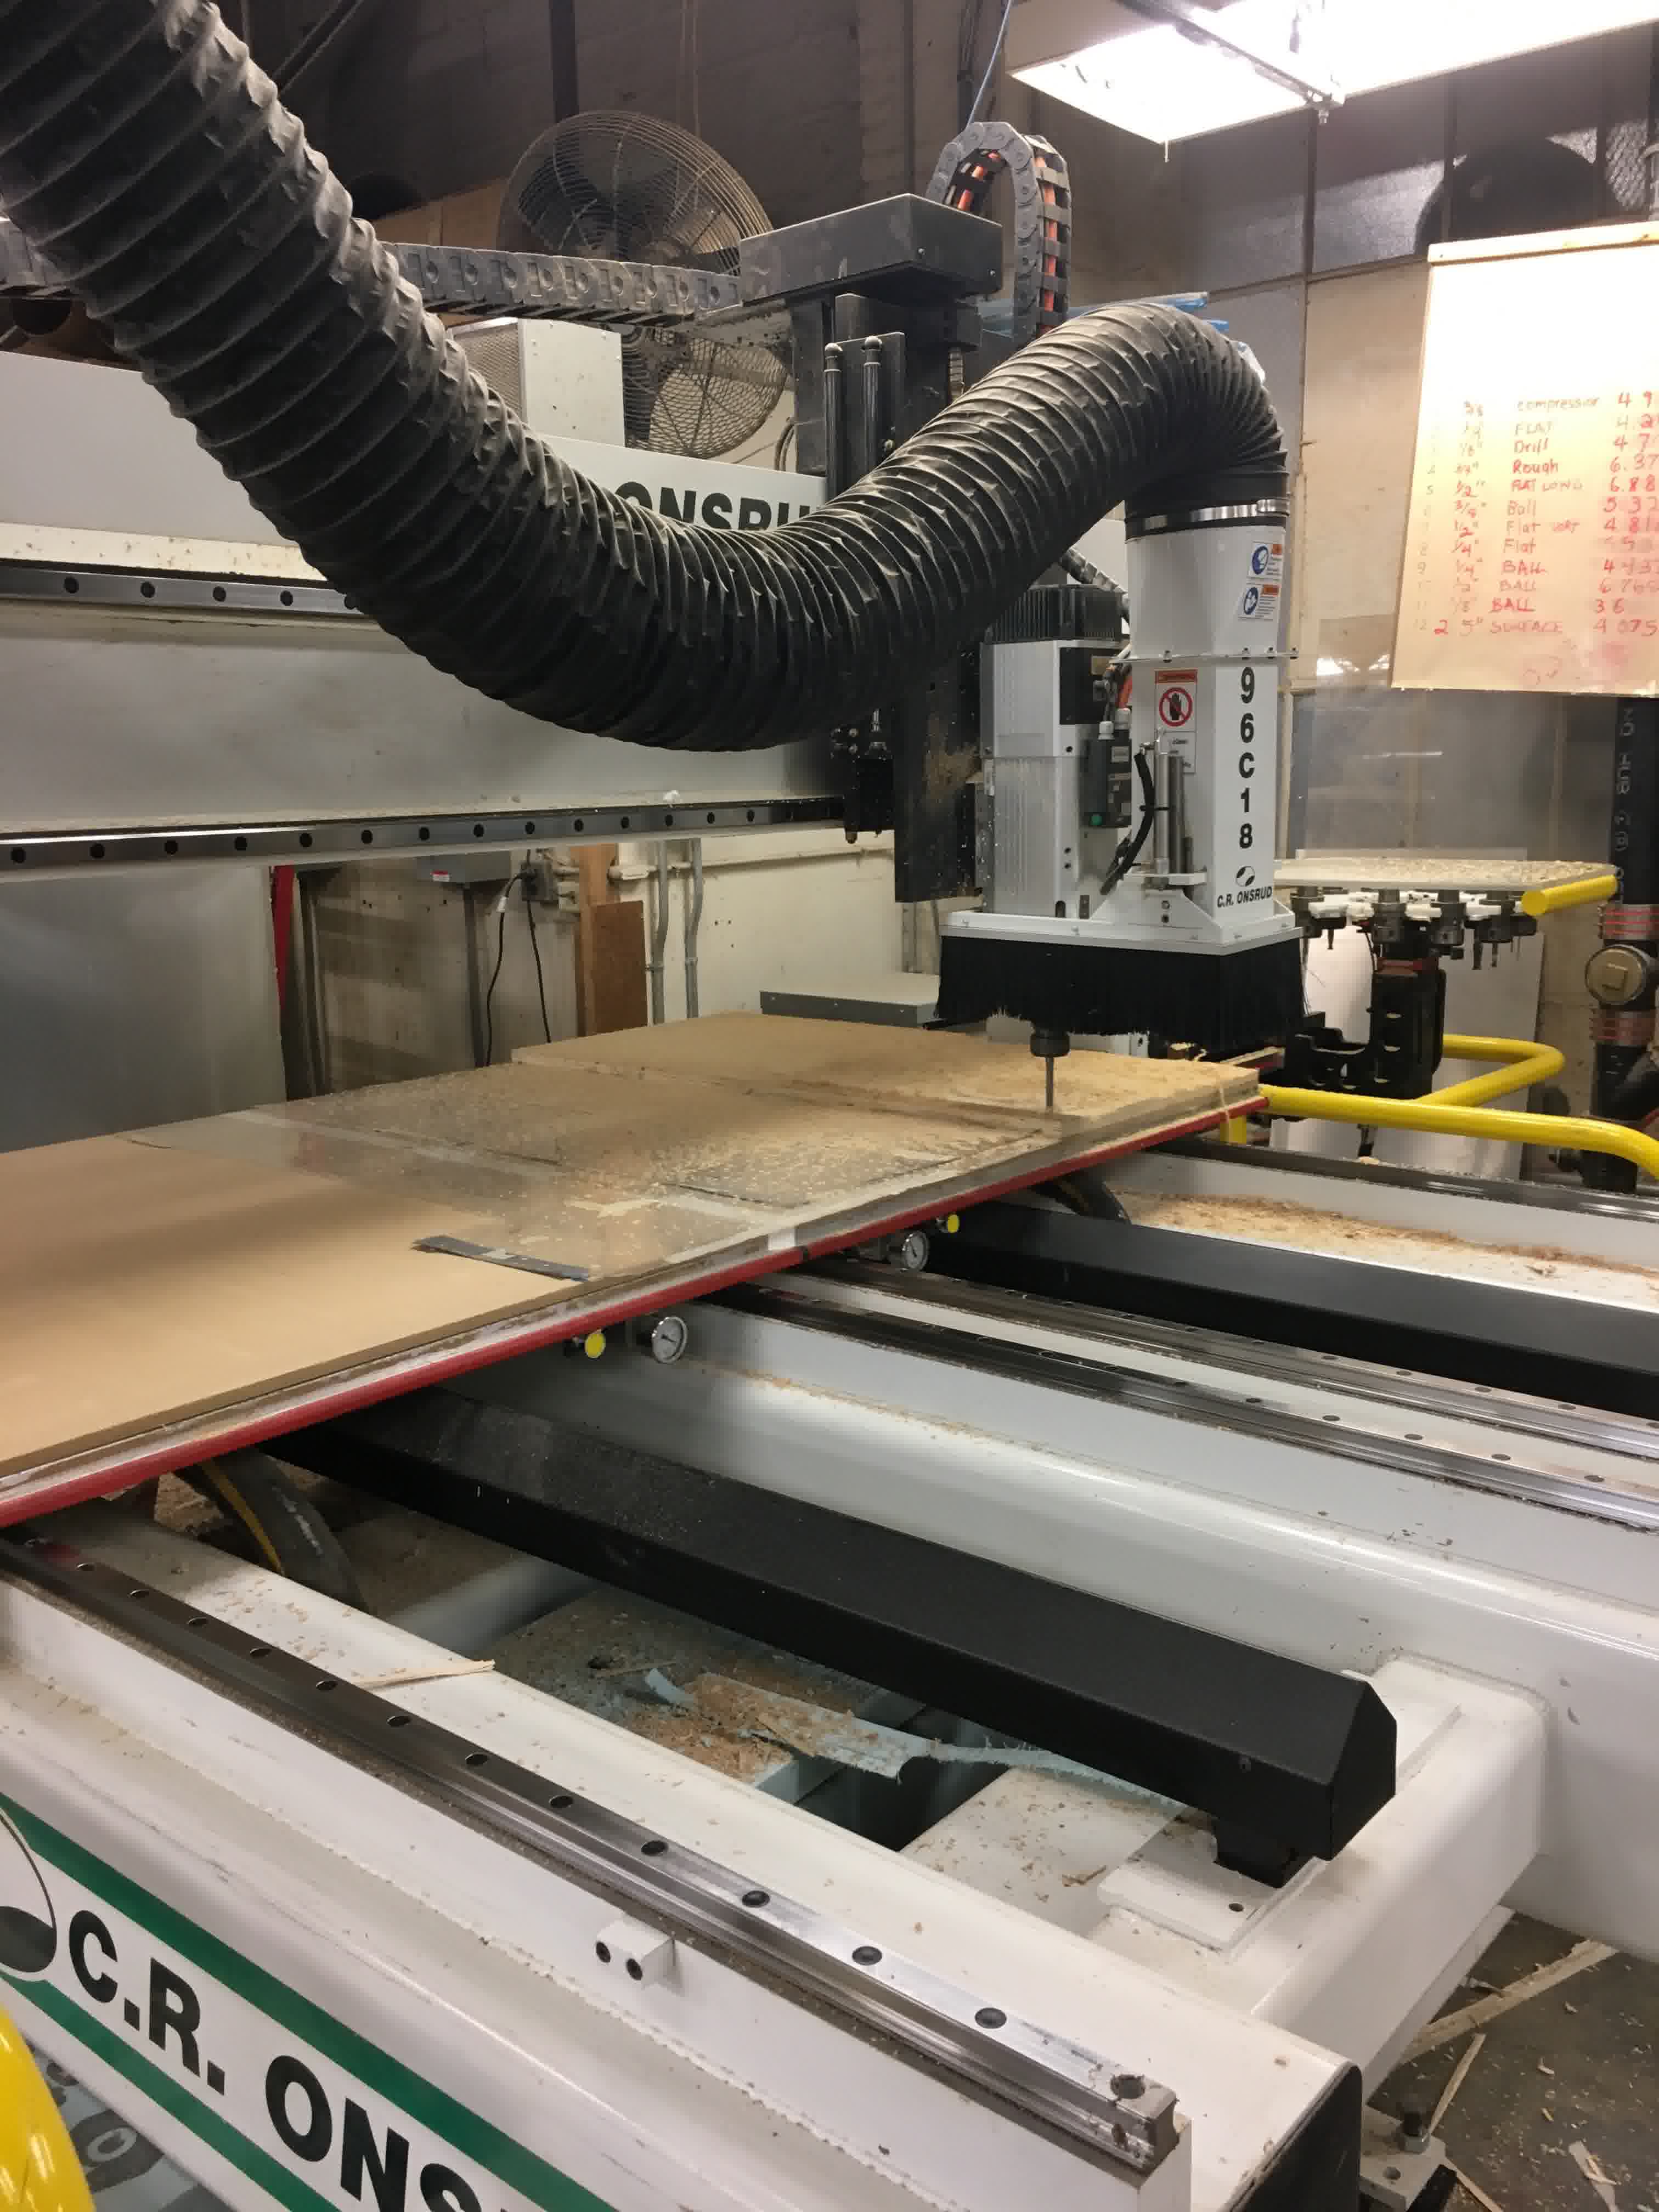
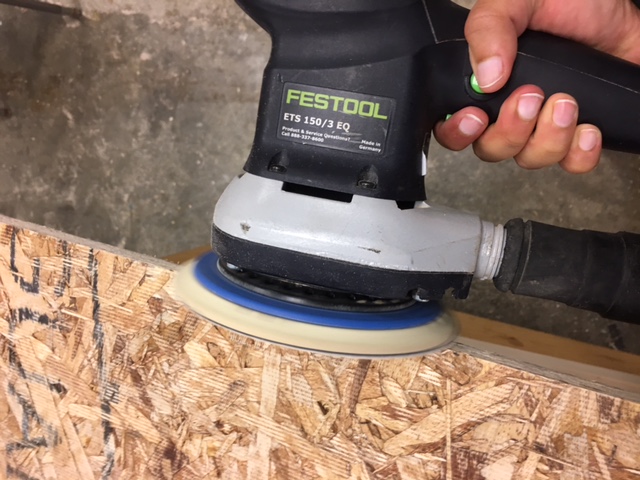
The cutting process itself was pretty quick. About 10-15 minutes. Finishing the surfaces with the electric grinding machine was a pain. It took several hours to grind all the surfaces. I had 5 big sheets. It was quite a workout!
The final product after painting in the fume hood for several hours. The process was so tiring and long, that I forgot to take pictures of the fume hood, and the painting process!

More pictures..
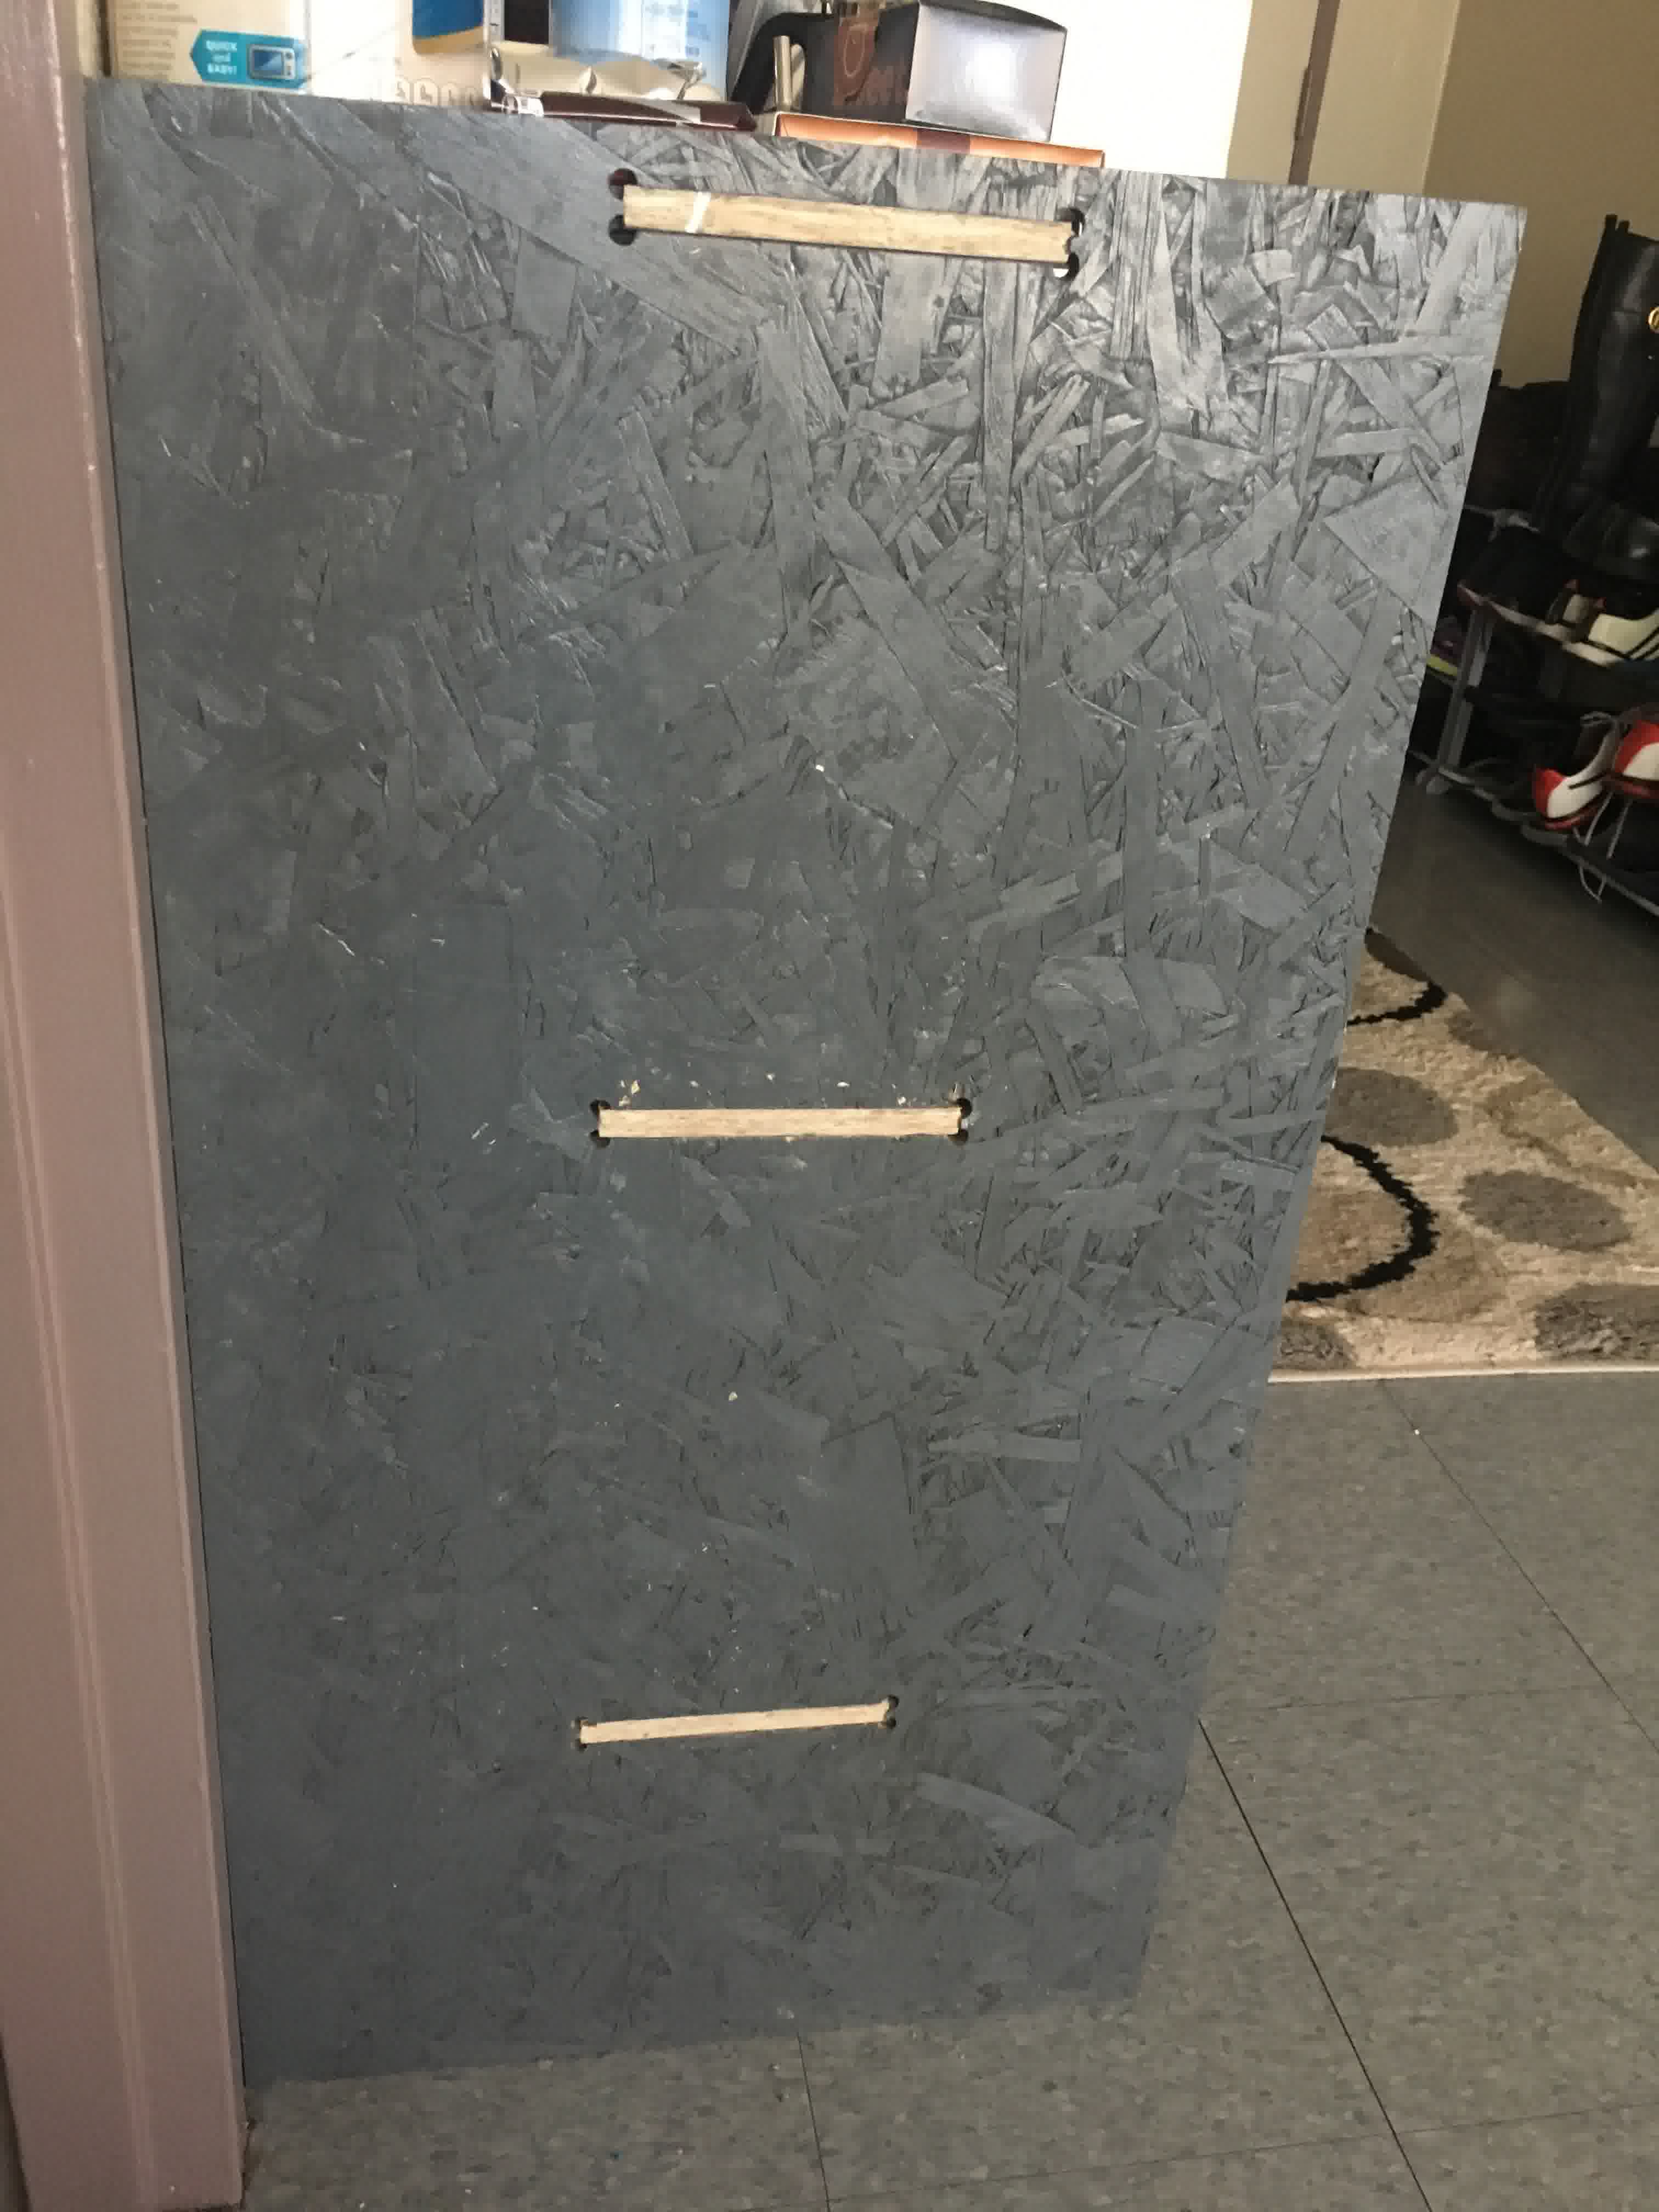
Here we can see the dogbone shape of the pockets that was due to the drill holes. I completely forgot that the sides would be seen. And, didn't paint on the edges. Grrr!
The table serving it's purpose to the best of its ability! :)