week 7: molding & casting
This week, our assignment was to read the safety data sheets for our molding and casting materials, design a 3D mold, machine it, and use it to cast parts.
I used Rhino to make a design for a music note, with the potential of using it in my final project. I did get confused about whether I was designing the positive or negative, and whether it should be mirrored or not. I ended up doing it in a way that worked, although if I want the flat side of the music note to be its back rather than its front, I should mirror my design for the wax. Here was my final design.
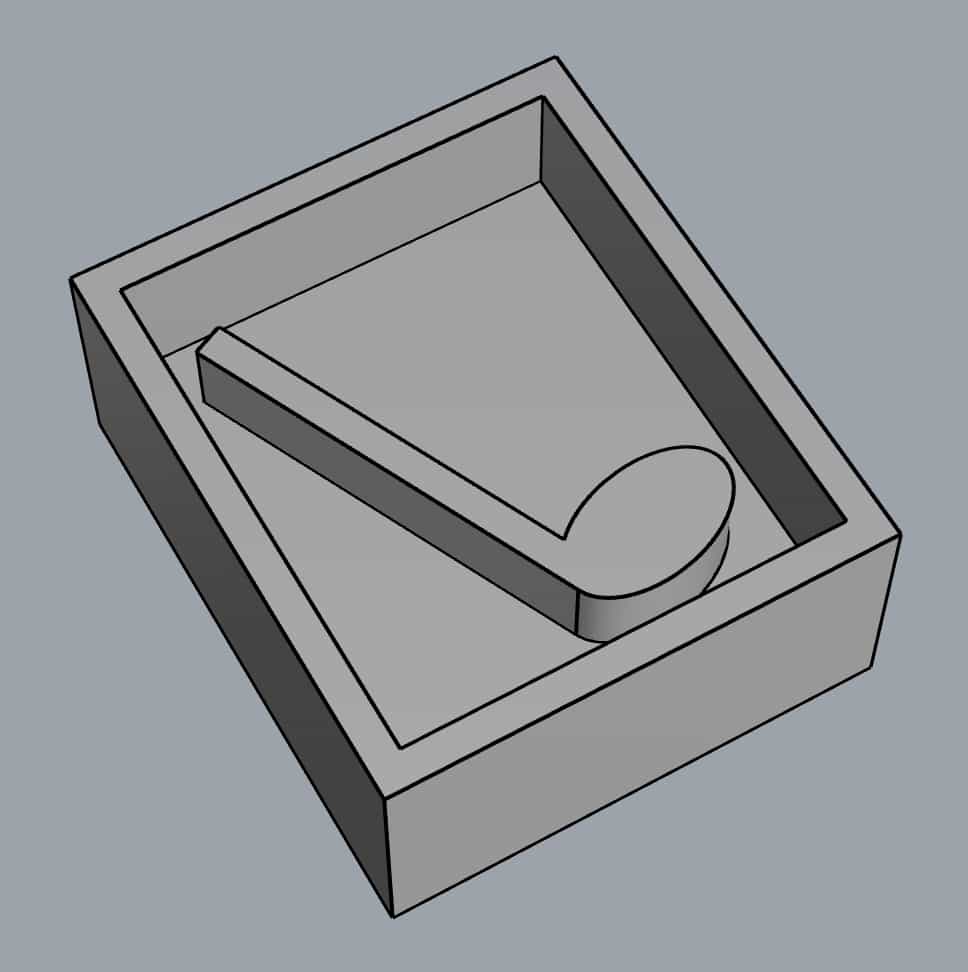
My music note design.
I missed the scheduled shop trainings on 3D machining, but Gavin trained me on 3D machining with the Roland mill over the weekend, so I planned to use that to machine my wax. I imported my stl file and followed the steps for Fabmodules, but it was taking forever to calculate the toolpaths for the rough cuts. I let it go for over 10 minutes, and it had only reached layer -7 of -38. I stopped the calculations and Gavin took a look at my file. He said it looked alright, but did find a configuration which greatly decreased the time Fabmodules took to calculate to a couple minutes instead of a couple hours by flipping the z and lowering the dpi. By this time, someone else was using the Roland mill and it seemed like they'd be on it for a couple hours.
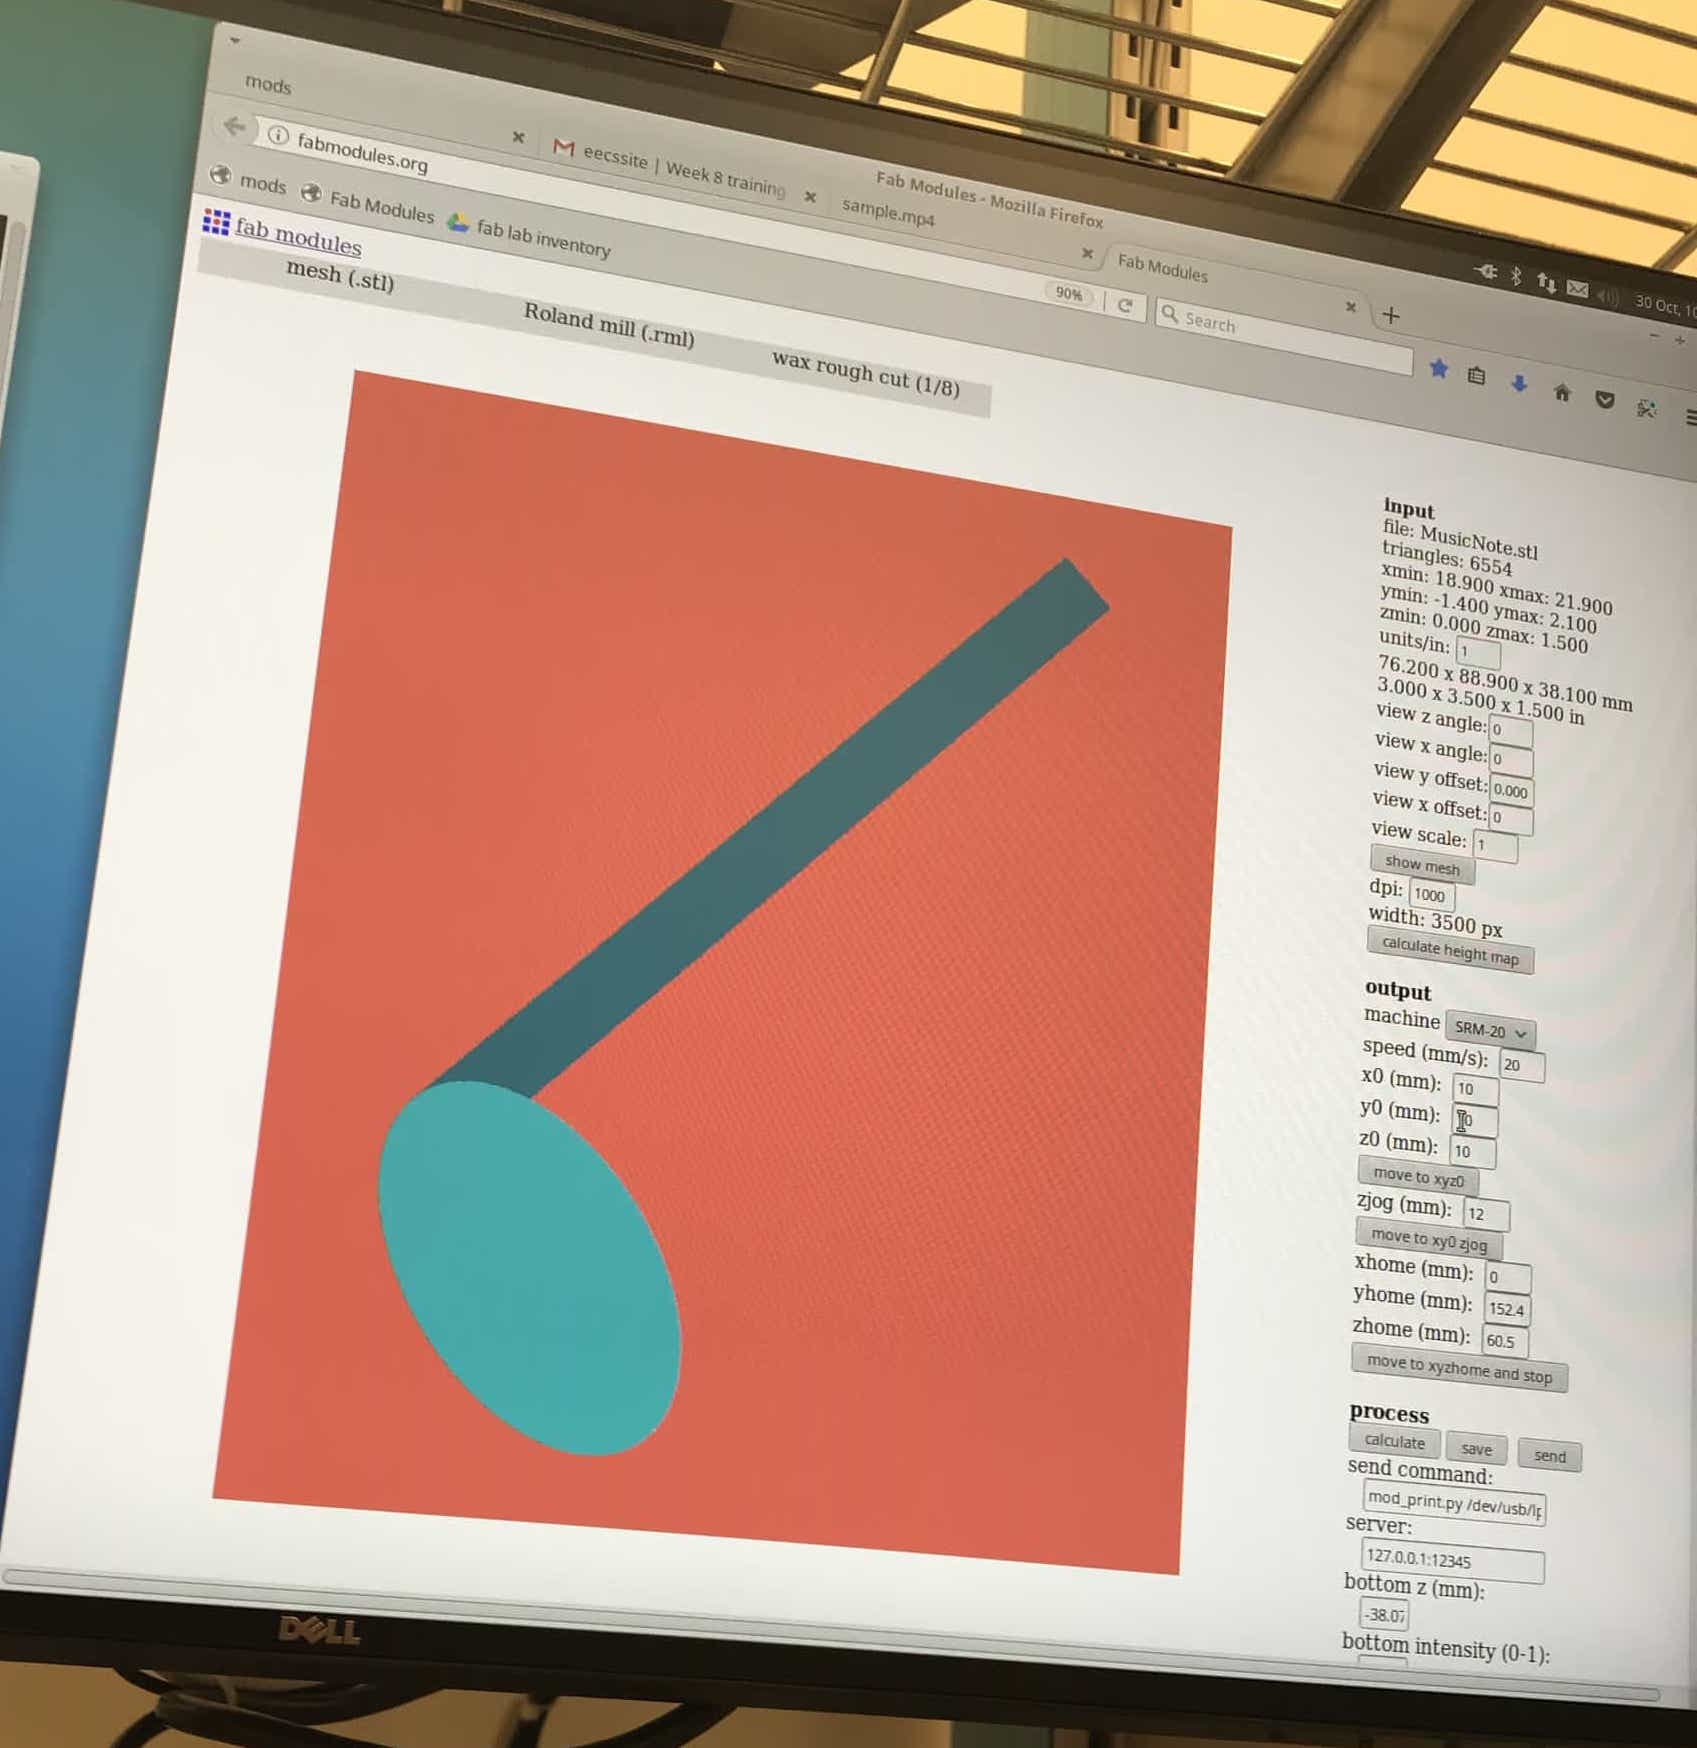
Fabmodules was able to calculate the height map, but took forever to calculate the toolpaths so I stopped it.
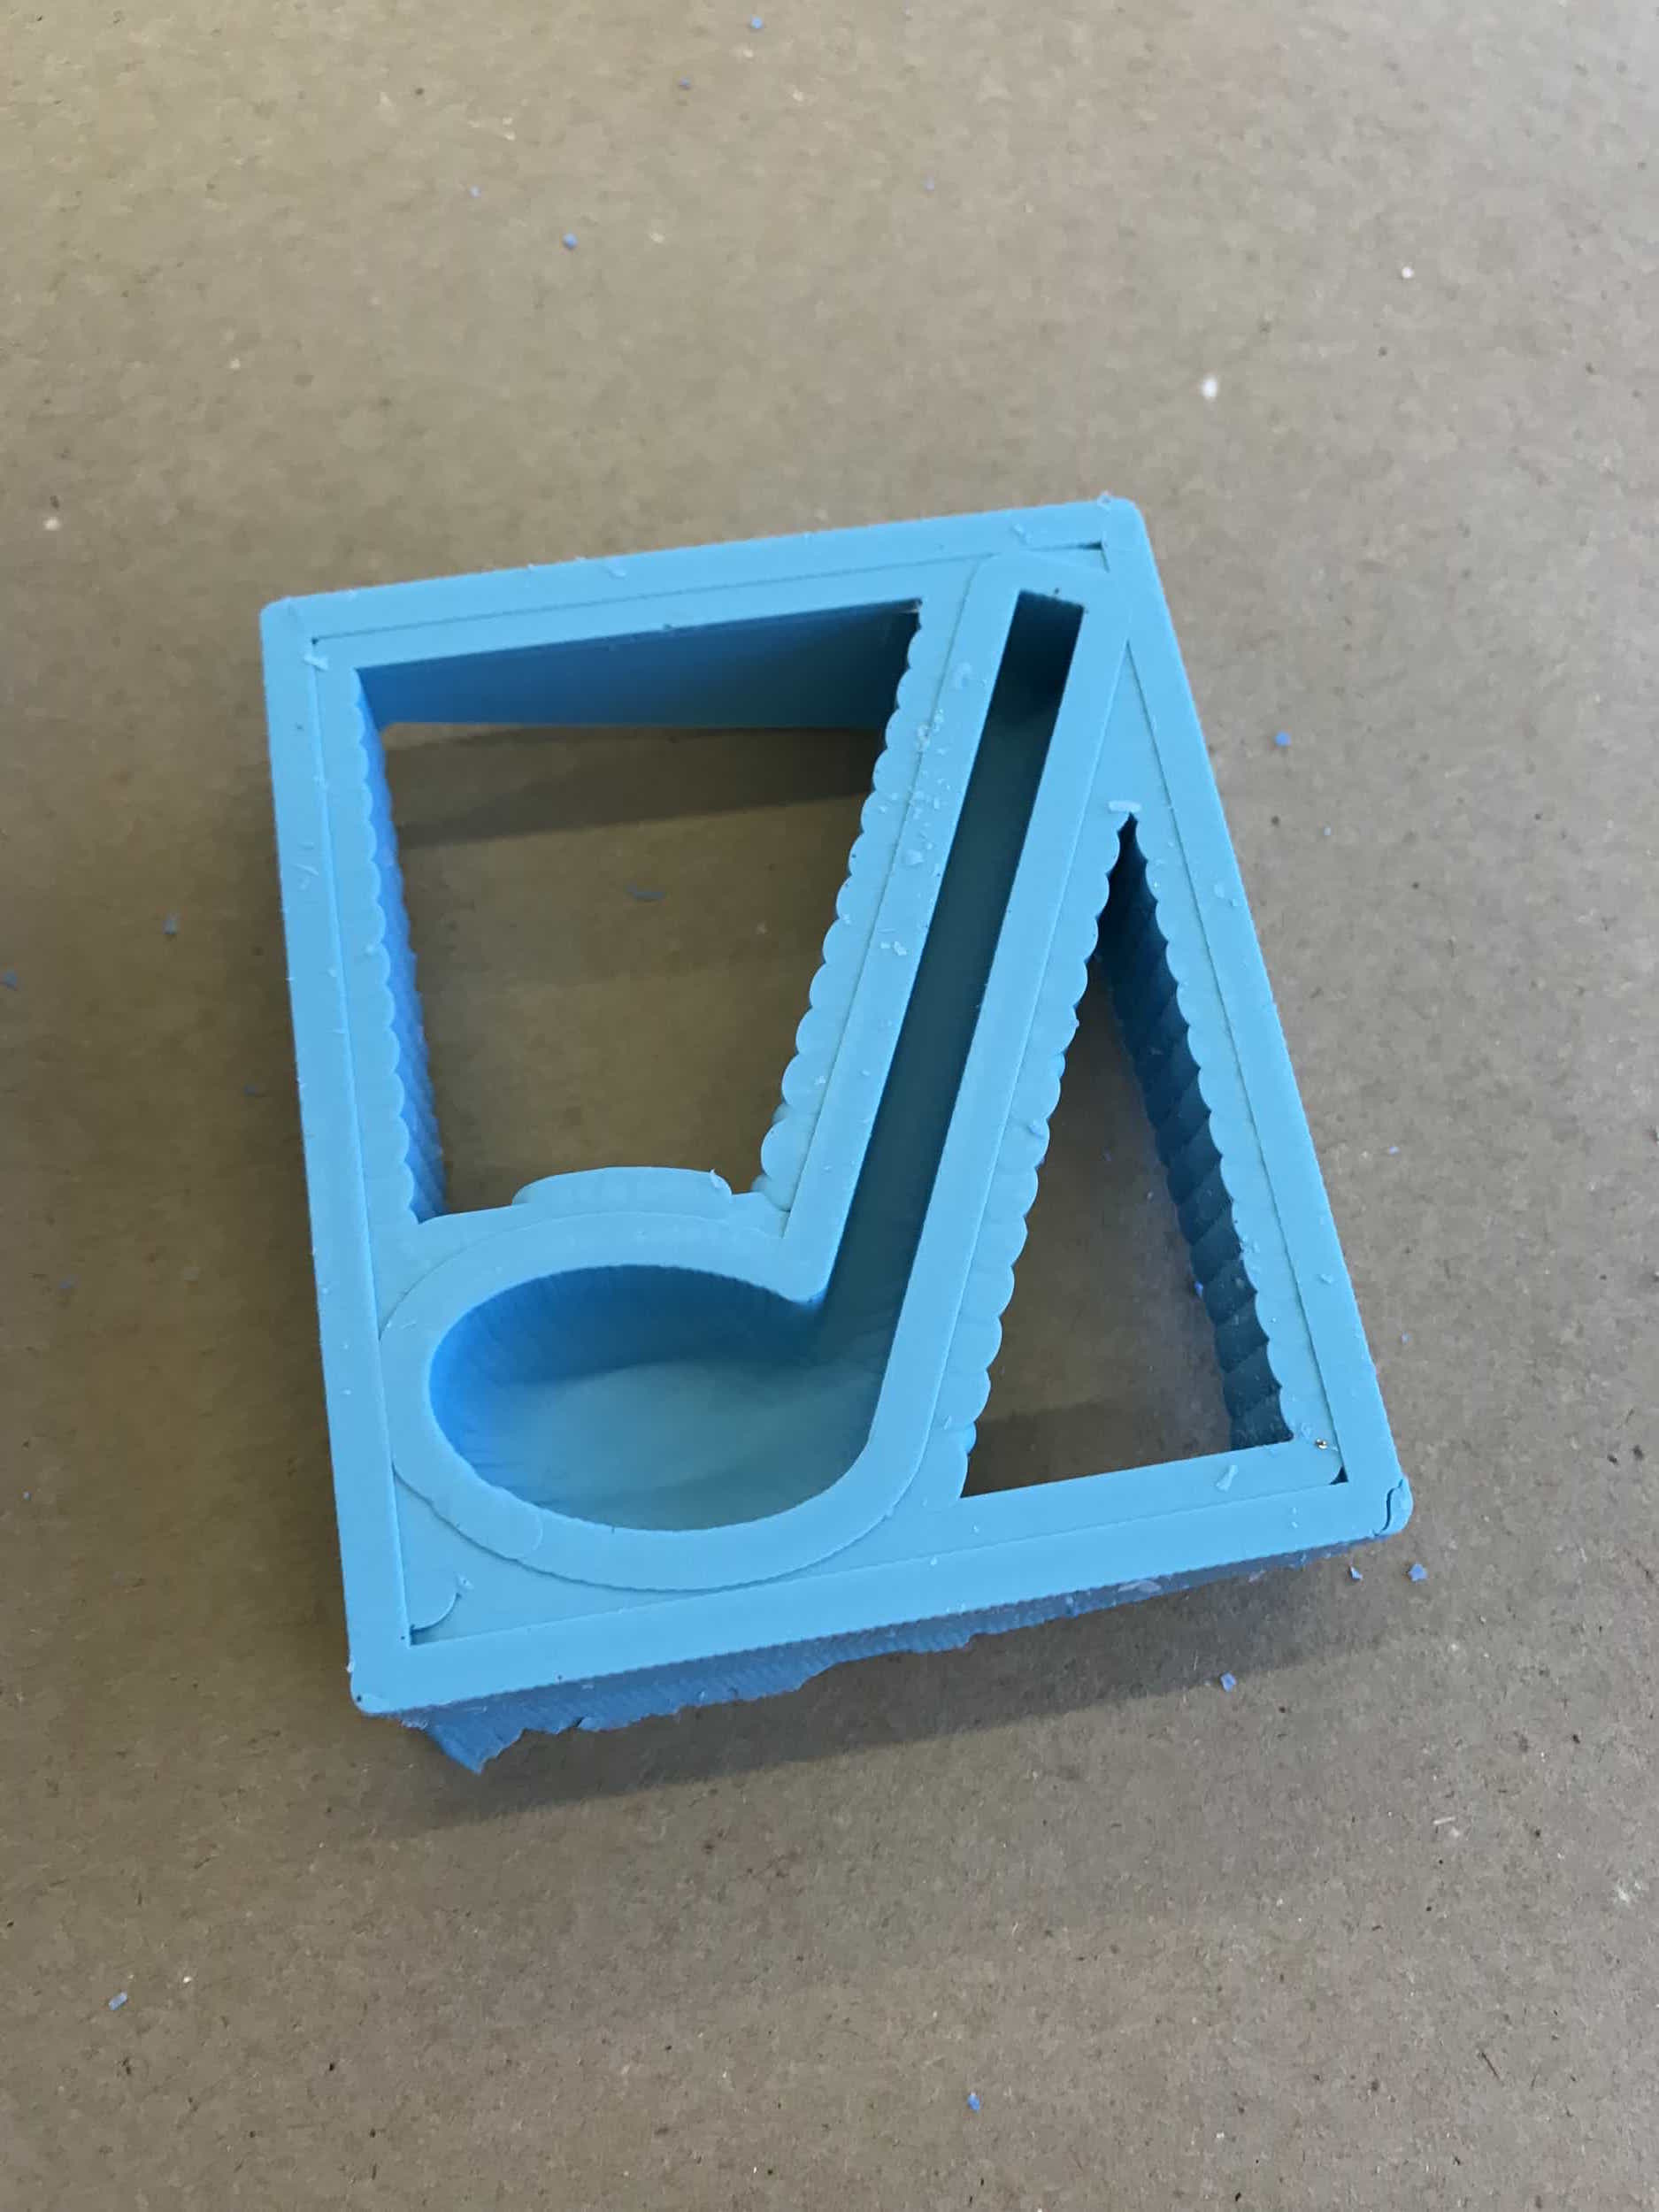
I decided to use the Shark instead to machine my wax, since my design was only 2.5D. I hadn't been trained on the Shark yet, but Dave from EDS took me through the process. It went really smoothly. The calculations of the toolpaths were way quicker than with Fabmodules. It took about half an hour to machine the rough cuts, and a little less than that to do the finishing cuts. The only difference between the machined wax and my design was that the Shark only cut out a border around the music note and the edge of the box, rather than cutting out the entire inside of the box except for the note. This didn't matter for casting purposes though.
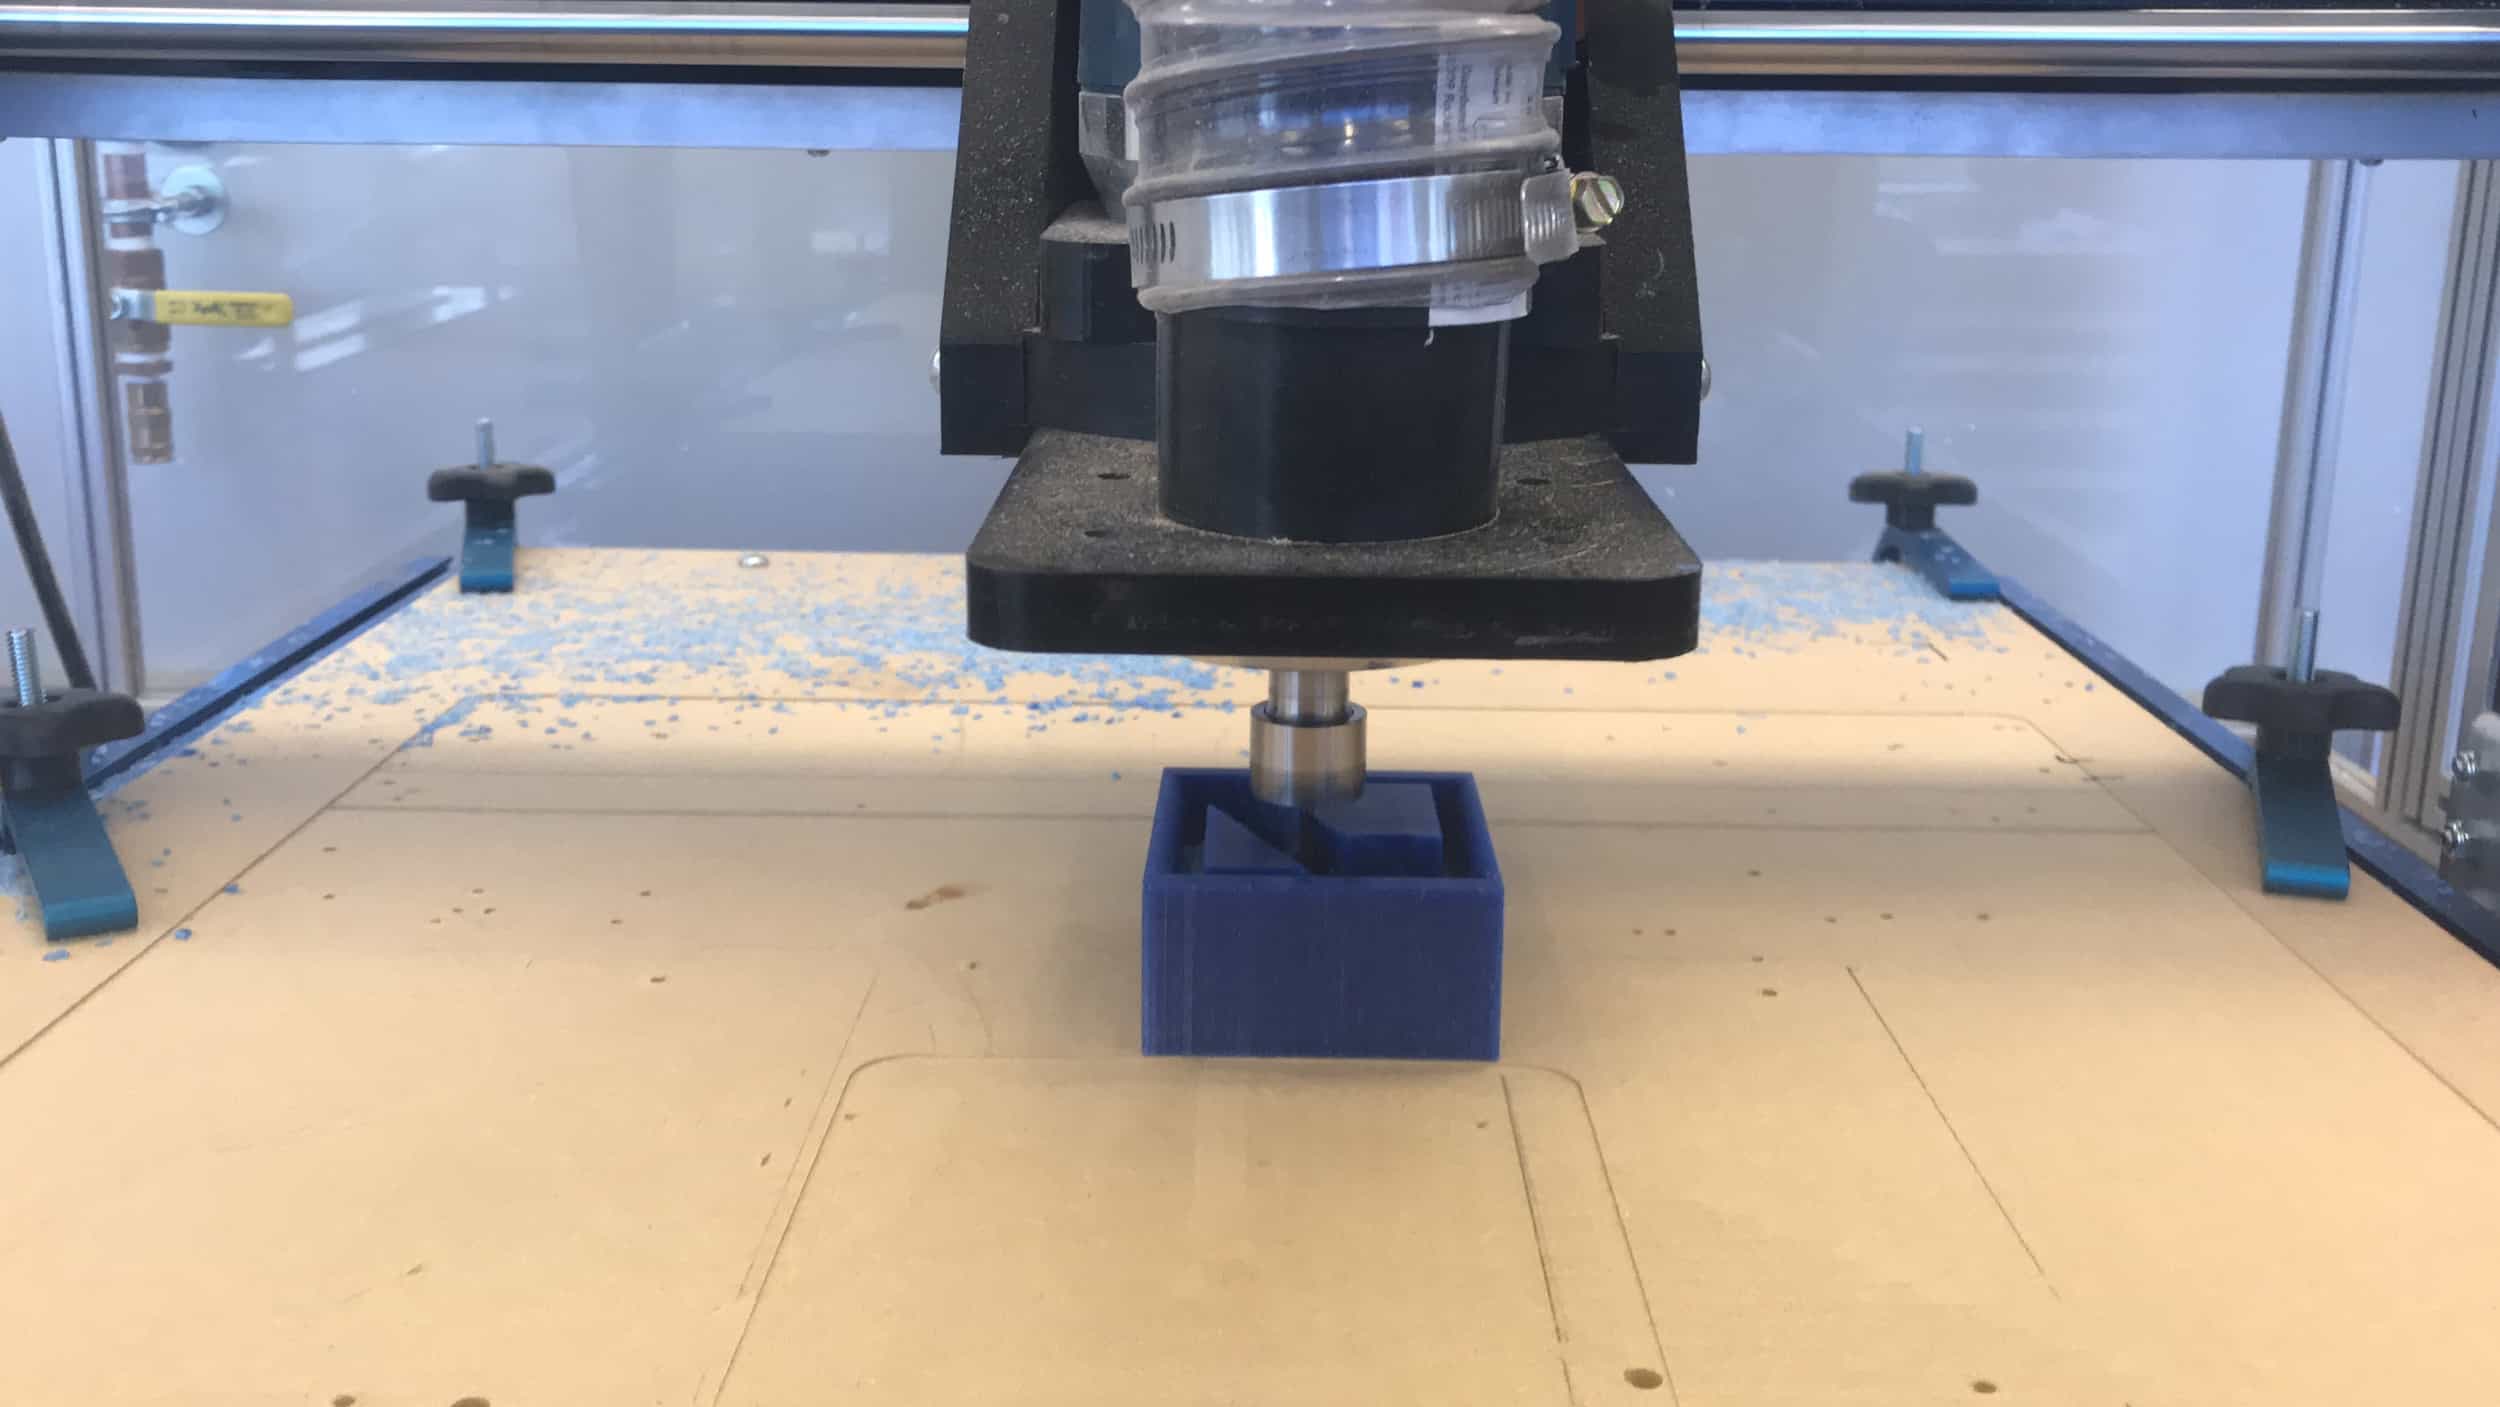
I machined my wax on the Shark in EDS.
Next, I was ready to use the OOMOO to make the mold. I first read through the SDS for OOMOO. I put on gloves and got out the cups, stirring sticks, and paper towels I would need. I used 40g of part A and 52g of part B. I wish I had made slightly more, because it didn't fill up the edges of the mold to the top, although those sections didn't matter for the casting. I tapped it back and forth to try to remove bubbles.
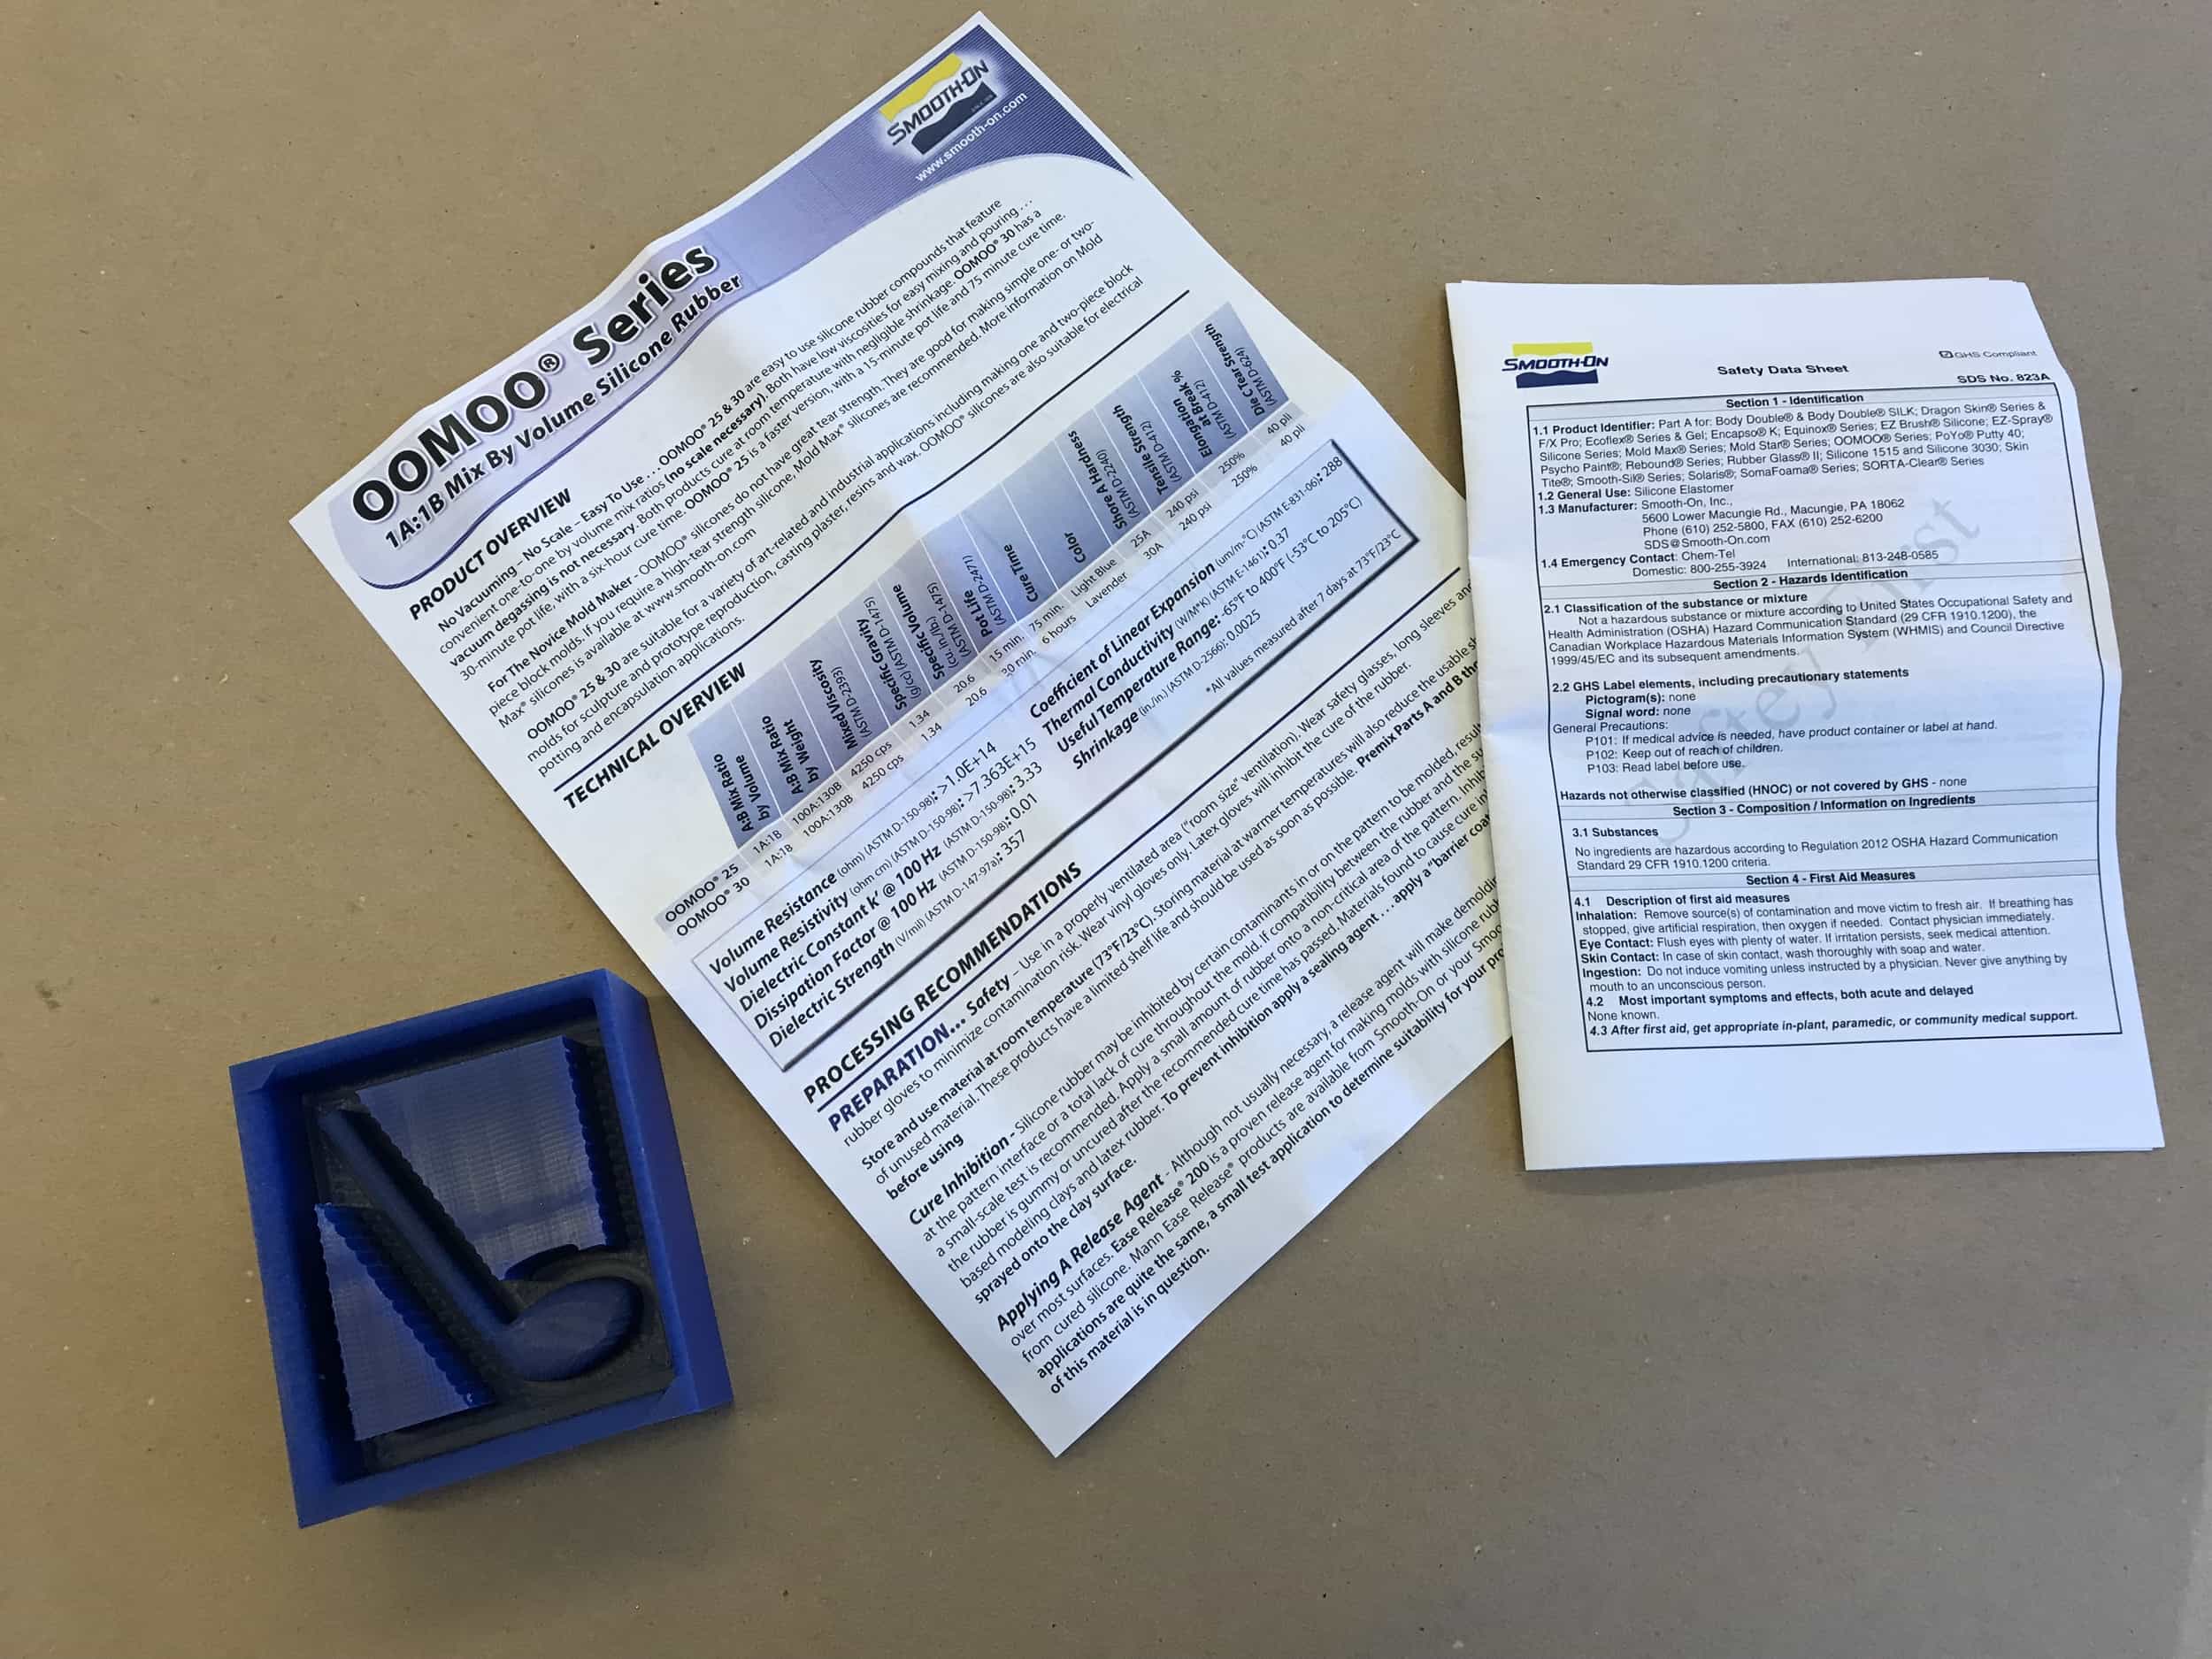
I read the SDS for OOMOO.
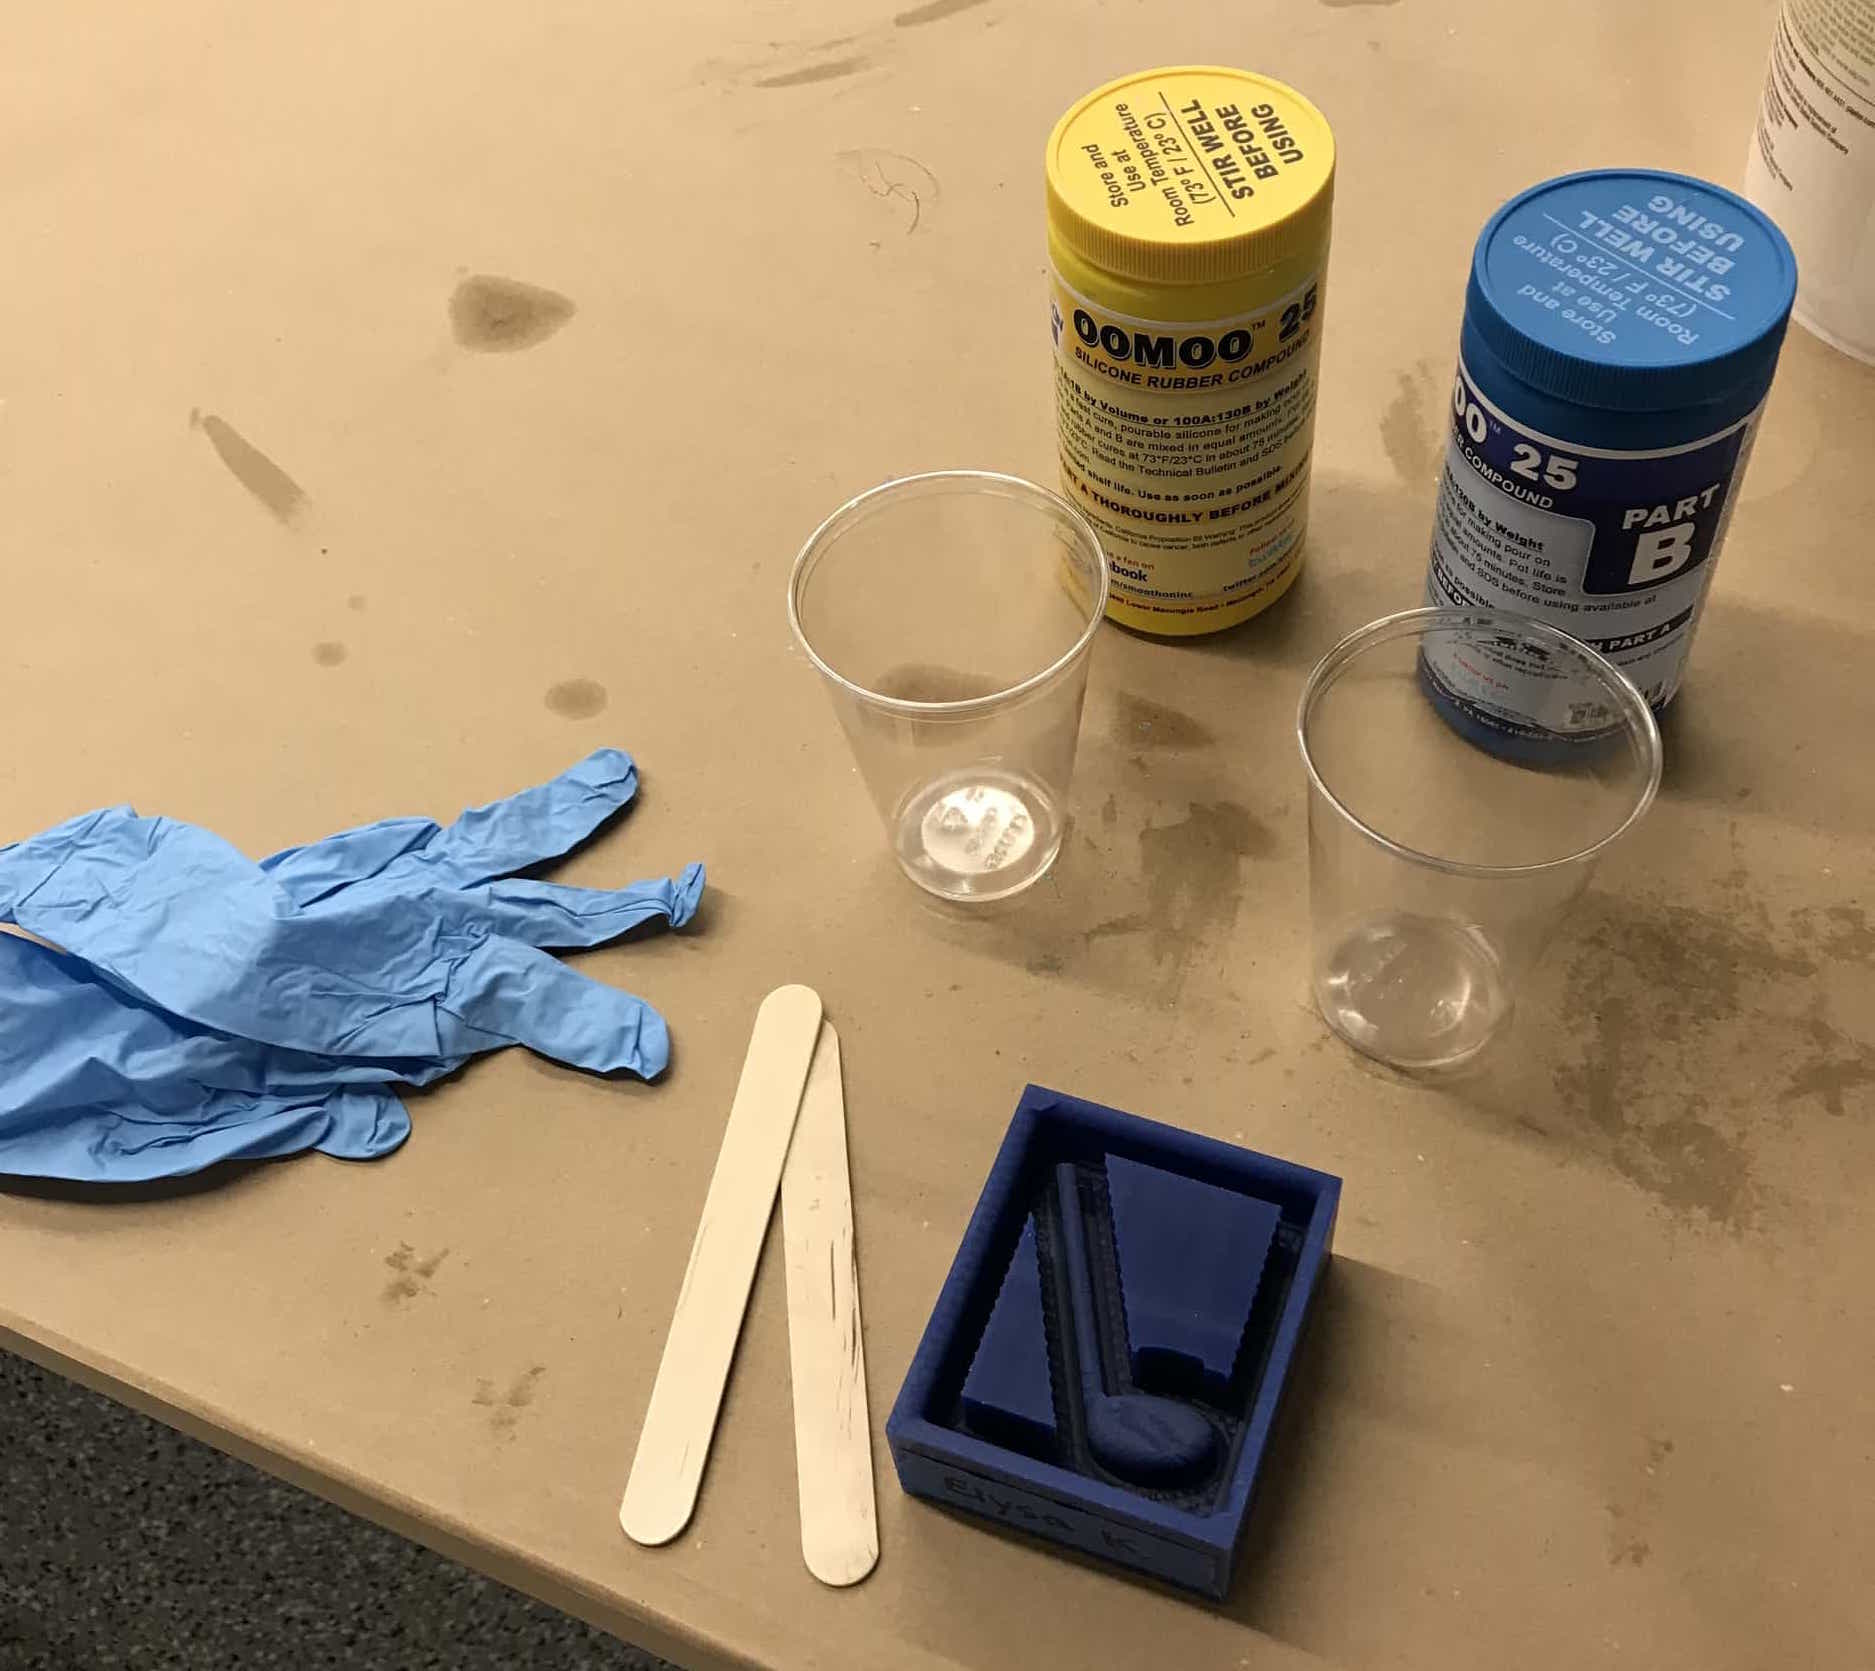
Preparing to mix the OOMOO.
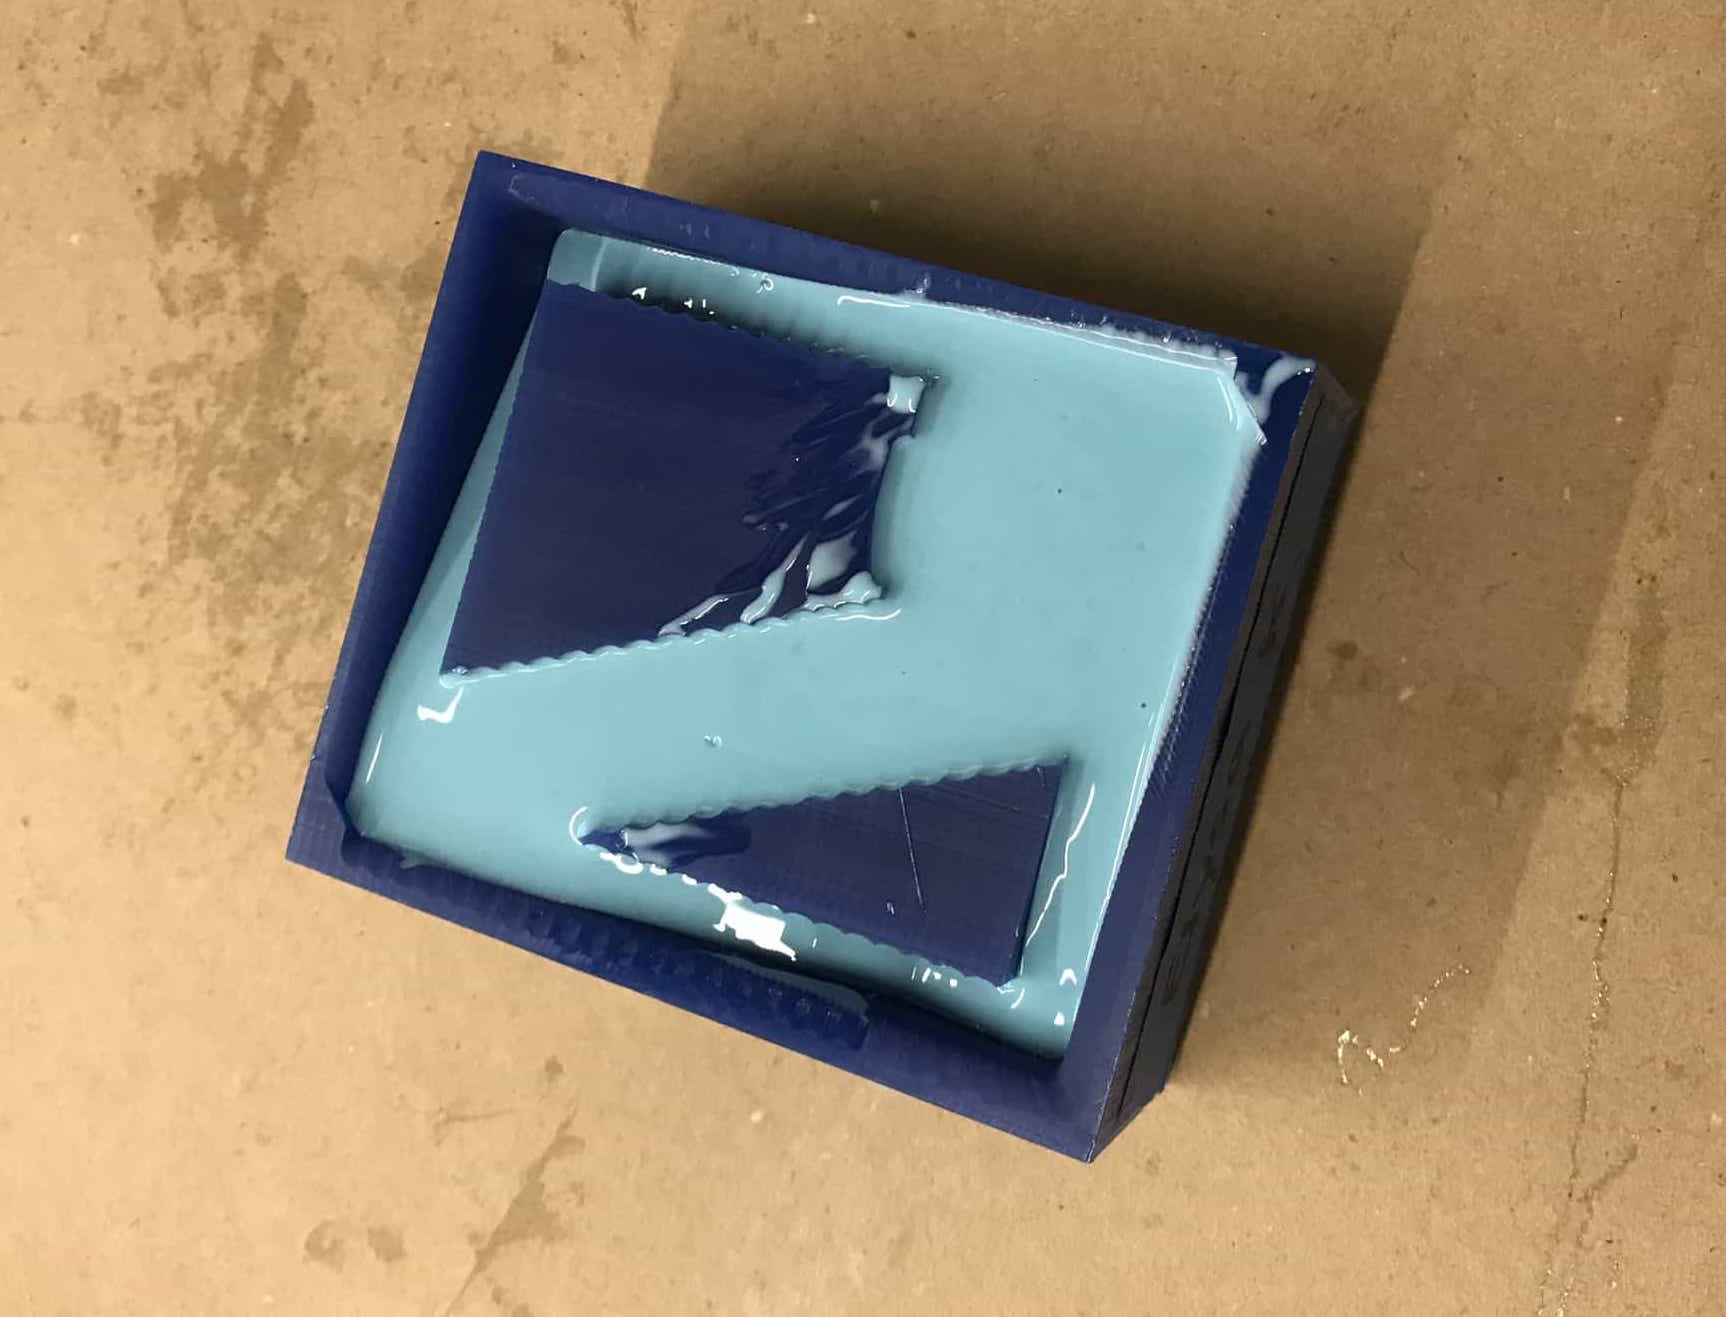
After pouring OOMOO into my wax.
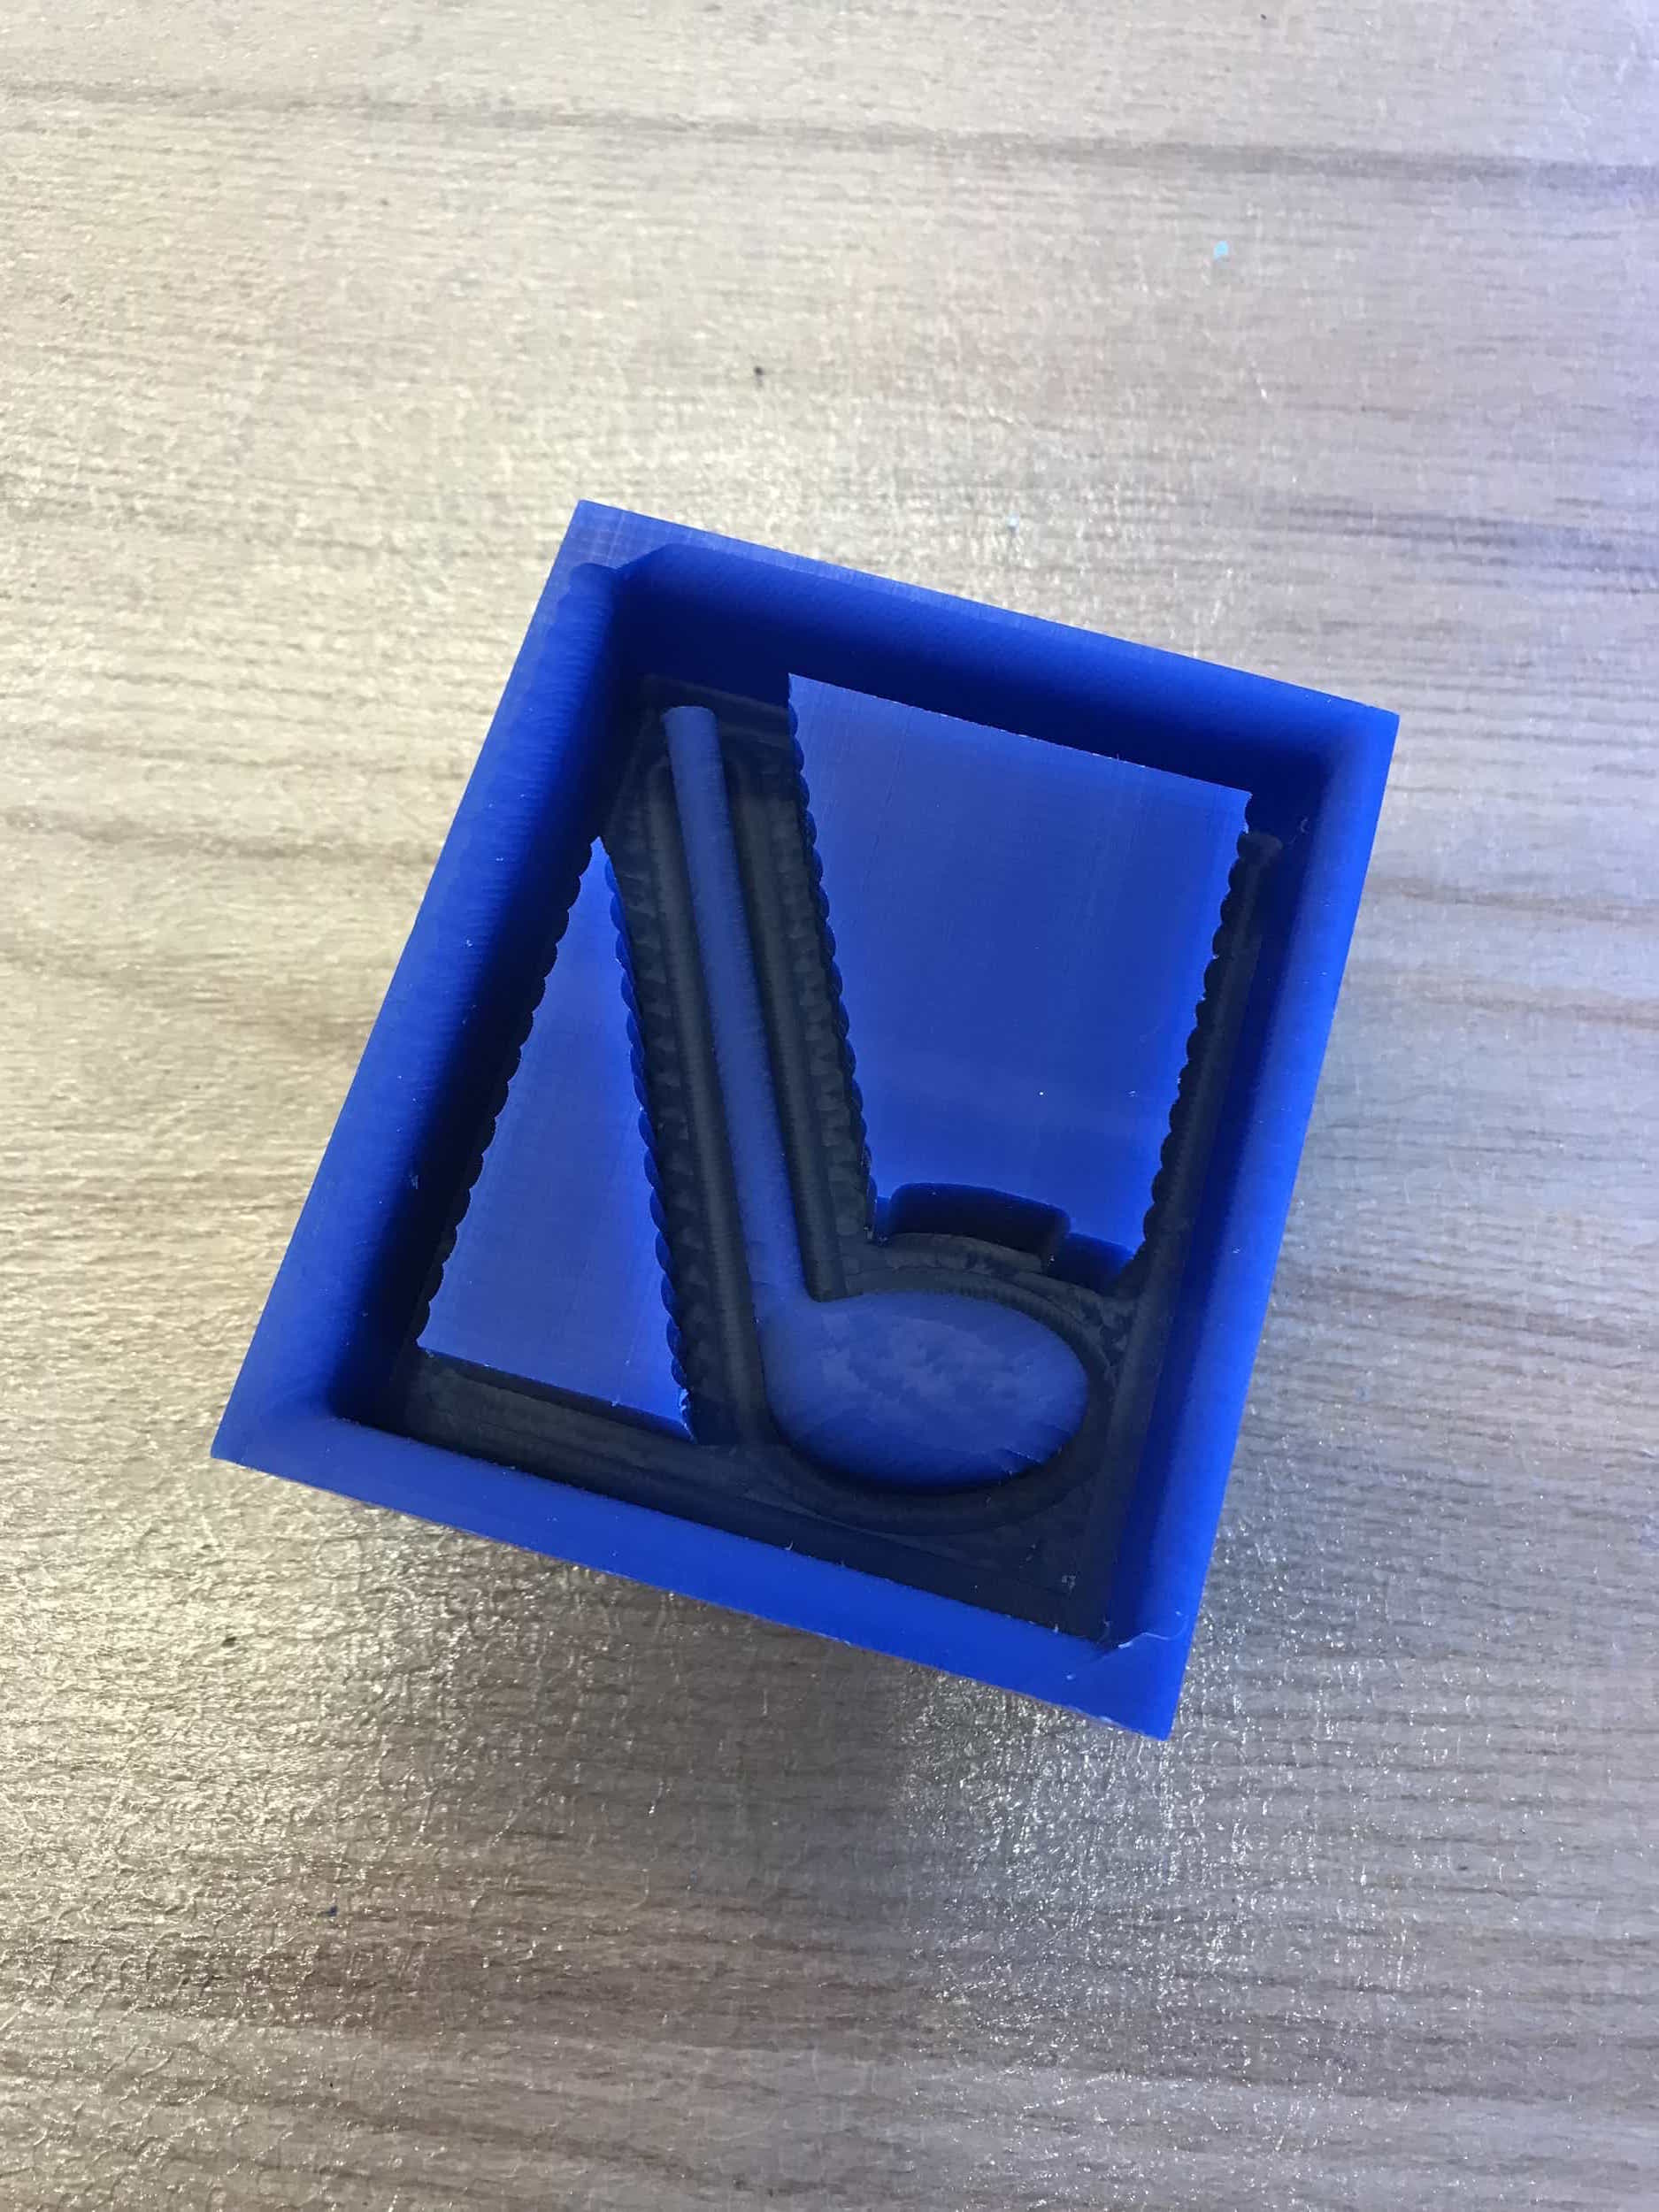
The following day, I tried to remove my OOMOO mold from the wax. I tried just using a wood stirring stick to loosen the edges, but that didn't work. I had success with using a flat head screwdriver to pry out the edges. One side of the wax did break off, but the mold came out fine.
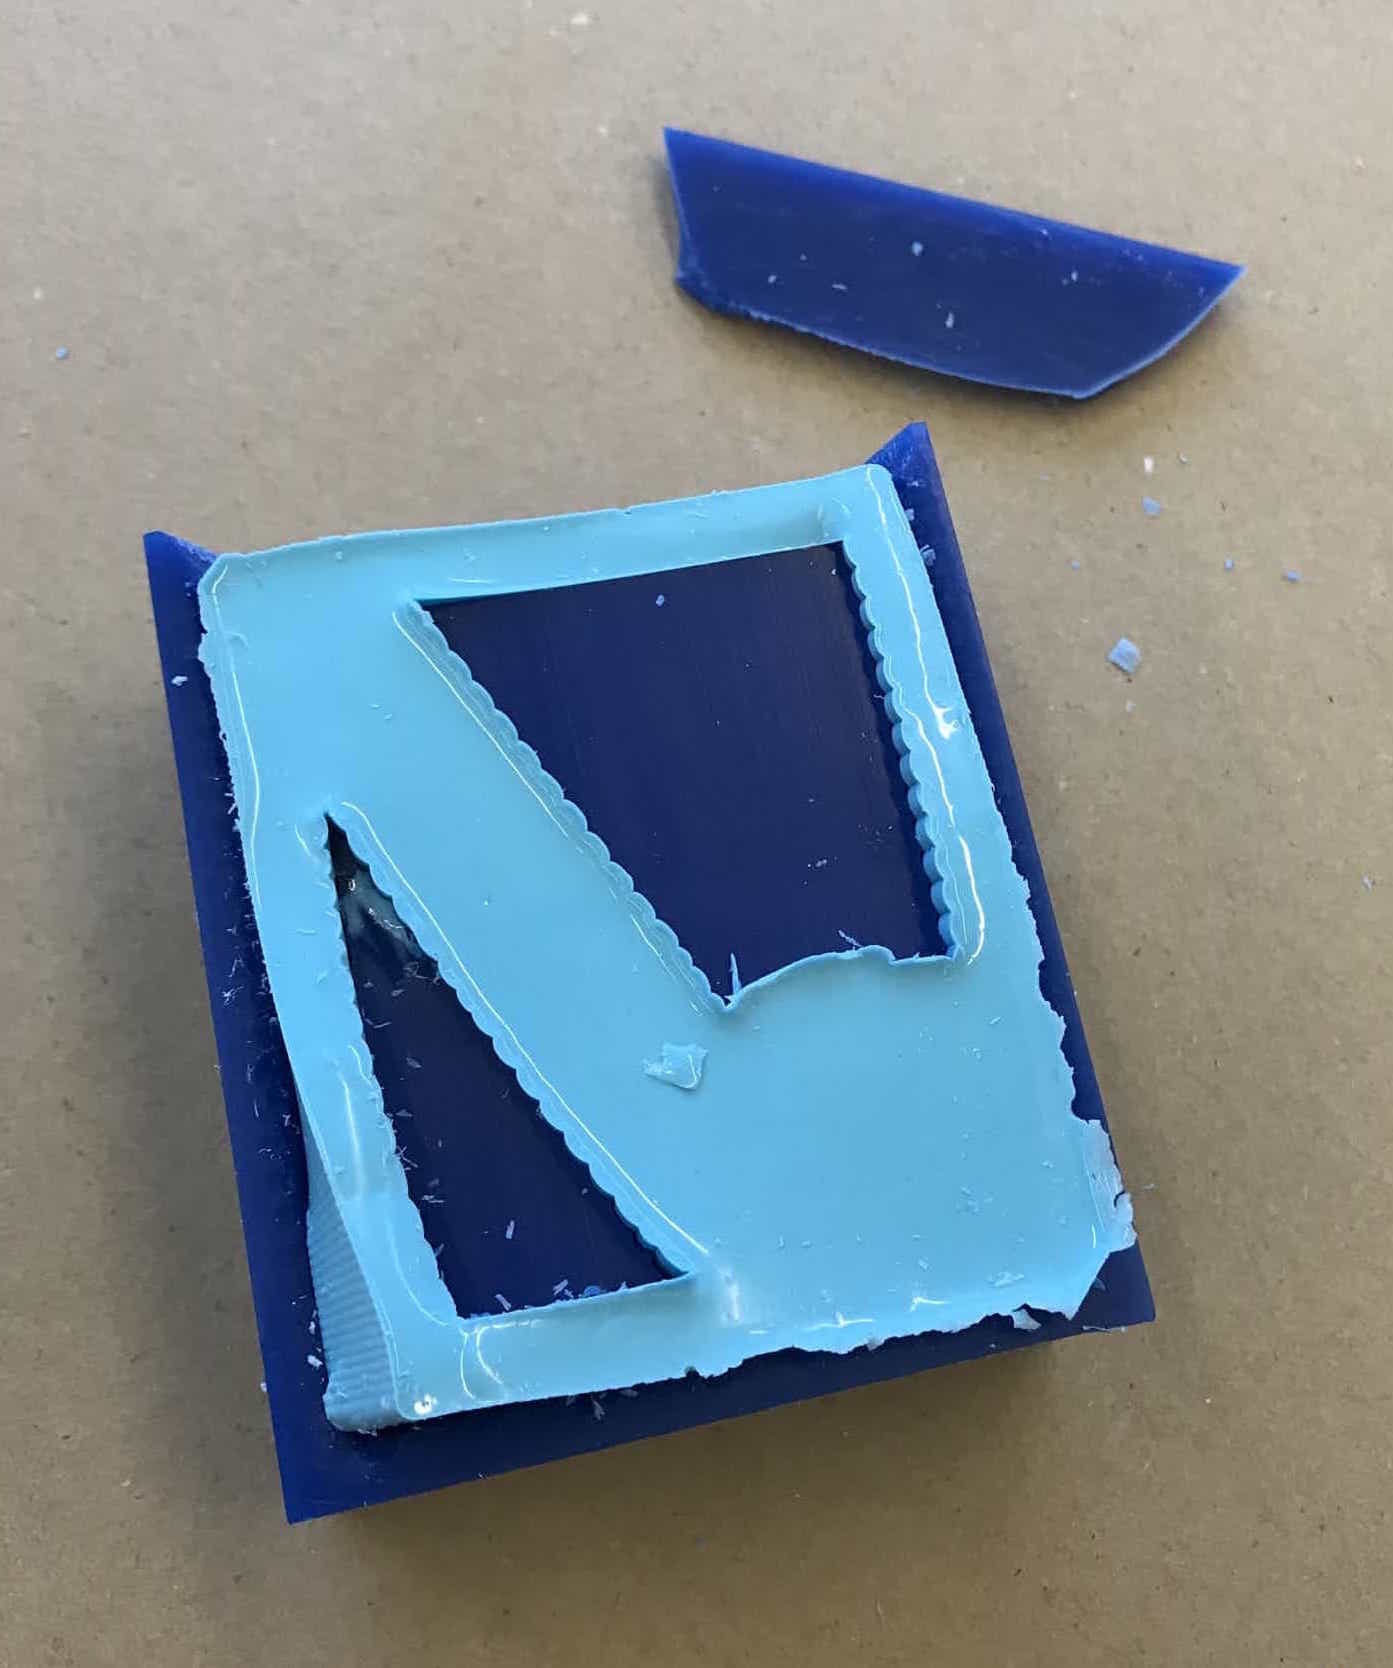
I accidentally broke off one side of the wax, but the mold came out well.
I prepared to use DryStone to cast the actual music note. I read through the instructions and started by combining 20g of powder and 4g of water. The mixture was really thick, and I realized that it wasn't going to be enough to fill my mold. I measured out another 20g of powder and 4g of water and combined them separately from the first batch. This batch turned out much more liquidy than the first, and I have no idea why since I measured the same amounts. I combined the two batches together to get a consistency somewhere between thick and liquidy, then I poured the material into my mold and filled it to the edge. The directions said it takes 30 minutes to cast something, so I set a timer. After 20 minutes, I checked on it and noticed that there was a crack in part of the object. I let the 30 minutes finish, then I removed the broken music note.
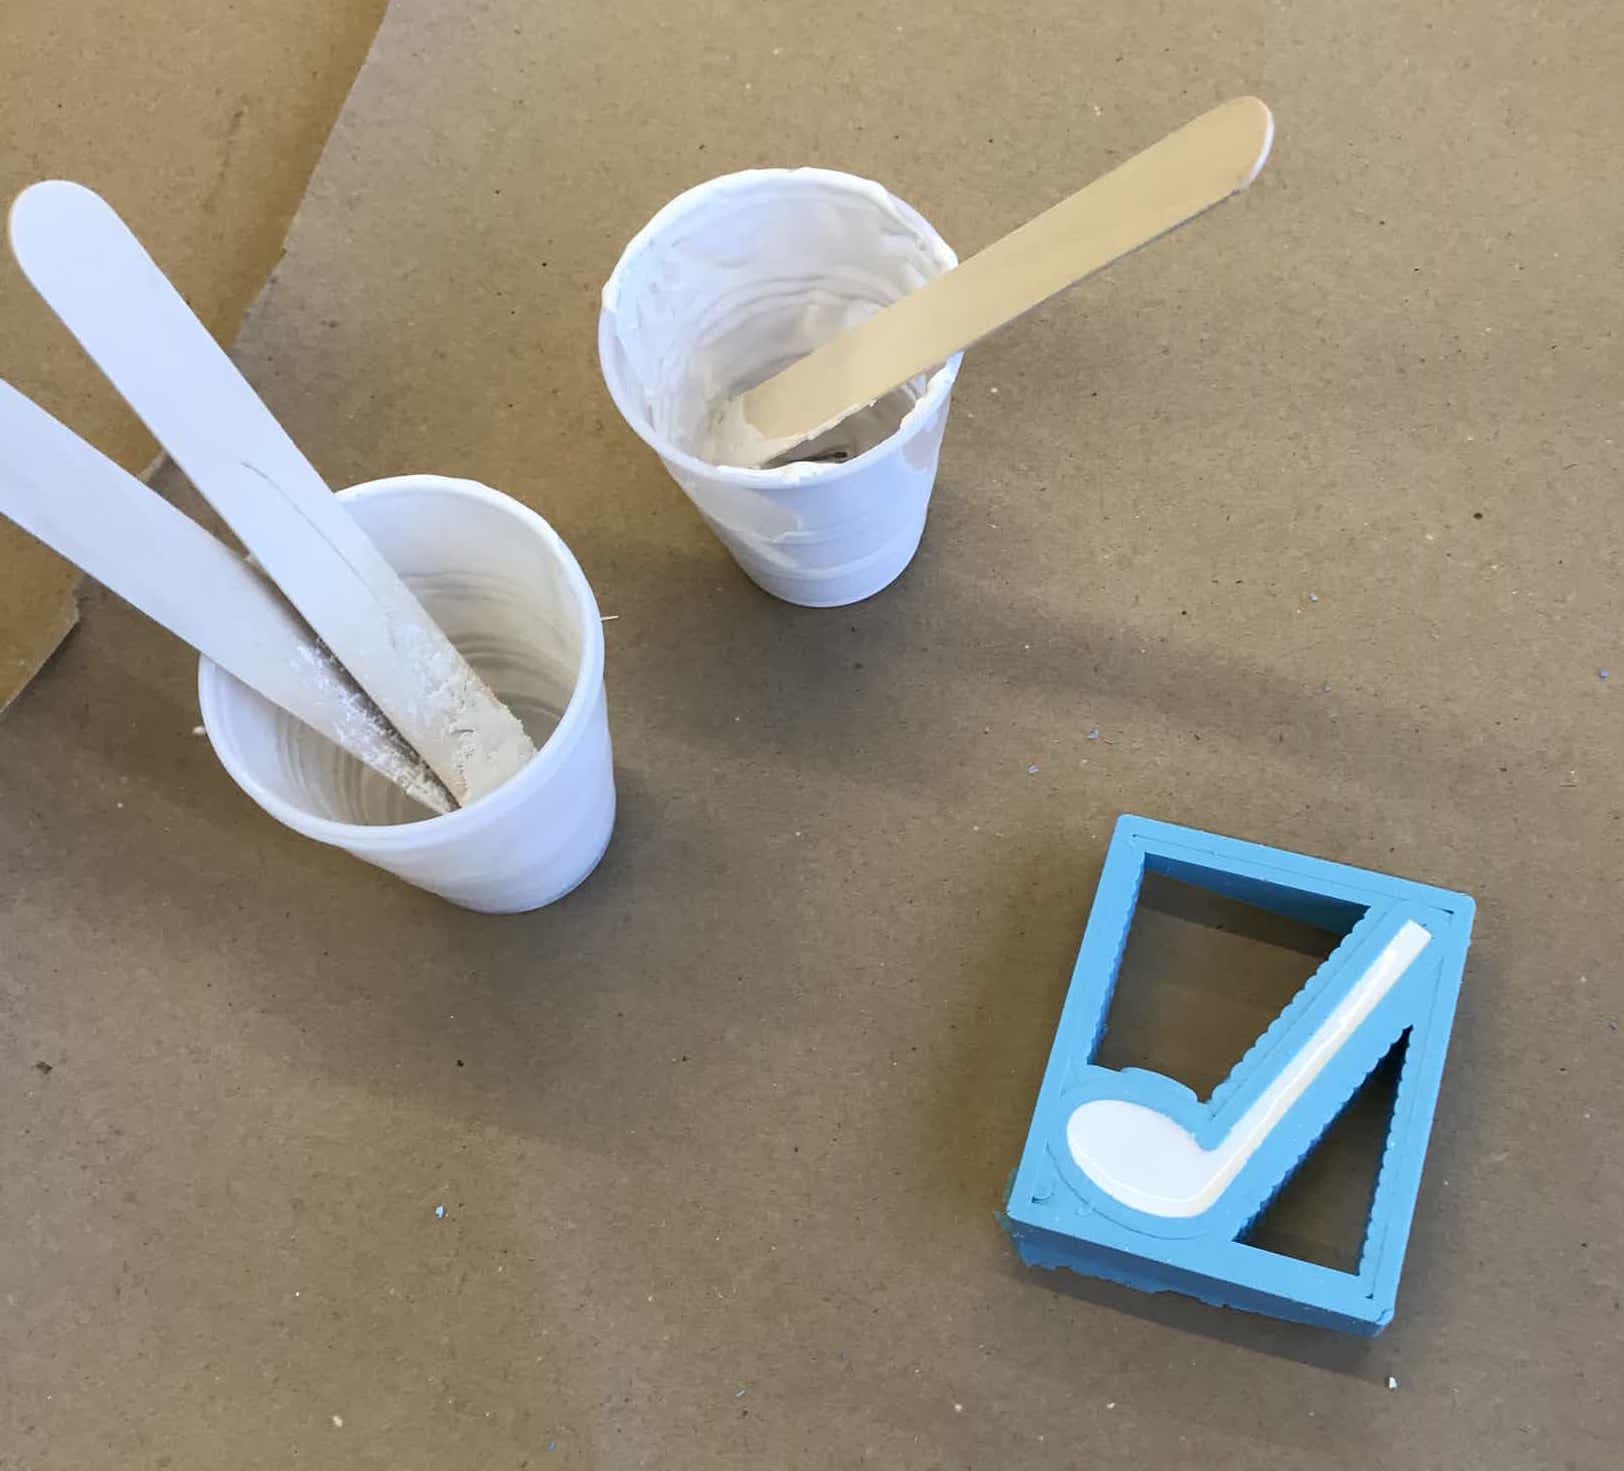
After pouring the DryStone-water mixture into my mold.
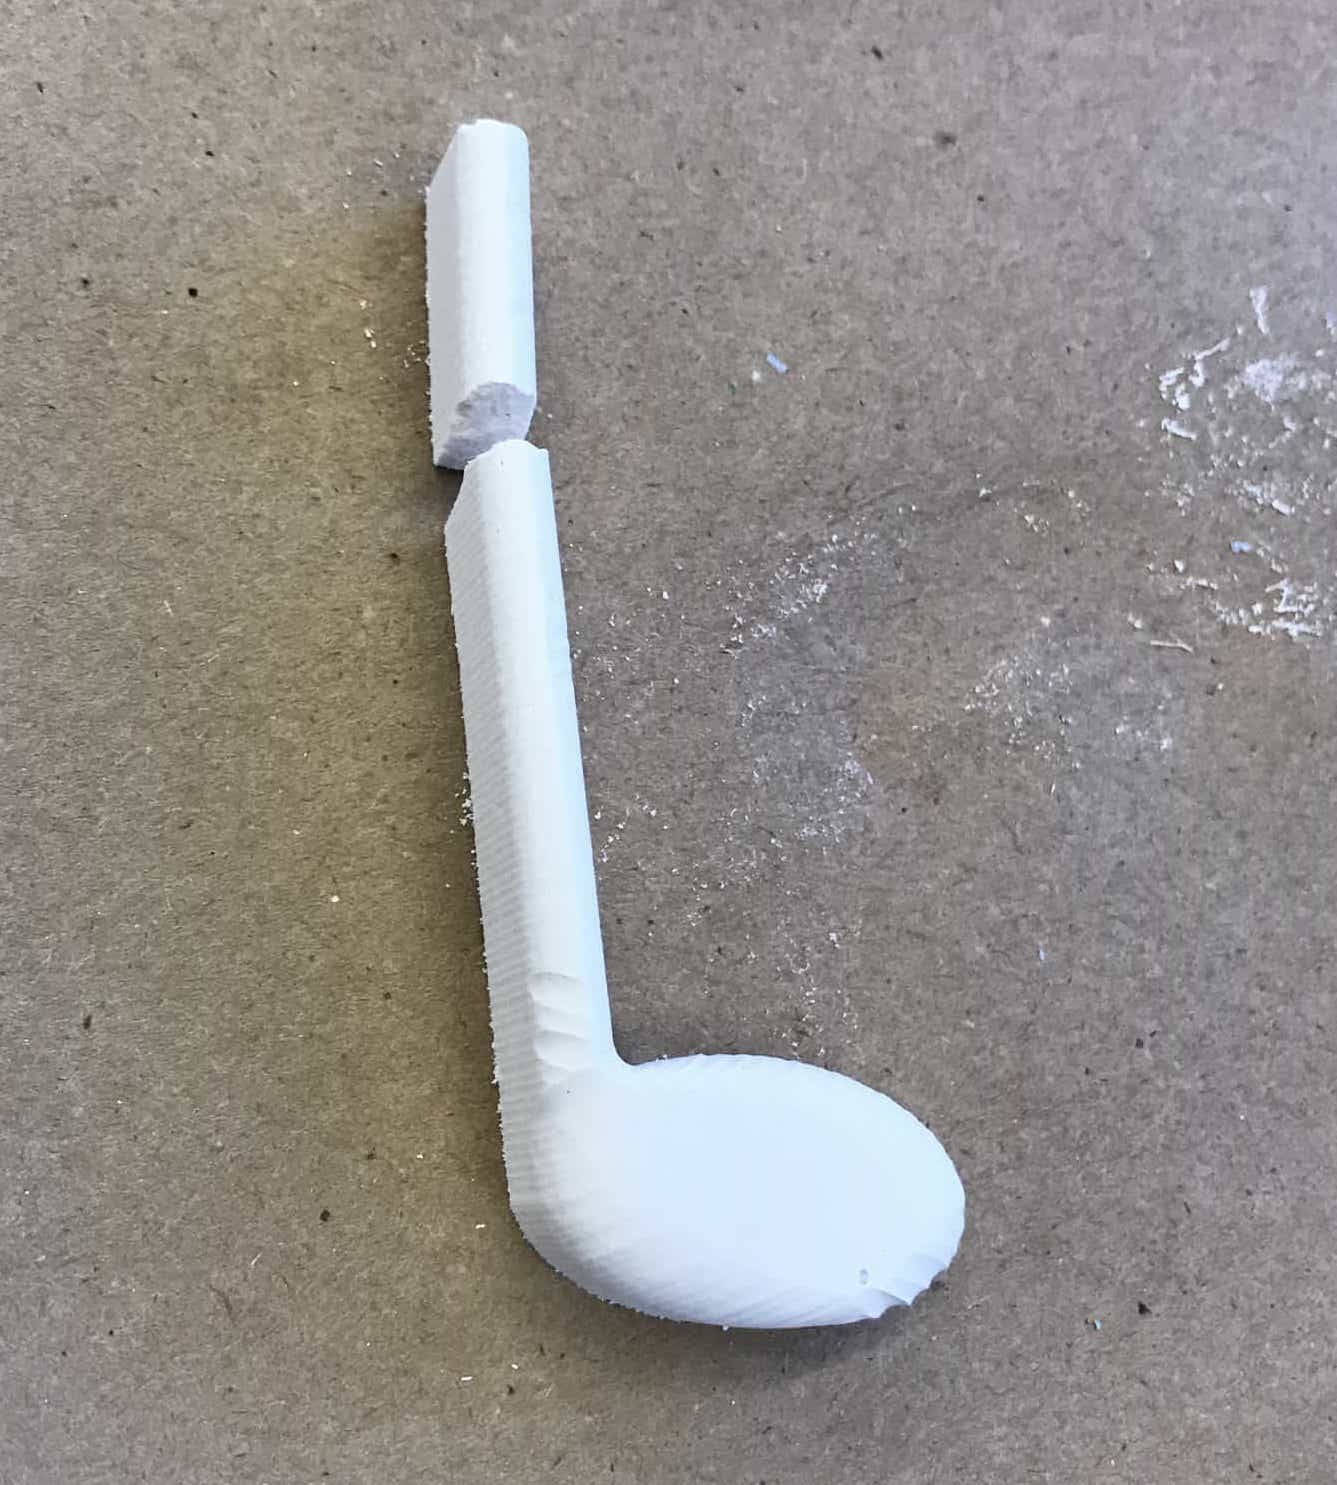
My first cast music note broke.
I repeated the same casting process. Another student in my section had extra DryStone and water leftover, so I poured that into the mold and waited for another 30 minutes. This time, there were no cracks and I was able to remove the music note cleanly.
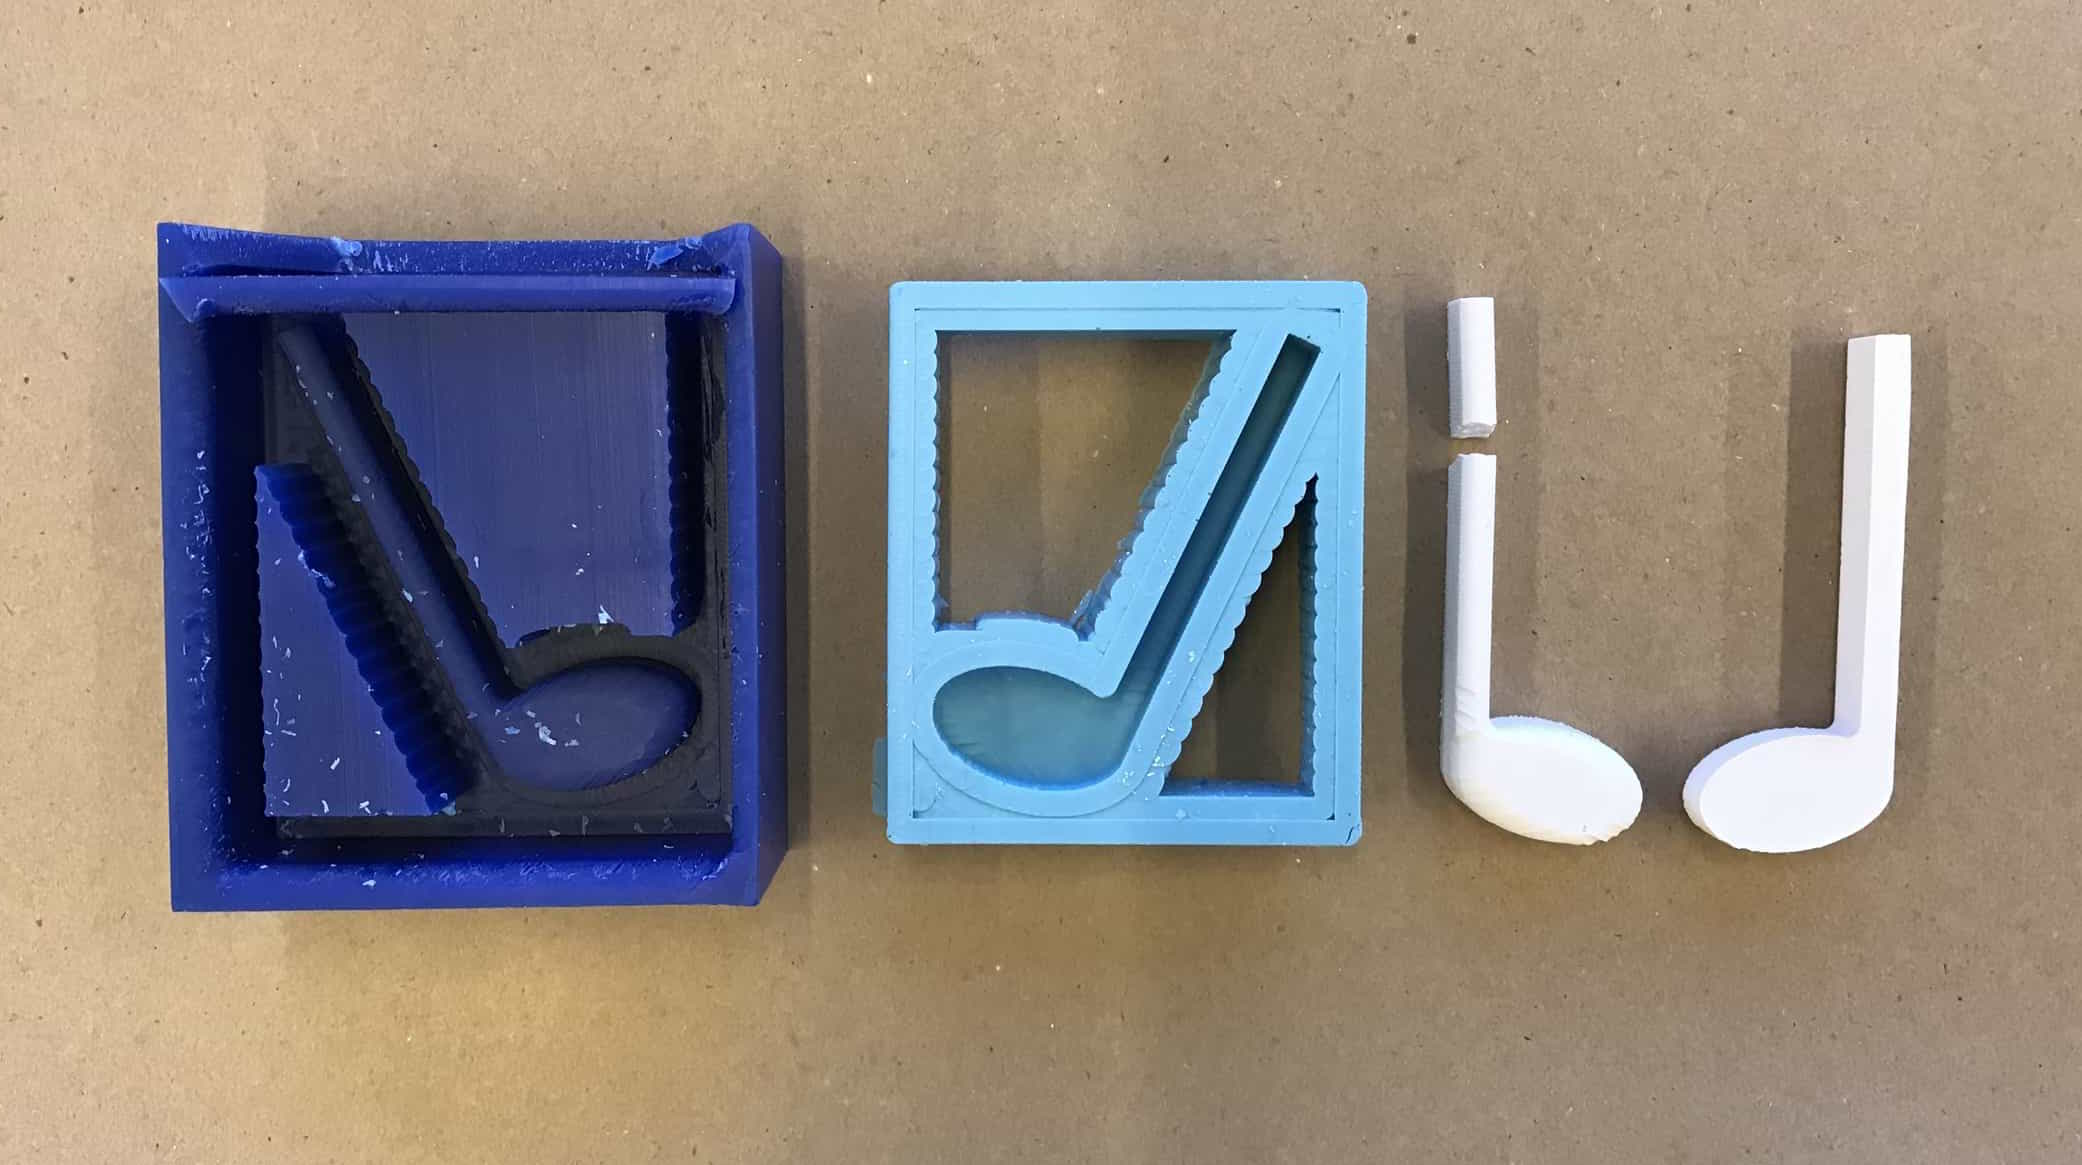
The steps to casting my music note.