Assignment: Make something big (out of wood, using computer-controlled machining).
The Concept
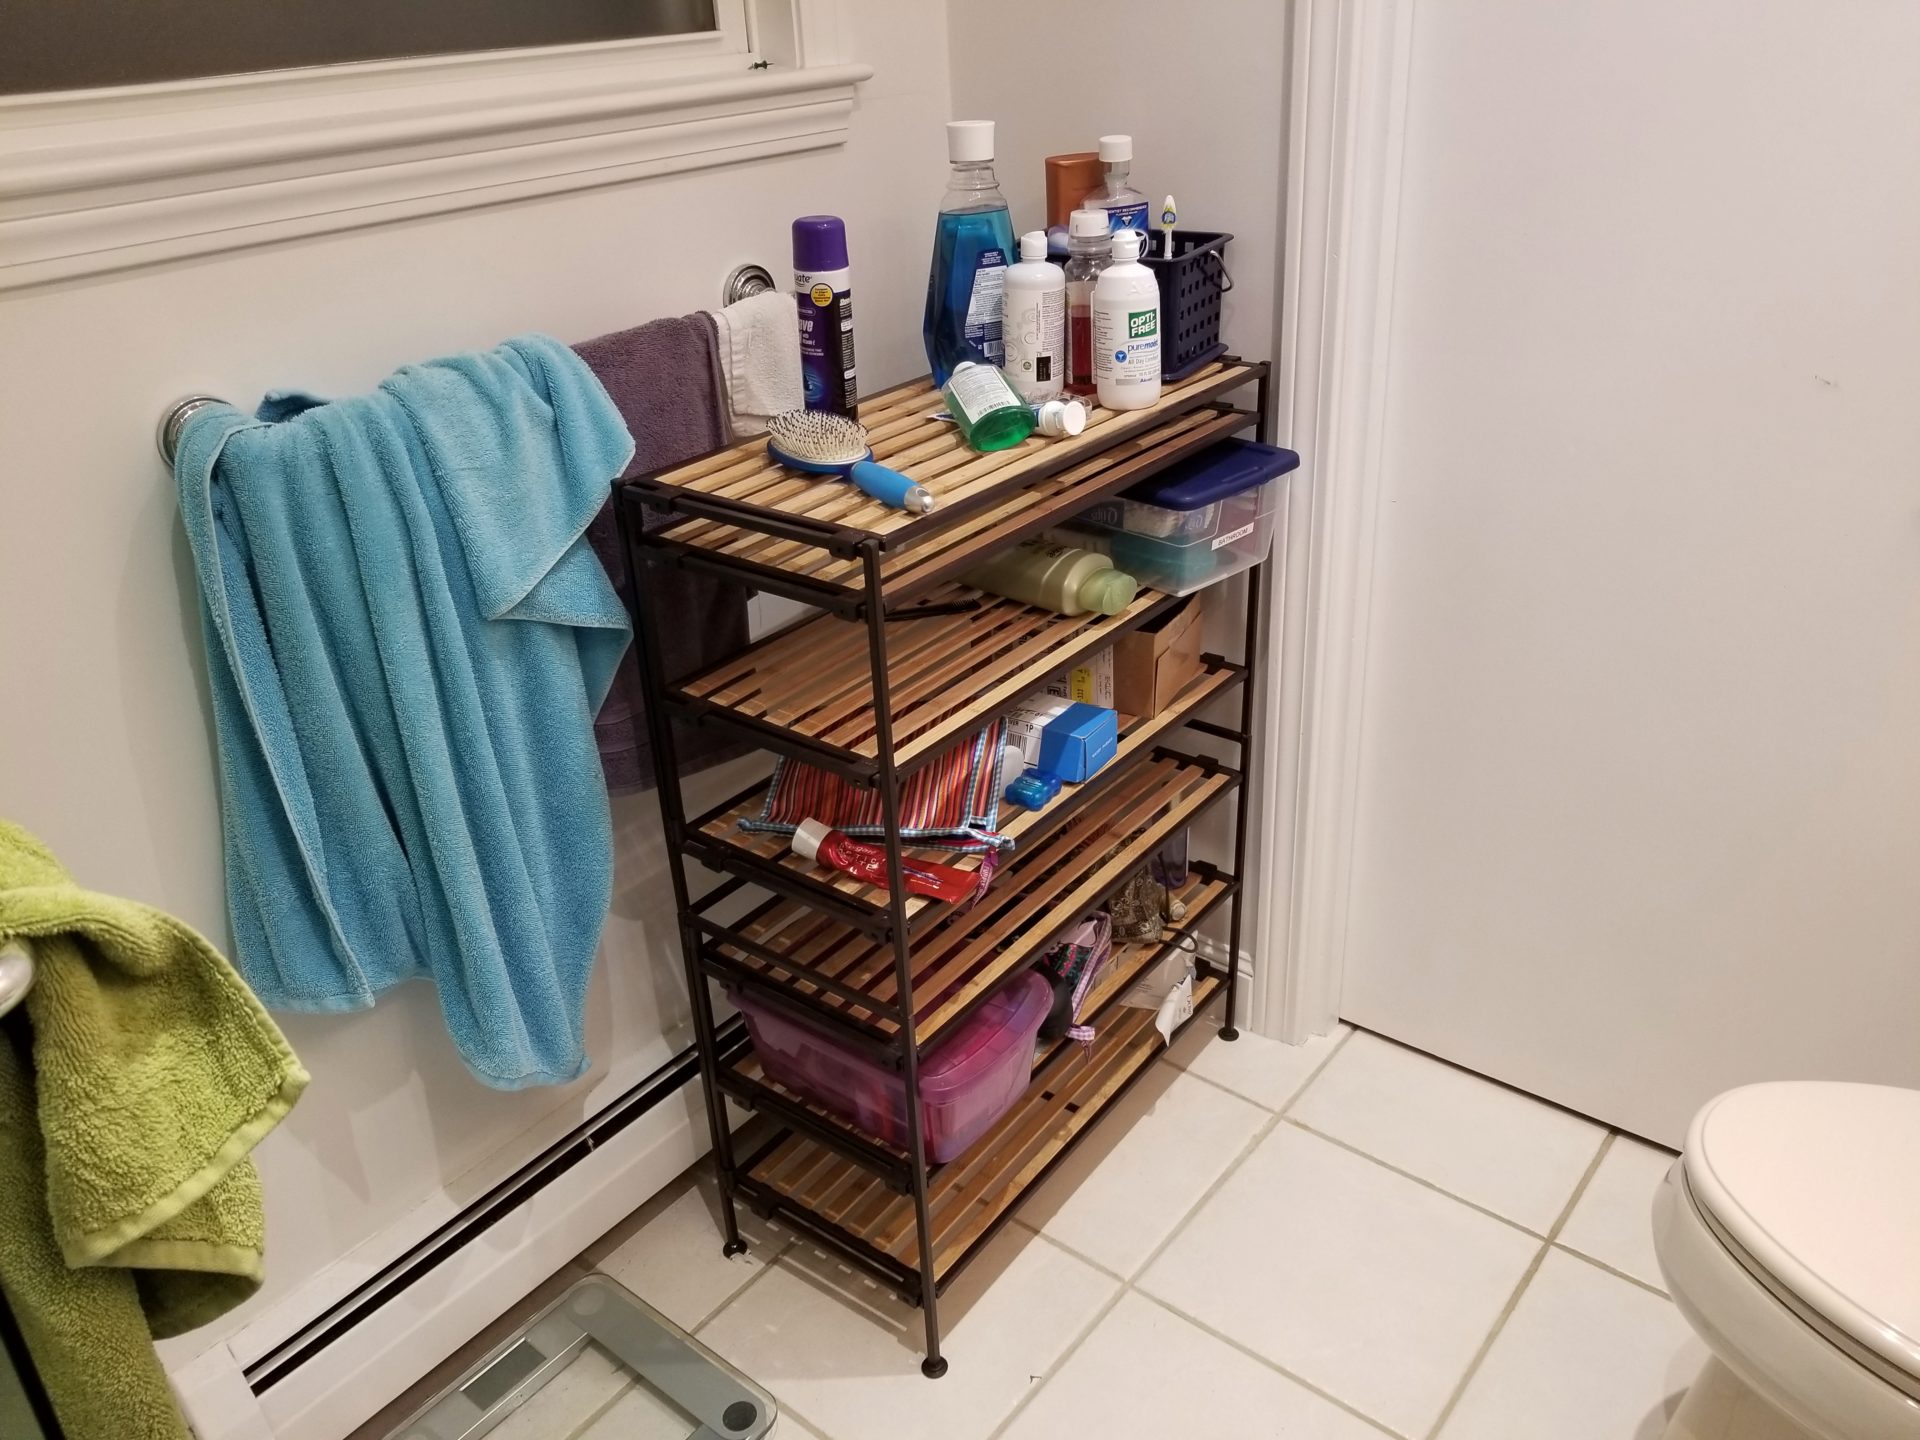
This week I’m going practical and making a shelf for my home bathroom. The bathroom is… cozy, and shared by five people. Currently, we have a shoe rack to store all our bathroom things, which also blocks off the towel rack. If we get something to function as bathroom storage, this means we can reclaim the shoe rack to store five people’s boots and shoes (which is particularly useful as winter slush, salt, and sand approaches). But it also turns out that it’s hard to get something that fits in this small awkward space. So I’ll make something!
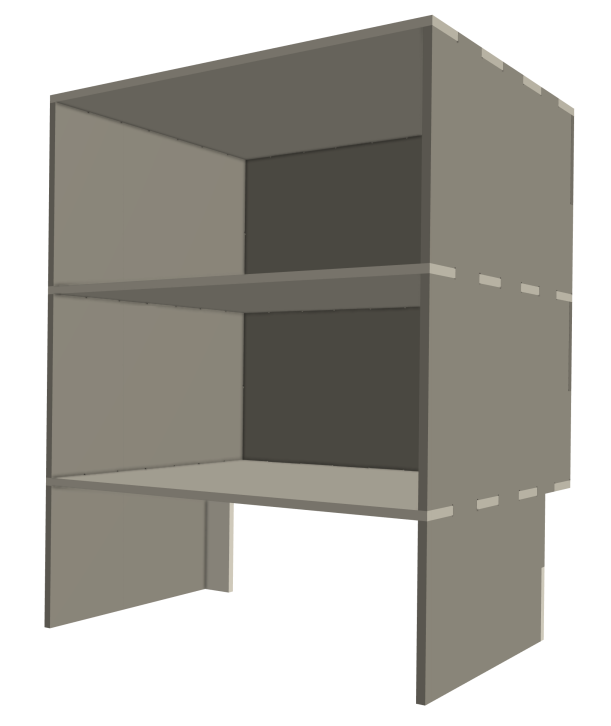
I’m also interested in woodworking, so I wanted to try out making some form of traditional joinery with a CNC machine. The simplest candidate here for a beginner is a box joint. Conveniently, the shelves I am interested in making are rather boxy. Per Rob’s recommendation, it’s best to start simple on the ShopBot in general. I also ended up getting really sick for most of this week, which really cut into my time on this. Luckily, I had started designing this week’s assignment in CAD before I got sick.
I got really interested in some of the more complicated joinery shown here, but there was no way I was attempting that on this time scale, or on oriented strand board (OSB).
The Reality
All that above was written before I actually made anything. I have a different story to tell now. I’d been looking forward to this week’s assignmen since the beginning of the semester, since there are a lot of really cool large scale things I could make.
I signed up for a time slot on the ShopBot from 3-5 on Tuesday, which I already didn’t like since it’s so close to the deadline, and from nearly the time I started, everything went miserably. I don’t think I have ever so much regretted finishing my homework.
Before my time slot, I exported my test part (a simple pair of box joints) from OnShape as a DXF file. Then VCarve couldn’t import the DXF with the right scaling, for some reason. So I opened the file in Inkscape, saved it to a PDF, then imported that into VCarve. The scaling was right, but I had a new problem: the DXF files don’t connect any line segments. So back in Inkscape, I selected all the coinciding points and merged them. For a test part, it wasn’t bad, but I knew just how many parts there were to my whole shelf unit. I started here using the “official” values: an endmill diameter of 1/8” and a stock thickness of 7/16”. Depending on how my test part came out, I figured I could make adjustments to my stock thickness from there for my real cut. In VCarve, I added a few tabs and set a cut depth of 0.44” – just thicker than the material.
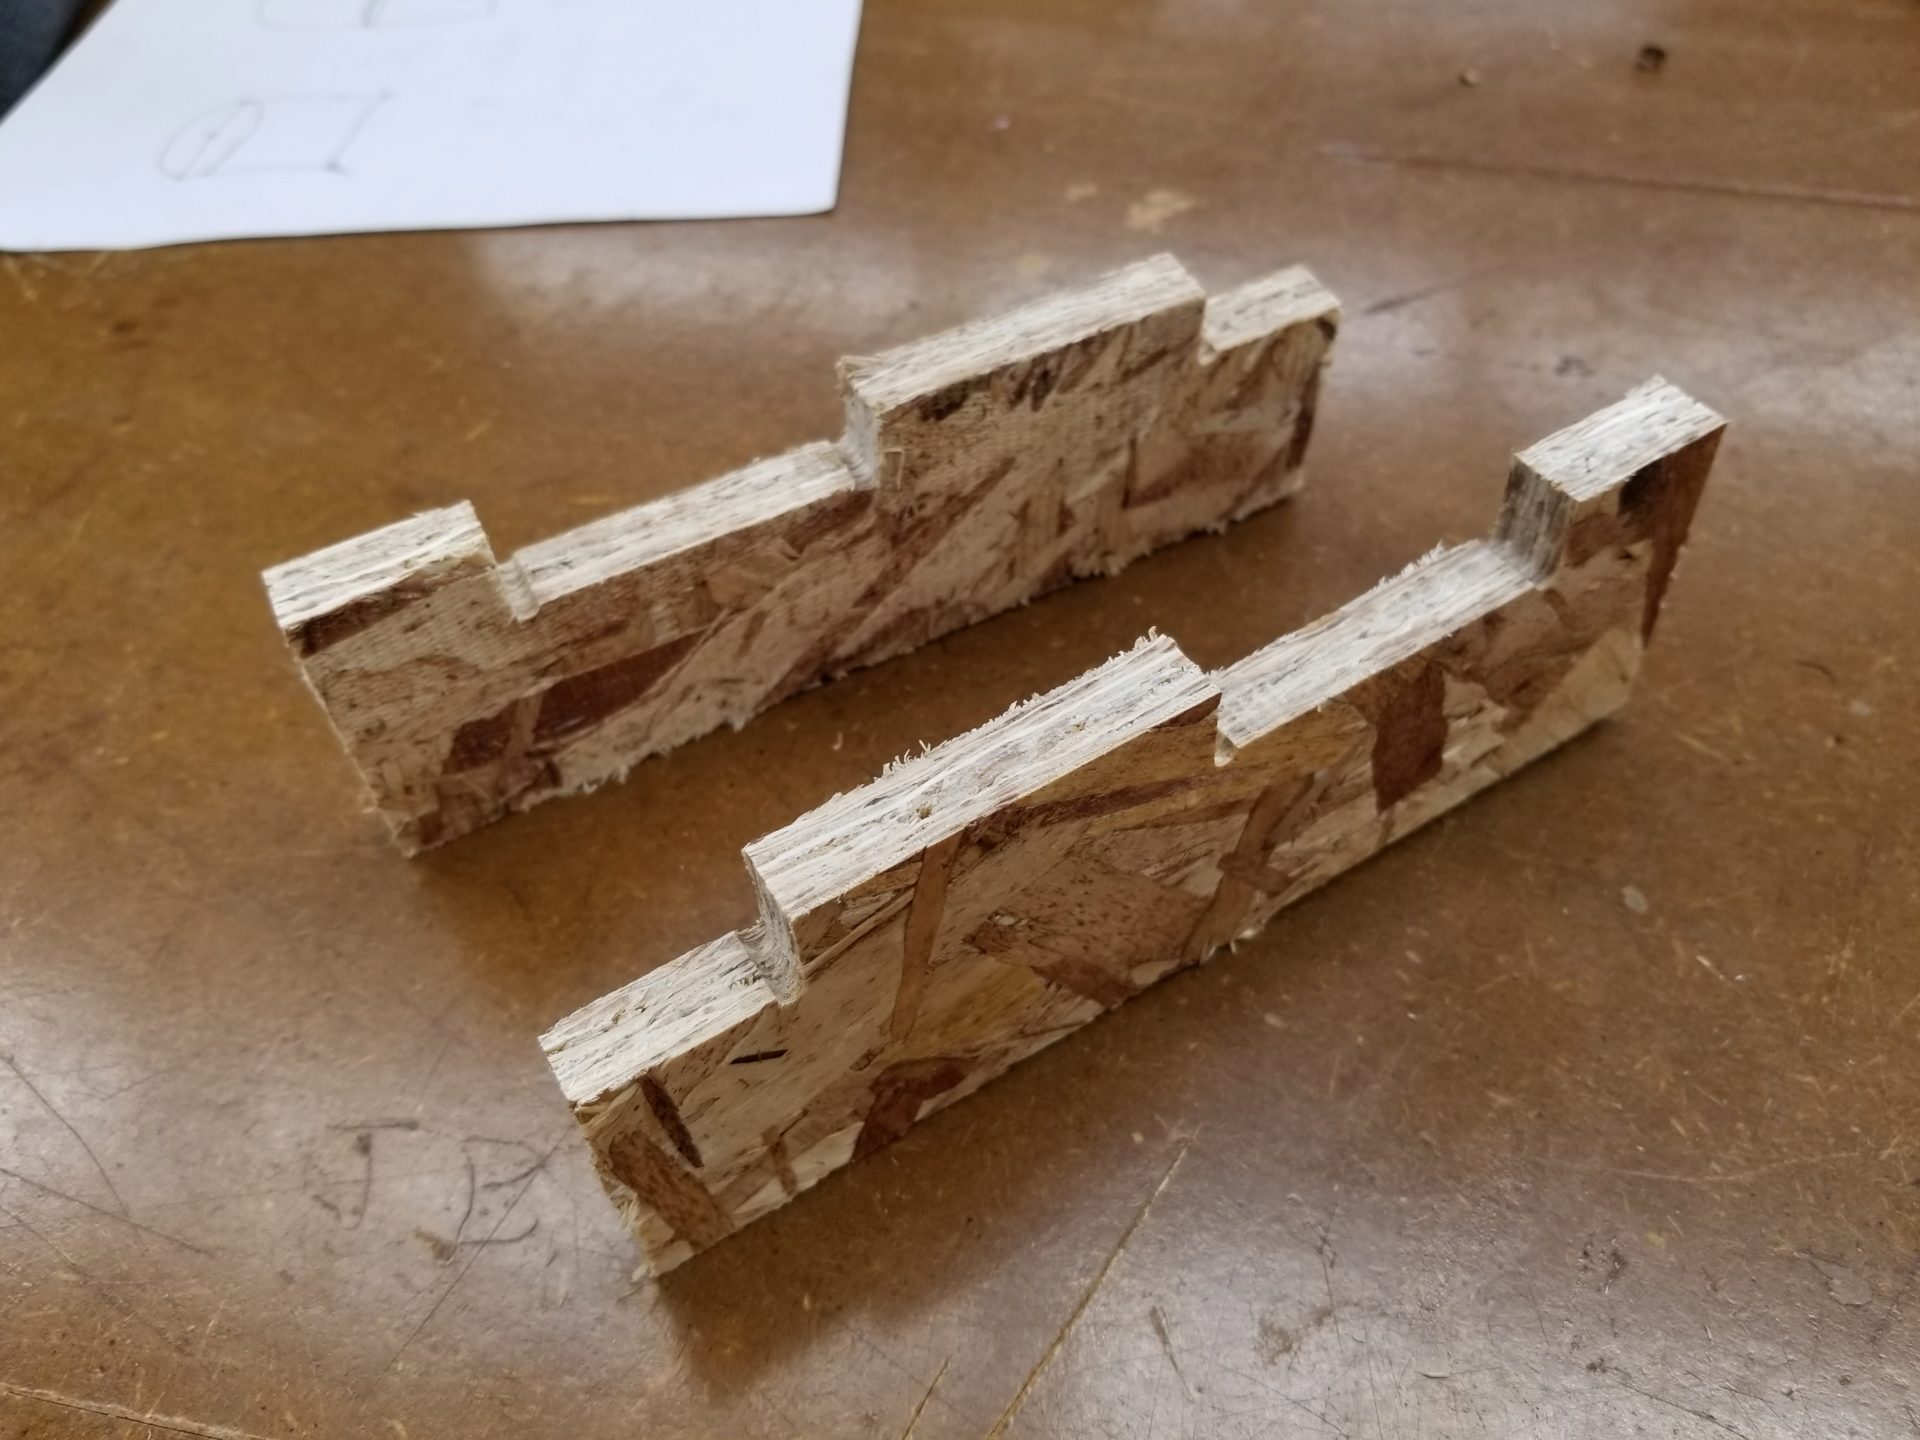
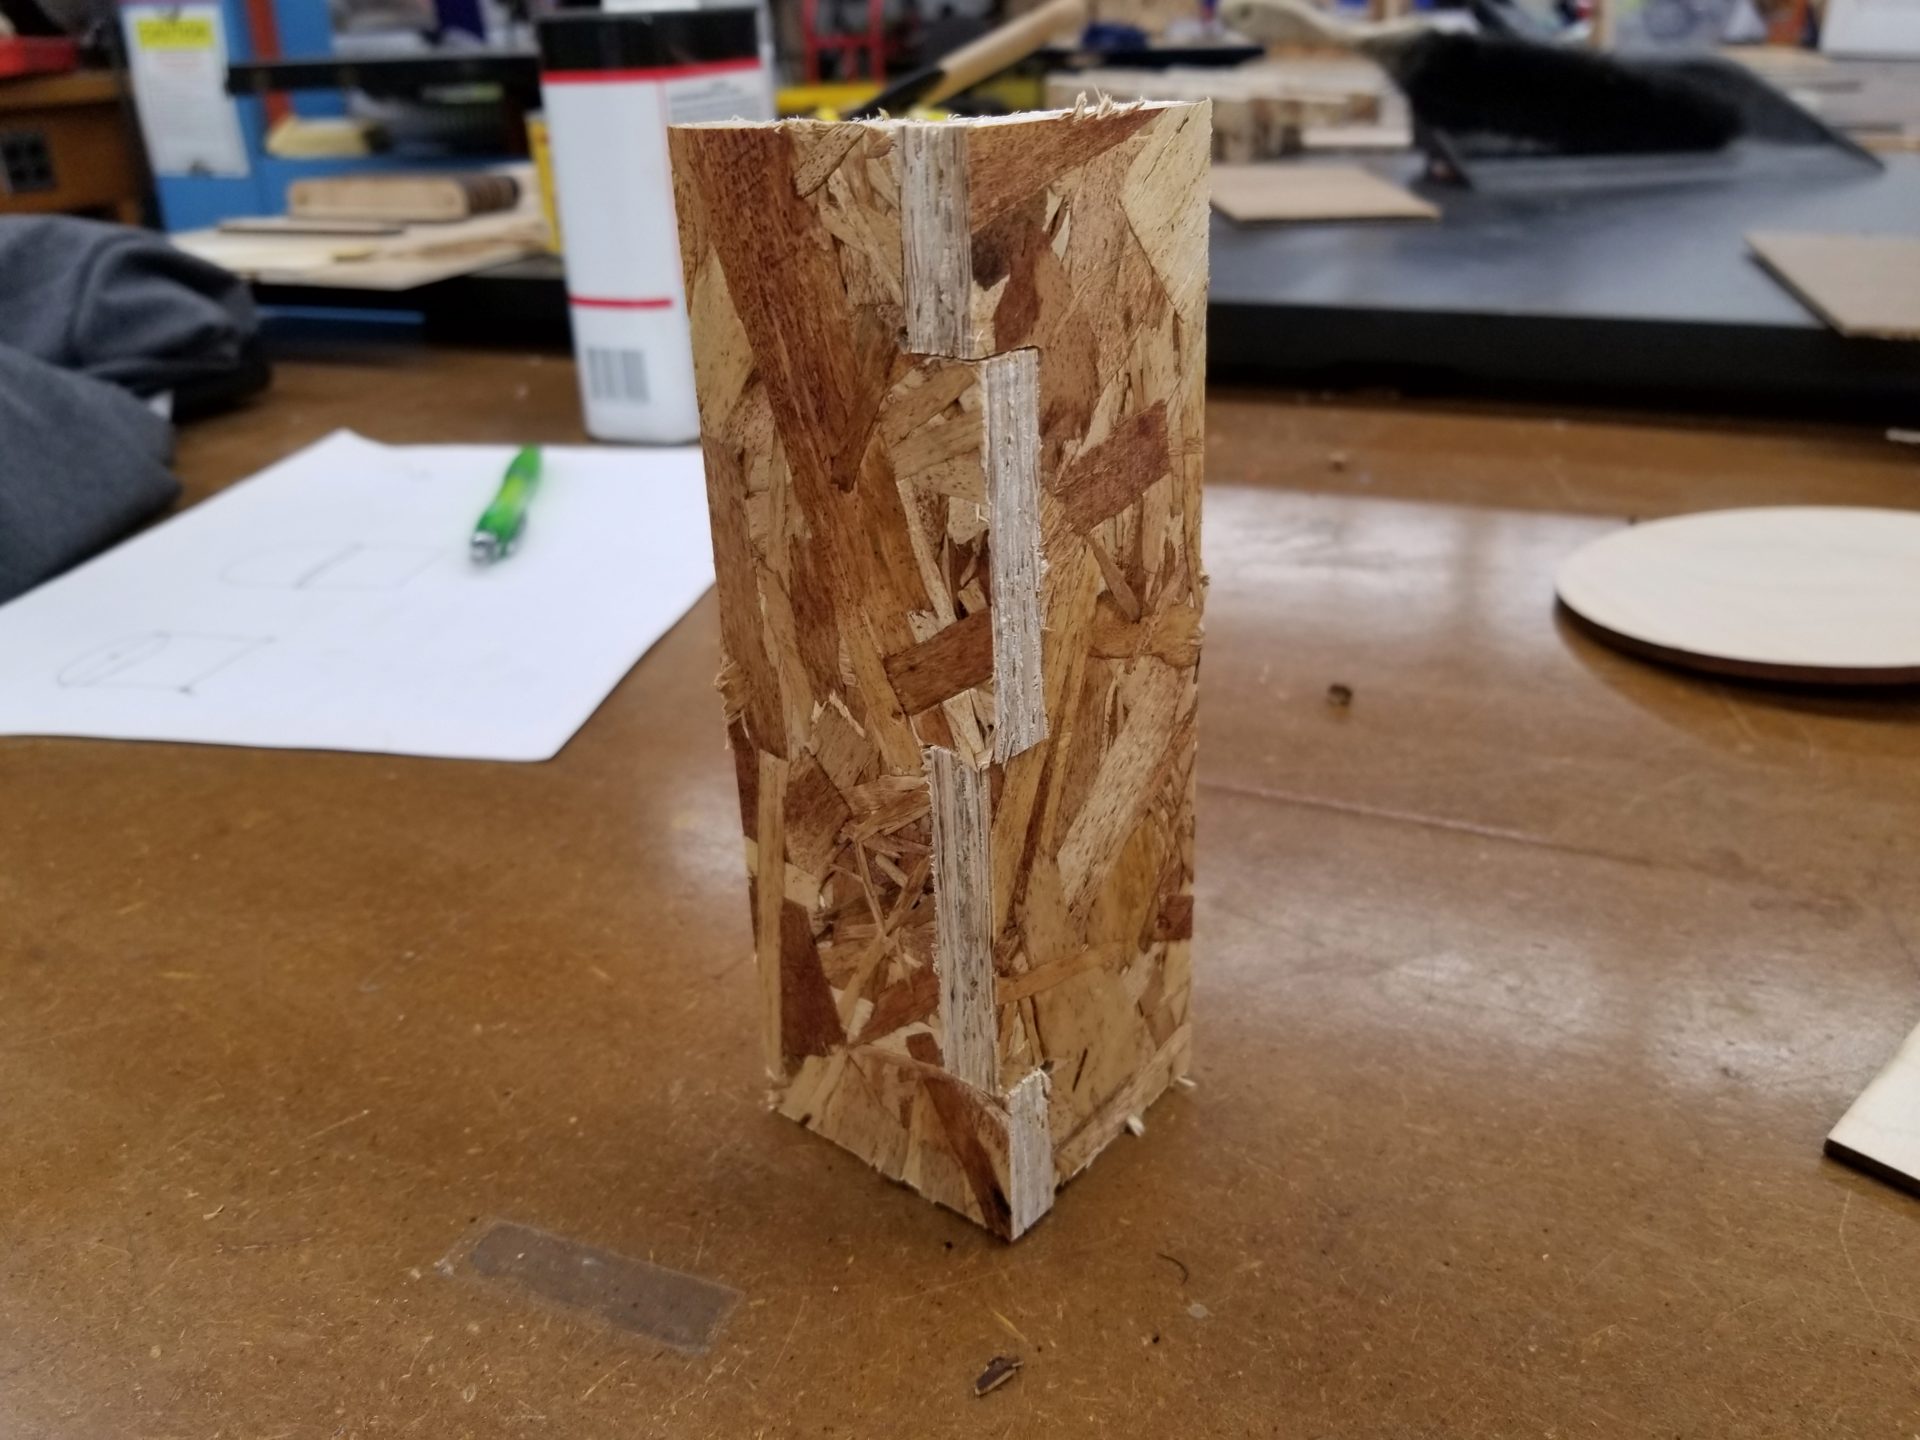
Since the Harvard ShopBot only cuts 4x4’ sheets, I used calipers to try to find two sheets of OSB with approximately the same thickness. We screwed one to the ShopBot sacrificial layer around the edges, zeroed it, and cut two copies of my test piece. The cutting worked great! My parts came out clean and fit together snugly and perfectly. Maybe this would all go perfectly like the miraculous laser cutting. I was really hoping that it would go fast, because at this point I was already coughing nearly non-stop from the sawdust.
Since my assumptions about stock thickness seemed to be holding up, I went back to my CAD model, exported the faces, and went through the tedious process of merging nodes in Inkscape on my laptpo. There were hundreds of them. Given more time and significantly less mental haziness, it might have been worth creating a little Python script to merge coincident points in an SVG file. But that was not going to happen today. I saved my files, pulled out my flash drive, plugged it into the computer with VCarve… and discover that none of the merged parts saved because I didn’t eject my flash drive properly. Another 15 minutes to redo all of it!
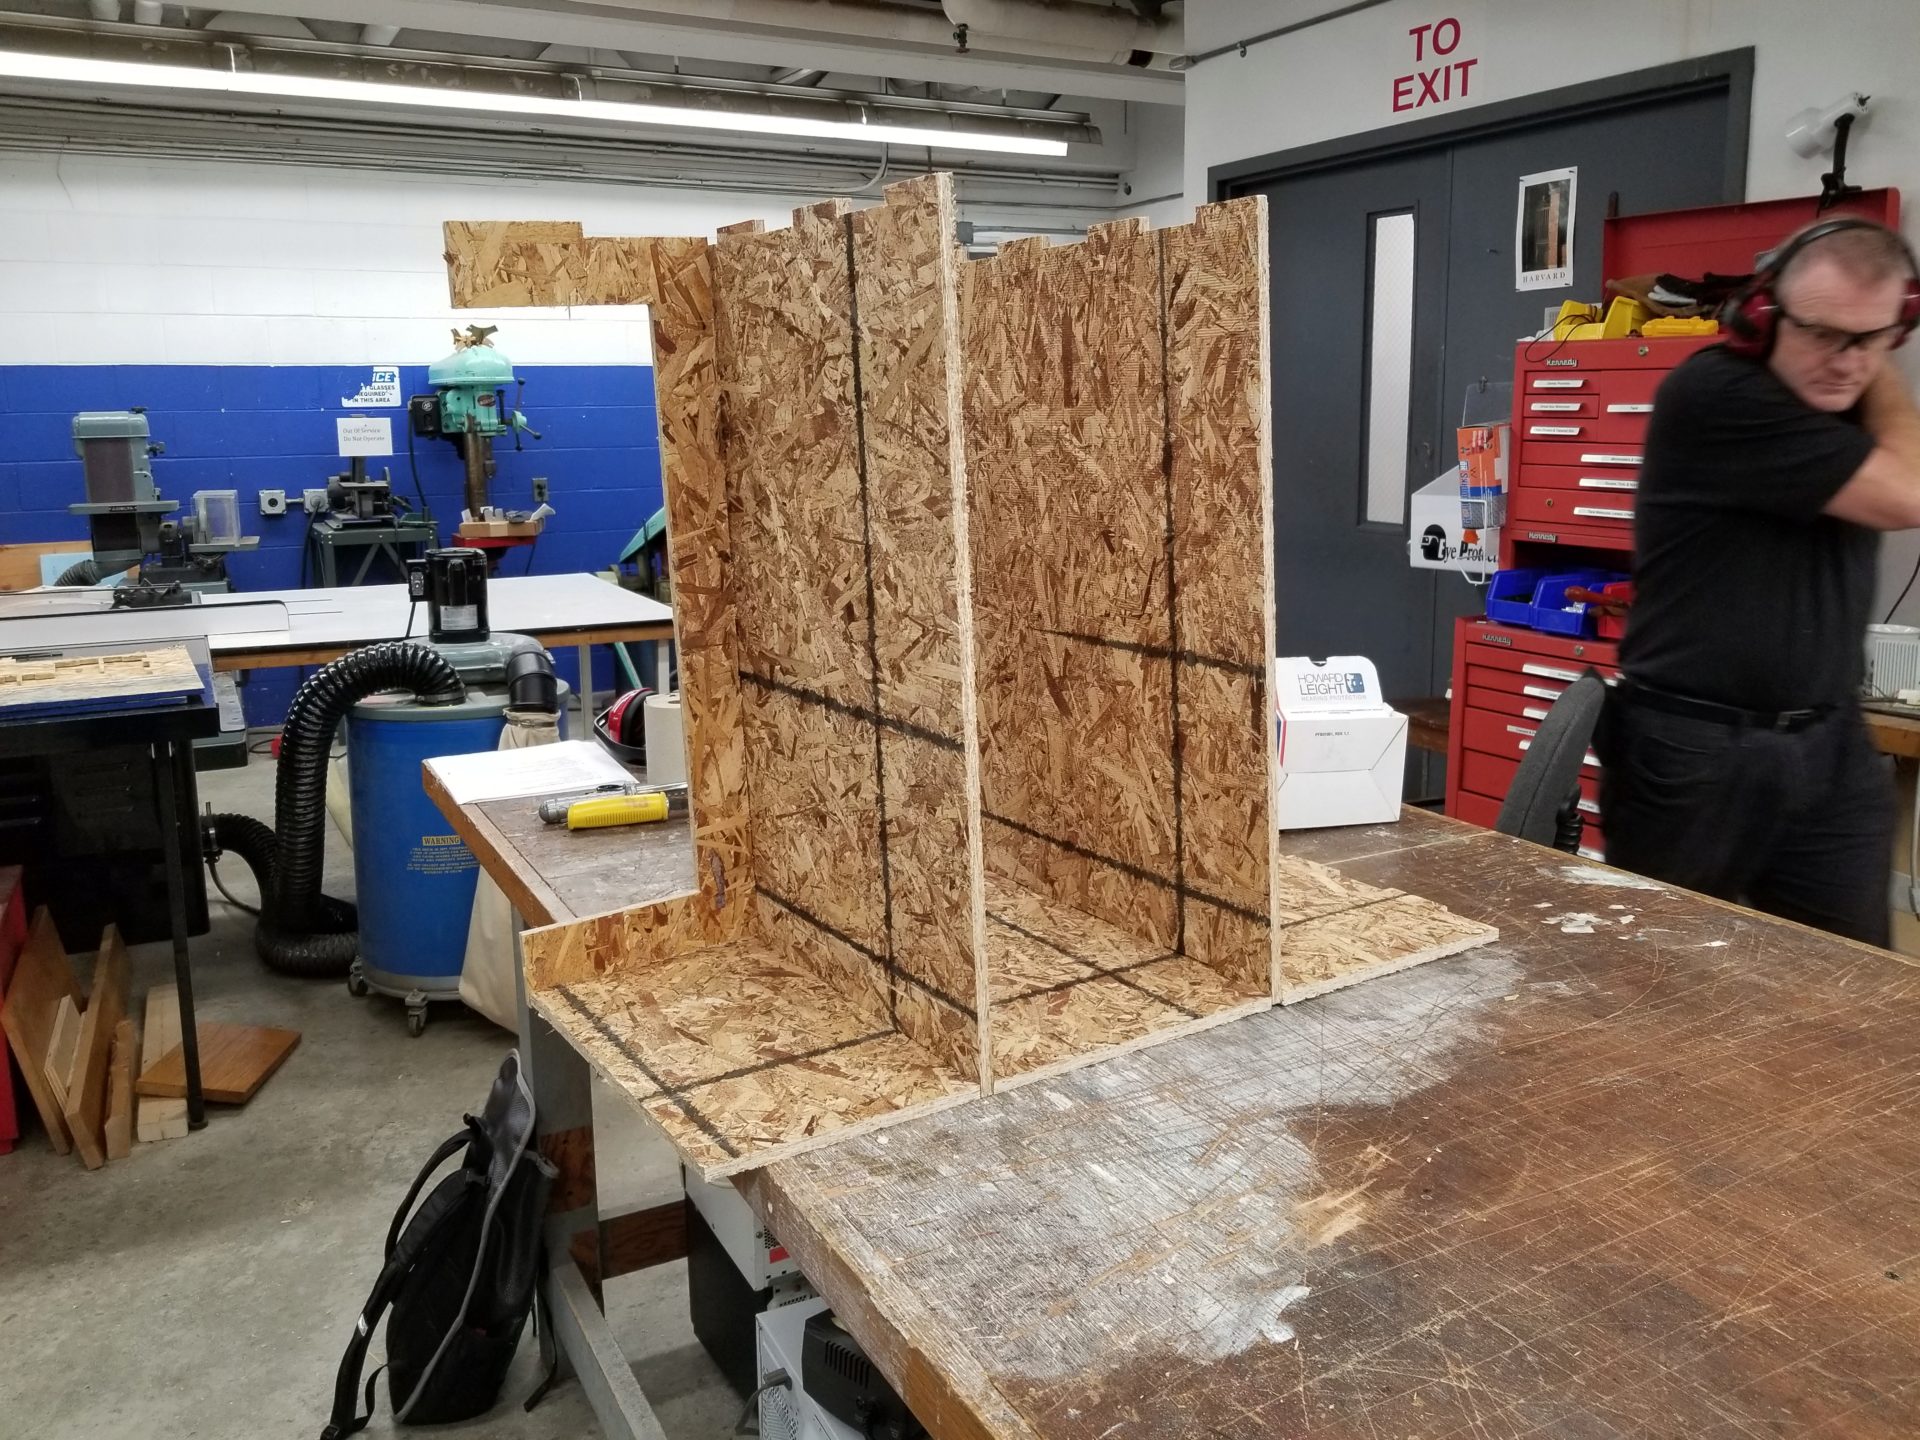
With all my parts in VCarve, the next challenge was arranging them. Specifically, I was cutting it really close on the clearance to the screws based on the size of my shelf unit. I hadn’t given this a lot of thought before. There was a lot of very careful adjustment and checking the max and min positions in the shopbot file. Daniel didn’t have us doing air cuts because there were a lot of people who still had to cut. This turned into a problem on my first sheet of cutting, when somehow I accidentally re-zeroed the X and Y positions when we set zero for Z. The ShopBot ended up going perilously close to a screw on the far right of the sheet, then running itself off the back before I hit stop.
After re-zeroing and starting over, the first sheet cut pretty well. There were a few spots were it didn’t cut through, though. This was due to my ill-conceived idea to save the sacrificial layer by not cutting too deep. I was able to get through these remaining spots in short order with a drywall saw. It left some ugly fringes on the backside in part thanks to the horrible nature of OSB, but nothing that couldn’t be cleaned up with a bit of sandpaper.
The second sheet was where things went terribly wrong. By this point, it was past my 5:00 slot, I was less than half done, and I’d been inhaling and coughing up sawdust for over two hours. This time, we set zero for the Z axis further into the board where, as I discovered at the end, the board bowed up slightly. This is where that cut depth of 0.44” really came back to bite me: Nothing cut through all the way. Well, a few spots in the middle did, but this was not a discovery I made until after pulling the material off the machine. At this point, it’s too late to fix on the ShopBot. As it turns out, it’s also too thick to cut through with the drywall saw in any reasonable period of time. So it was back to human-controlled machines: a jigsaw. Luckily, my dad let me play with power tools as a kid and my favorite was always the jigsaw. I set about re-cutting all the parts with the jigsaw, trying to follow the inside of the ShopBot kerf as closely as possible. All those box joints turn out to be a huge pain with a jigsaw, since it can’t cut sharp angles and all cuts have to be started from an edge or existing cut through the wood. It was miserable.
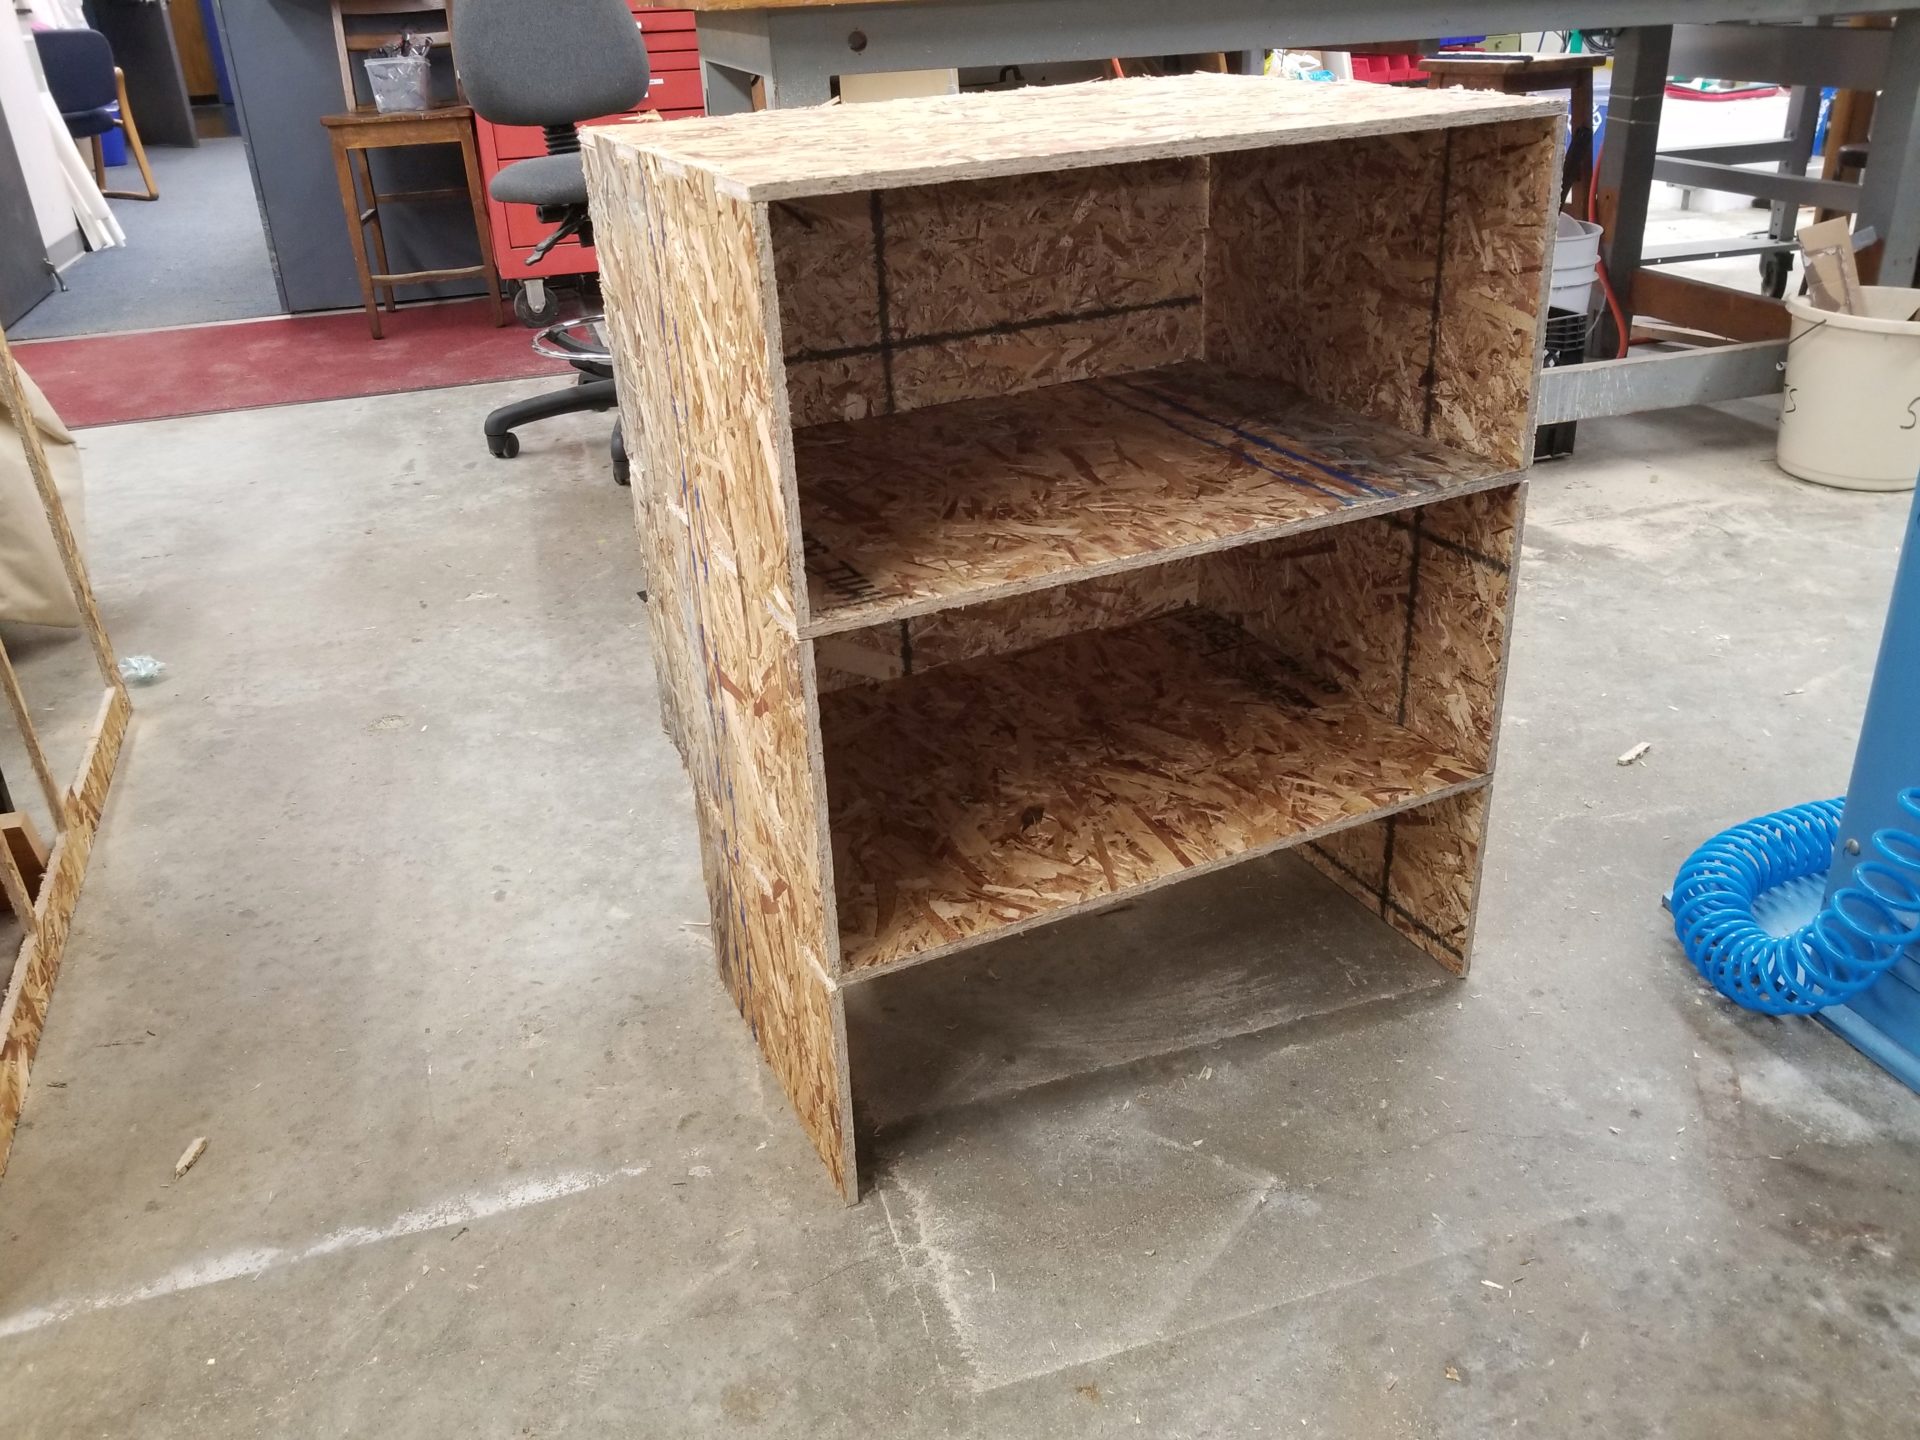
So much for the perfect, clean test joints – this thing was a mess. Between the warping of the wood, slight differences in wood thickness, and the imprecision of my jigsaw cutting, things did not fit together really nicely. After my experience with my laser cutter spice rack, I was worried about fits being too tight. I only needed a little work with a rubber mallet to fit the whole thing together, but it’s not pretty (besides the fact that it’s made out of OSB). There are gaps due to warping and the tightness of the joints is inconsistent. Without the back panel, there’s no way this would stand up. With some wood glue and brad nails, it could probably be made reasonably stable, but I’m not sure it’s worth it. Bonus: The way I designed the radiator cover part on the bottom back, there’s nothing to hold it in place and it just falls out.
Finally done with my shelves after nearly five hours, I decided it was a great idea to haul it back from the Science Center basement to Pierce Hall, where I was an hour and a half late to Project Night. This was a terrible idea, and after finally getting there, it took at least five minutes before I could stop coughing enough to talk. It’s now sitting in next to my desk in the lab being an eyesore for the rest of the office, particularly put to shame sitting next to Kirsten Petersen’s CNC wood chair. Maybe spending a year passing that every day gave me unrealistic expectations about what I’d actually produce this week.
Summary: this is not going in the bathroom.
I might go back and try to make an improved version in the future, but honestly, that’s pretty unlikely when I could work on building robots instead of breathing in sawdust.