The Architecture Section got together this week to make a machine. Like good college students, we decided to make an automatic drink mixer and dispenser. I was on the hardware design team.
Meeting to brainstorm
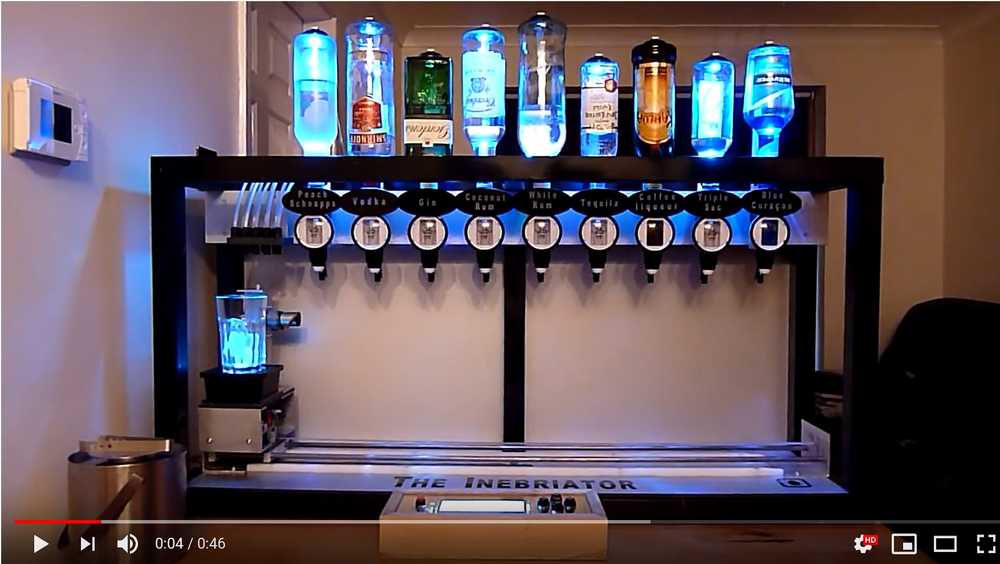
This is really the first time we had all worked as a group for an extended period of time. Usually the TAs coordinate our meeting times, but since this was our project, I set up a When2Meet to figure out when we could all get together. It is always hard to get 10+ students, all with different schedules, in the same place. Anyway, we we able to get a quorum on Thursday to go over some design ideas. Someone found a link to the Inebriator - link to Youtube video via the picture below - and we all quickly agreed to tackle that. The next day, we got more people together and delegated tasking between Hardware - Body Design, Dripper Mechanism, and Circuit Design. I was assigned to the Hardware design team that included the X-axis. I was pleased, since I might be using a modification of this X-axis machine/stepper motor for my final project.


Designing the body and X-Axis
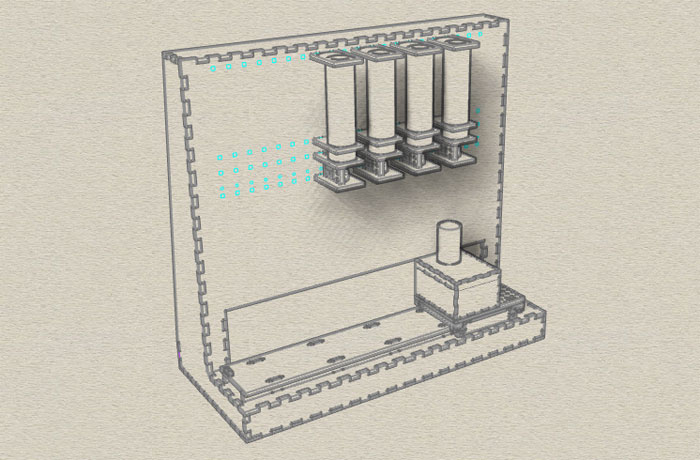
The body design team got together Sunday and came up with the overall design. We had three moving parts - an step motor X-axis to move the cup, a DC motor that spun under the cup holder that moved a magnet and a magentic mixer and then individual valves that opened up the bottles. We used Jake's RCT Gantry for the X-axis with just minor changes in Fusion get the platform larger for the magnetic mixer. I went out to Dickson's Hardware Store in Harvard Square to grab some magnets and a highball/pint glass for mixer. You can see in the top right of the schematic where the sensor will be attached via a pin connection.


Milling the machine on the Onsrud
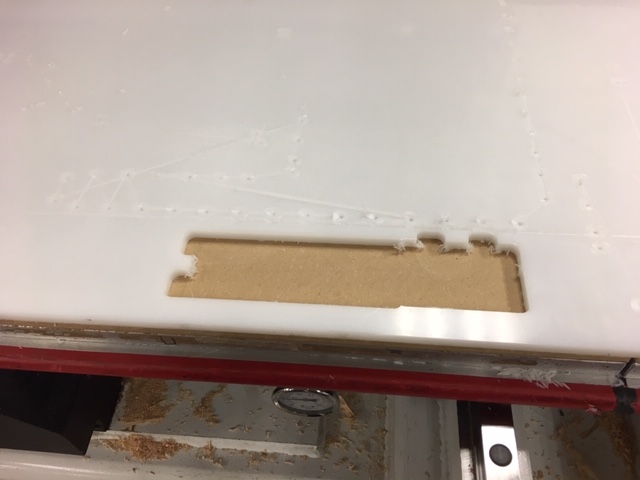
Jim is a whiz at Rhino and made the body around the gantry very quickly. Jung and Dalma made the dripper. Molly designed the mixer and then put all the pieces on one milling sheet - you can download the Rhino file in the picture below. Jung worked hard at Mastercam on Monday night. Rodrigo and I babysat the Onsrud in N51. Just the corner holes to make the connectors sqaure took over an hour! There must or at least should be a better way to do this. Some warping occured next to a whole where we milled out a test piece. This caused the drillbit to scratch the surface in that area. We kept an eye on that, but it was only localized to that warping area. Mastercam settings are very important. The EECS team broke three bits over the weekend on this machine and with the HDPE. Thankfully, we were able to steal their settings. Our Mastercam is a large file - so you can find hopefully find it in my Dropbox bu clicking the picture below. Though next time, we would make the Onrsurd raise higher when moving to account for any warping.


Moving the machine
Just an aside here. Rodrigo and I moved the large board between Building 3 and N51. This is the button on the frieght elevator. Some bathroom napkin shoved into a hole! Maybe we should 3D print something for this. Also note that calling the elevator literally means holding the button on the direction you want the elevator to go. If someone else is in the elevator, they are moving based on your commands. Thankfully, the janitor late at night was very understanding as we kept dragging him up and down the shaft!
Putting it all together
I came back to the shop Tuesday morning and began separating the pieces from the onion skin. A boring task. That took about an hour. Folks joined me and we cleaned up some of the work and started hammering peices together.


Almost there...
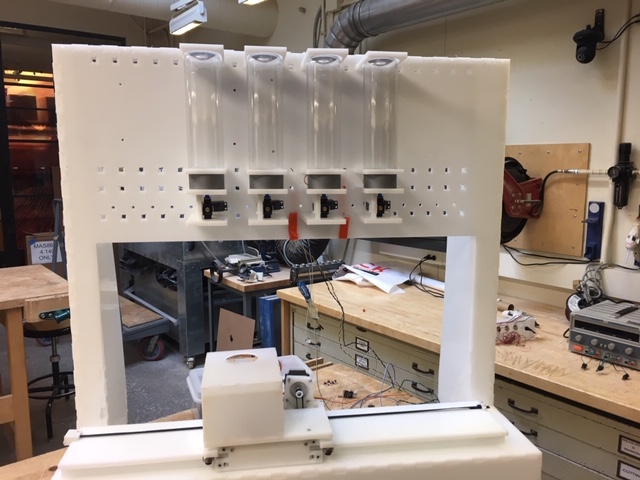
Put together the X-axis. However, it started to get really hot and we had to disconnet it unfortunately. Our power supply supplied 24V, which was much more than we needed. If we had more time, we would need to troubleshoot the circuits.


