Tools used: Sindan 3DWox printer, Stratasys Objet Eden 260VS, SENSE 3D scanner + software, 3DWOX Desktop, Autodesk Fusion 360, Autodesk Meshmaker, Inkscape, GIMP
Group members: Tina, Elena, Ravi, Teja, Zijun
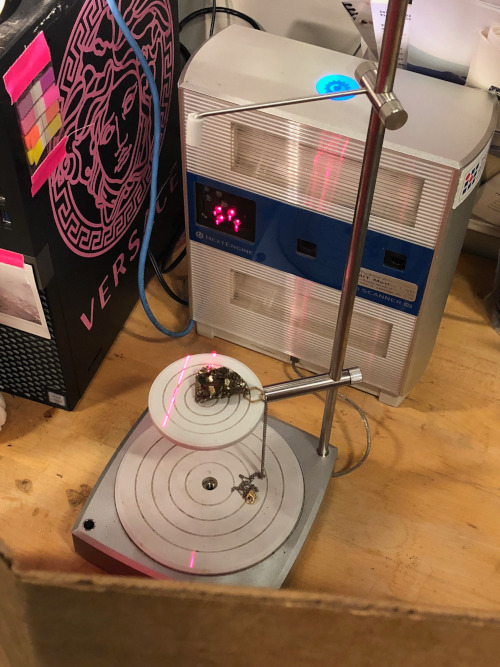
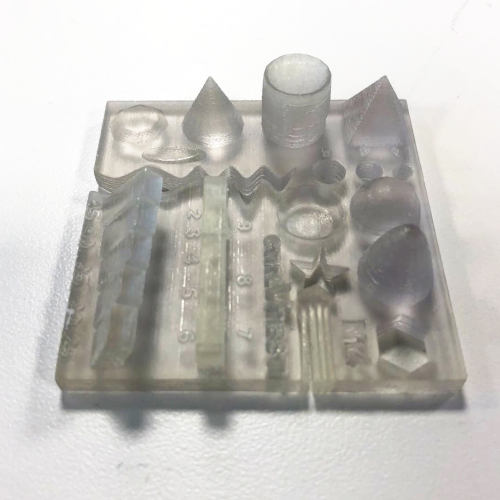
First, we took the standard file and printed it on the Sindan 3DWox printer. This worked out pretty well.
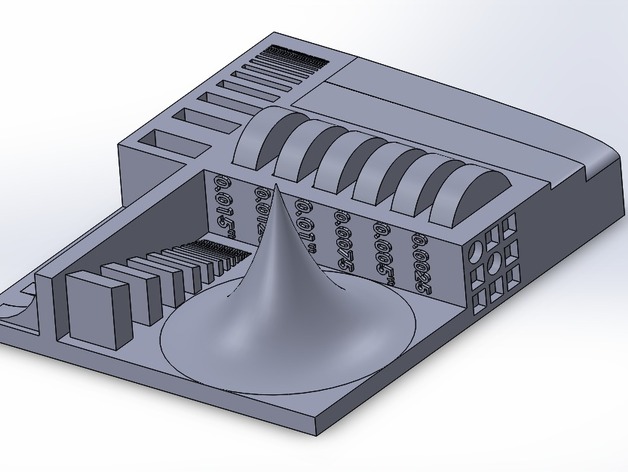
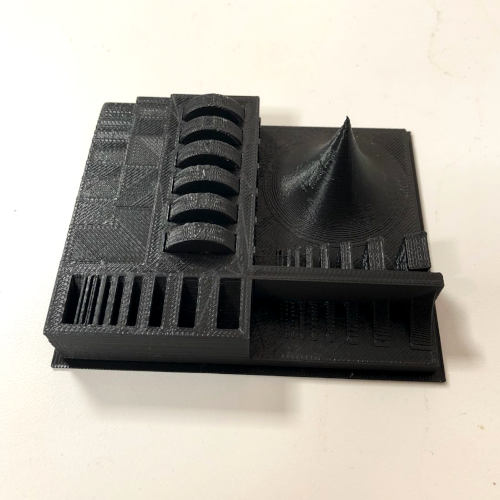
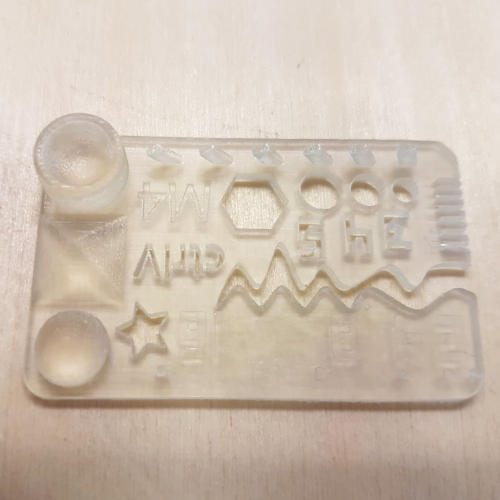
To test some other geometries, we made the following designs.
In 2016, I wrote a poem titled A Juncture of Perspicacity, which was later published in the Harvard Dudley Review, an annual journal featuring writing and artwork by graduate students and members of the Dudley community. In short, it describes a special moment that occured while I was doing grocery shopping in the Market Basket (of all places!). A little baby girl stared into my eyes for a brief second, and her gaze beamed out the following flash of insight.

At that time I was wondering what the purpose and goal of all my effort and hard work was, in a country where even the president denies climate change. I was asking, who or what am I doing this for? How can I, as a single individual, contribute to the energy transition in this country? The fraction of a second in which our eyes crossed invoked the reassurance that we have to stand up to make sure future generations can enjoy the earth the same way we do now. The child was answering my question by saying: "you do this for us".
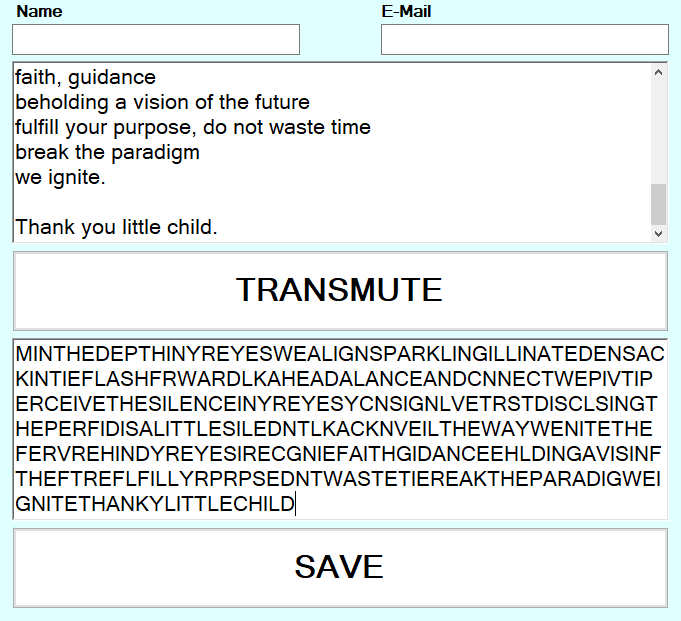
One of my DIY biology friends Sebastian S. Cocioba came up with the brilliant idea to convert the written text into a protein sequence code. By removing all the punctuation, whitespace, and all non coding letters (BYOUXZ), the poem can be encoded and read by protein structure and function prediction software. The encoded file was then submitted to RaptorX, developed by the Xu group at the University of Chicago, for structural prediction. The result of the simulation is a 3D model that can be exported in STL format.
Citation: Morten Källberg, Haipeng Wang, Sheng Wang, Jian Peng, Zhiyong Wang, Hui Lu, and Jinbo Xu. Template-based protein structure modeling using the RaptorX web server. Nature Protocols 7, 1511-1522, 2012.
Encoding the poem.
The RaptorX job submission.

The predicted structural geometry in RaptorX.
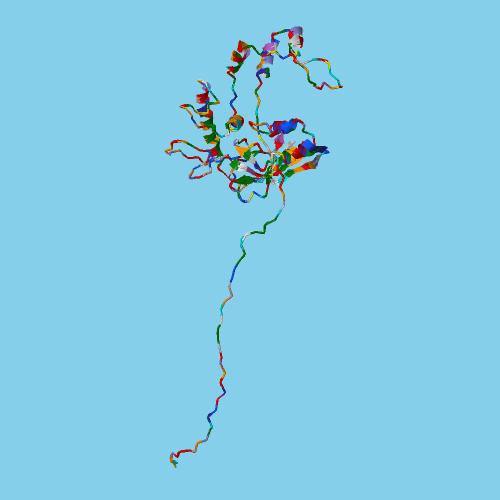
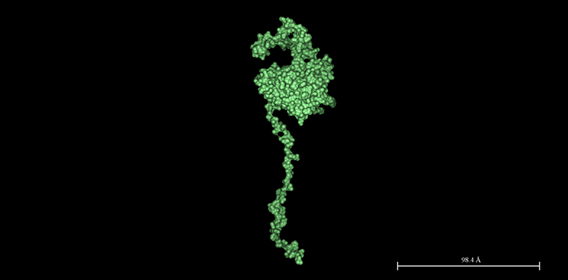
And a visualization of the results.
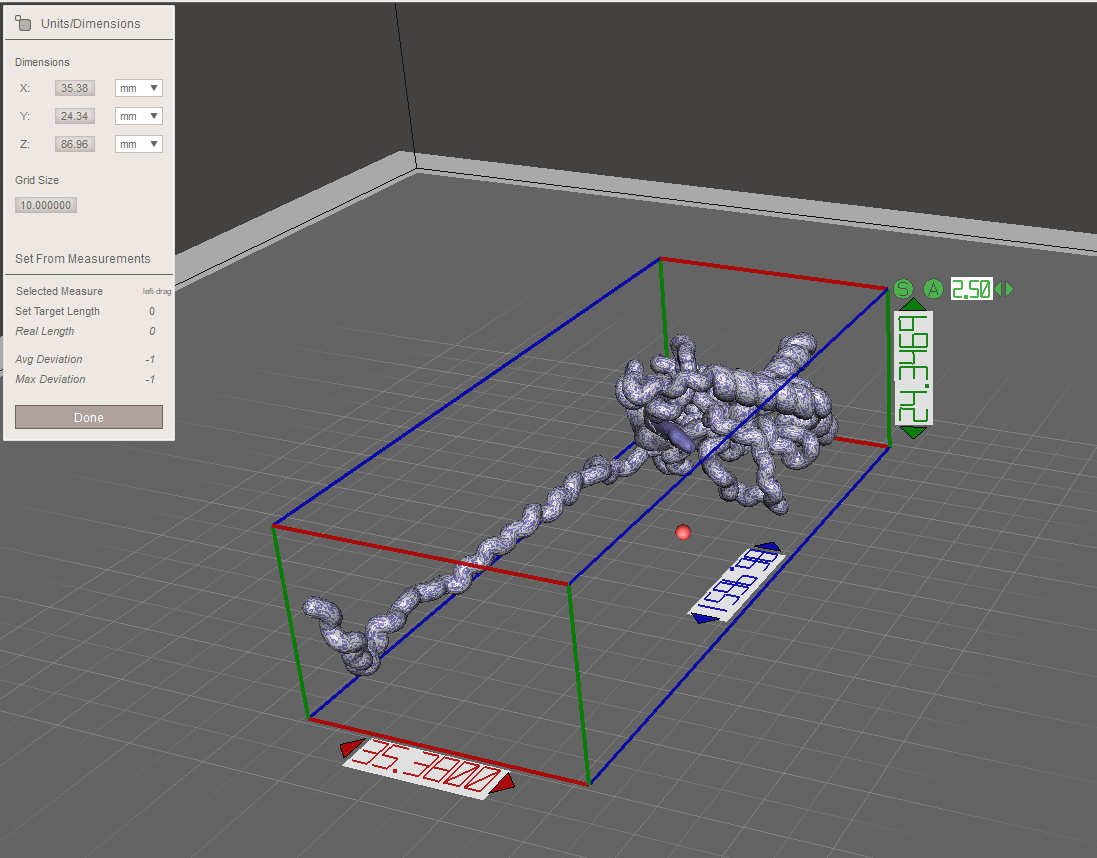
Next, I imported the STL file in 3DWOX software to check if it can be printed.

Obviously, the object was too fine for 3D printing, so the thickness of the protein had to be enlarged in order for it to be printable. I started in Autodesk Fusion 360, but this was a hopeless case as the program didn't recognize the meshes. The golden advice came from my groupmate Erik Strand, who recommended to use Autodesk Meshmaker instead. The nice feature of this program is that it allows users to inspect the object, and adjust the meshes as if you're working with clay.
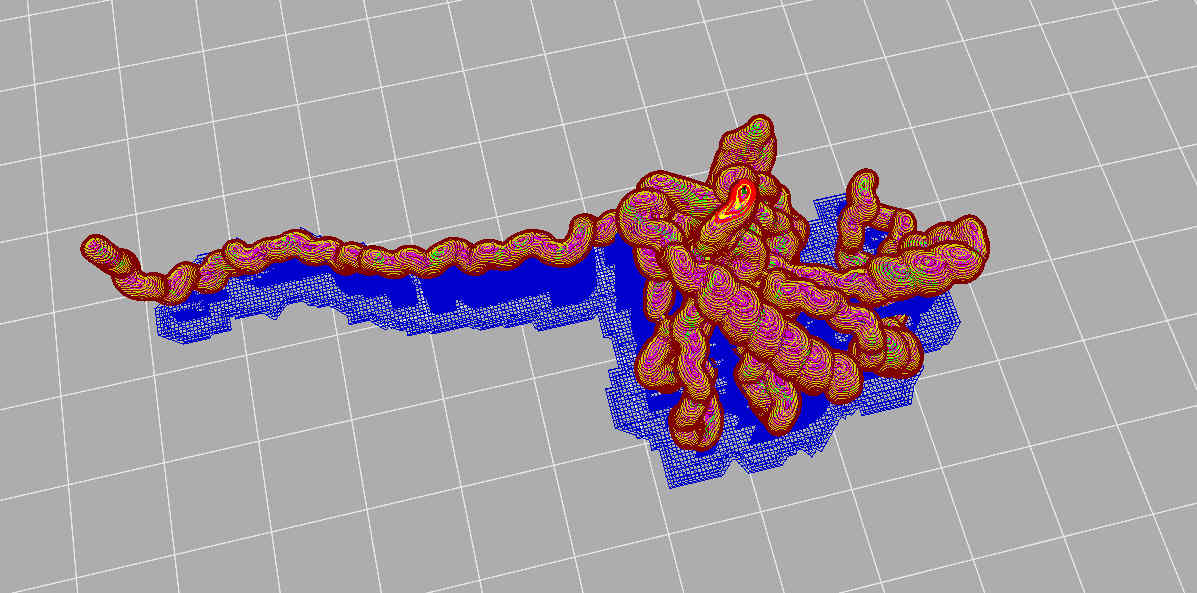
This is a screen shot of how the layers are built in 3DWOX, using g-code. Both Autodesk Meshmaker and 3DWOX still gave the message: 'output may not be correct due to thin shape'.
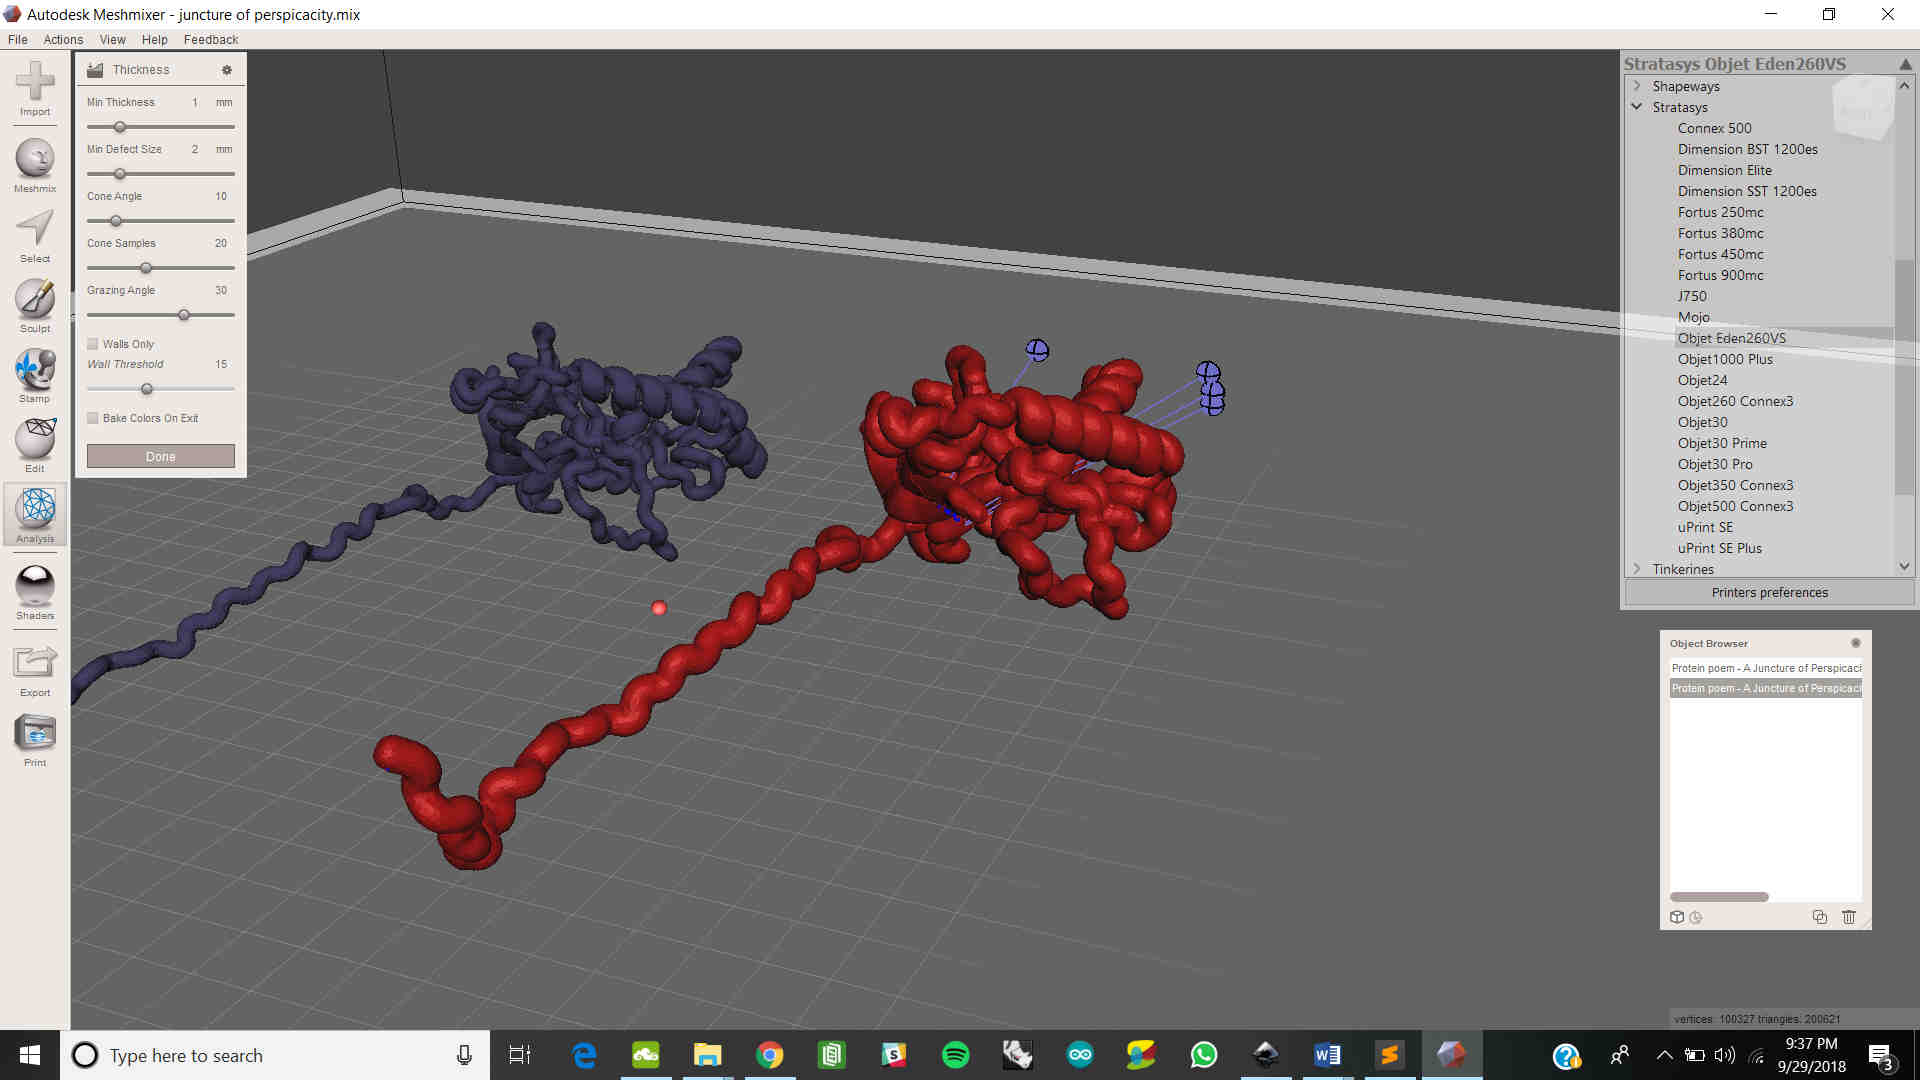
To resolve this issue, I offset the entire mesh in Meshmaker. To make sure that at least one of them would be printable, I exported three versions with increasing mesh thicknesses: offset 1 (most accurate), offset 2 and offset 3 (barely resembles the original file).
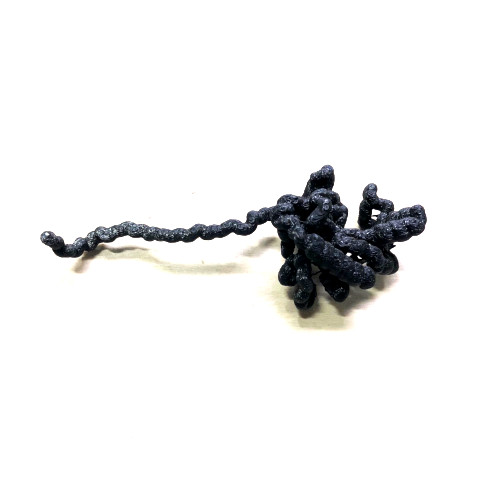
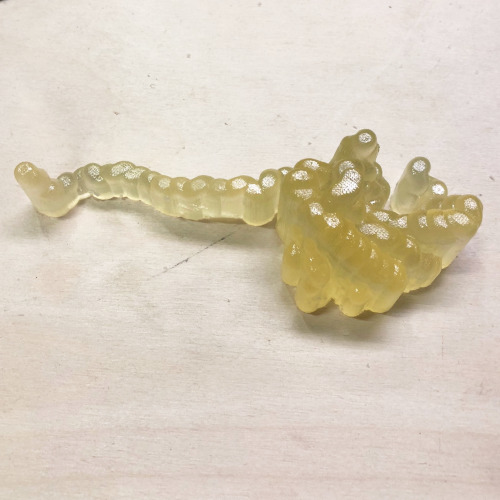
This worked! The final result is a 3D print of model 'offset 2' by the Sindan 3DWox.
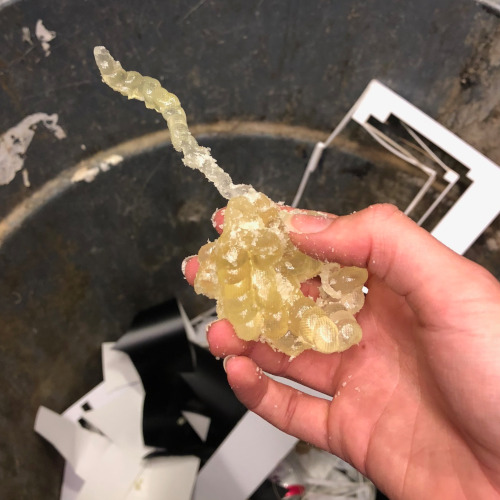
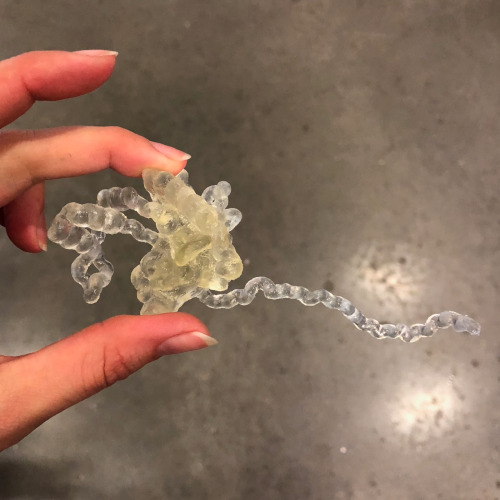
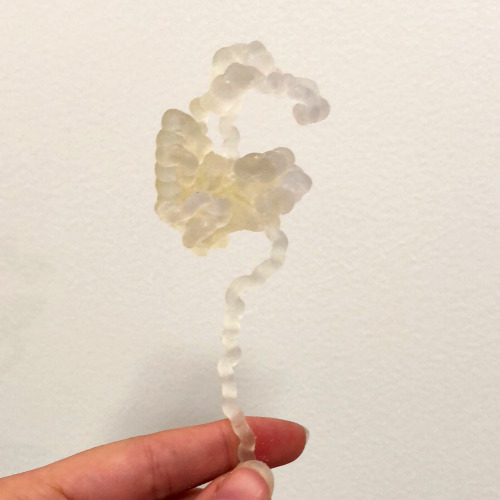
The CBA also has more advanced 3D printers, including the Stratasys Objet Eden 260VS. With this printer, the horizontal build layers are as fine as 16 microns (.0006 in.). This printer was able to print a scaled-up version of offset 1. The picures below show the process of support material removal. Due to the fragility of the object I did not dare to use the water blaster.
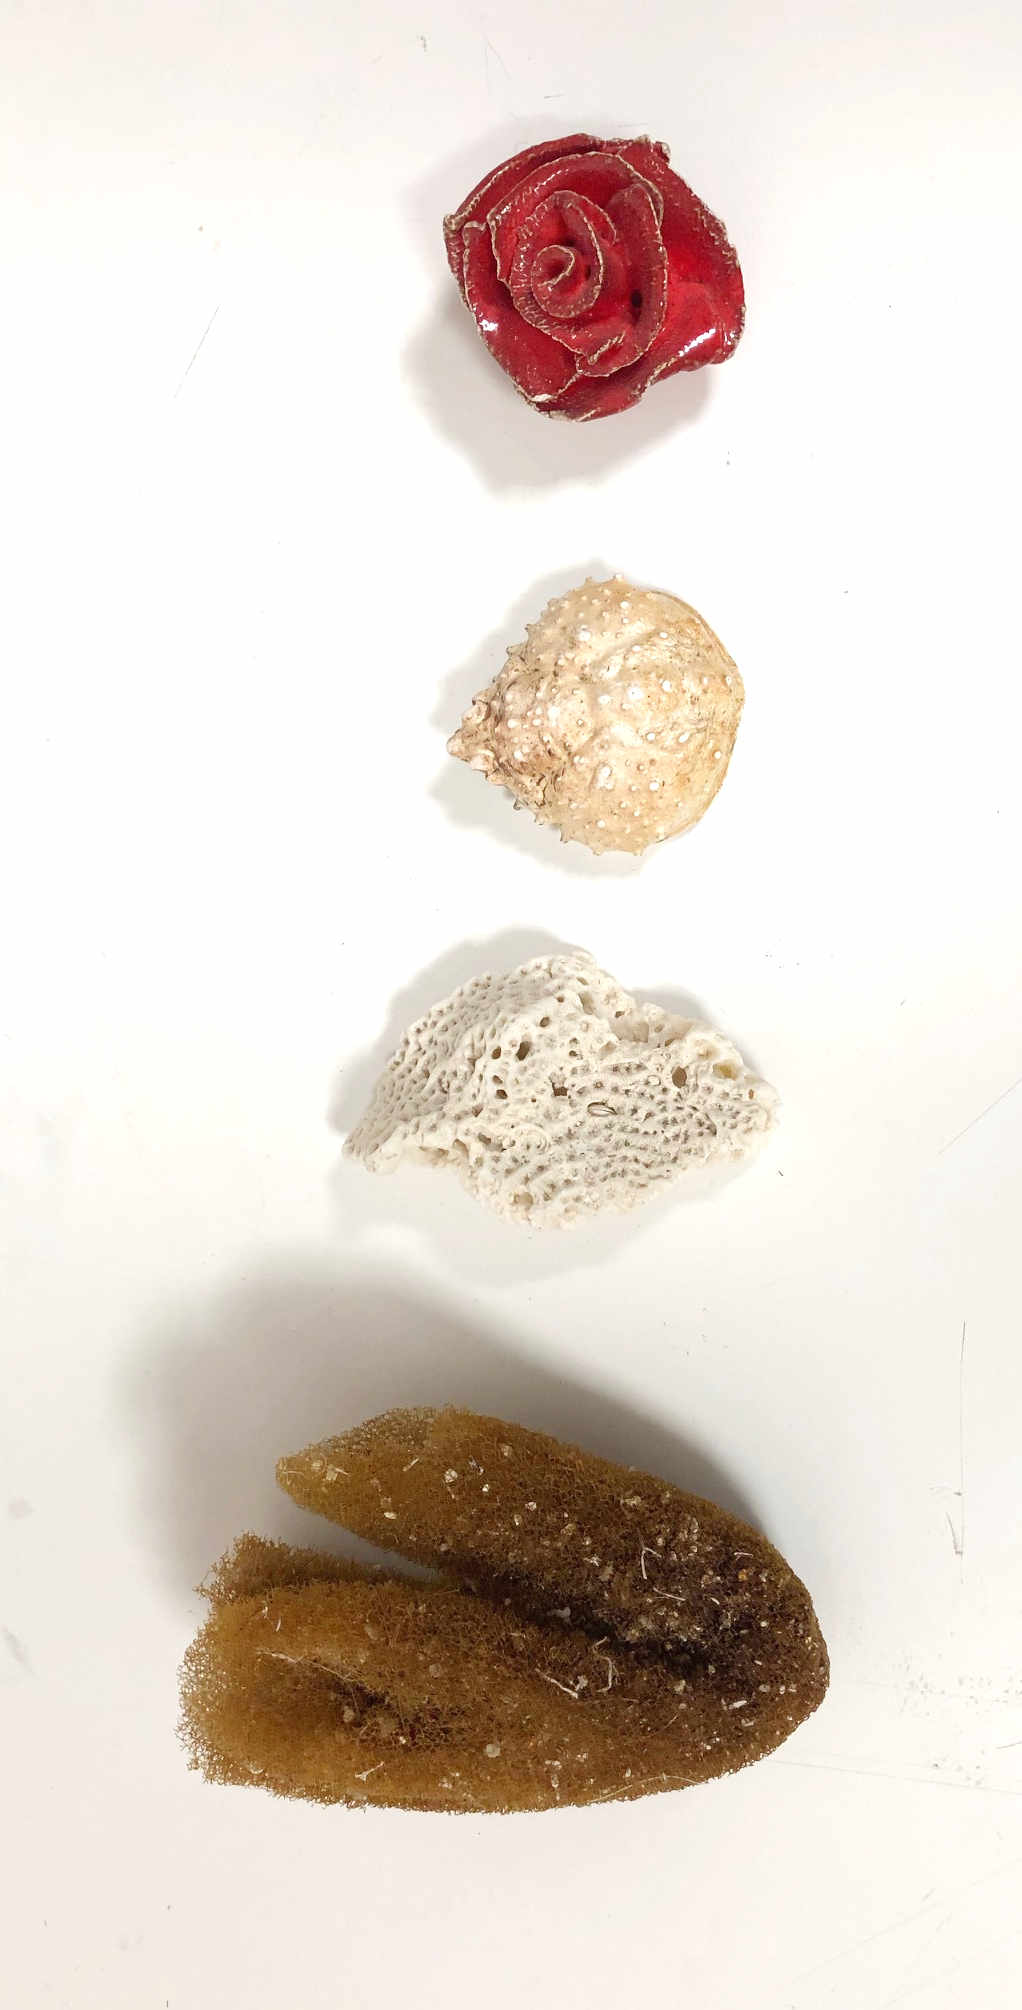
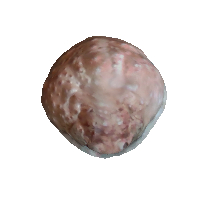
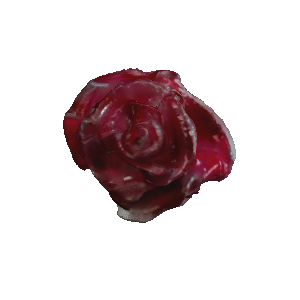
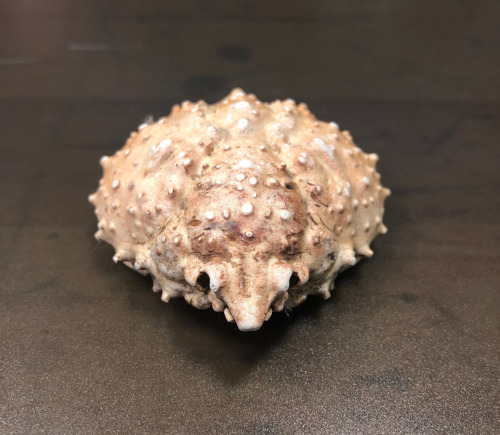
Because I am curious to the differences in color, texture and porosity, this is an excellent opportunity to work with a variety biological materials. The following objects were scanned:
Side-note: here is a how-to on how I made my first GIF image, adapted and modified from eLearn Hub:
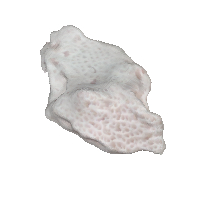
The results! Not too bad, right?
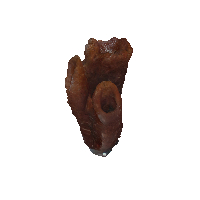
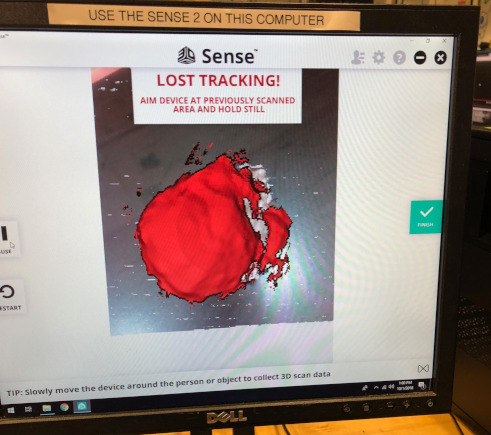
The crab shell gave me a hard time though, and scanning didn't succeed immediately. Here is a picture of one of the many failures:
Next, I tried to 3D scan my favorite necklace, a pyrite crystal. We were told the 3D scanner can't handle shiny objects, so I decided to try it out.
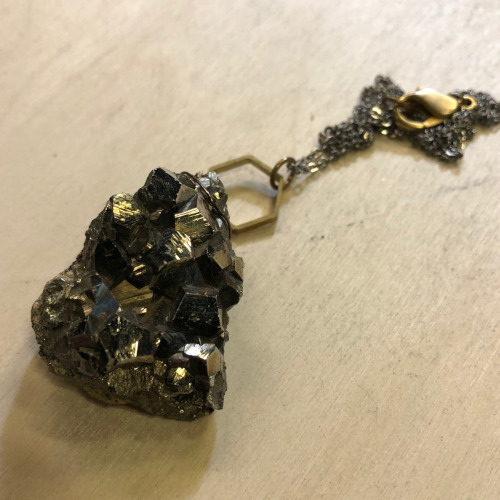
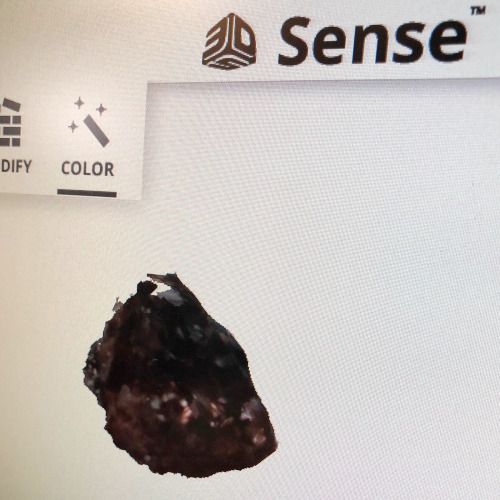
Unfortunately this did not work out all too well. I tried it on the other 3D scanner, which completely crashed the software.