3D scanning and printing
This week we did, you guessed it, 3D printing (and scanning!). Time is actually a pretty big constraint when it comes to 3D printing, so I went with something small this week so that a) if the print got messed up, it wouldn't be too big a deal, and b) I wouldn't hold up anyone else's ability to use our printers. I CADed my part in Rhino with Grasshopper, because I wanted to try out an entirely different flavor of CAD from SolidWorks/Fusion/etc. CAD with scripting is also really powerful, and something I'd like to continue working with.
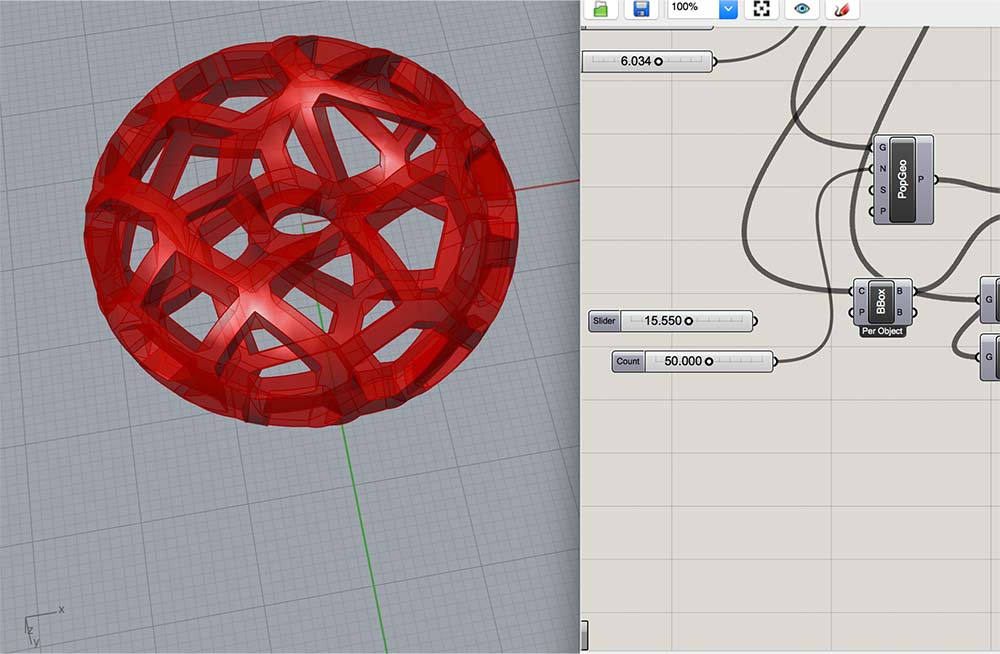
This is an image of the CAD and some of its Grasshopper workflow. I decided I wanted to make some shape (ended up going with a torus) and use Grasshopper to generate a somewhat complex pattern across it. The Grasshopper (code? flow?) looks roughly like Make Shape -> Populate with random points -> Apply 3D Voronoi (my understanding of Voronoi is that it creates cells/partitions around points based on all the points that are nearest to your selection points) -> Modify the Voronoi pattern and cull it. While making this, I had some (still) unresolved issues around using a Grasshopper plugin called Weaverbird, which I was hoping to use. So I'm still working on figuring out the right datatypes for that.
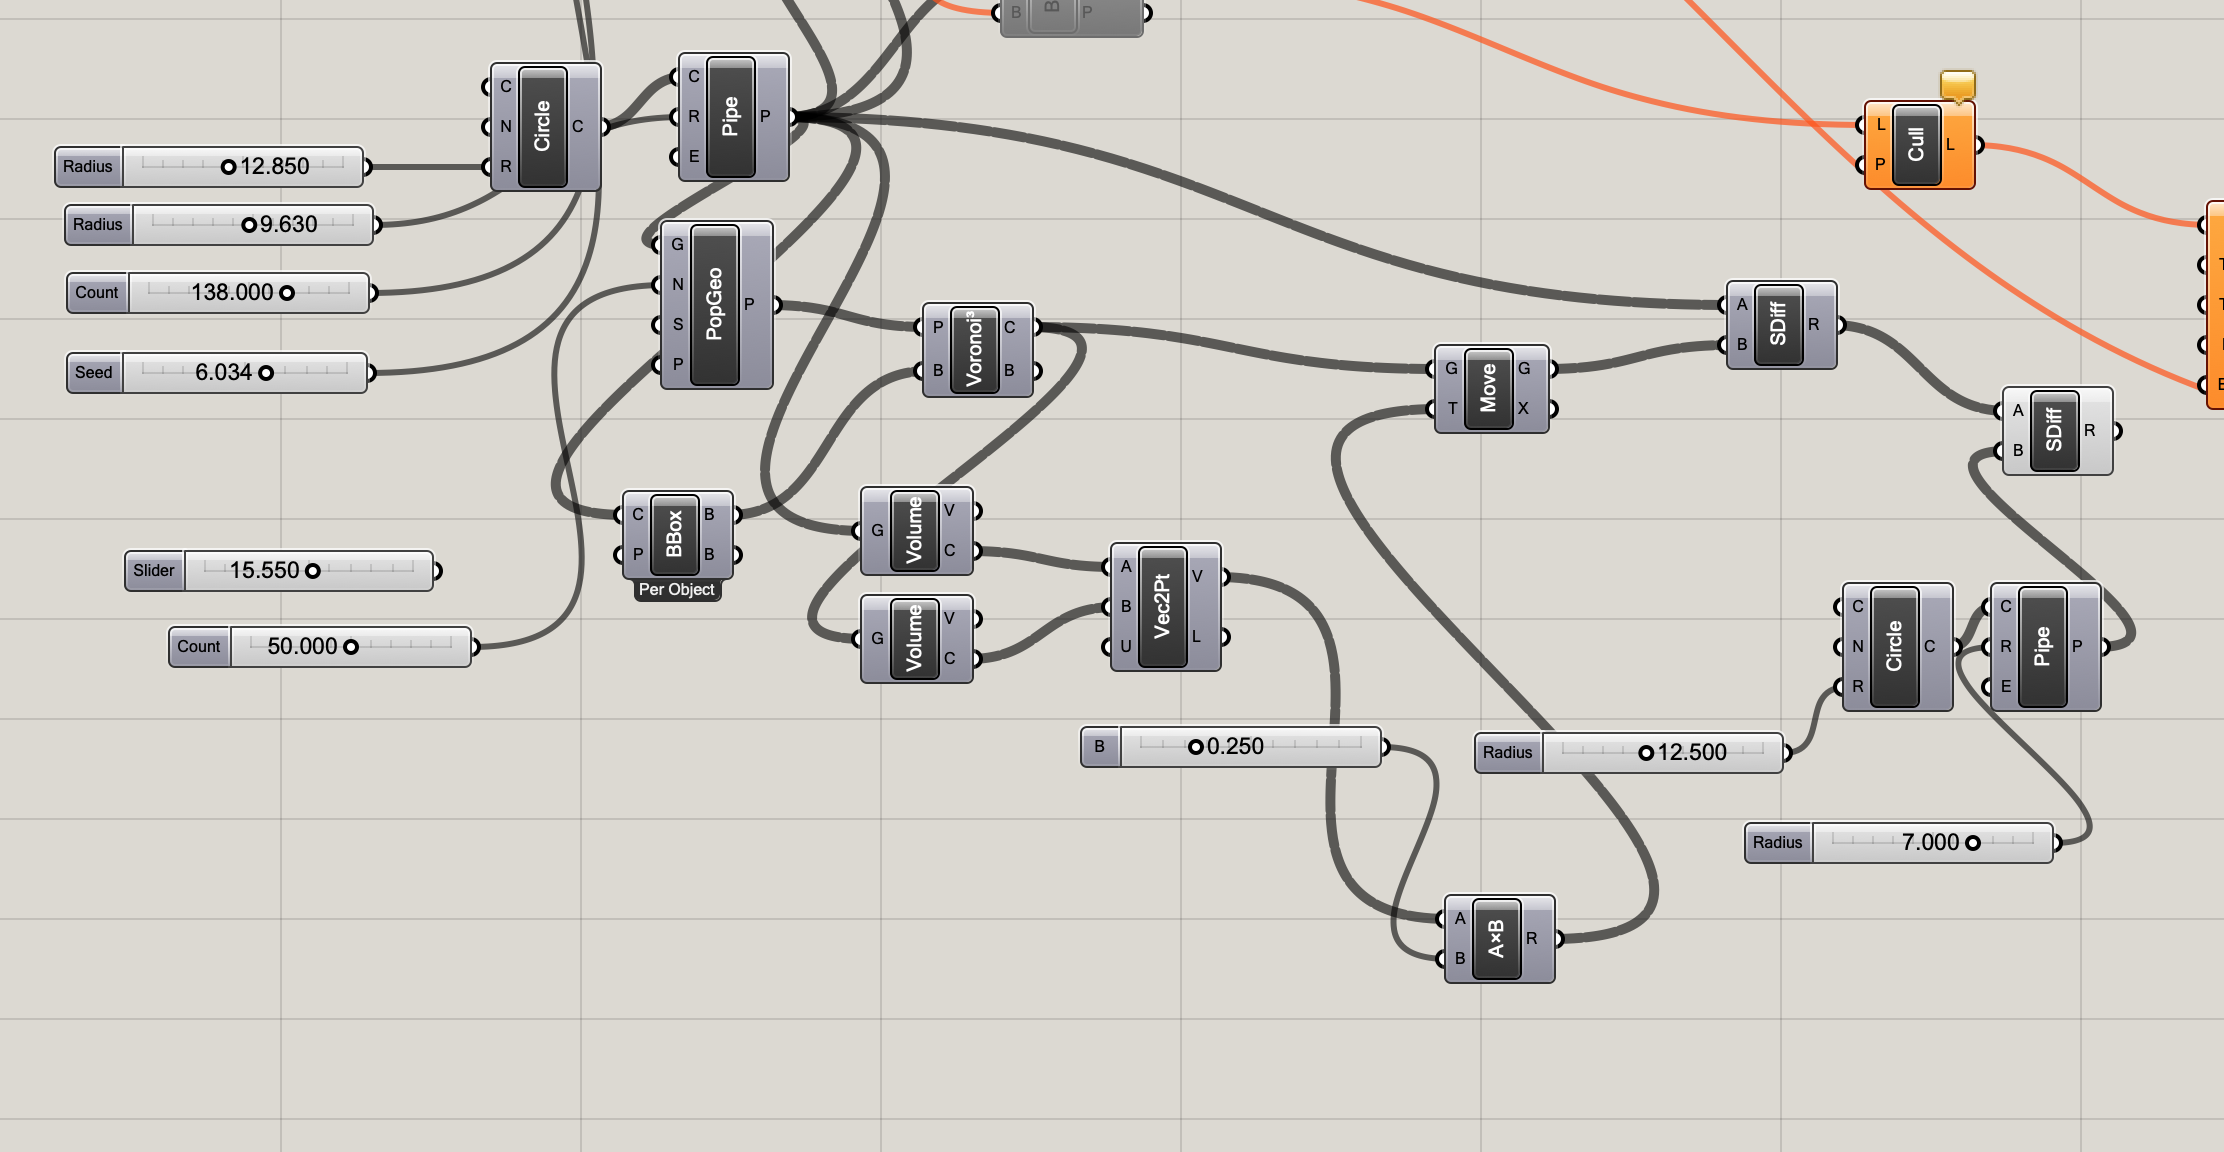
This is the full grasshopper logic, along with some false starts.
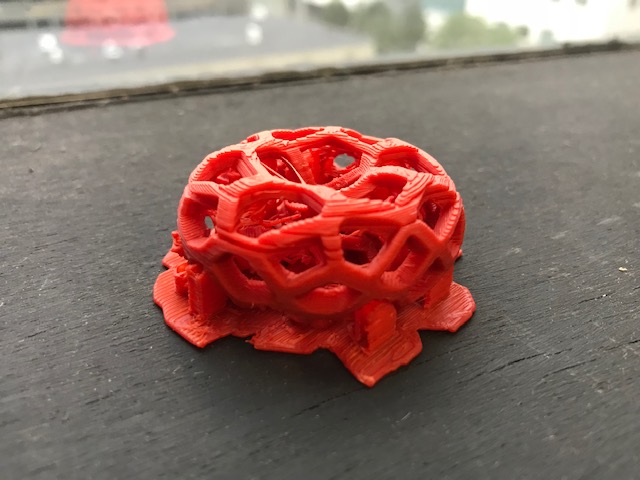
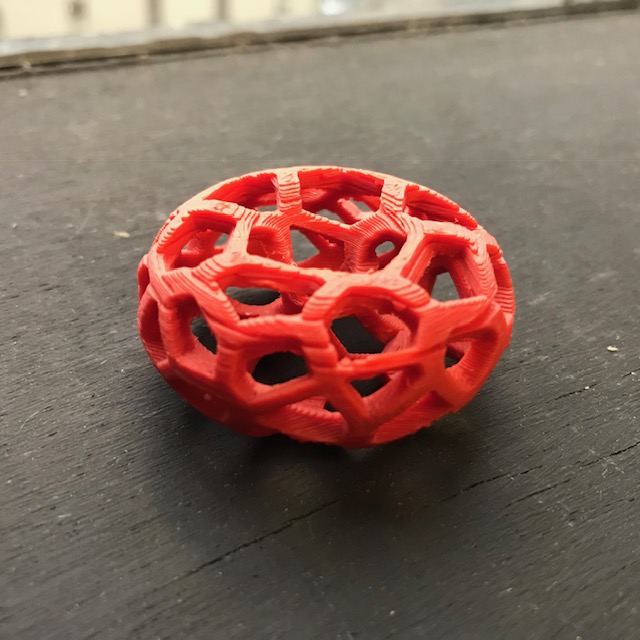
I printed the part on a Sindoh DP200 with red ABS. It took about one and a half hours to print. The above image is the raw print (raft+supporting structure still attached), and the below image is the more or less finished part. I think it turned out fairly well, though the model did split slightly during printing, which is (probably?) due to the part cooling unevenly and disrupting the bonding between the currently extruding and already extruded plastic.

And another picture! I'm really happy that the printer I picked was loaded with red filament, because that makes it match my un-baked and un-rendered Grasshopper screenshot.
Scanning!
3D scanning was a fairly fun time. A friend and I tried to scan her brass rat (the MIT grad ring), but it seemed like the ring was perfectly the right level of reflective/darkness for the software to consistently decide that it was part of the background. So that went nowhere. We're going to try again with someone else's ~stealth~ brass rat, which is more of a dark matte color. It was also suggested that I try coating the ring in talcum powder, and then scanning. But, I couldn't find talcum and the corn starch I tried using didn't stick to the ring well. Ultimately, I scanned a mallet in, instead, which turned out well.

The above is an image of the scan. The grey parts are where the software filled in the gaps of the model, so that it is watertight and printable.