3D Printing and Scanning
3D Printing
CONCEPT: Here I wanted to focus on something that would help me make decisions about my final project.
Since the idea is to build a device that can variably smoosh and slice small polymer clay spheres, I made two pairs of dies
for
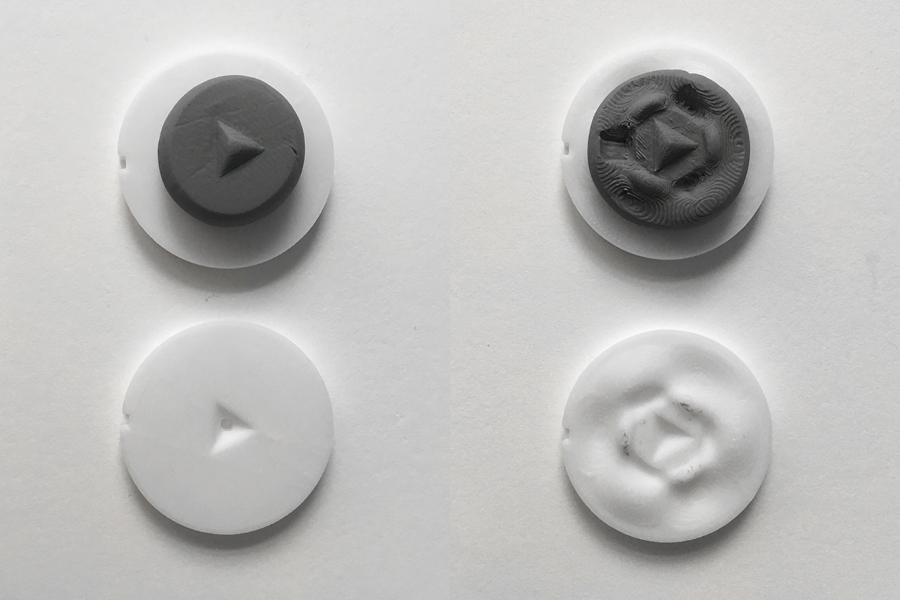
squashing the clay. They both have a registration mark on the side for lining them up properly, as well as an opposing indent in the center
so that the resulting smashed pieces can lock into each other at a set rotation. The first set is simple and flat, while the second
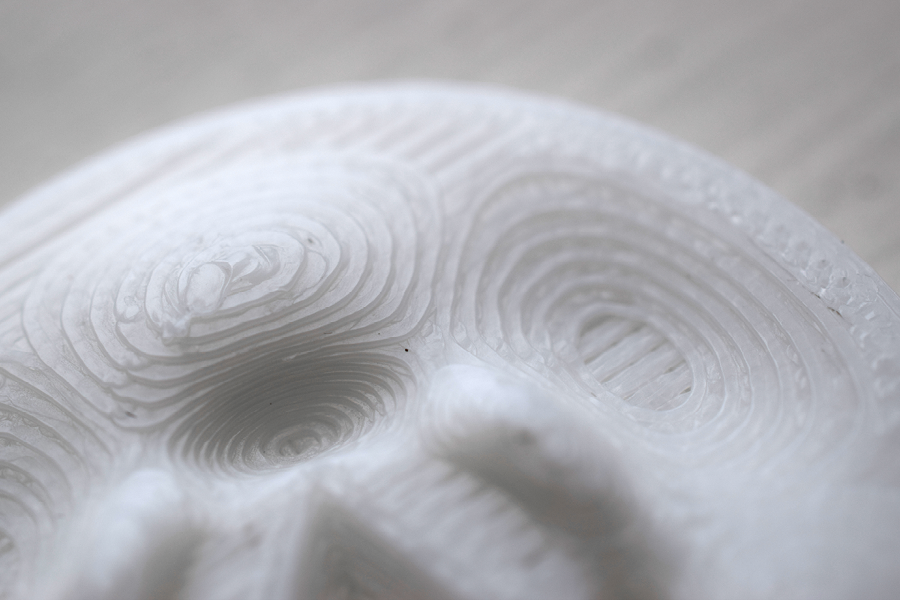
set explores the possibility that there could be a more detailed pattern or texture that gets imprinted on the blobs.
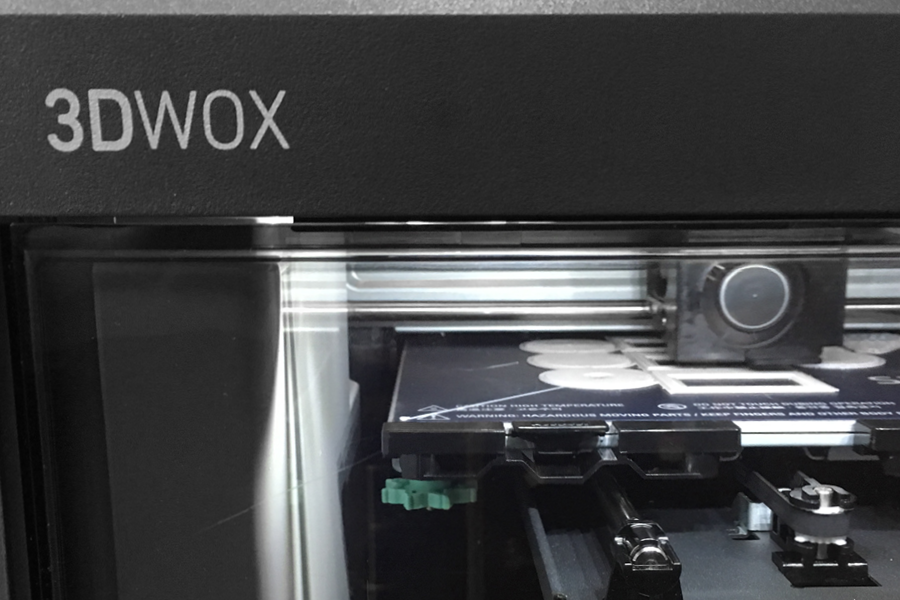
I used one of the Sindoh printers in the Architecture shop, which took two iterations. On the first iteration, I had made some incorrect assumptions about the shape of the more detailed set of pieces, which made it impossible to produce blobs that interlocked with each other. I used the default resolution settings in the slicing software, which I might change in the future, now that I have some of the basic parameters sorted out.
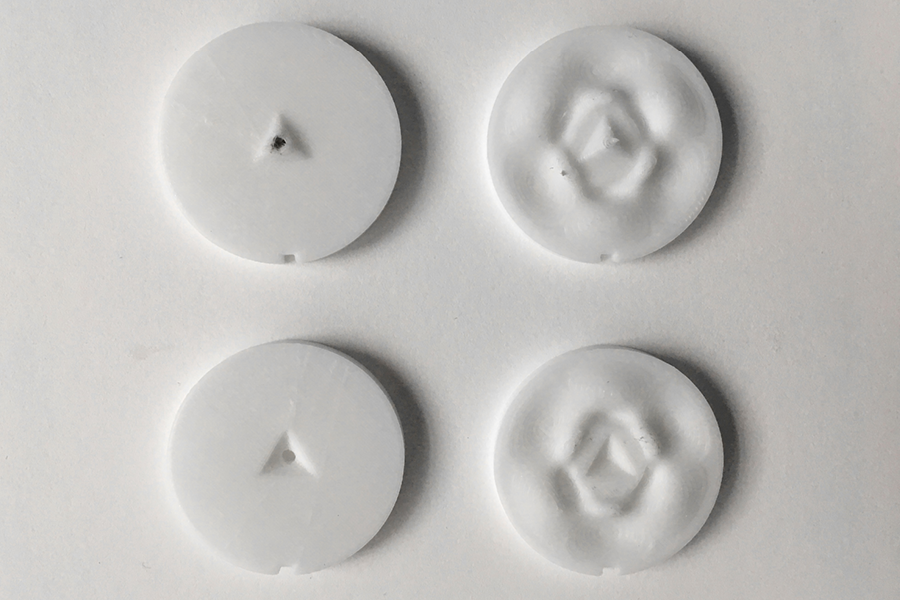
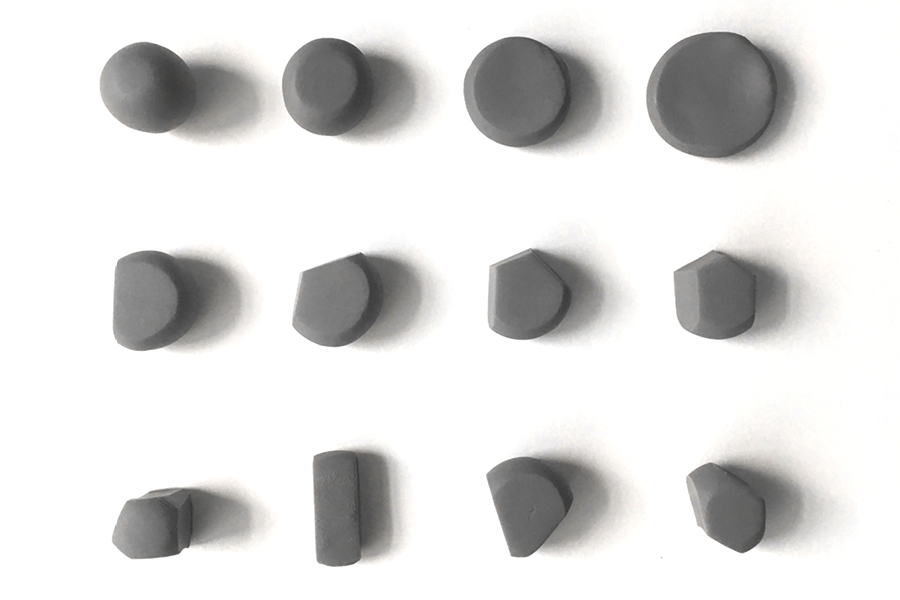
For the parts with more detail, I also tested the relationship between the amount of detail in the mesh. The lower-resolution mesh is what Rhino generated at the least-detailed end of its mesh settings spectrum, while the more detailed mesh has settings added for a maximum angle of 4 degrees, and a maximum edge length of 1mm.
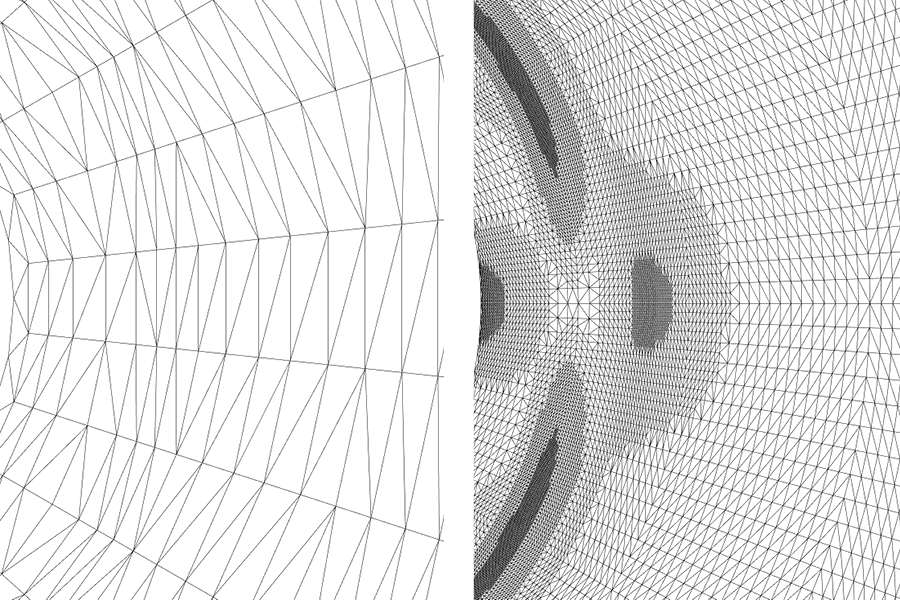
In the printed result, it is possible to see the difference between the two mesh settings. If I use 3D-printed parts for the final project, I will need to use the more fine-tuned settings for the mesh.
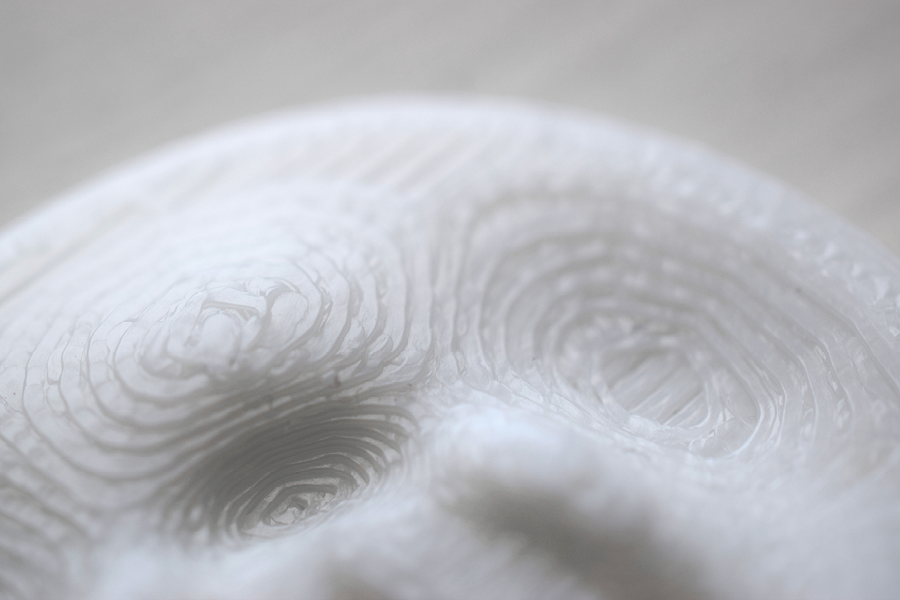
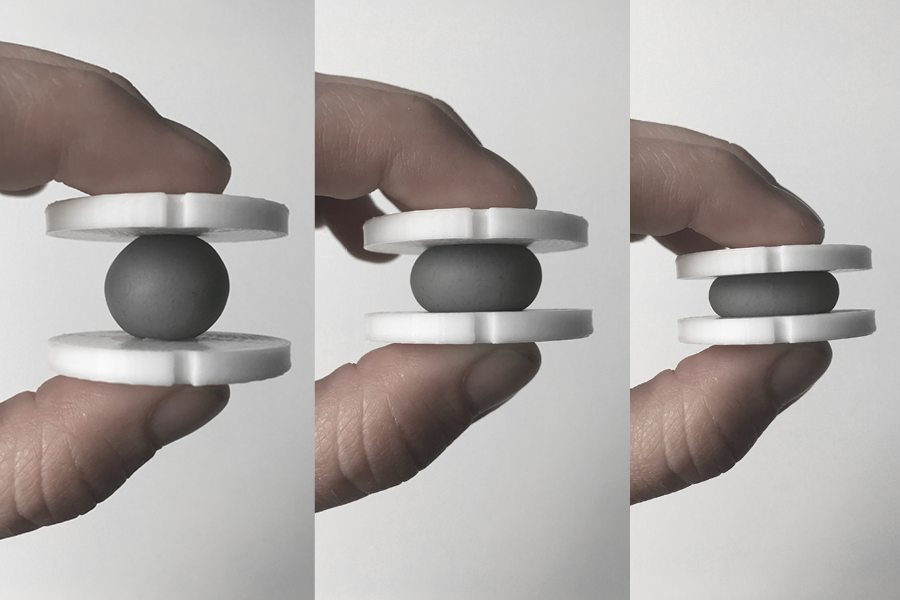
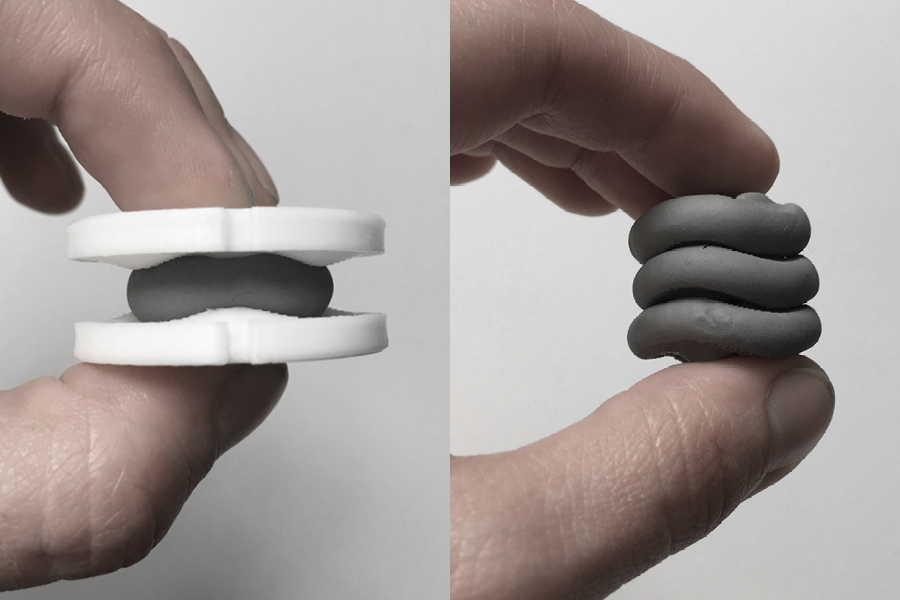
Here are the parts in action with a 17mm-diameter sphere of polymer clay. I wanted to find out if it was worth pursuing the additional detail as a potential variable for the final project.
3D Scanning
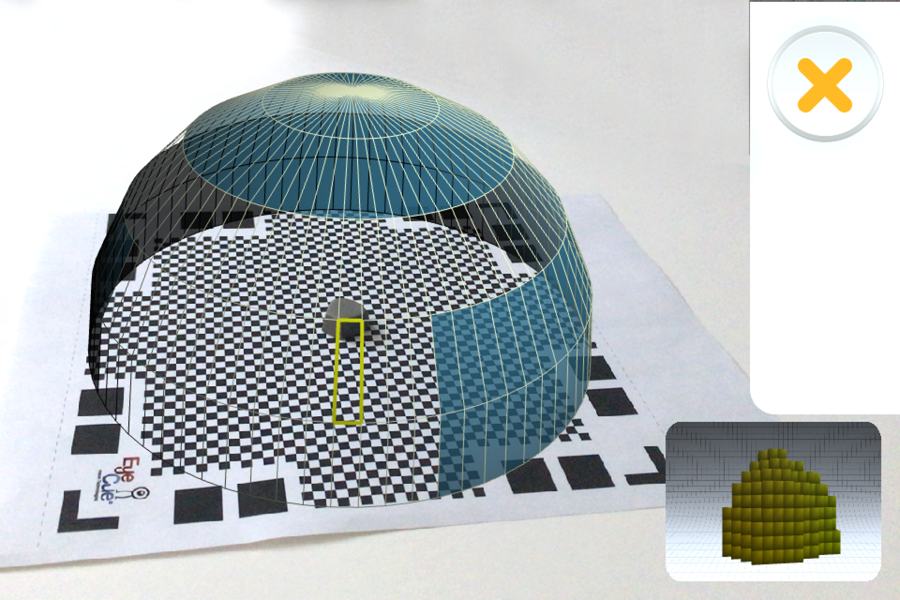
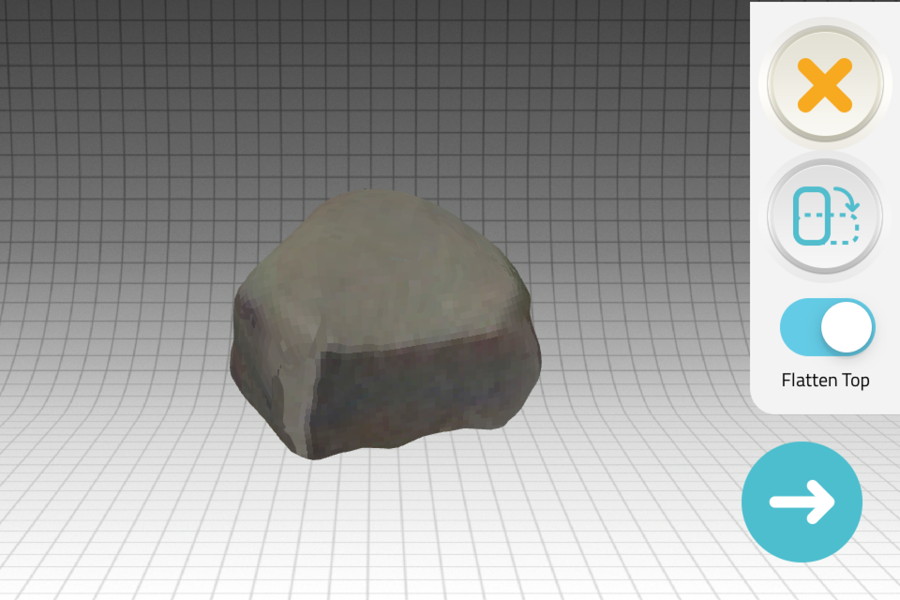
For the final project, I thought it would be interesting to have a method of evaluating the accuracy of my digital simulation and design of the clay blobs. At first, it seemed like a cop-out to scan something simple and tiny; however, it proved challenging to produce a useful 3d model from any of the scanning techniques I tried. After unsuccessfully trying the Sense scanner in the Architecture shop, I decided to also try the Qlone app to see if it would handle grey blobs better. If it turns out that a comparison check between a simulation and a 3D scan is useful in the final project, I will need to find a better way to capture the surface geometry of the blobs.
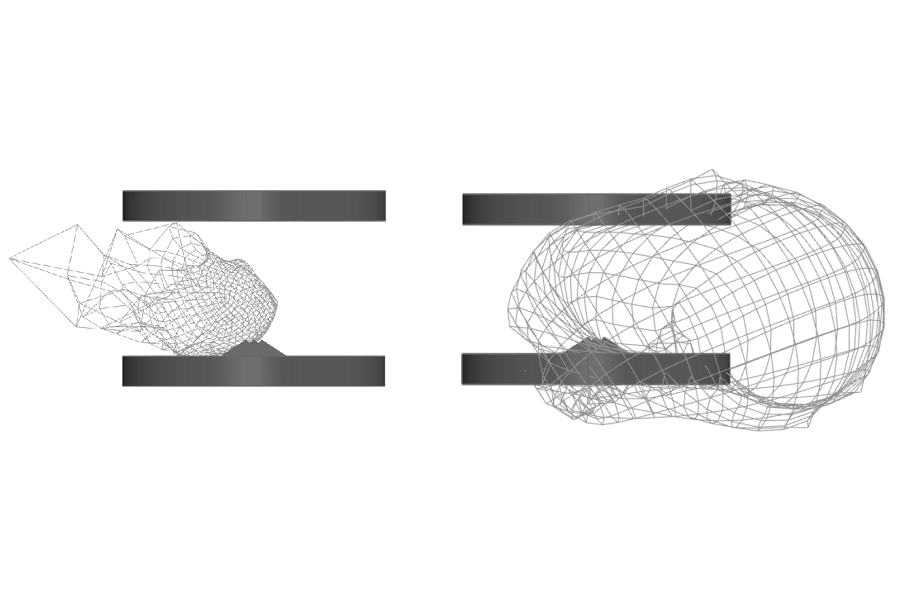
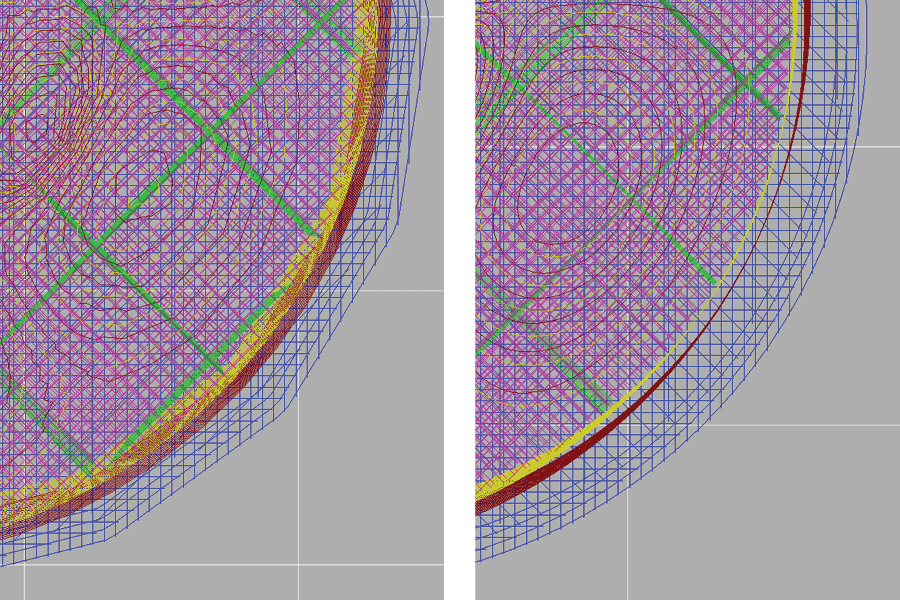
Simulation
I used Rhino/Kangaroo to build a quick simulation of the process in hopes that it could become something useful to compare to a 3D scan. Later, I will probably need a way to convincingly visualize different varities of smooshed blobs, and this is a start. At the moment, there is not enough accuracy in the 3D scans I made for there to be a useful comparison, but there is potential for this to improve and have a role in my project.
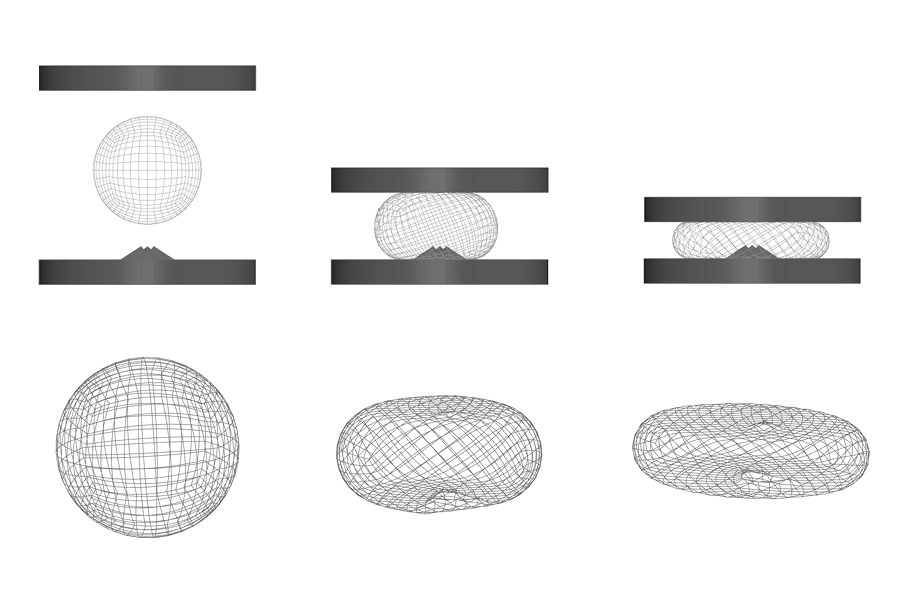
claywill-change: try to stay outside the two solids.