Computer-Controlled Machining: One-Sheet Table-Seat
Design Concept and Parametric Model
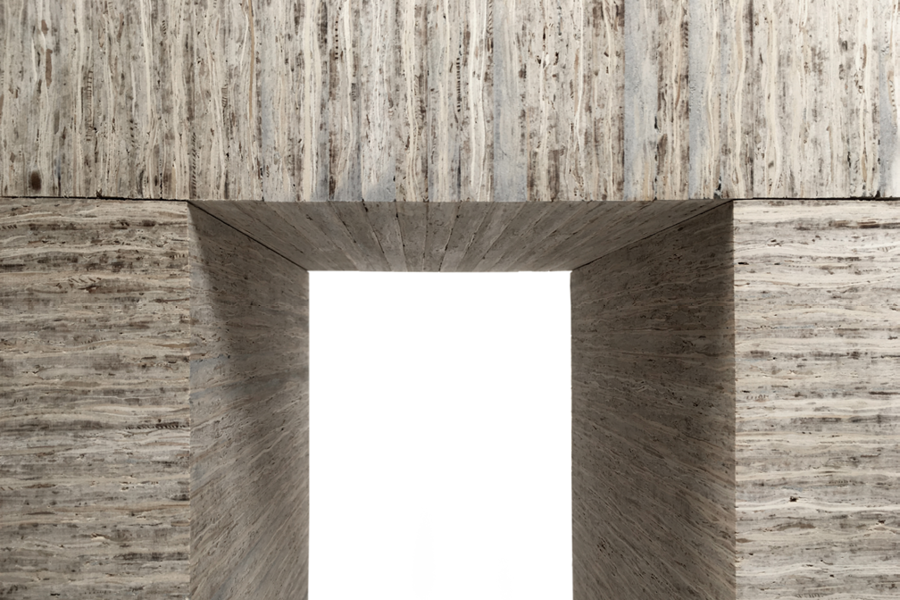
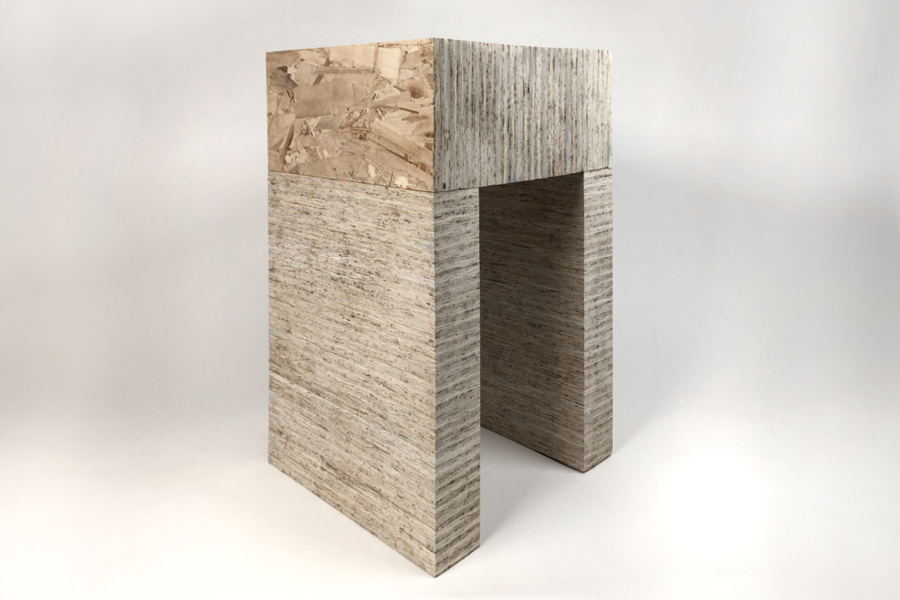
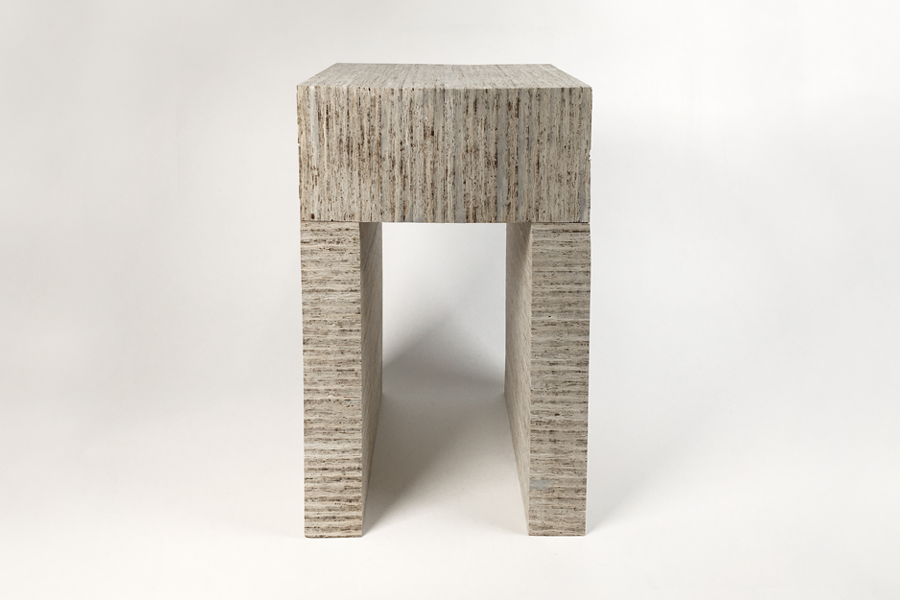
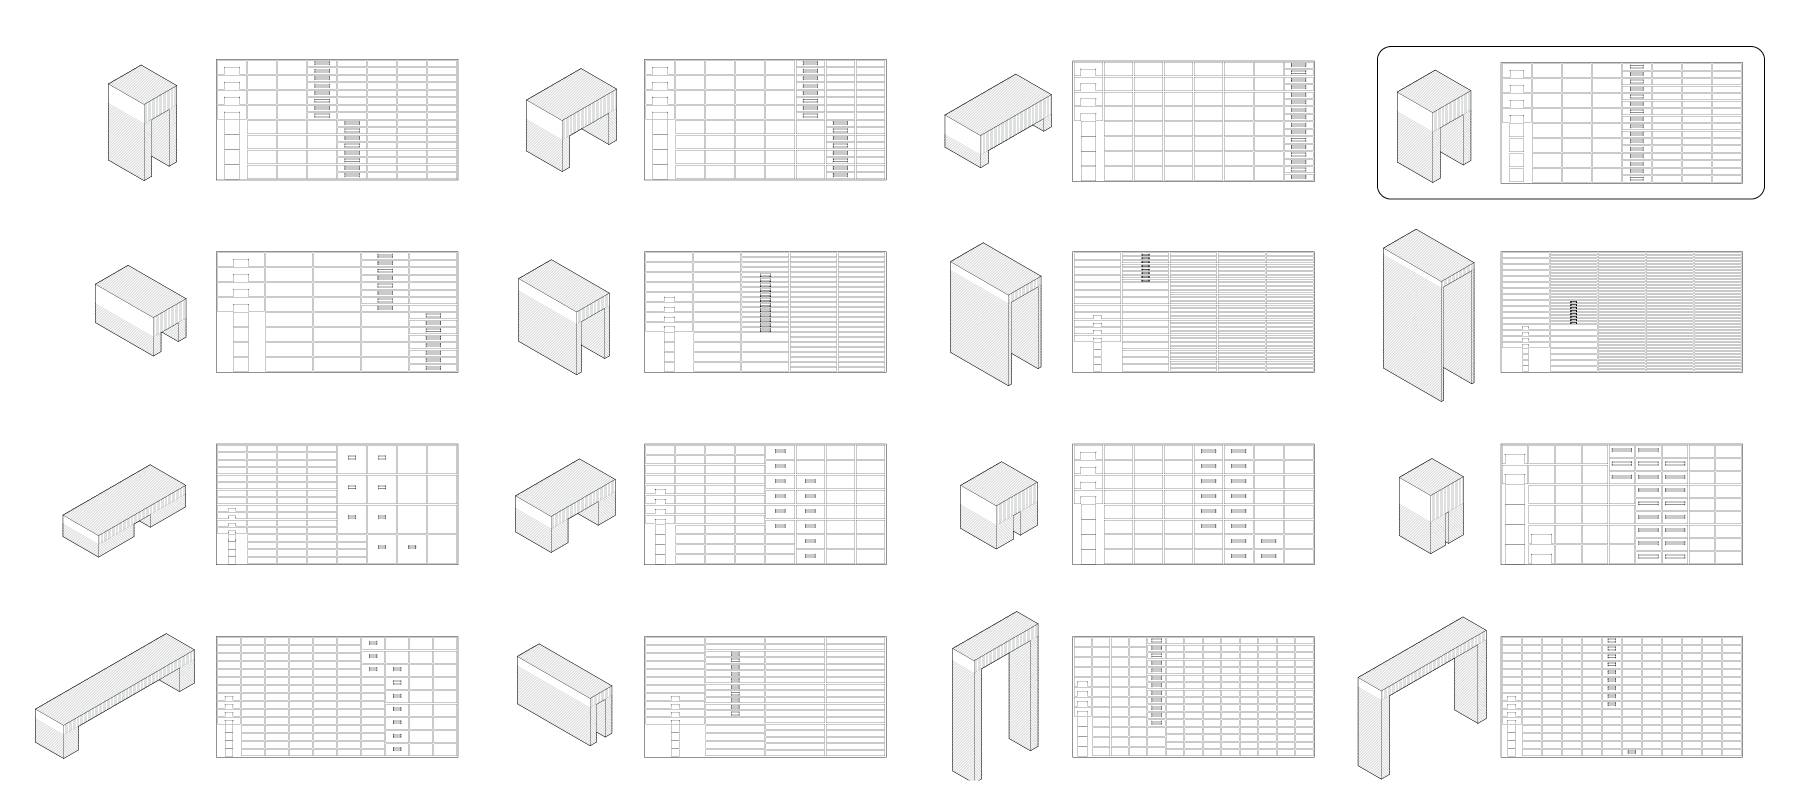
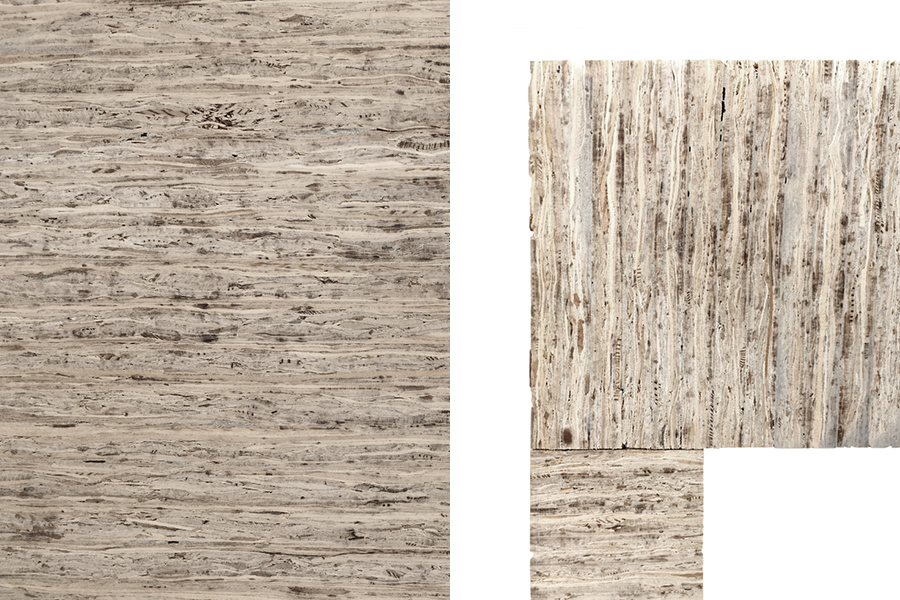
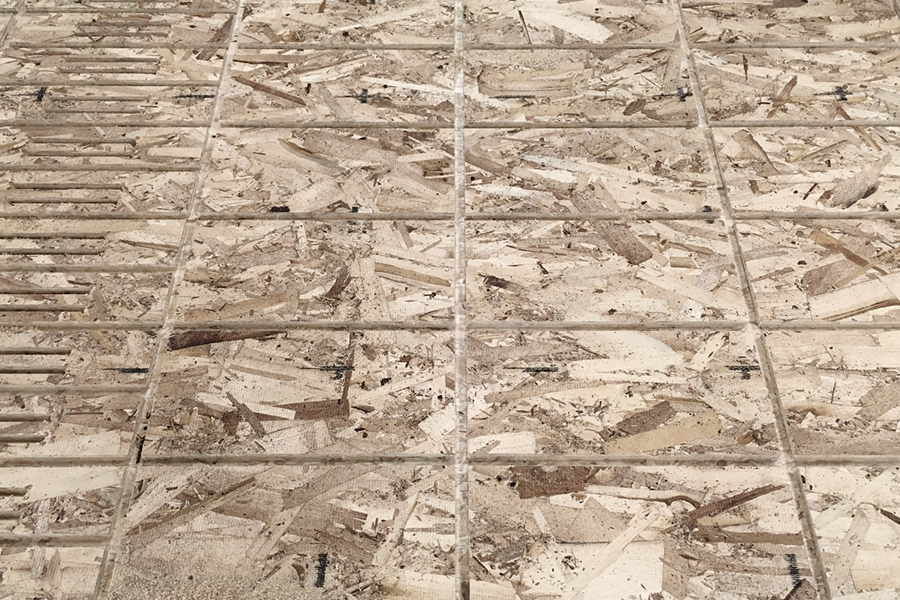
This week we were each given a 4’ x 8’ sheet of OSB. My goal was to be able to explore various designs for a piece of furniture, all of which would fill the entire sheet of material with minimal waste. I used Rhino+Grasshopper to build a parametric model of an item that could potentially be used as a table or a seat, depending on which overall proportions are selected. After hearing the OSB described as having the consistency of an oatmeal cookie
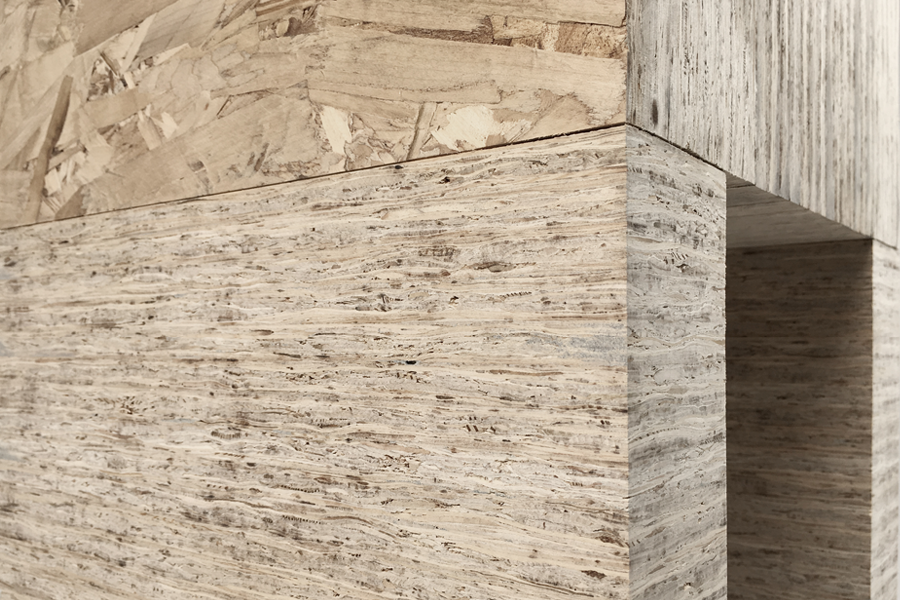
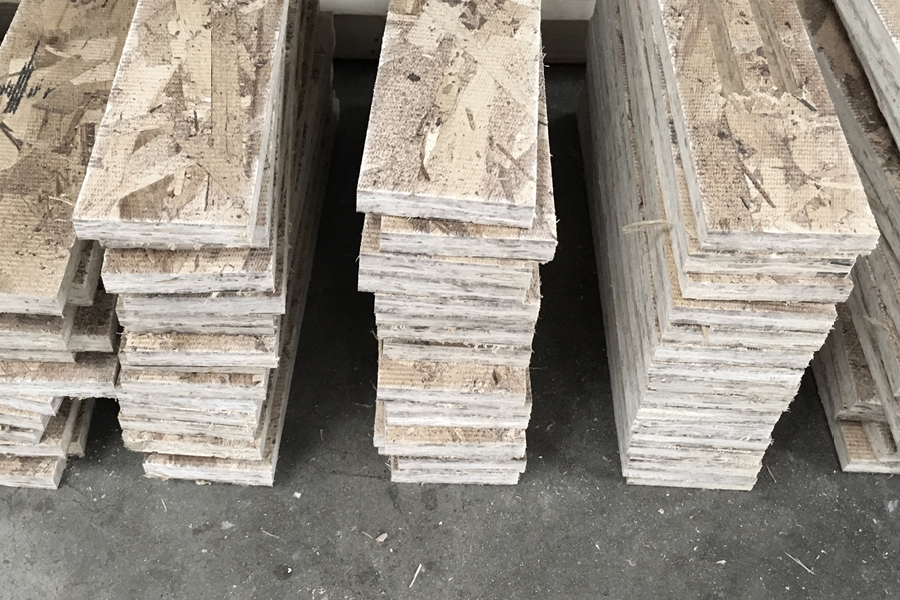
, another priority was to make the assembly as solid as possible, focusing on the texture of the edge of the material rather than the face. The furniture is assembled entirely through laminations of the rectangular parts.
File Setup
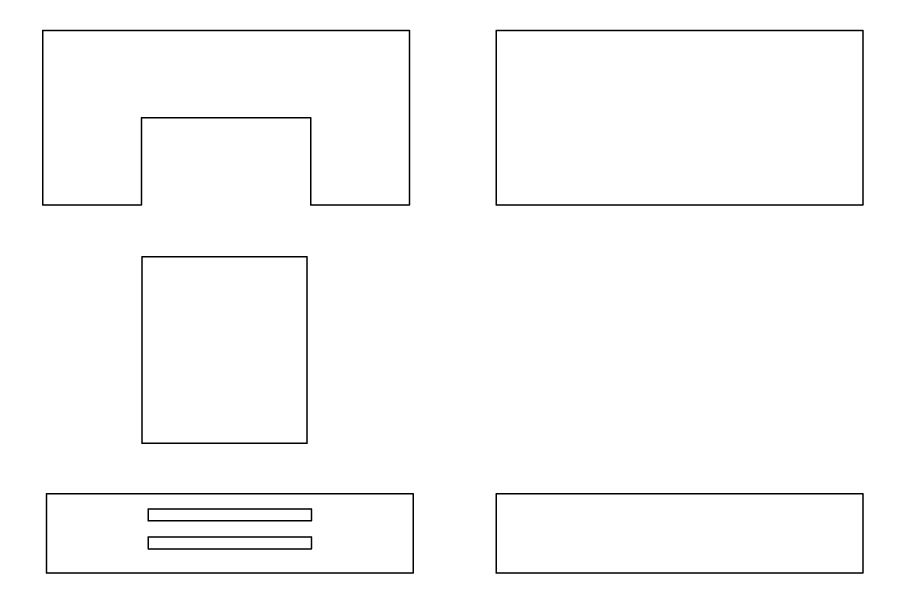
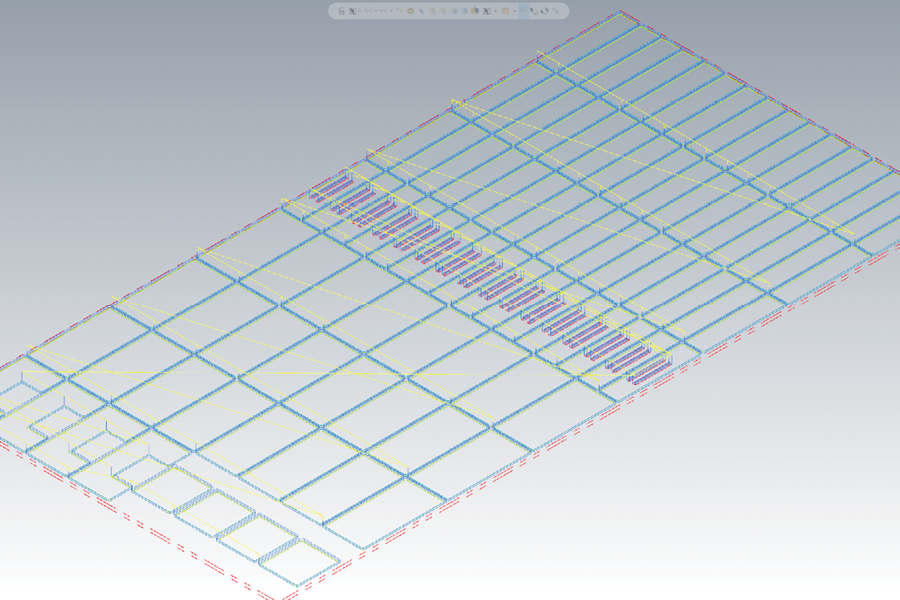
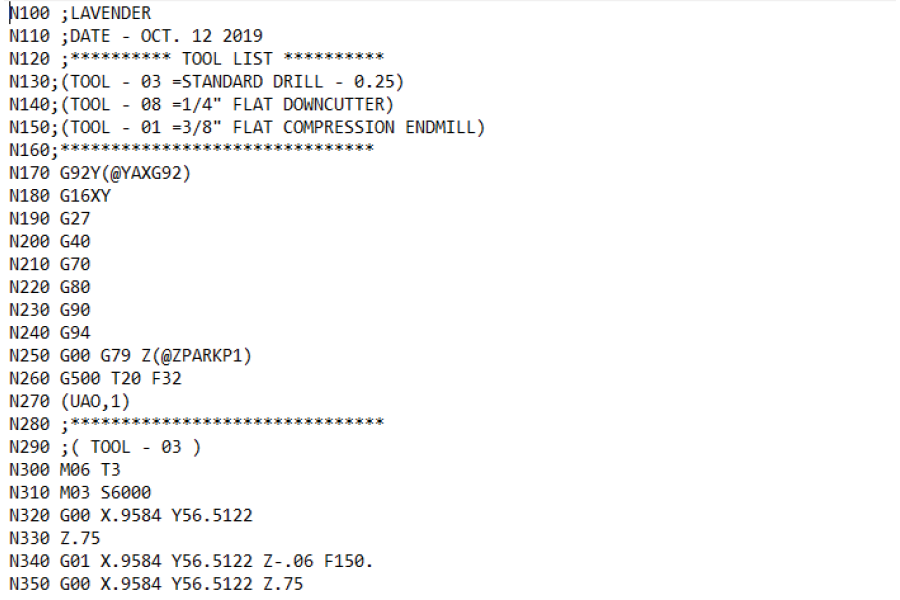
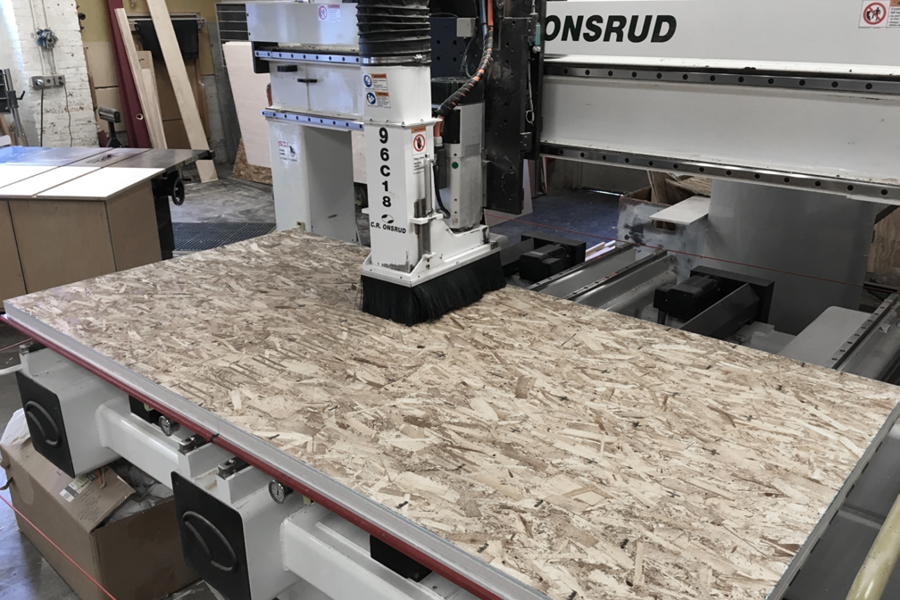
I used MasterCAM to assign tool paths to three sets of geometry in the parts: points in the interior corners, interior profiles, and part profiles. The drawing for 2D parts with half-inch spacing between parts was automatically generated by my parametric model. I output the file to the Onsrud machine in the Architecture shop.
Cutting
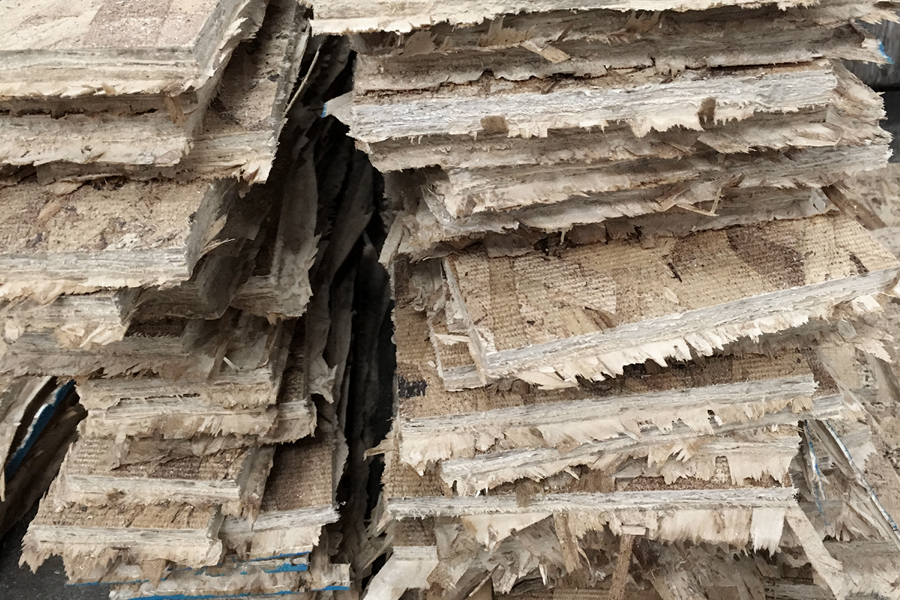
The cutting process left an onion skin
around each of the parts. After the material between the parts was removed by the end mill, there was virtually no material left over after the cut that was not directly attached to the parts. I spent a bit of time making the parts clean and sanding away the onion skin.
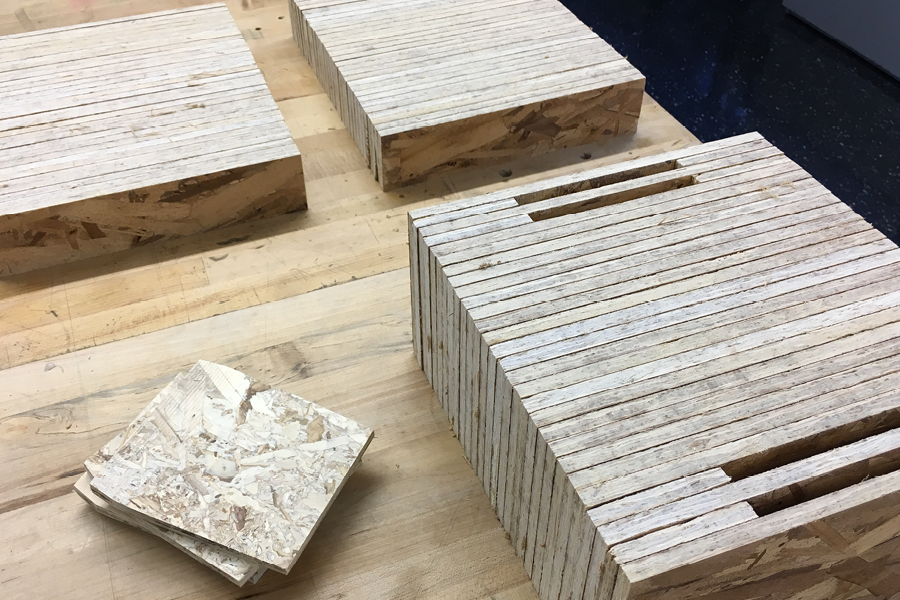
Assembling
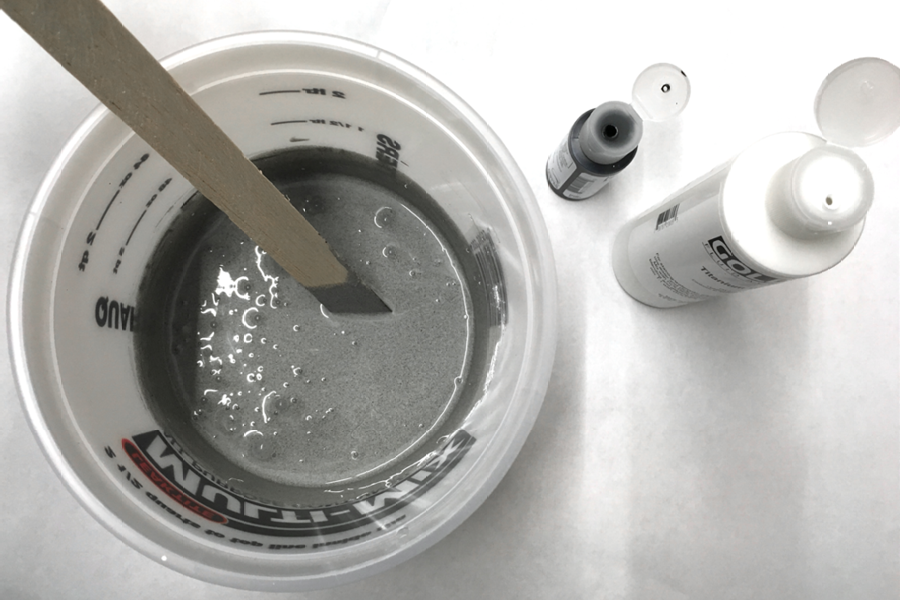
I decided to mix some grey acrylic paint into the wood glue before laminating the parts; I was hoping that after sanding the laminated parts there would be a little bit of added color. Later, there are hints of the grey pigment in the seams and irregularities of the OSB. Here, I stacked up all of the parts and waited for the glue to dry.
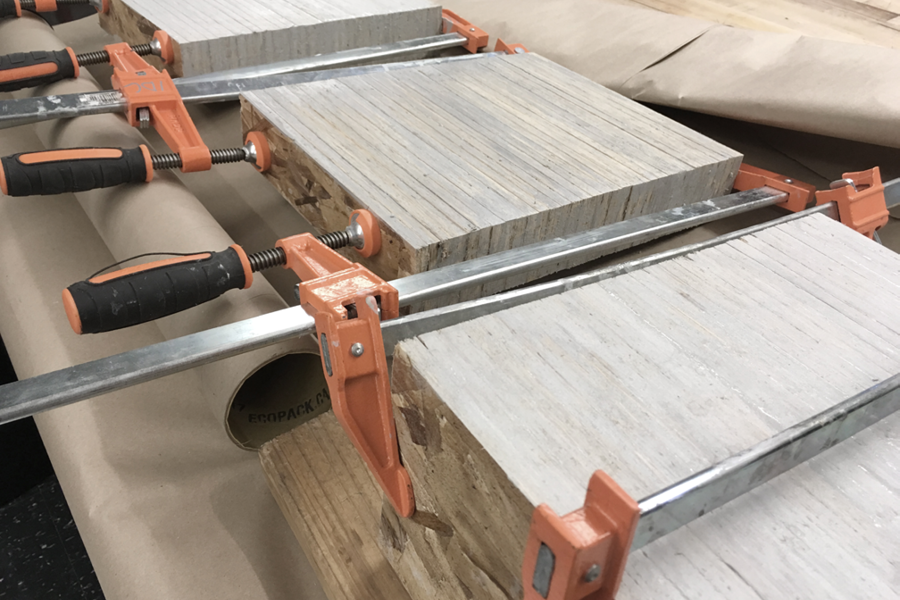
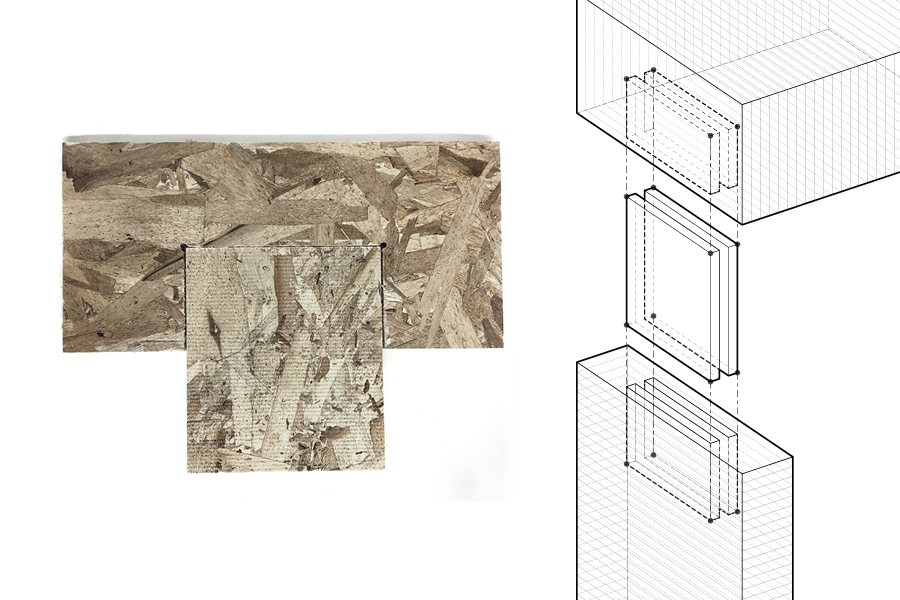
Even though most of the assembly is achieved through glue lamination, there is joinery between the legs and the seat. Each laminated assembly has a set of mortises. in the seat, this is achieved through a cut-out in the flat part profile that receives the tenon, and in the legs, the mortise is formed through the laminated series of interior cuts.