We started as a group with brain storming and ideas. Some of them were really amazing, and
we decided to go for the clow machine. We divided into groups, and Marian and I were incharge of designing
and building the house for the machine. I was really excited about it, because this is something I actually know
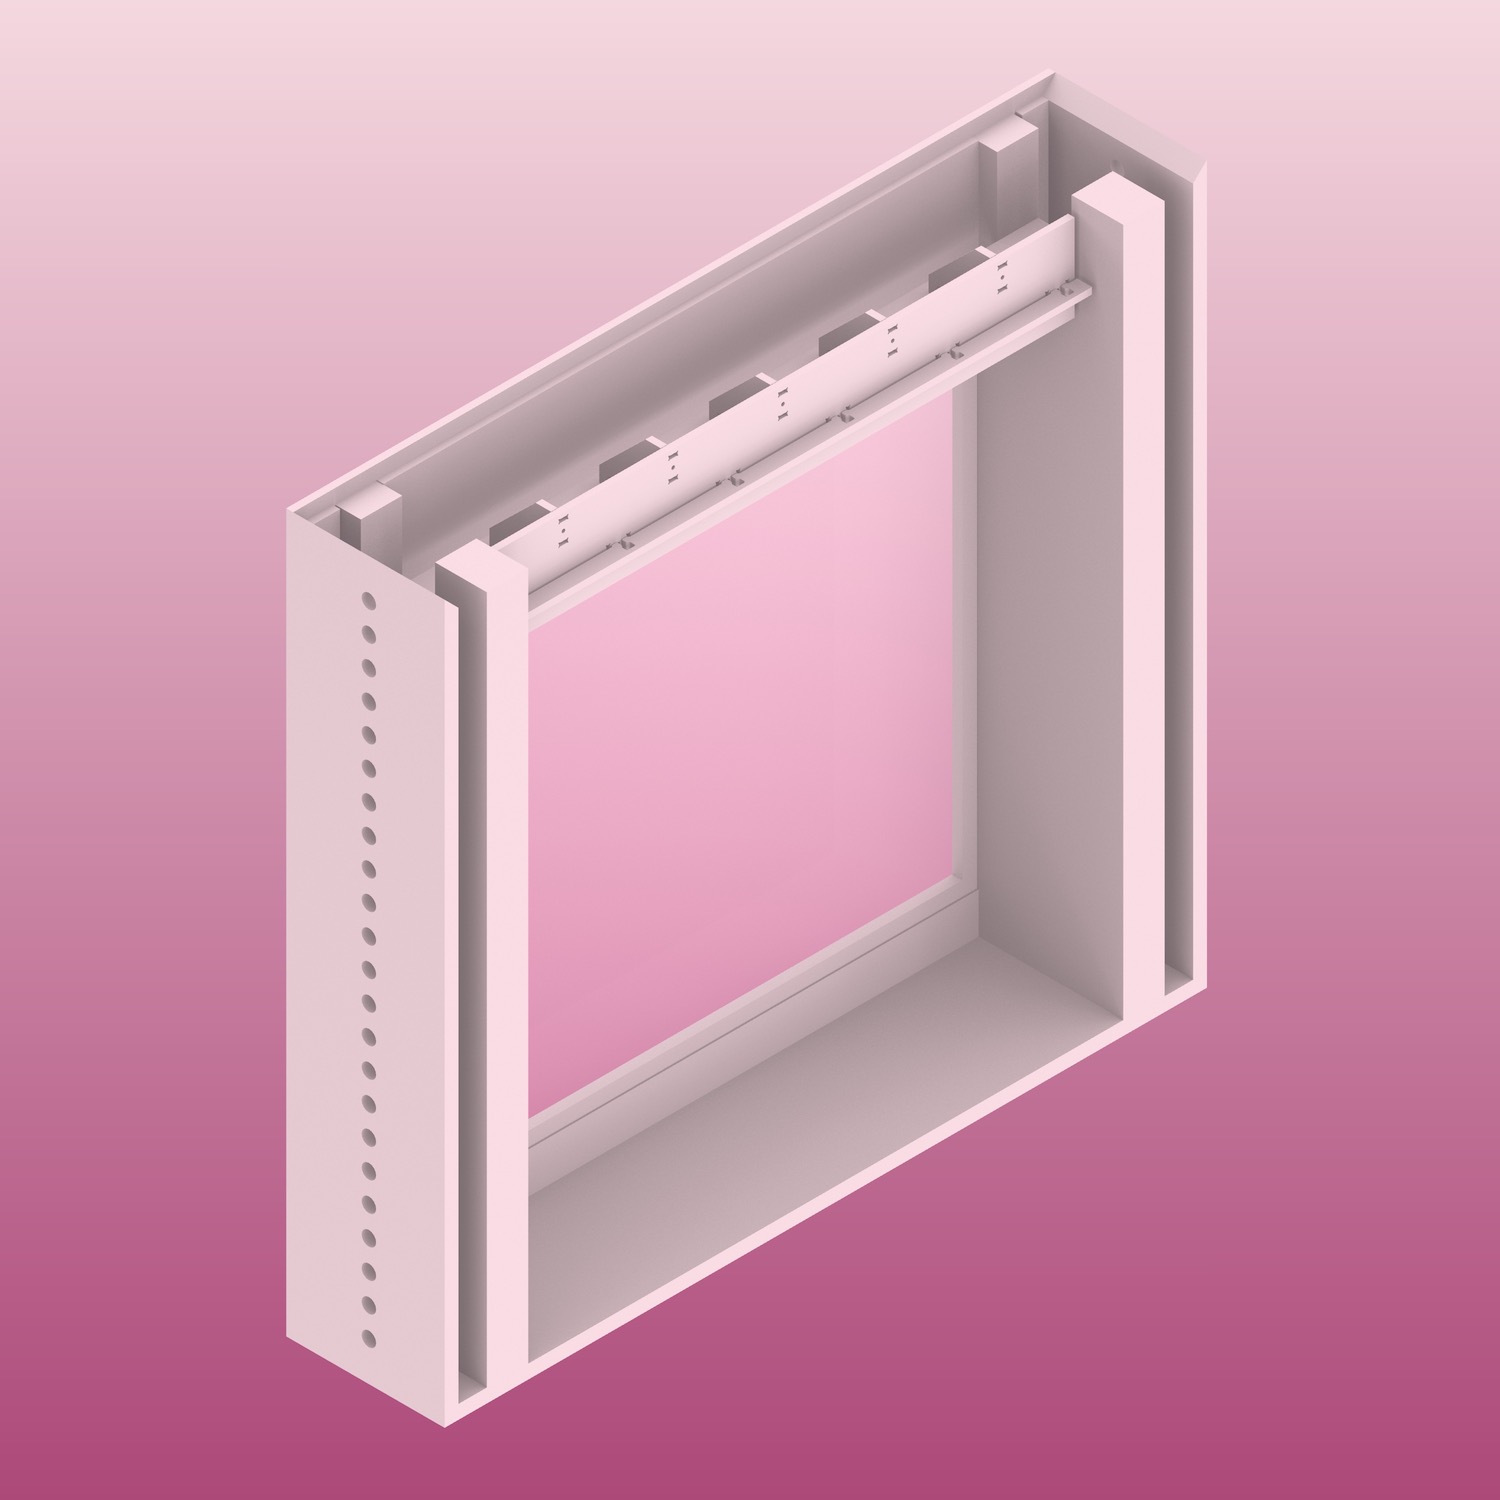
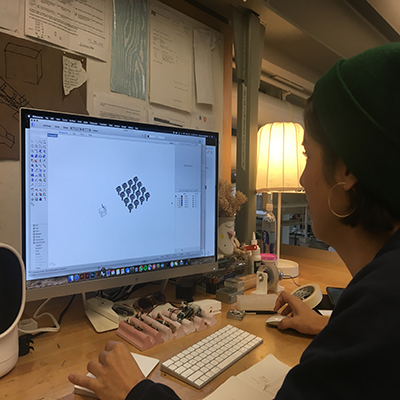
how to do. We met together and design the machine in Rhino. We wanted it to look like an antfarm box - very
minimalist, with wooden frame and clear plastic on the front, mostly because we decided as a grouo that the
machine will operate just in two axis. Mariana had some leftovers of plywood so
so we decided to go fot it.

We met the other groups again so we can design better the details of the box, and how the cables
will fit in. The axis team sent us a screen shot of what they were working with and after speaking
with Molly, we agreed it would be good to ask the axis team to flip the carriage so that it
would be facing down vs to the side. This would allow us to have a thinner box.
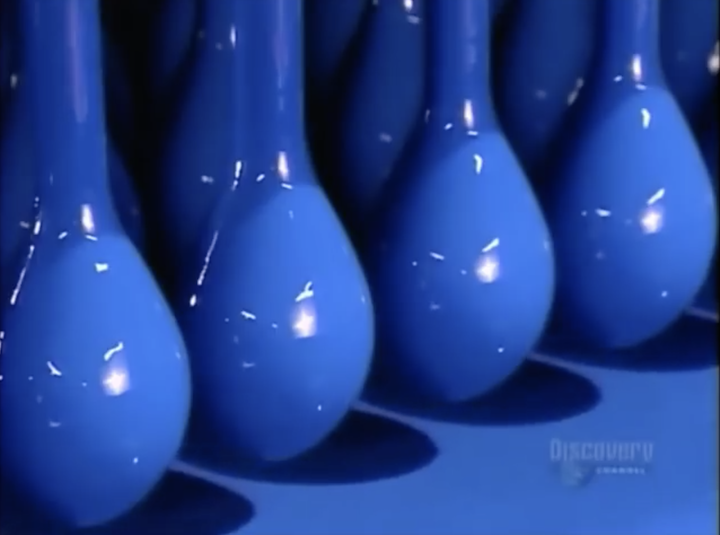
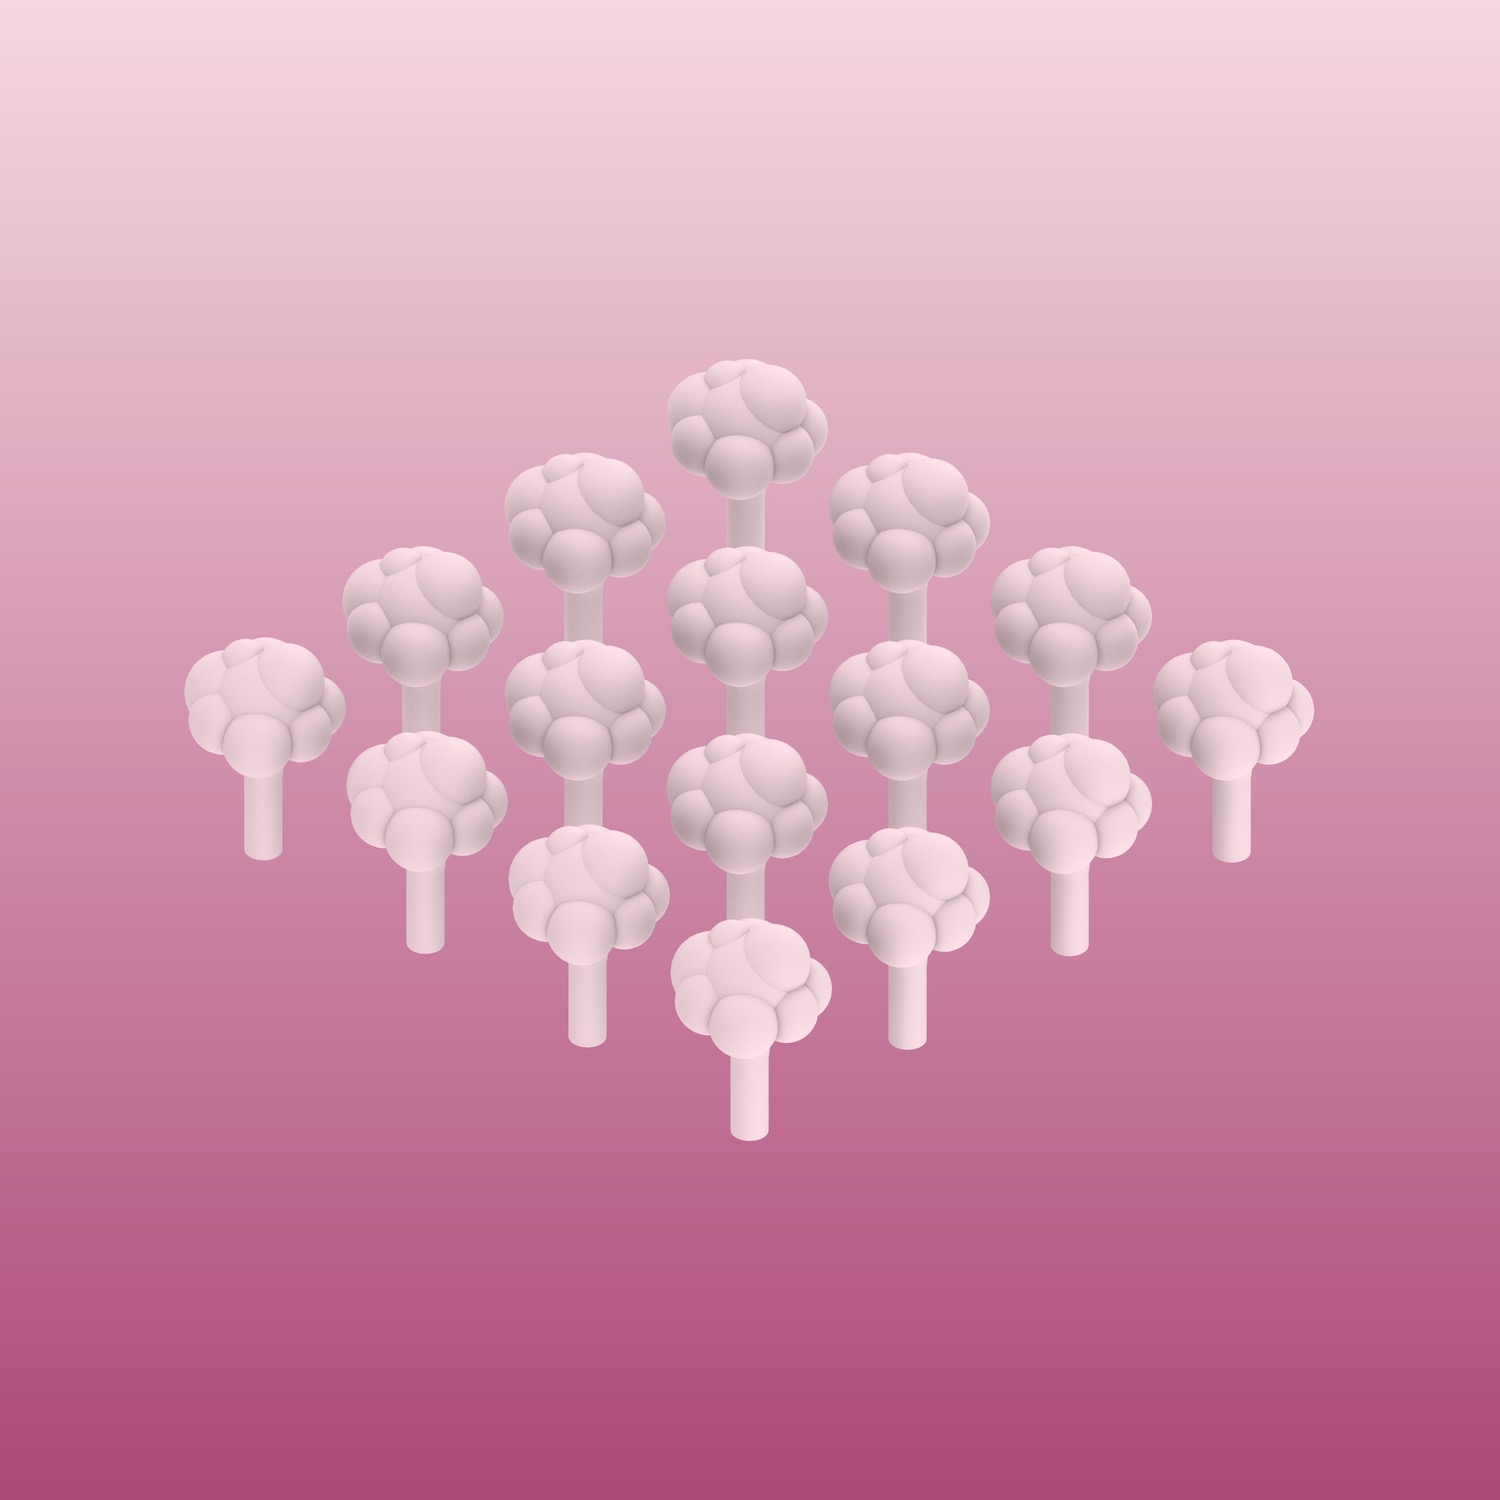
We felt the box would be pretty straightforward and we wondered if there might be any way to design
out own balloons. We looked at a couple of videos on balloon manufacturing and discovered,
we could maybeeeee do so. We designed the balloons and sent it to 3d printing at the formlab printer in
IDC. we designed a cloud-like balloon mold to 3d print and we purchased eco-flex on amazon prime after we
saw a student (Merav Gazit) who had made an inflatable project on the HTM website.
We will try to dip these in the eco flex and hopefully blow up some funky looking balloons.
If this fails miserable, which we were almost sure it will, we will go ahead and purchase regular balloons!
No harm no foul!
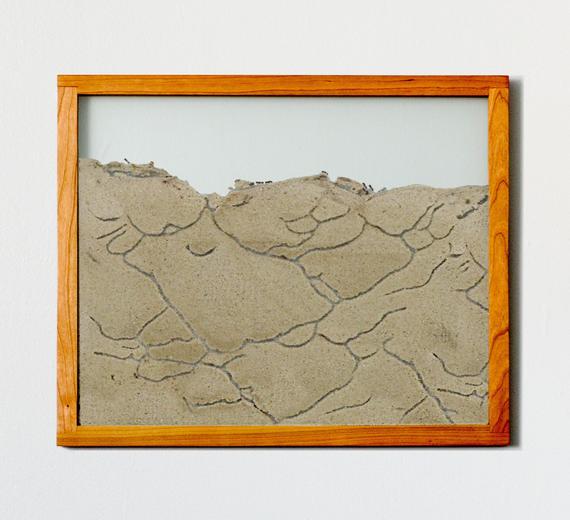
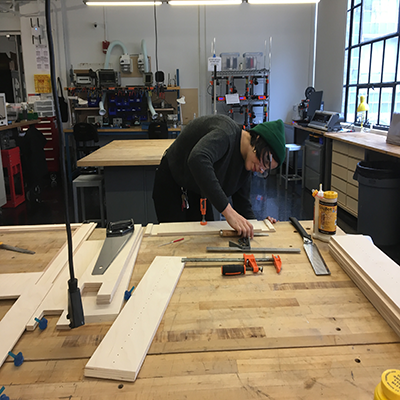
Mariana set up the file for the cnc and I went to the shop to mill and sand the pieces
The edges are mitered, and the main face of the machine has a lip that makes assembly easier.
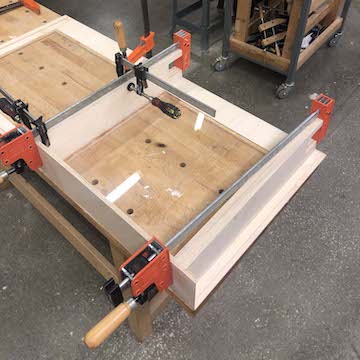
If needed, we can reinforce the box with nail, but the OSB box is holding up pretty good as a result of glue and clamps!
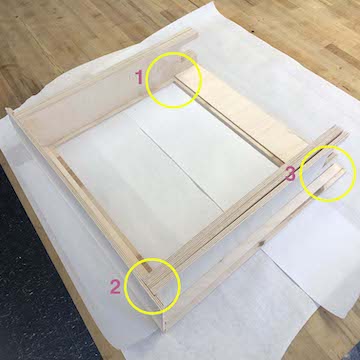
The reason everything fit together snugly is because we made grooves for everything to fit into each other.
There is a 1. groove for the plexi to sit in (probably will be glued with epoxy, 2. grooves for the vertical supports
to sit into the botton plate, and 3. grooves for the vertical supports to slide into the walls.
In the meantime, we also sanded the balloons and started to try deep them
the ecoplex was really bad for this task, so we tried do it also with silicon.
it didn't work either and we decided to just buy some baloons.
We decided it would probably be best to not glue things until we made sure the axis fit into the supports in the box.
we quickly assembled the box by sliding pieces into their grooves and the axis team placed their piece into the box. IT ALL FIT!
We were almost sure it would, but you never know if tolerances will be TOO tight.
Now that we made sure that everything was fitting, we agreed the box should be assembled asap - at least partially - so that testing could begin.
We headed to purchase some clear acrylic so the balloons could be contained inside the box - which, at the moment had two gaping holes.


Tuesday night we received this lovely video of the claw in balloon popping action! We did it!!!!
We think the design team accomplished the architecture's team goal of making a nice looking machine.
we did a good job of making a clean design that hides the axis / wires. In the end we couldn't quite hide
everything, but I think this looks clean and crisp! At least for making within one week O.O !
Group work was definitely a challenge, but I think we managed.
After everything was assambled together, we did our finishing and put some glitter in the clear balloons,
so the game will be more fun!
to see the whole process of the machine go to this page