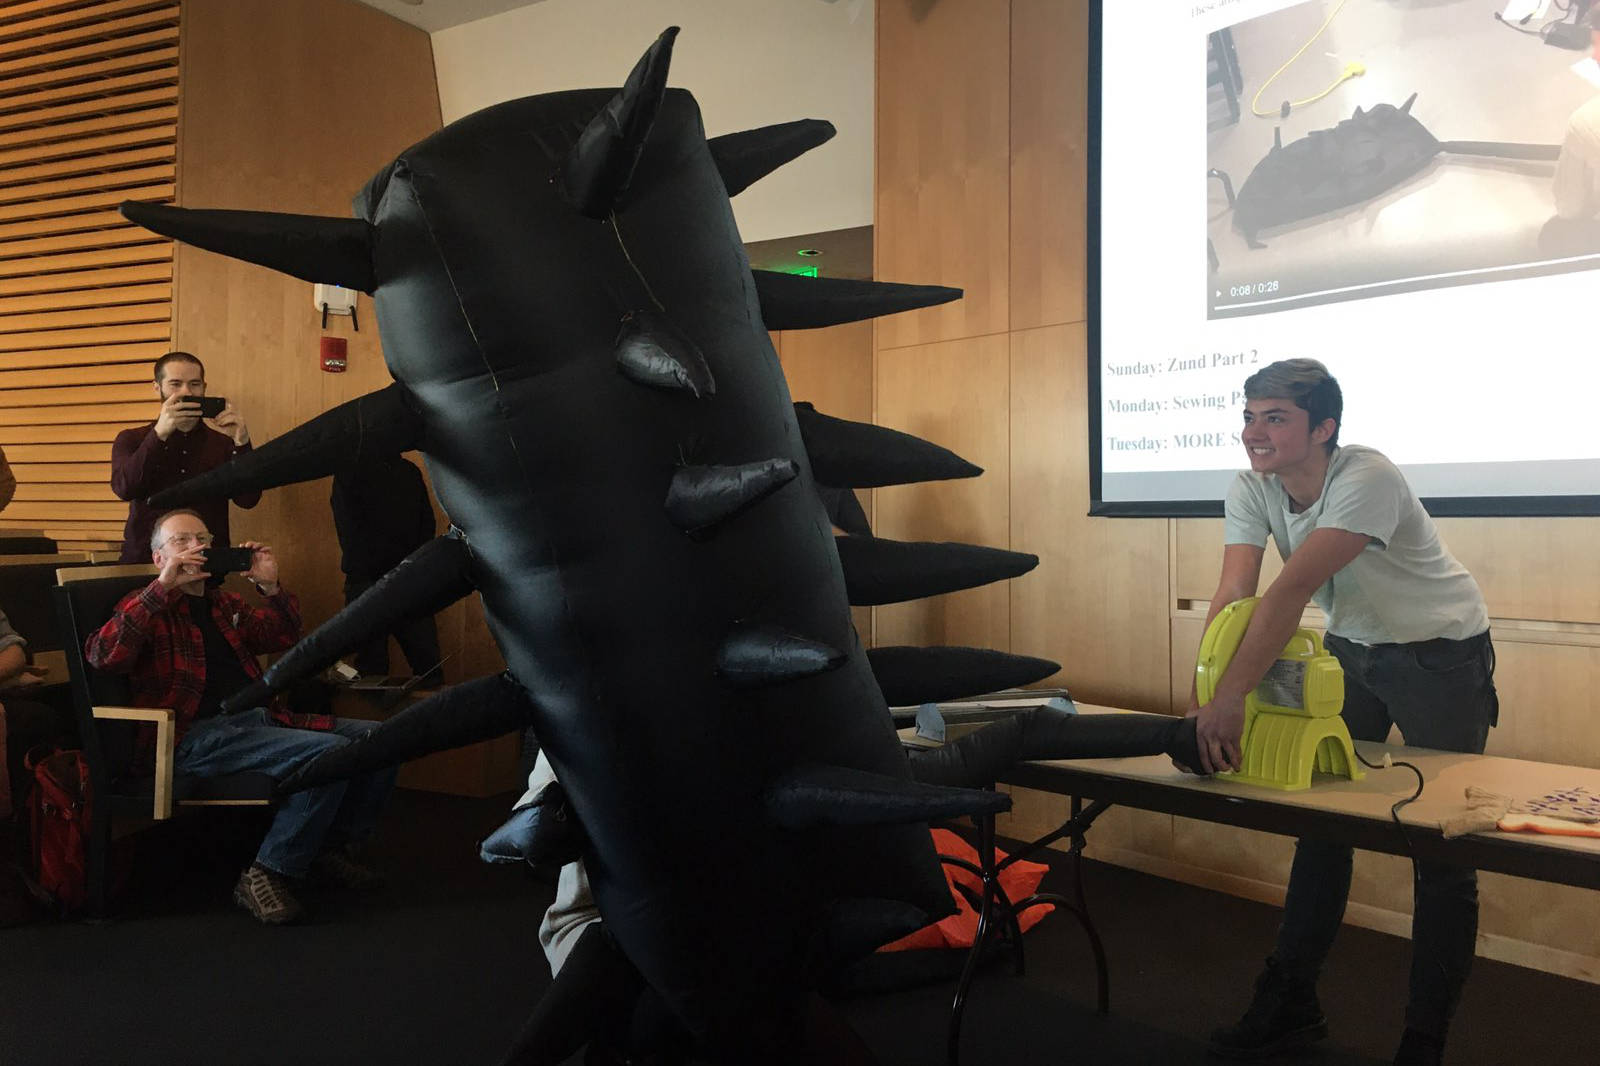
For wildcard week, I'm interested in inflatables. In particular, I want to create a garment which can be inflated to hide the body, and become an environment.
Inflatables, from bouncy houses to shelters for the homeless which are heated and inflated by the HVAC system of nearby buildings, to what we're making this week, are all just fabric which holds air well sewn together. We're using ripstop nylon, which is only about $4/yard, and ordinary sewing machines.
As someone who has done some amount of handsewing, I've never quite figured out how sewing machines work. When does the needle turn around? Apparently, sewing machines work totally differently than hand sewing. They use two different spools of thread, and loop them around eachother during every stitch.
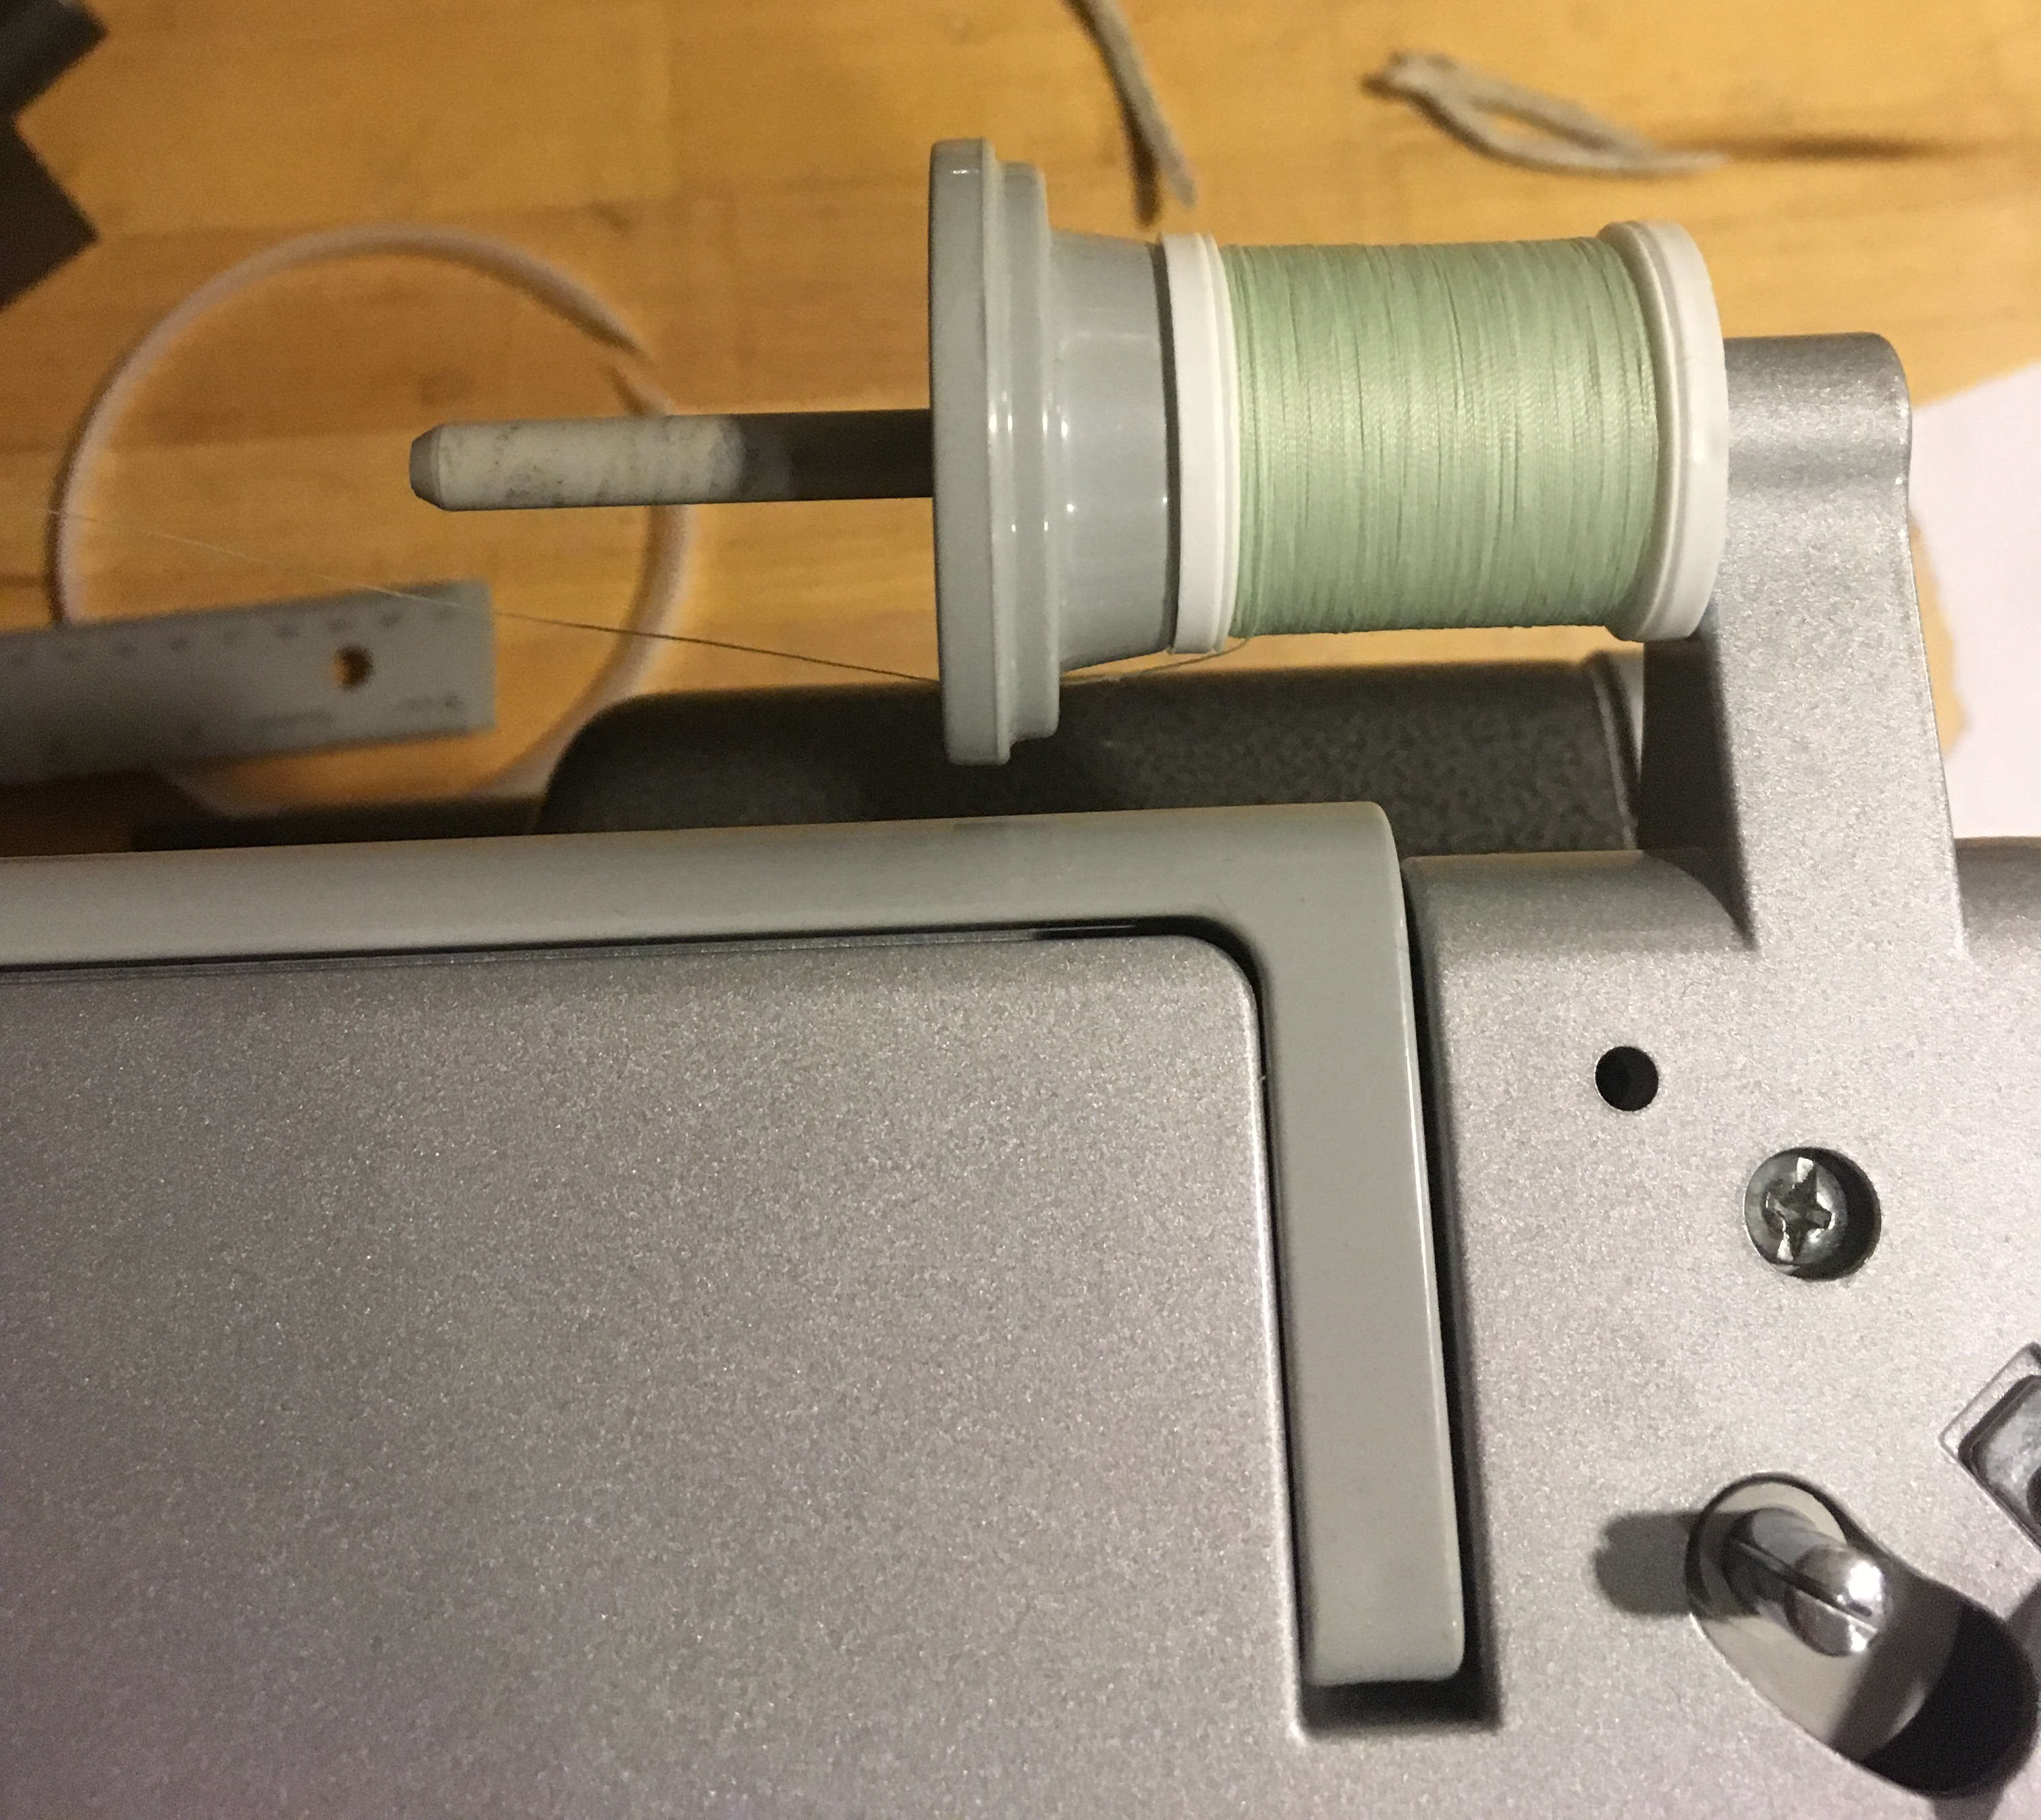
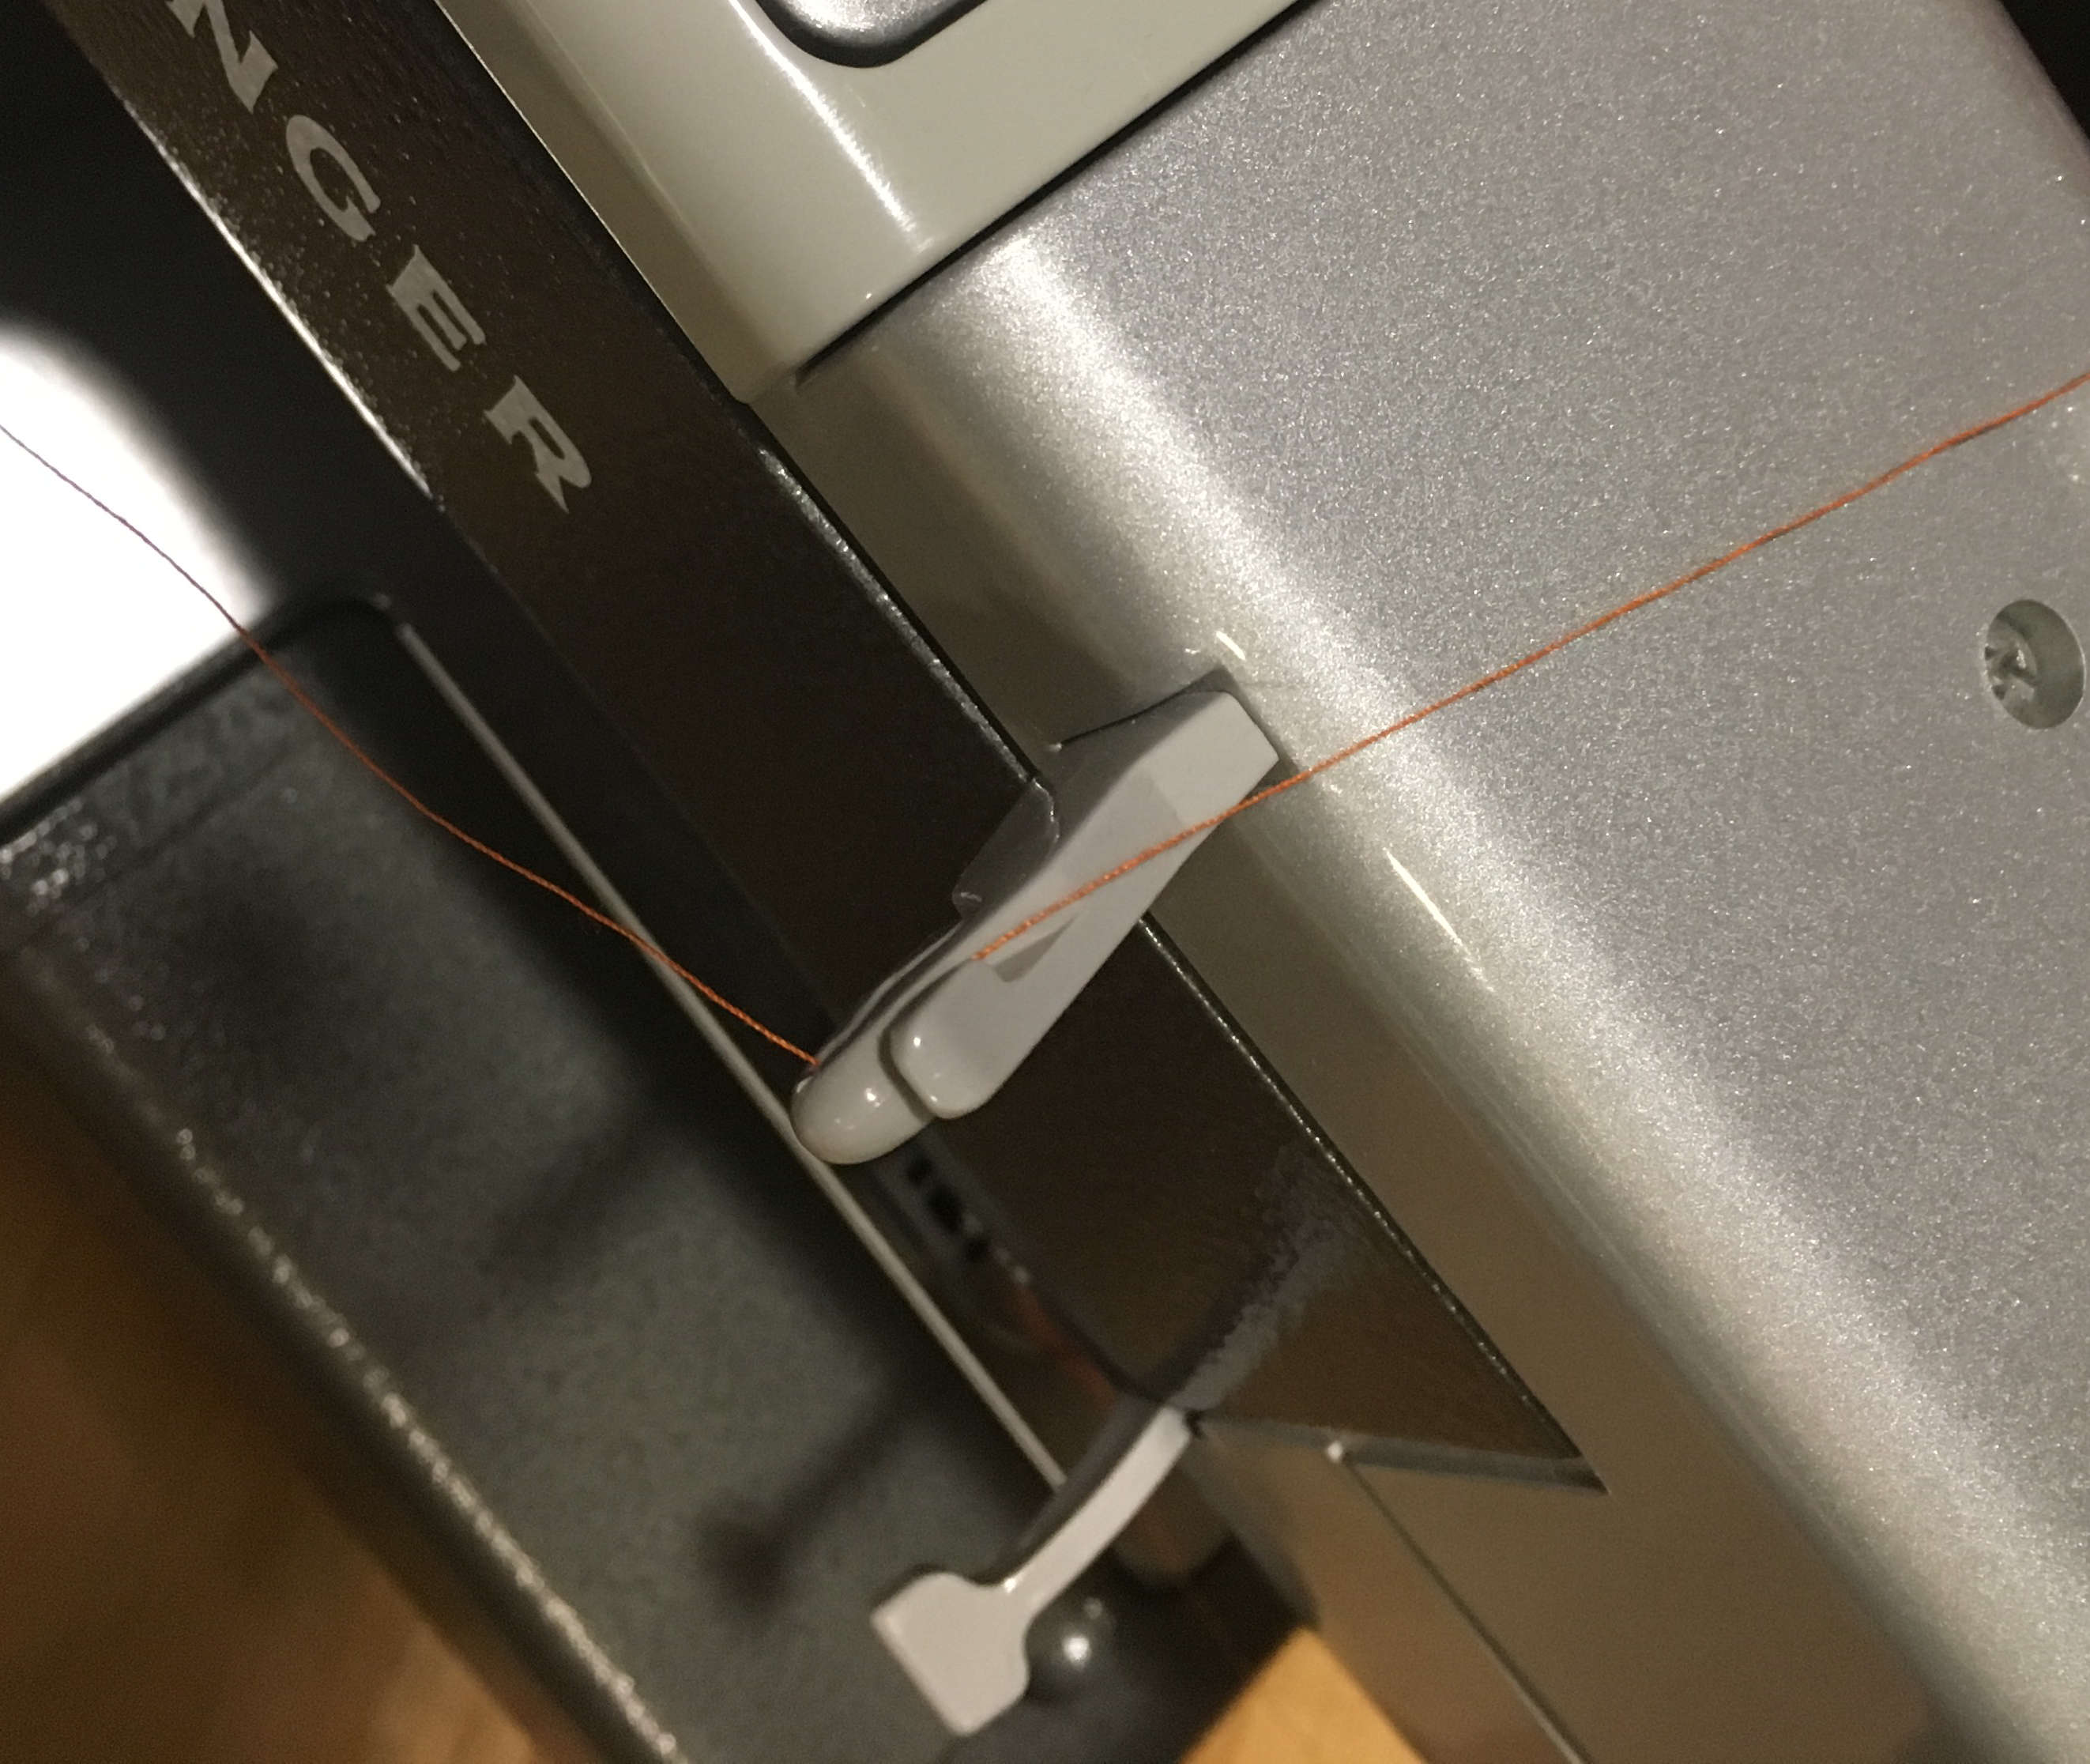
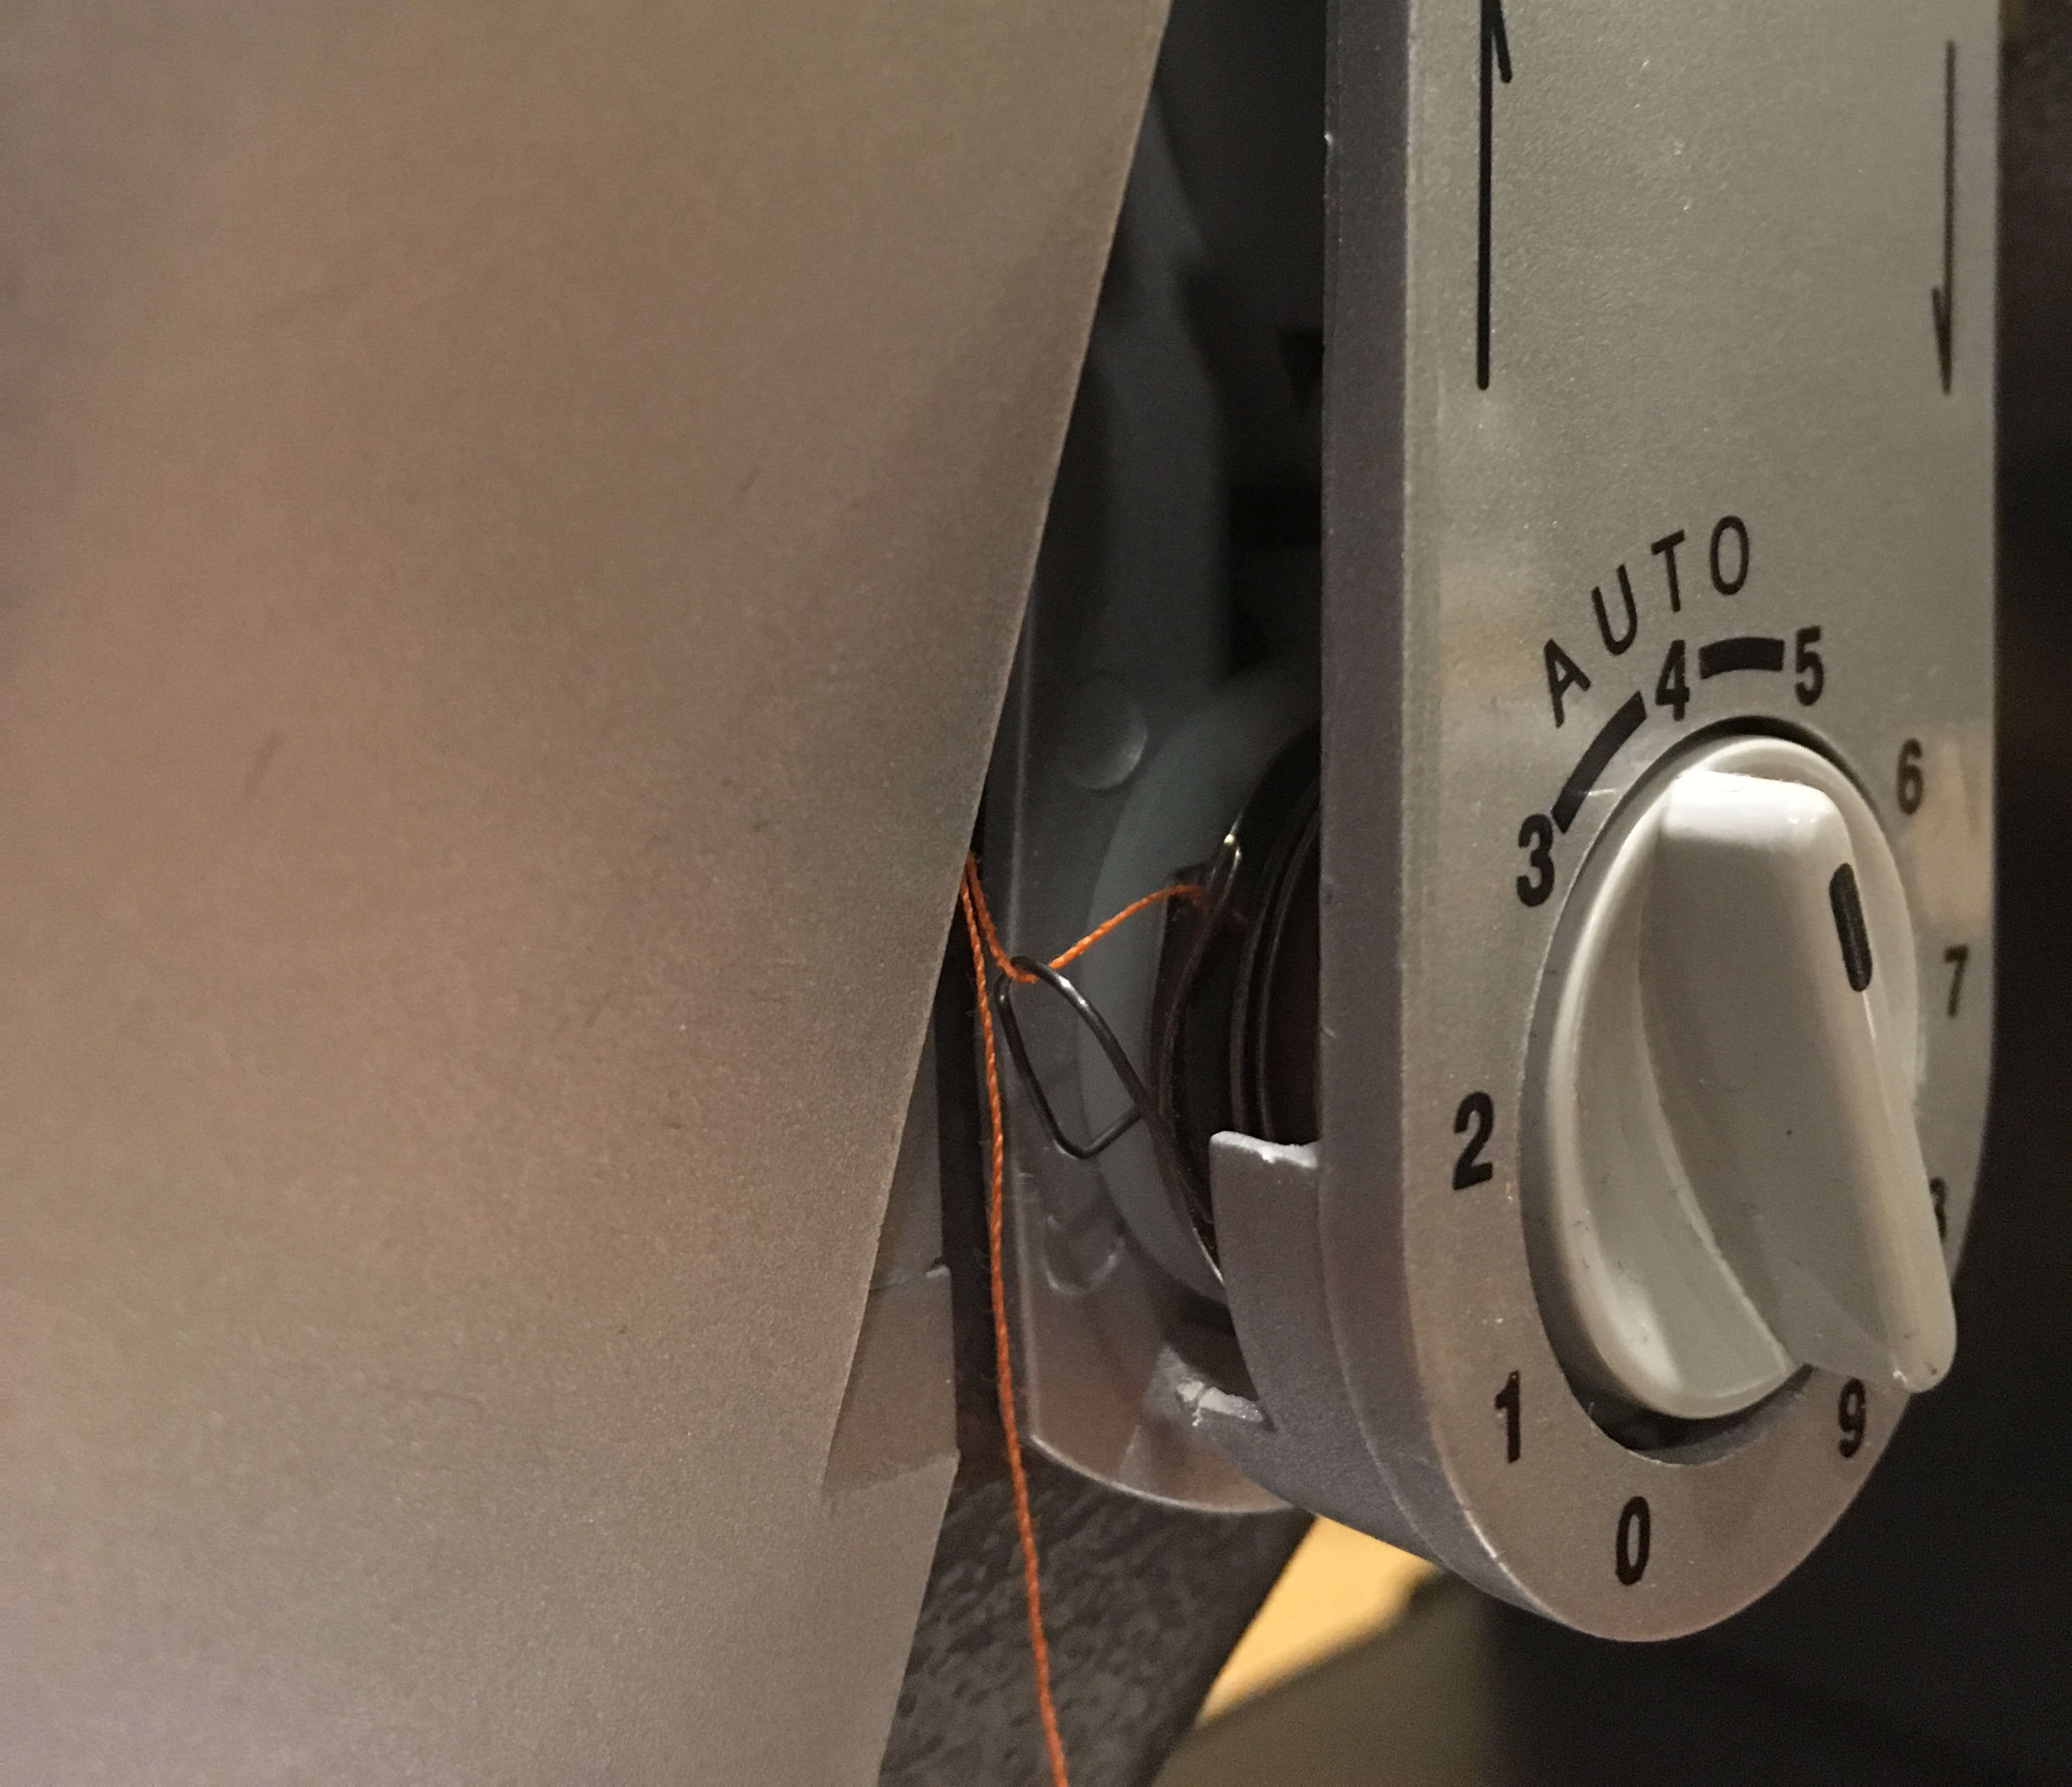
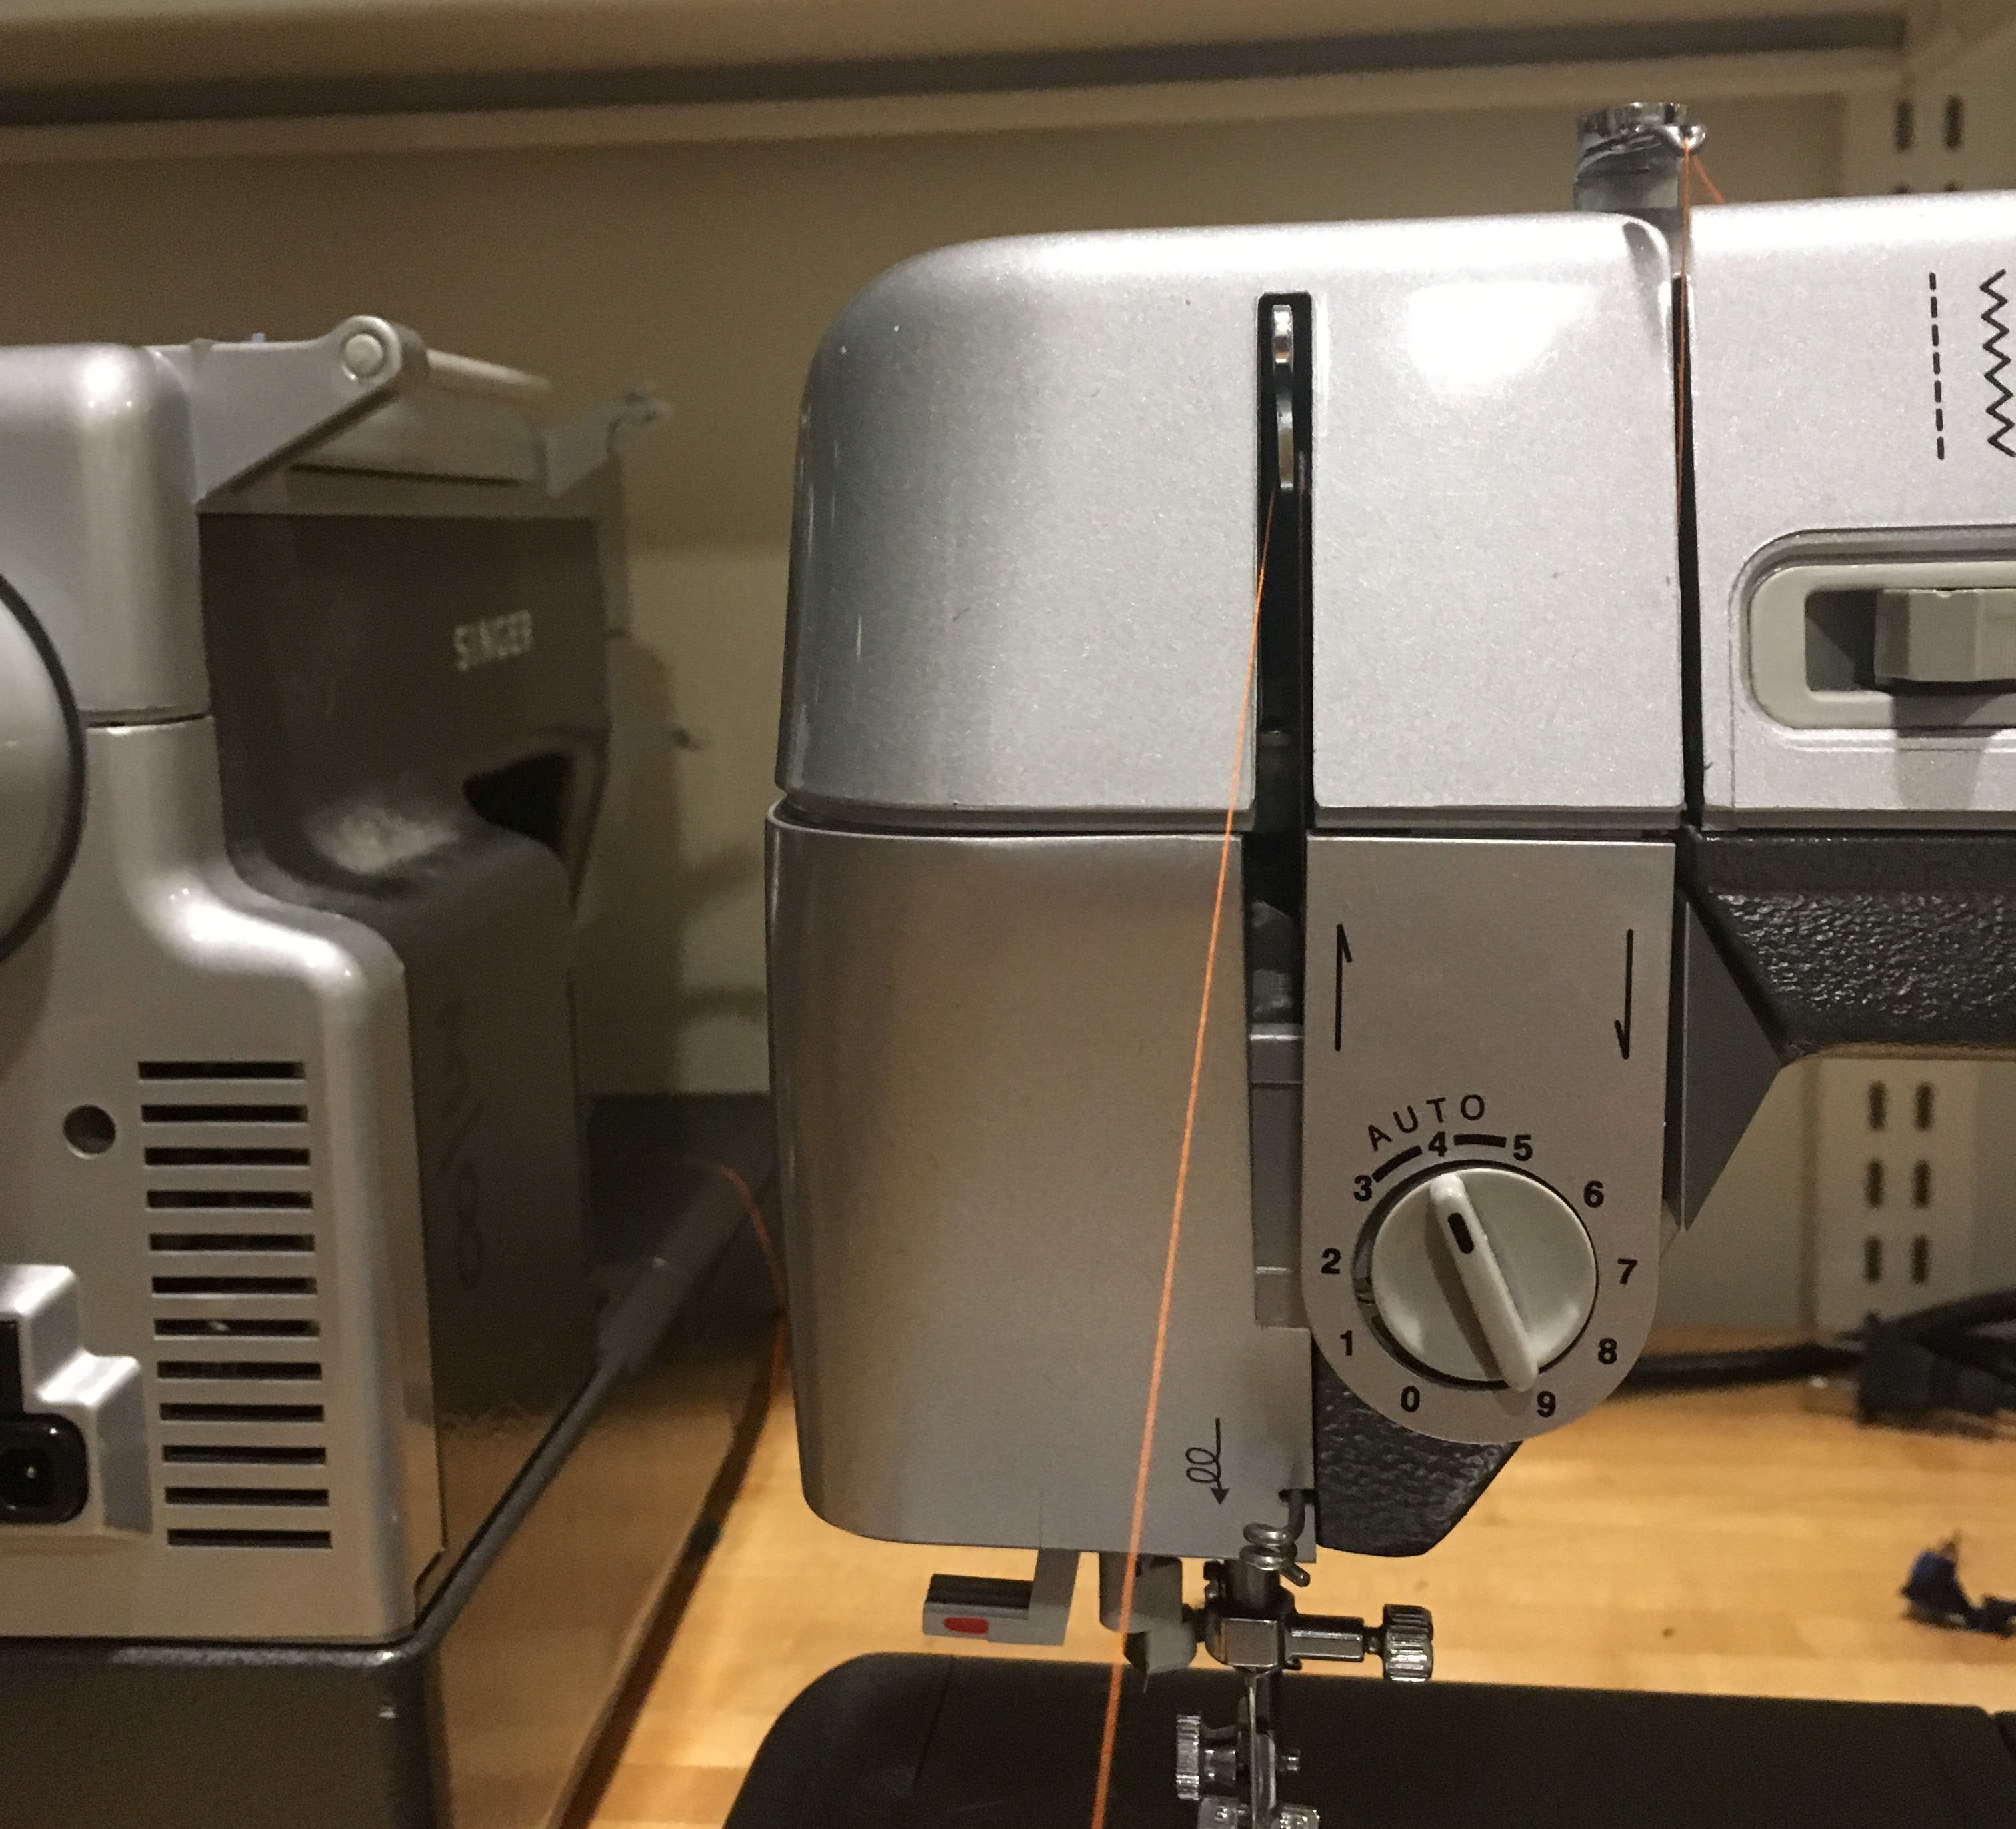
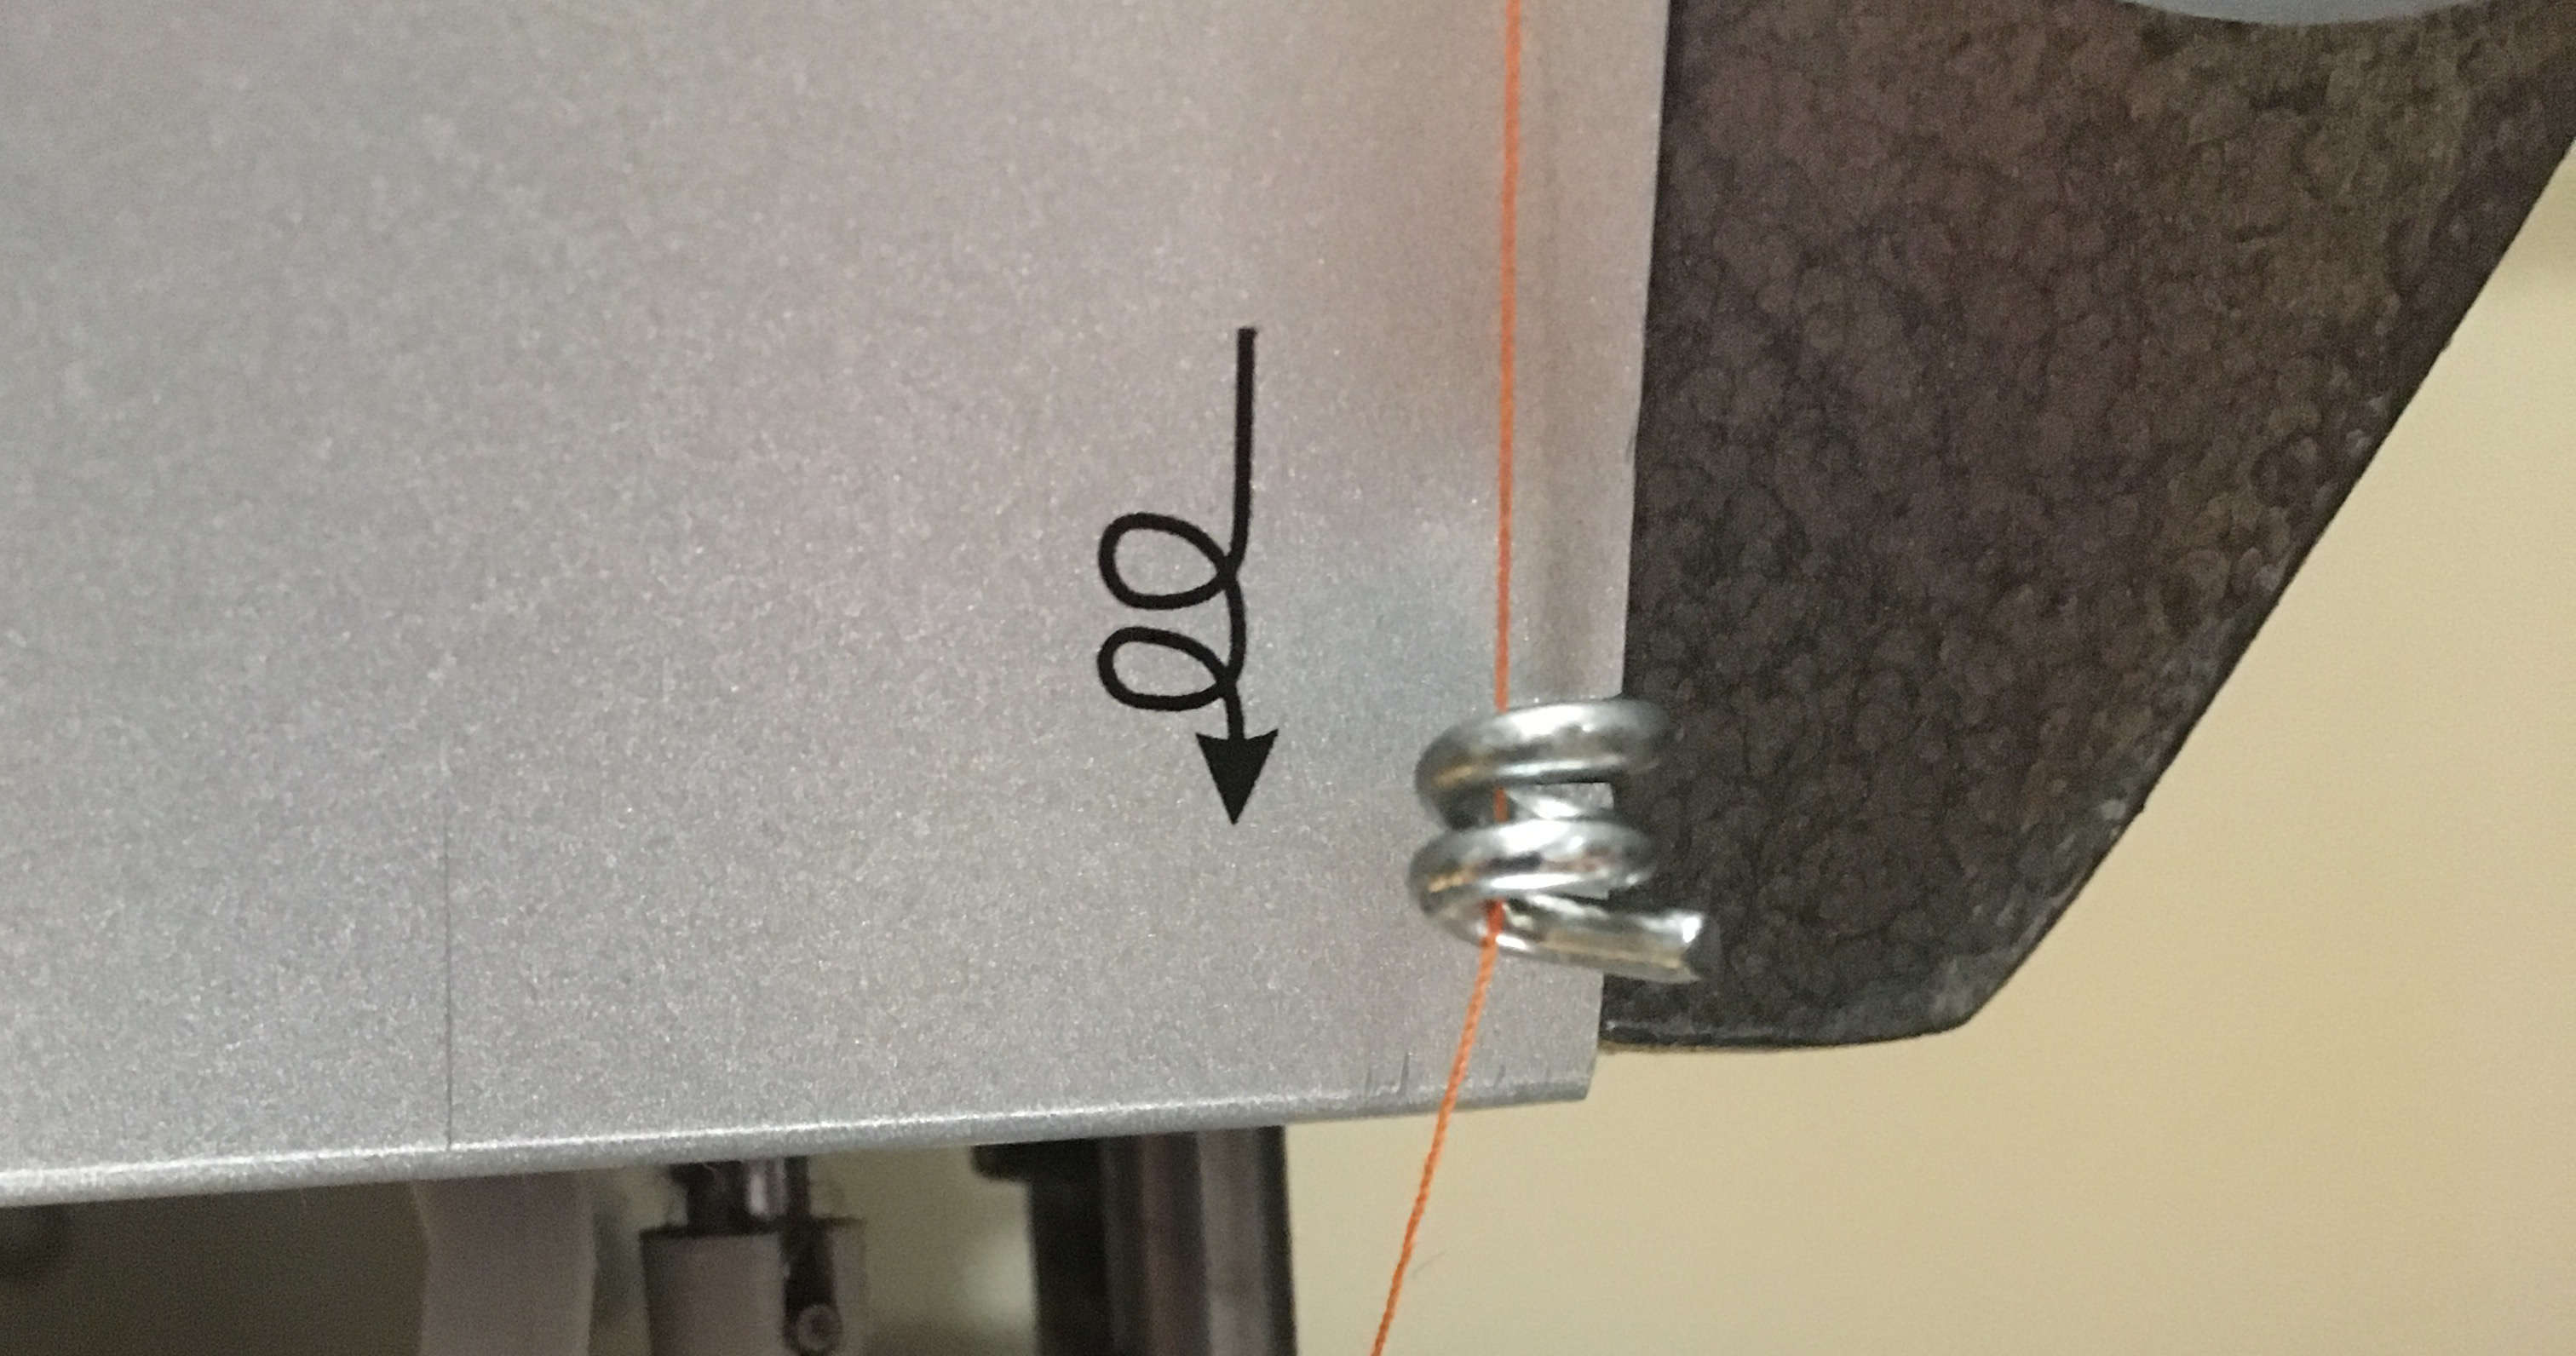
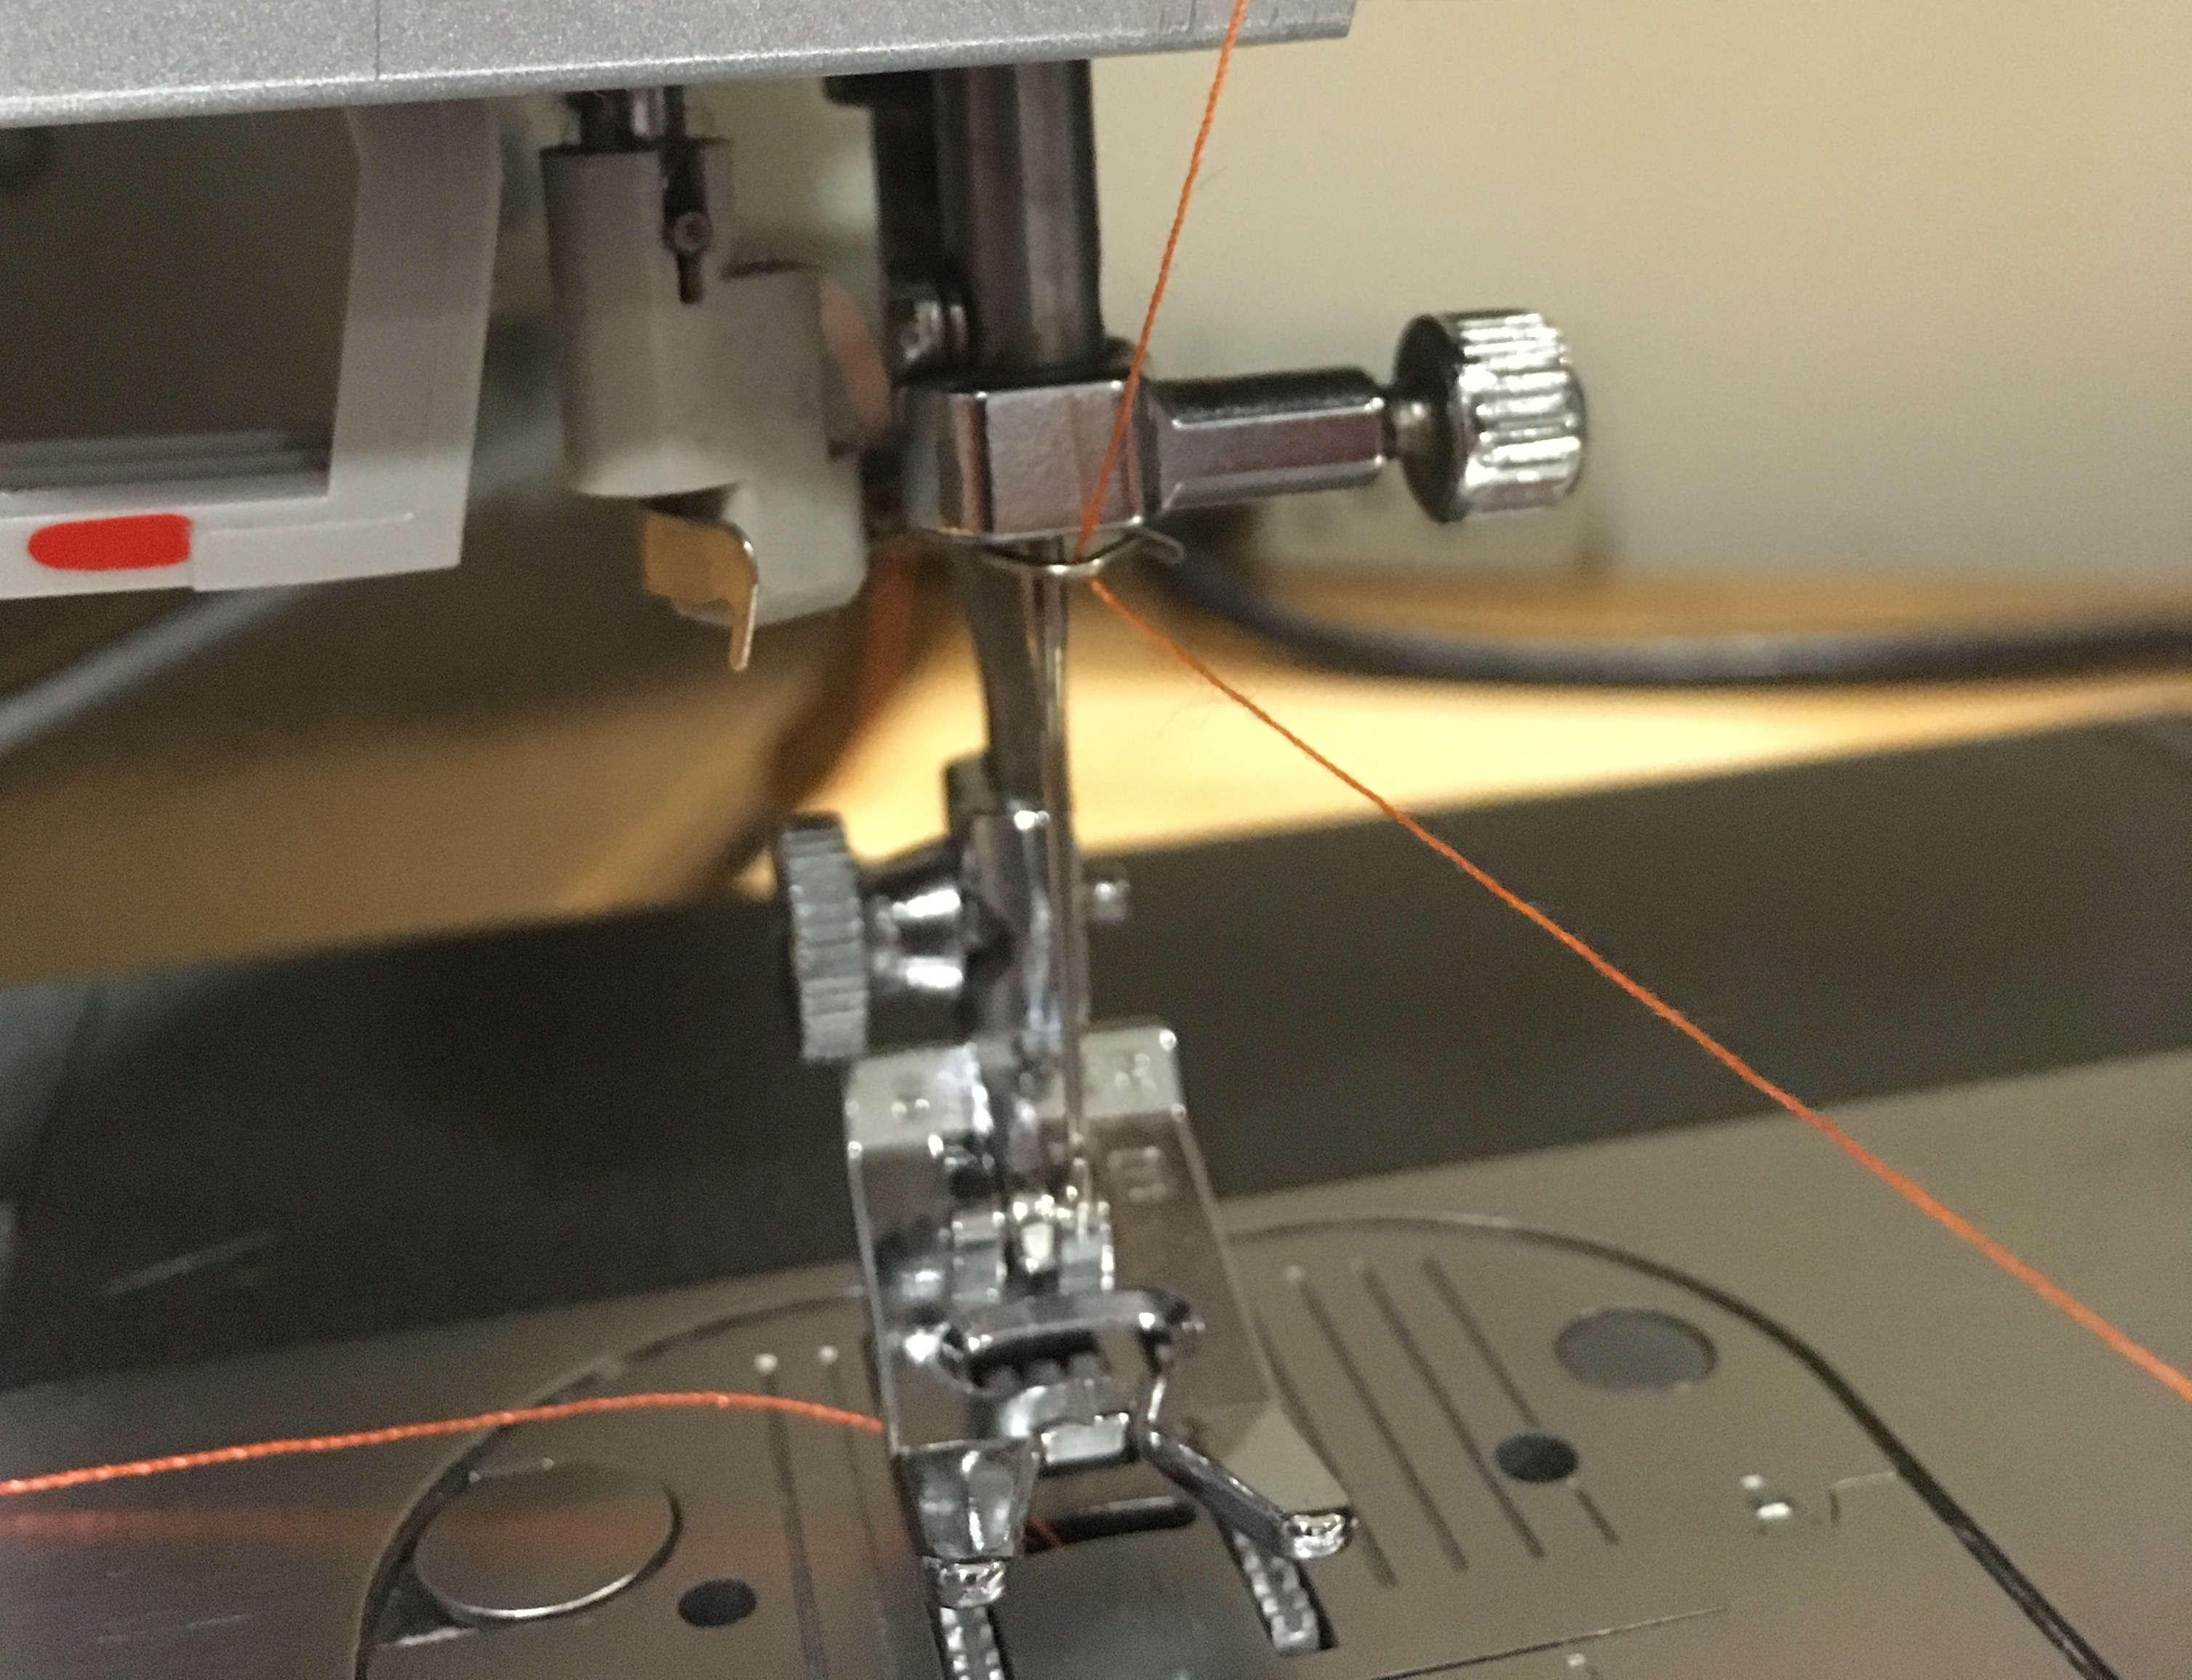
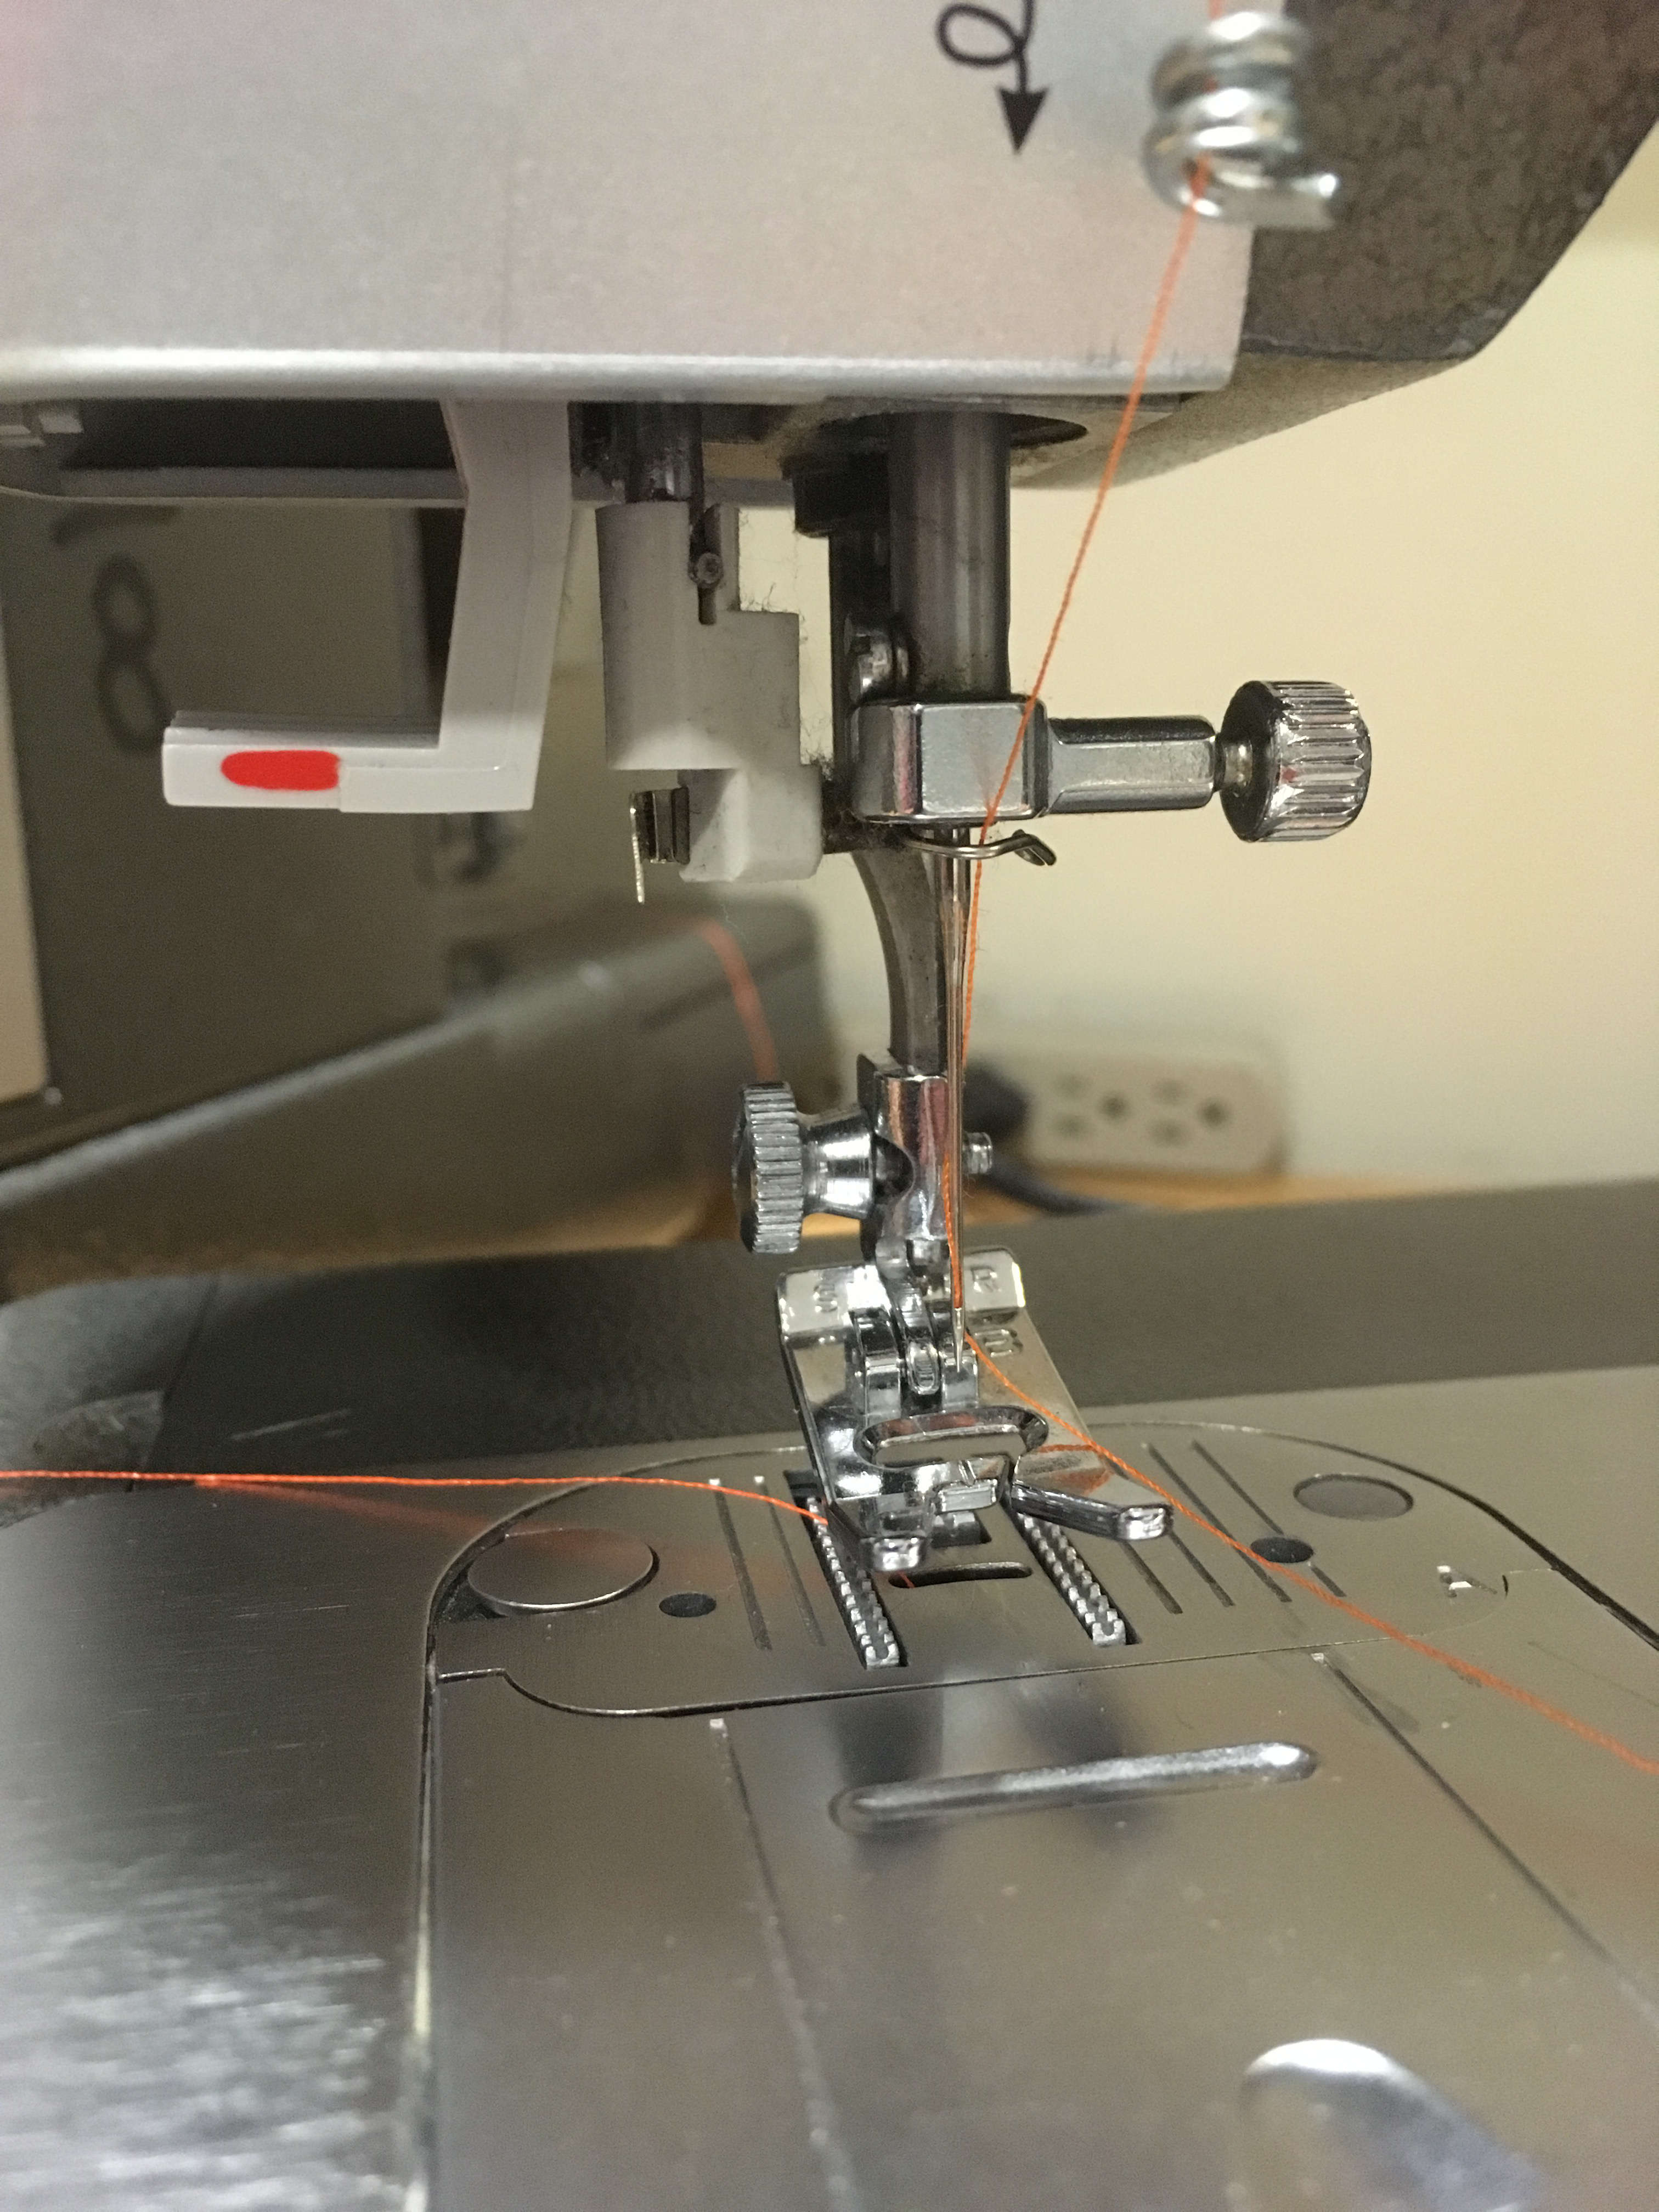
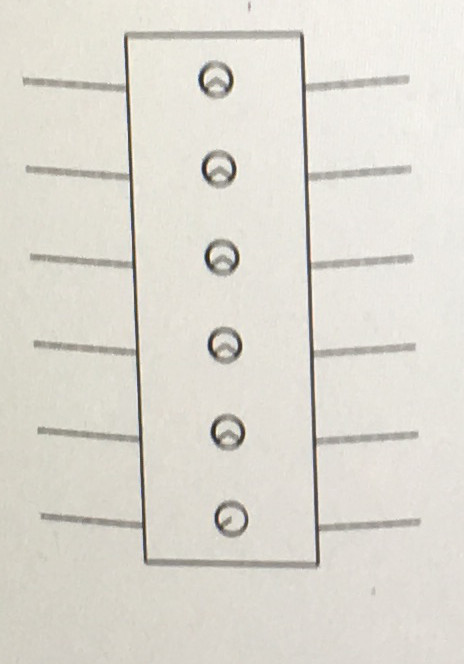
The first step of using a sewing machine is threading it. This involves looping both the top and bottom thread through a series of fastenings which secure them and keep them from being tangled except for in exactly the way that you want them to. The top thread should be looped through each of these fastening mechanisms in this order:

Then, the bottom thread, or bobbin, goes in this little drawer.
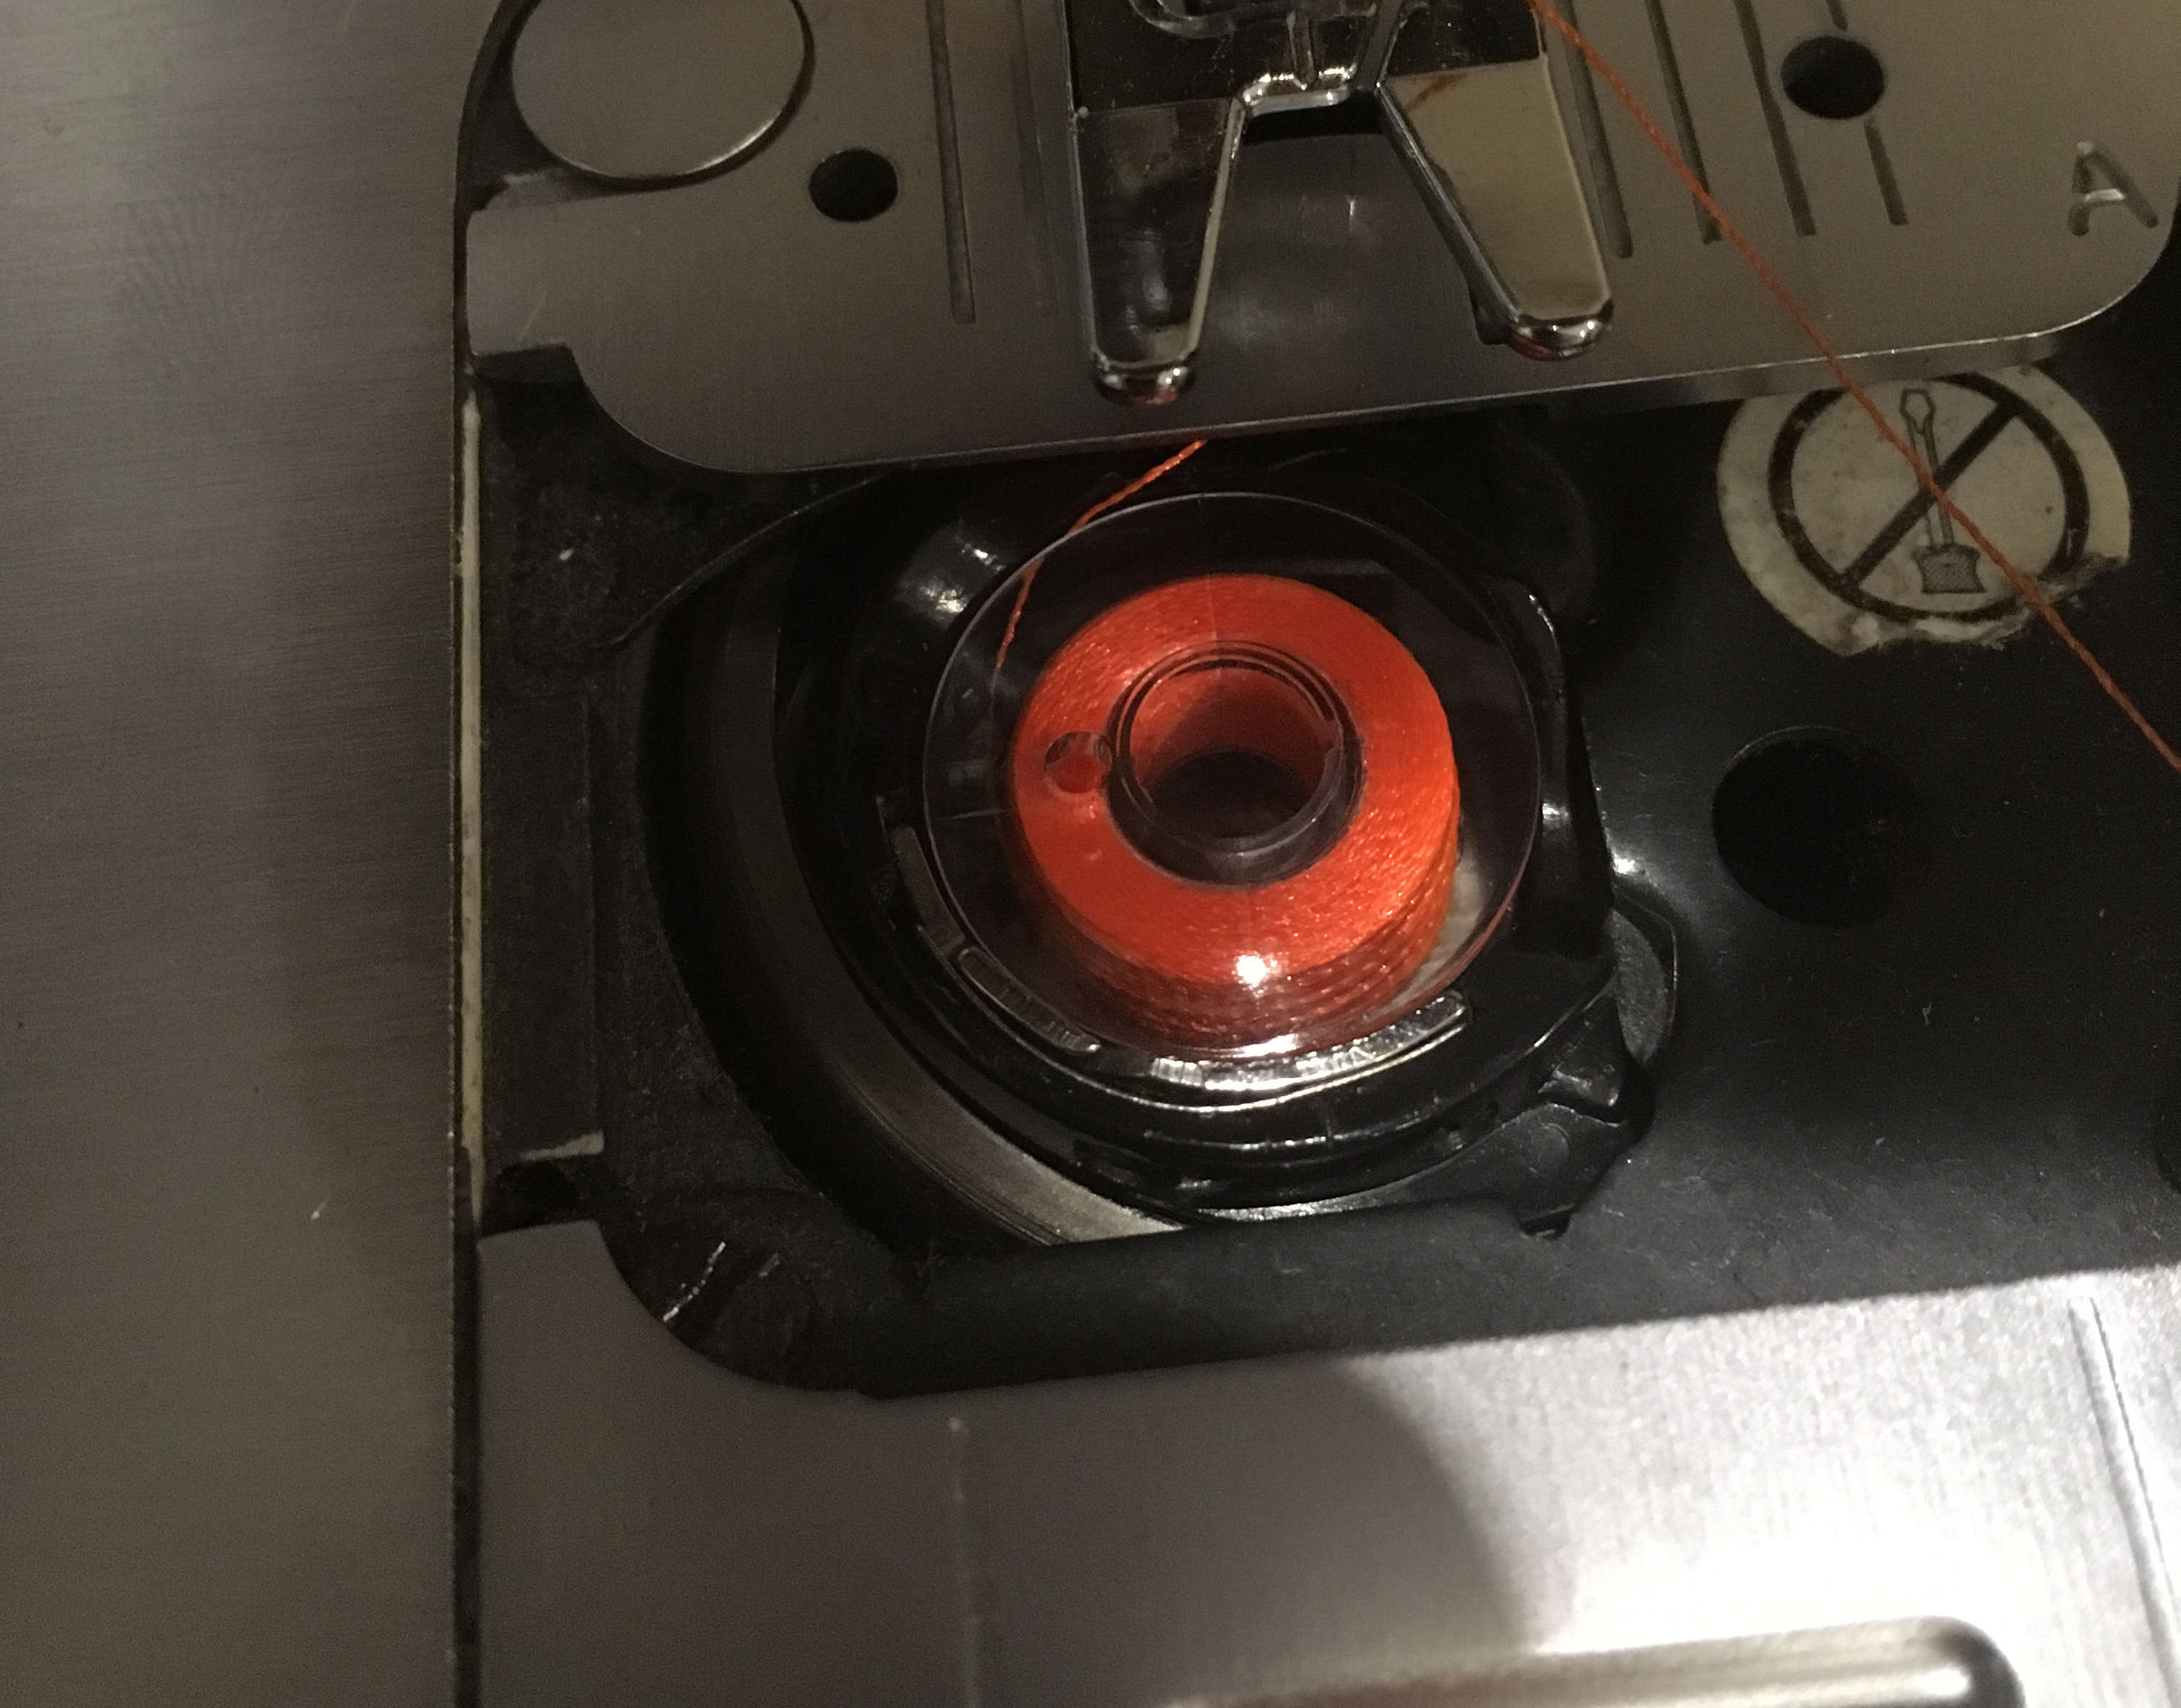
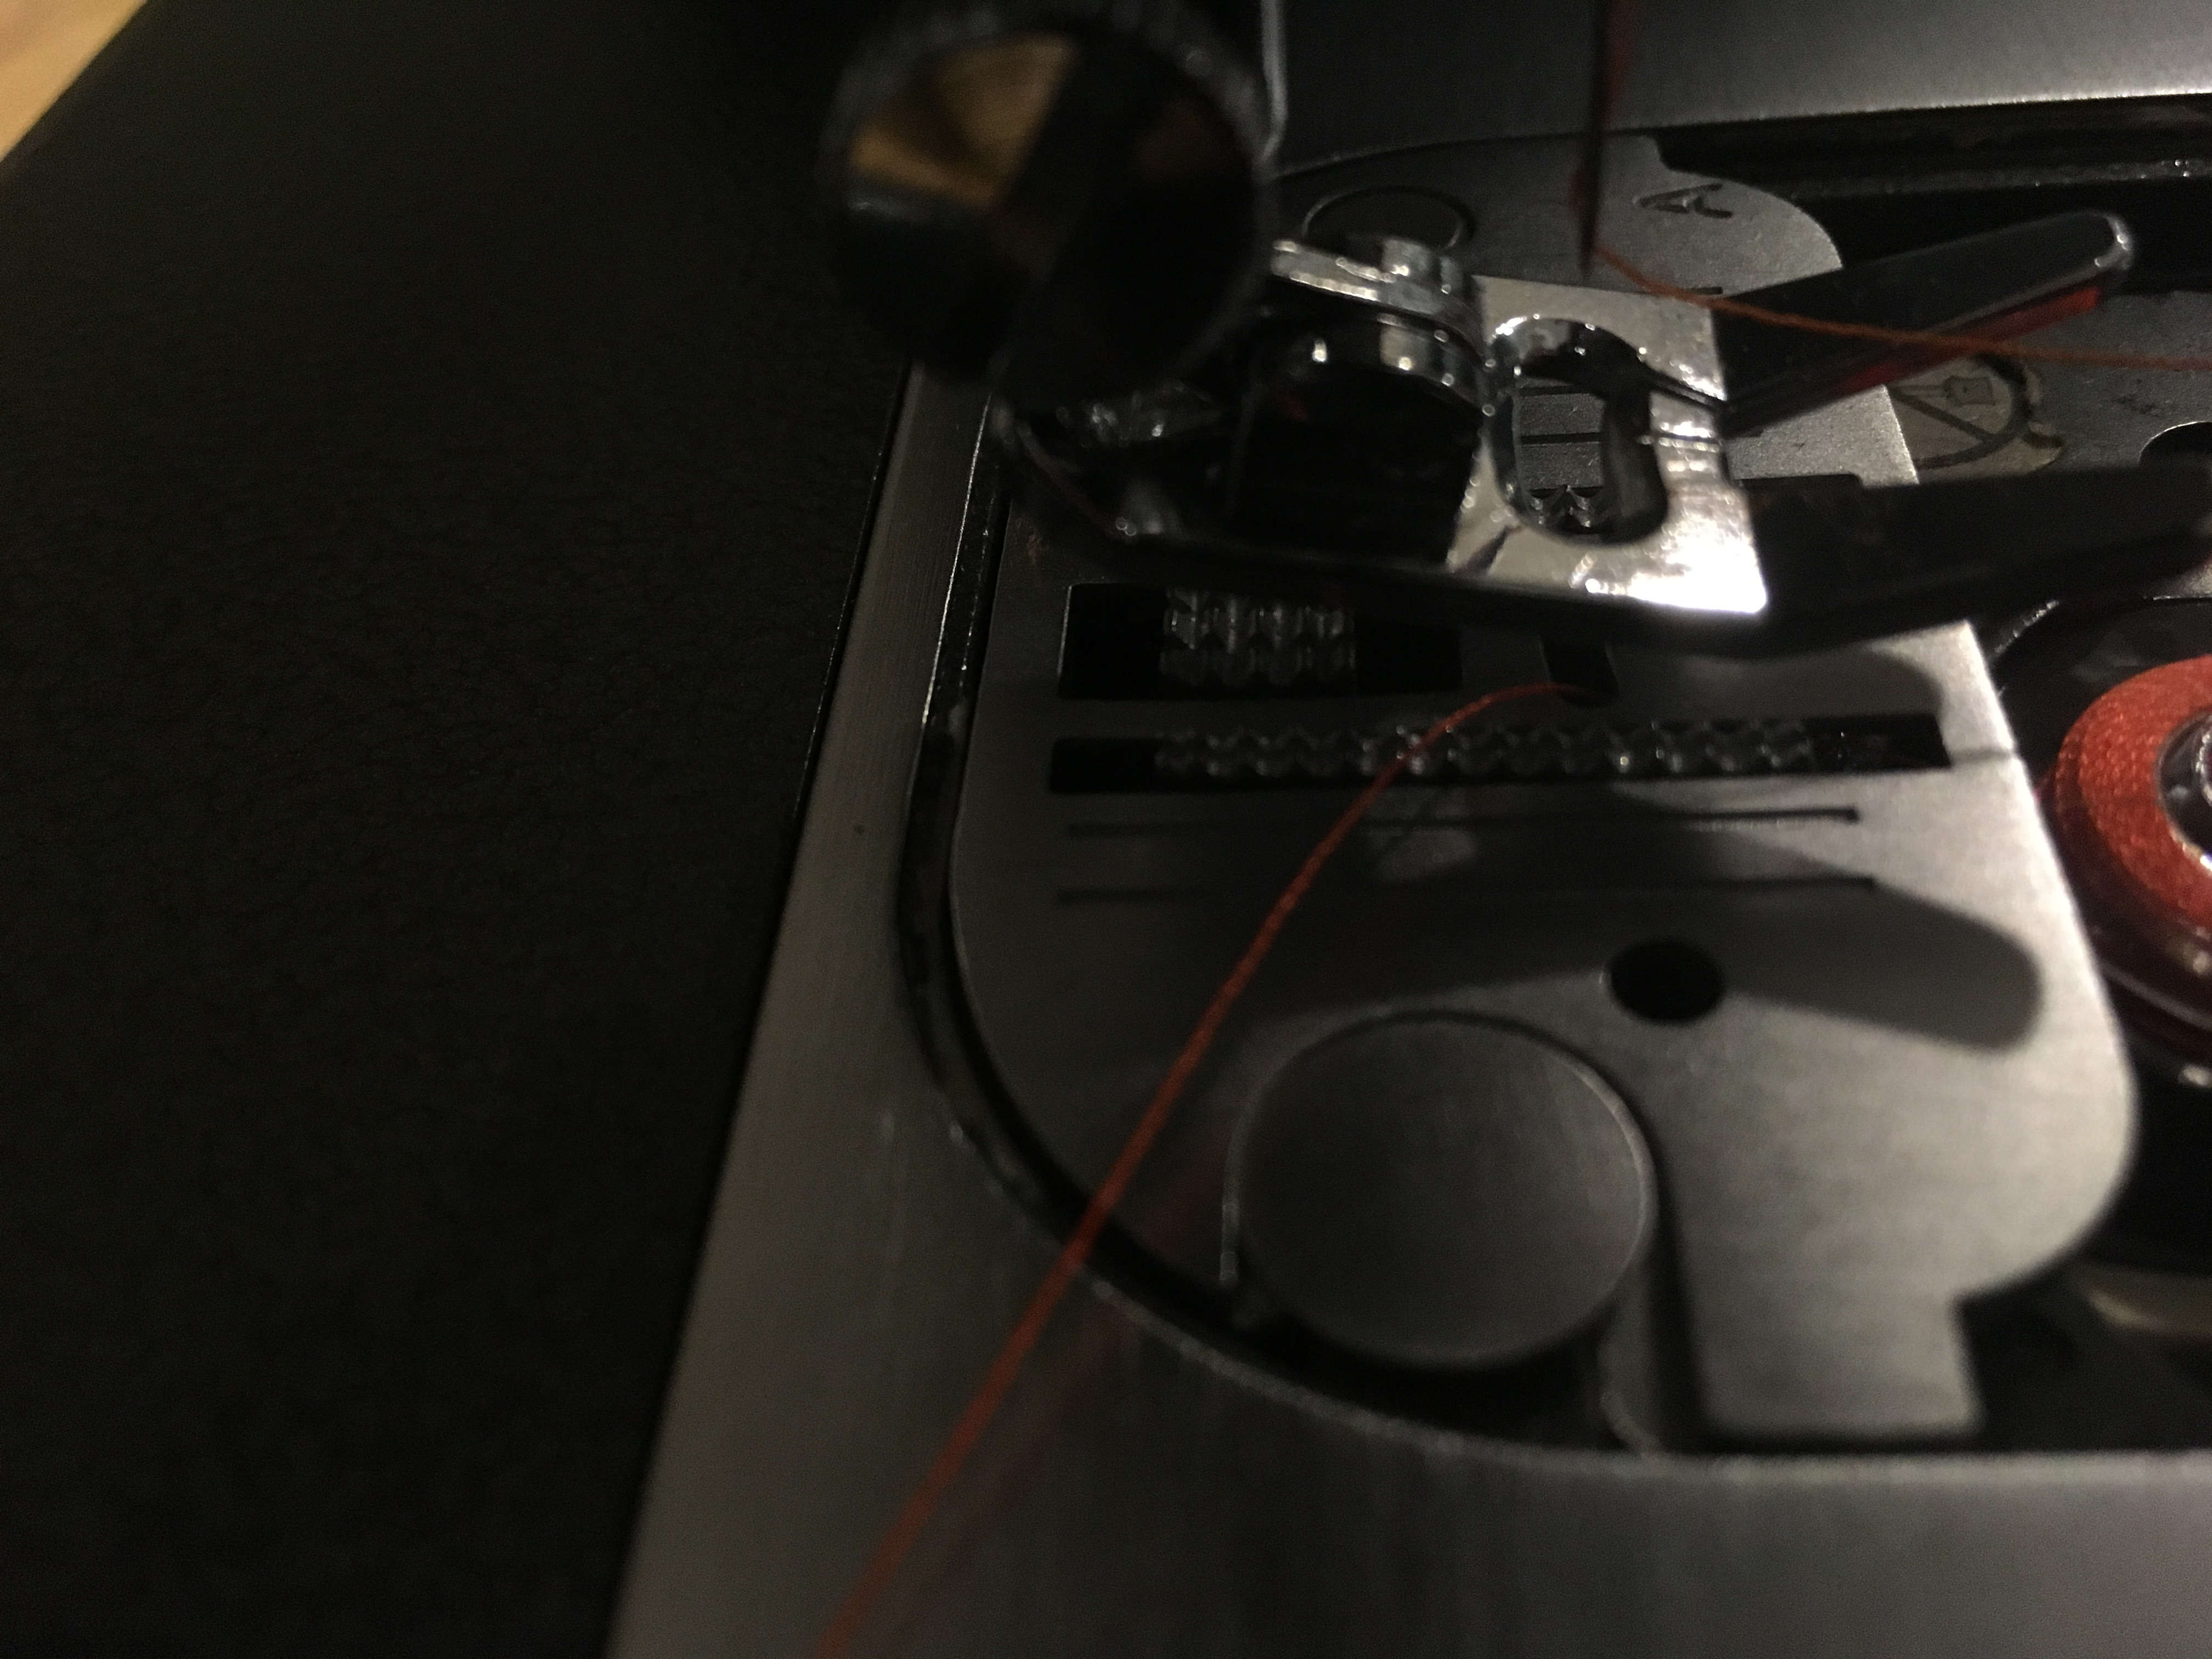
Turning the knob on the right side of the machine will move the needle up and down such that the top thread catches the bottom thread, and pulls it through the metal hole under the needle. Grab it with something, pull it through such that it makes a line, rather than a loop, close the door, and now you have a threaded machine!
General controls:
That's more or less all you need to get started!
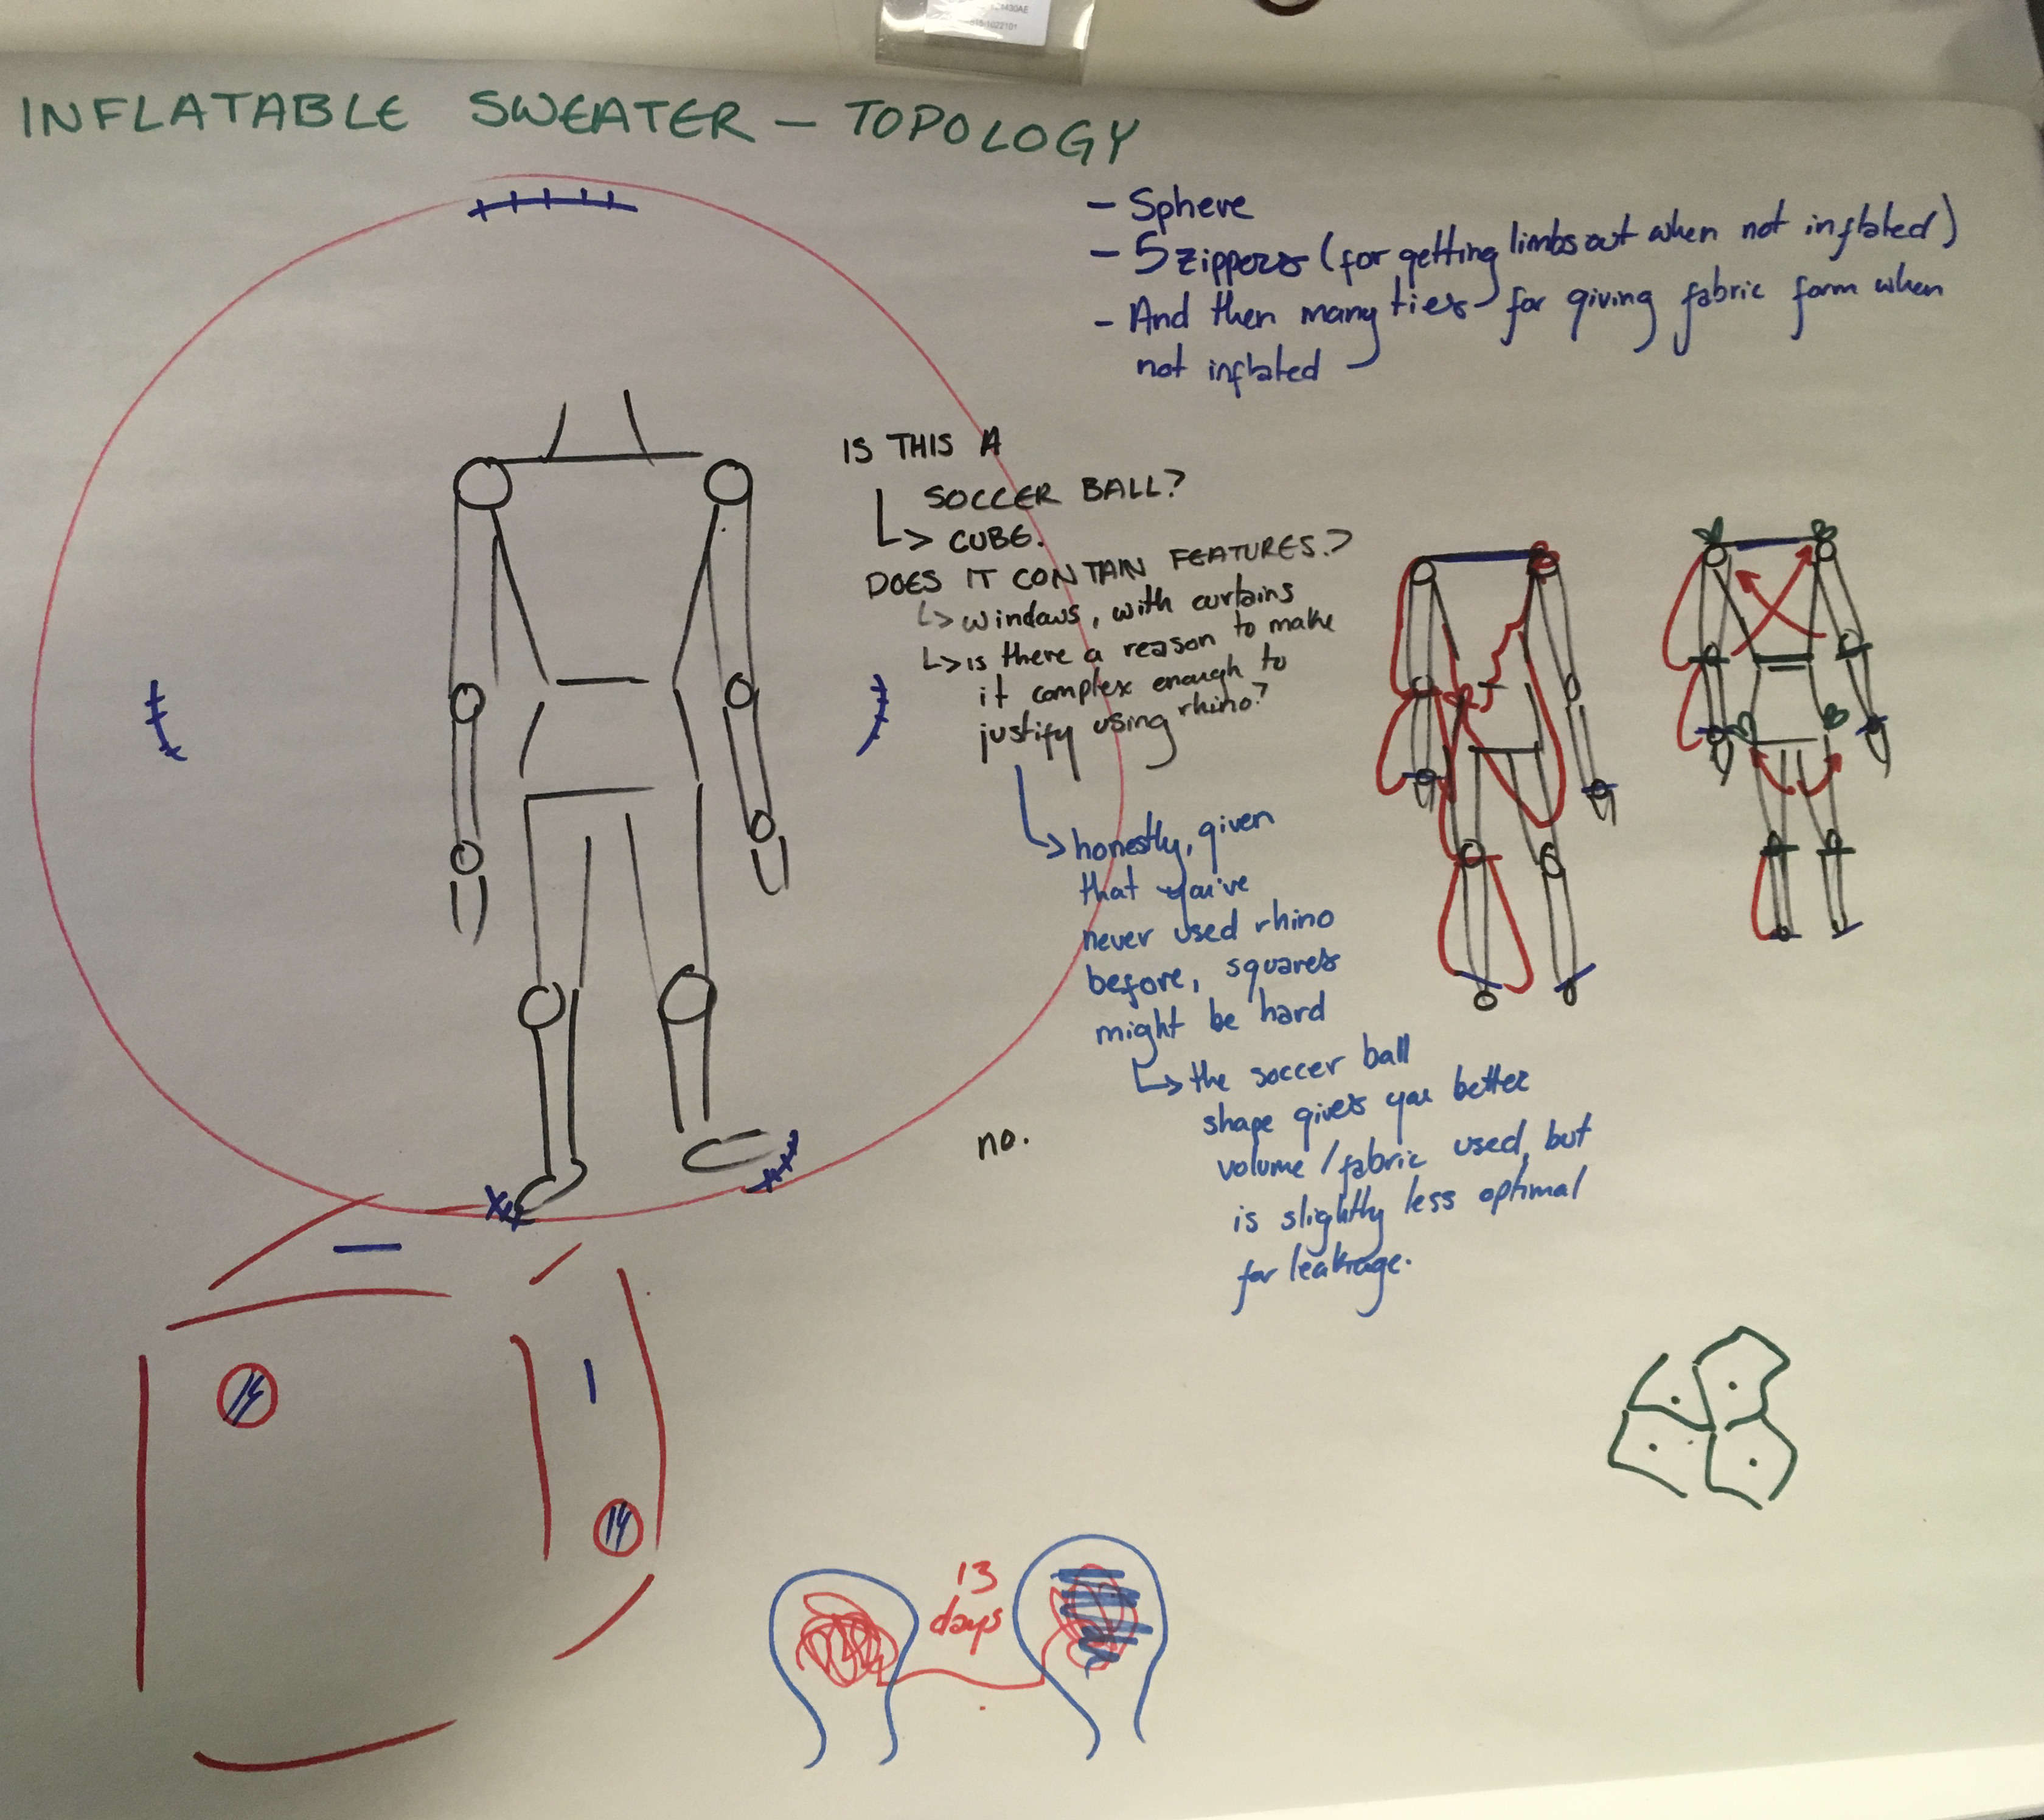
We designed our inflatables in Rhino. It's a suprizingly intuitive tool. The only two commands which you absolutely need in order to make inflatables: BooleanUnion, to merge all of your shapes into one shape, and UnrollSrf, to unwrap all if it's faces into flat parts which can be cut out of fabric.
Rhino being easy made my initial idea of a box with zippers seem too easy for this week. I made things harder for myself by adding spines.
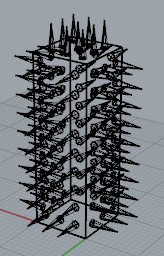
I was later advised by Agnes that I was going to have an extraordinarily unpleasant weekend of sewing spines if I decided to keep all of them, and that it might make more sense to reduce the number. I therefore kept only the middle row, and removed all of the spines from the top.
Alfonso helped me cut my parts of the Zund. The Zund can read dxf files exported from Rhino, but can't understand that the small, non-border lines all over your parts are not something that you want cut. If you're having an issue getting just the lines you want cut to cut, uncheck the "Show surface isocurves" box under Isocurve Density.
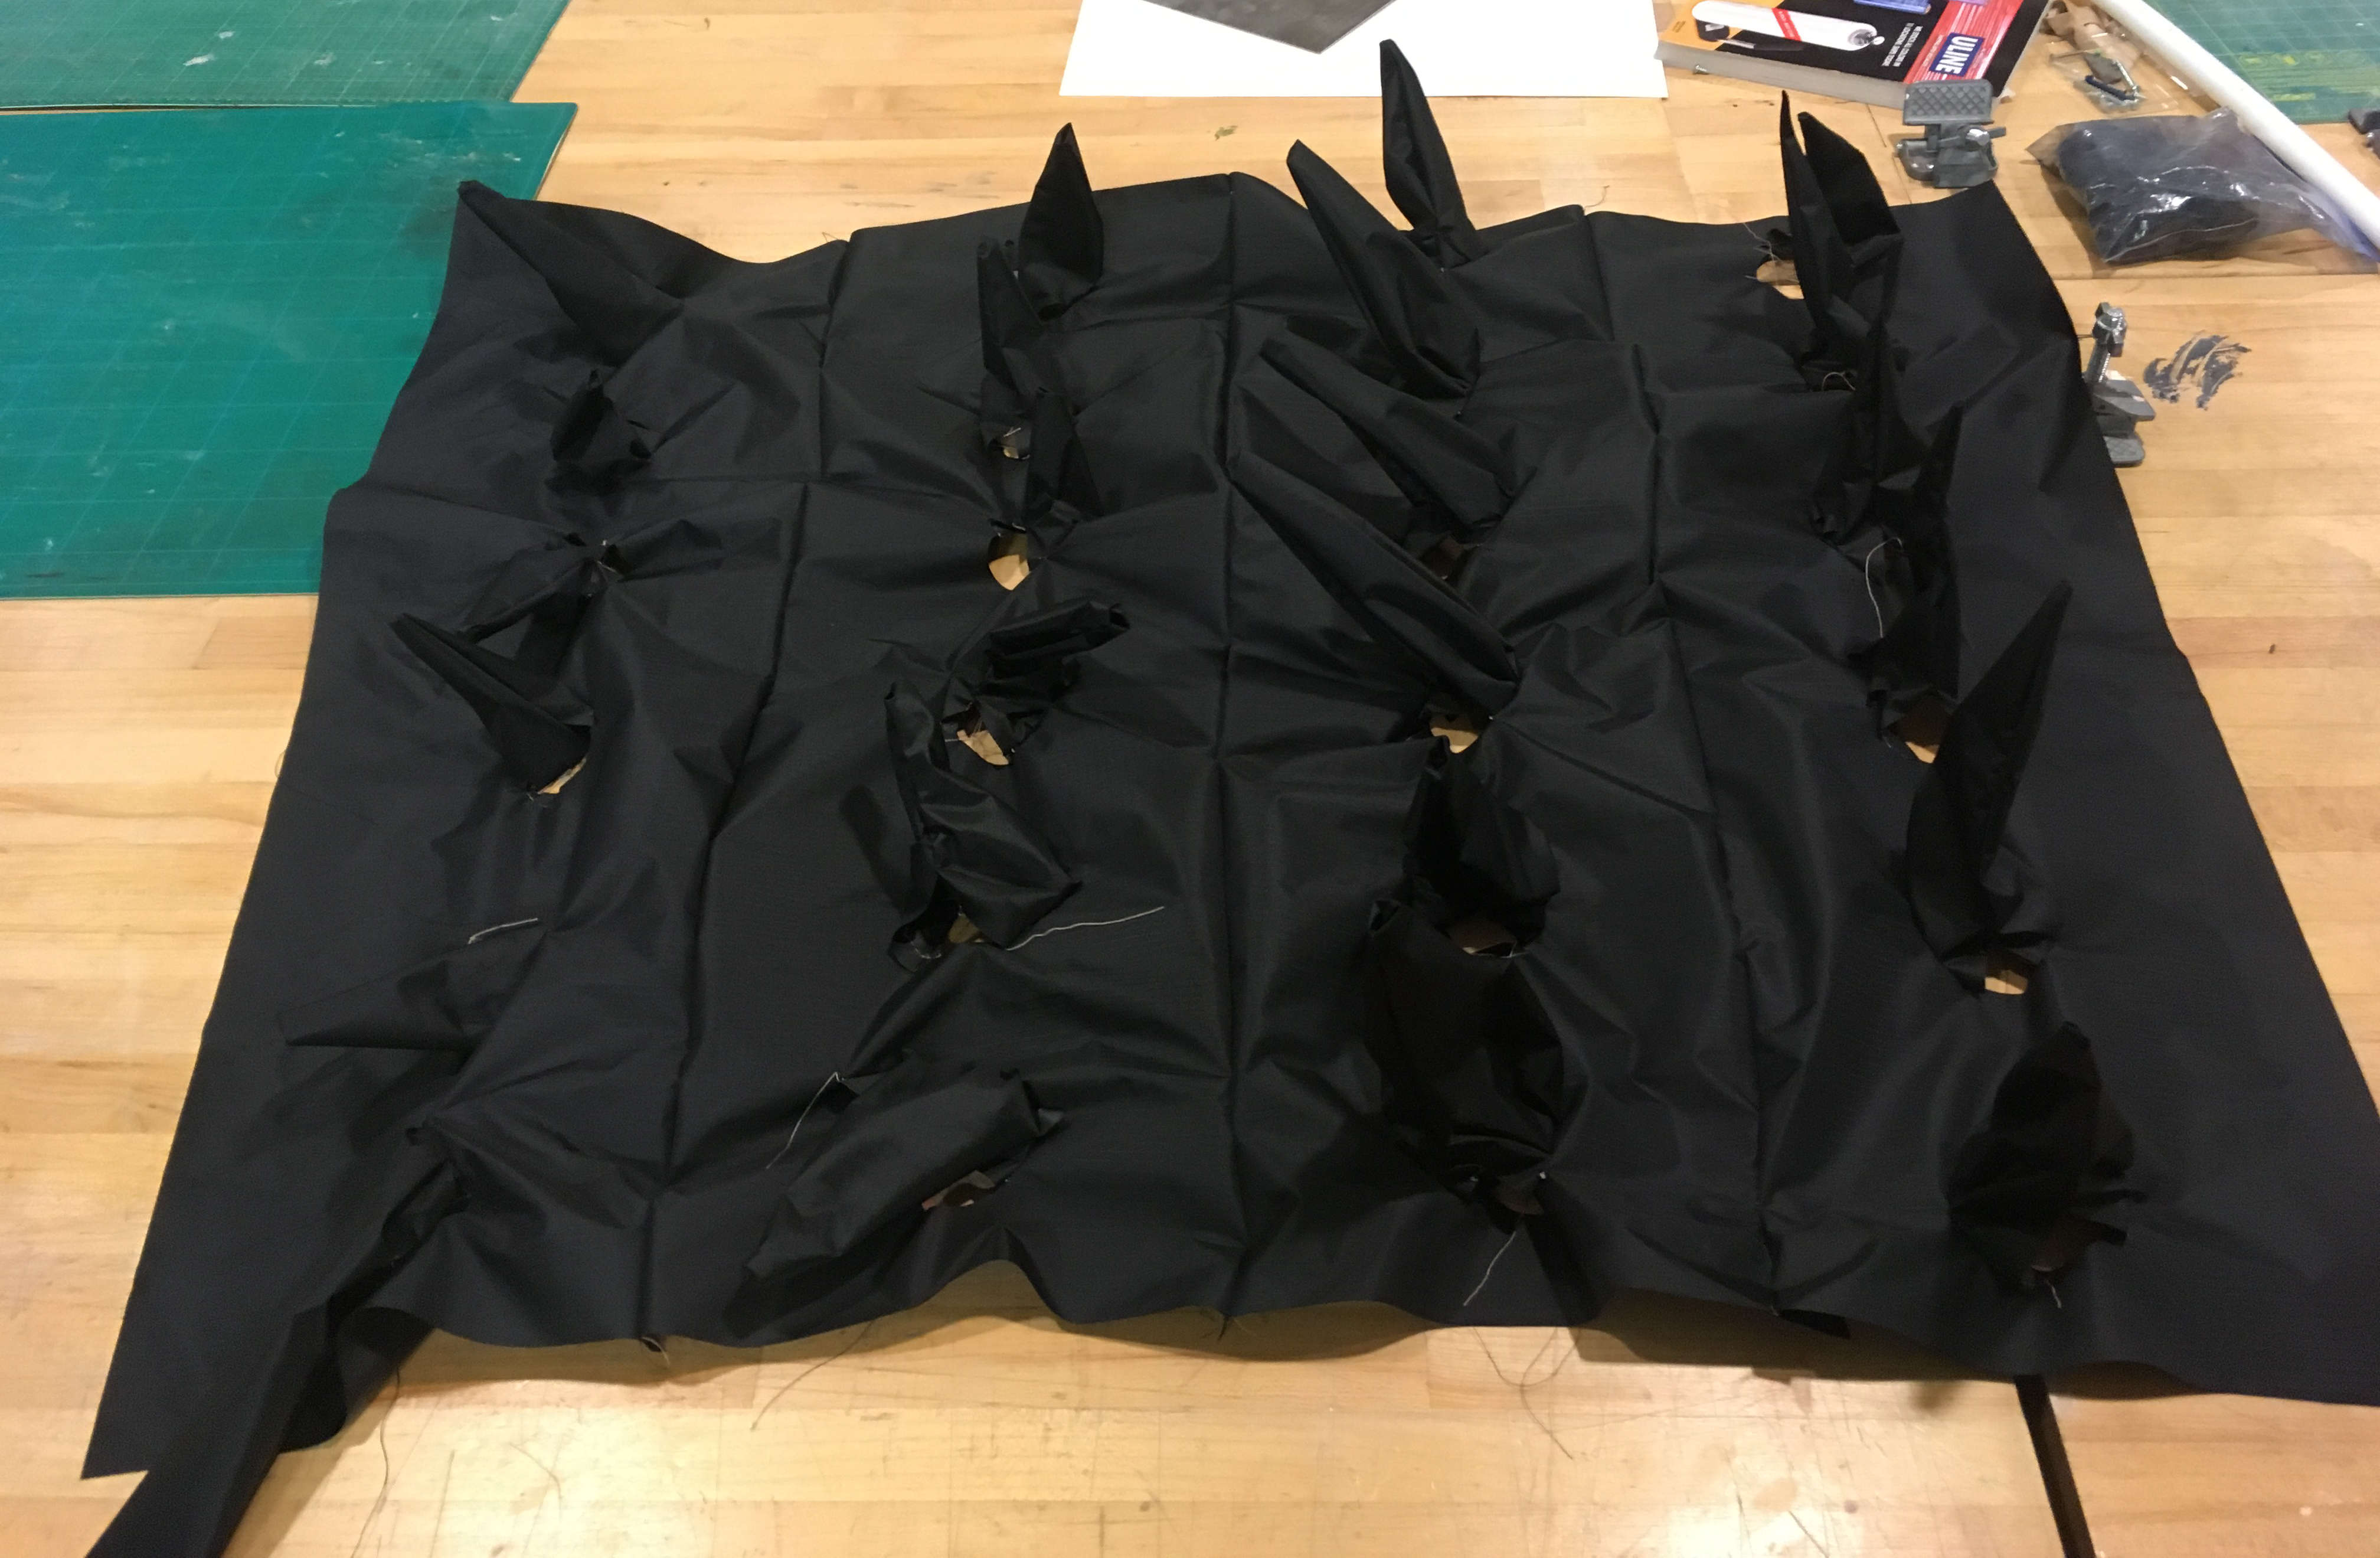
Somewhere in the conversion between inches and millimeters, I managed to cut out my fabric at about 1/3 of my intended scale.
I decided to do what I could to prevent my 1/3 scale fabric from being a total waste, by still trying to sew it.
I started by running a few practice curves, to see how tight of a circle I could sew.
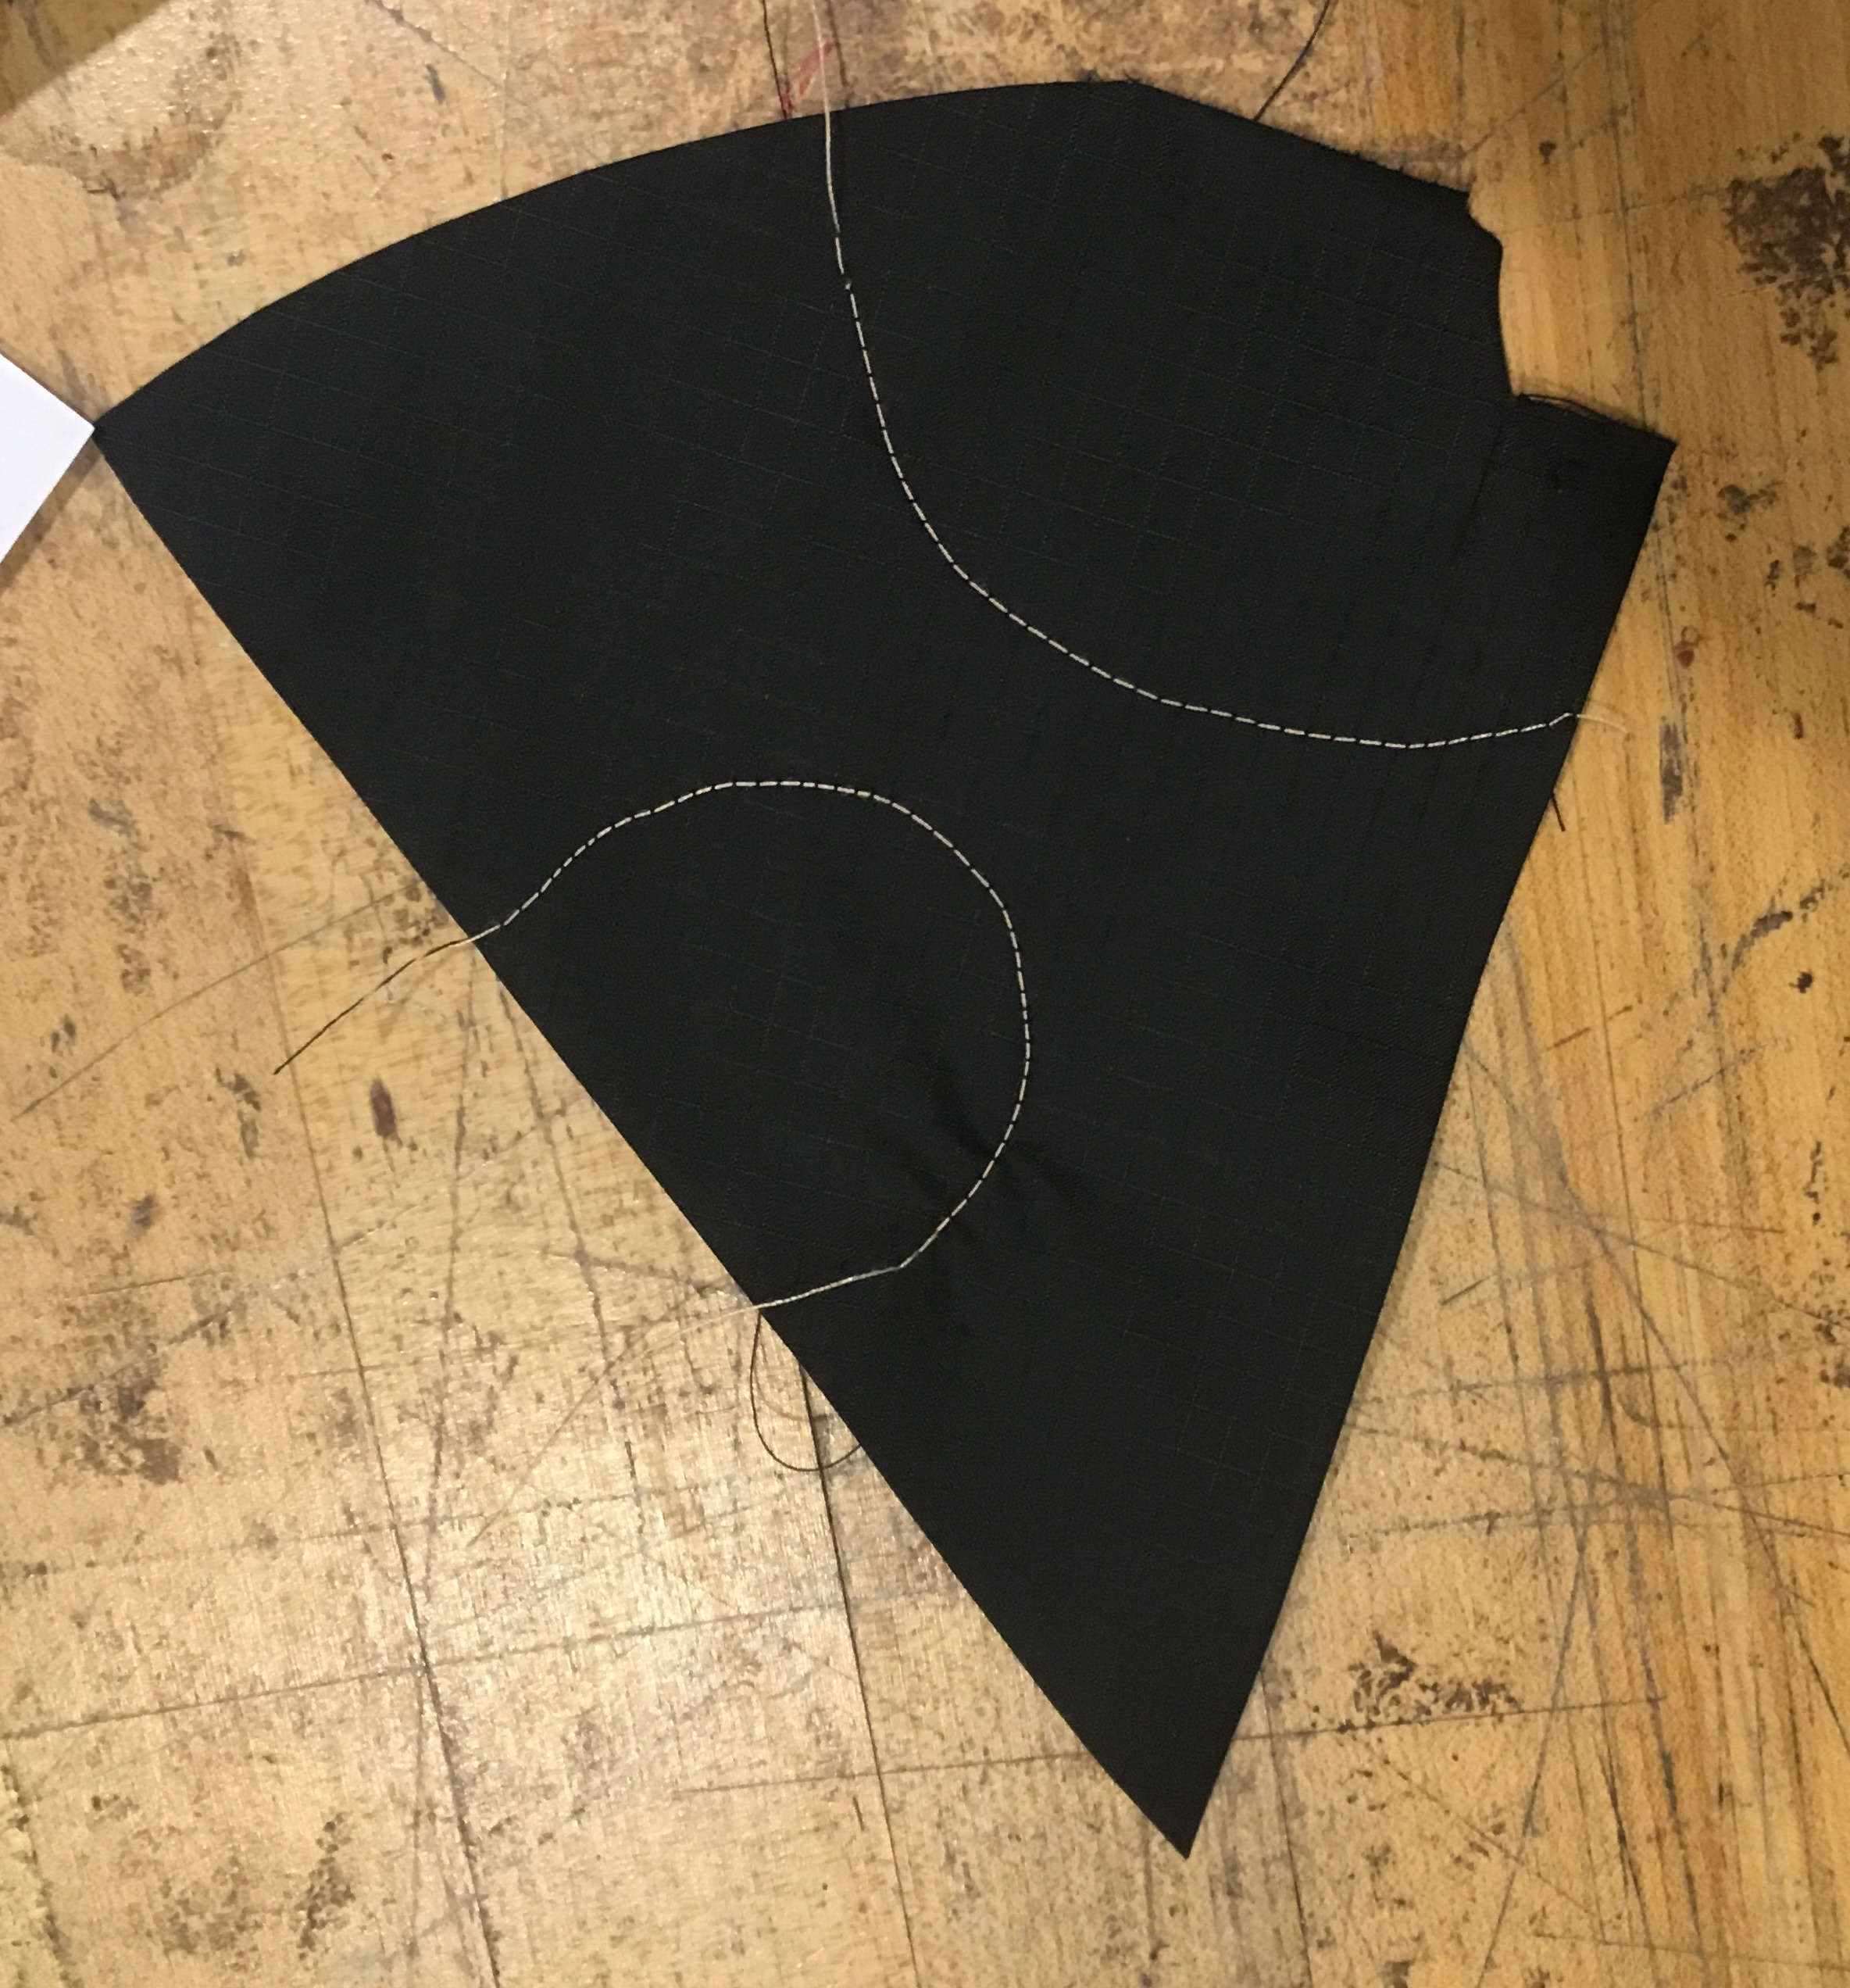
Things learned:
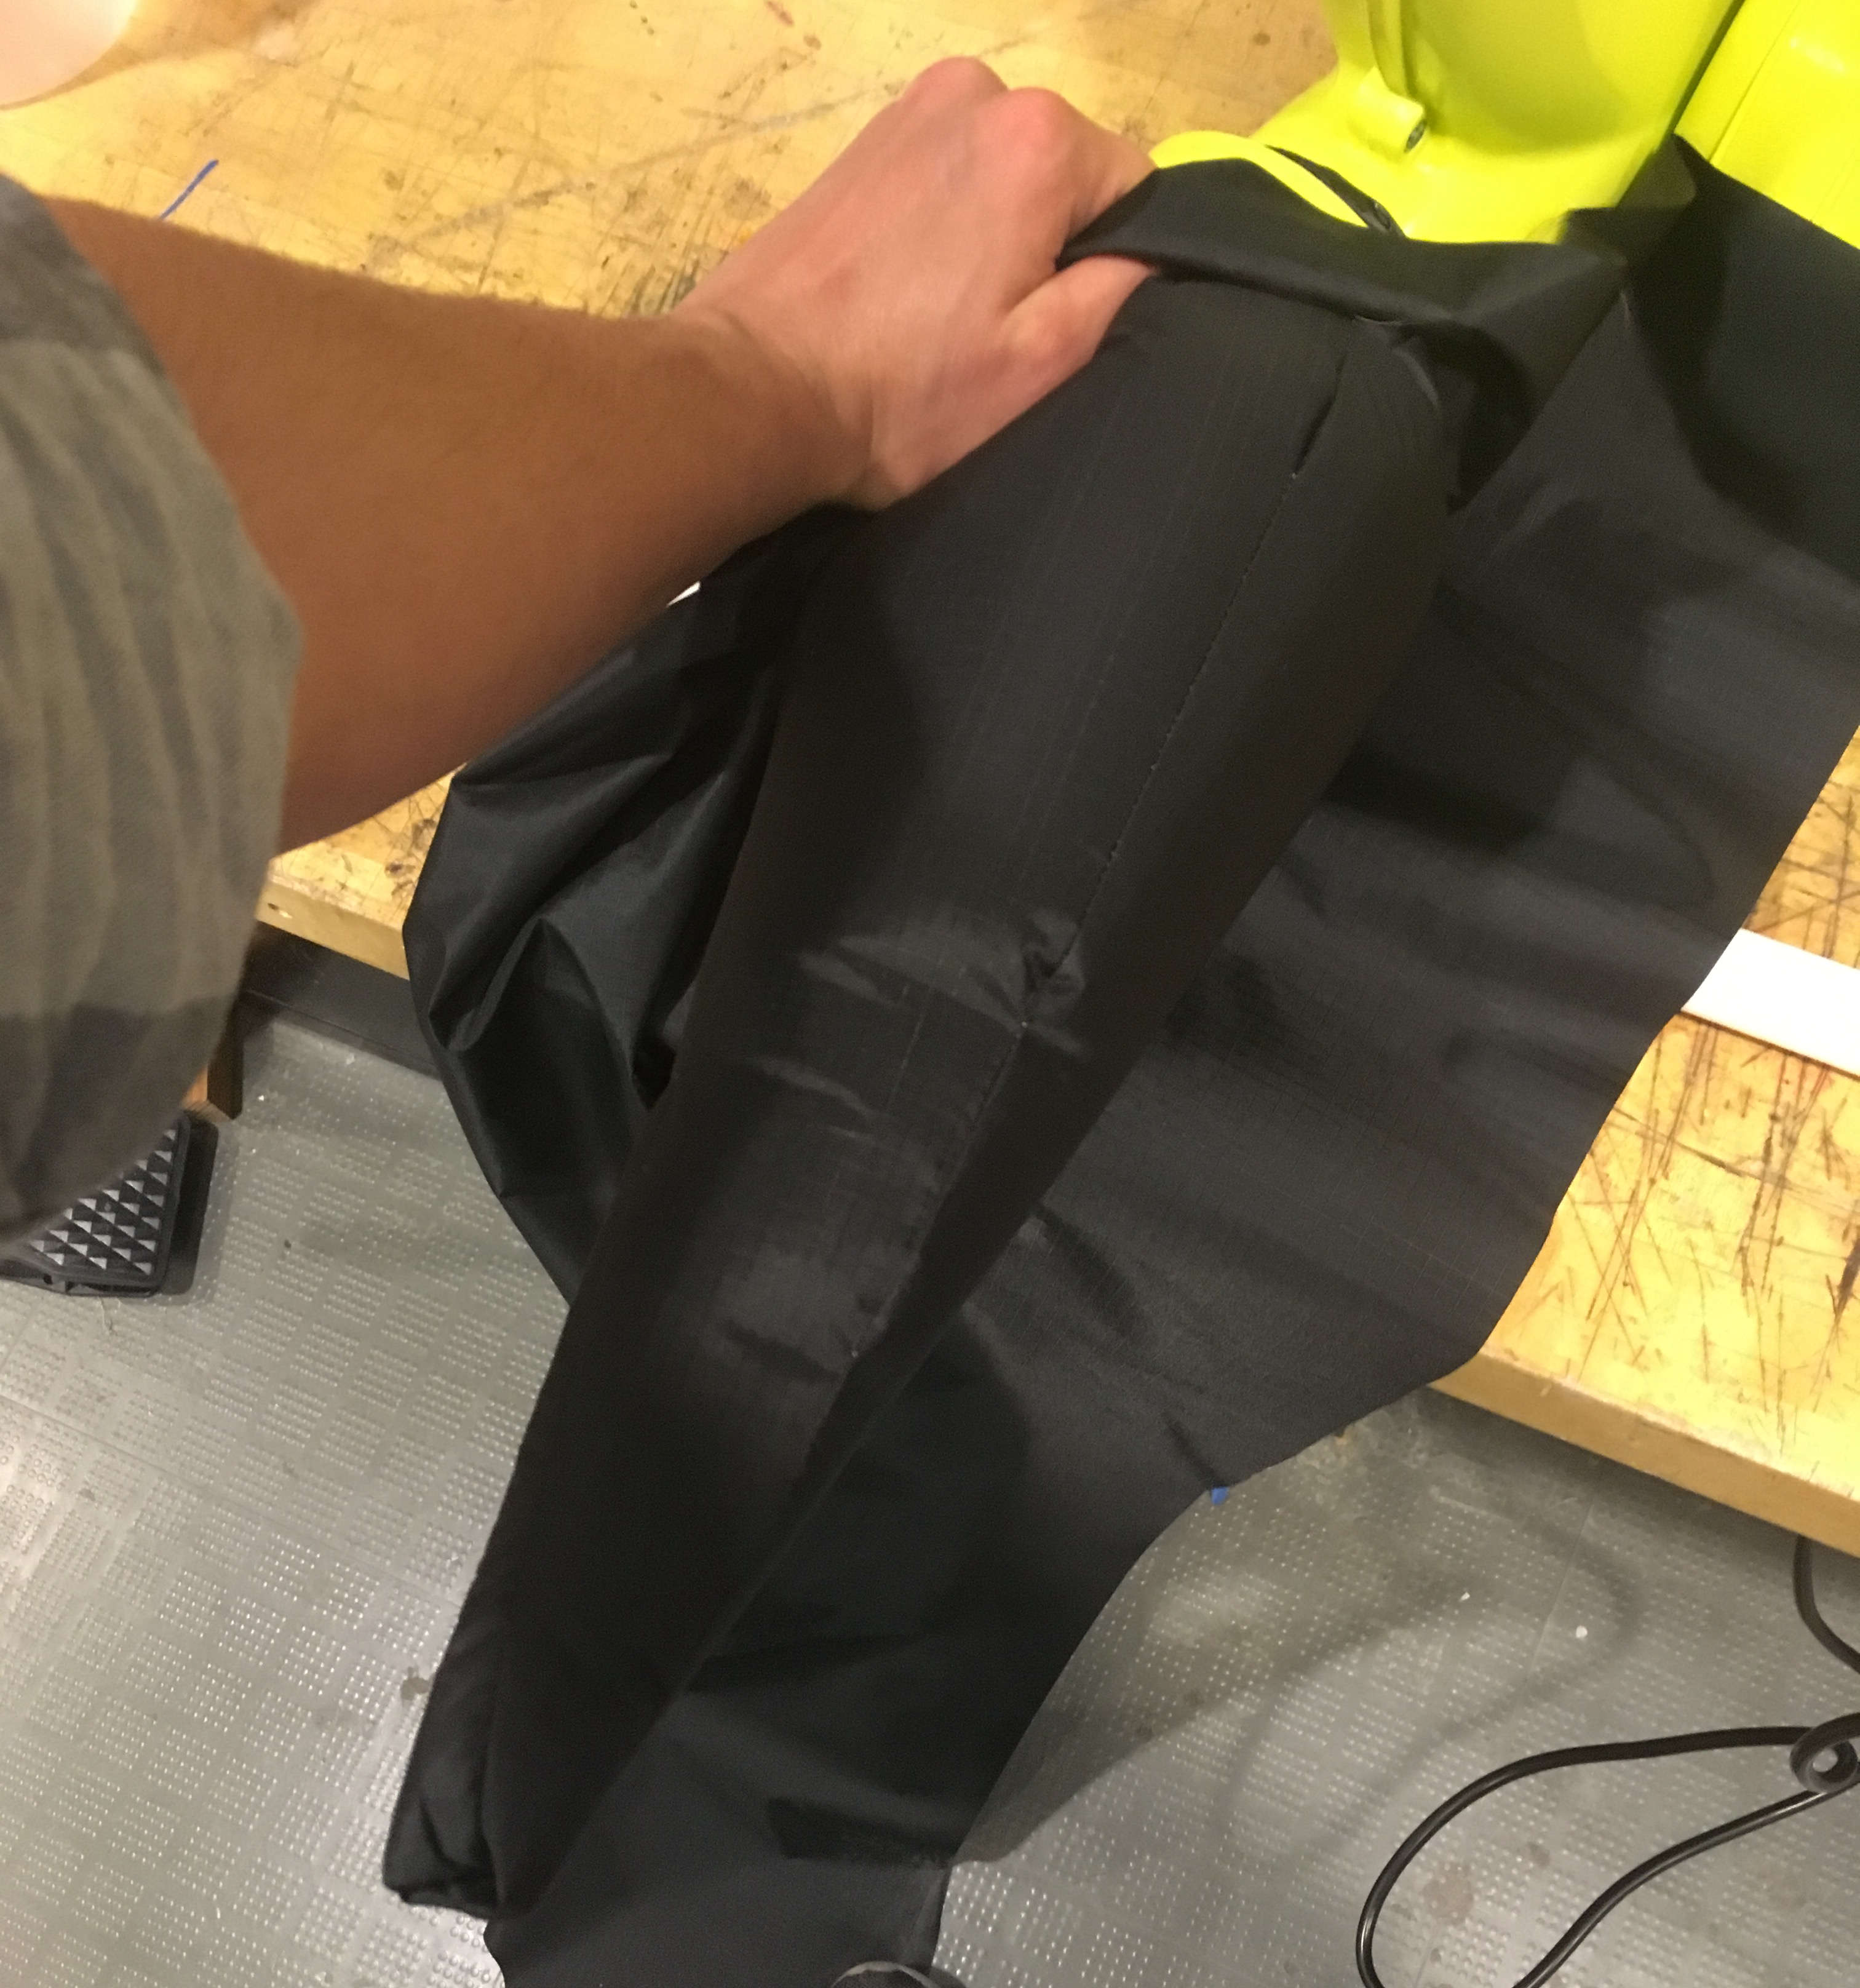
The spines were too narrow for me to work with, and I ended up leaving a sort of small armpit under each of them.
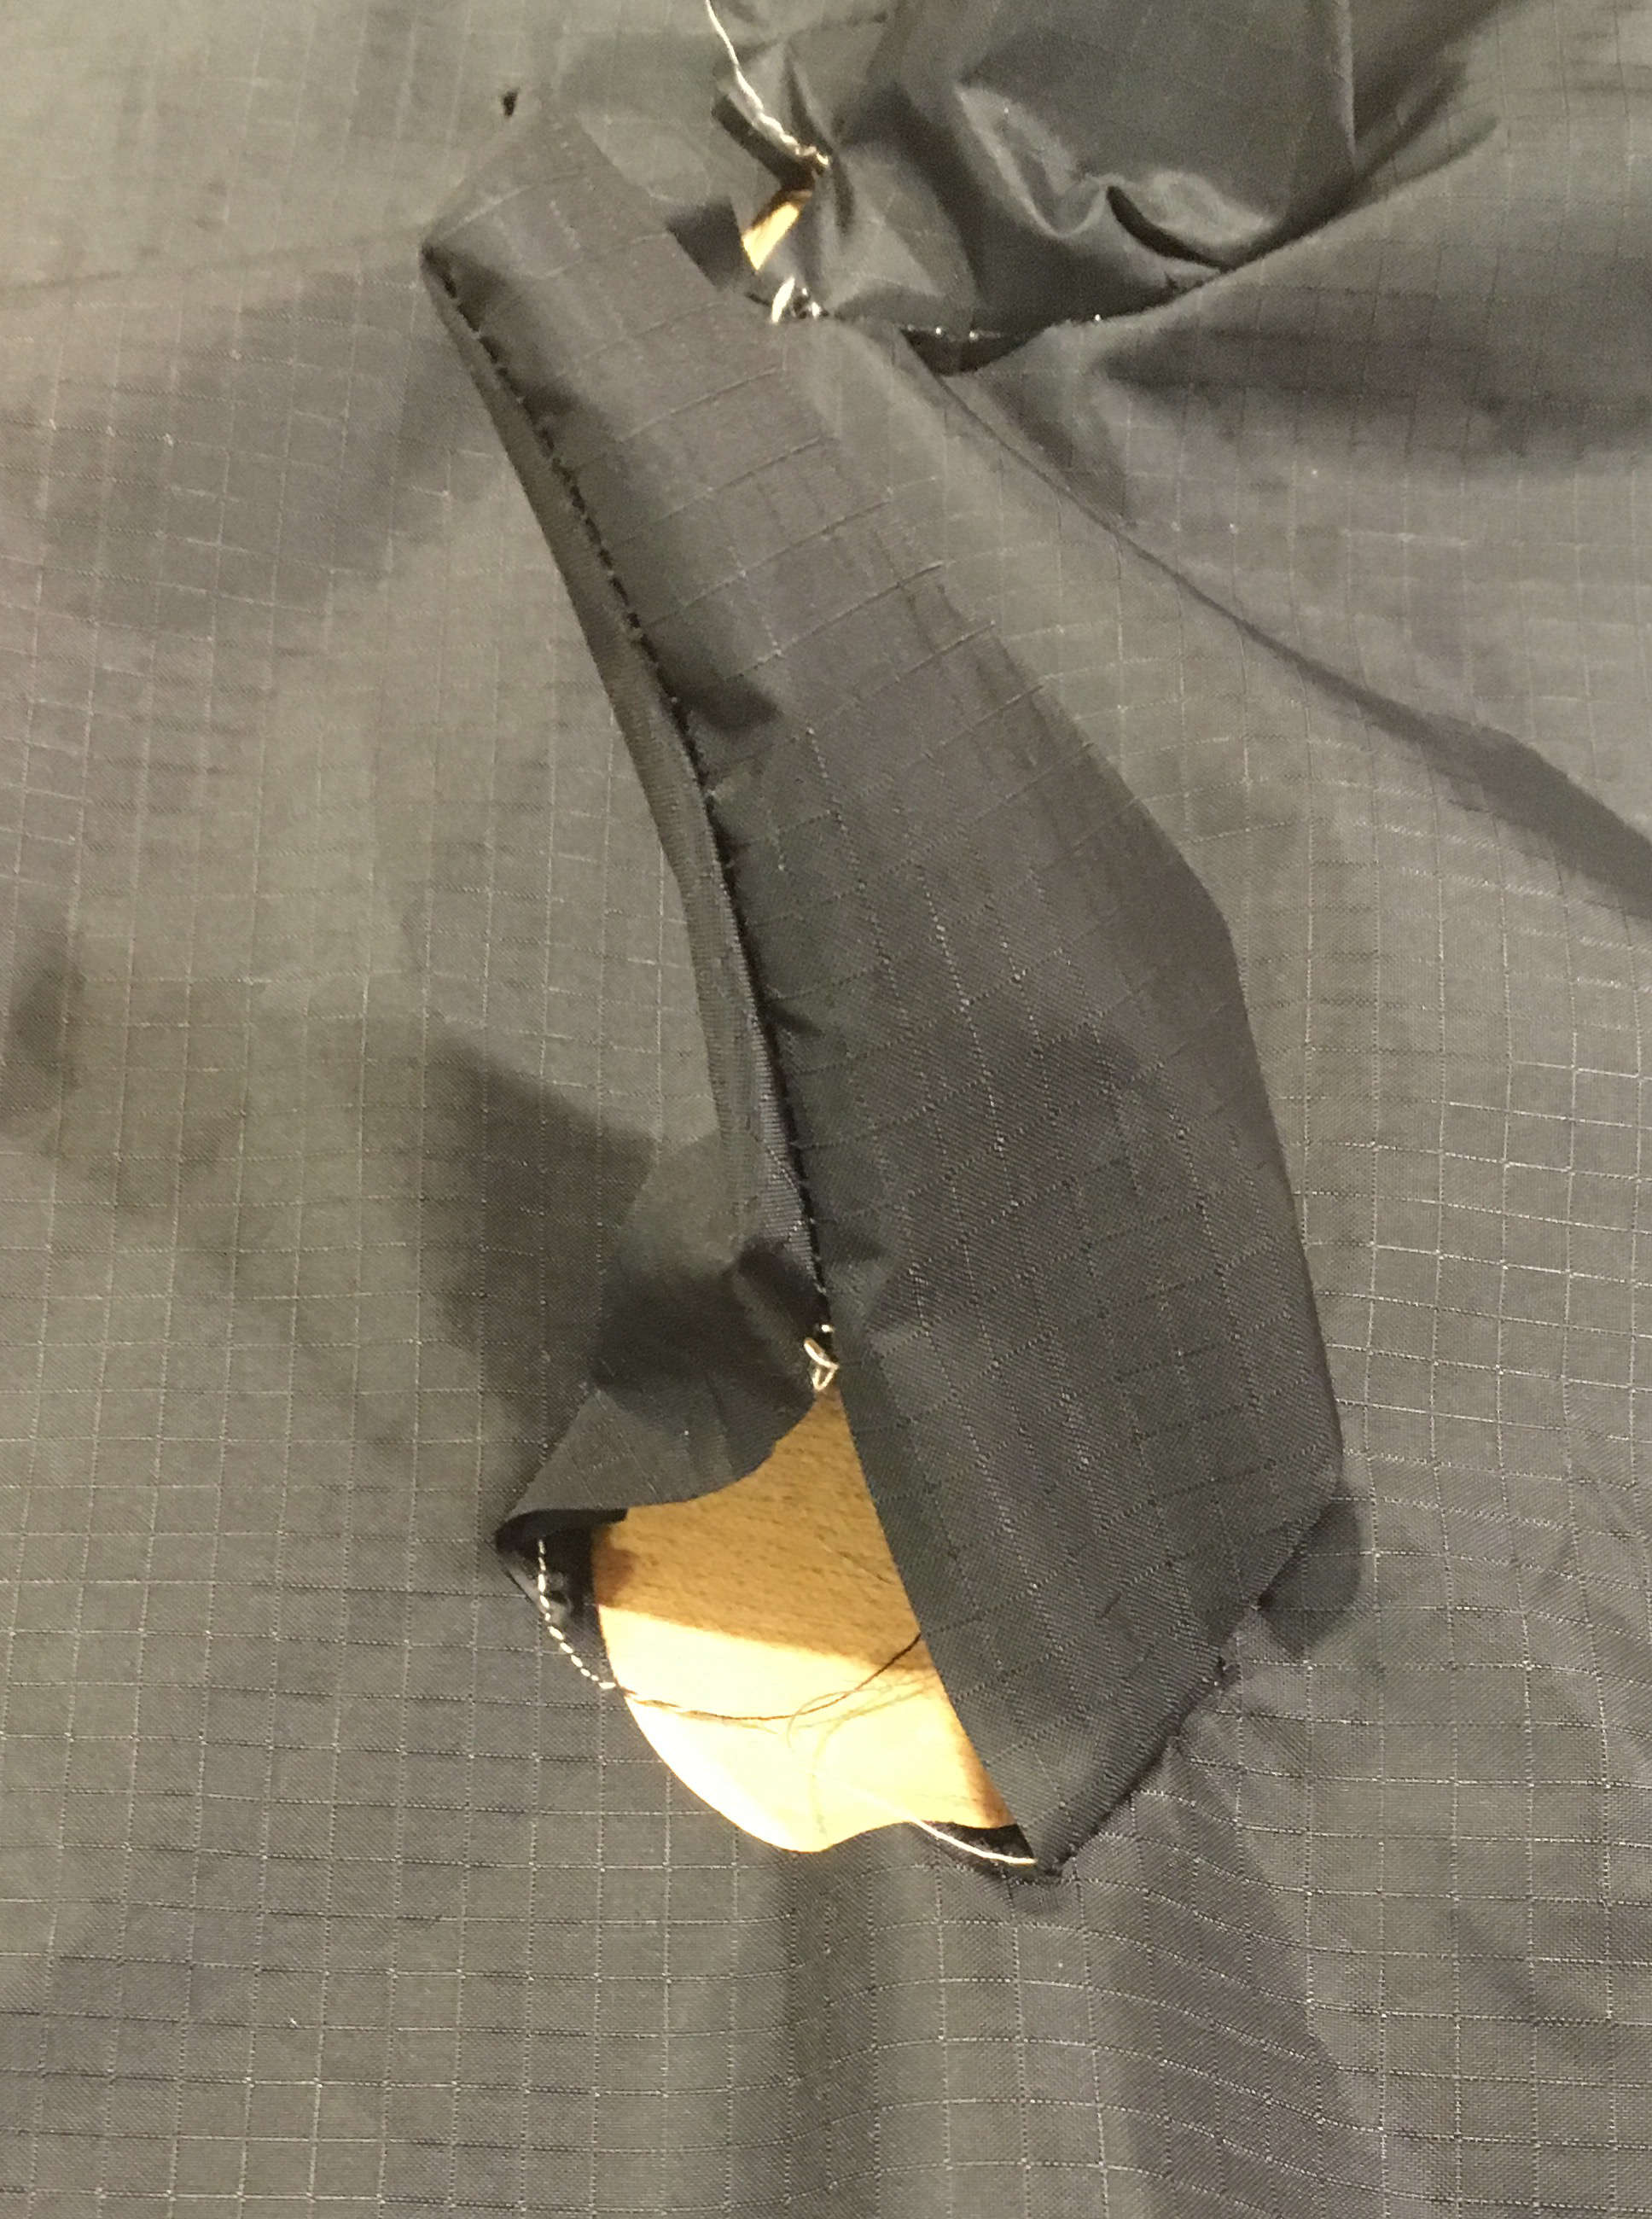
These armpits caused it to be totally impossible to inflate.
Sunday was a much less eventful recutting of the inflatable. I was still hoping to make it a wearable and inhabitable size, but given that I had already used much of my allocated fabric in my first attempt, that wasn't a realistic size. I decided to machine cut the main body this time, but to hand-cut the spikes out of whatever scraps were left from other projects.
A friend who does a lot more sewing tha I do suggested that I could make the spikes out of three or even four pieces of fabric each, rather than trying to sew one smooth cone, as a way of reducing the amount of sewing difficult closed circles I would have to do.
This was an excellent idea. The first one wasn't very had to do, didn't suffer from the aforementioned armpit hole, and wasn't that hard to do.
On Tuesday, I did nothing but sew for six straight hours. Arrays are easy to make in Rhino, but hard to make in real life.