This week, I got to work actually creating the photogrammetry models for my final project. I planned on using OpenCV for this, to make it accessible and open-source to contribute to, but, frankly, I have some experience with Agisoft Metashape, which has a 30 day free trial, and the final project is due in just about 30 days.
A 3D model of a human skeleton which I photogrammetrize a few years ago
I decided to make my first photogrammetry model a 3D model of my room, partially because there's a rich history of how each resident of my co-op has made each room their own for their time there, and I hope to preserve the Compass (every room has a name) as it was when it was mine, and partly because I was stuck at home waiting for an appliance repair person.
I took 210 photos of the Compass using just my iPhone, and fed them into Metashape. It automatically aligned the photos for me, using the metadata the phone had stored about them, but I wasn't sure how much I trusted that information, and asked it to re-align them. It successfully aligned 195/207, which I would consider pretty sucessfully.
Photogrammetry works by matching details in one picture with details in others, to figure out where the camera must have been for each picture, and then figures out the 3D shape of the object which must have been necessary to appear in this slightly different way in all of these pictures. If a picture doesn't have identifiable details in common with another image, it is impossible to figure out where the image was taken from, and where it fits into the whole. This means that close ups of details and images of expanses with no identifiable details, like blanks walls or ceilings, are very unlikely to align well.
There also isn't a strong reason to take high-resolution, close detail shots for a photogrammetry model. There's a maximum level of resolution that you'll be able to calculate for your model if you're working with a nice but consumer-grade computer, and it is much lower than the kind of high-resolution detail that modern phones are capable of capturing.
Photogrammetry is computationally expensive because pictures are a lot of data, a lot of pictures is an enormous amount of data, and it involves using repetetive math related to projective geometry, and doing a lot of math on a lot of data takes a long time. If your photos are blurry, you're reducing your resolution without reducing your pixel count. Photogrammetry also can't reconstruct things which aren't in your original images. That's as true for resolution as it is for anything else.
To do photogrammetry processing with Metashape, you basically just go to the workflow tab and click on each of the menu items in order.
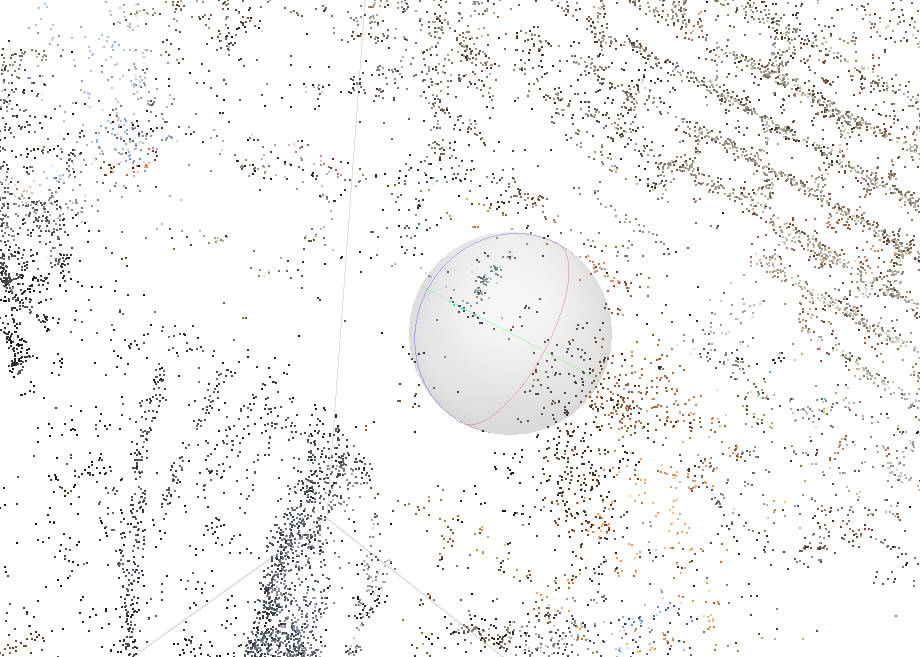
one view of the room as a sparse point cloud
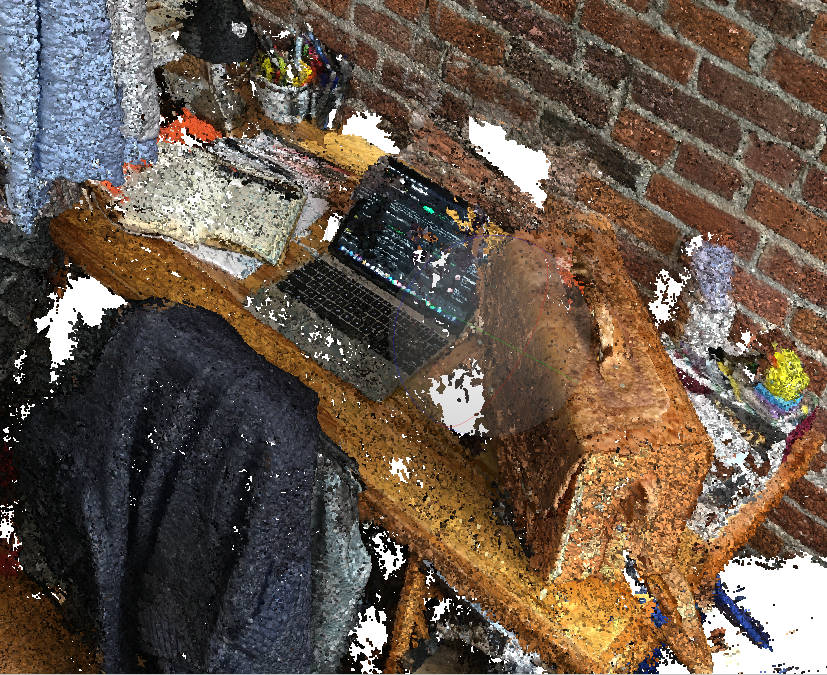
the same view as a dense point cloud
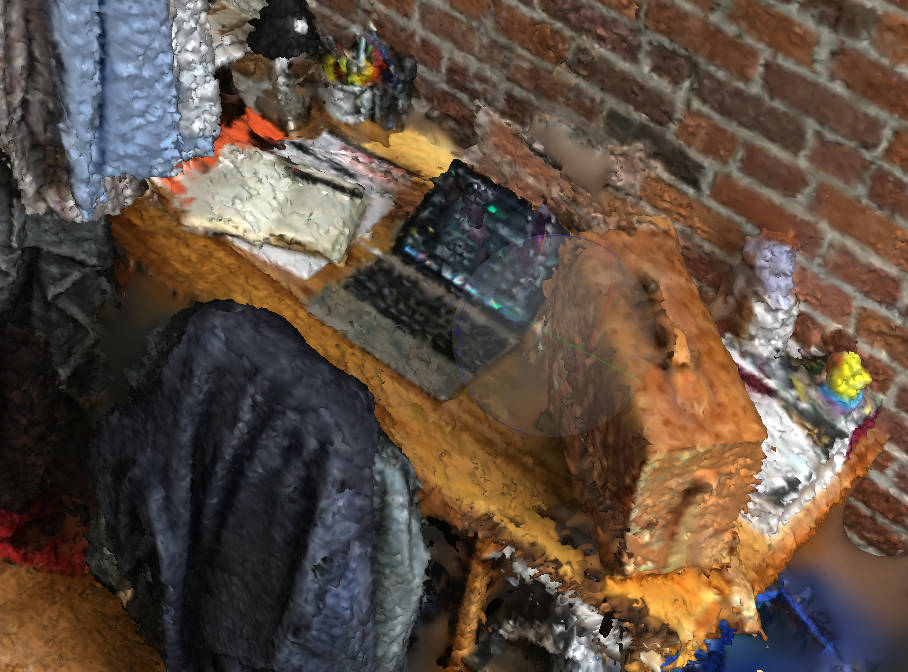
the same view as a mesh
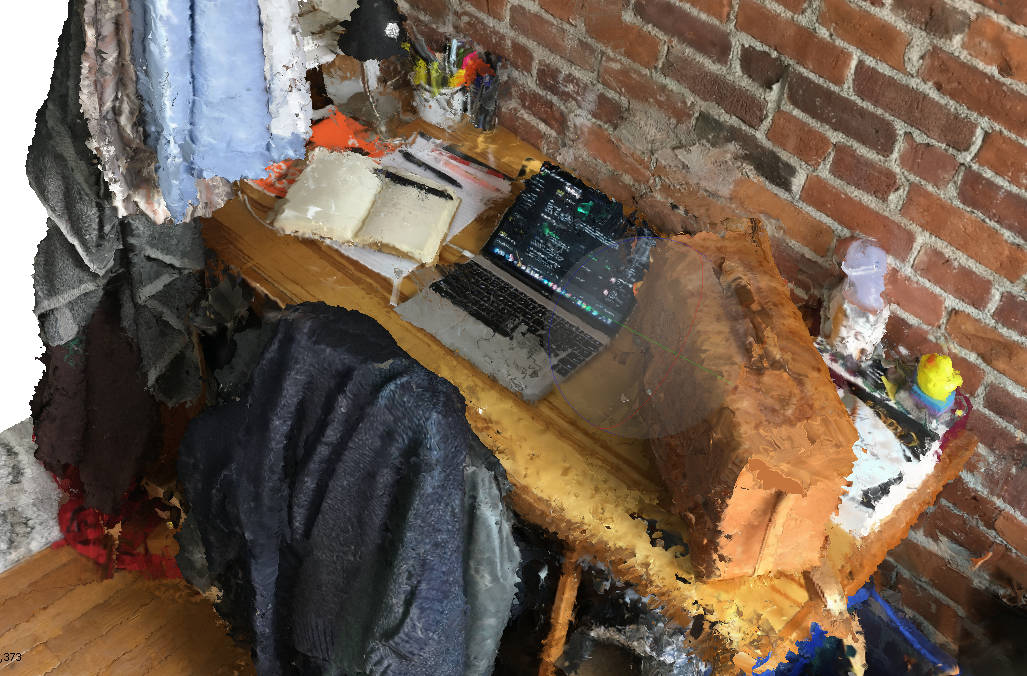
the same view as a mesh with texture
In order to render the texture, I needed adjust the bounding box (see the tools bar towards the top of the screen), and render and export one section of the model, then another. I'll have to manually re-align them in Unity when I put the whole thing in VR.