I'd never done any kind of CAD before this project, so I was nervous about being too ambitious with it. I wanted to do something out of cardboard that would feature pressfit joints, and would contribute to my final project. I decided to start with the book shelf, because it's a simple and easy shape.
I was never able to fully contrain my model in FreeCAD, and wasn't quite sure why, but I did make every constrained distance linked to a value in the spreadsheet. This way, I'll be able to use it again at different scales by just changing spreadsheet values.
Because we characterized the laser earlier in the week, I was able to already know that 3.9mm was a good slot width for the joints, and that .18mm was a good assumption for the kerf. However, I struggled a lot to figure out which side of any given edge I should be accounting for the kerf on.
<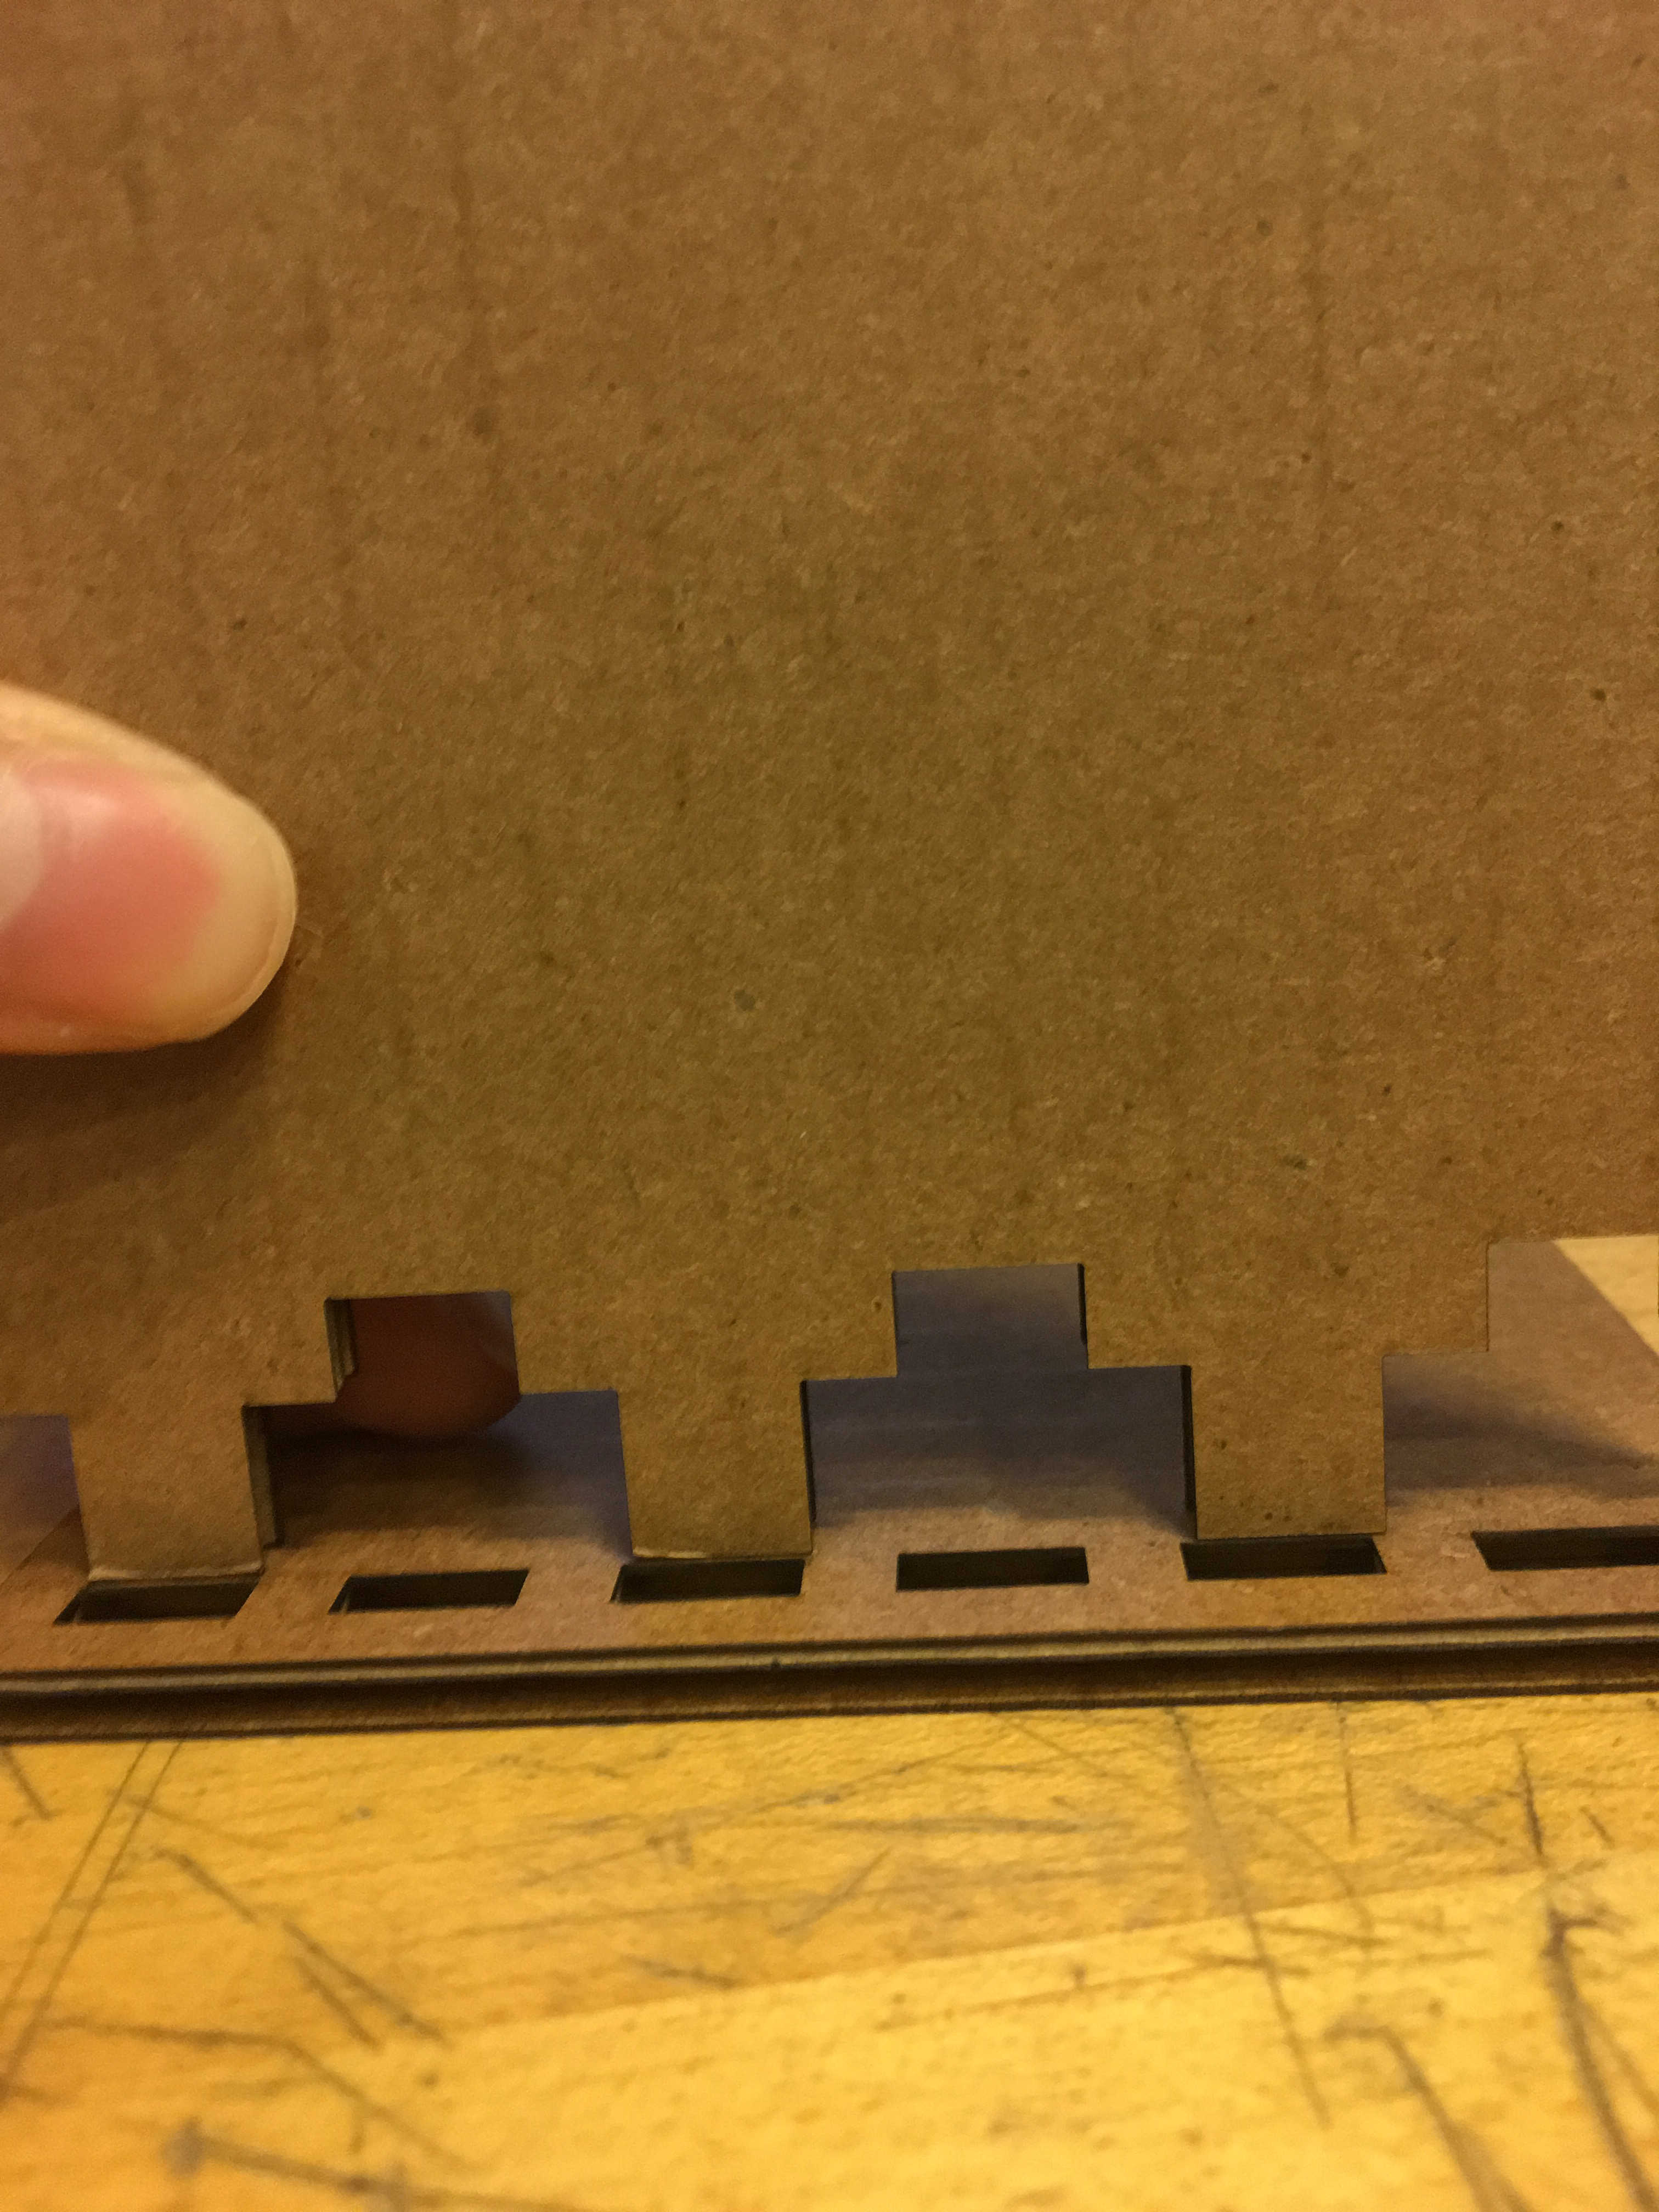
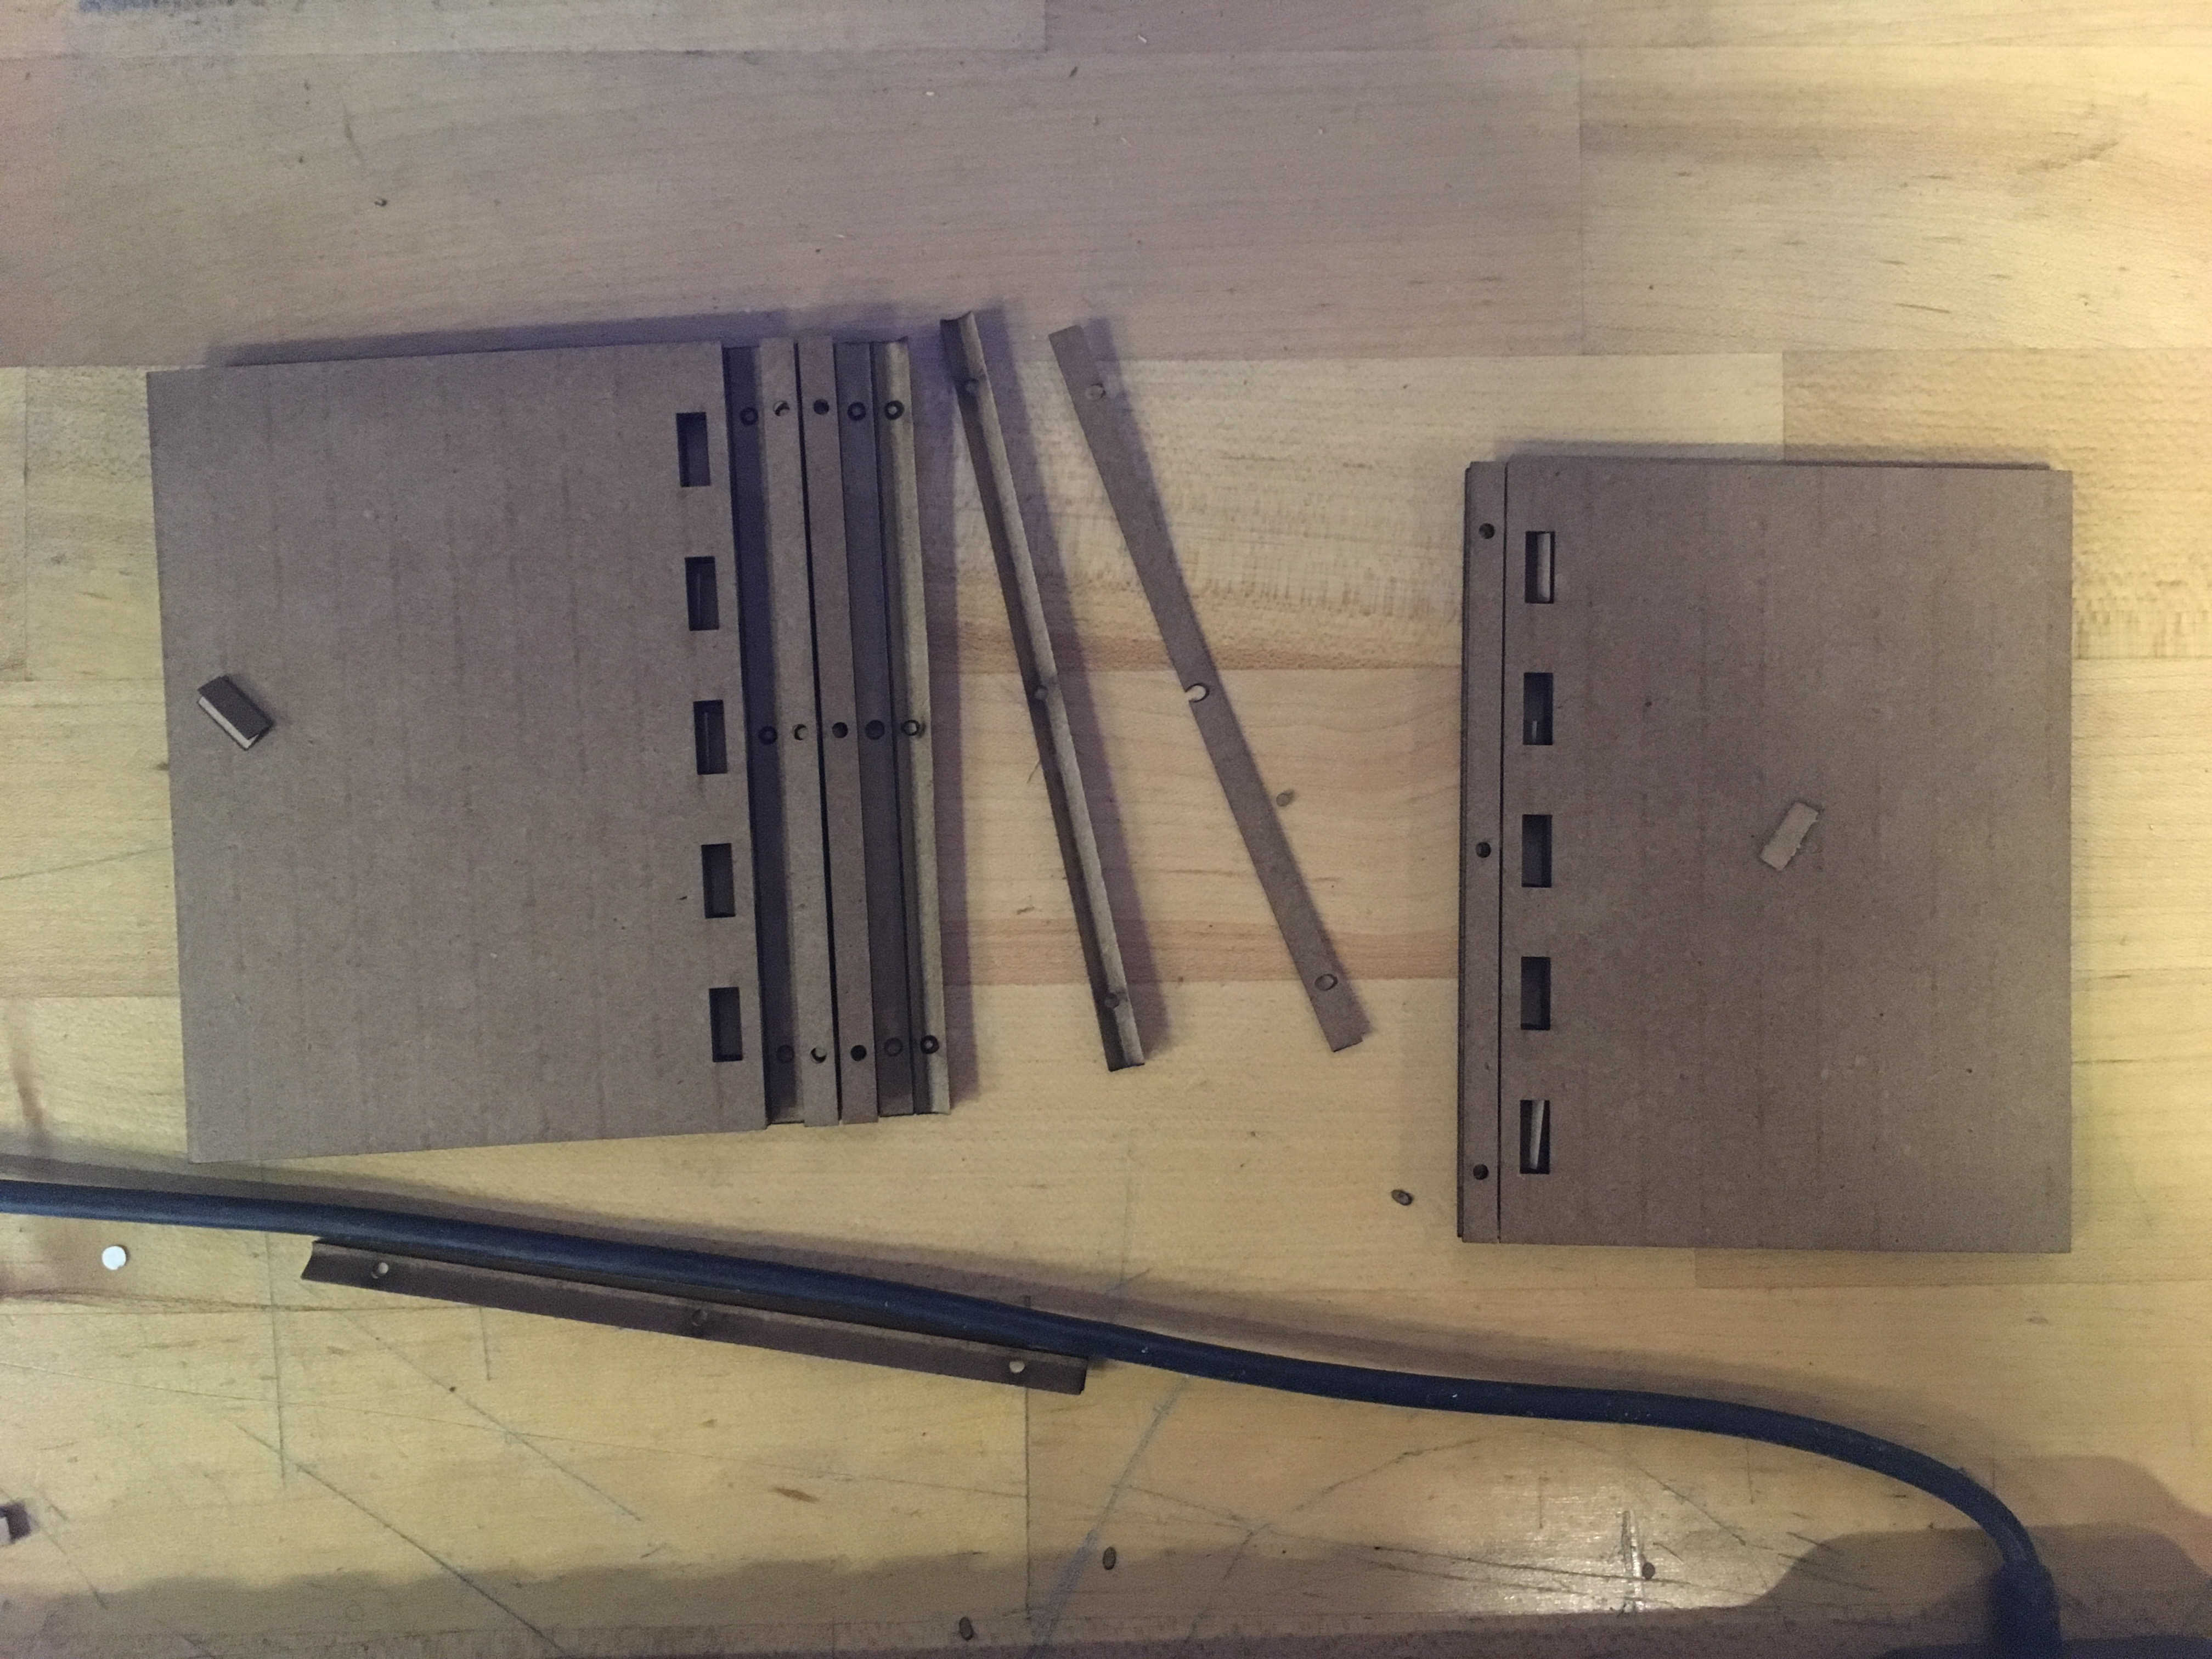
Here, every individual joint fits, but I accounted for the kerf in the wrong place, and the error for the distances between the joints adds up too much for the parts to fit.

Here, I changed where I accounted for the kerf, and now the distance between the joints is too far on the other piece. These two edges should line up, but don't.
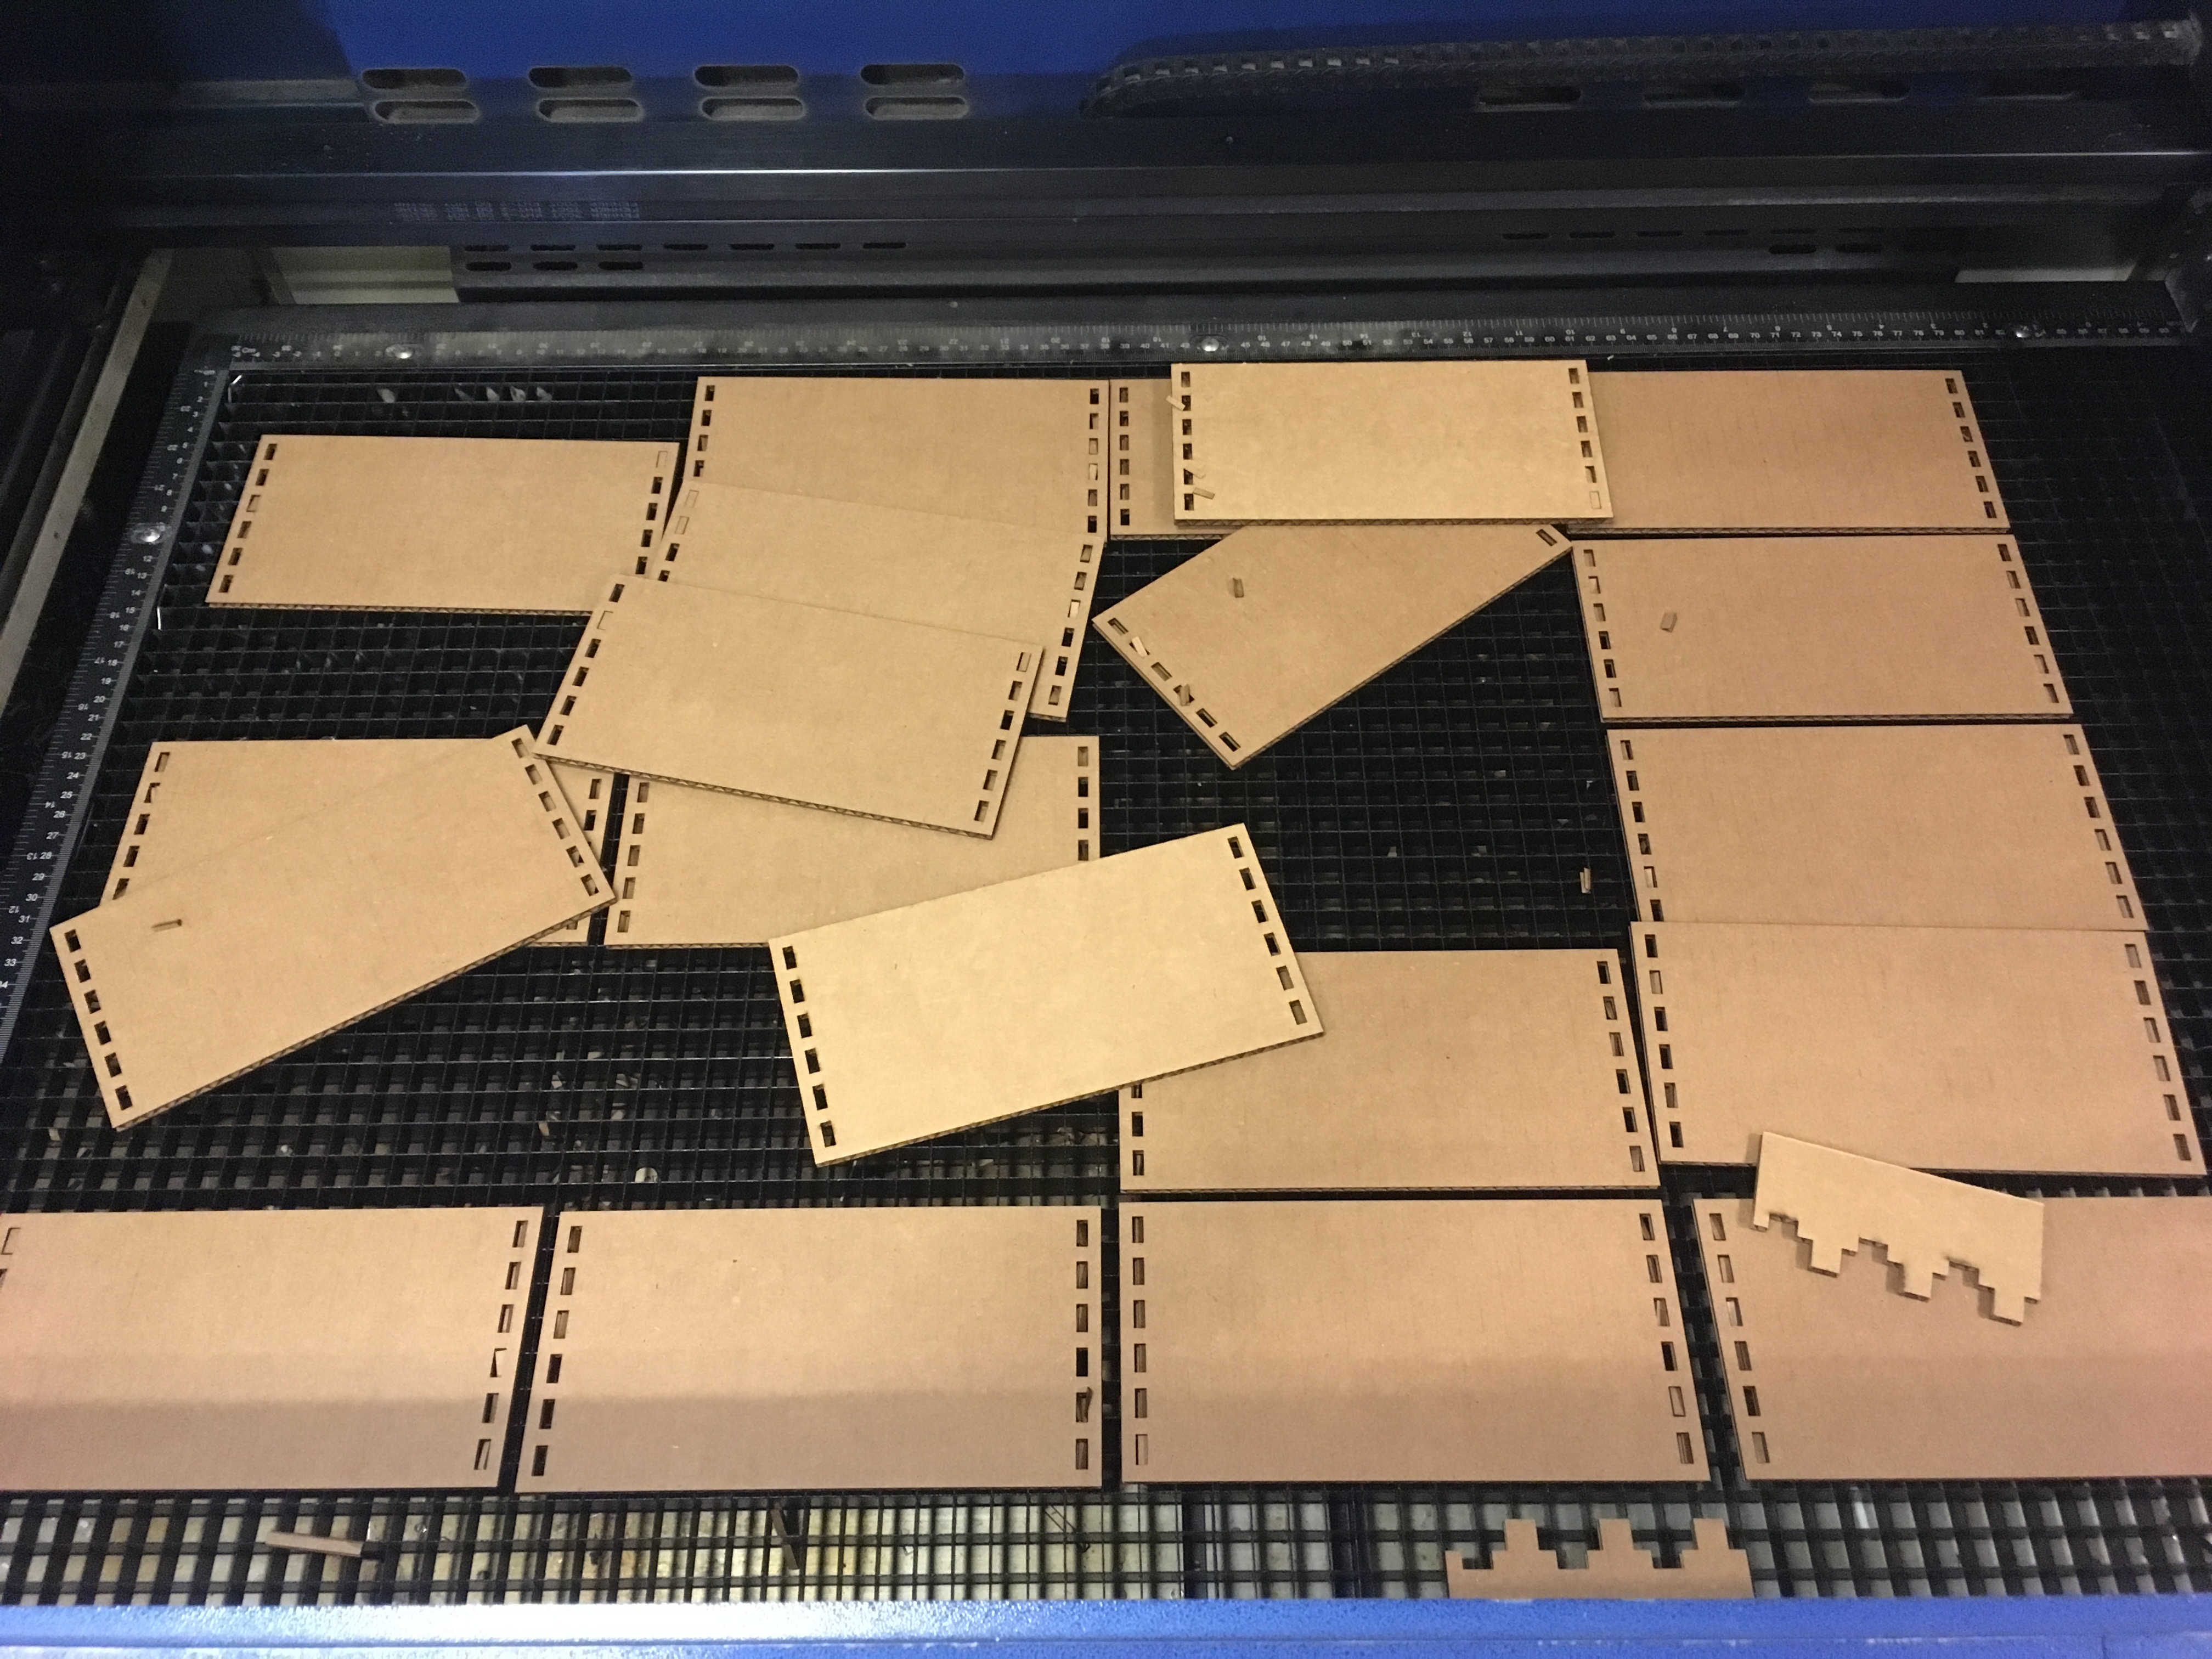
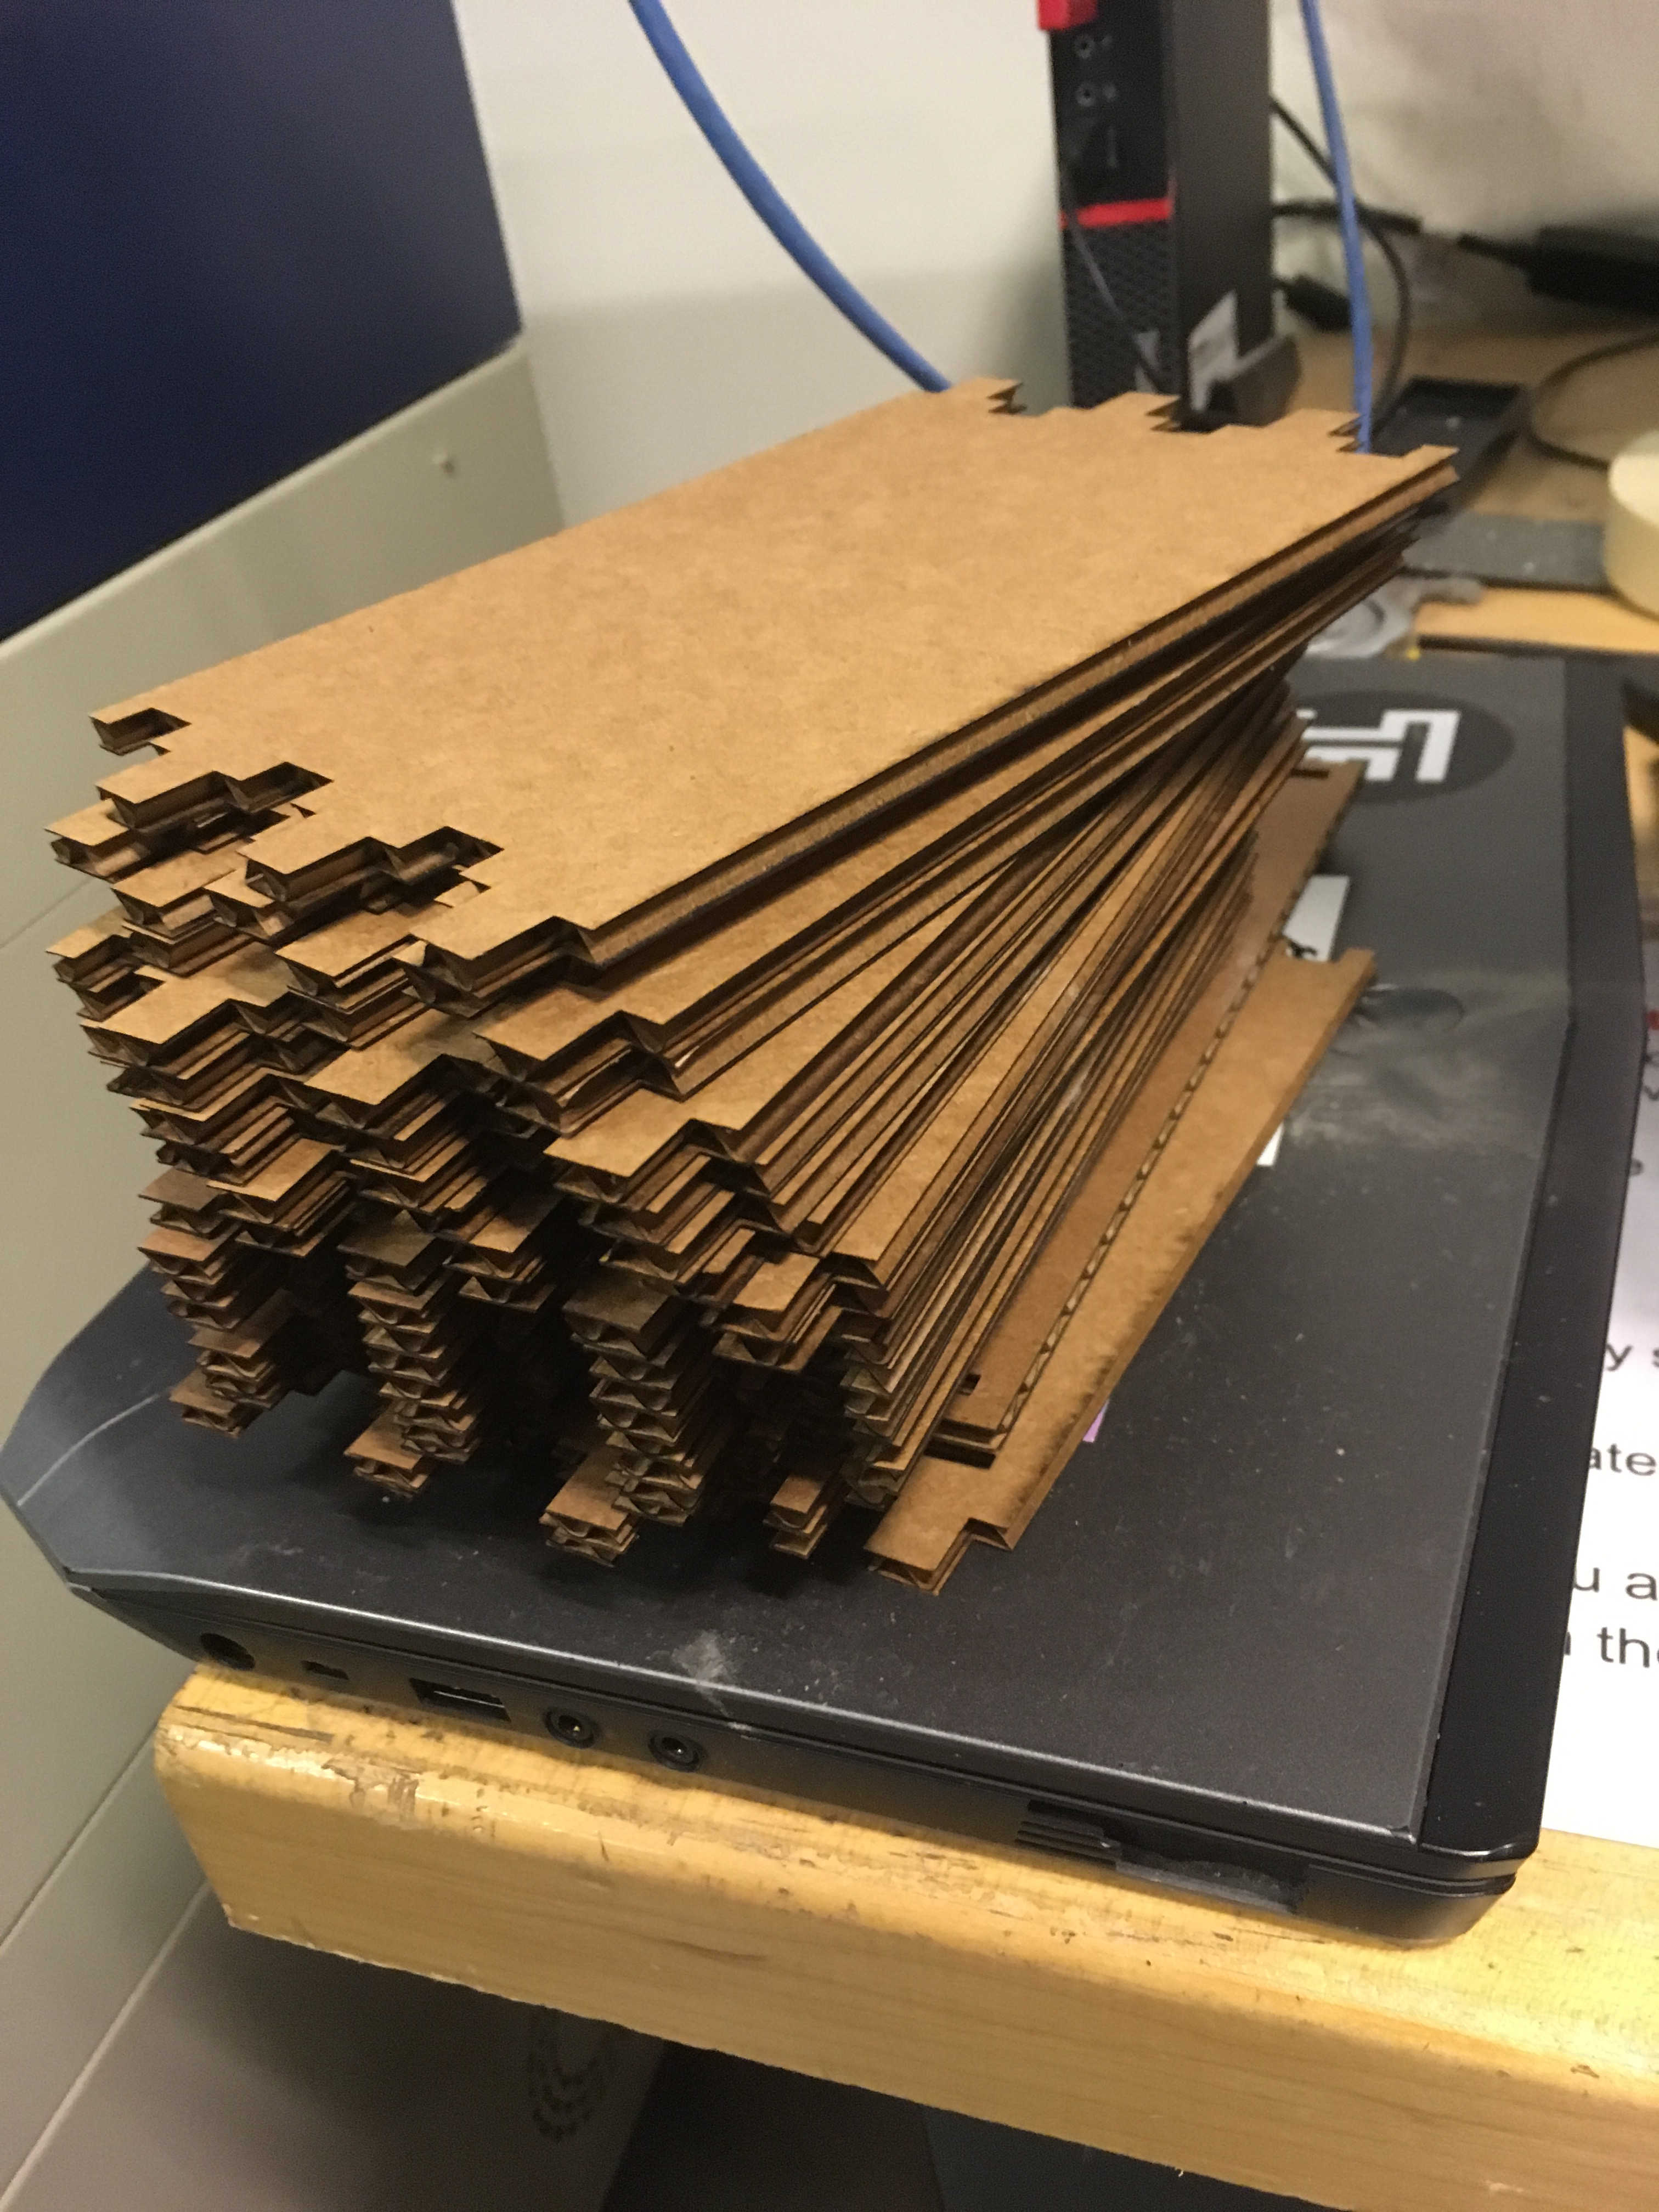
Once I finally got the measurements right, it occurred to me that I could now print as many shelf parts as I wanted.
I made the shelves very small and very narrow because cardboard isn't exactly the most structural material. I took them back to my office to test them out.
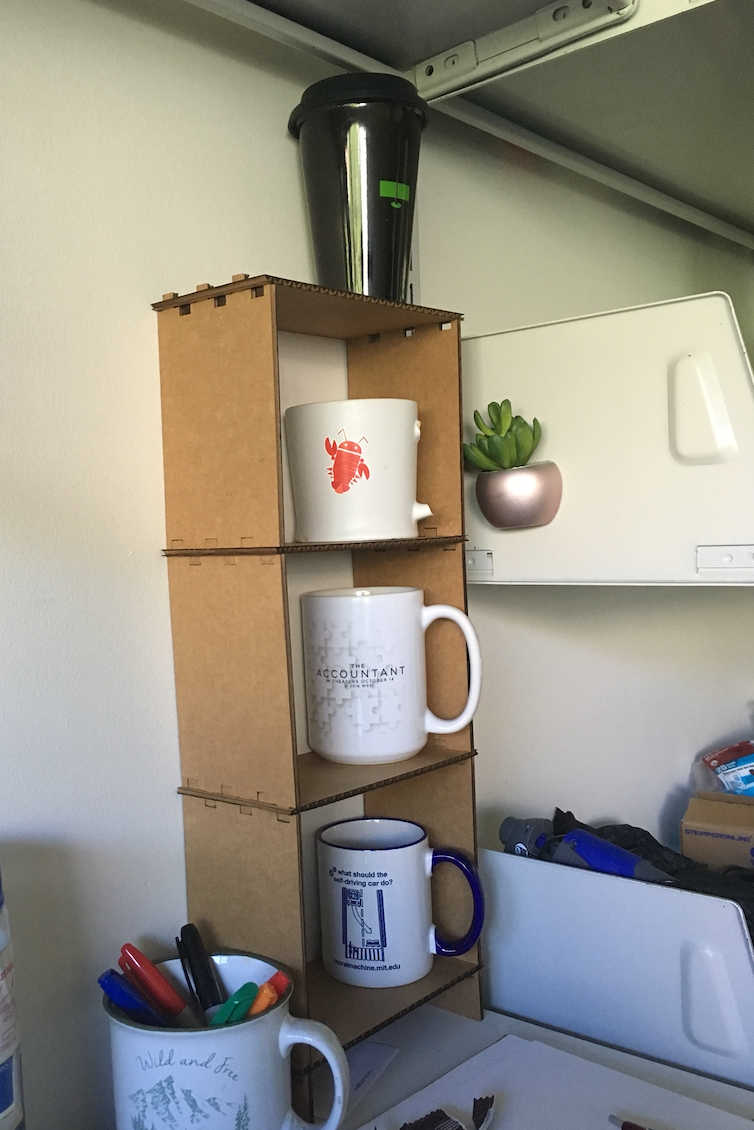
The shelf is strong enough to hold every single mug on my desk I brought from home in the morning and then never washed or took back.
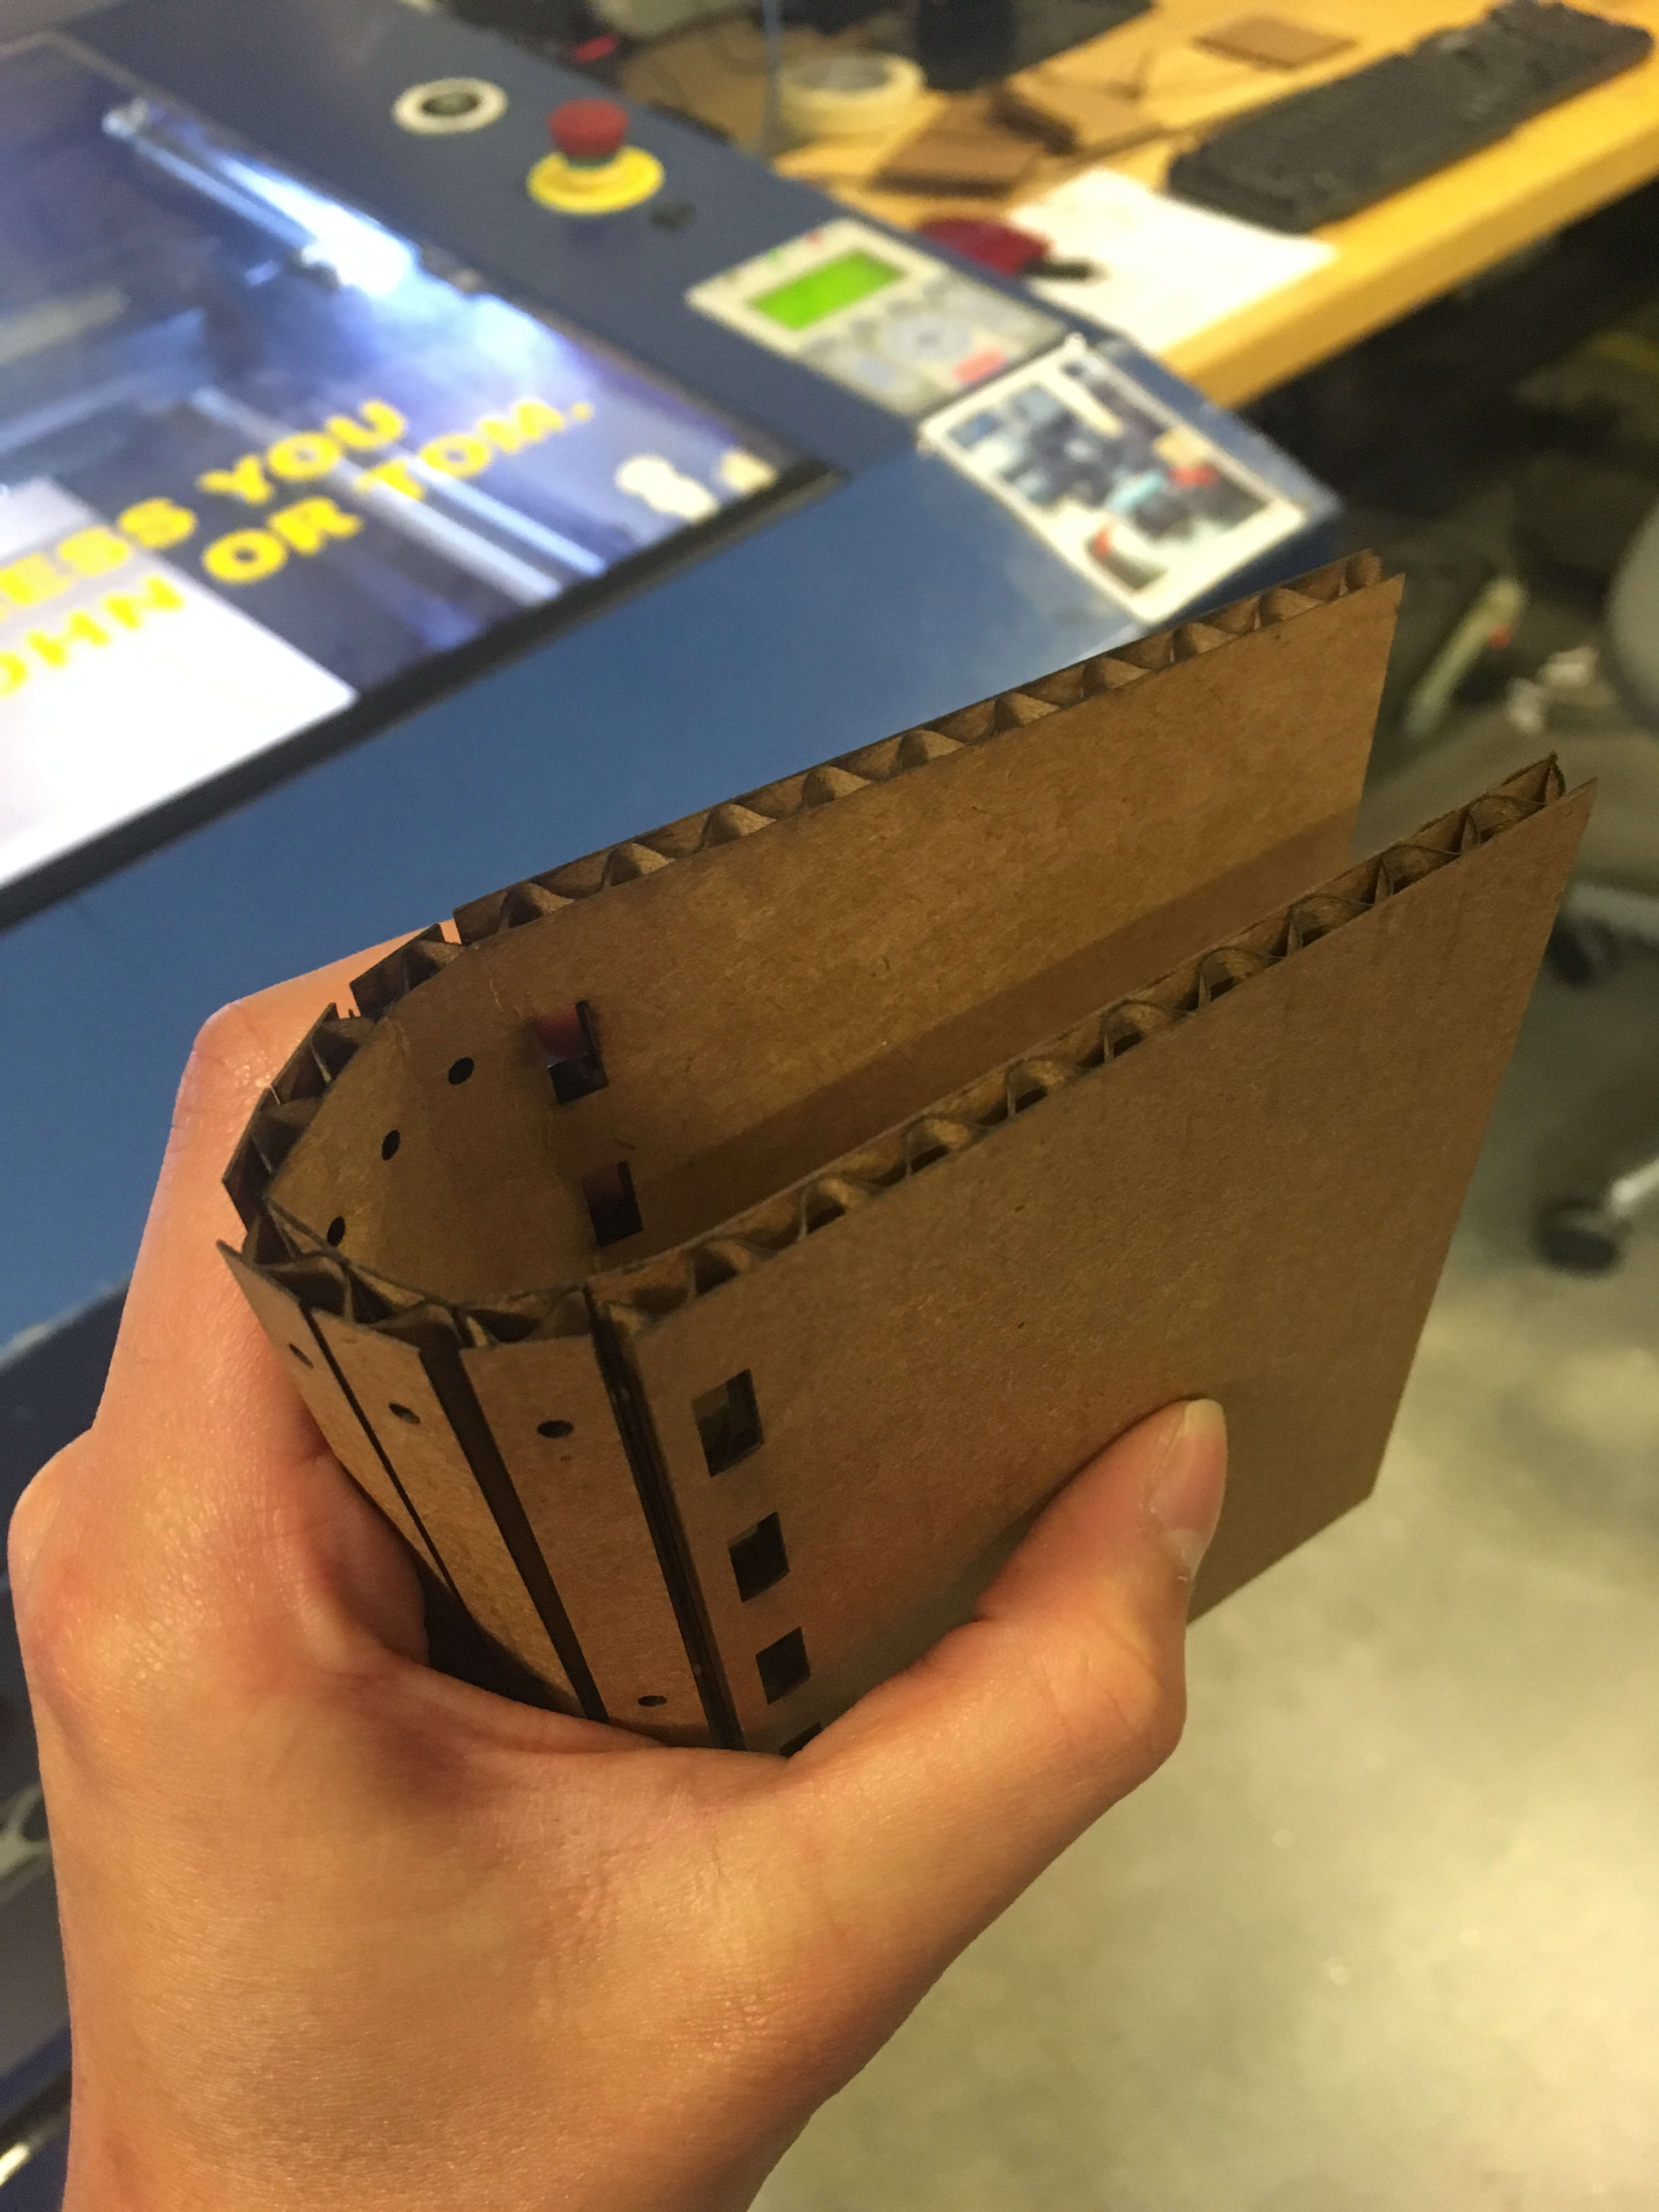
Unfortunately, normal books are very heavy. Therefore, I tried to make cardboard books for my cardboard shelf. I was especially interested in the idea of cutting only part of the way through the cardboard, in order to make a hinge.
Unfortunately, I didn't account for the fact that cardboard isn't a homogeneous substance. It's full of ridges. Beause my first attempt at cutting out a book cover had seams which were too narrow, the upper cardboard layer would flake off on some areas. I therefore tried again with larger seams. It never occurred to me to turn the cardboard, in order to make the grain go the other direction, until someone pointed it out in class.
Then, because I hadn't done any work with the vinyl cutter yet, I decided to cut a title out for my book.
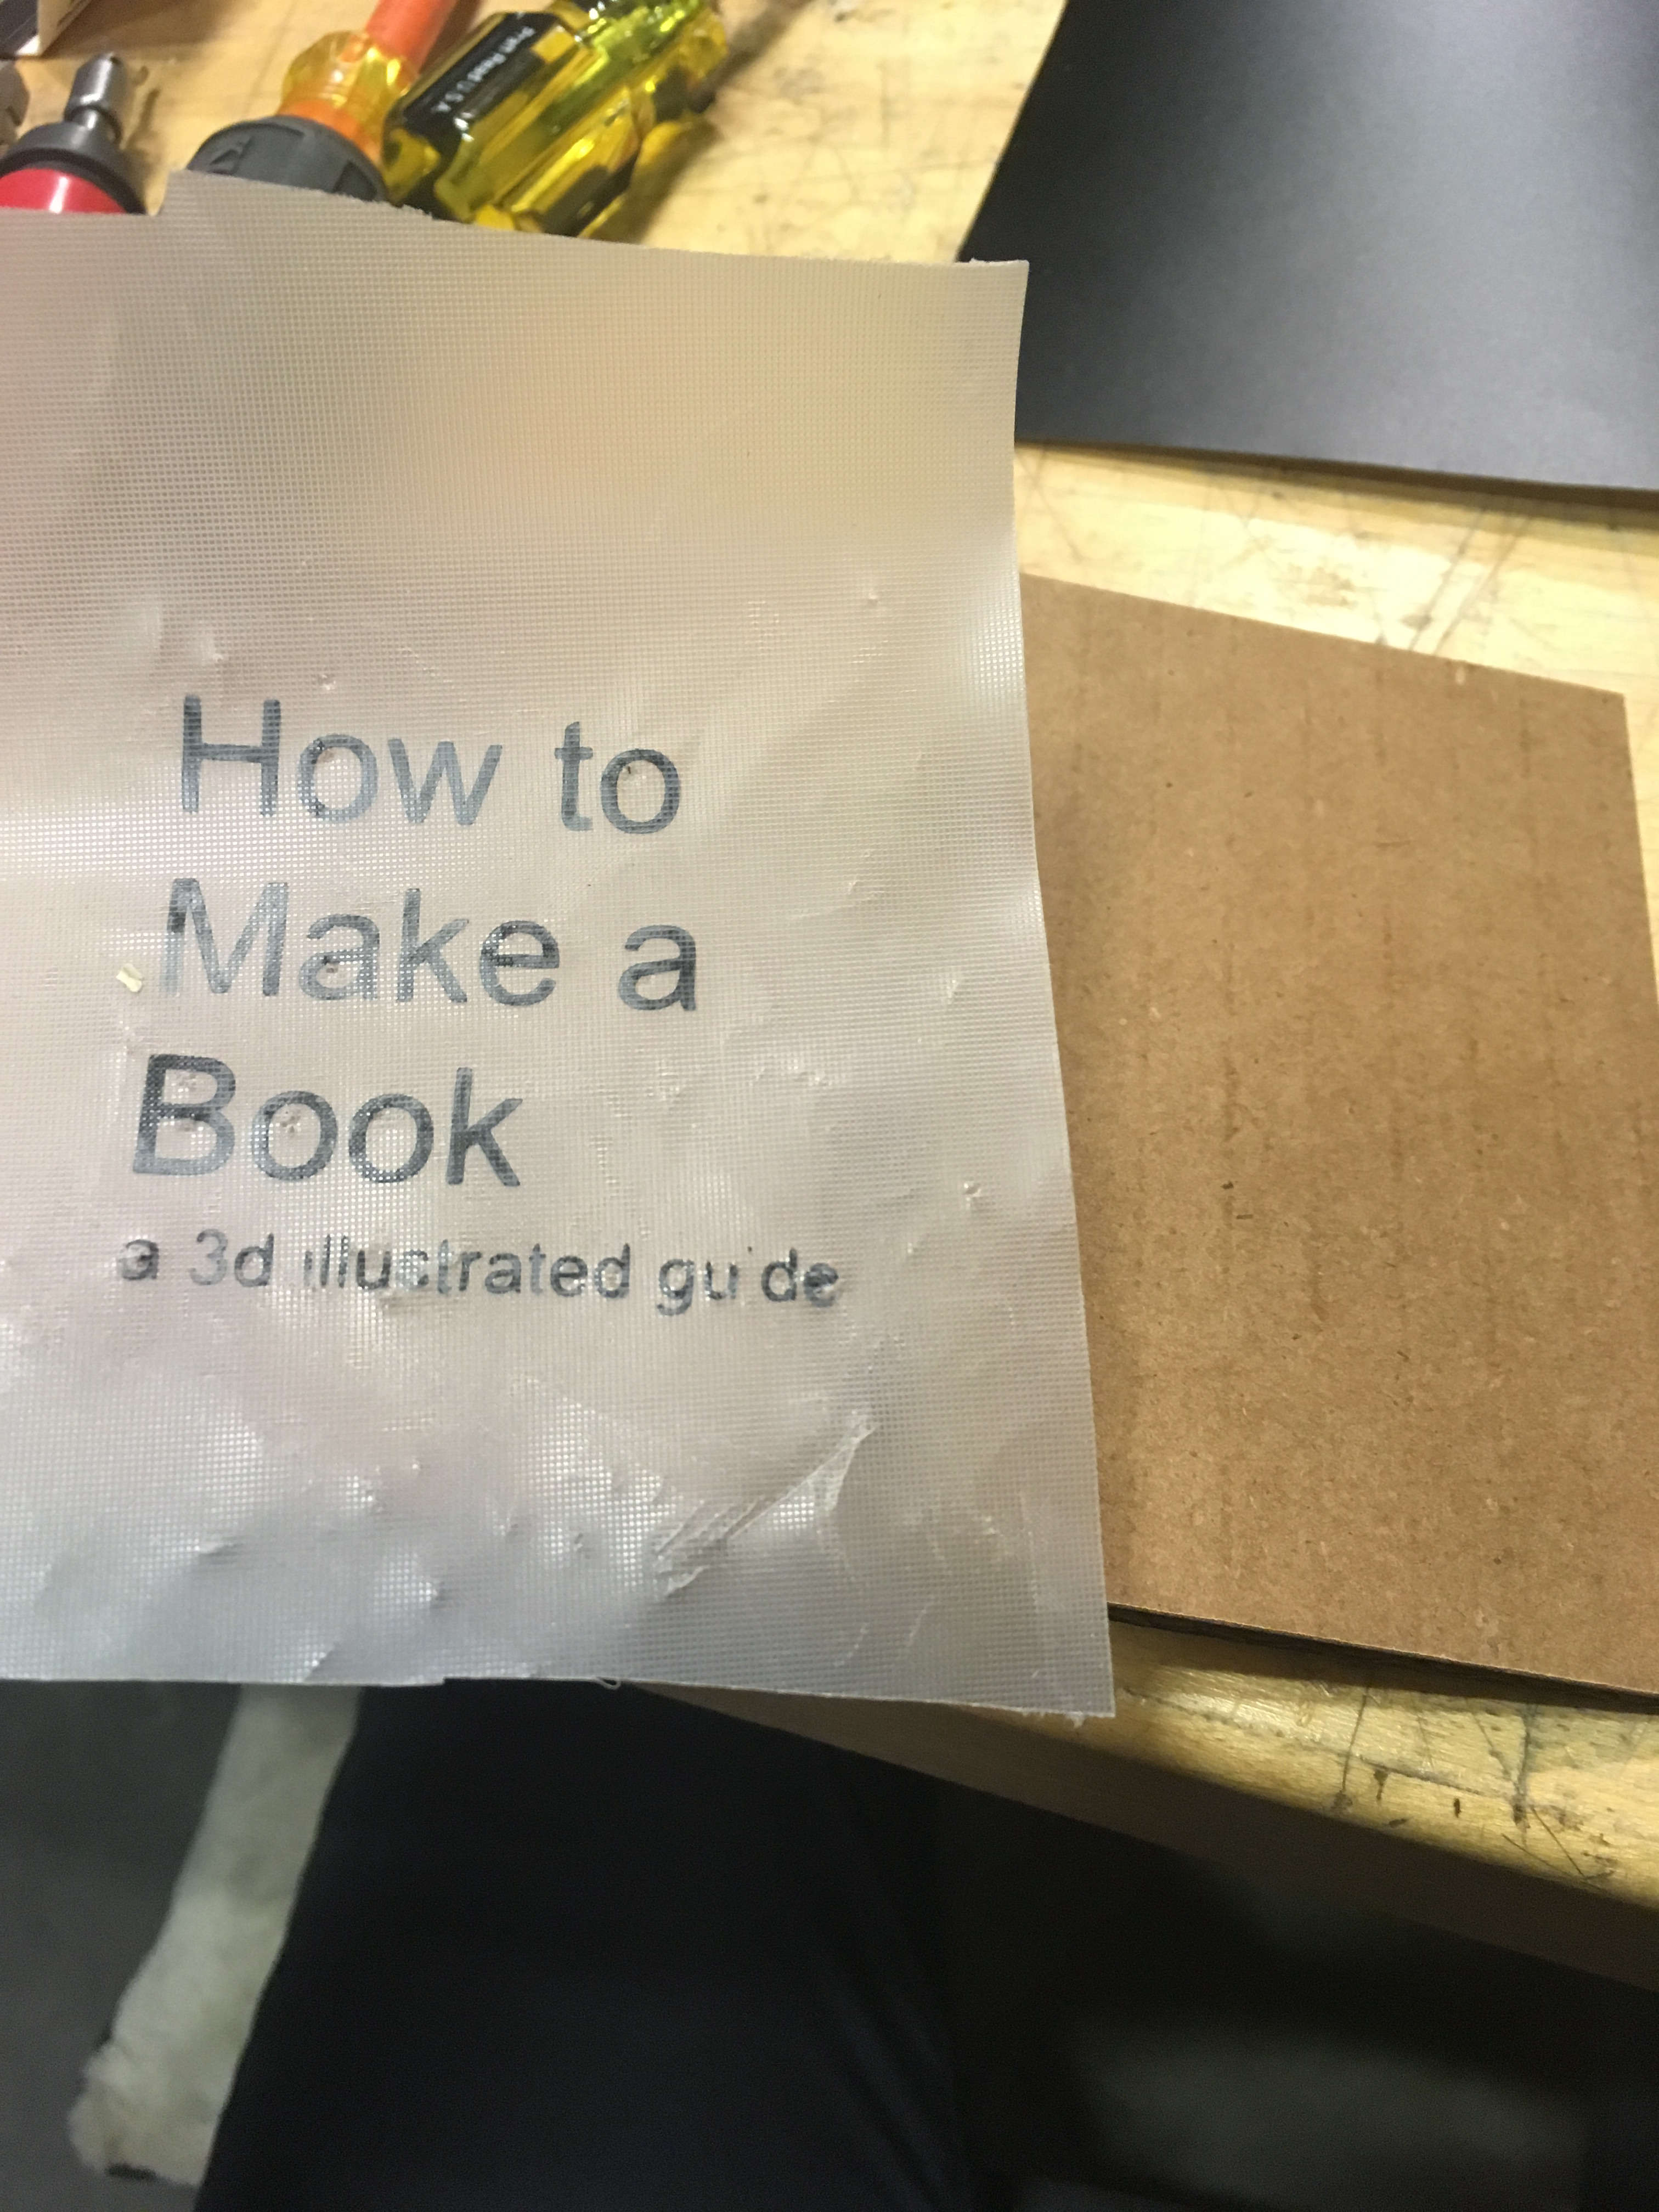
What I really learned from this is that vinyl cutting words is hard, and that, if you're going to try to use 16pt font, you really ought to cut two passes.
Finally, I sewed in the pages of my book. I've been in exactly one bookmaking workshop, so I thought this couldn't possibly that hard.
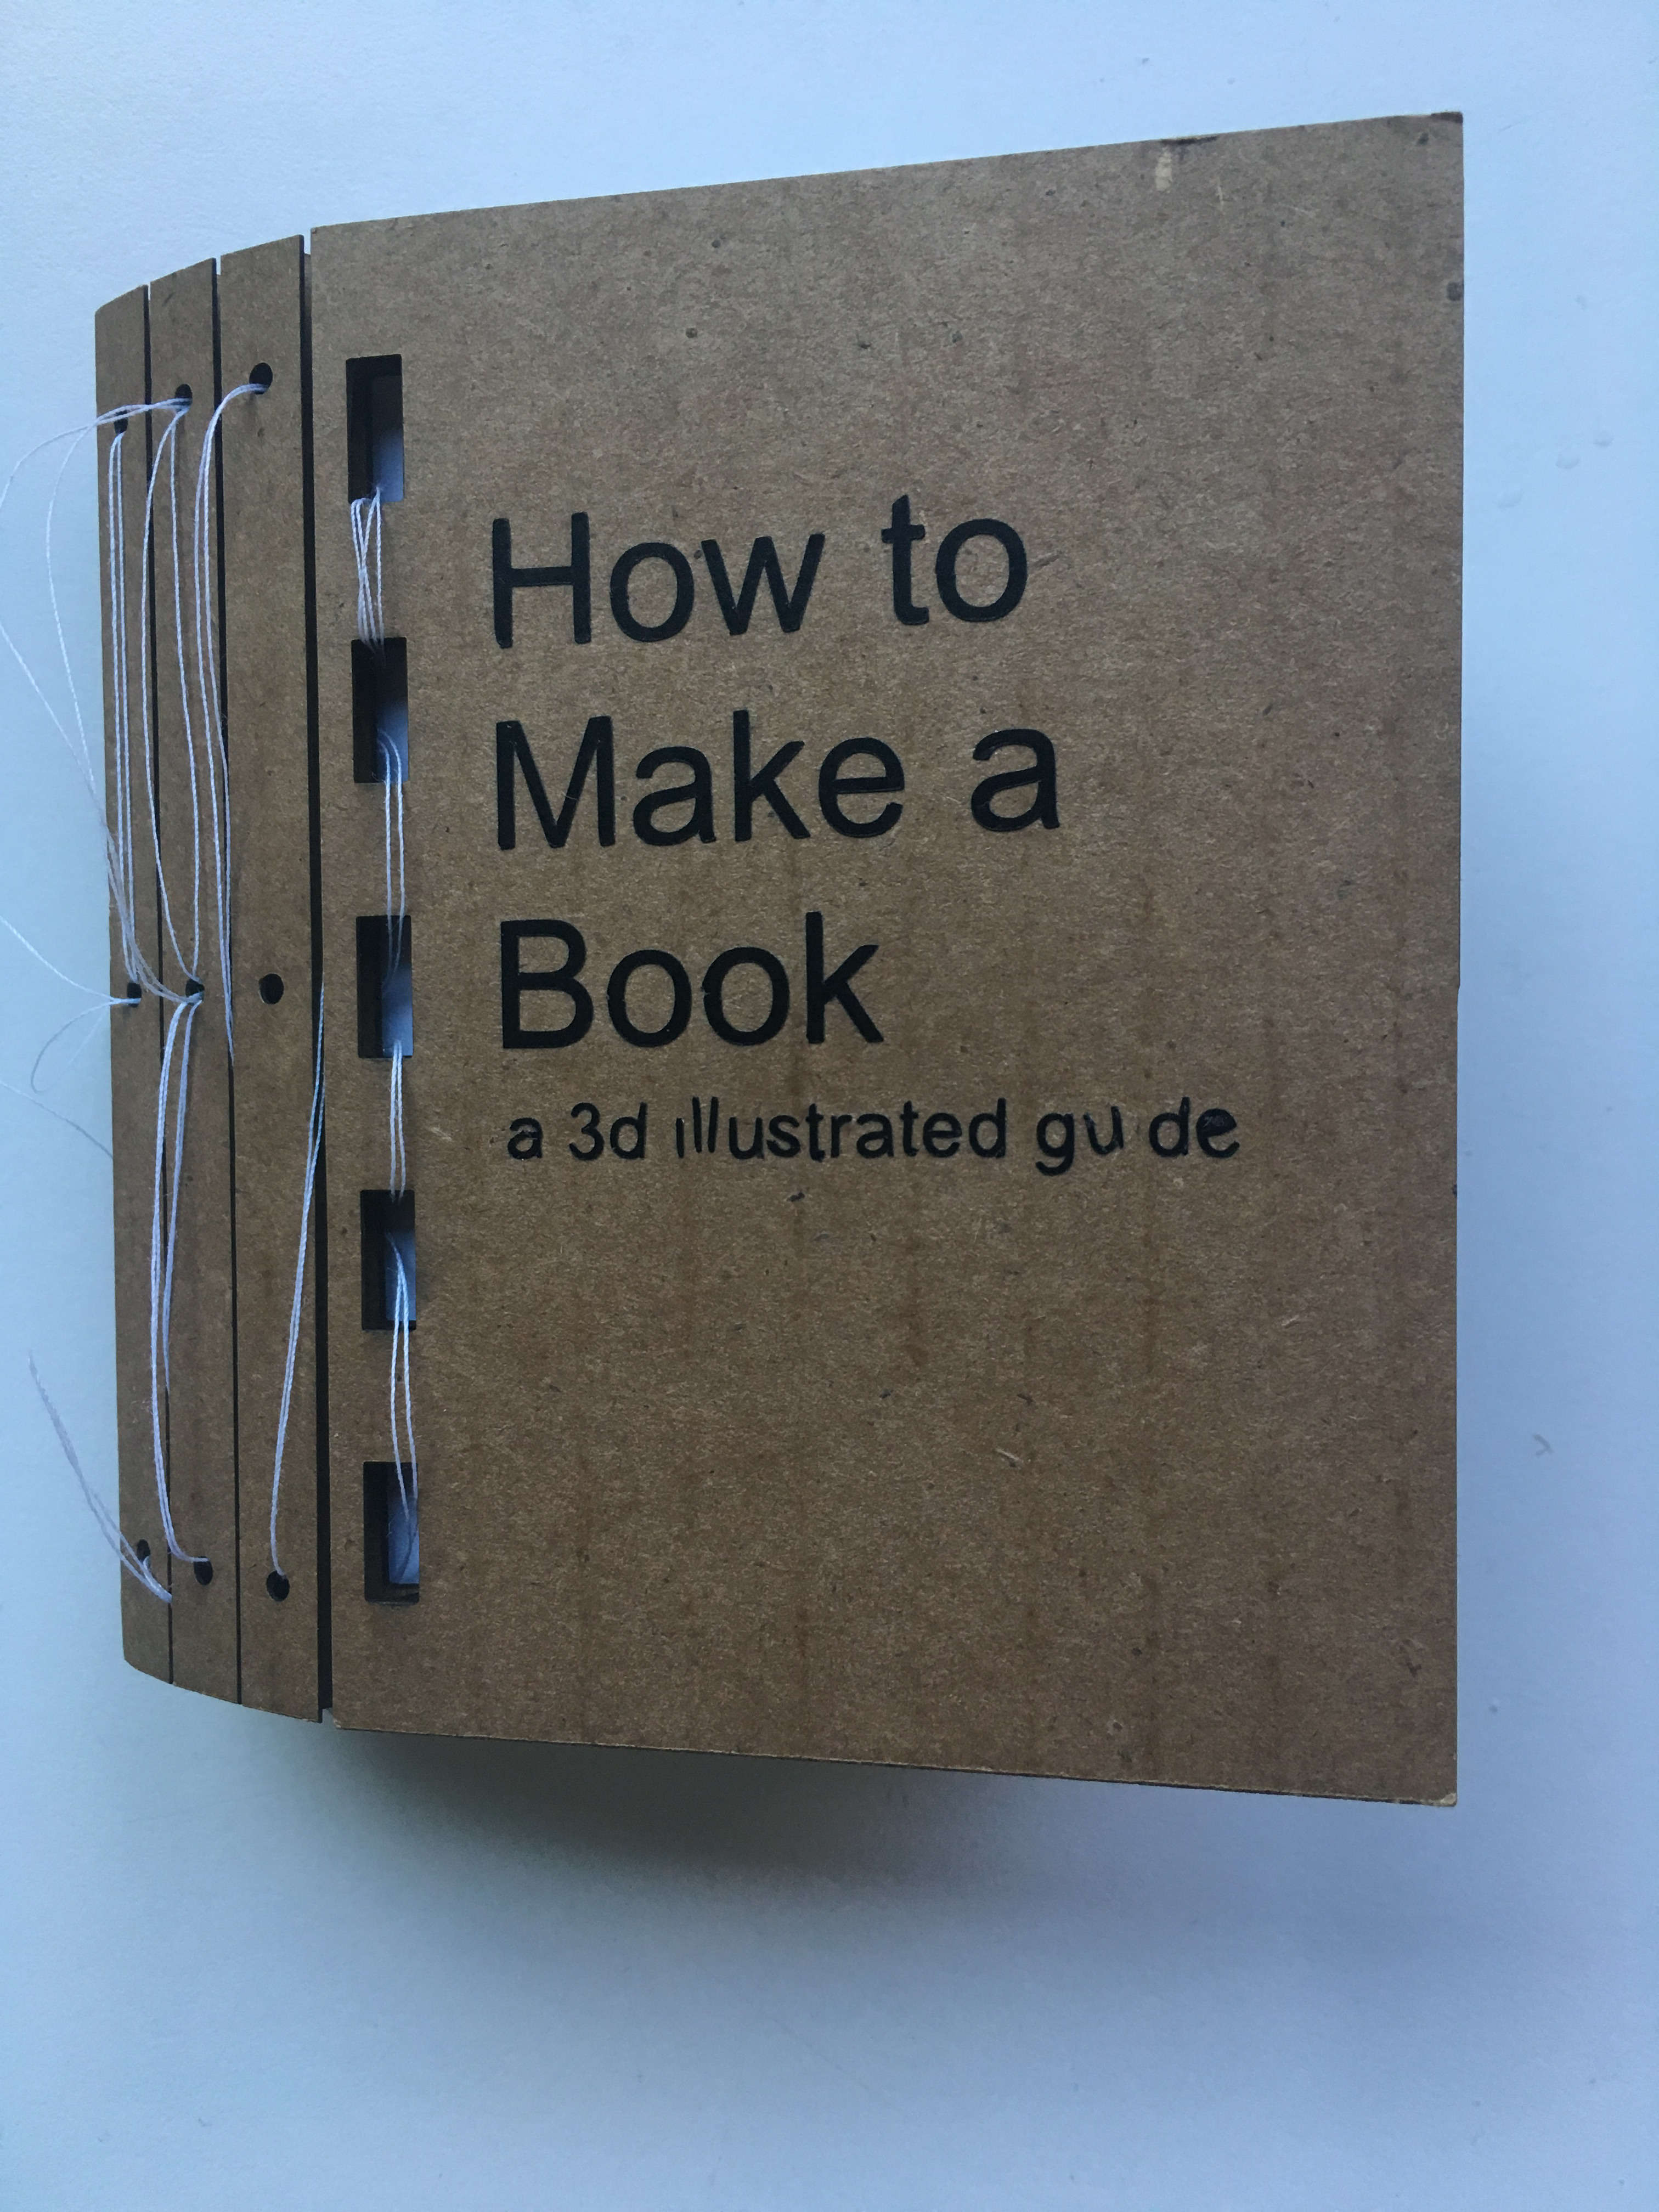
I was wrong.
