This is the first week wherein I'm working with tools I've actually used in the past and feel reasobably proficient with. The makerspace that I worked in for all four years of undergrad consisted primarily of 3D printers, and took on an enormous project involving scanning skulls using an Artec scanner. I therefore tried to do harder, more interesting things this week.
I got a scan of my own face by rotating slowly in a spinning office chair while Sebrina scanned. I aligned five different scans, and removed the data from the chin down for scans where the position of my head didn't quite line up. I processed these scans a few different ways, to optimize them for different uses.
A mesh generated from only the best scans, which is not water-tight. This one contains minimal noise, but also less information that the others. It also doesn't have any of the detail that would have come from the texture, due to the fact that sketchfab doesn't allow PNG texture uploads?
A water-tight STL made from all five scans, for 3d printing.
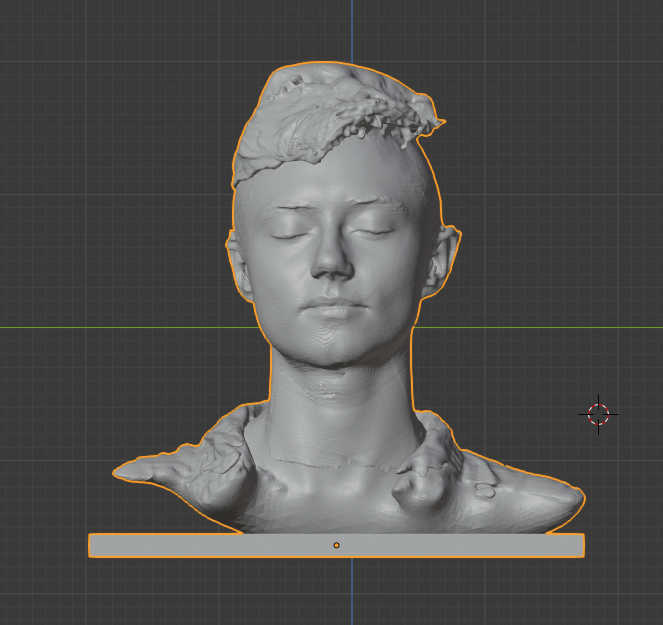
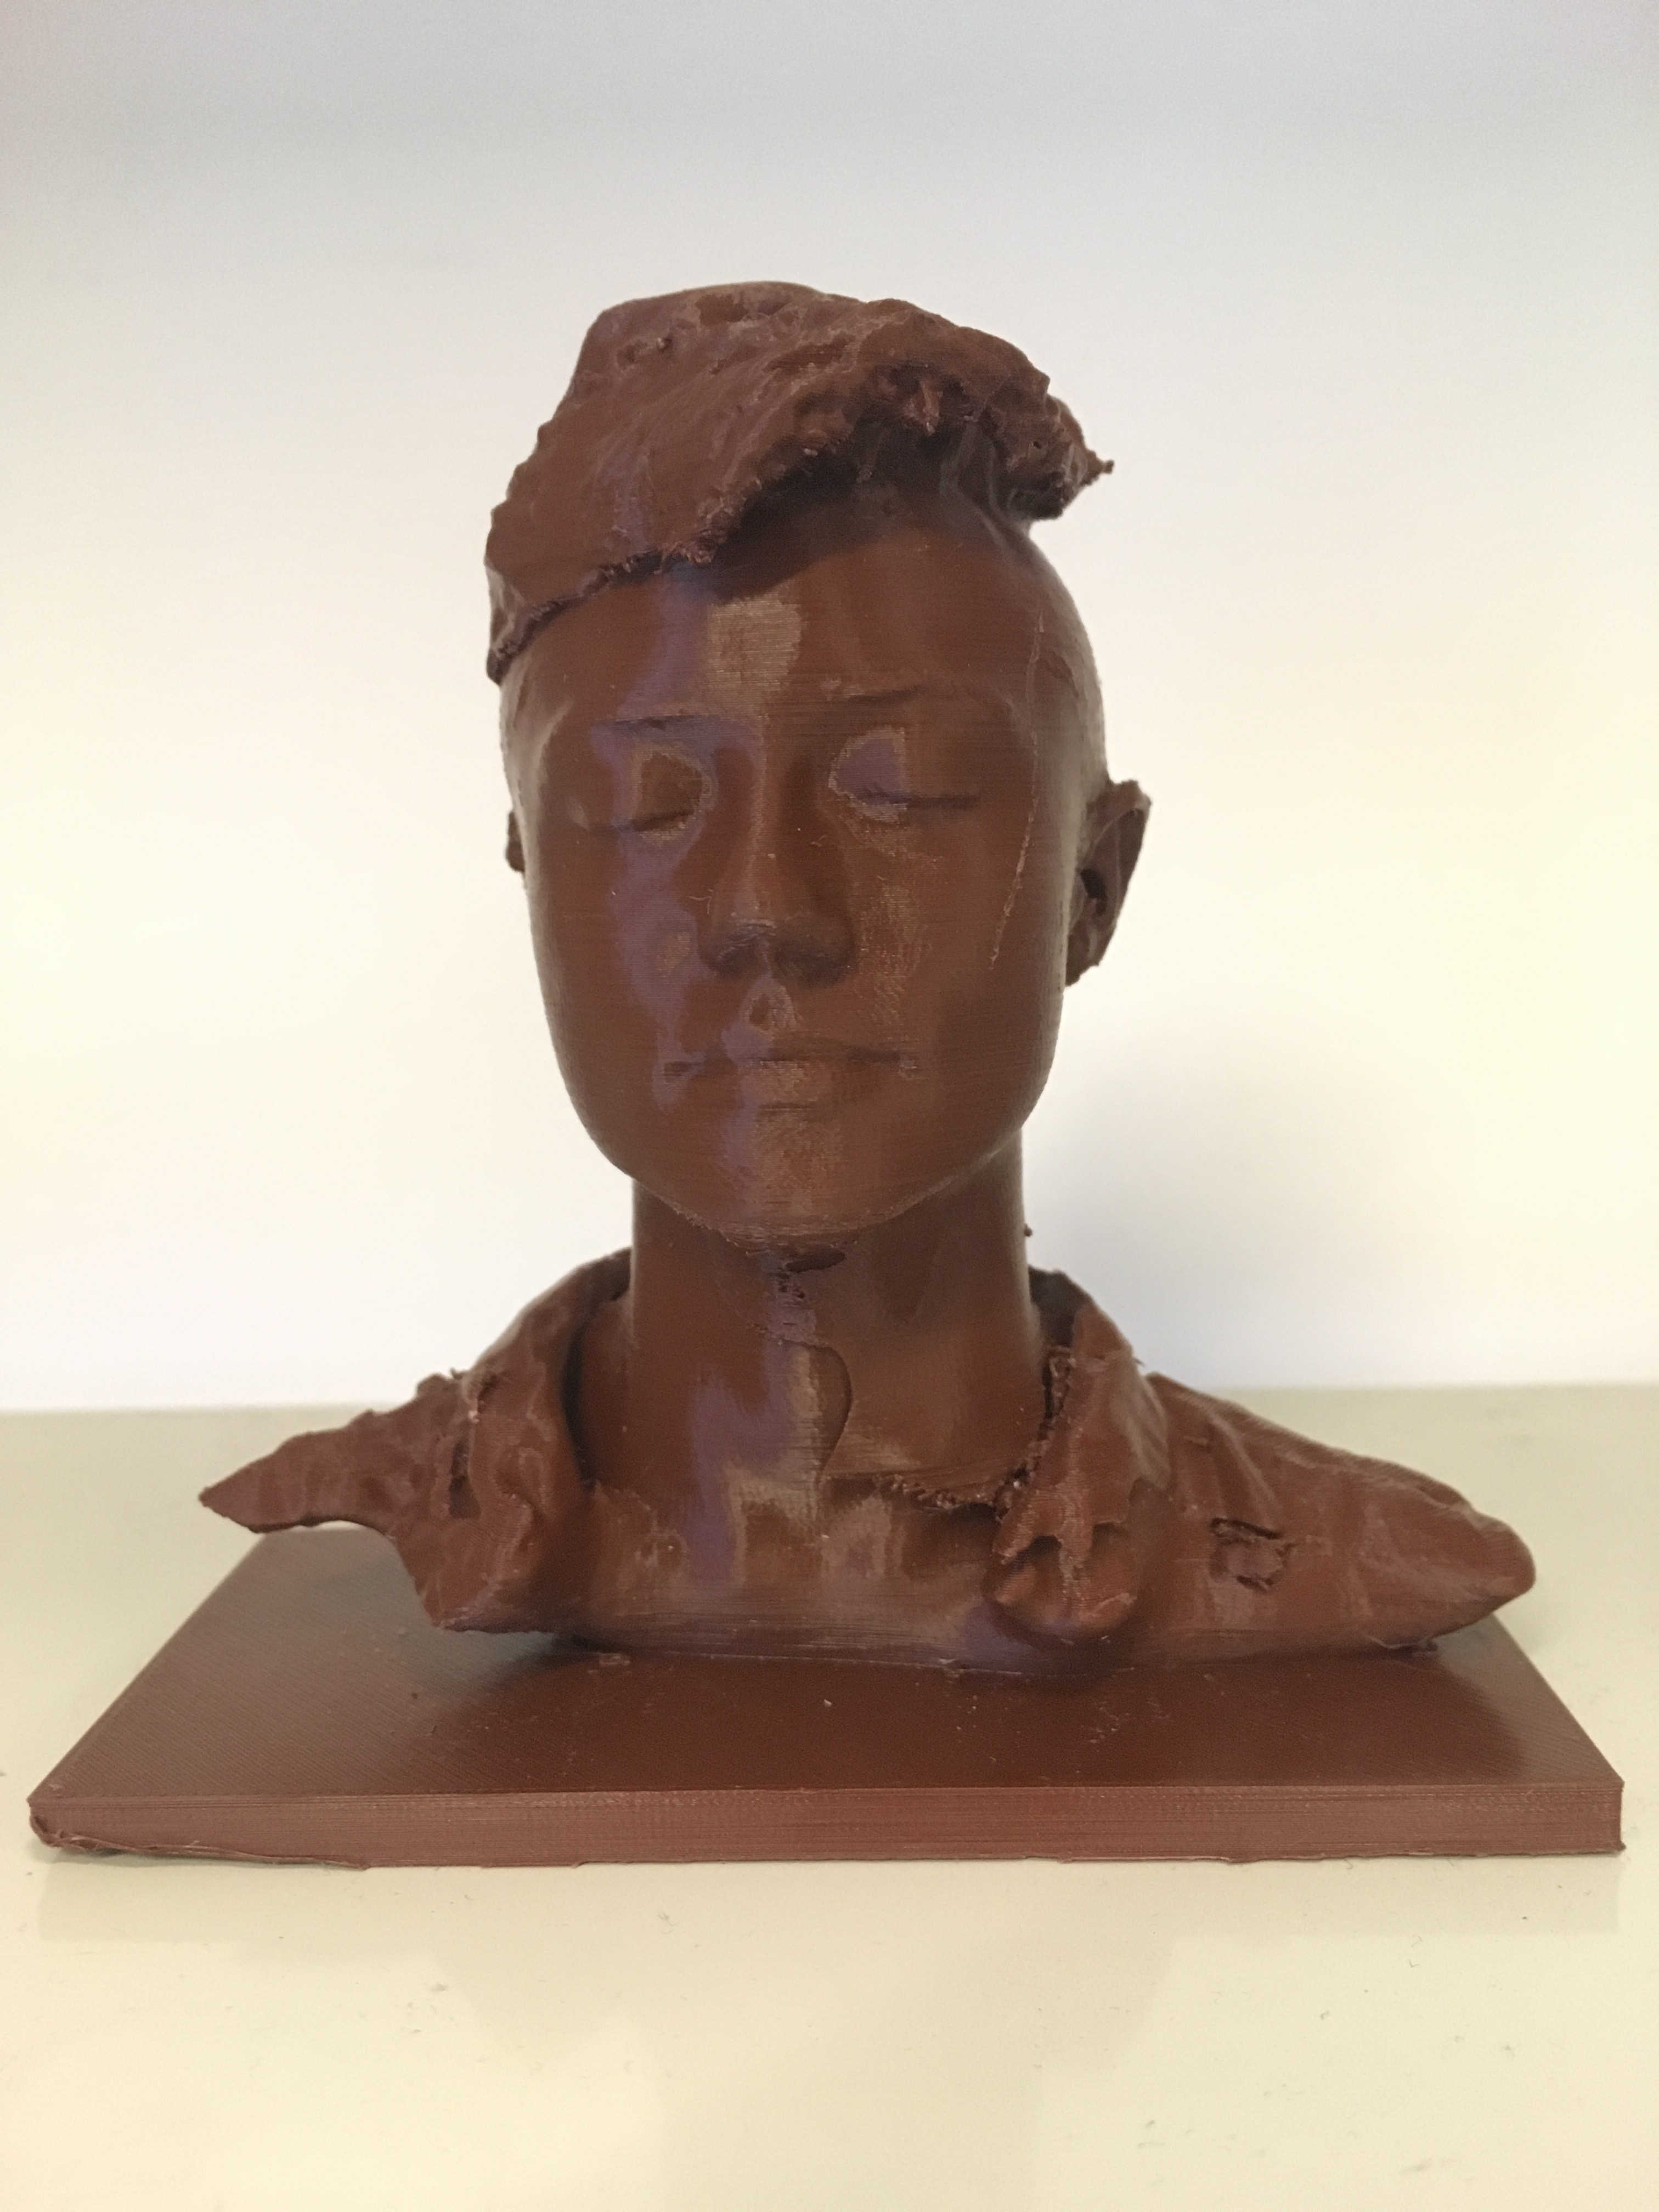
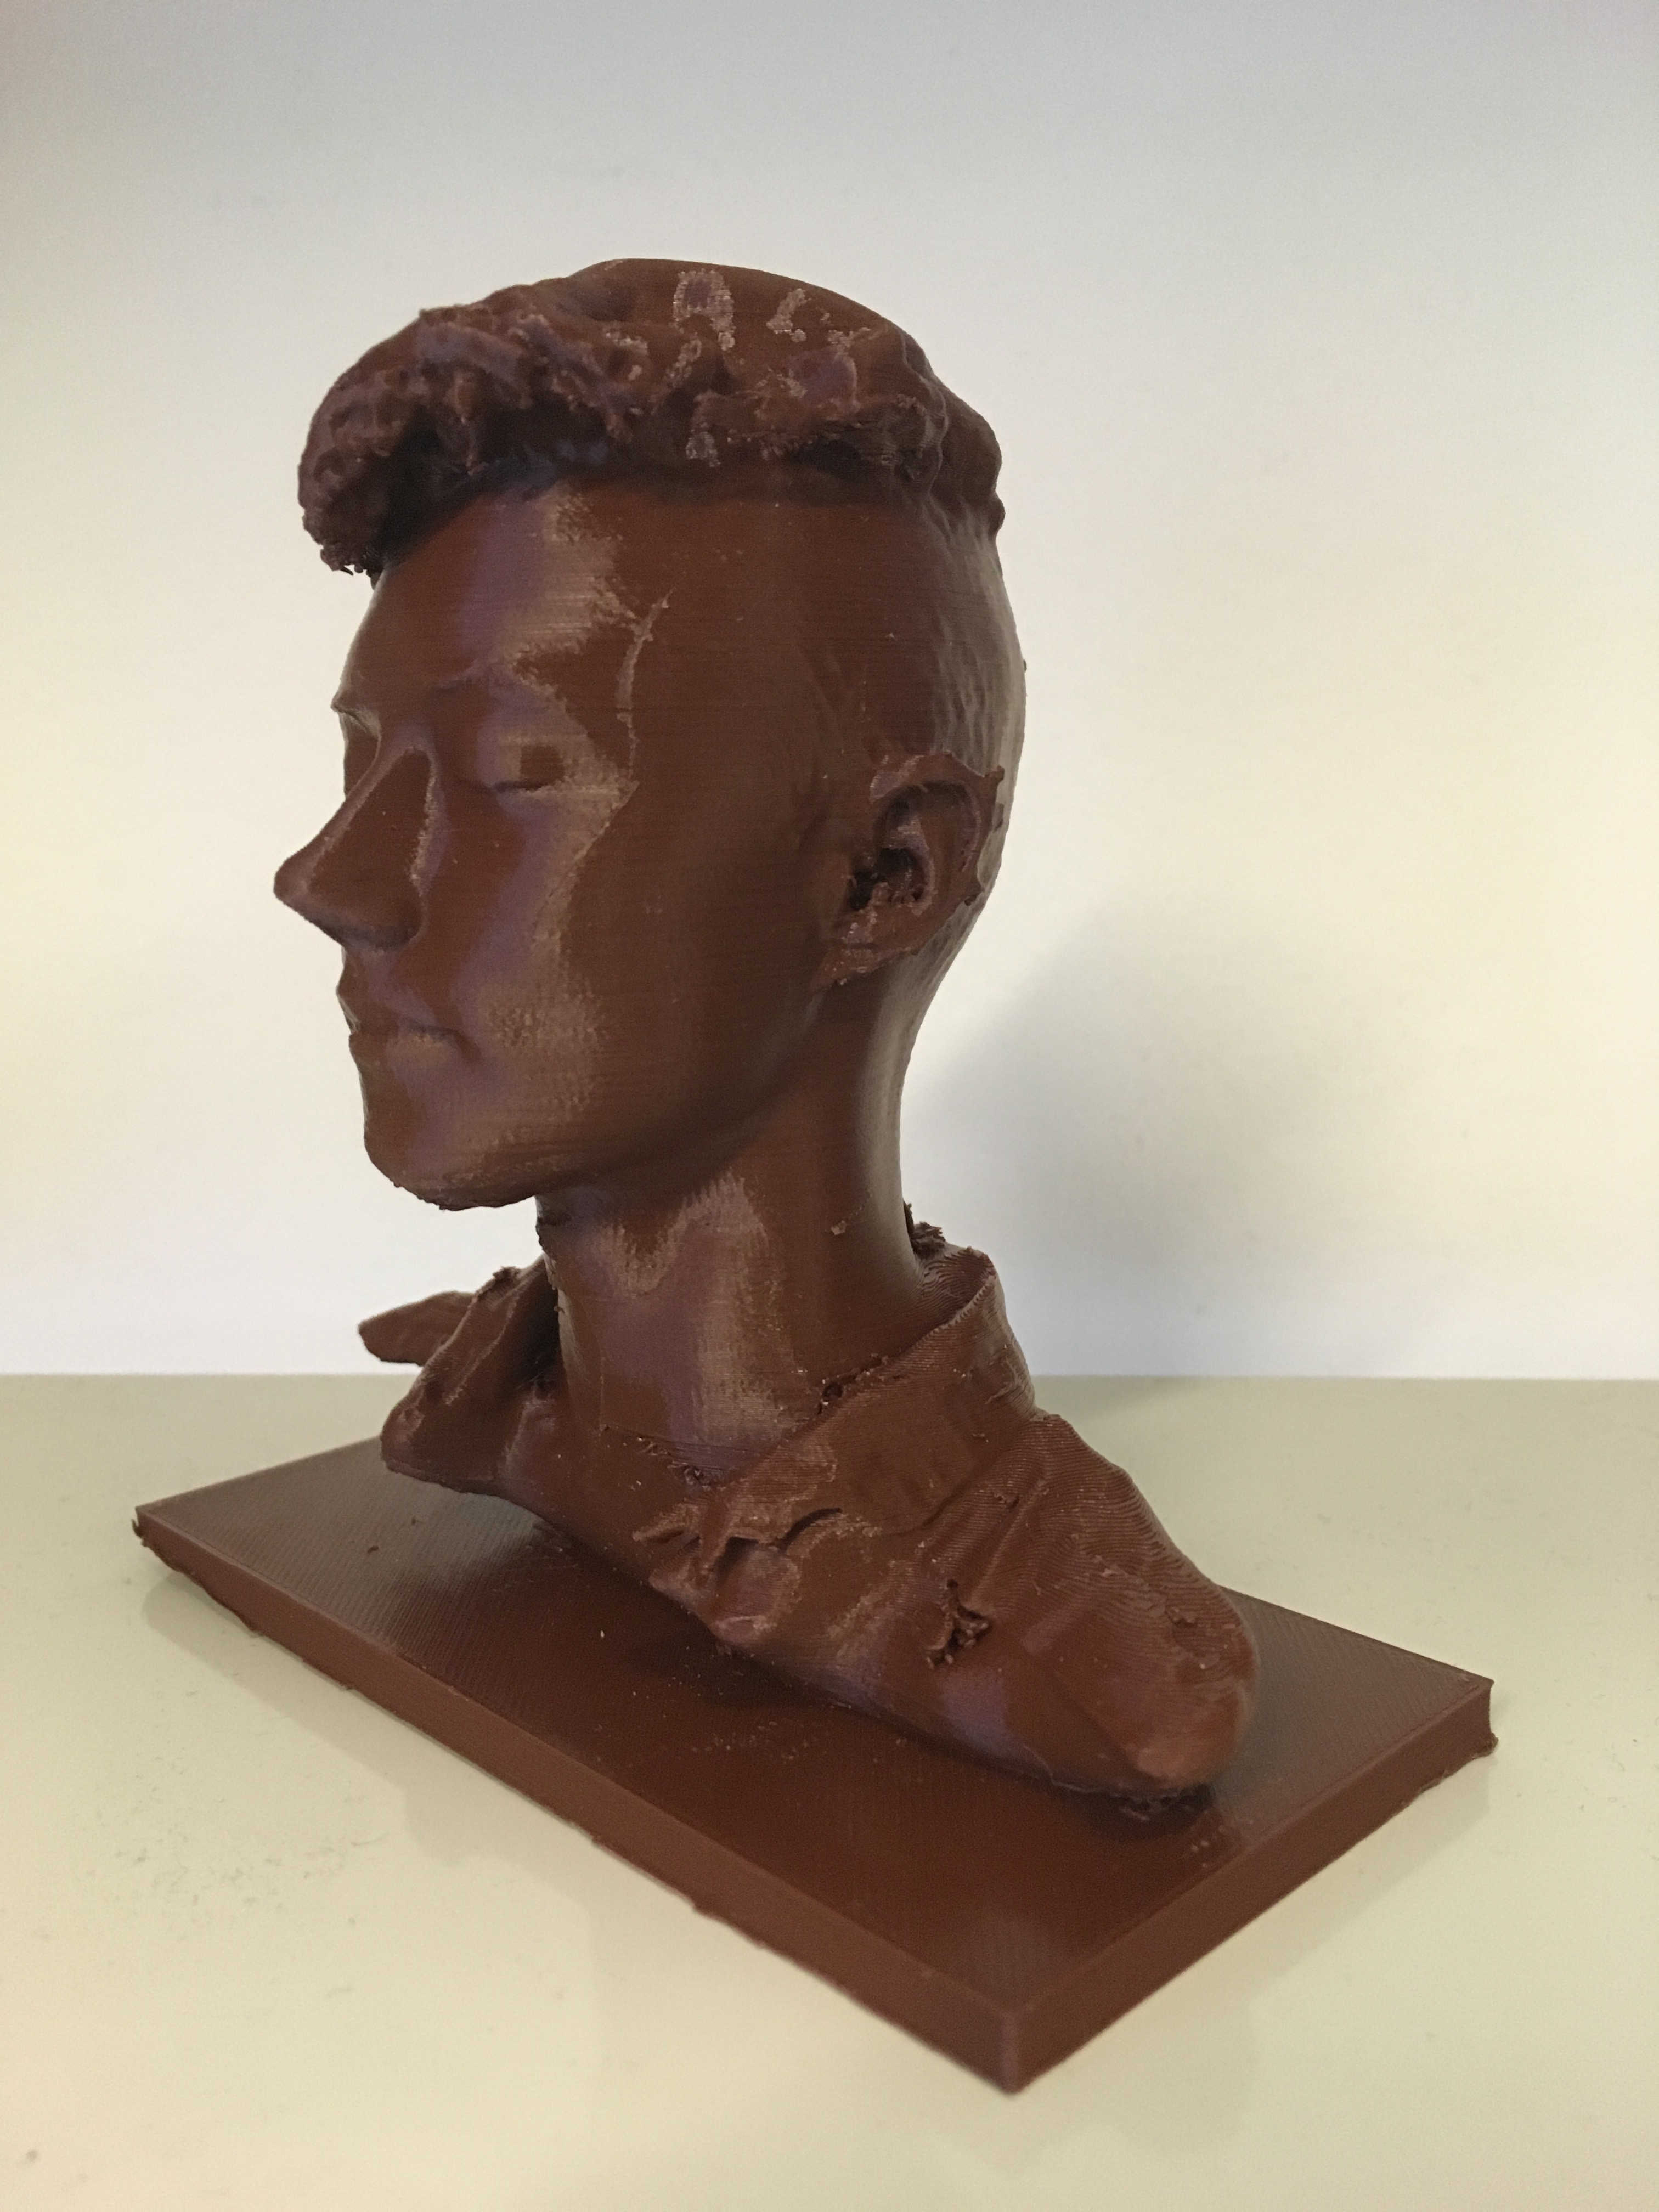
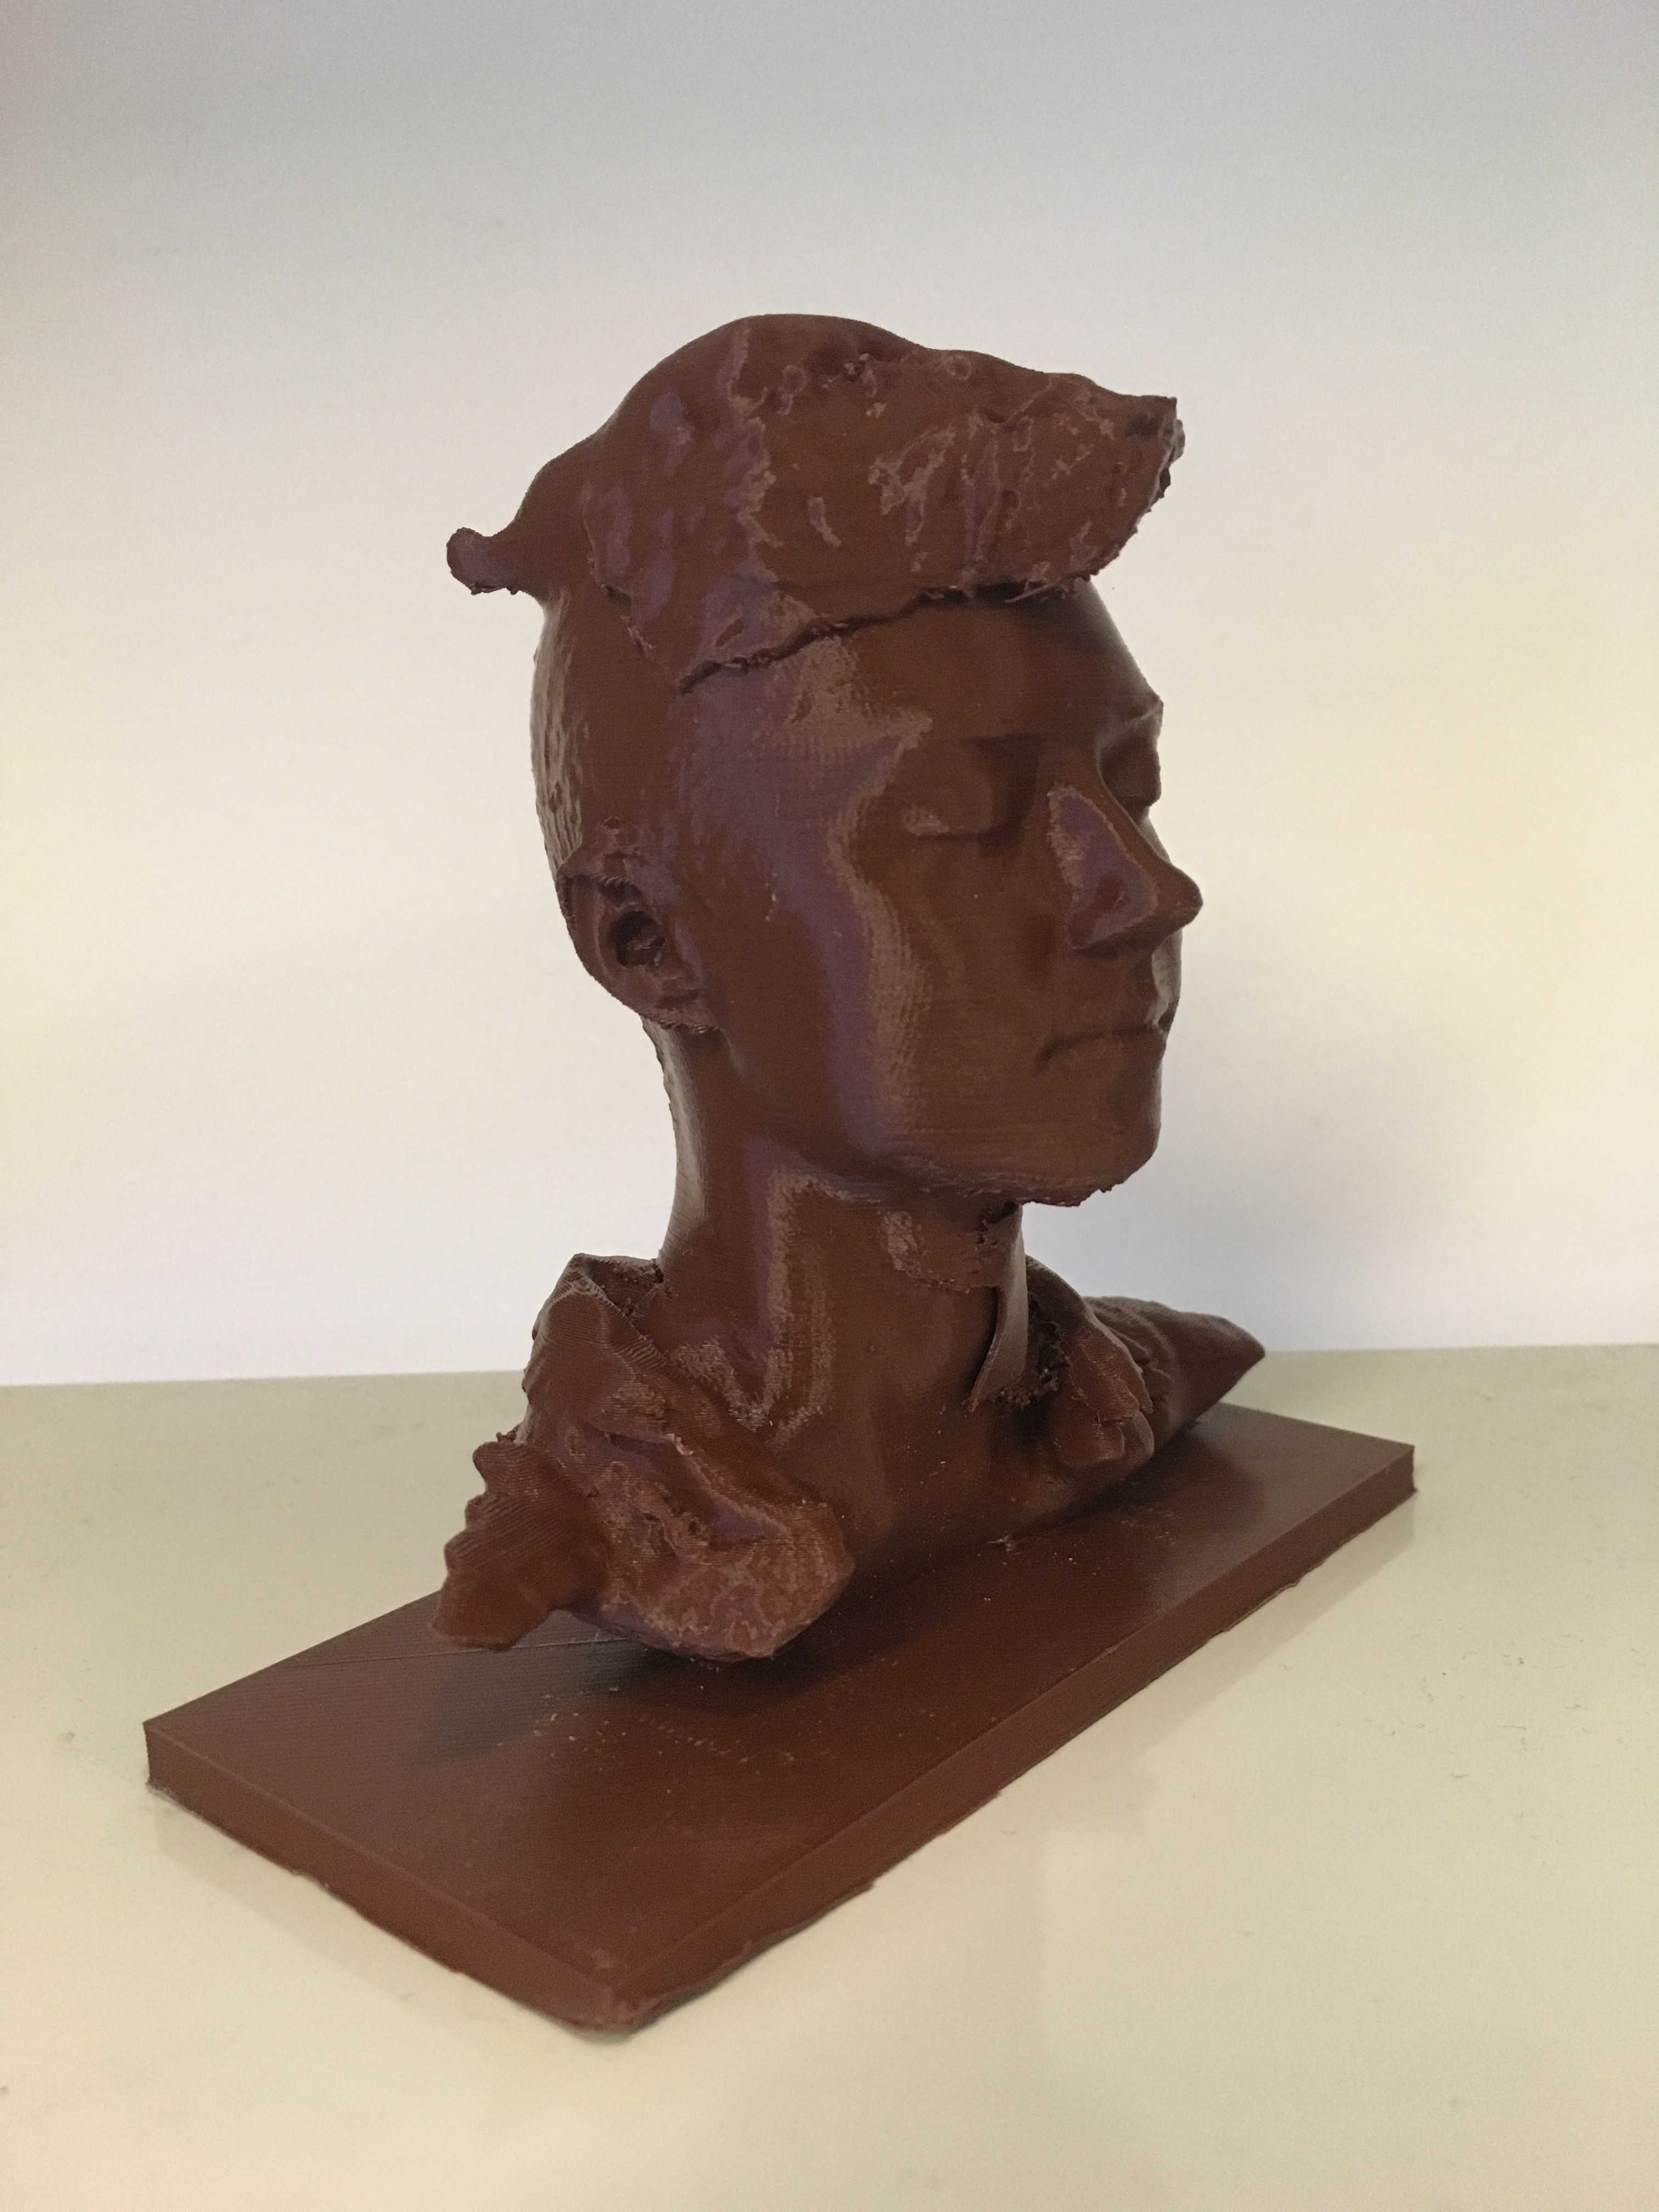
After scanning my face, I tried to print a bust of it. Because the printers will likely be in high demand this week, and I don't want to inconvenience anyone with an enormous print, I scaled my model down to a 1:3 scale. Prusa Connect was a little too limited to let me cut off the bottom of my model into a flat base by just placing it below the build plate (yes, I do understand that not all of my model is within the build volume, that's the point), so I took into into Cura.
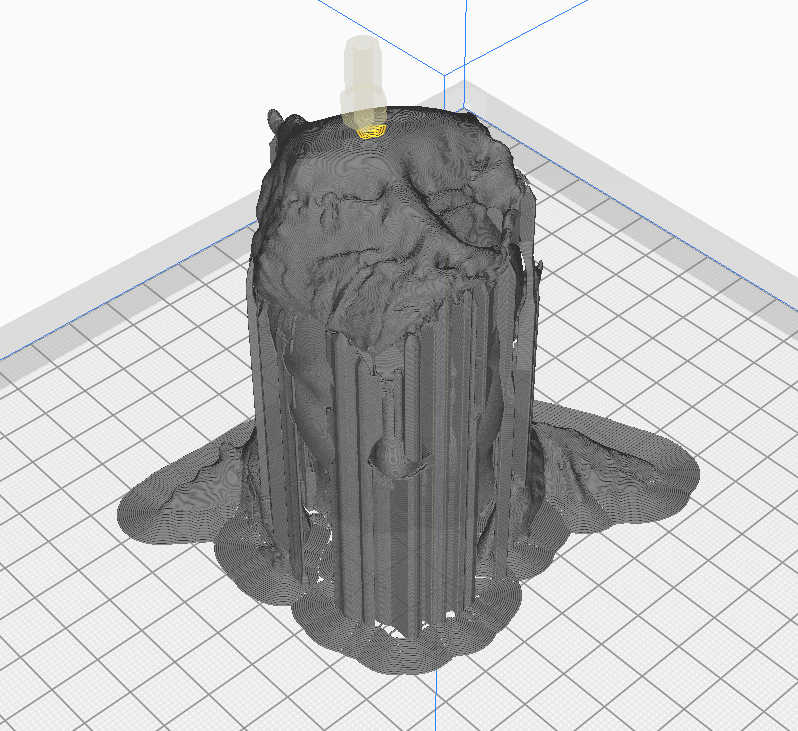
model with all of its supports
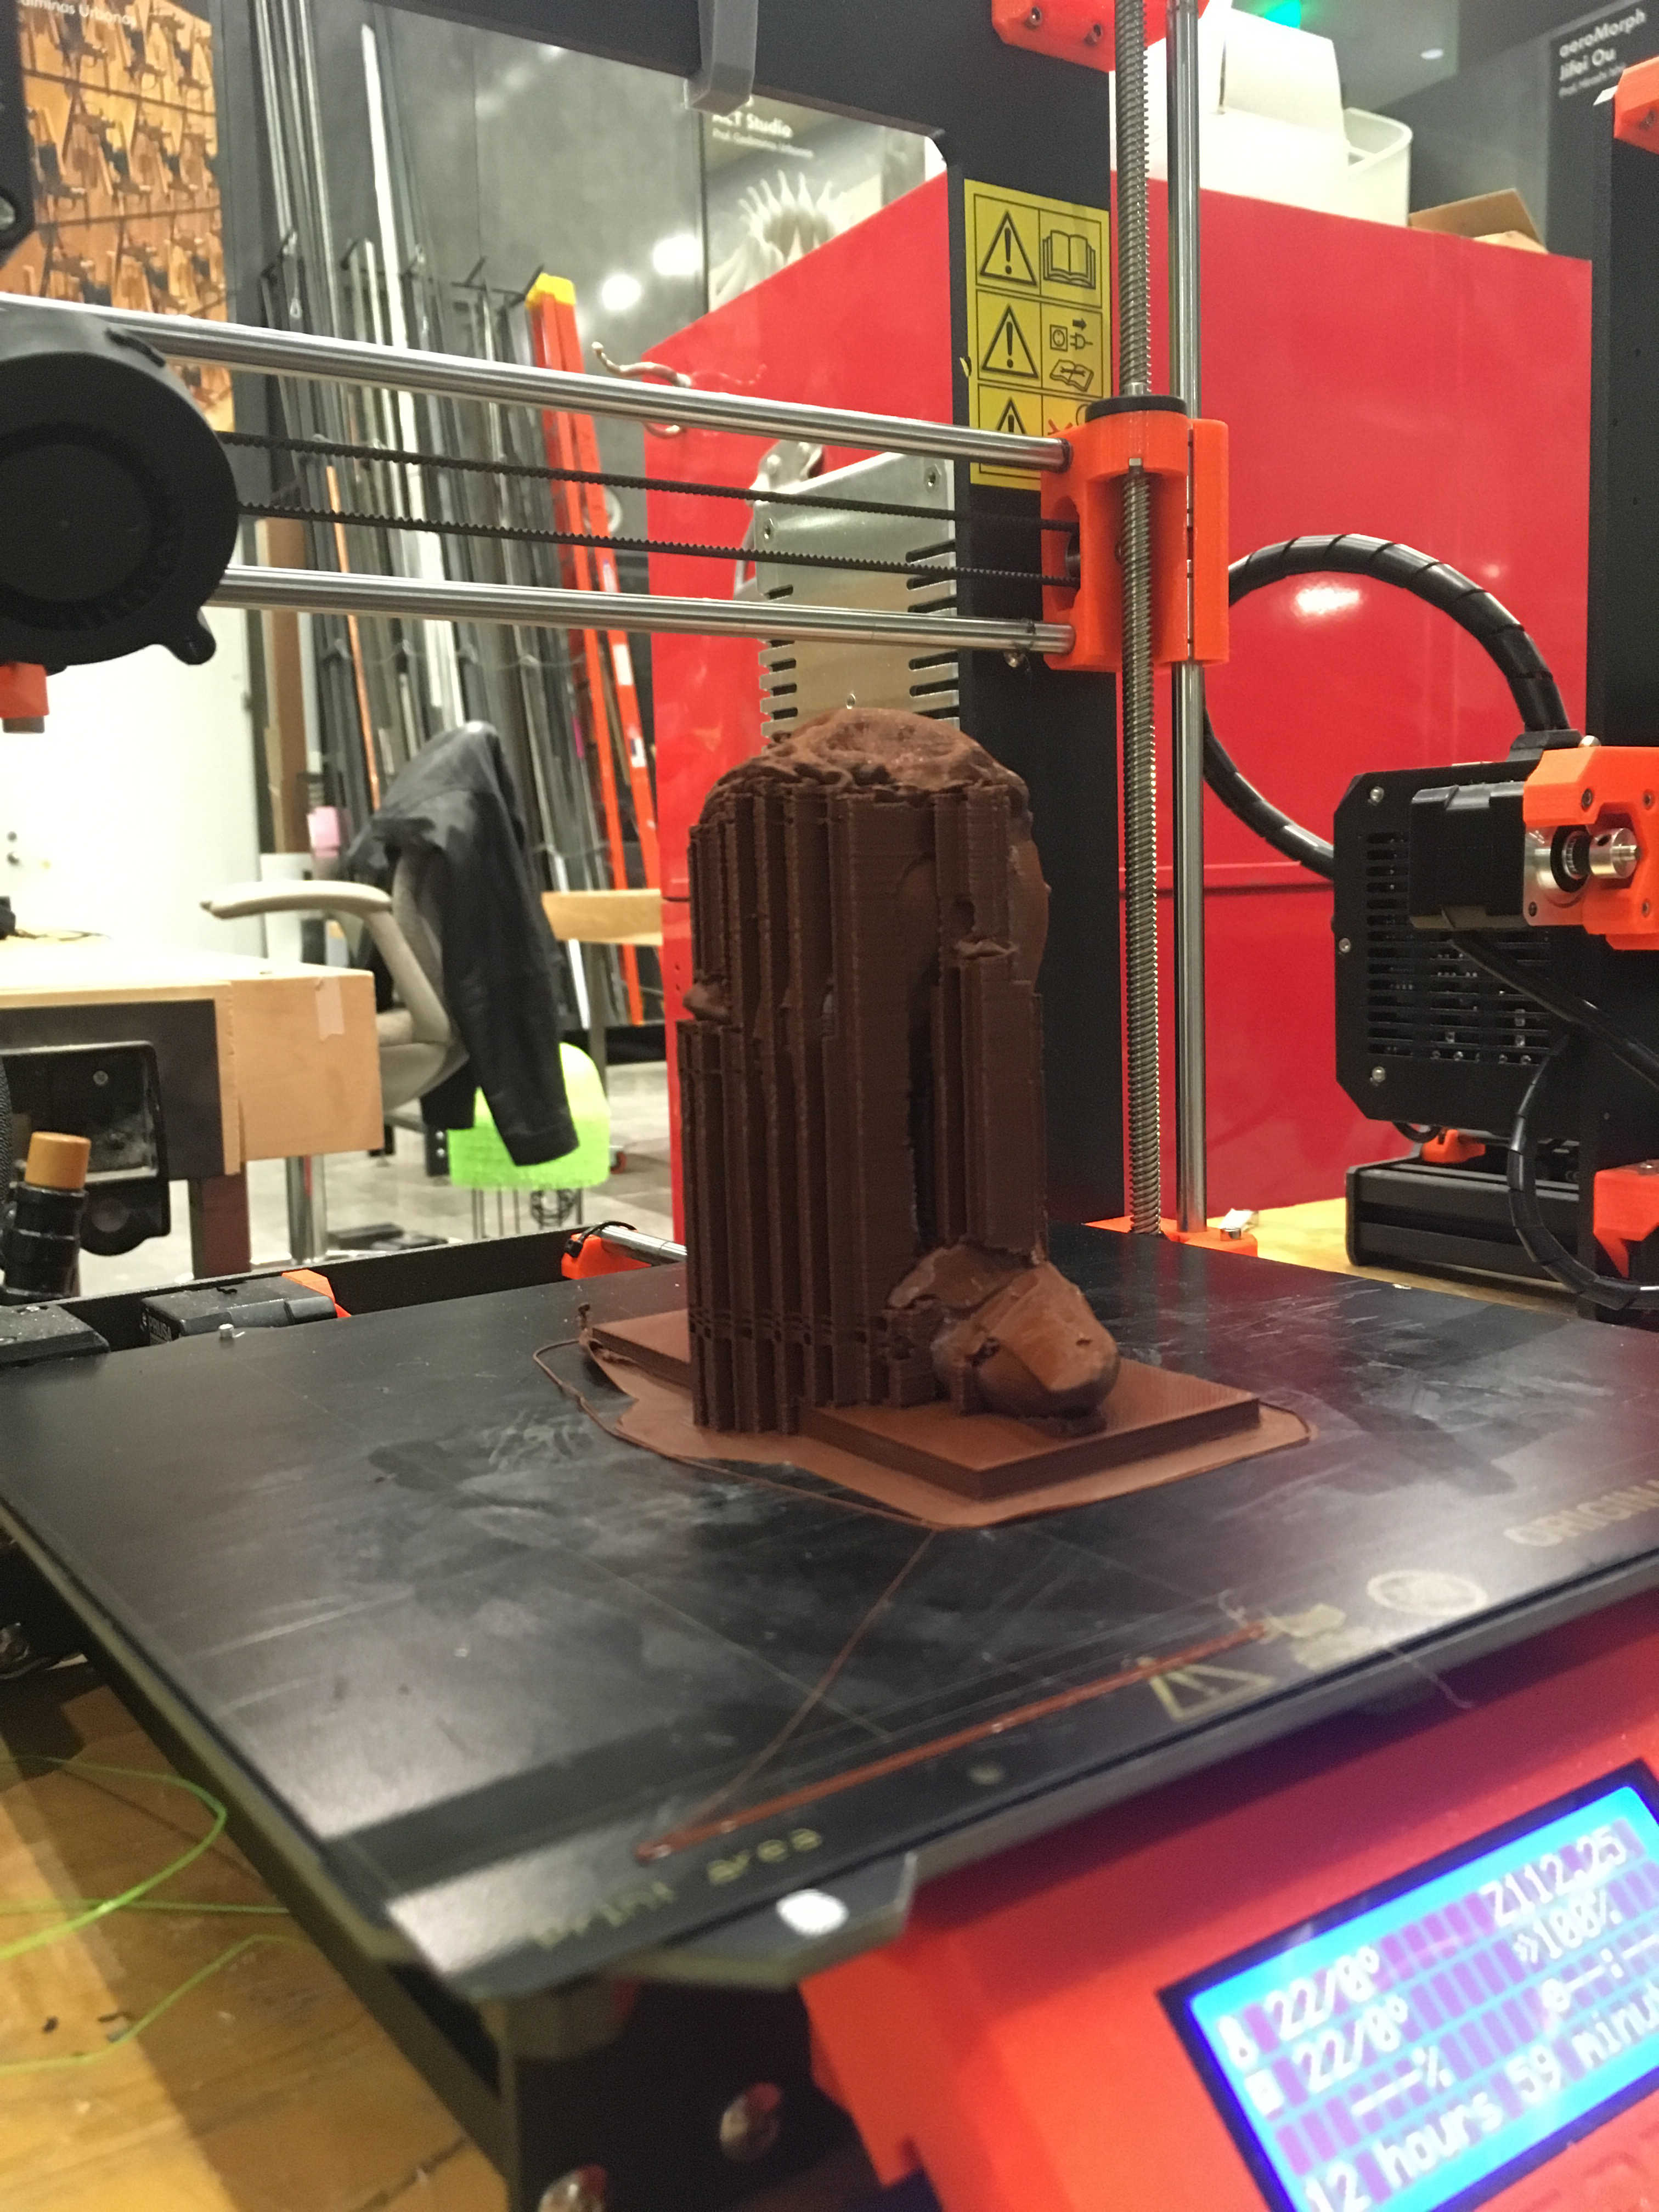
I exported gcode out of Cura to run on the Prusas, but couldn't get the first layer to stick. I tried fussing with the live z-adjust, adding glue to the platform, and even switching printers, but nothing worked.
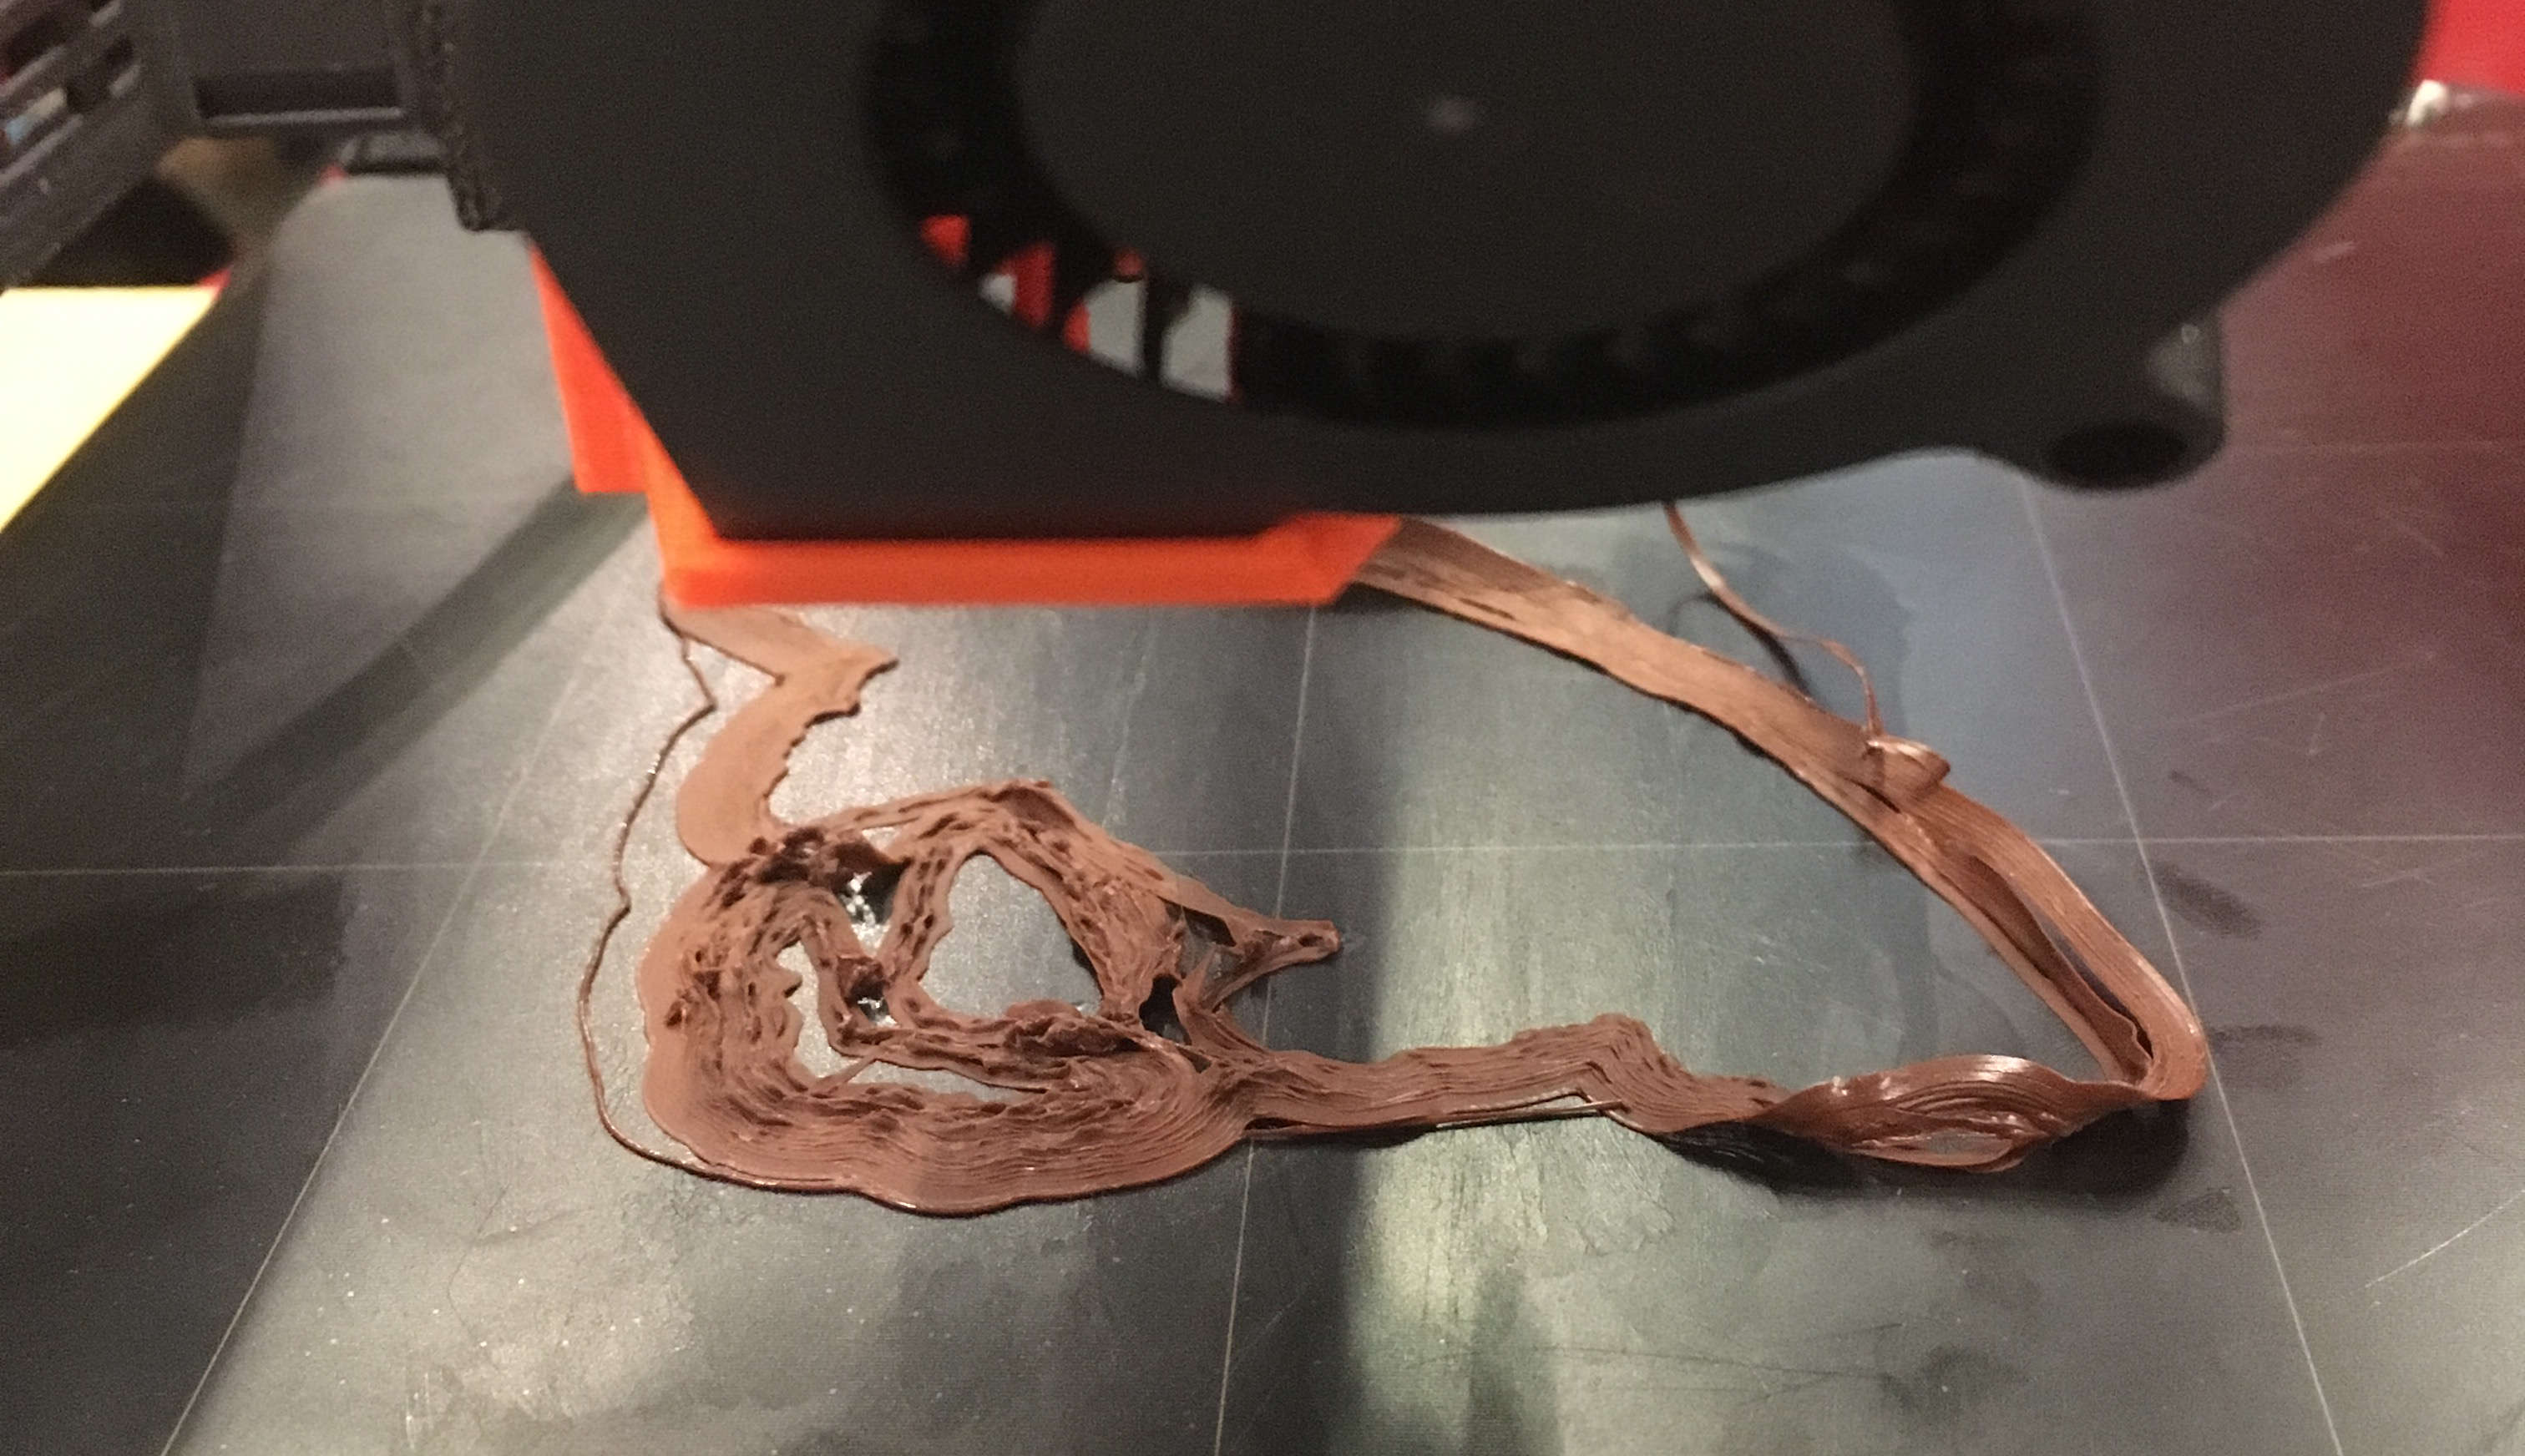
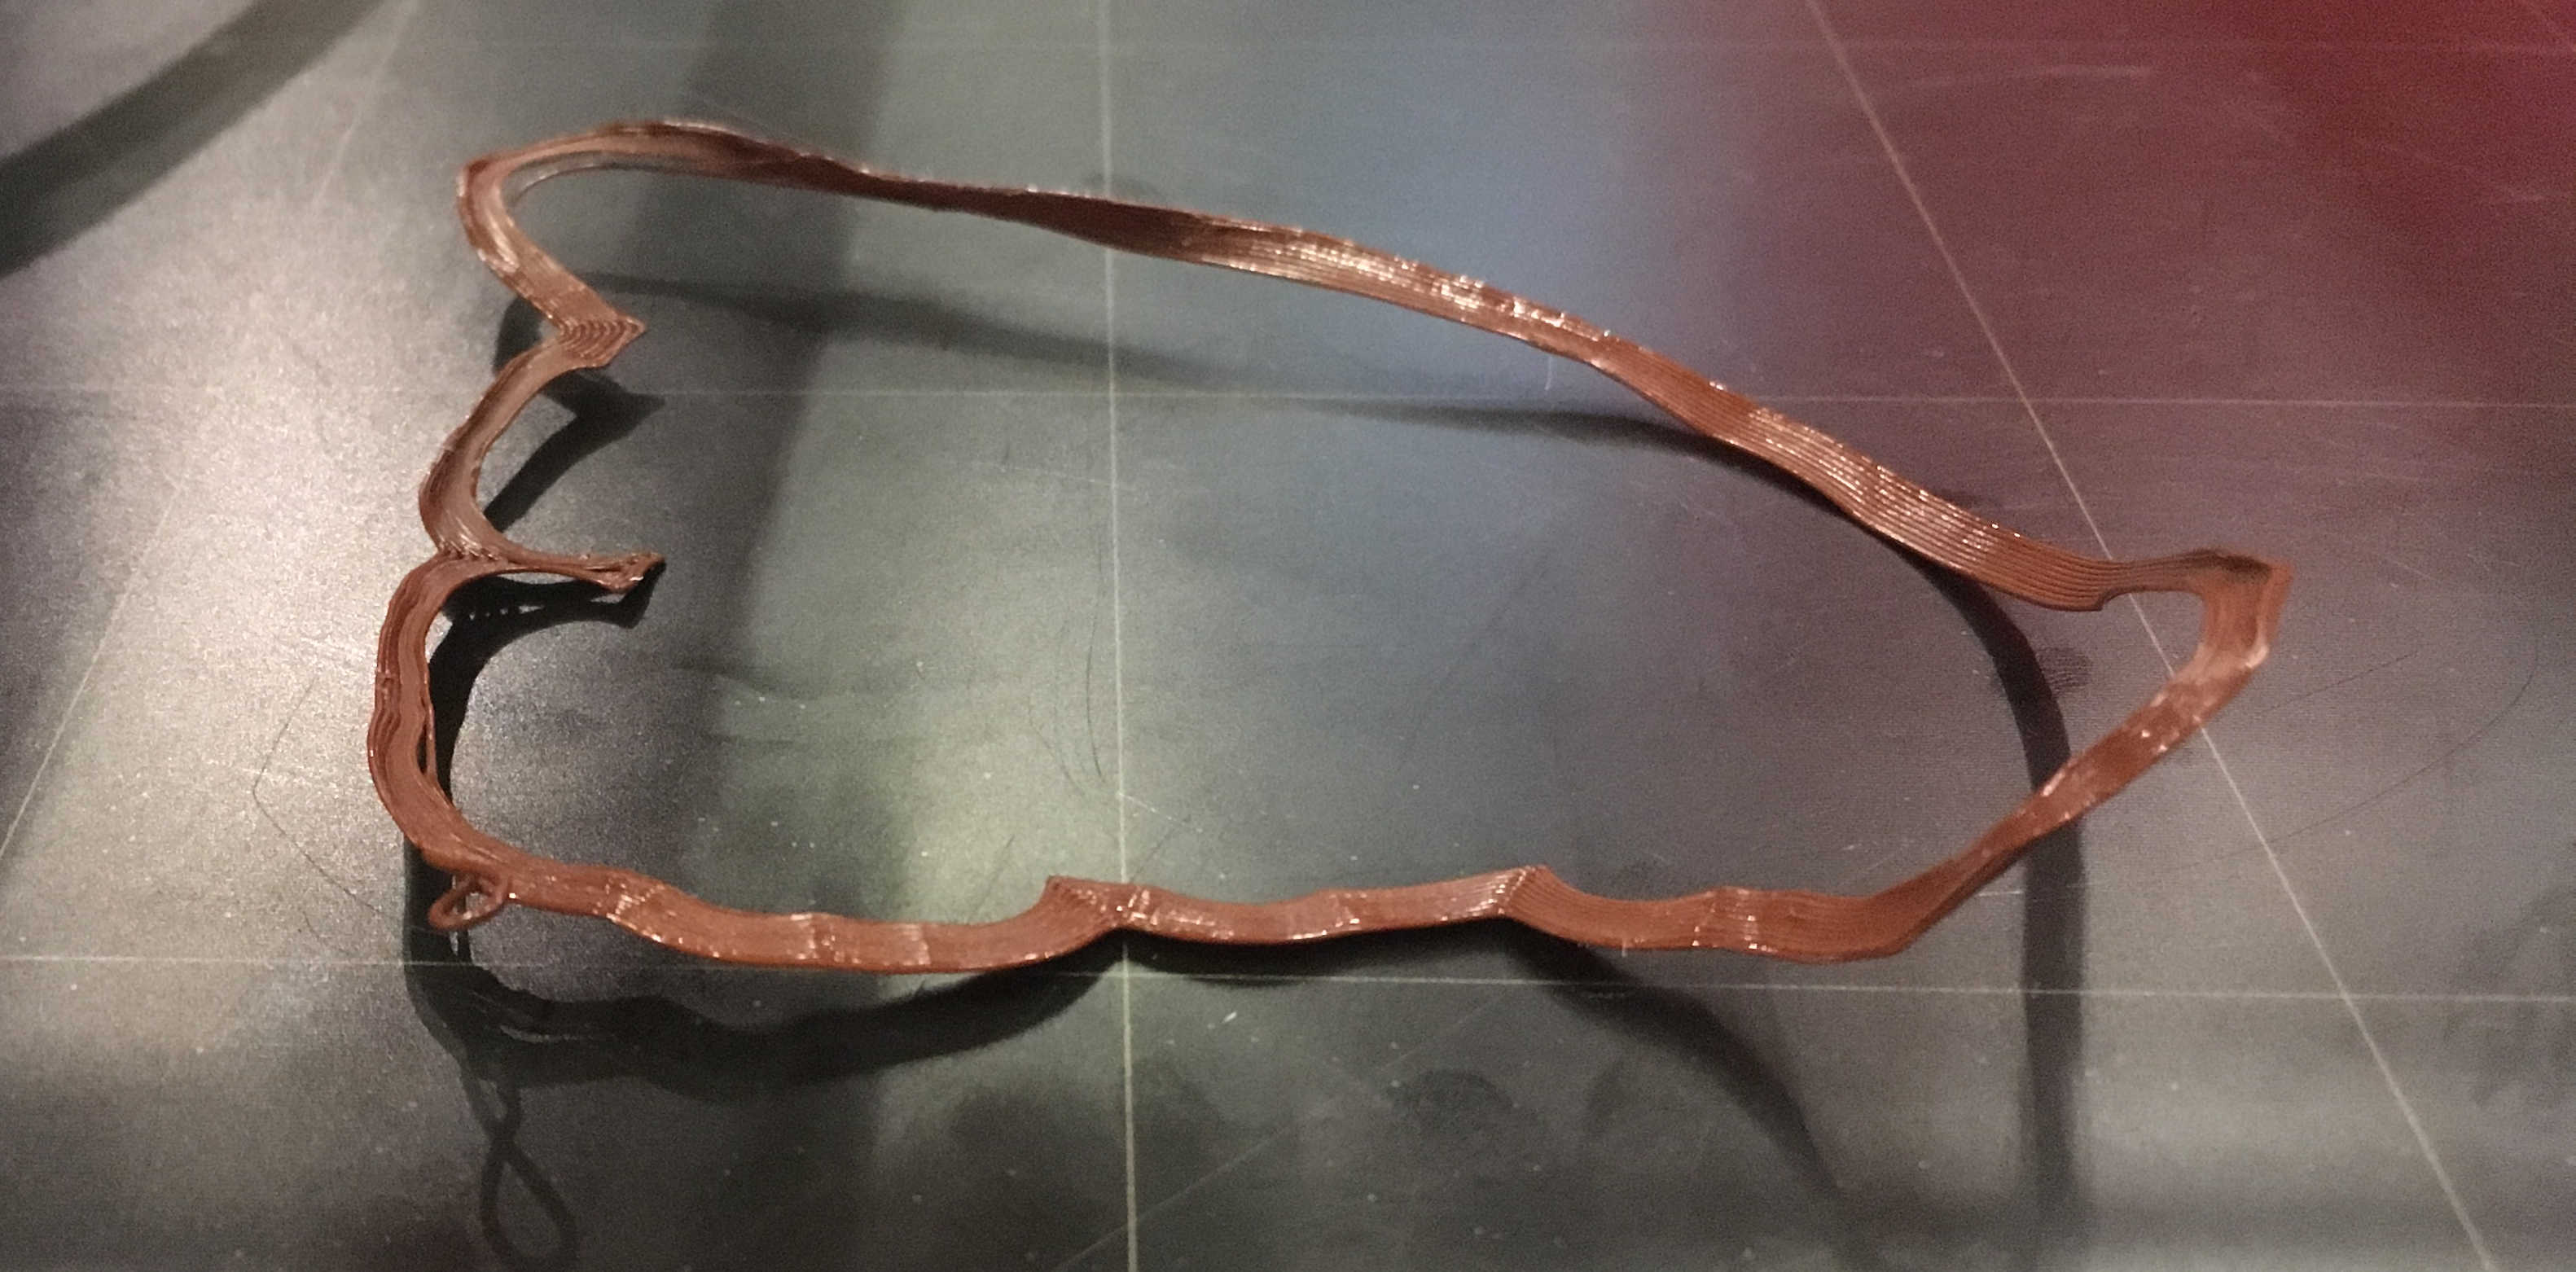
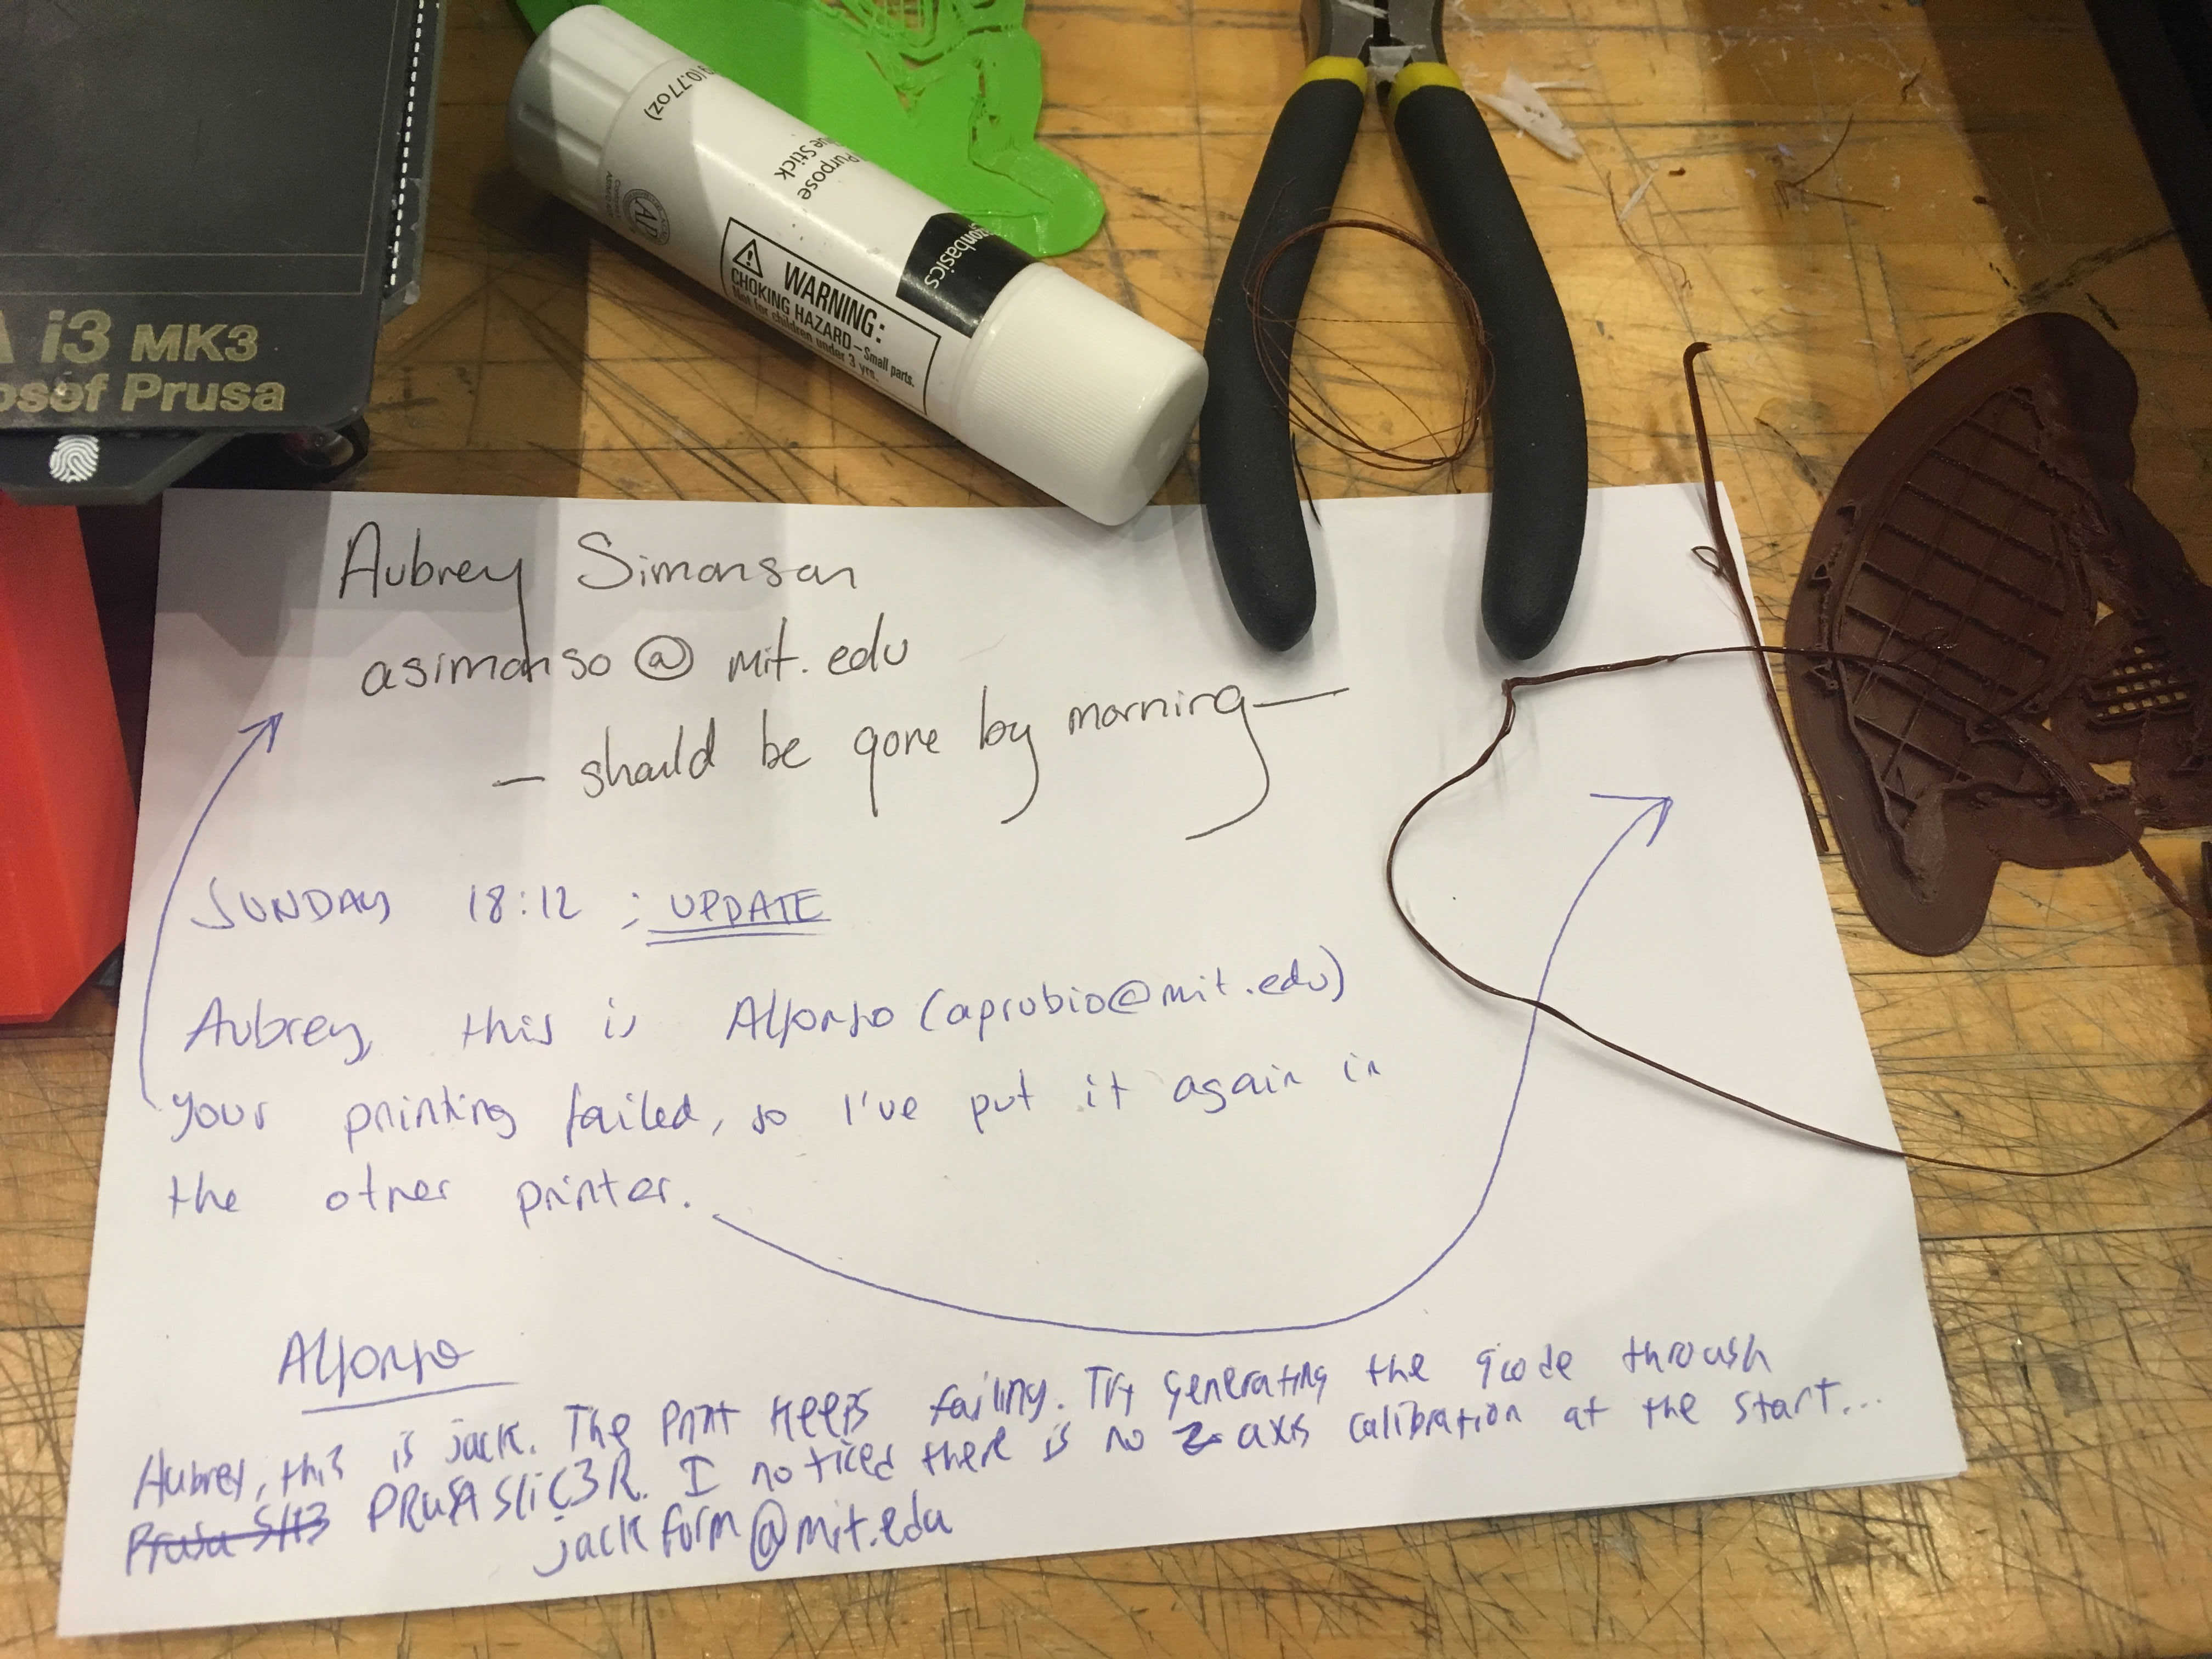
I thought that the problem might be that the Prusas need you to have generated your gcode in a Prusa slicer. Because Prusa Connect wouldn't let me clip my model flat by simply putting some of it below the build plane, I needed to do some manual editing in Blender. I also gave it a flat, square base, in the hopes that that would stick more easily.
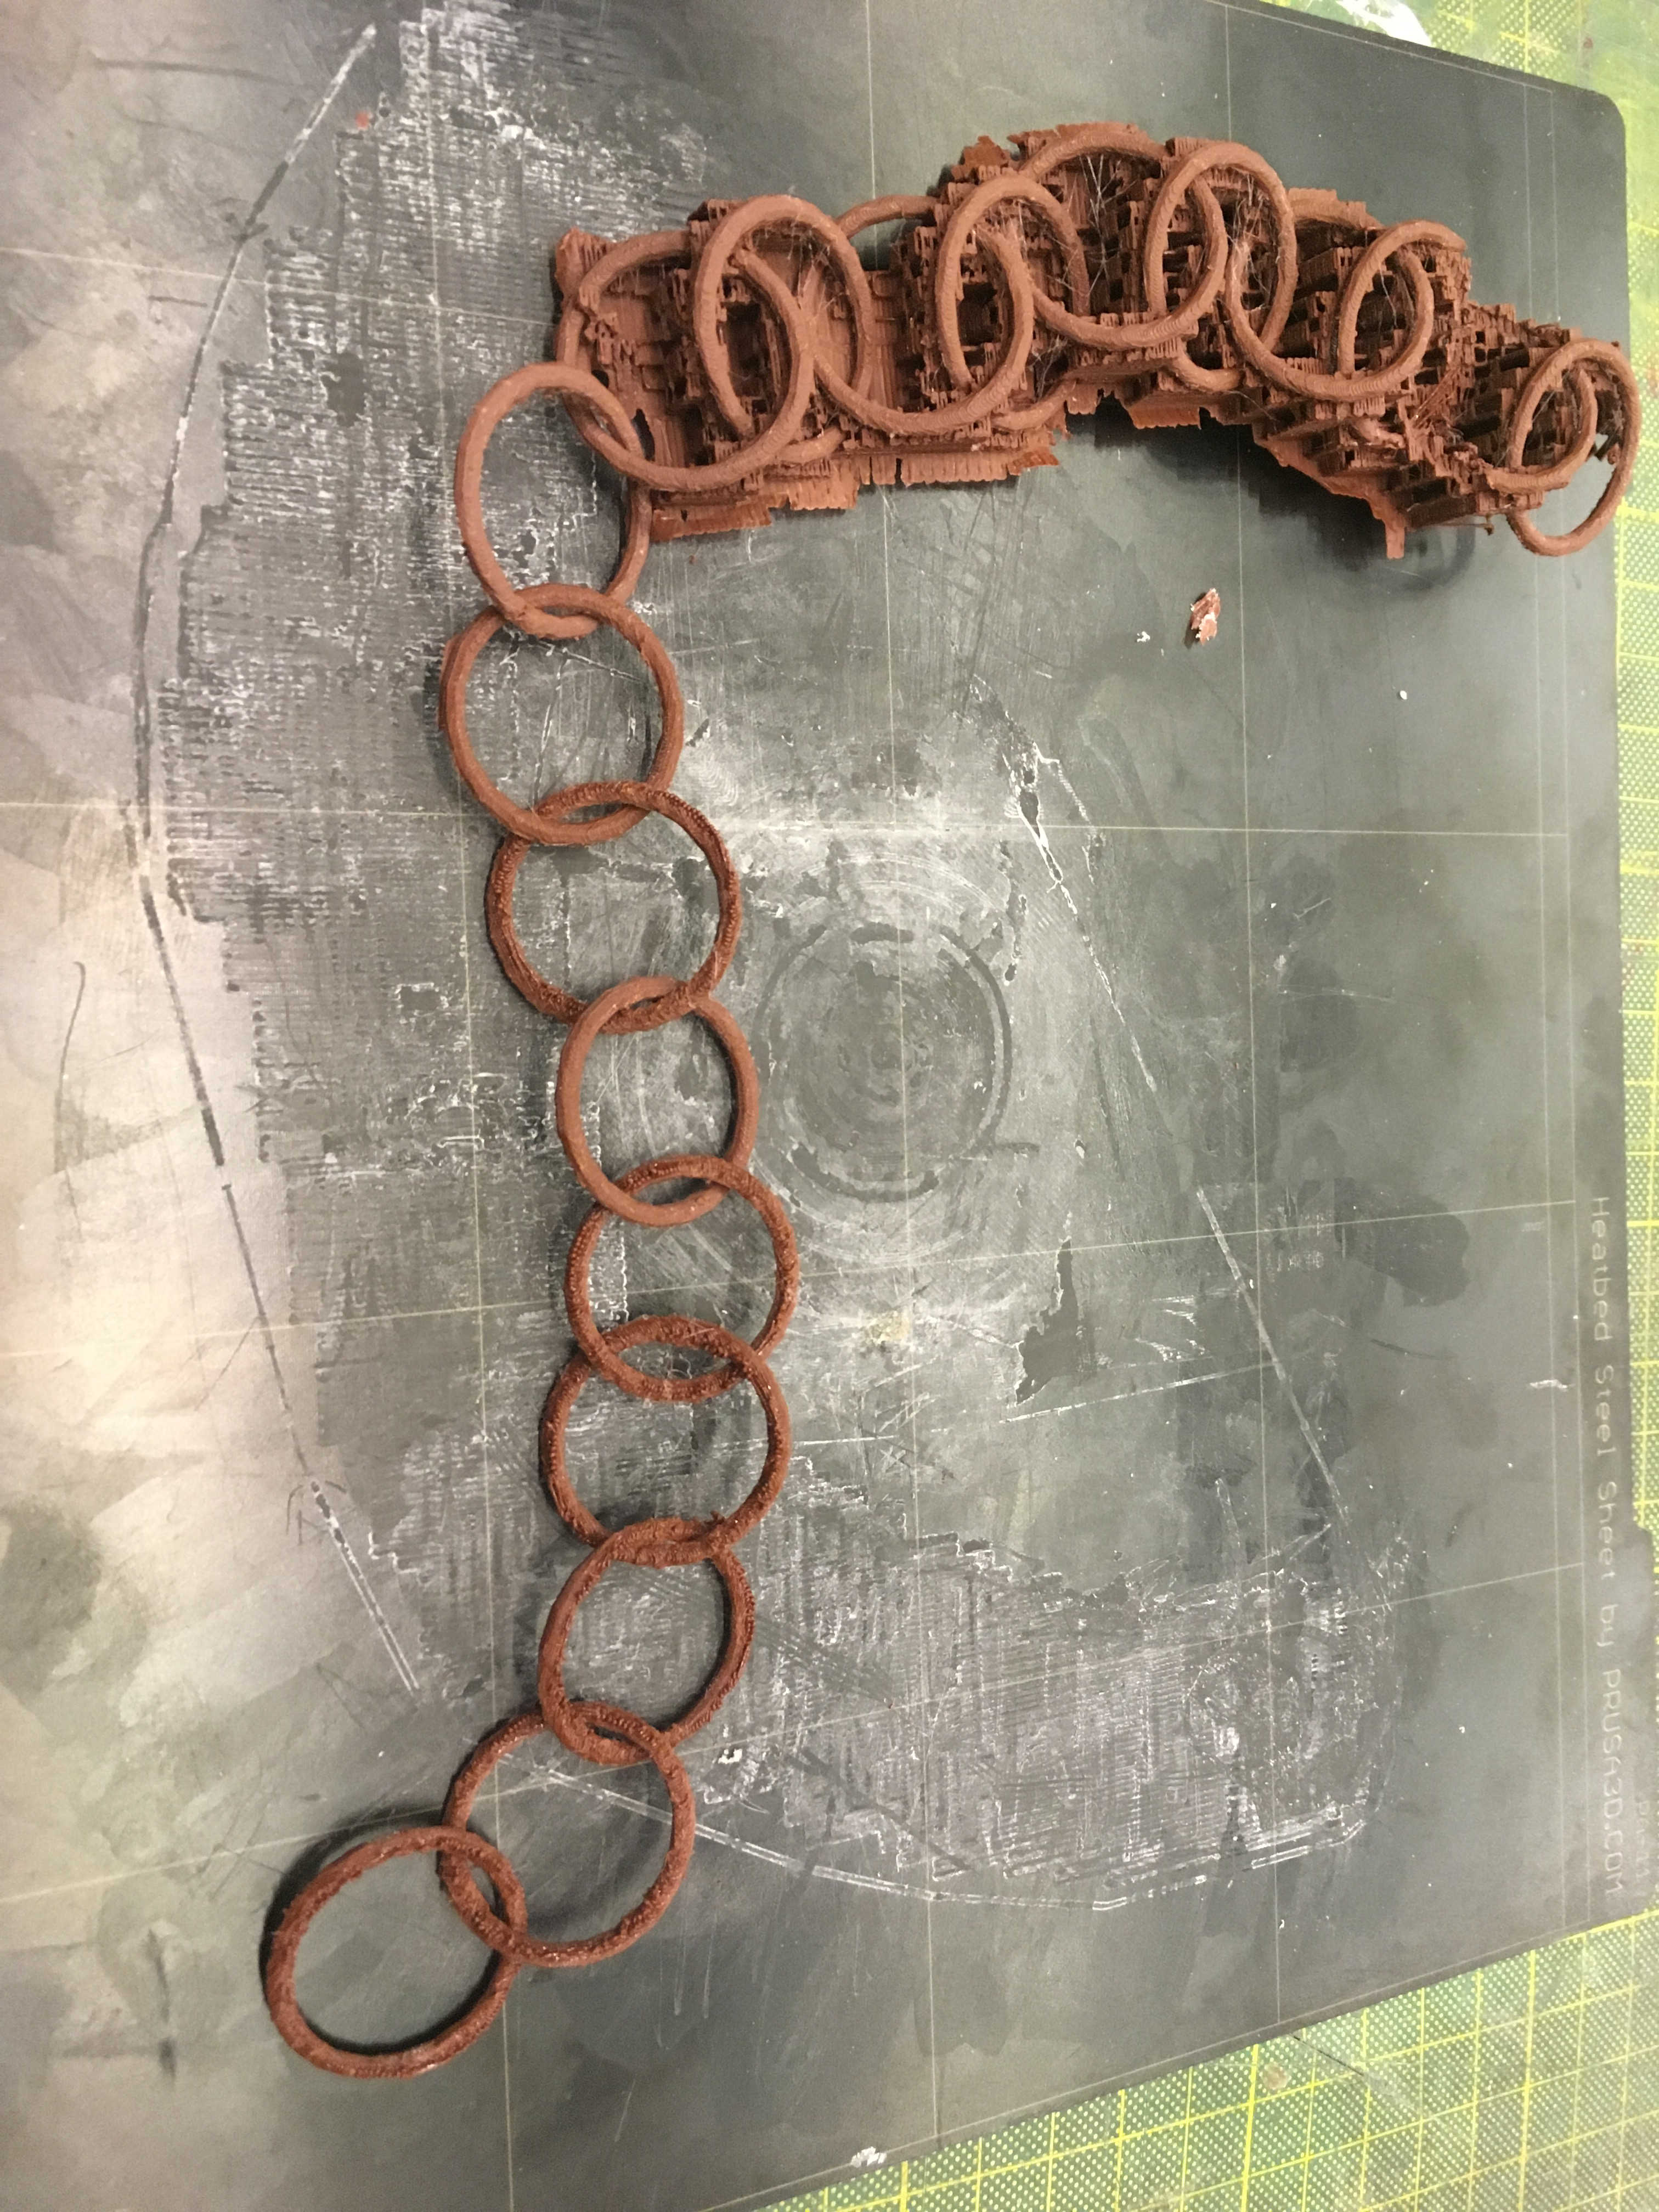
Then, after making and printing this bust, I wanted to make something which definitely had to be make additively, rather than subtractively. Something interlocking seemed like the obvious ideal example of that, so I printed a chain.