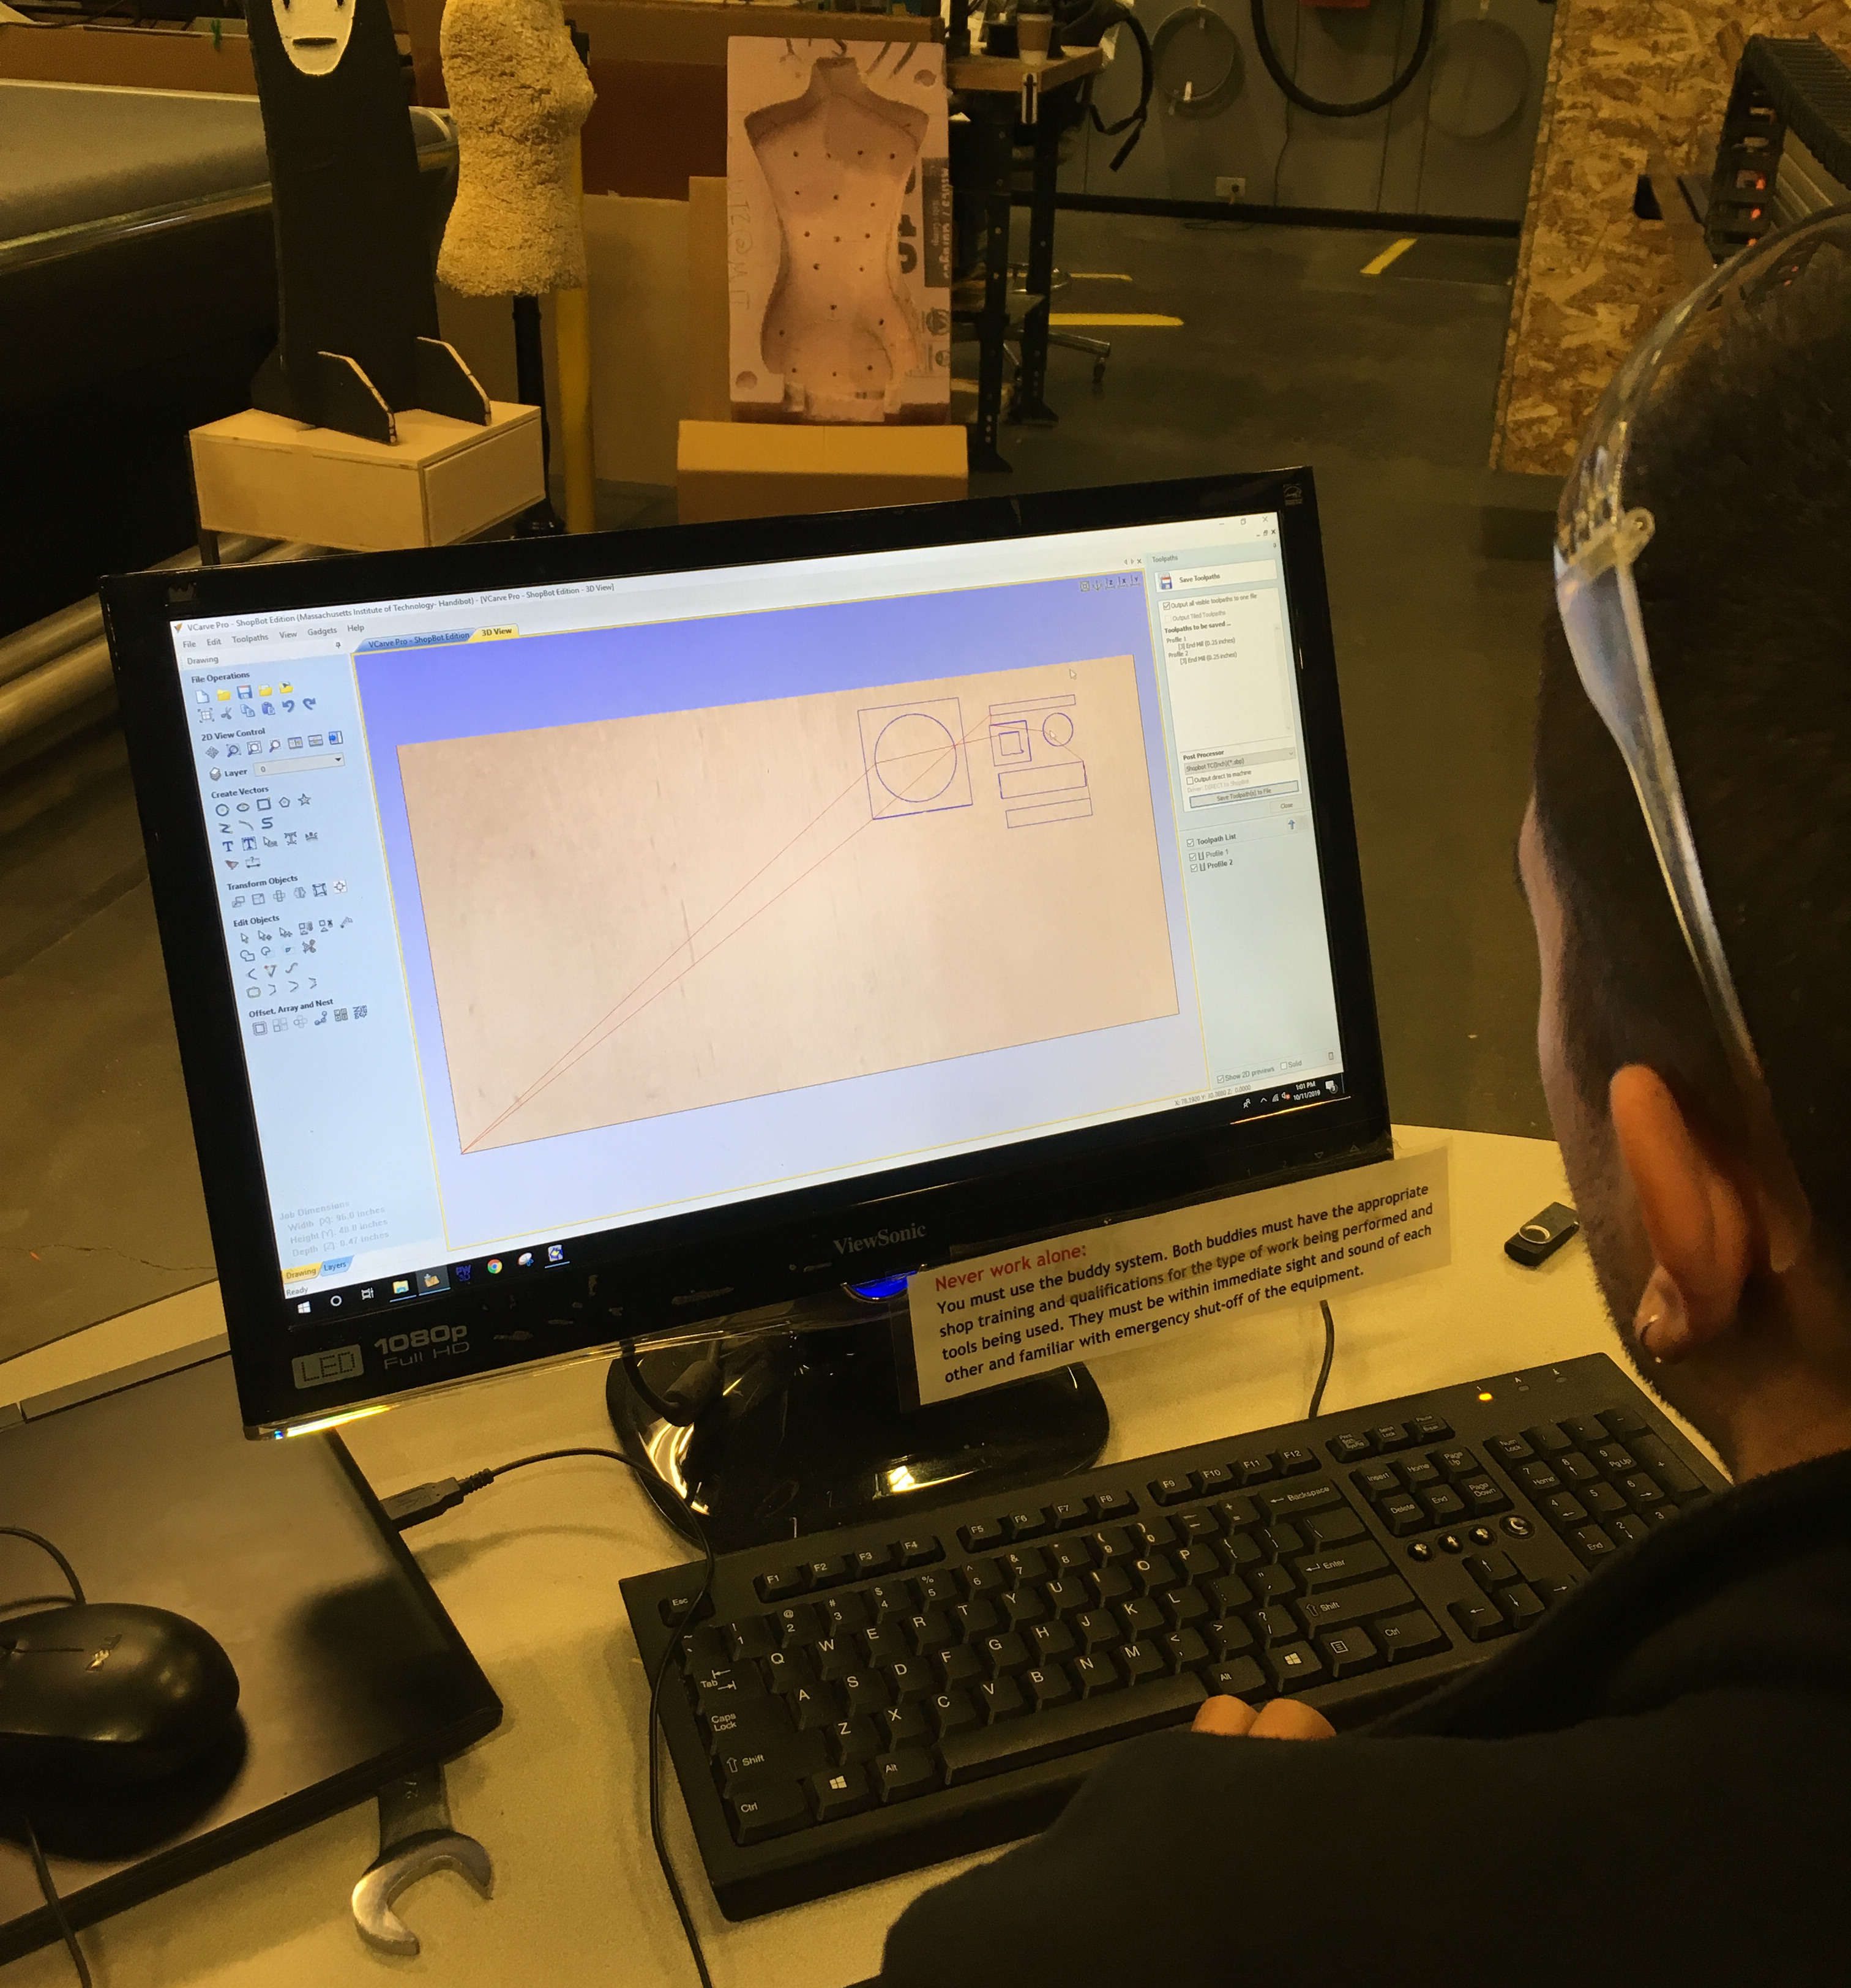
This week, most of the cba section got together to characterize the ShopBot. We used VCarve to create a square inscribed with a circle, to measure how much their actual diameters differed from our plans. We also tested Tom's advice to not cut long, skinny pieces of OSB on a ShopBot, because it will absolutely shred the material, and leave you with nothing useful, by machining pieces which were 3", 2" and 1" across.
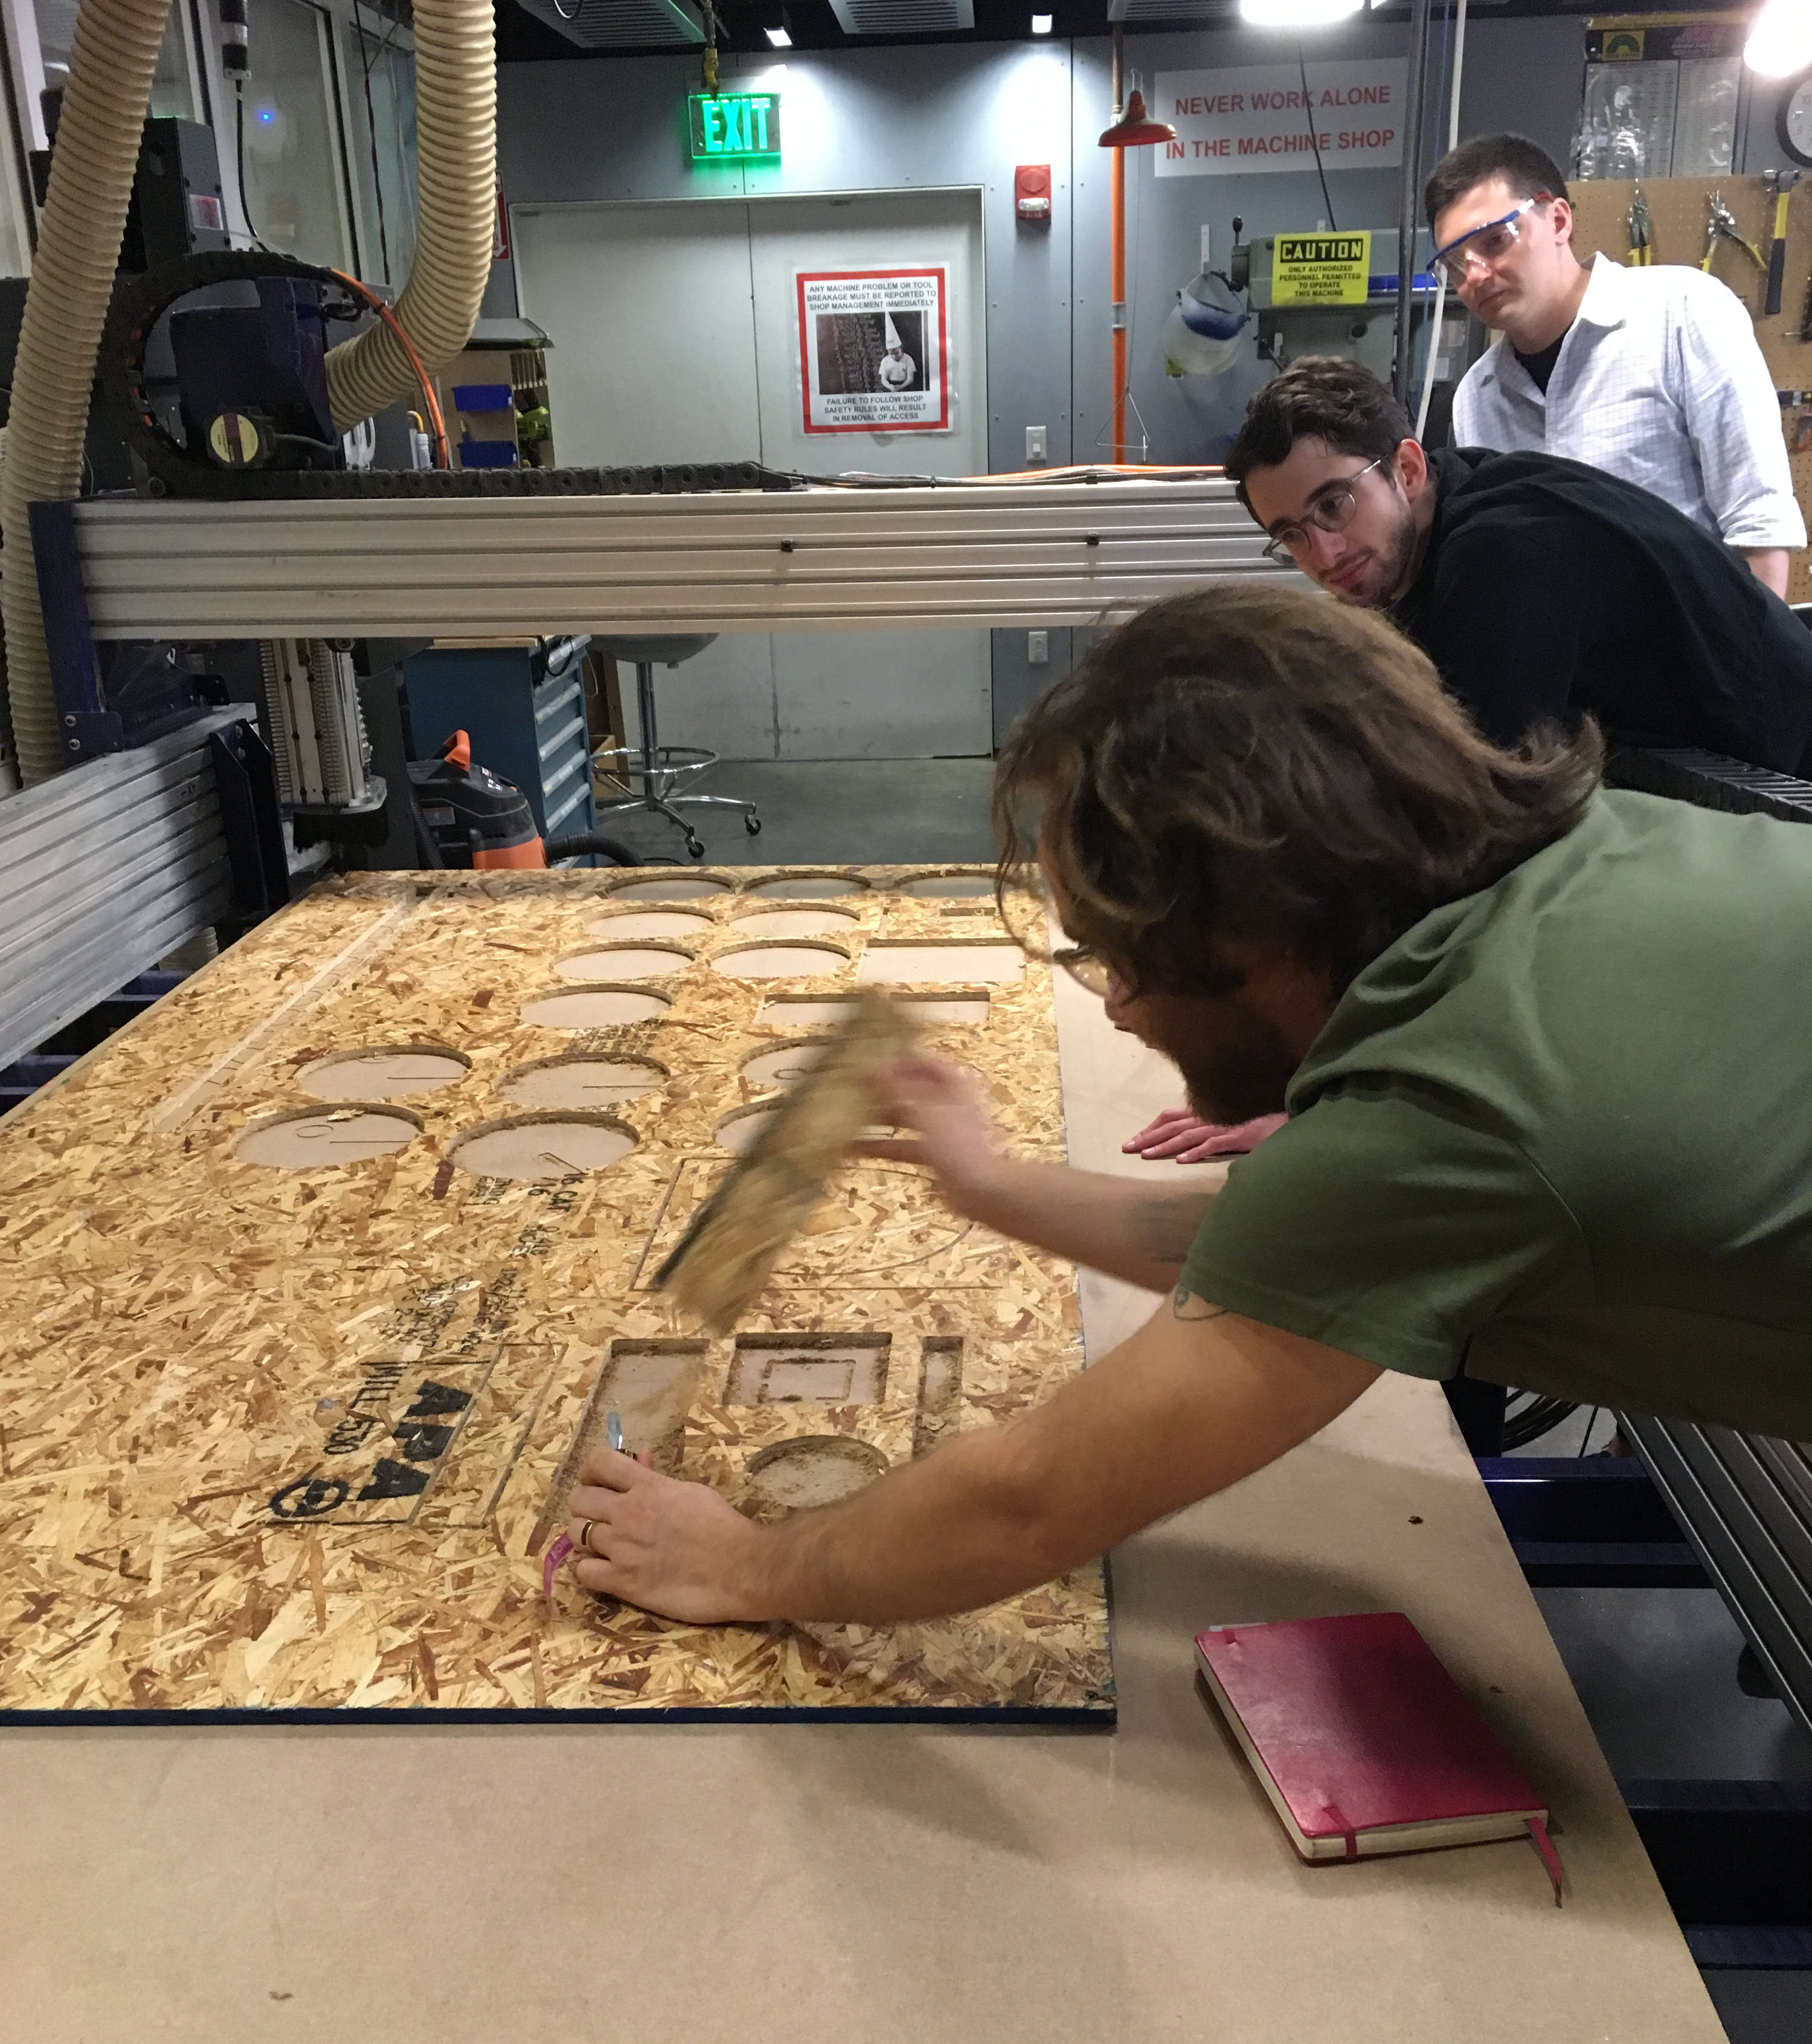
releasing newly machined pieces by prying them up with a screwdriver
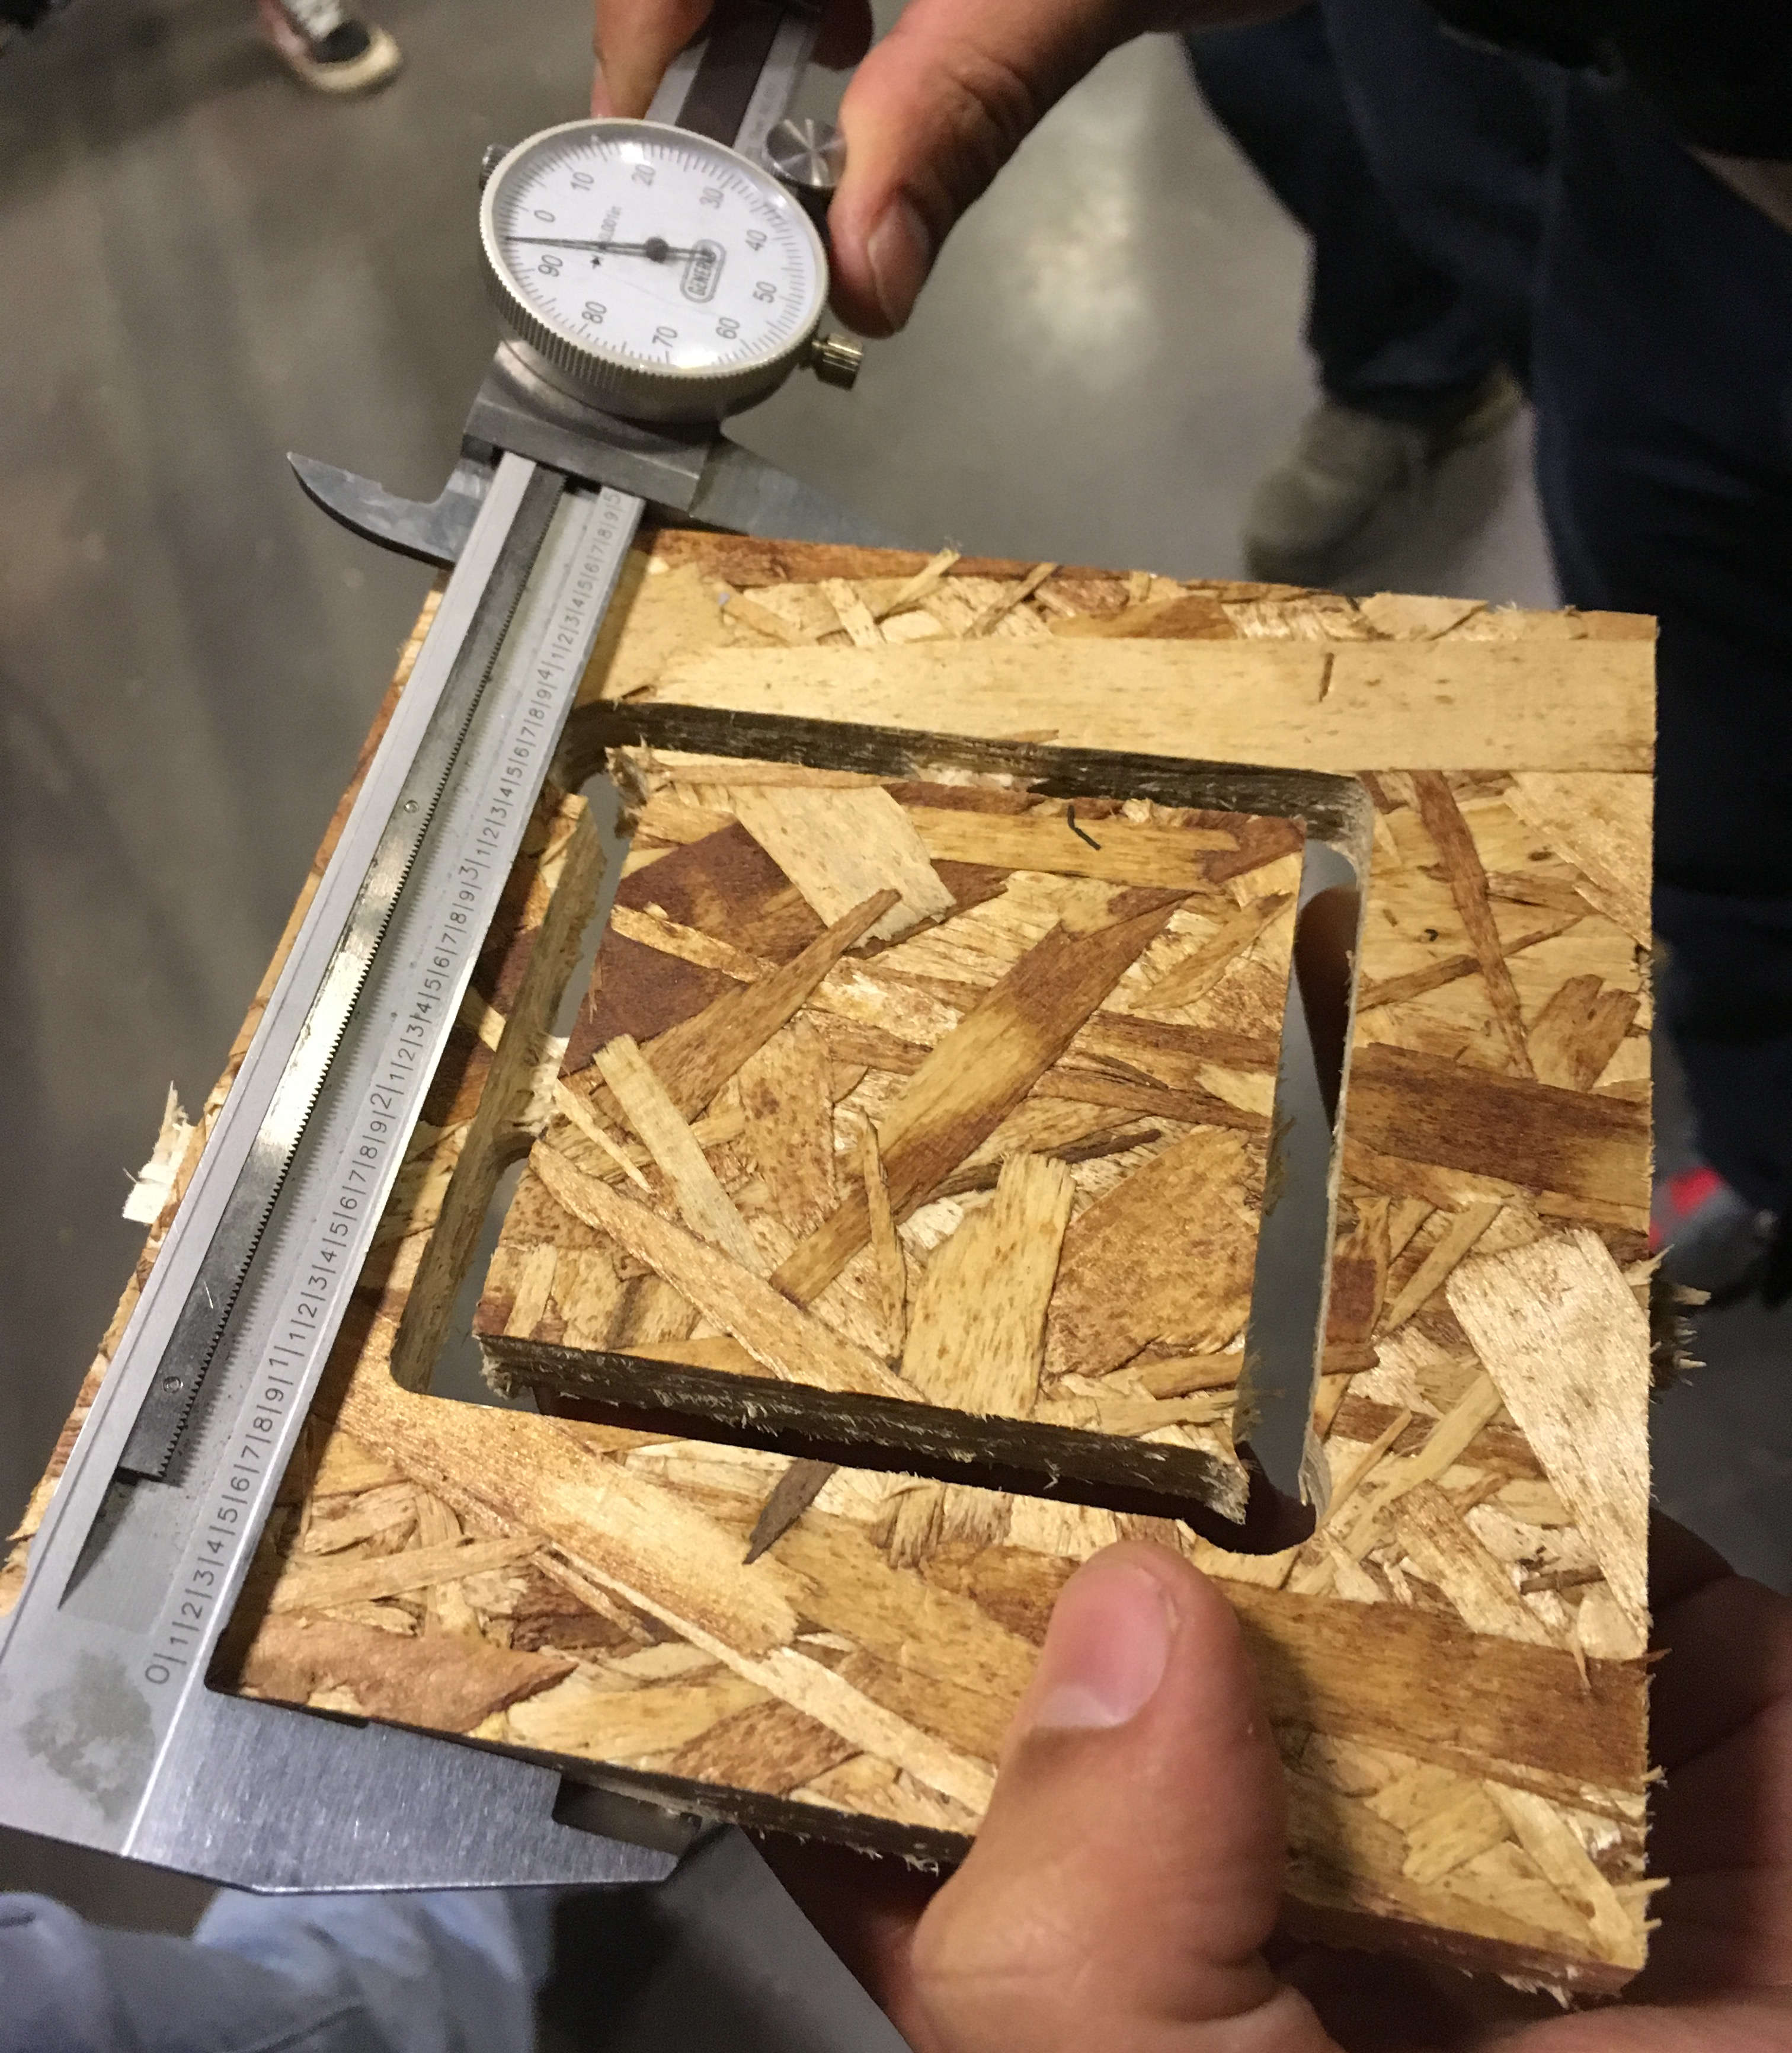
measuring with callipers
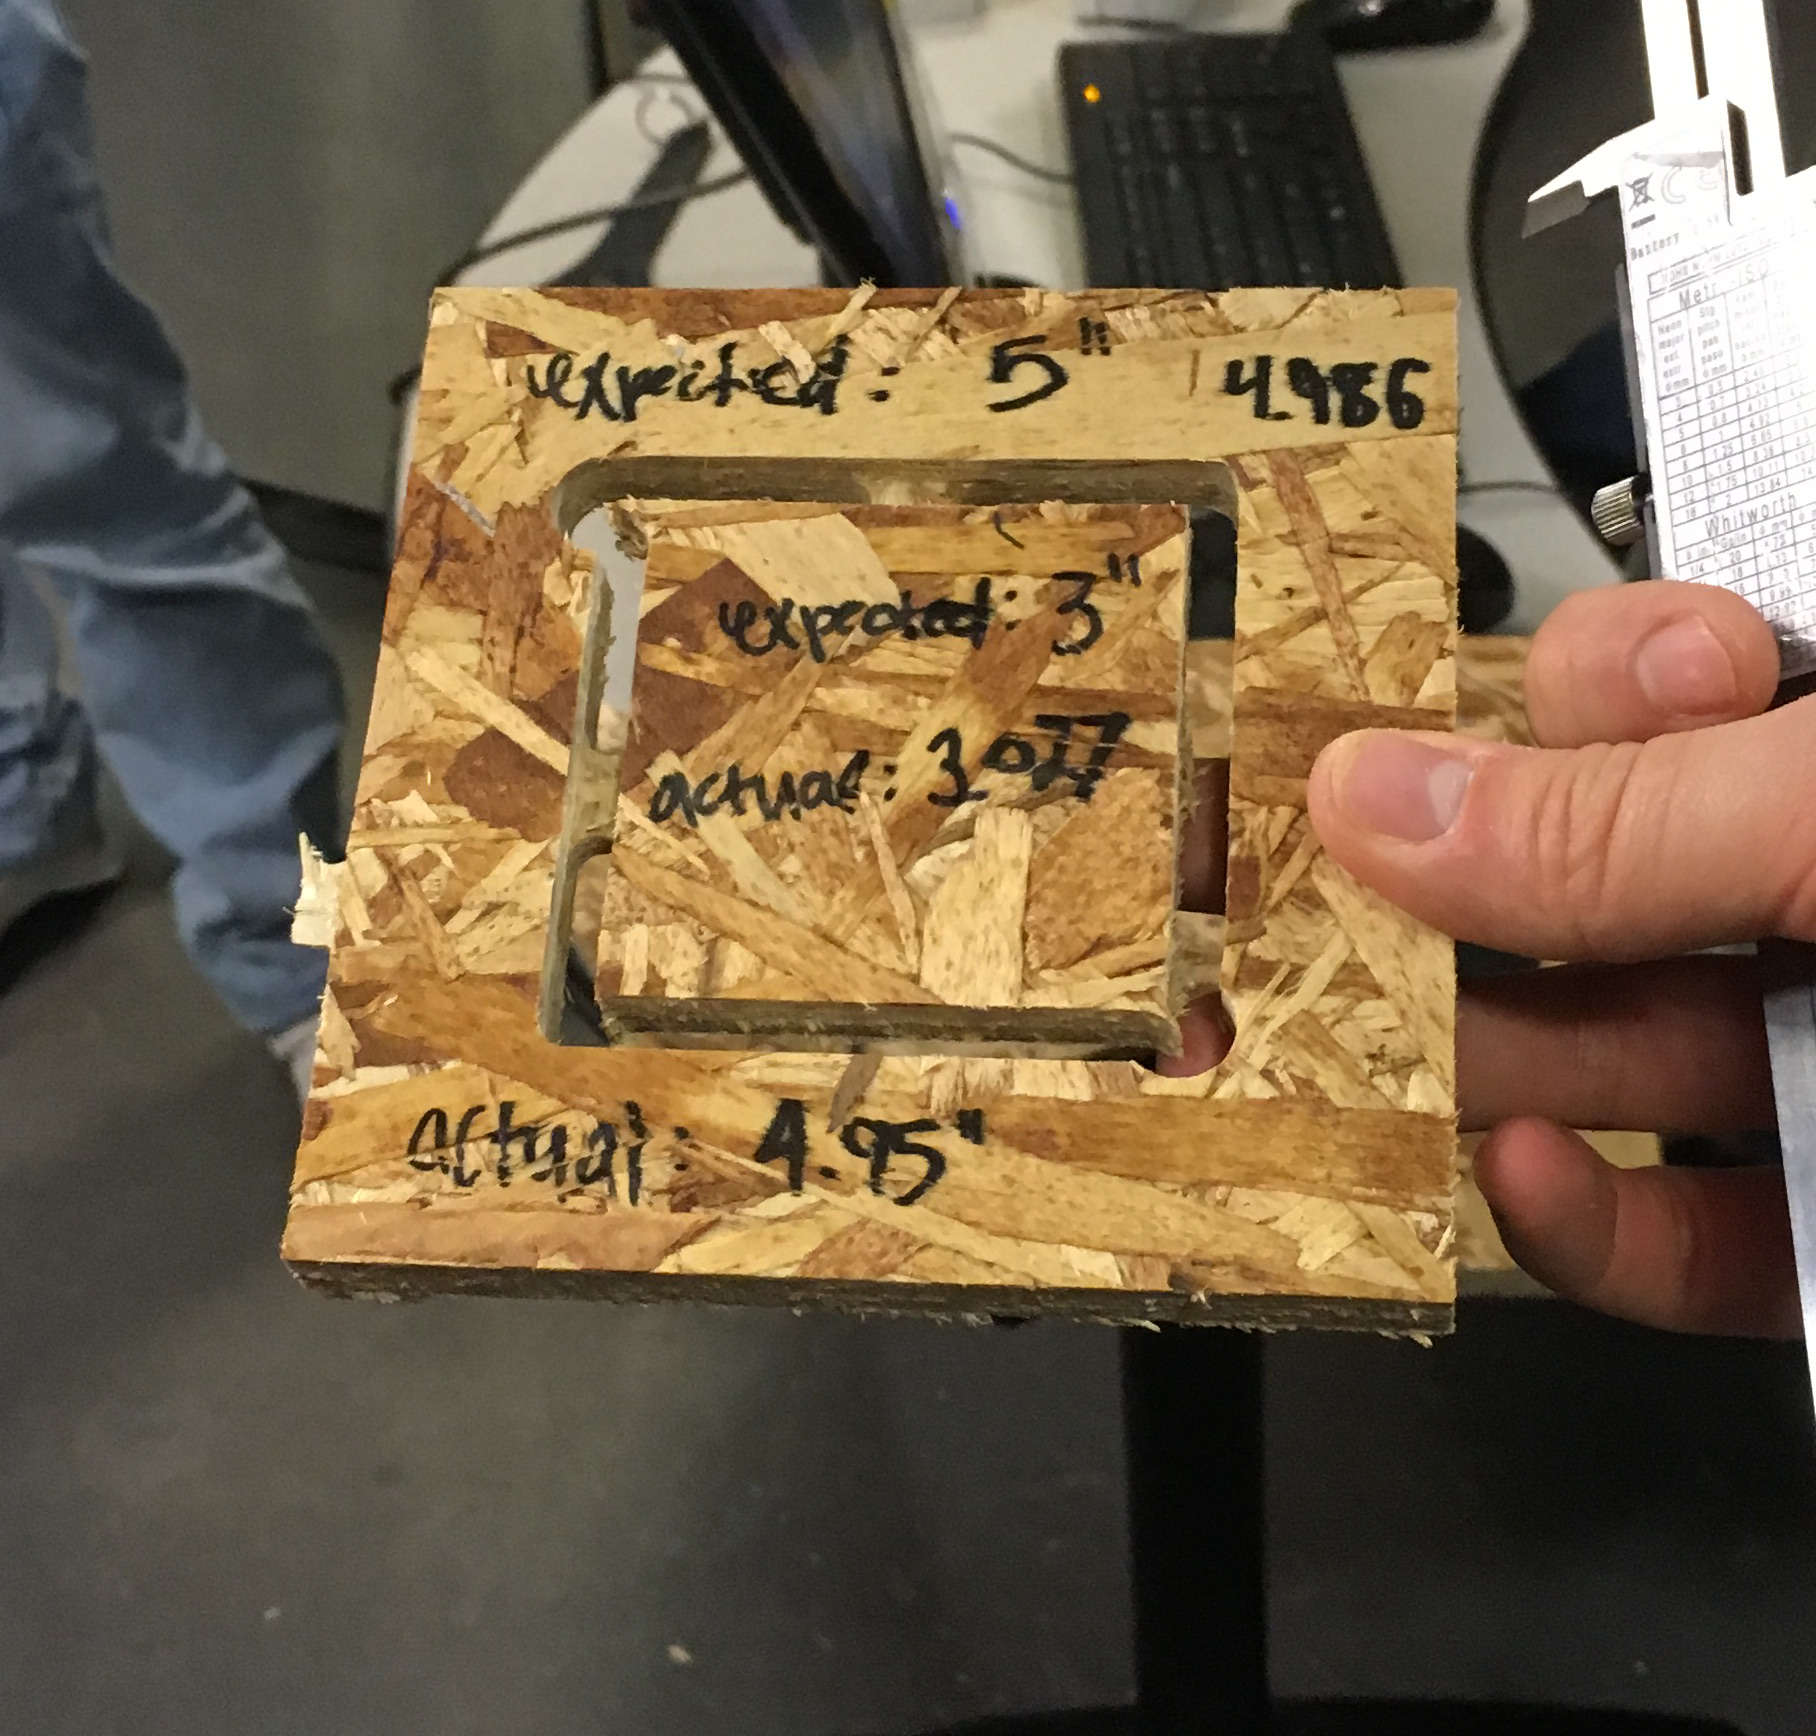
Our outer square should have been 5" across, and was actually about 4.95". Our inner square should have been about 3" across, and came out to about 3.027".
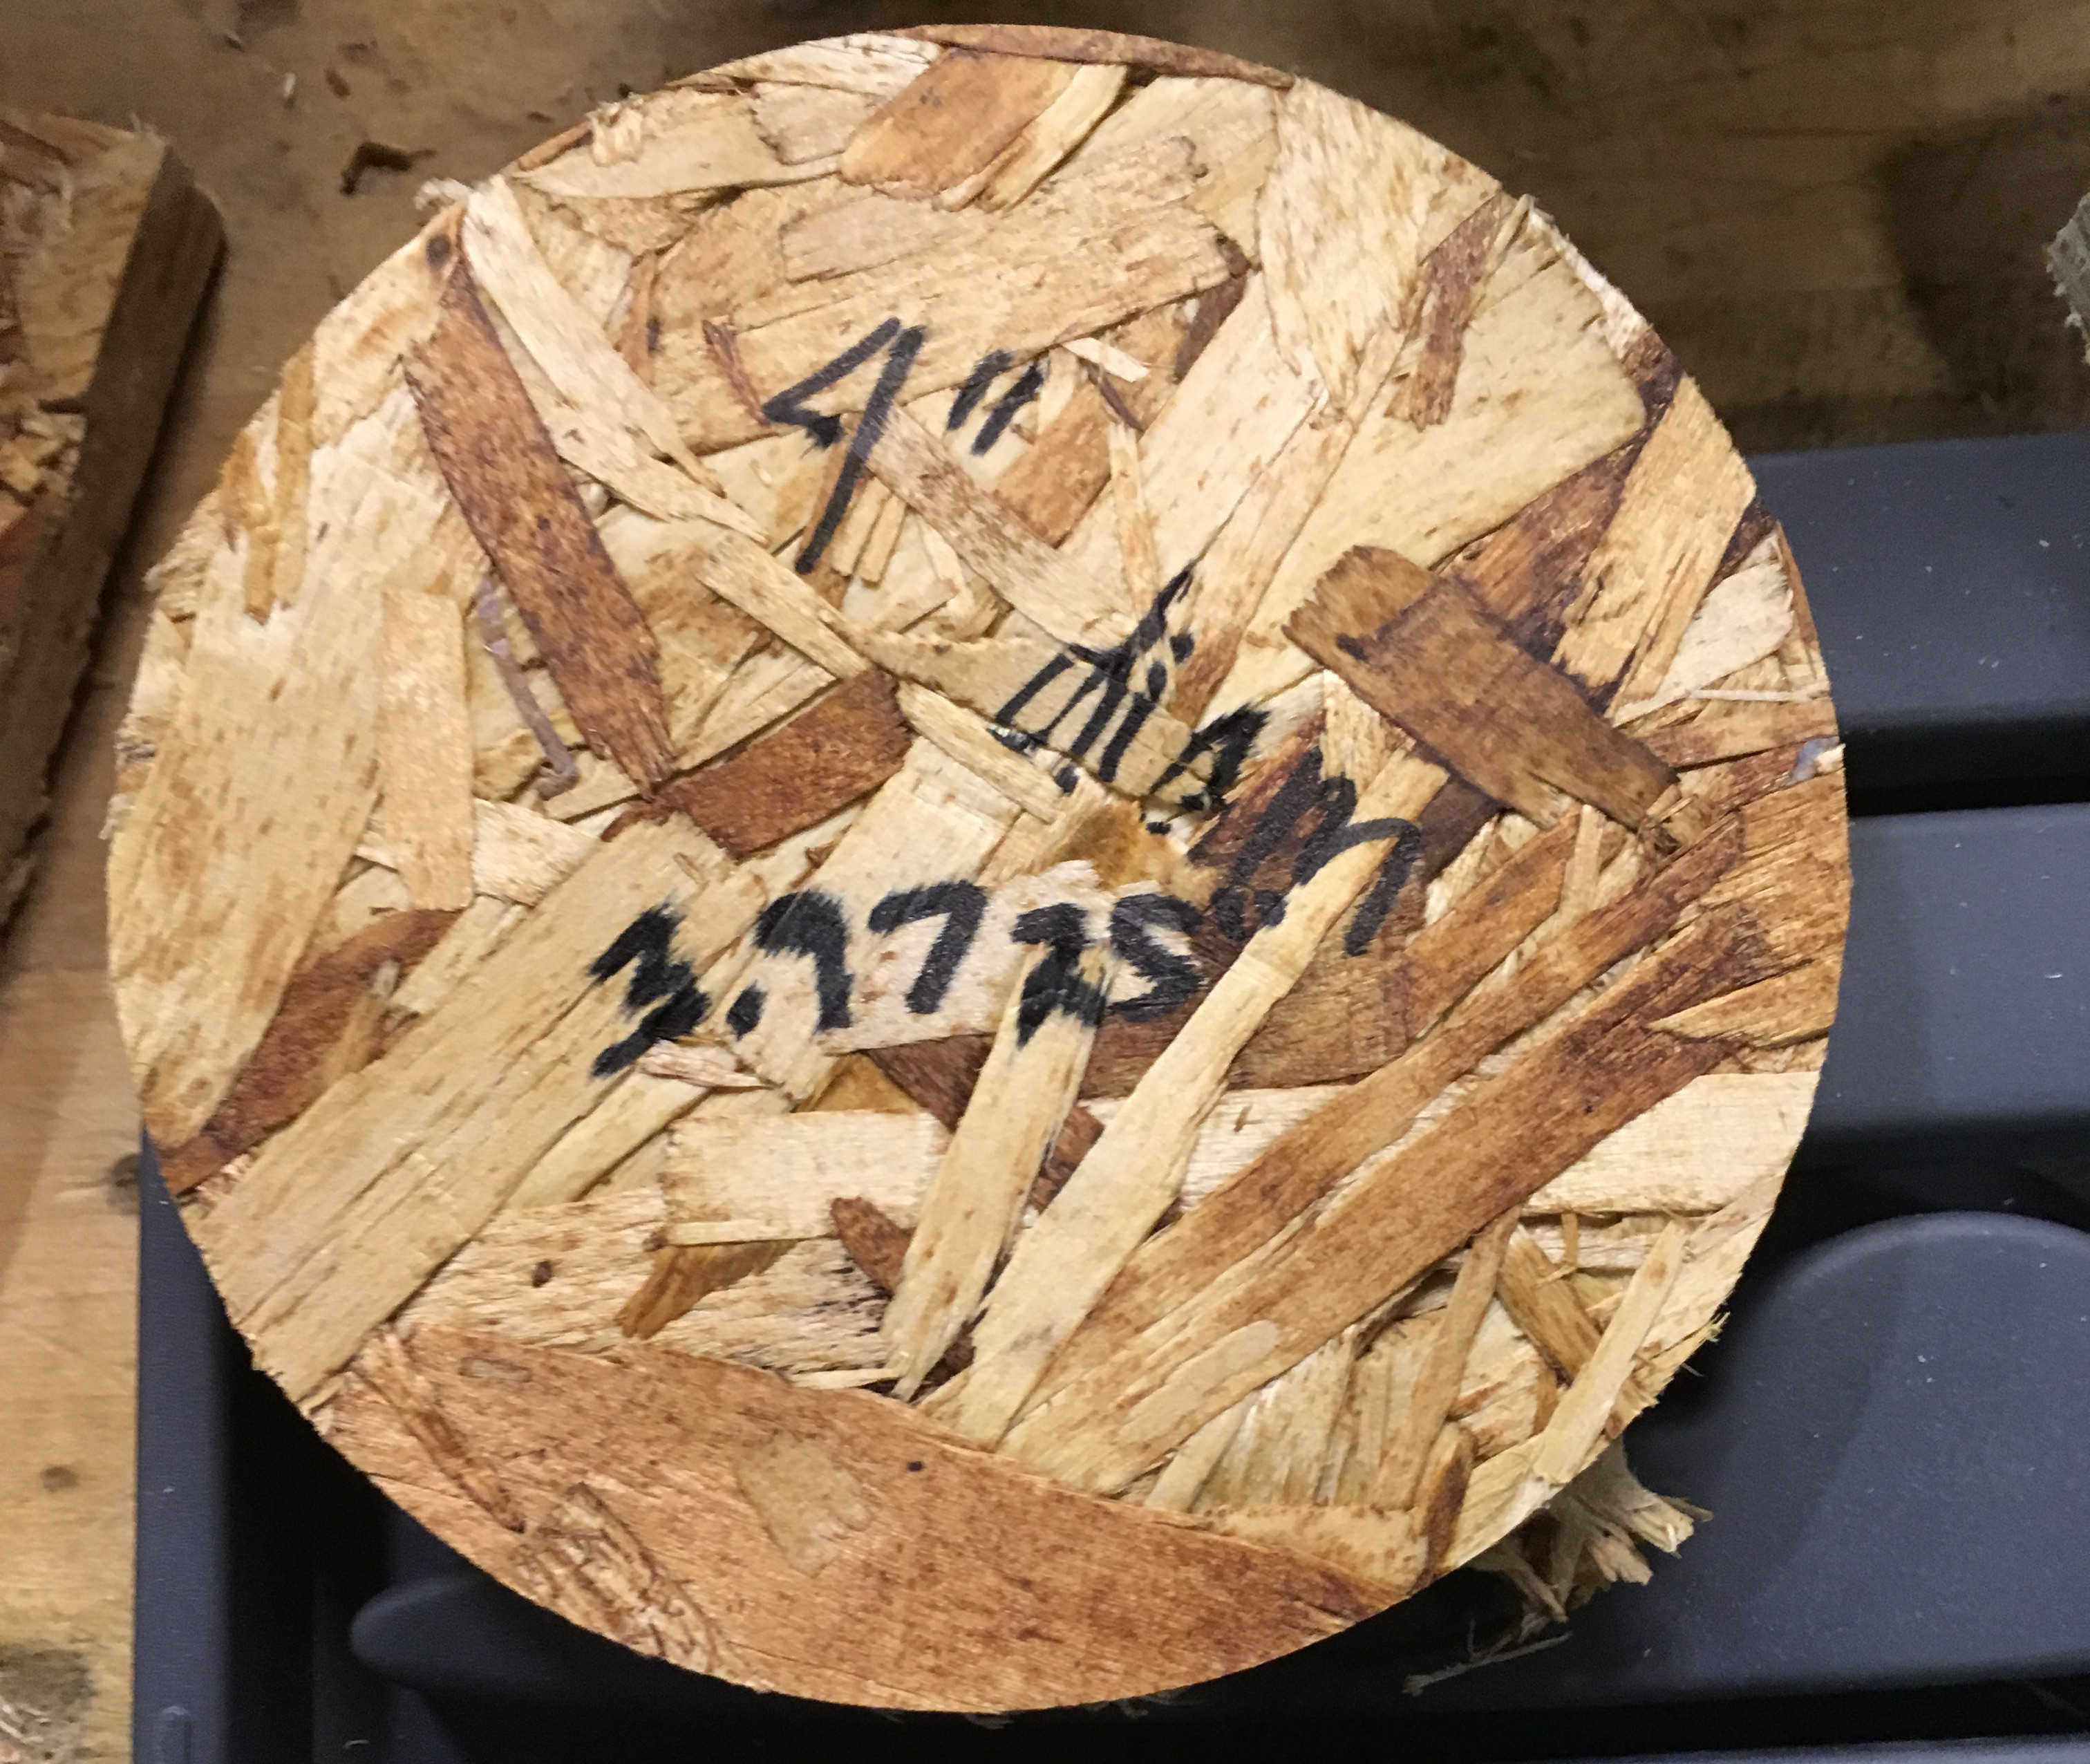
We expected the diameter of this circle to be 4". It came out to be about 3.97".
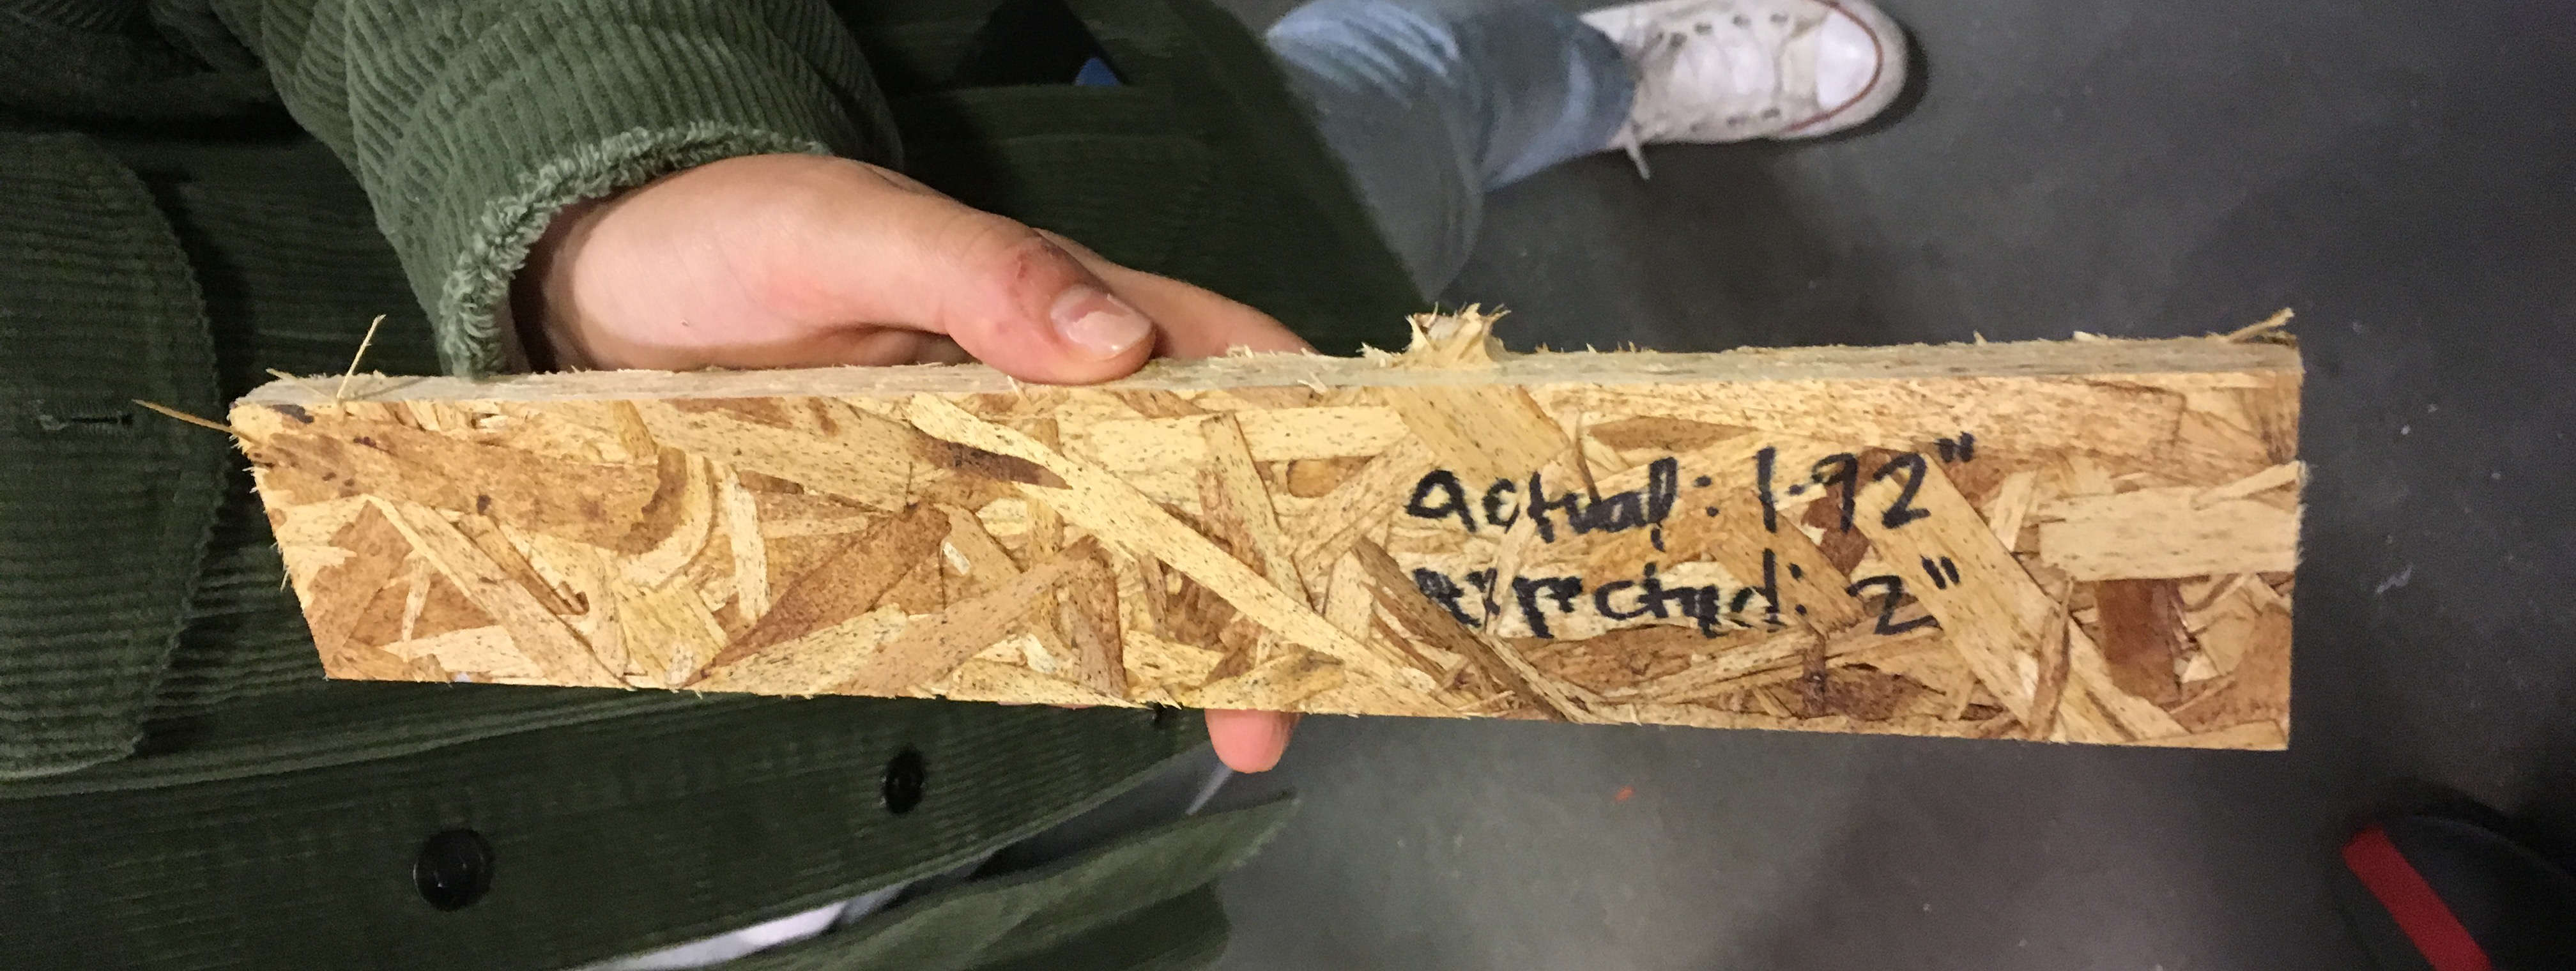
We expected this pieces to be 2" across. It came out to 1.92".
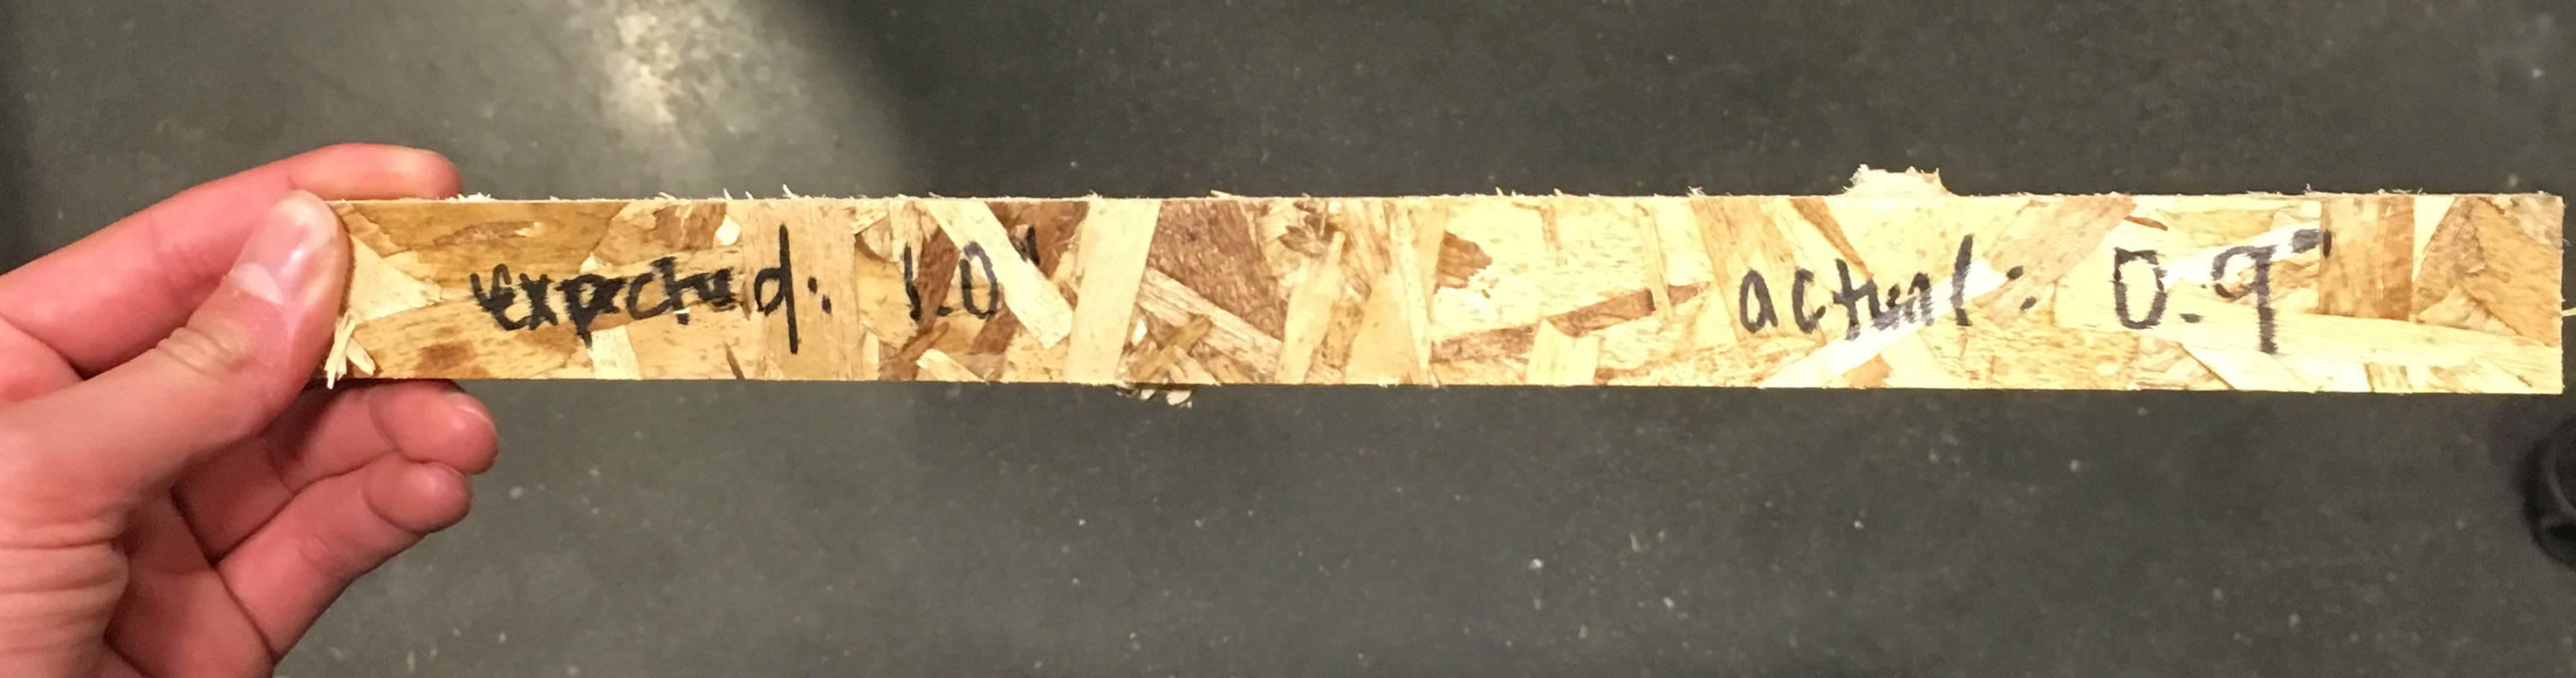
We expected this pieces to be 1" across. It came out to 0.9". We were suprised by how well it turned out.
From all of this characterization, we learned that the ShopBot reliably has a tolerance of less than 0.1", and that it can manager parts down to 1" across reasonably well.