The project for this week was to make something big, using the ShopBot, out of an 8'X4' pieces OSB. I'll be making the large, main pedestal for my final project.
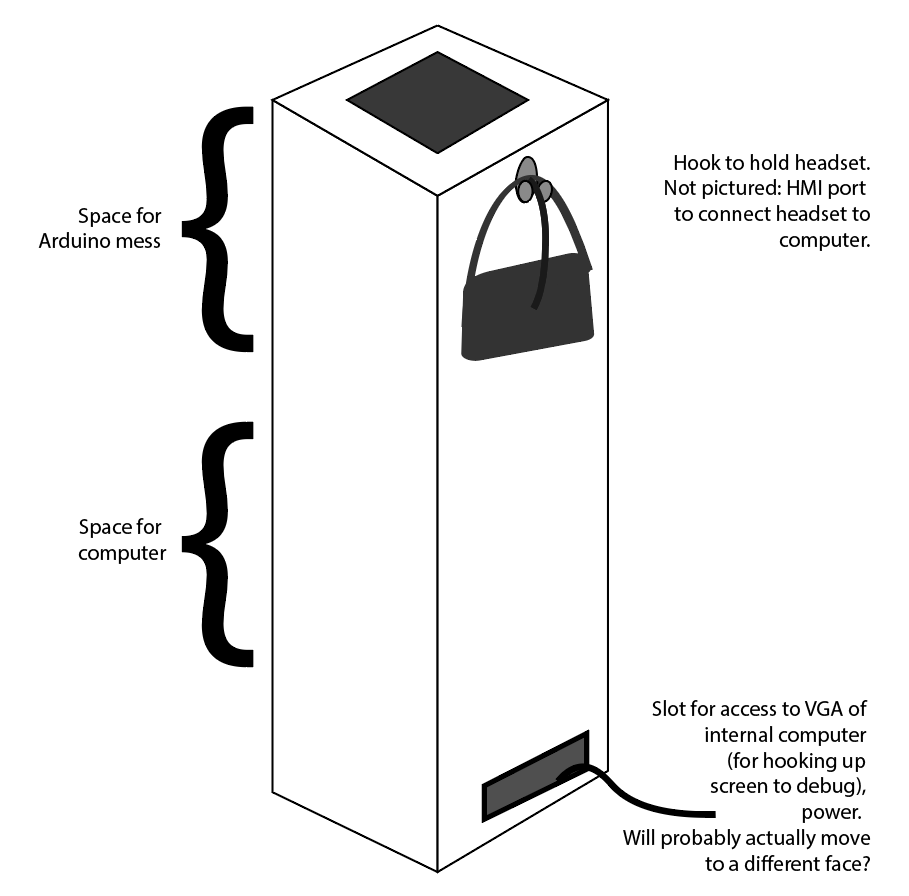
The pedestal I designed in week 1. It should house a hefty VR computer, with a hole at the top to interface with the cubes which will represent different explorable locations.
I'm still not particularly comfortable with FreeCAD, so I started out by moding the entire thing in Maya, just to get a sense of what shapes I needed.
Add timelapse, Maya file
I then copied those shapes as closely as I could in FreeCAD.
Add FreeCAD files
I had a lot of trouble actually machining the OSB. First, I managed to break the endmill by running it into a screw. Advice for future students of this class: really, really think about where your screws are.
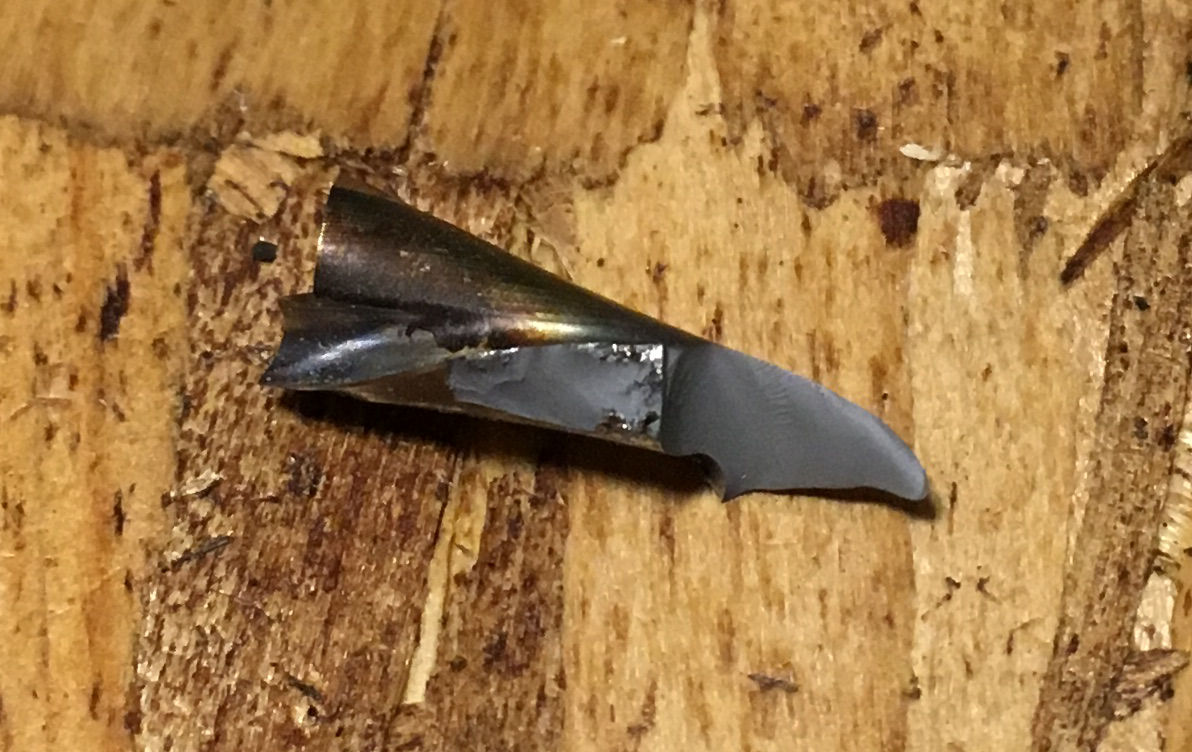
broken endmill
Then, my part cut most, but not all of the way through. I think this happened because OSB is an extremely uneven material. The part of the OSB that zeroed the Z on was not the thickest part. We make up for the uneveness of the material by telling the ShopBot to cut 0.55" into a 0.47" piece of OSB. Advice to future students of the class: be selfish. Ruin the sacrificial layer. That's what it's there for. Cut at a depth of 0.6", or maybe even 0.65"
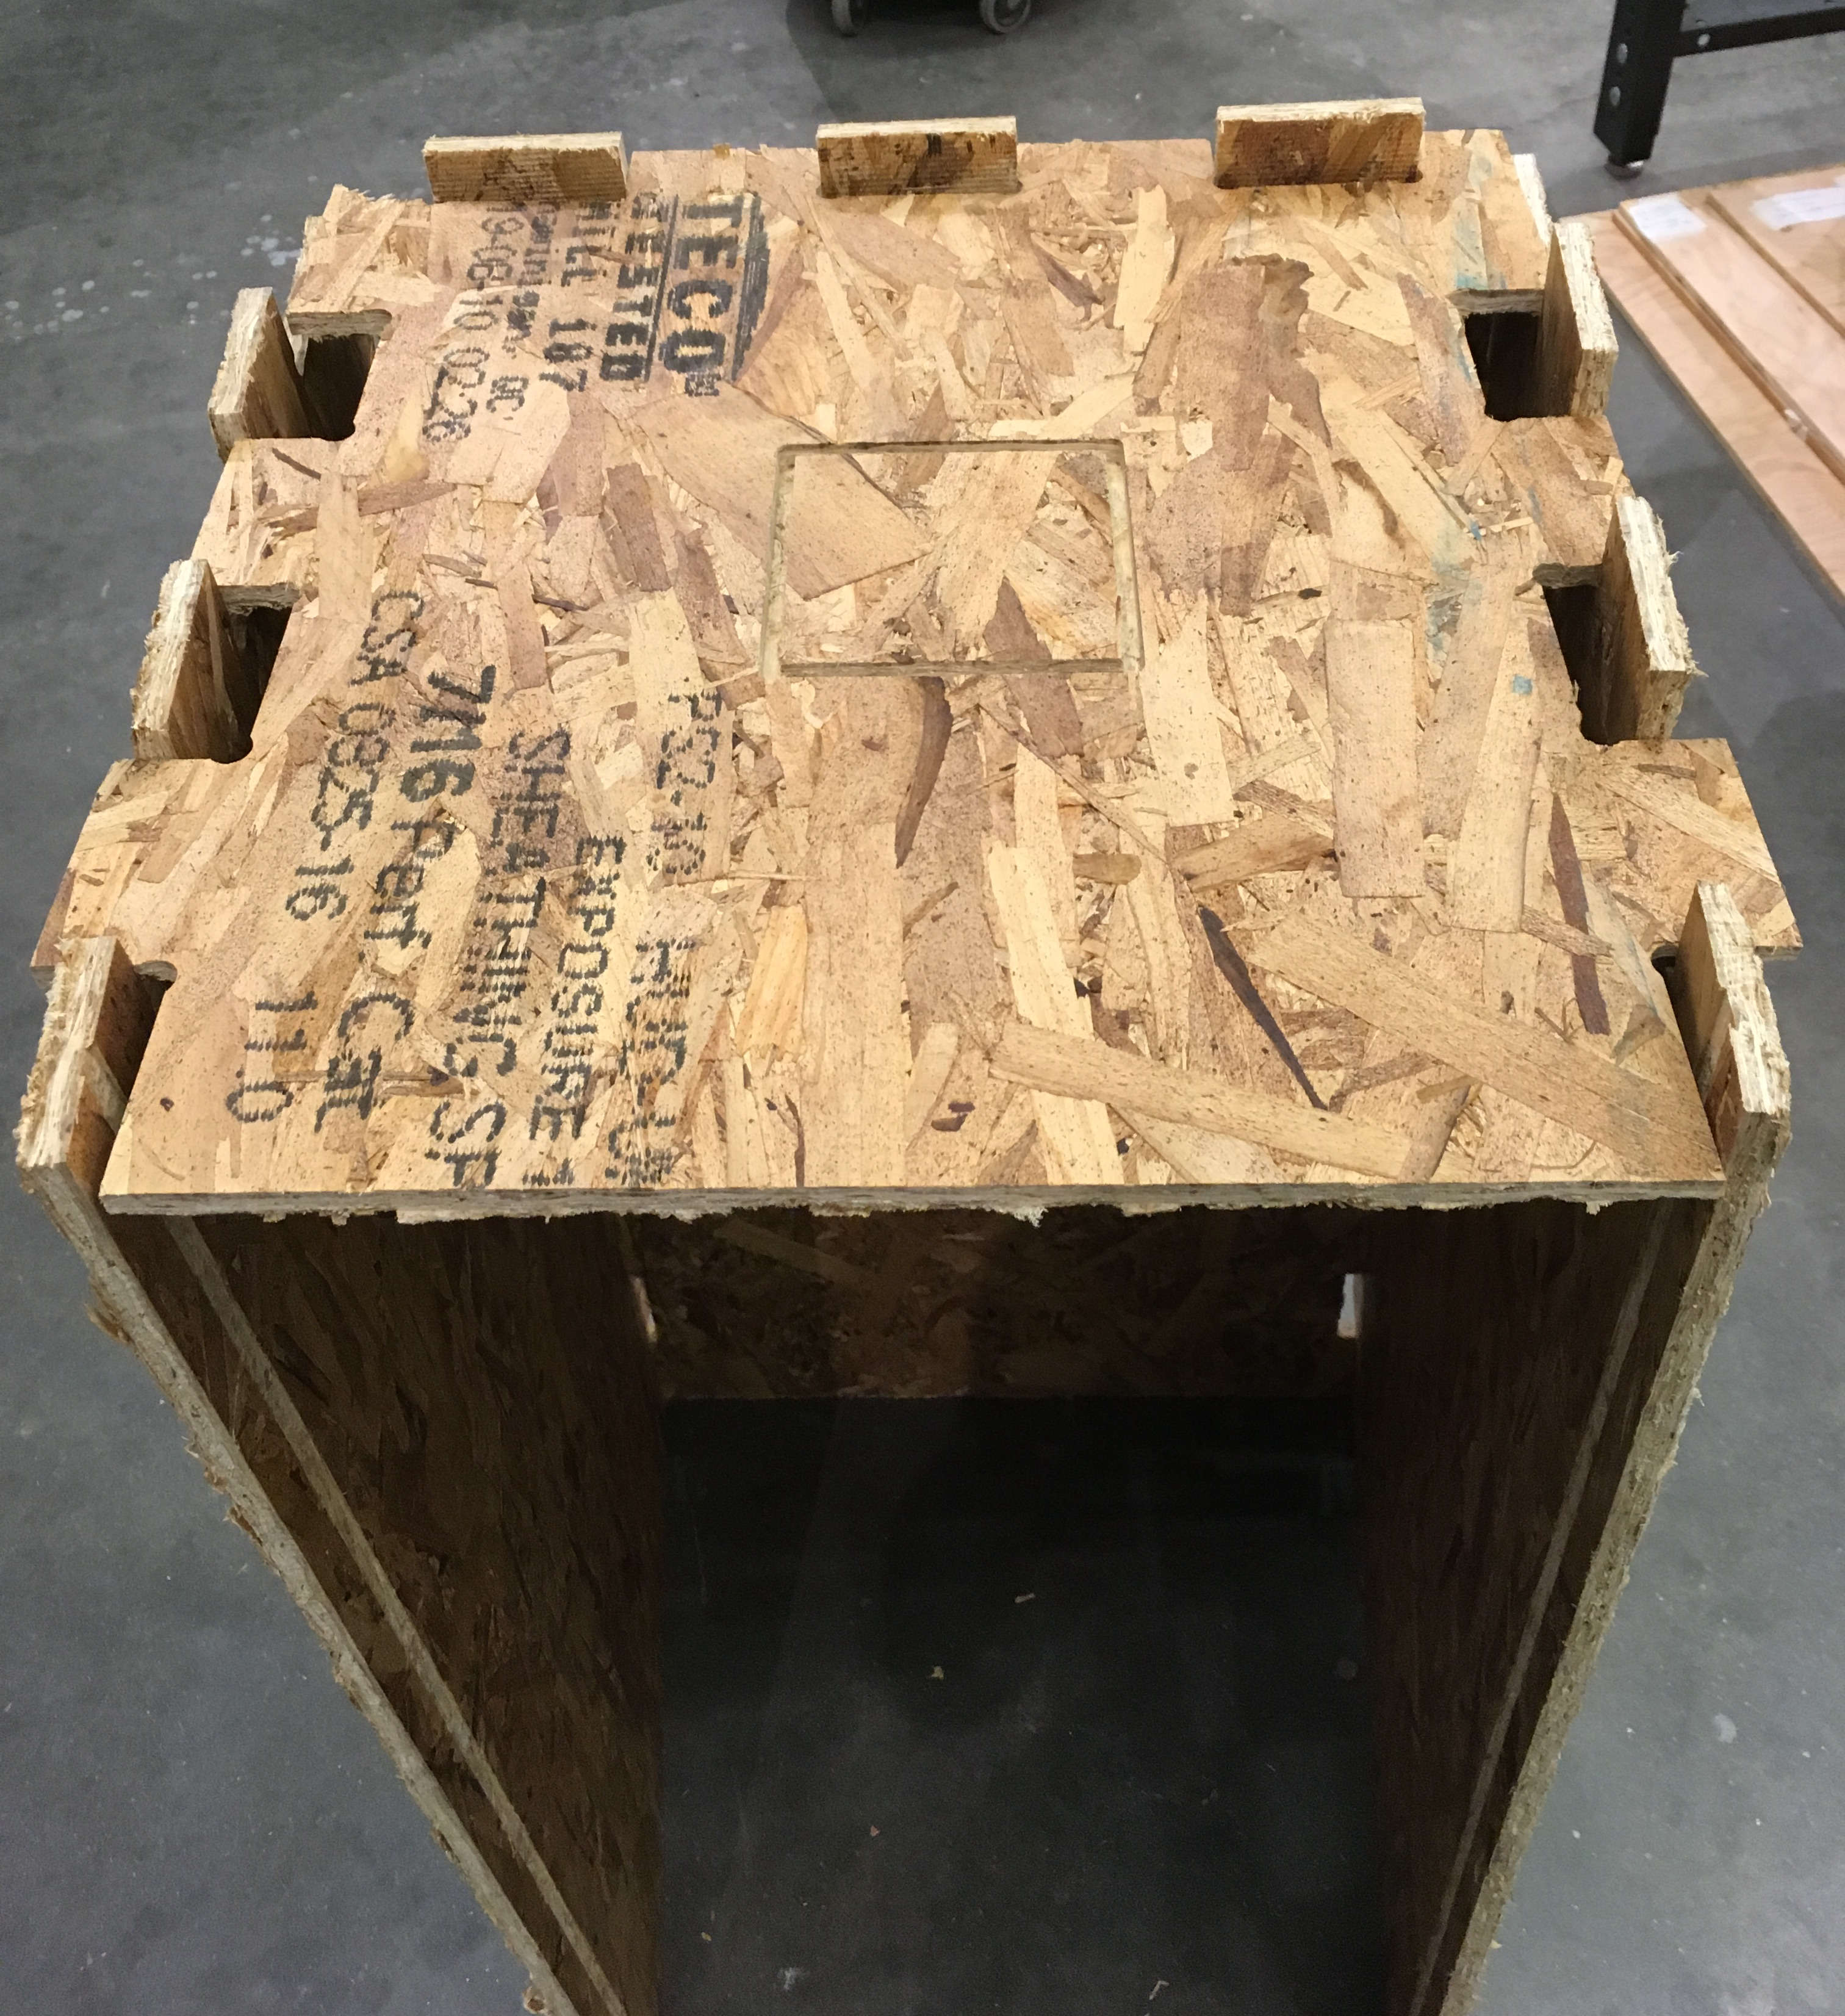
I now had a sheet of perforated, but not fully cut through OSB. Rather than cutting a new sheet, I went to work with a hacksaw and a rasp.
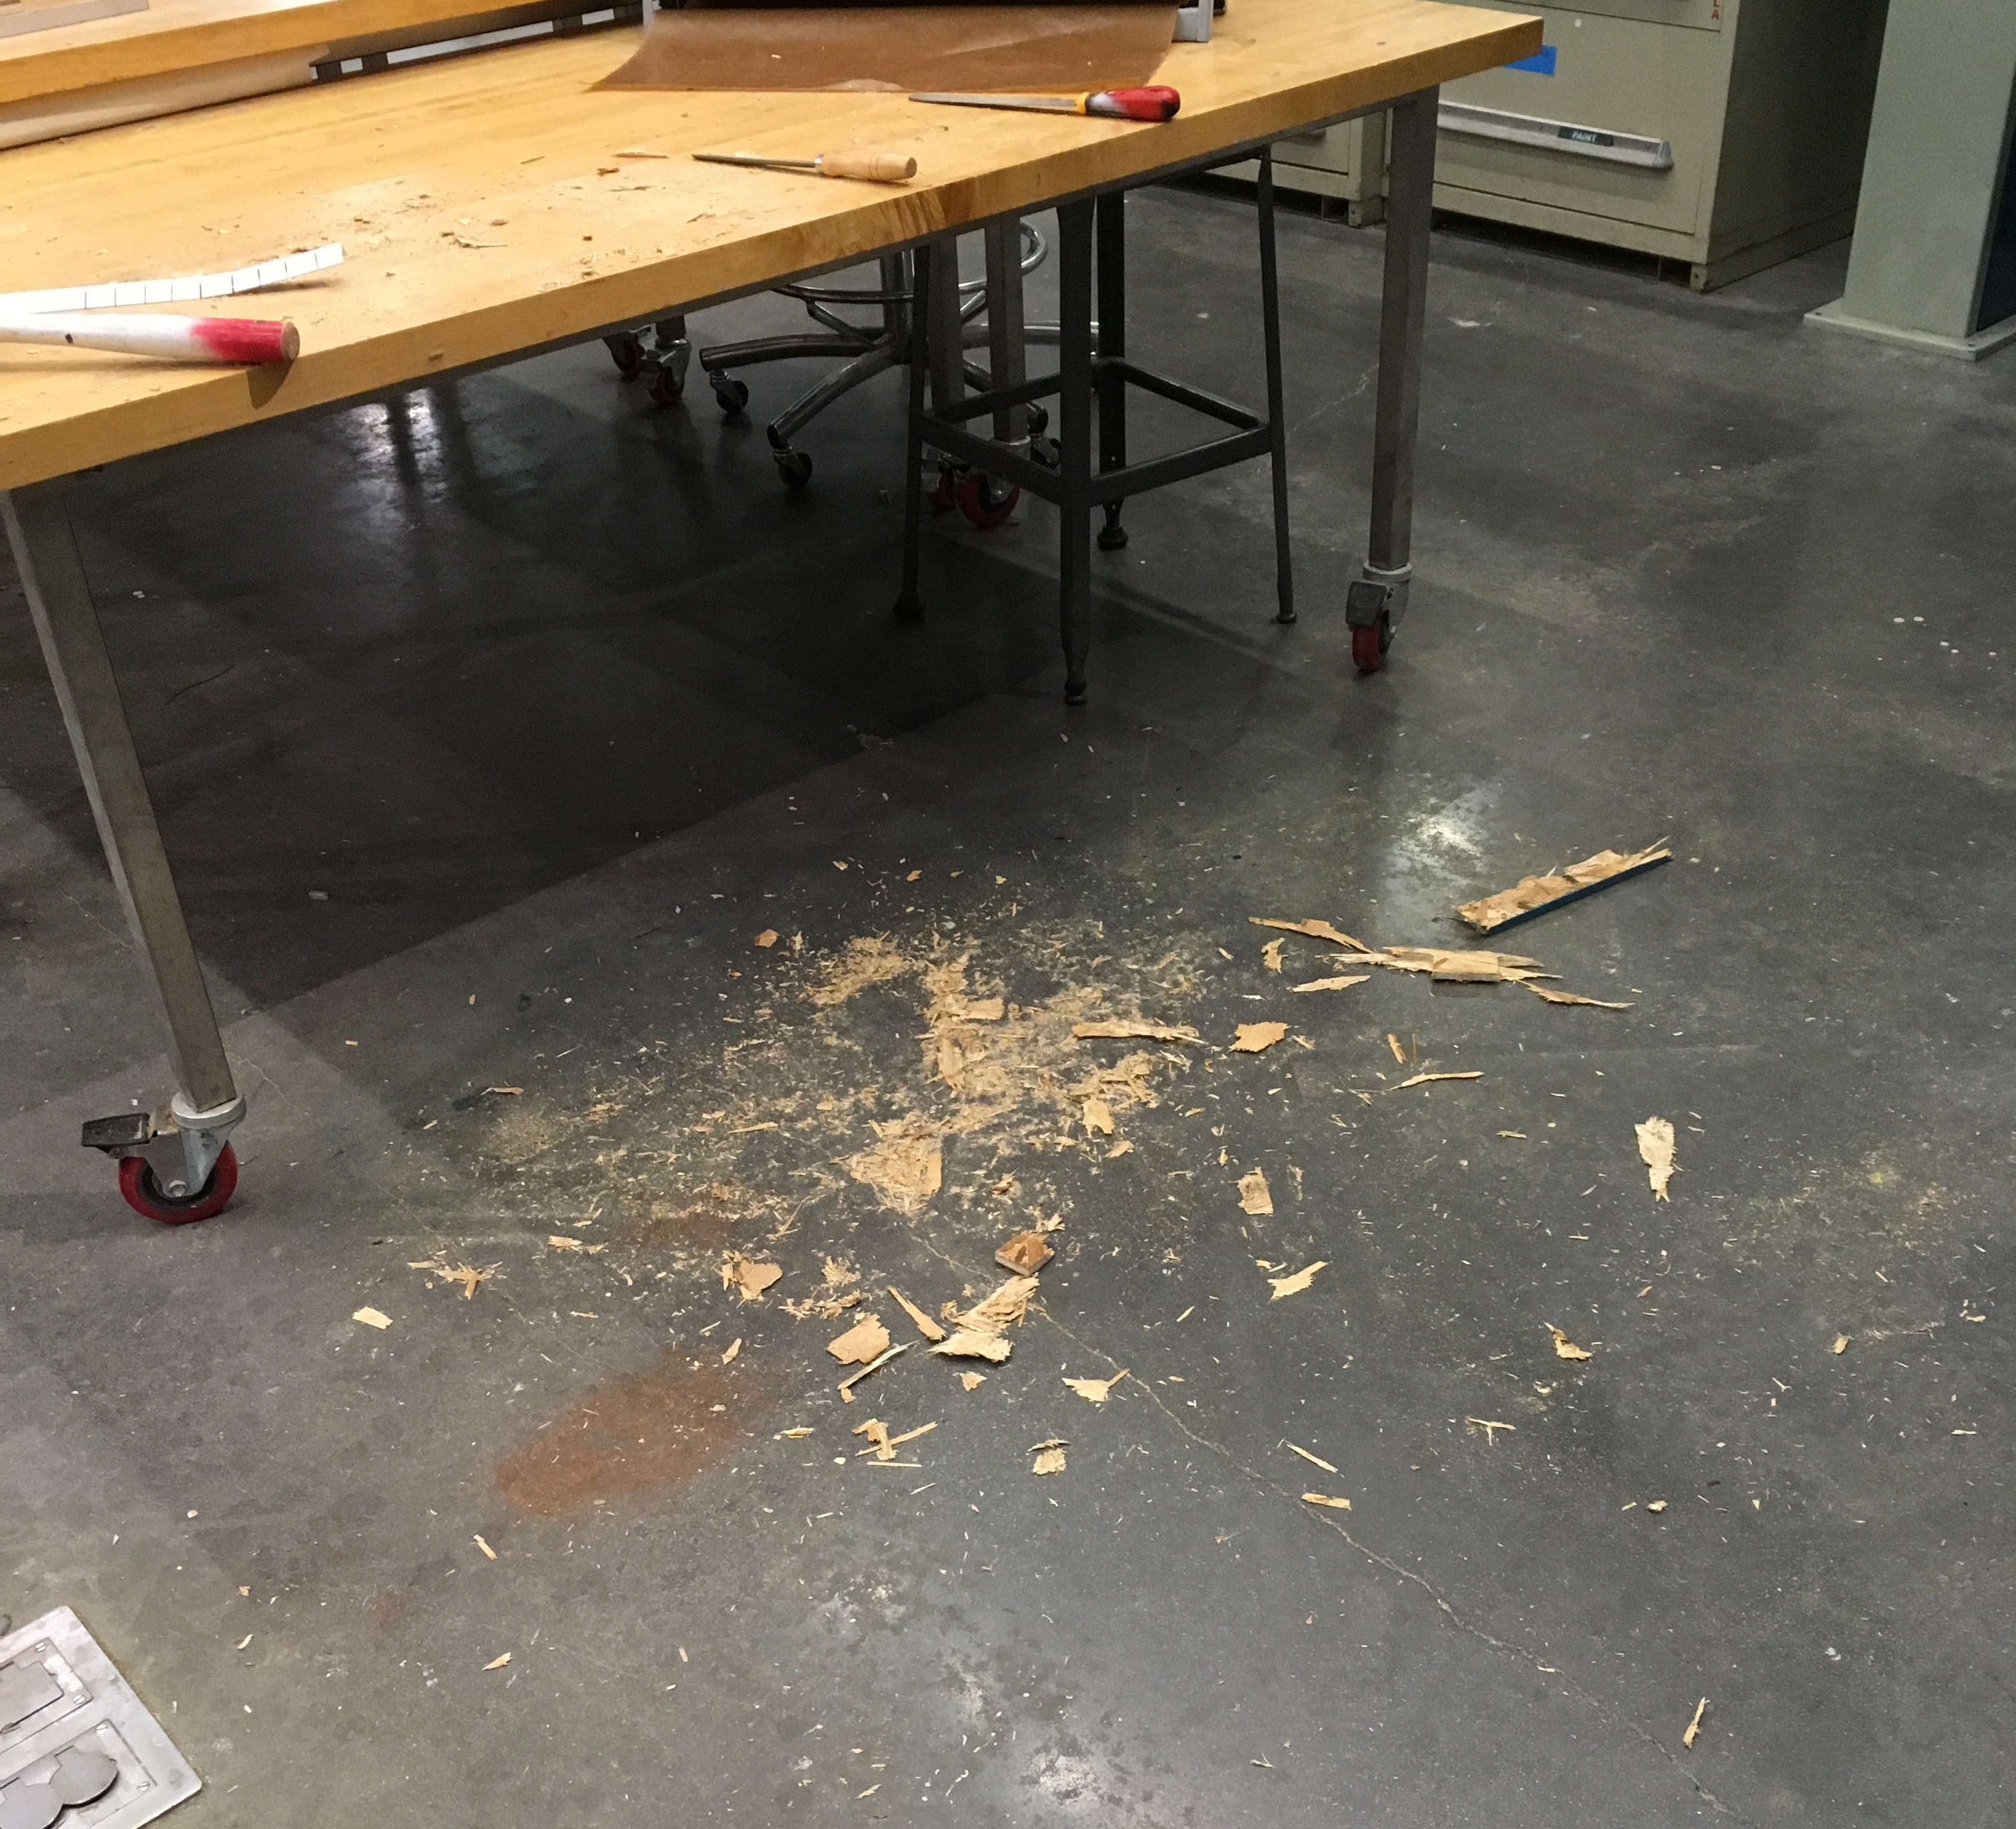
the aftermath of the absolute carnage of separating parts from scrap
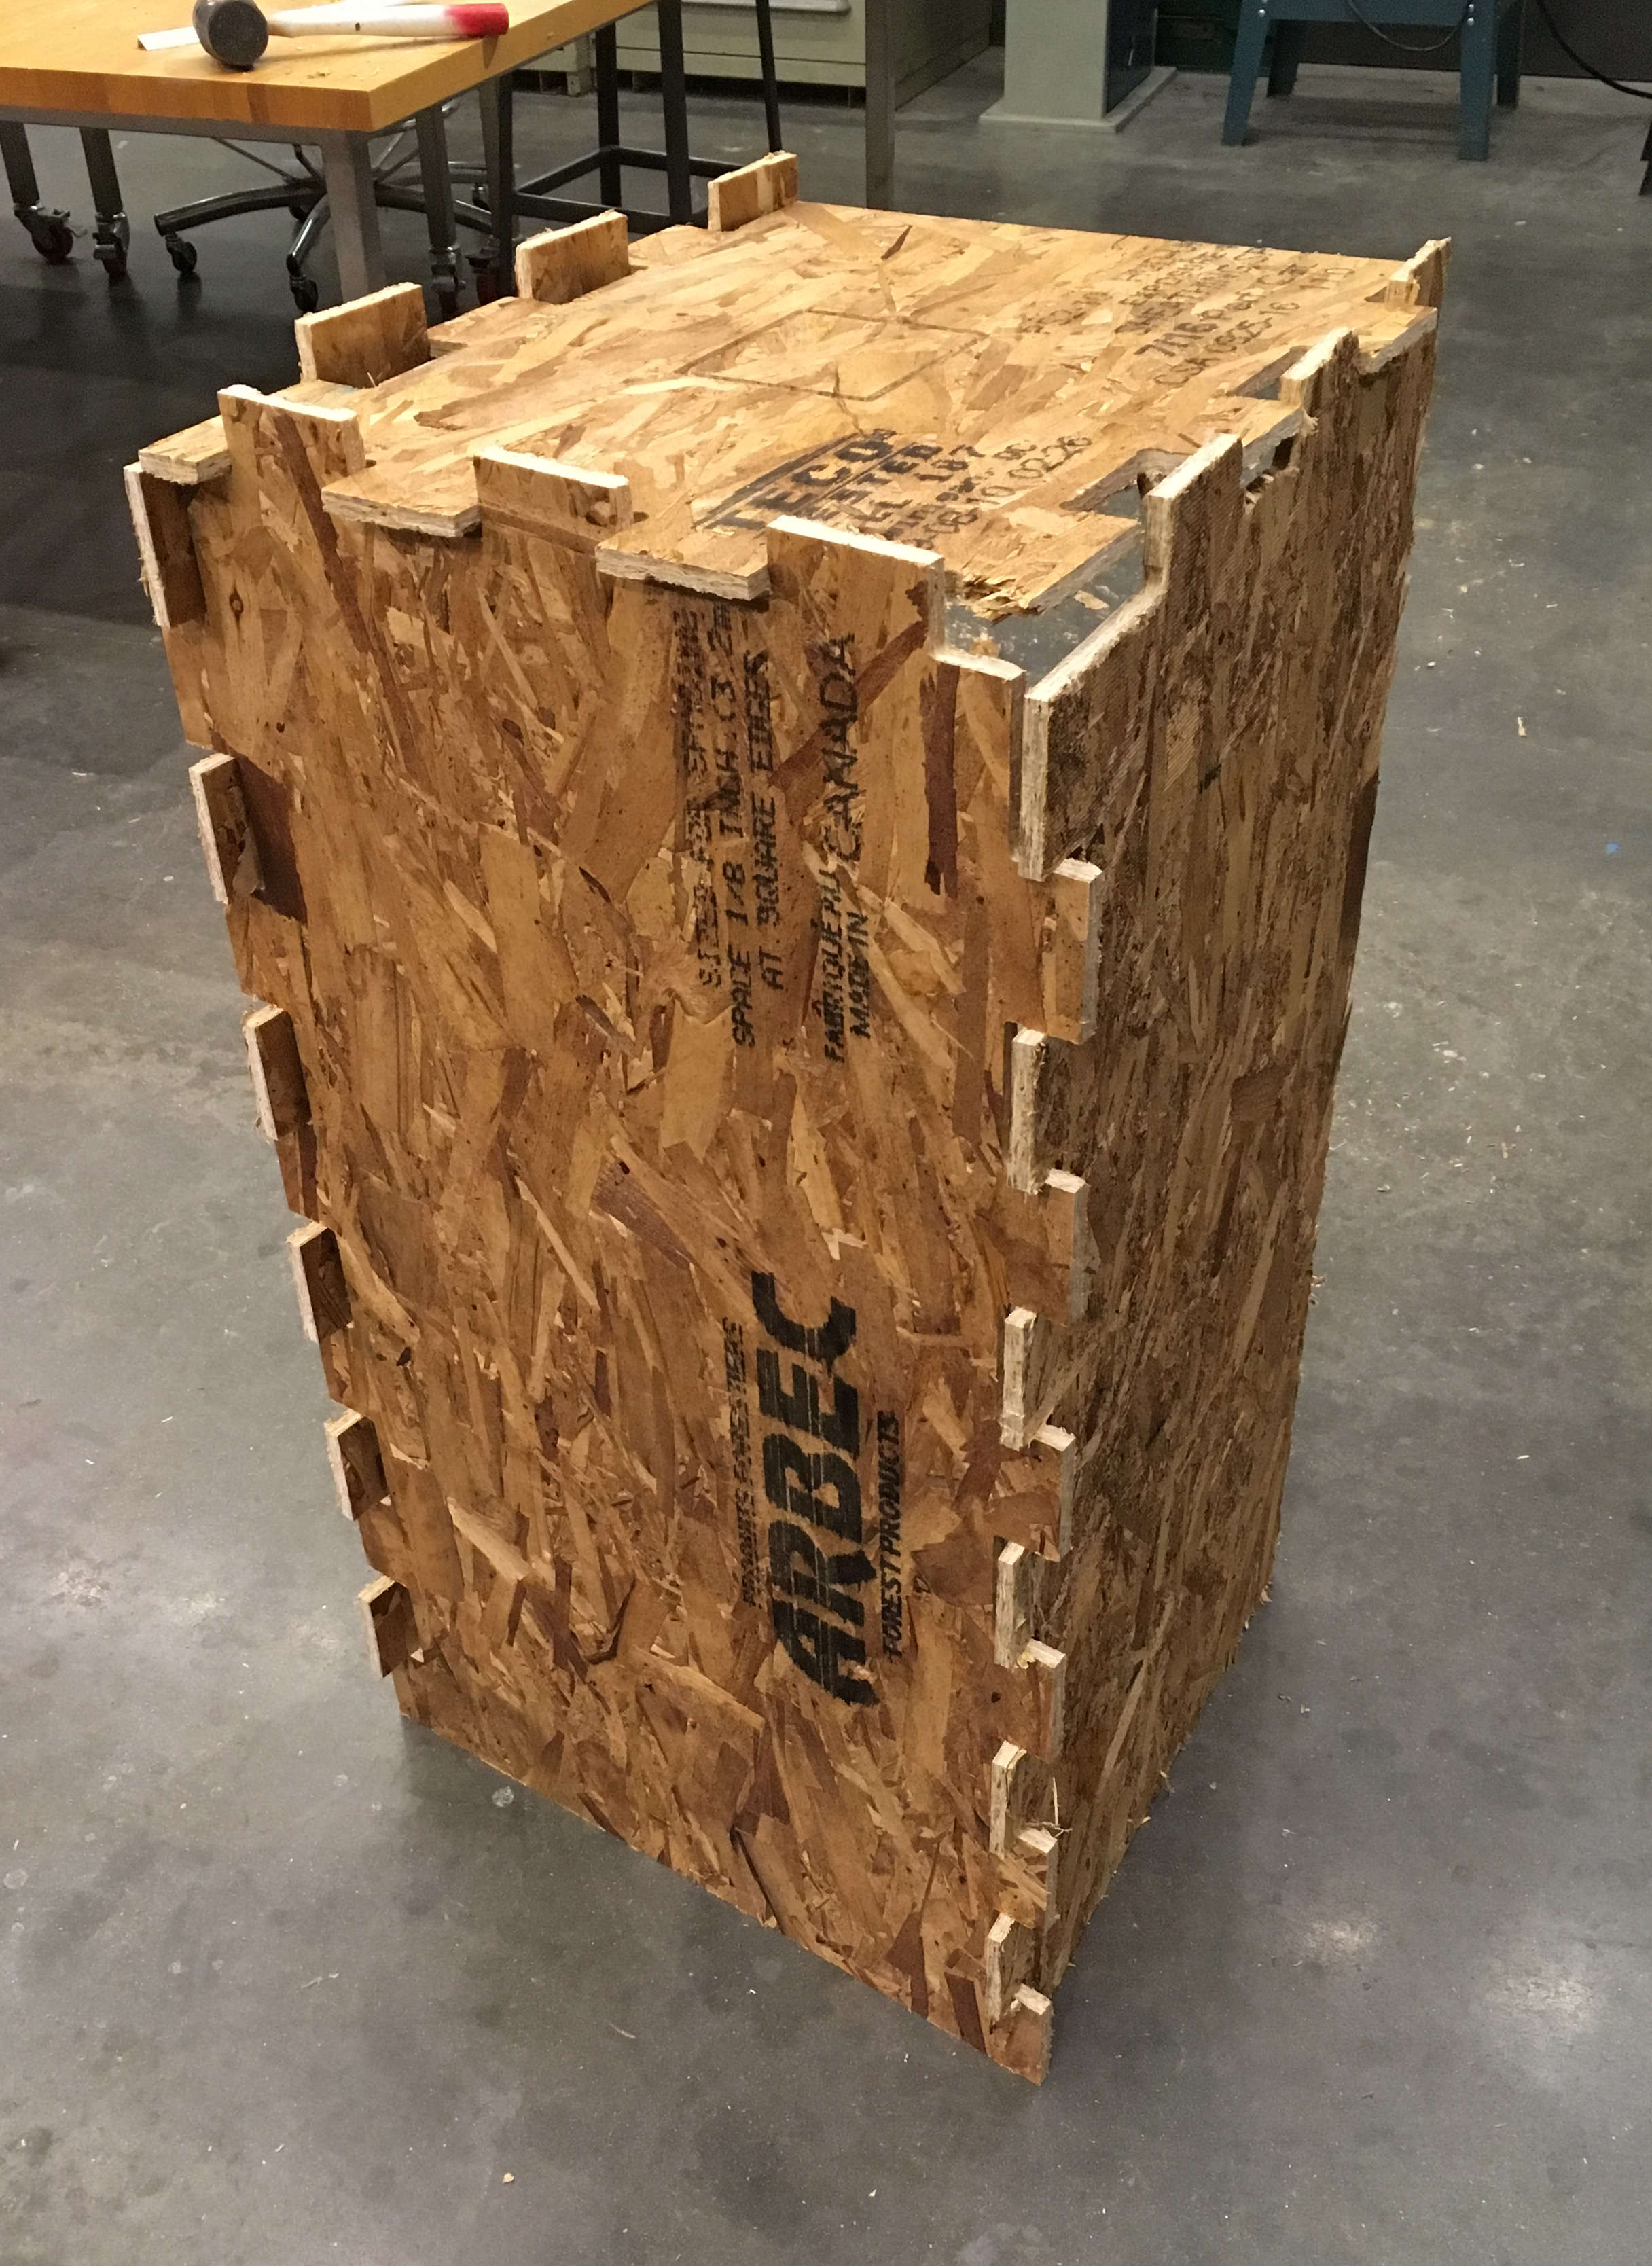
After trying to assemble this mass of chipboard, I figured out that I set the thickness of my material as 1.47", rather than 0.47".
At this point, I was really discouraged. This hadn't come out well, and the ShopBot was booked continuously until class on Wednesday. There was no opportunity to fix everything, and everything was bad.
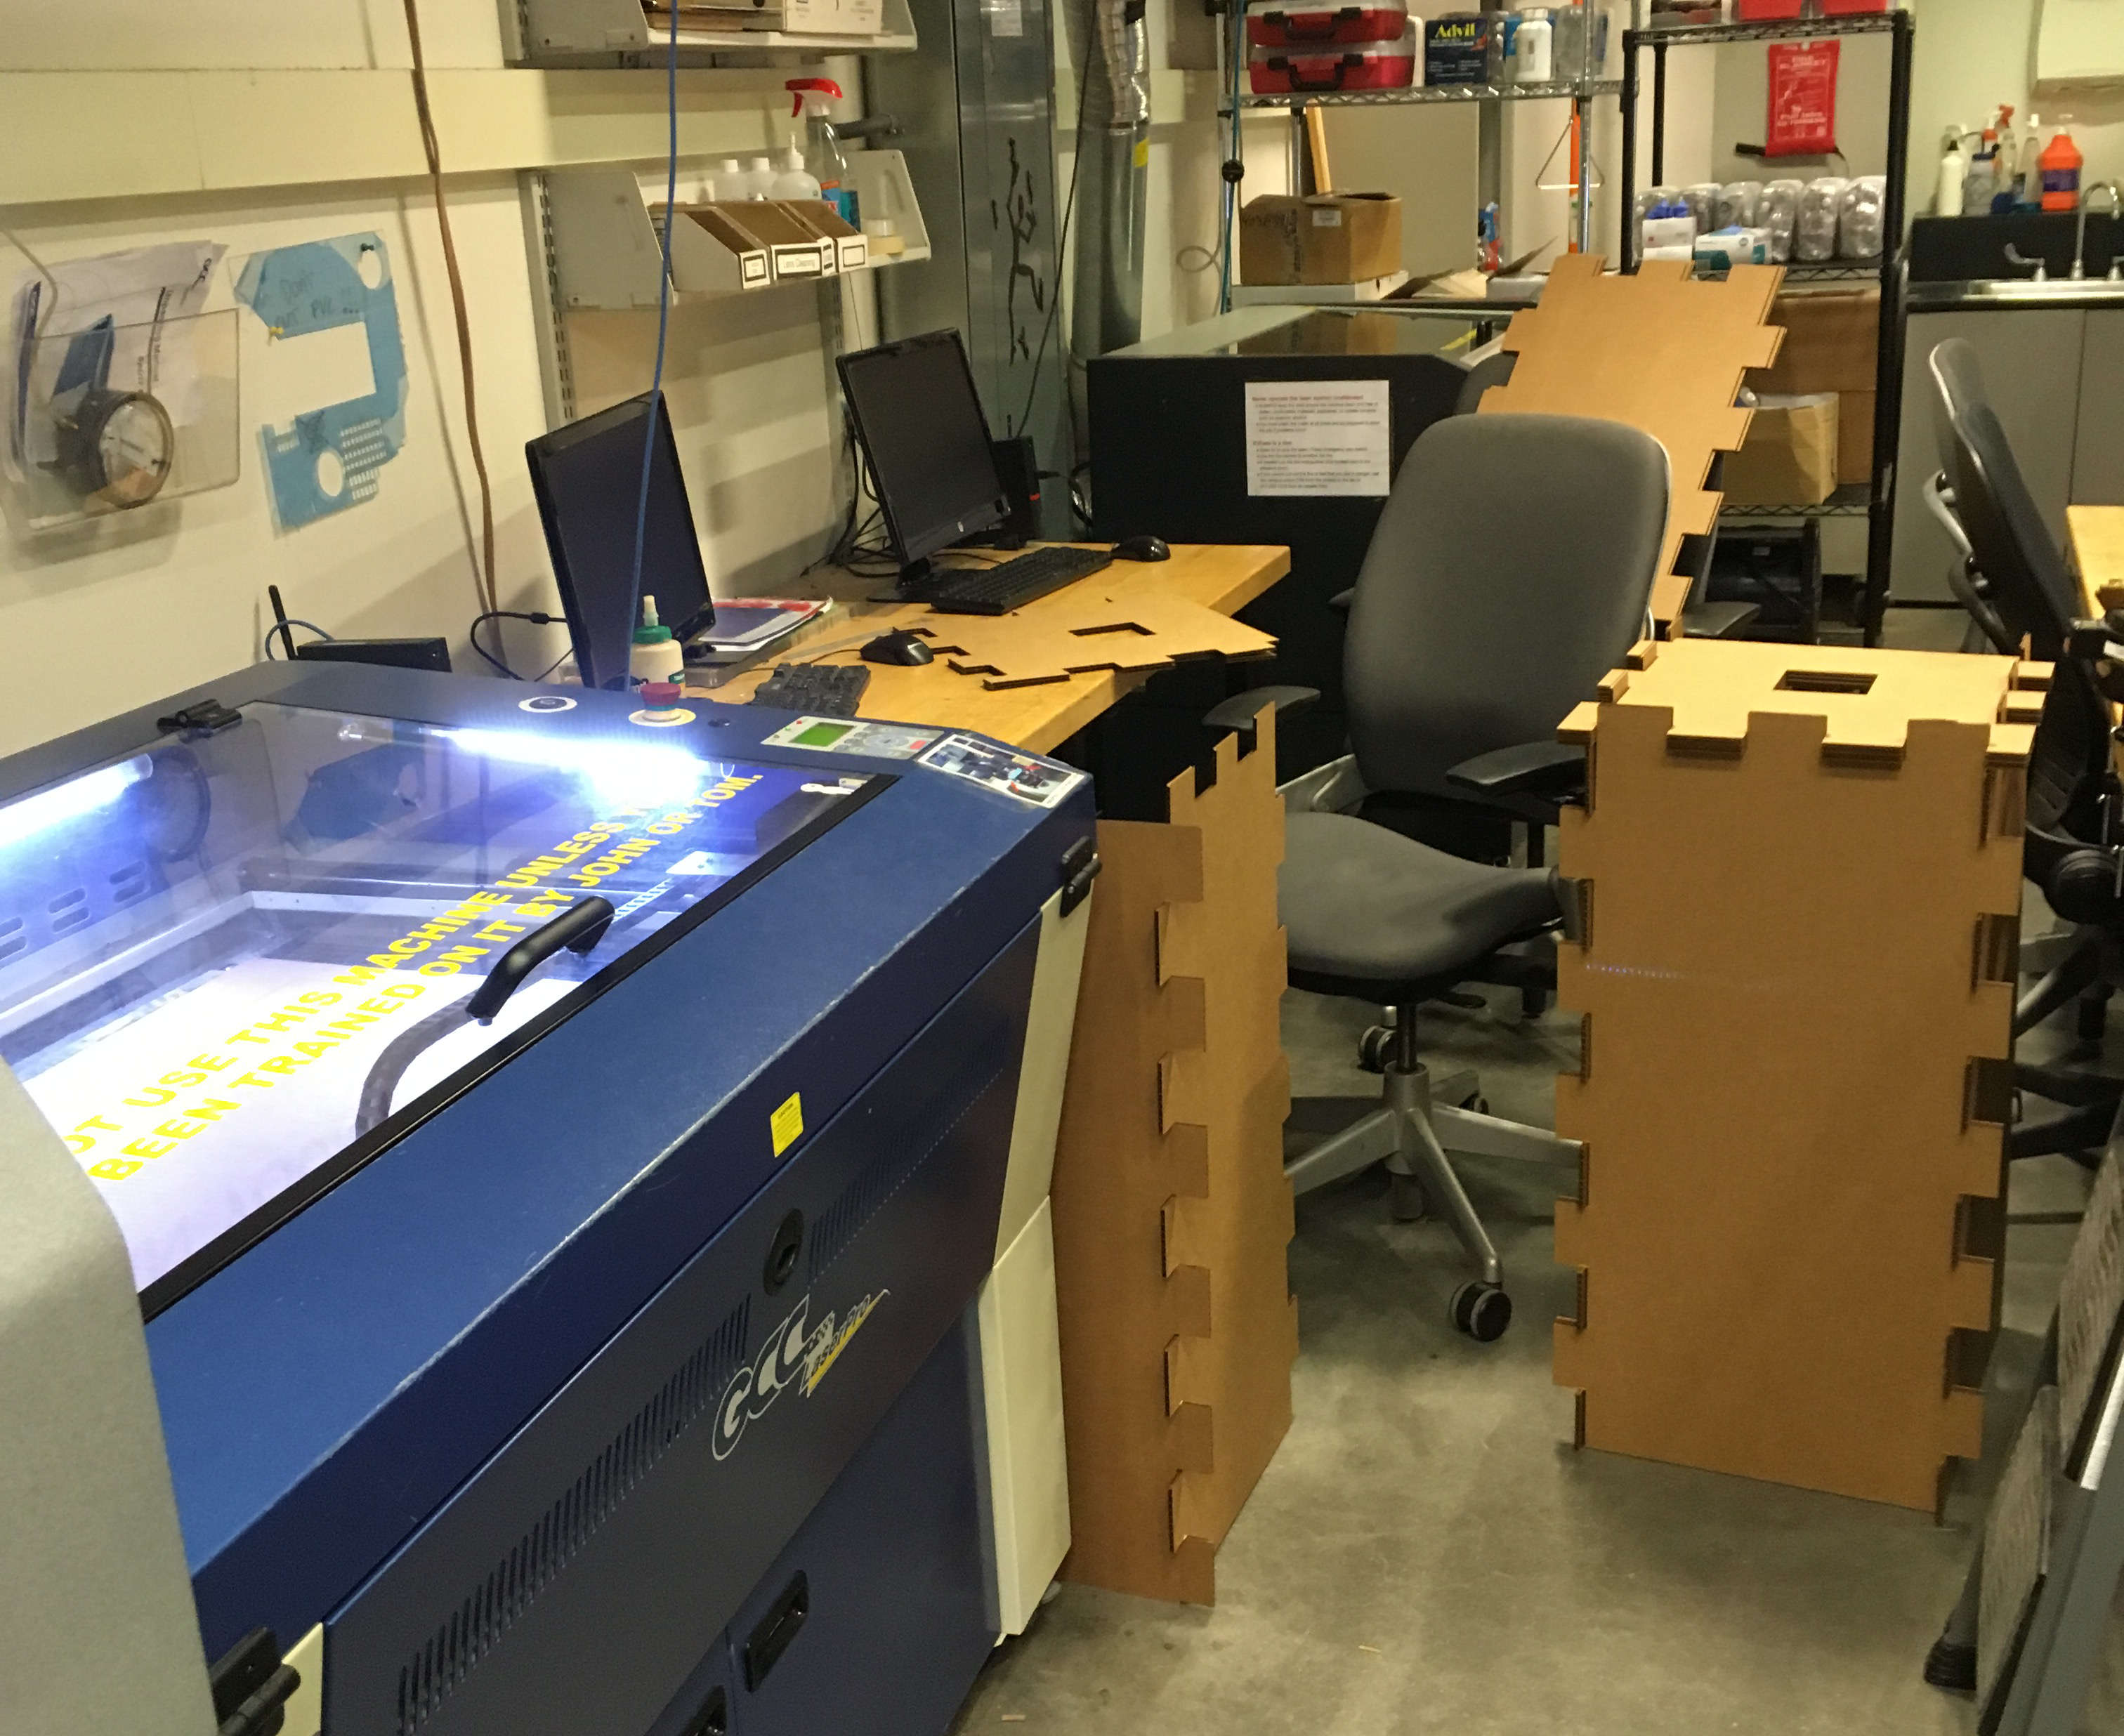
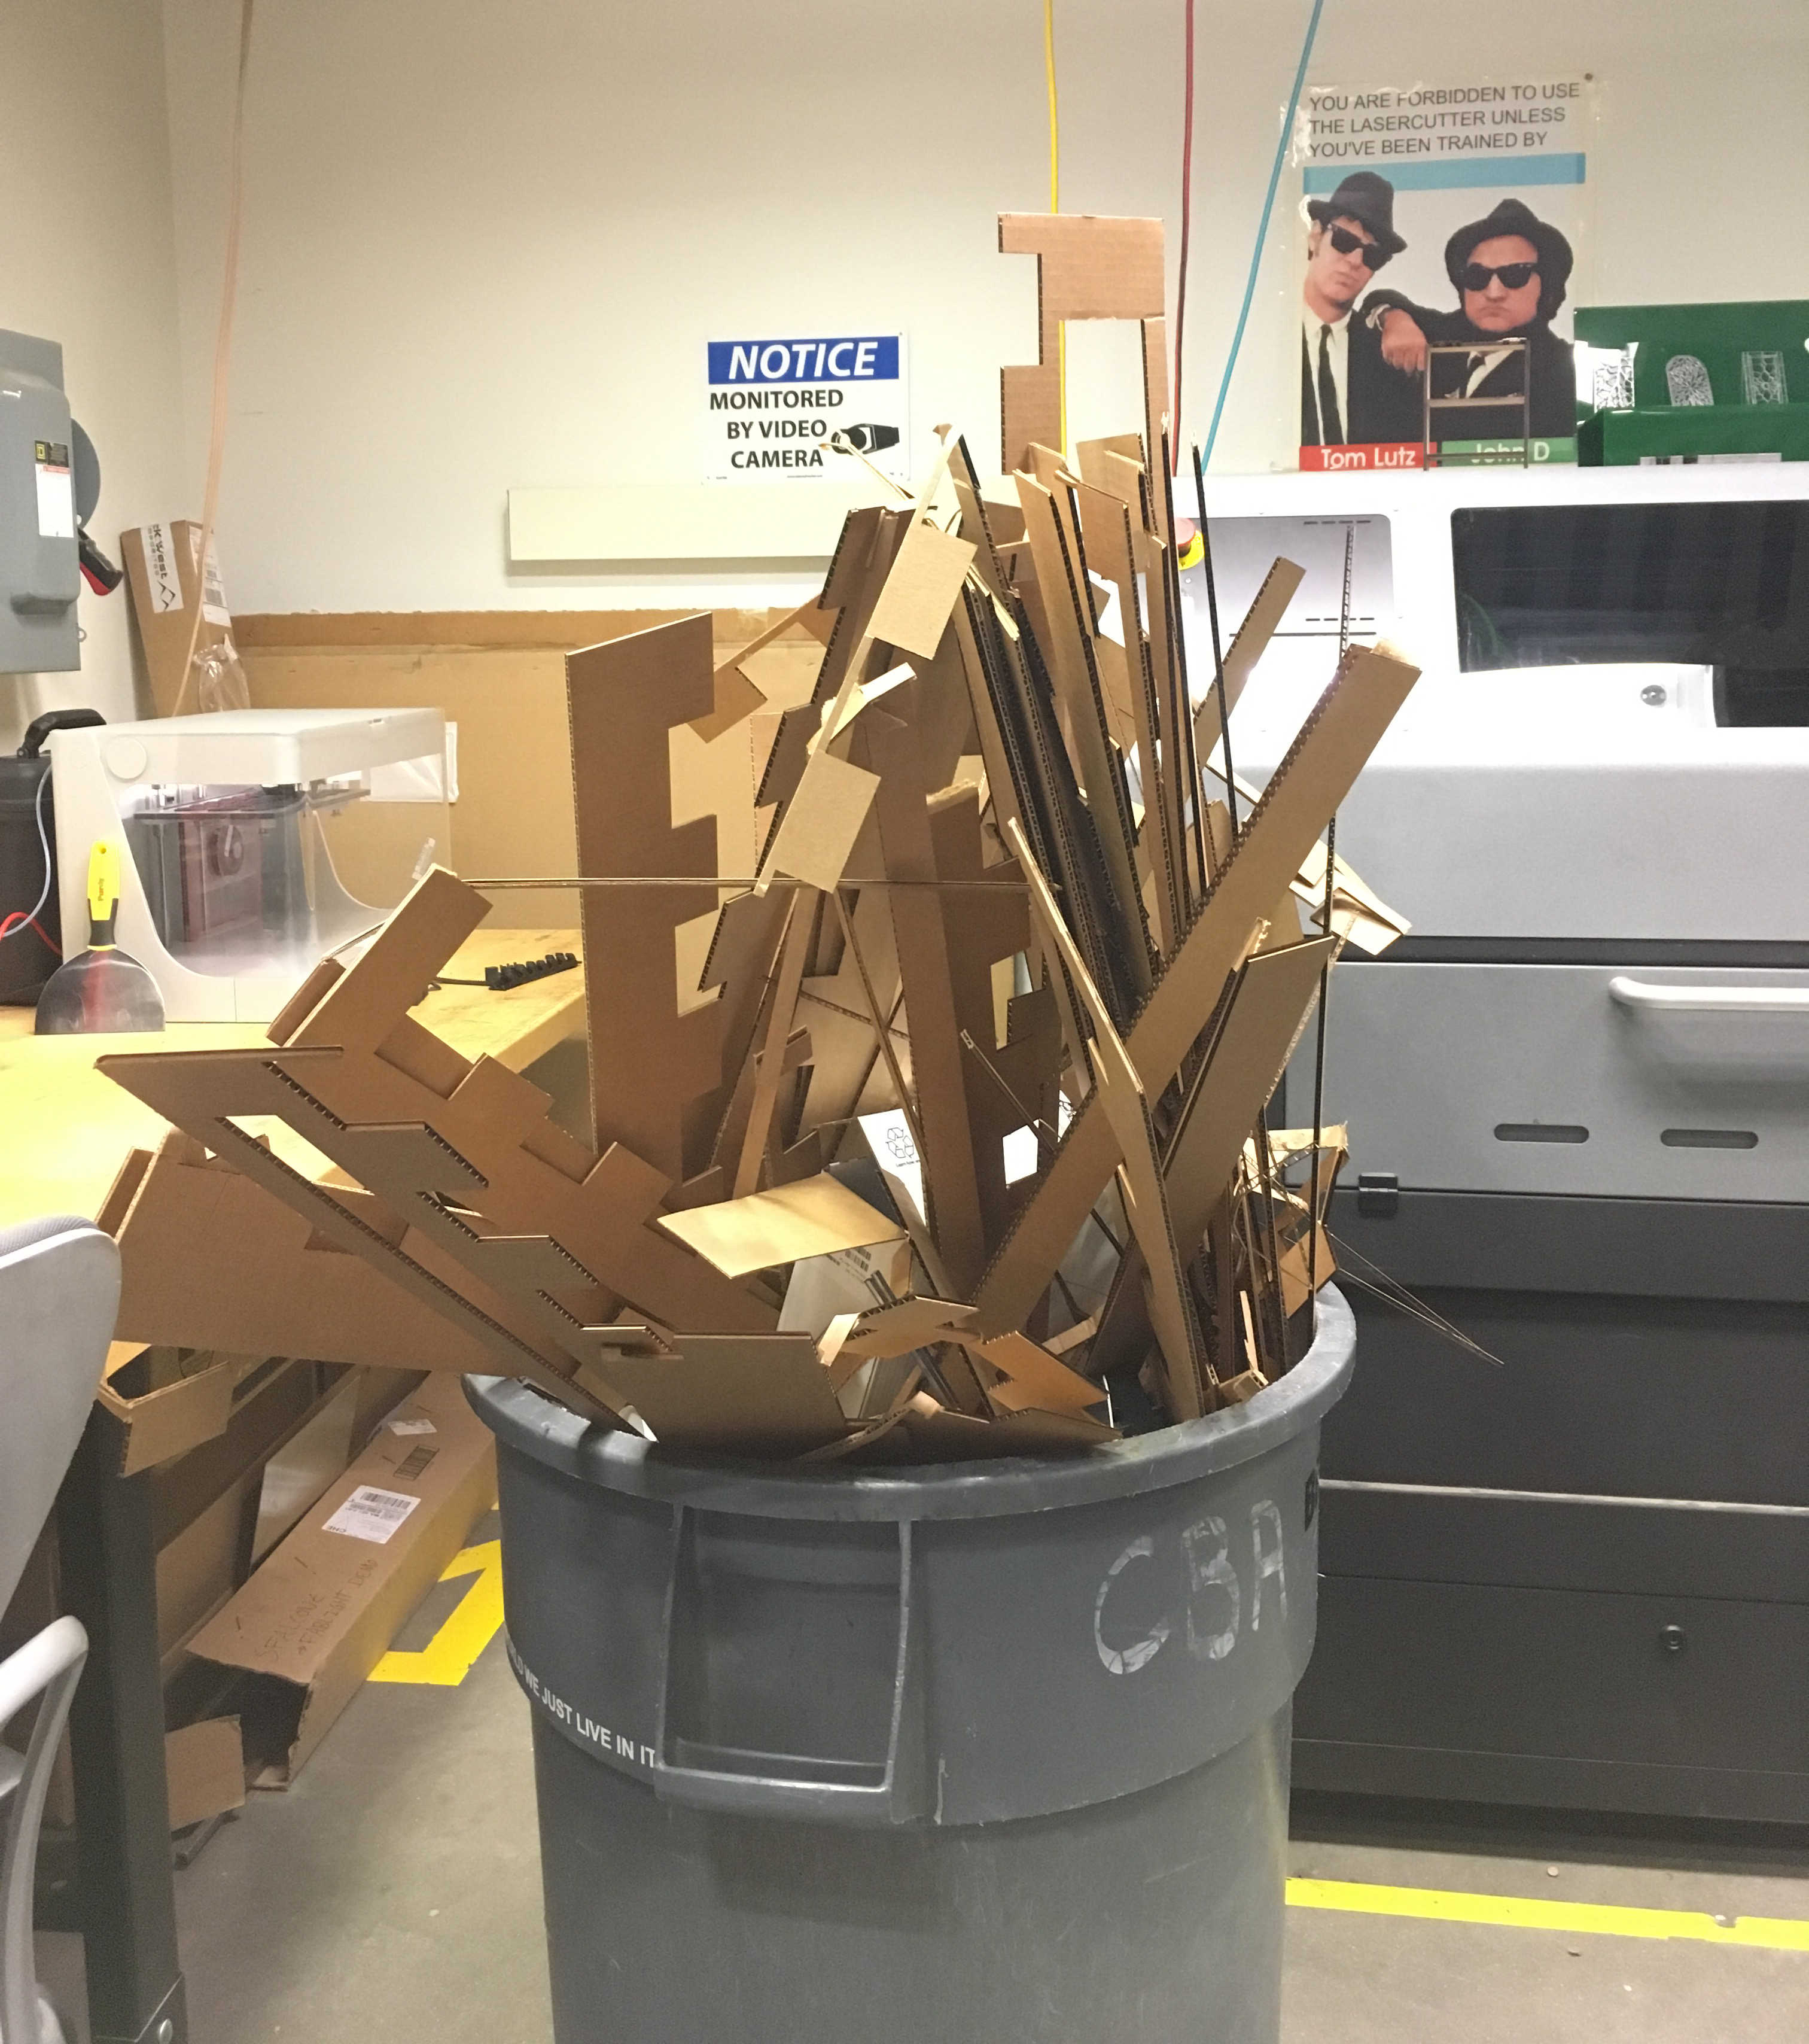
But then I noticed that we still had a pile of cardboard leftover from week 2, and no one was using the laster cutter.
I found another problem with my design, and was able to change it quickly before going through too much stock.

left: old part, right: updated part
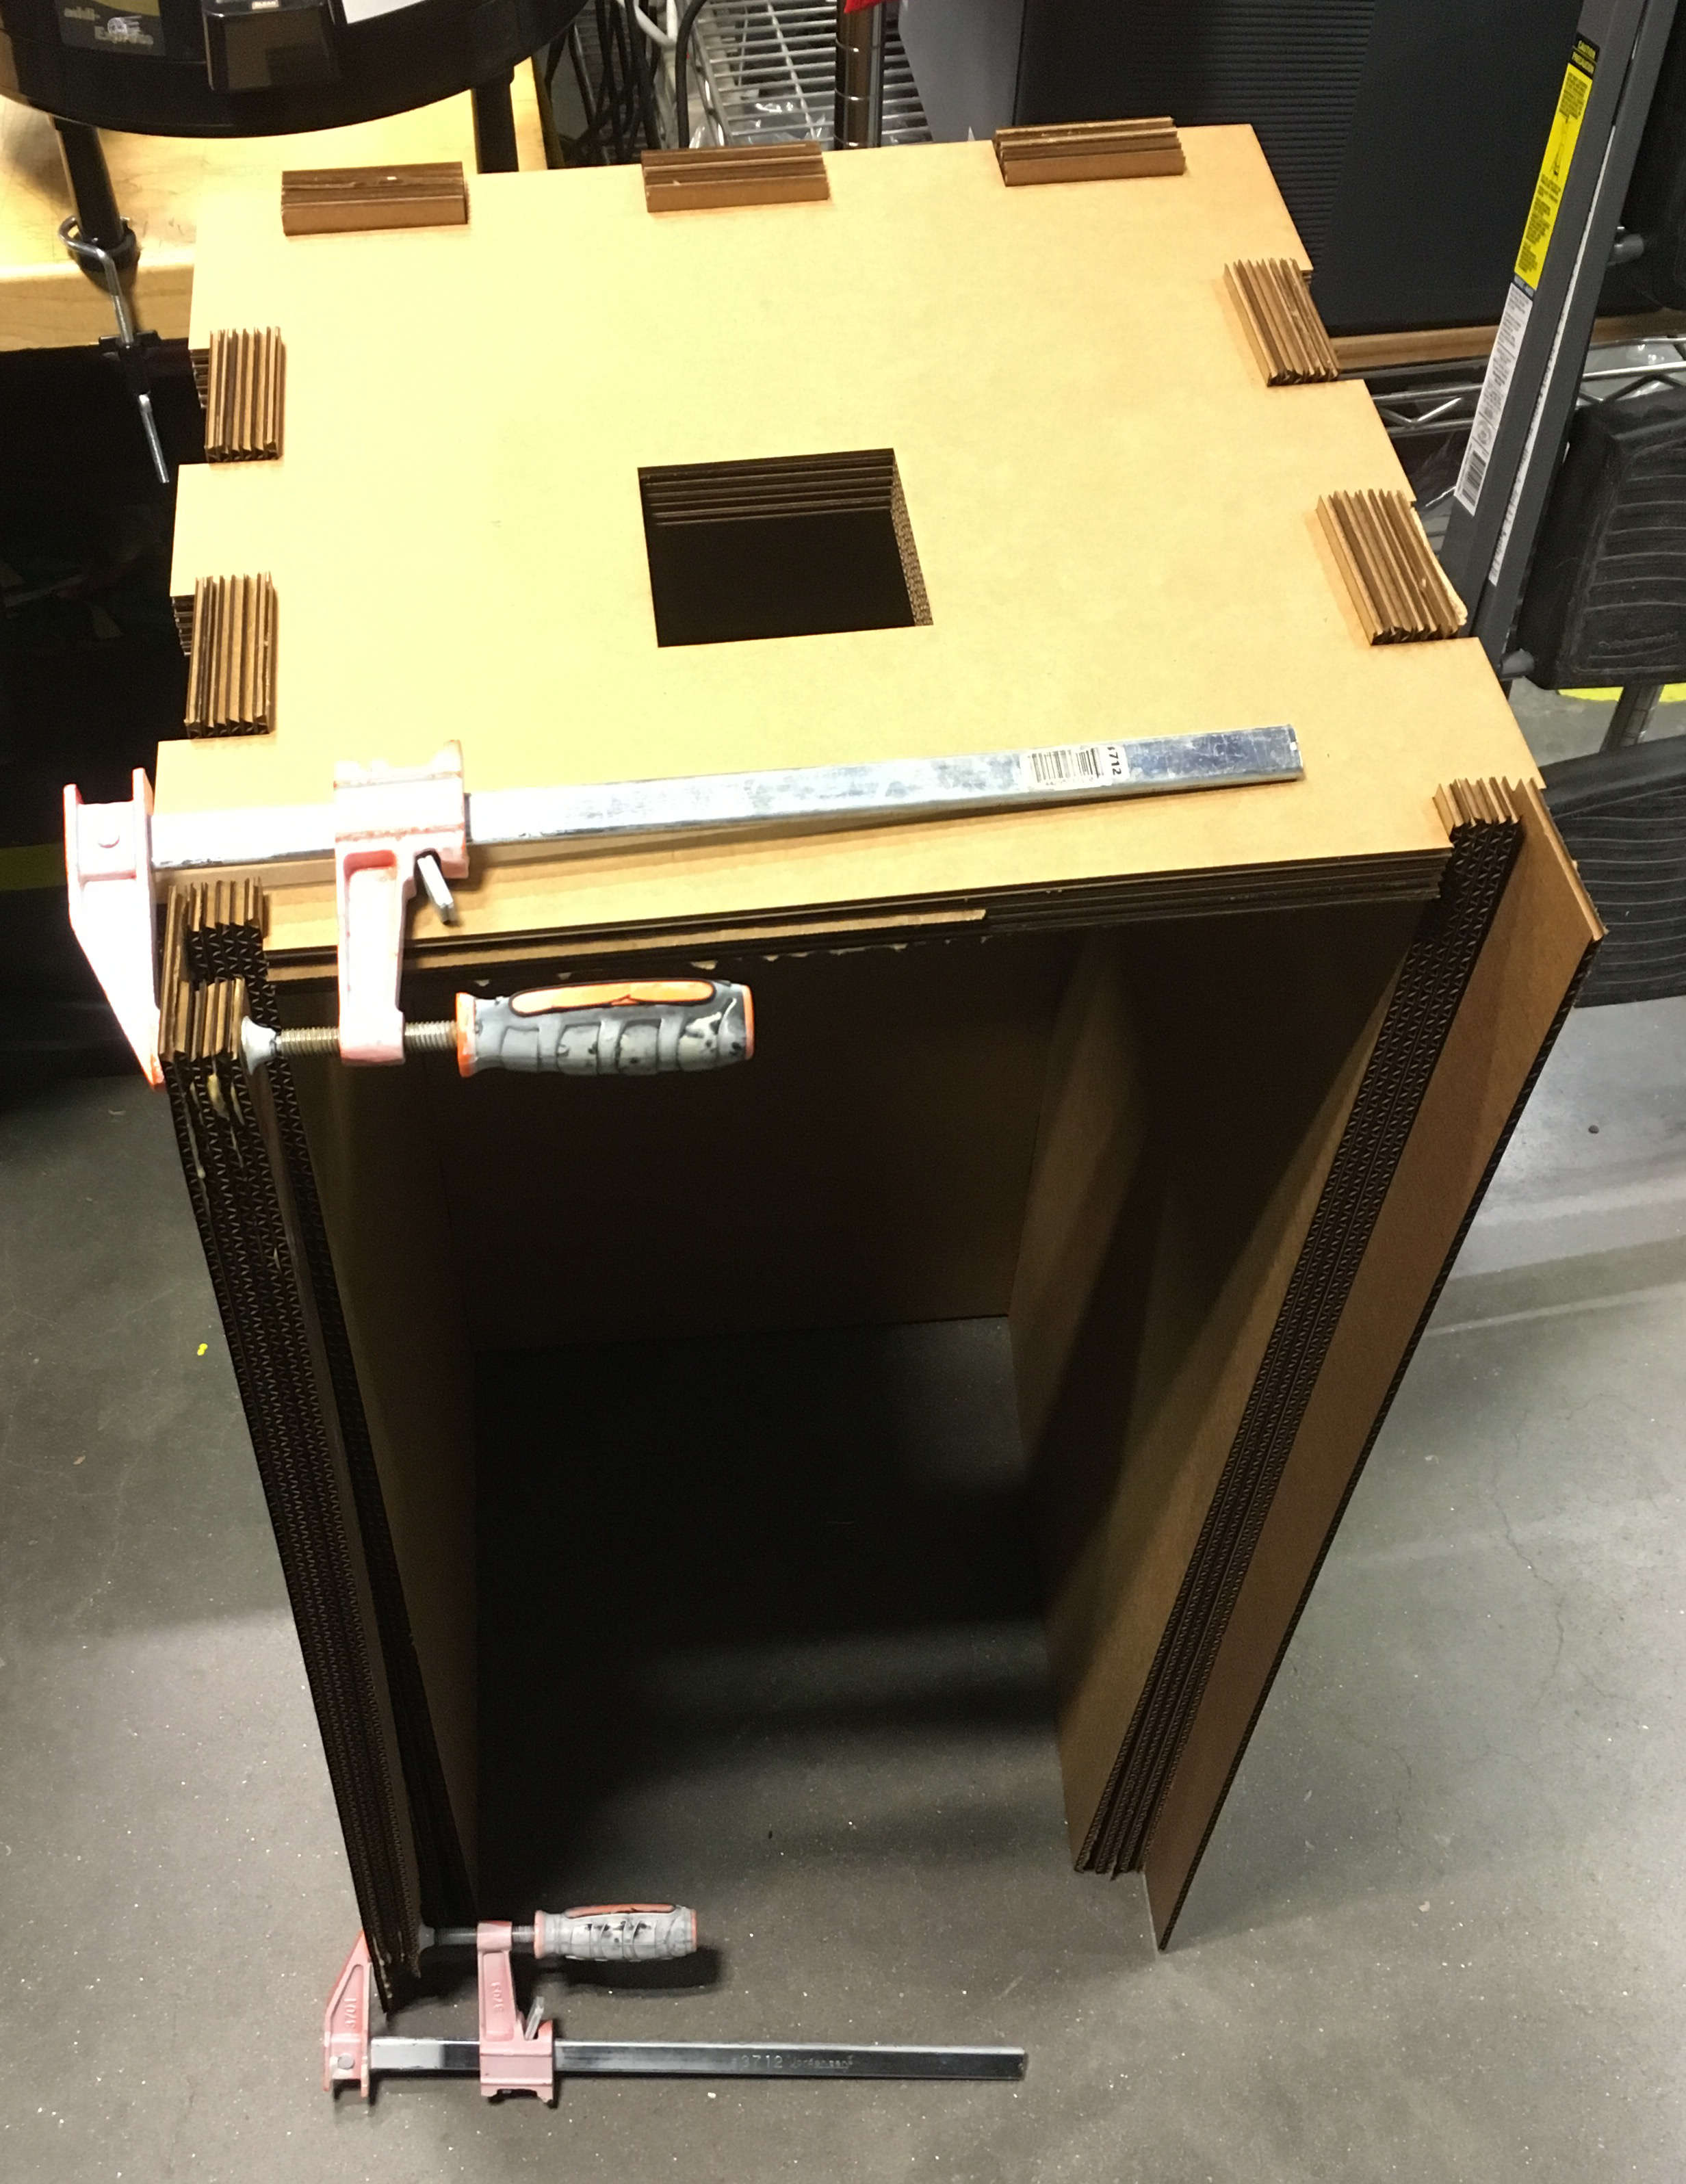
If this section were all made out of one piece of material, it could be held together with nothing but press-fit pieces. Thankfully, cardboard behaves remarkaly like wood in response to woodglue.
We thankfully had a lot of cardboard still on hand. I used about 1/3 of the class's remaining supply.
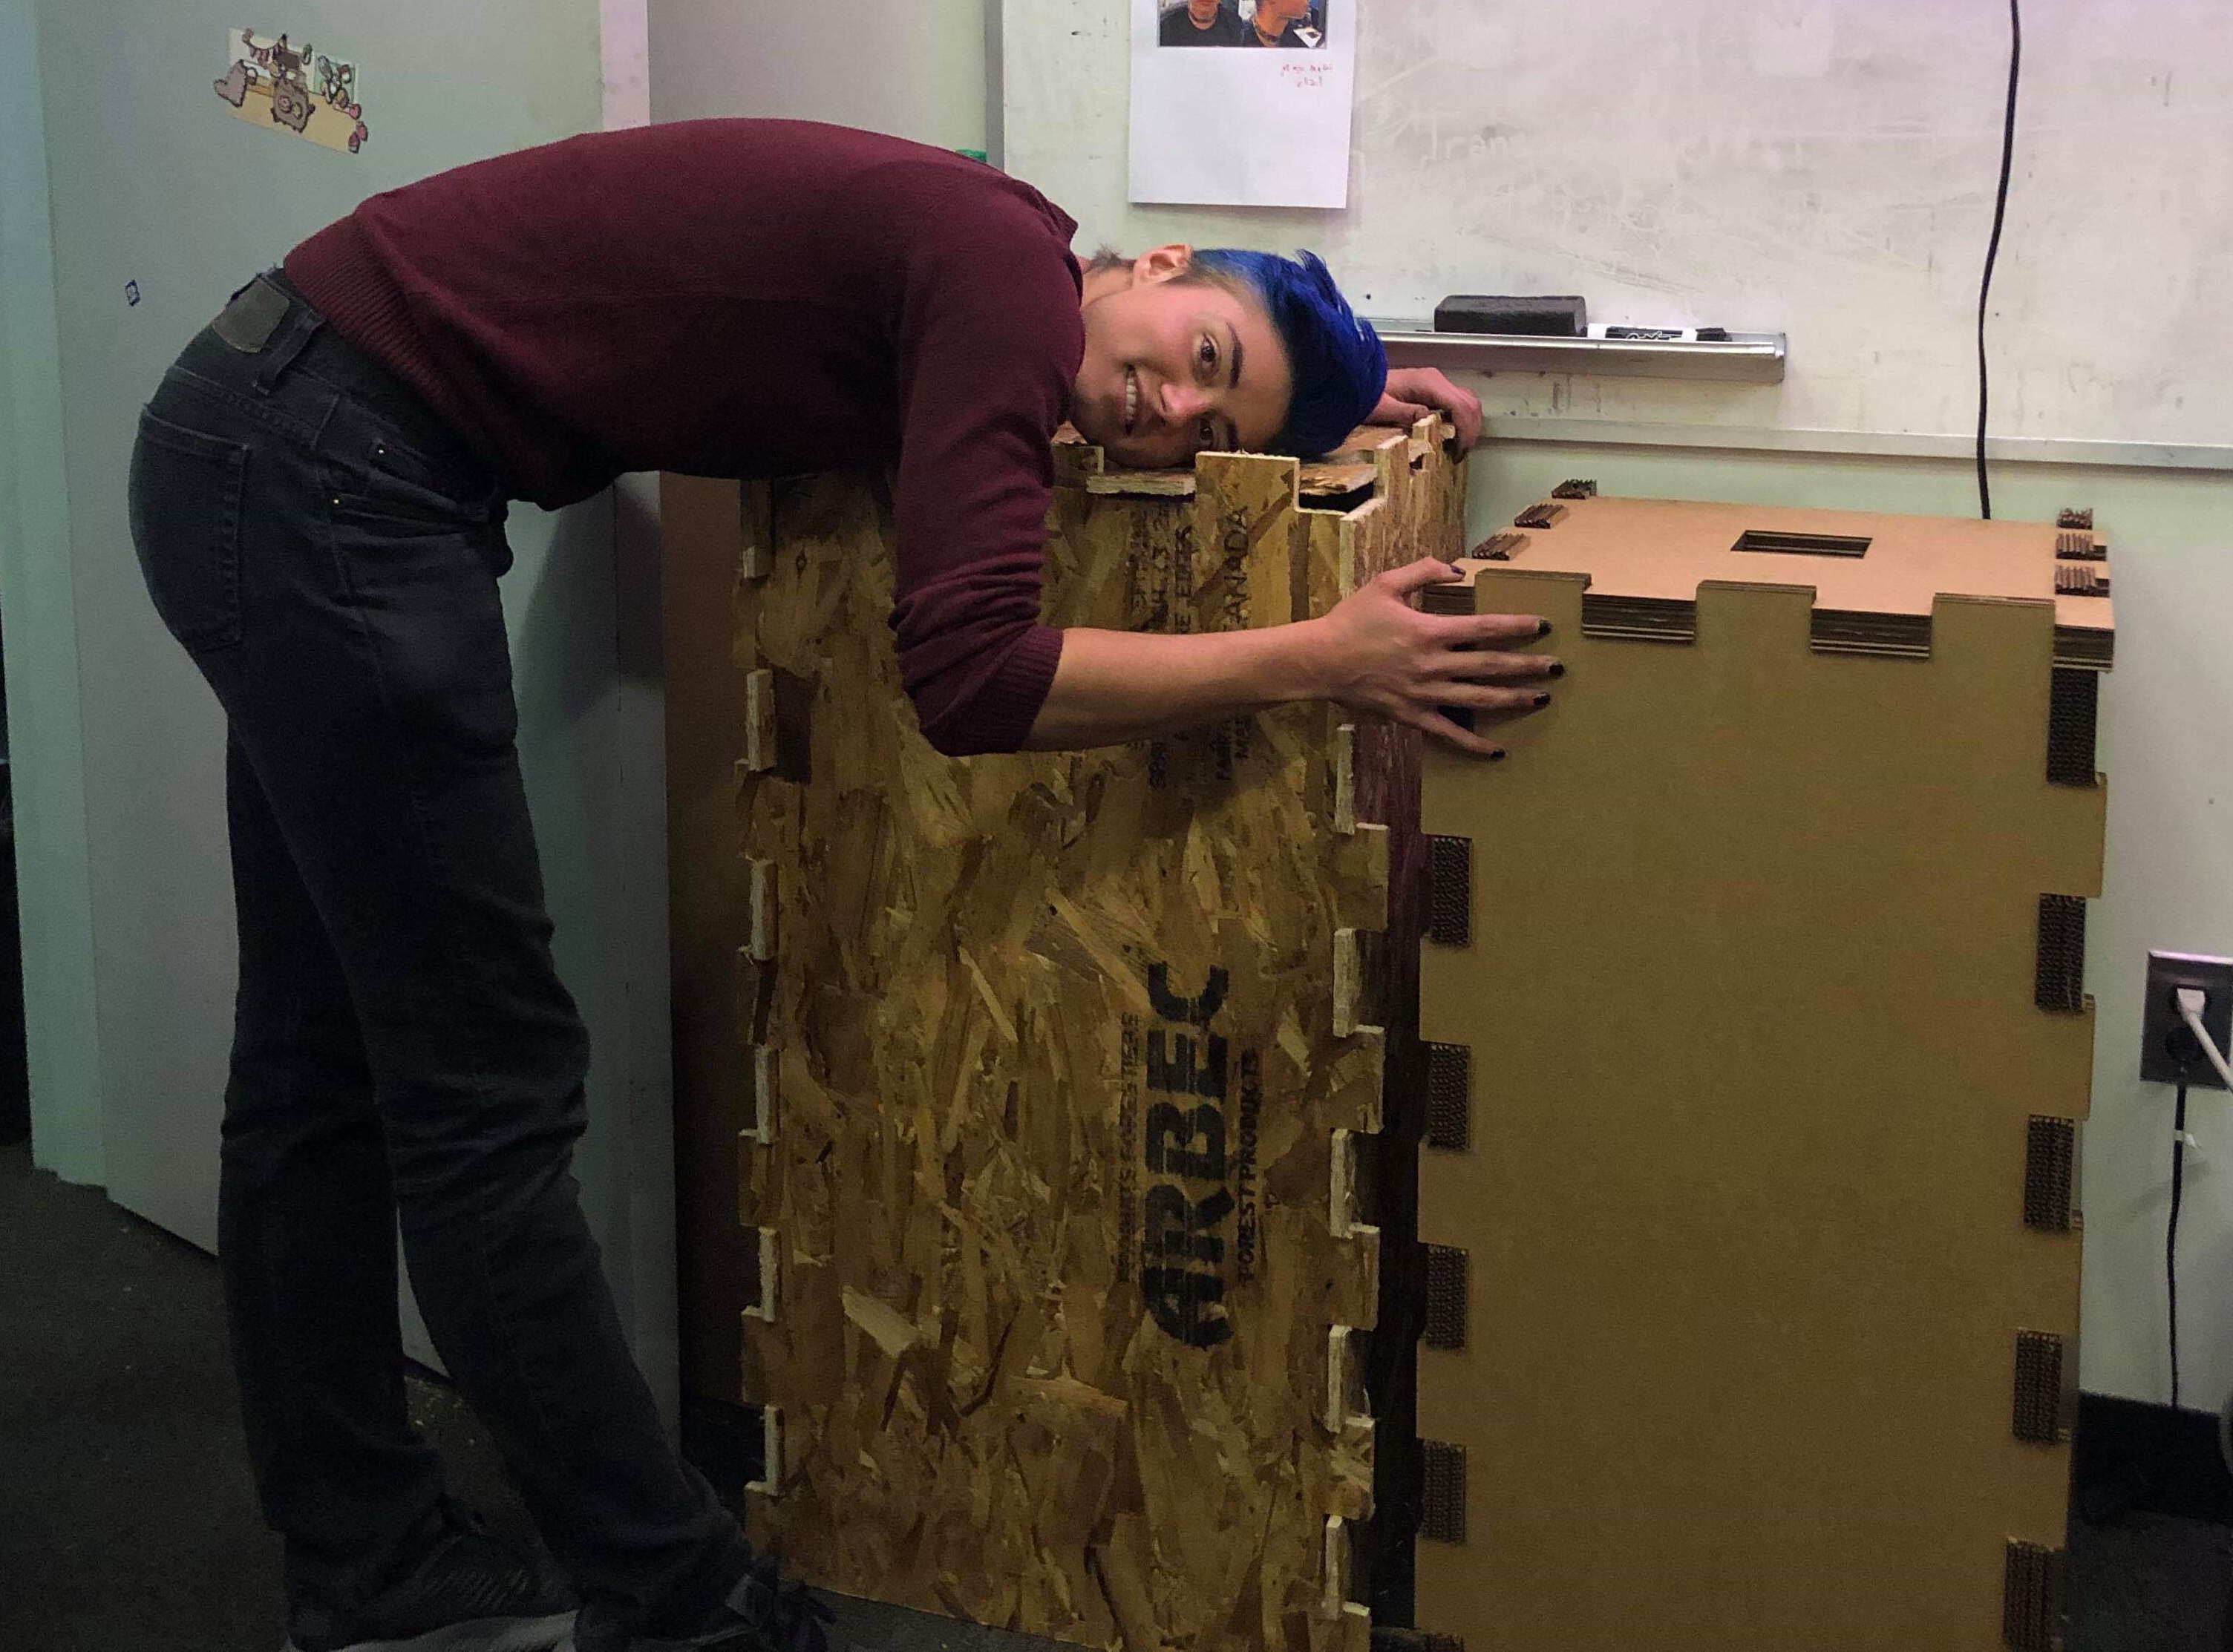
all three of us, safely back in my office
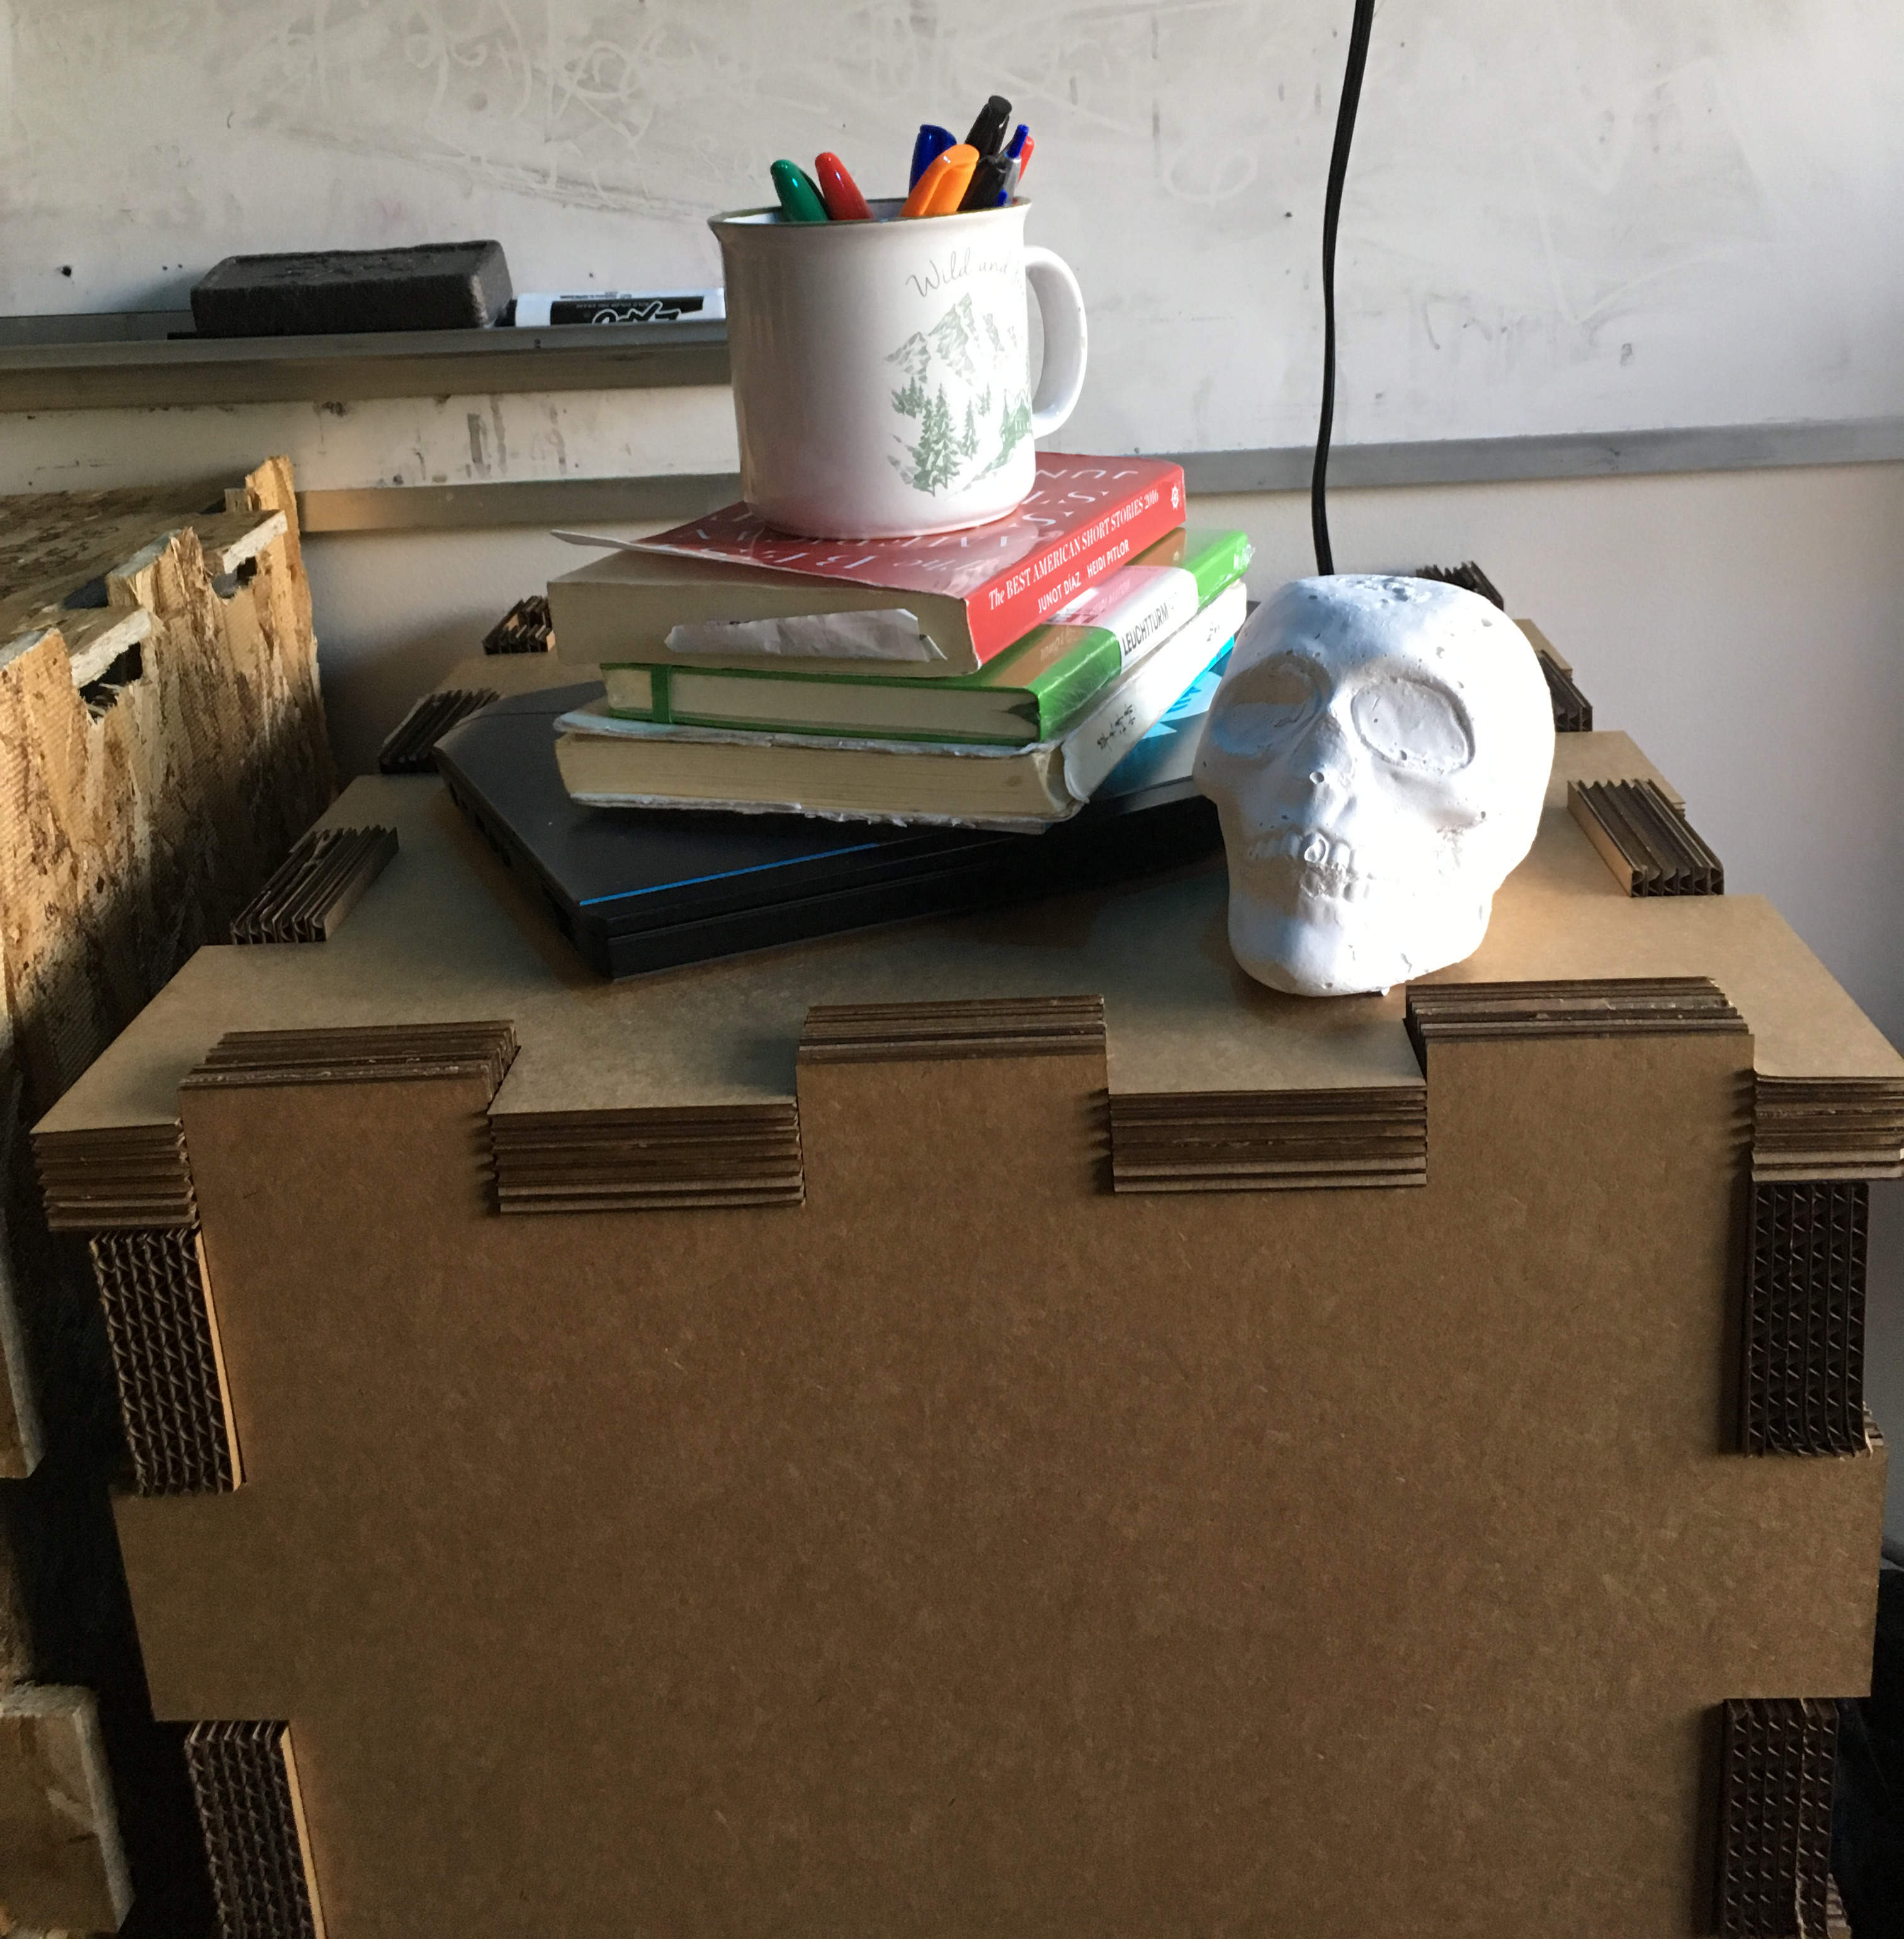
confirming that it can hold some weight