
PROCESS
To start, our group characterized our printers. The results can be seen below.

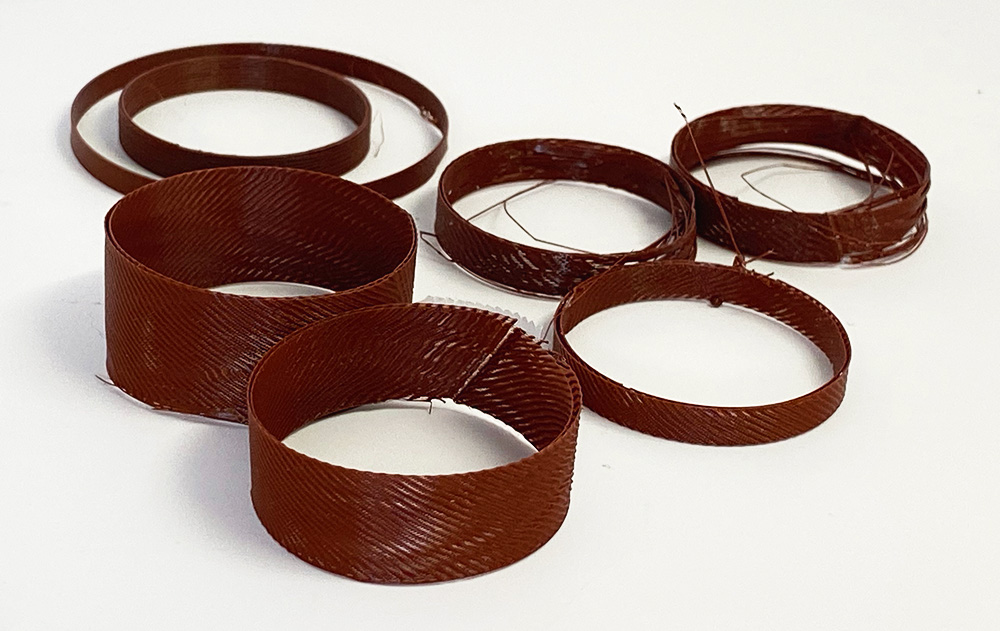
I then immediately ignored these results and began printing single layer rings with the Prusa printer in Vase mode. By playing around with the print height and extrusion multiplier, I found the Goldilock's parameters that generated aesthetically defective prints that weren't a mess. In the end I found the .2 Quality setting with an extrusion multiplier between .4 and .3 to work best.
Once I knew how to print I needed to generate what to print. In order to this this a classmate, Zach Fredin, scanned my face using the EVA Lite. It took a few tries but the process was fairly straightforward.
Once completed I uploaded the mesh to Fusion 360, smoothed it, and lowered the resolution by reducing the number of faces.

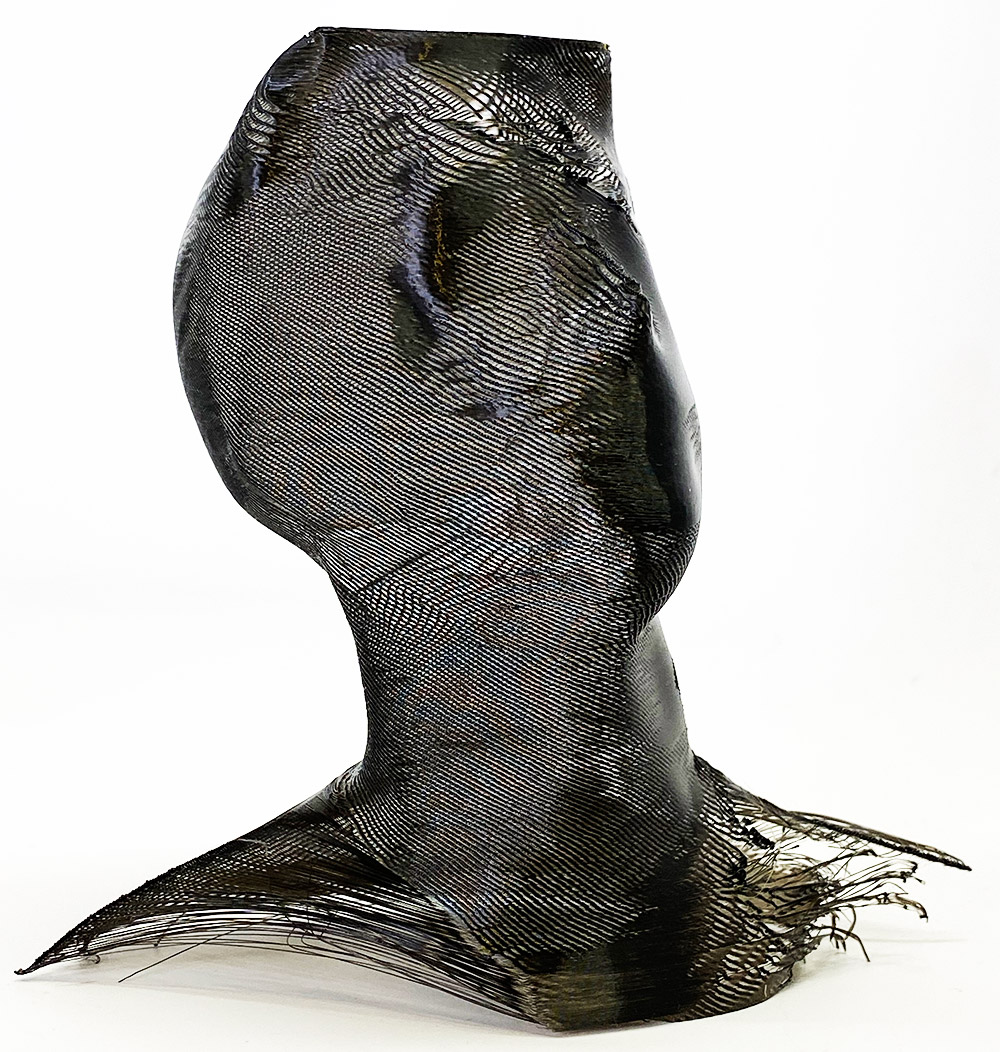
I then went ahead and started printing mini version of my head. I found that the overhang angle on the back of my head was too much, resulting in "hairs"
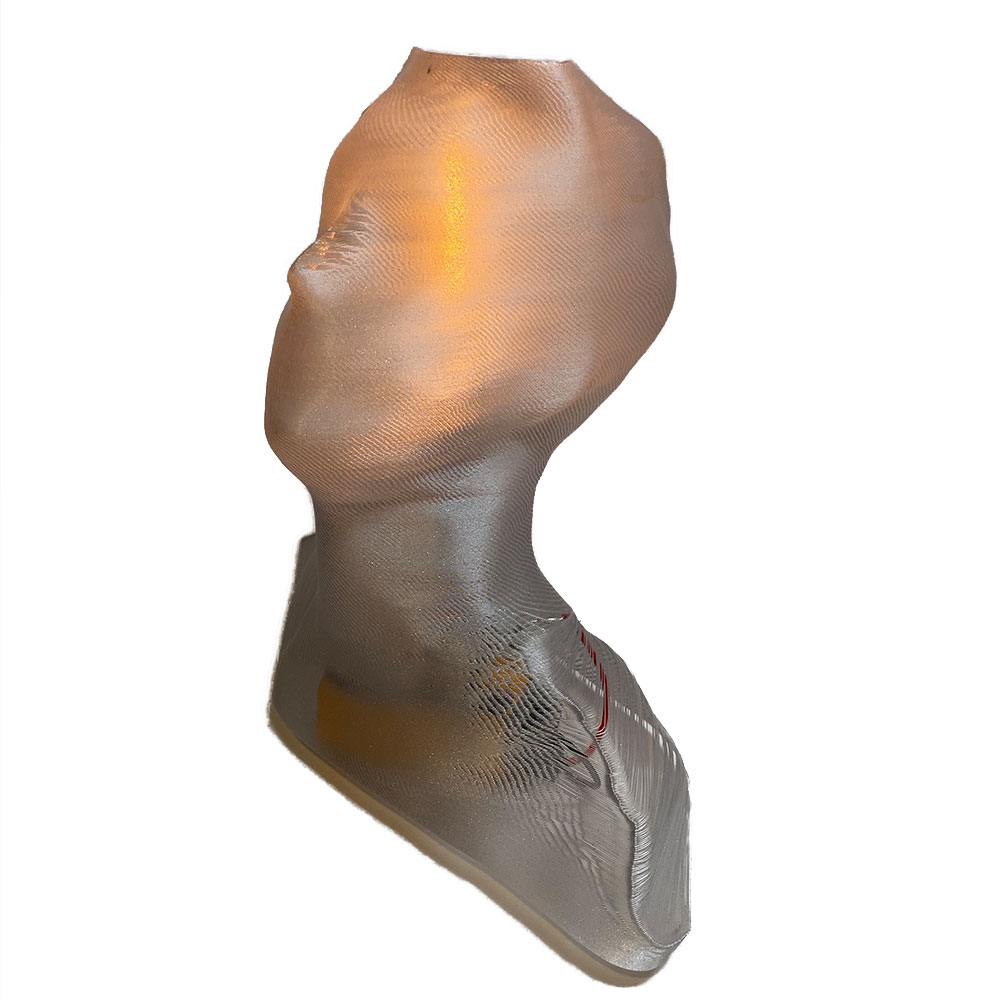
In order to deal with this, I just made a plane cut to remove the overhang and printed two fullsize (15cm tall) version. They were both printed with a .15mm layer height. The first has a extrusion multiplier of .4 and the second .33.
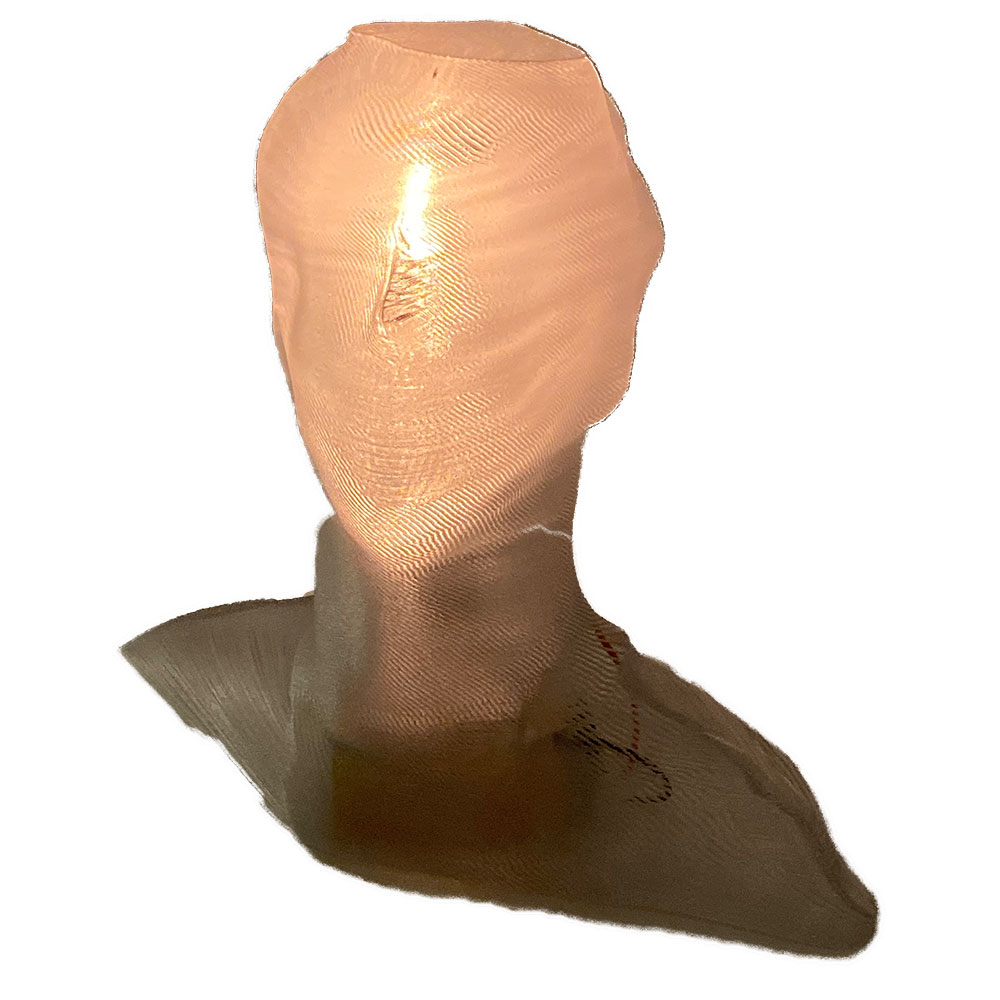
When noticing the pleasing optical properties I had an idea to put a bulb in to make it look like I had an idea.
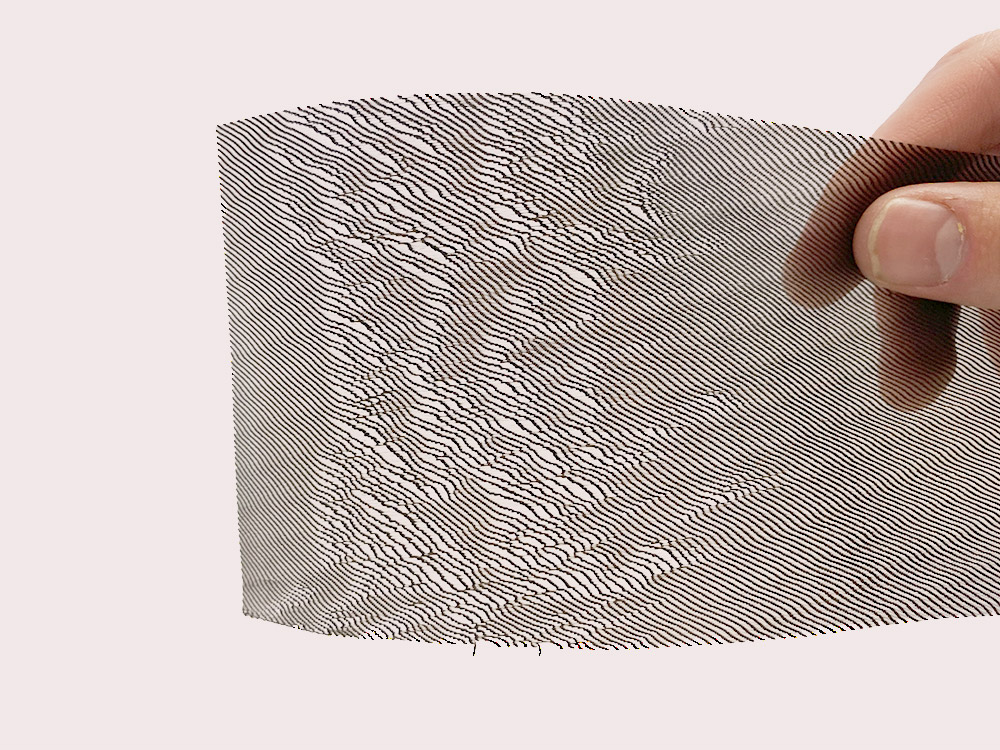
I also investigated how these could be use to print "textiles". For this I printed with the .2mm Fast setting with a .3 extrusion multiplier. The print took about 2 hours.
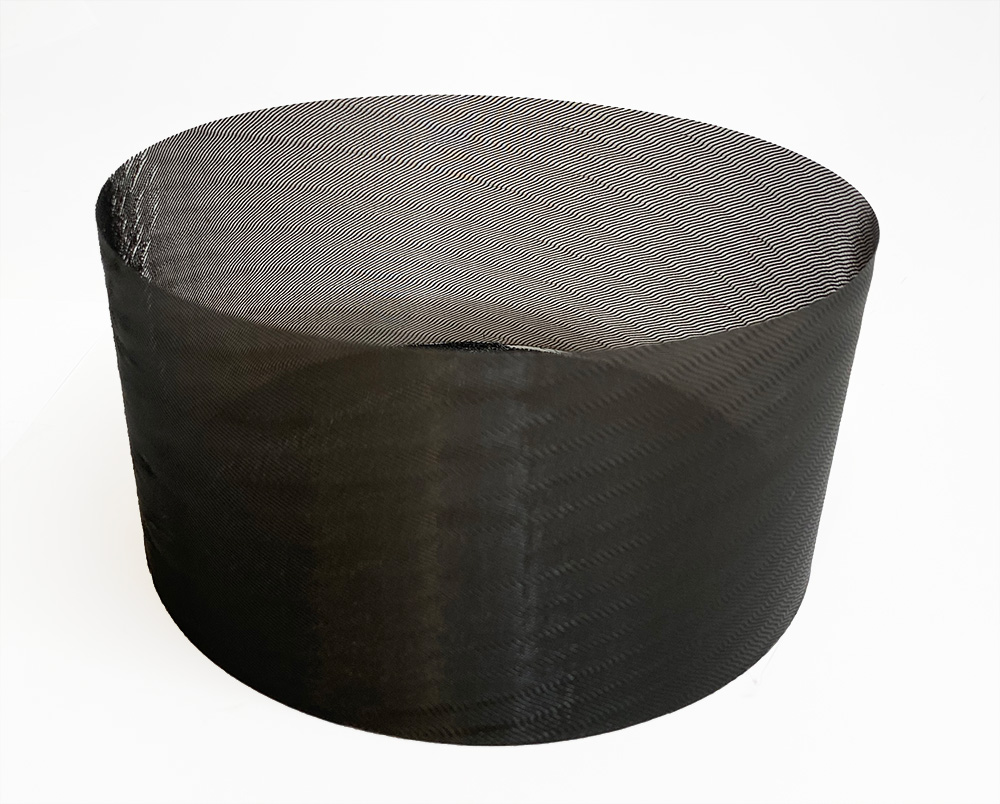
After cutting away the base I was left with a flexible textile with emergent patterns.
3D Scanning
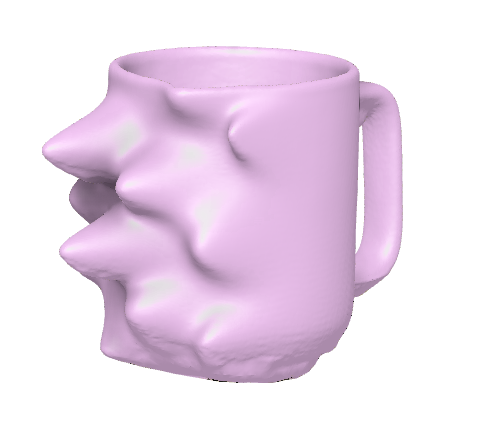
In order to get practice 3D Scannning, I used the EVA Lite to scan my mug
The scan generally went smoothly. The "Hard To Scan Surface" checkbox definitely improved scan quality.
