This week, we learned how to use the vinyl cutter and the laser cutter.
I decided to make a sticker I could put on one of my many water bottles (I have a sort of collection of water bottles with stickers). I chose part of the logo for the Christian campus ministry I worked for last year, since I had worked on making the logo, but had no sticker.
Here's the initial png:
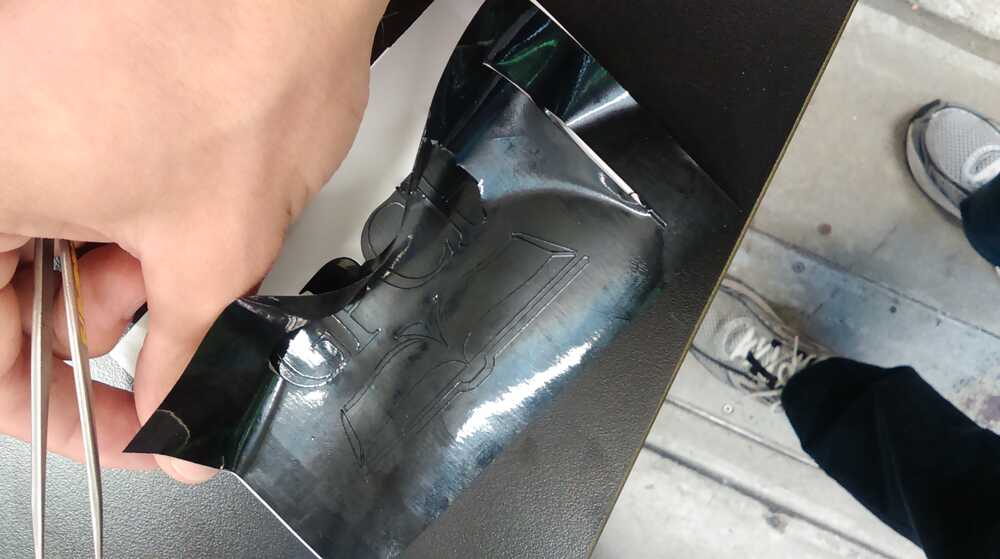
Here's the initial weeding step in progress:
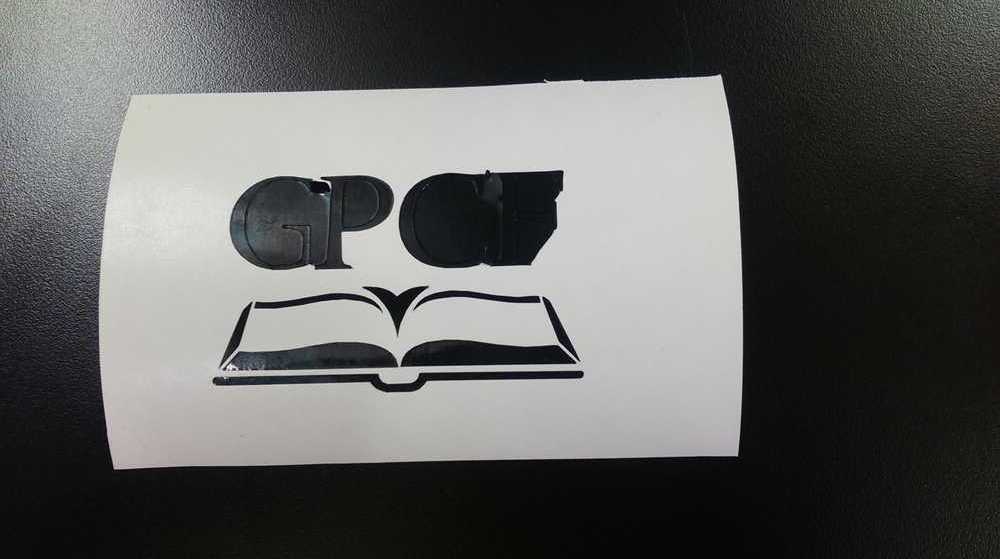
Here's the almost-weeded sticker:
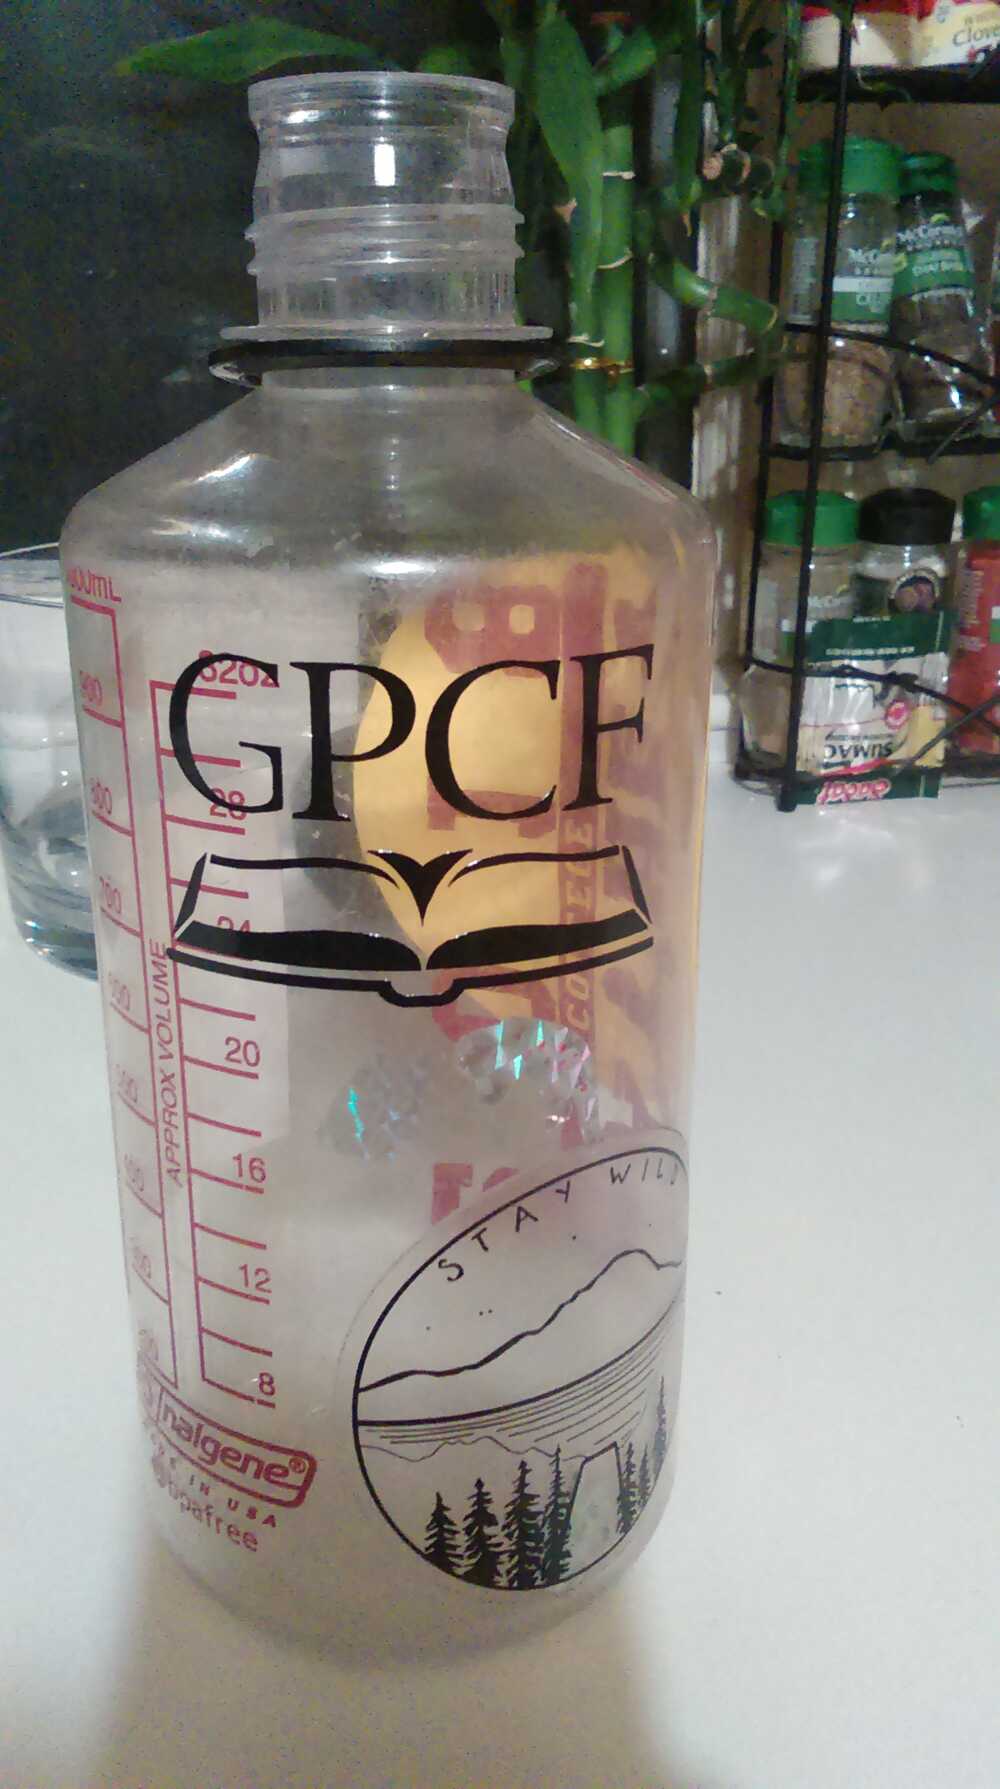
And here's the final sticker on my water bottle!
I tried cutting part of it in yellow (the closest thing to orange we had), but the yellow vinyl in the shop was really stiff and didn't cut the serifs well, so I left it black.
To start out, we had to characterize the laser cutter. Our group found that the right cut speed and power balance is important for getting cleanly cut and not burnt pieces. Too slow or too strong, and the pieces would scorch on the bottom; too fast or weak and they cuts wouldn't go all the way through. A good balance seemed to be about 60% power, 40 speed.
We then measured the kerf, or amount of material the laser removes while cutting, and found that it came out to 0.3 mm.
It was then time to start designing the construction kit. I wanted to make something flexible--a kit that could be used to creatively build all sorts of structures. I also wanted to make pieces that could connect directly, without intermediate connectors (Lego rather than K'NEX). Based on these goals, I came up with a parametric design for tiles that would fit together either in a plane or at angles by means of fingers and notches on the edges. I then added parametric door and window cutouts for architectural interest.
Unfortunately, I used a dxf file, which I can't show here. I tried to use Inkscape to save it as an svg, but the resulting svg, though it appeared correct in inkscape, would only partially display in any other program.
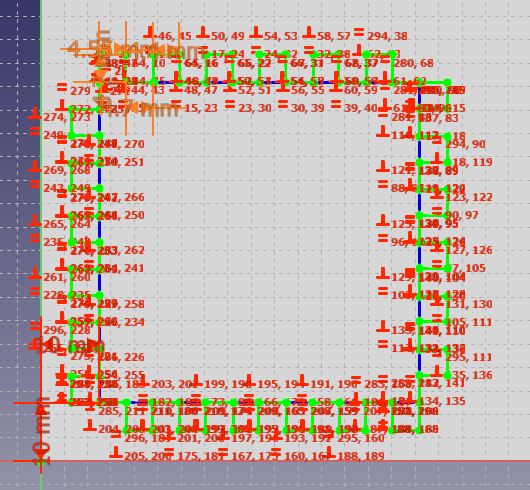
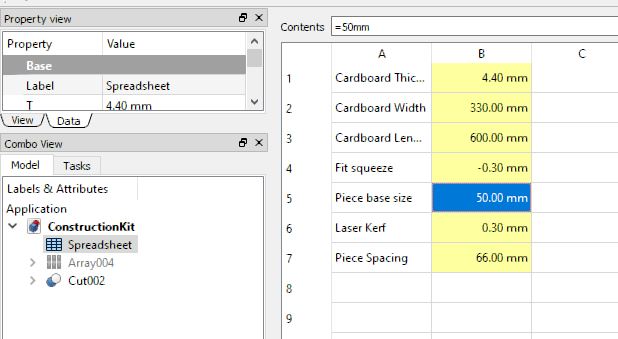
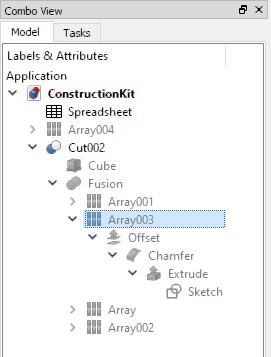
Here, however, are images of the basic parametric sketch, the spreadsheet holding the basic design parameters, and the design tree that resulted in the final profile, shown on the screen of the laser cutter computer right before cutting.

I first made a couple of test pieces to verify my fit, shown here:
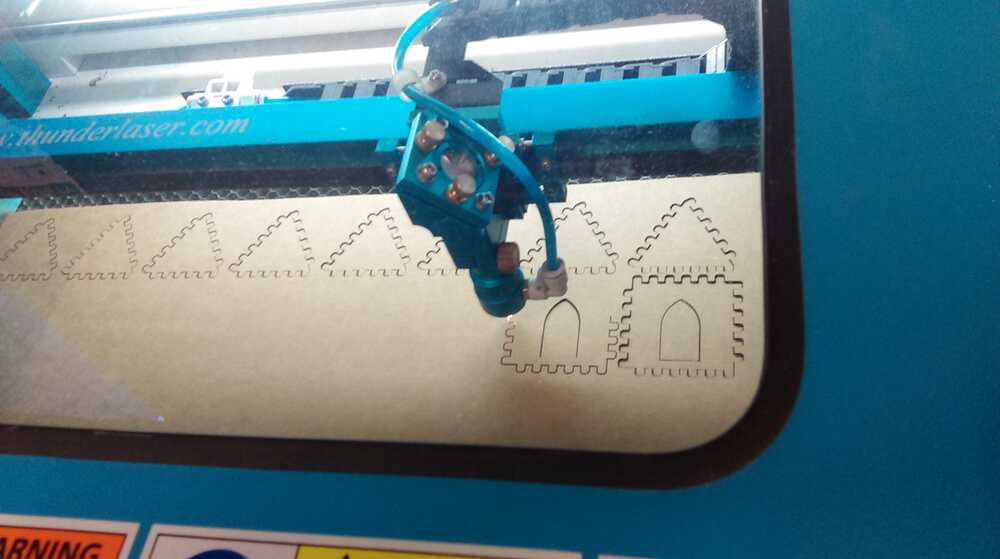
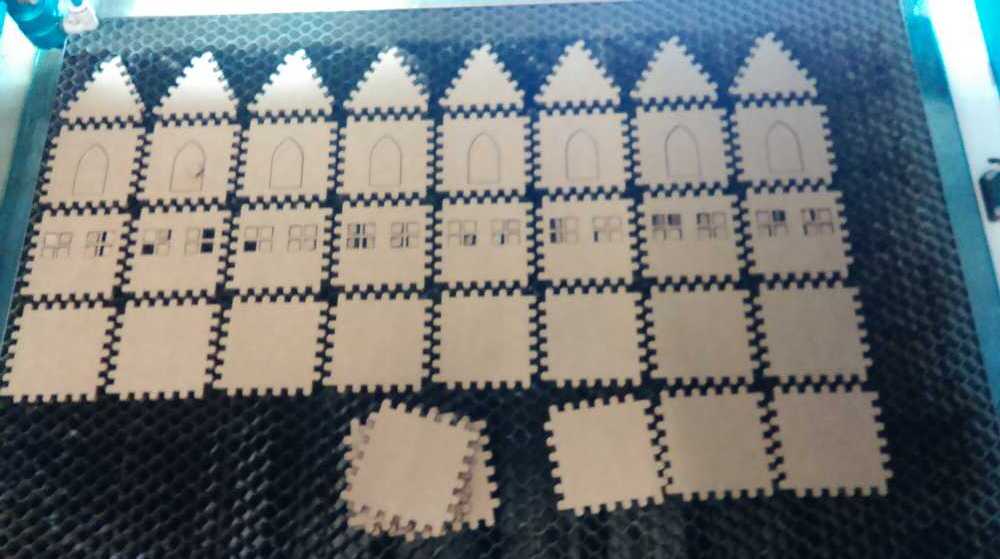
Then I cut out the whole set, which fit nicely on one board
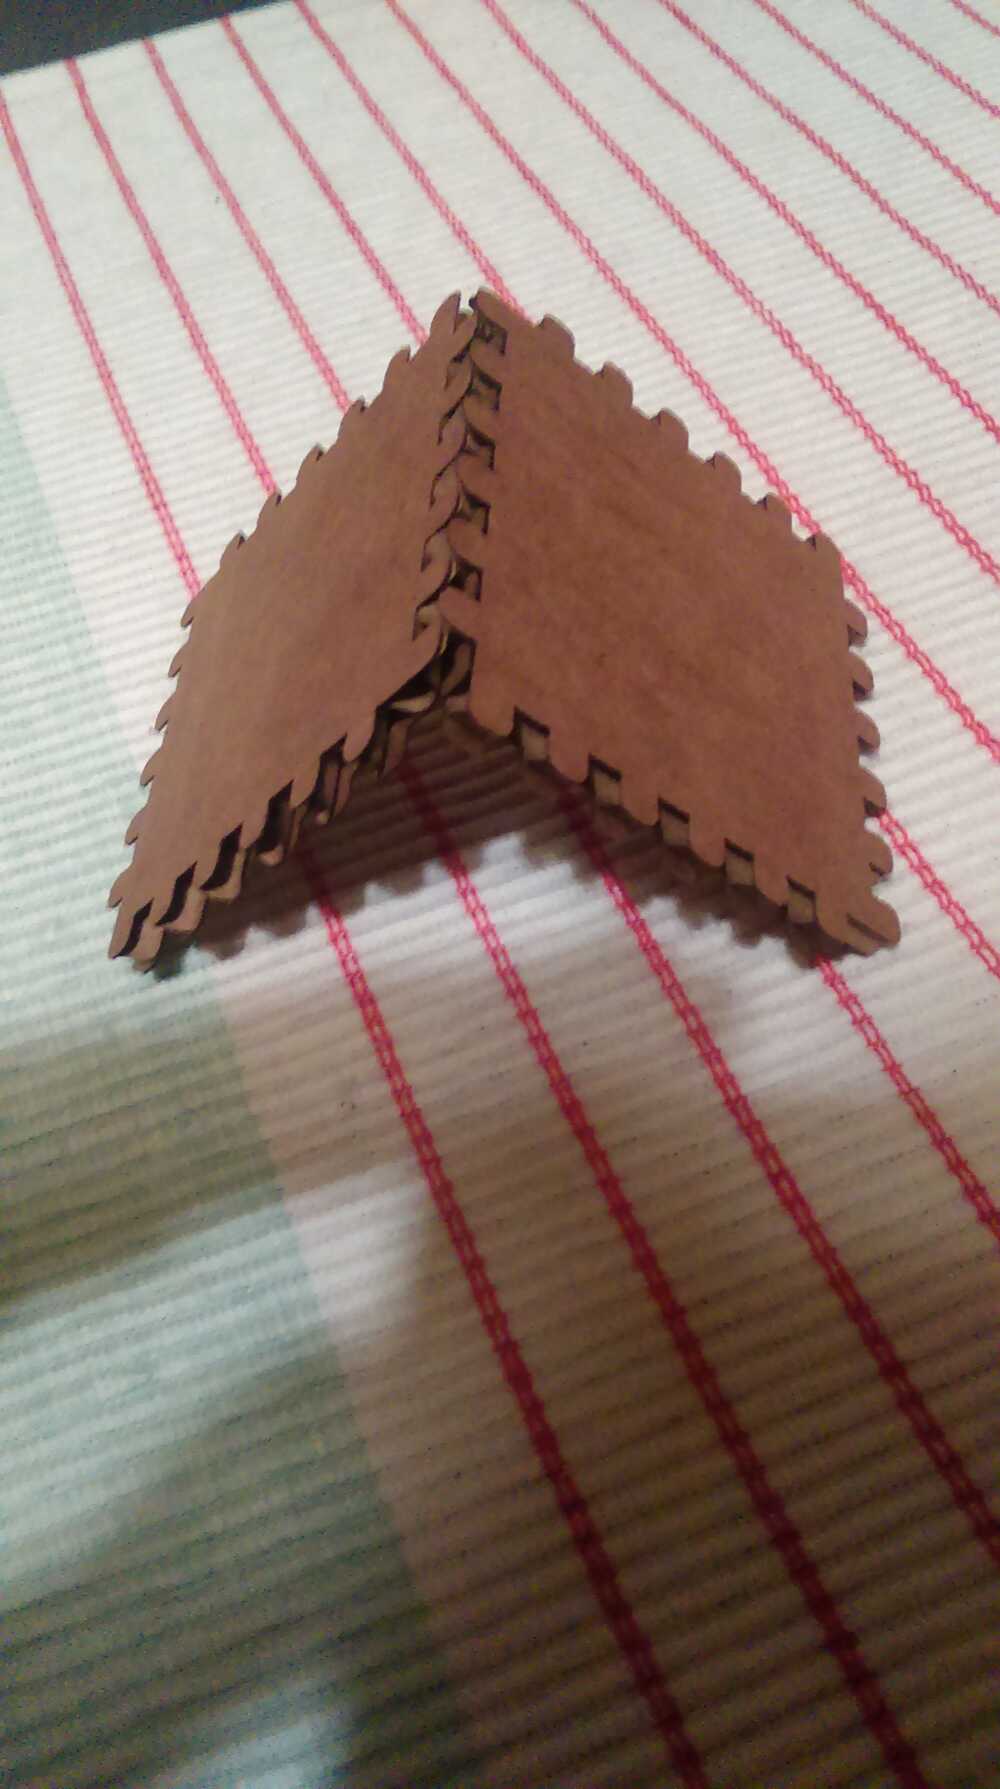
Finally, it was time to build some structures!
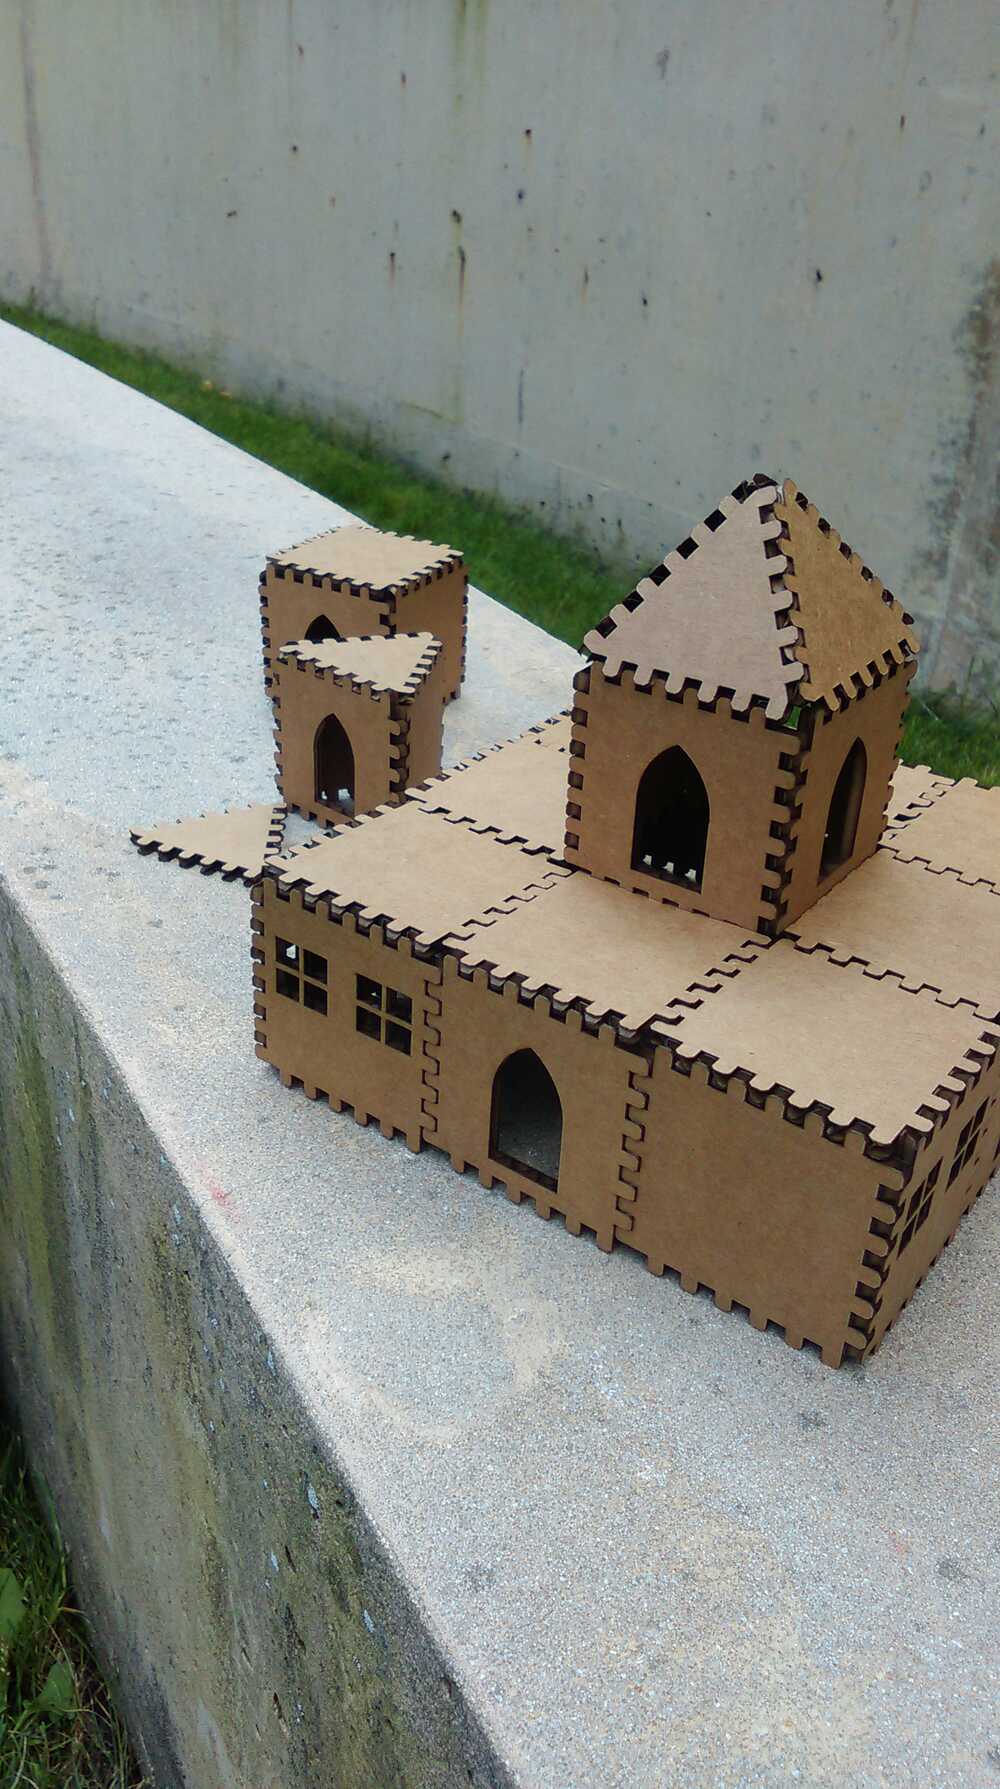
I had planned to make the pieces so that they could fit together flat in combinations of squares and triangles (bent hallways, for instance), but it turns out that I hadn't done my geometry quite right, so I ended up with an offset if I tried to tile triangles. That did result in some interesting doubled hallways though.

With that, it was time to move on (for now) to other tools, but I may be back to the laser cutter for some raster decorations for the final project. Stay tuned!