This week we learned how to do computer controlled machining on a ShopBot
This week, our assignment was to "build something big" using the ShopBot to cut out pieces from Oriented Strand Board (OSB). I've been wanting to make an adjustable standing desk converter with integrated electronic functionality for my final project, so I decided to use this week to make a prototype of the desk structure out of OSB (the final project will be nicer plywood). The goal was to make a desk that could lie flat for normal desk-mode, or raise up to at least two positions for standing-height work.
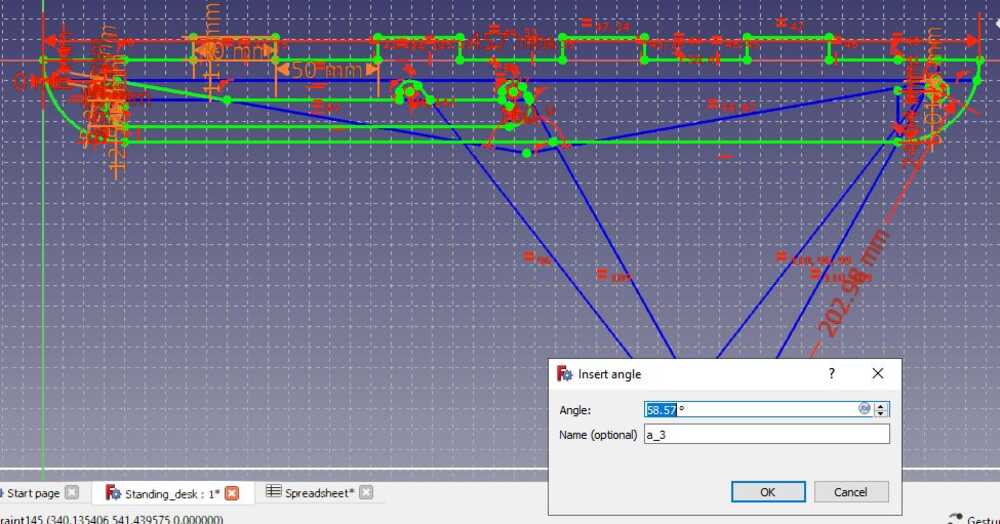
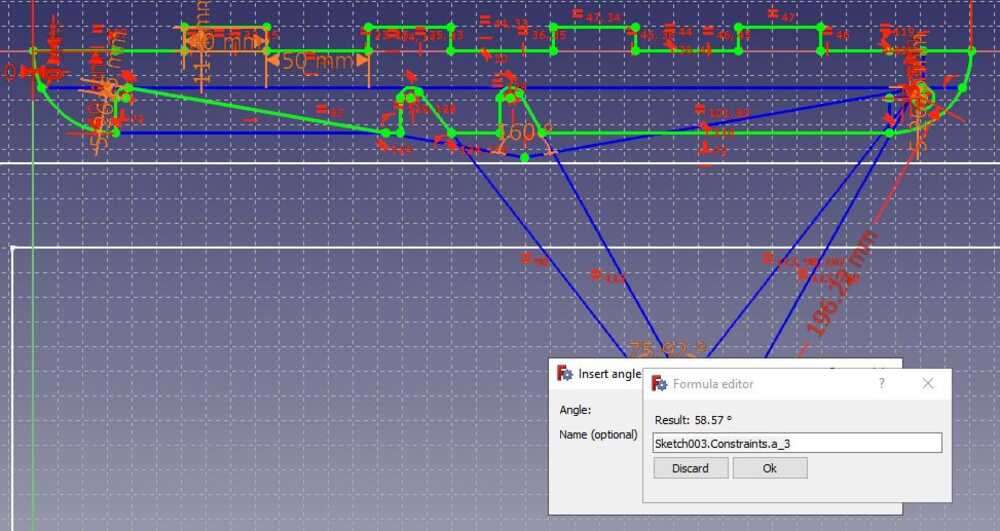
I designed the desk using parametric sketches in FreeCAD. I used a spreadsheet for keeping track of parameters such as the size and spacing of the tabs that would hold the top and base to the brackets, but ran into difficulties when I started to design the slots that would stop the desk arms in the right positions to keep the desk level. In order to do this, I had to make a certain angle in one sketch equal to an angle in another sketch, but I couldn't simply put the angle in a spreadsheet because the angle depended in a complicated way on other sketch parameters. After a while, I figured out that it is possible to give names to variables in one sketch and then to refer to them from any other sketch using sketchName.Constraints.variableName. This was a game-changer!
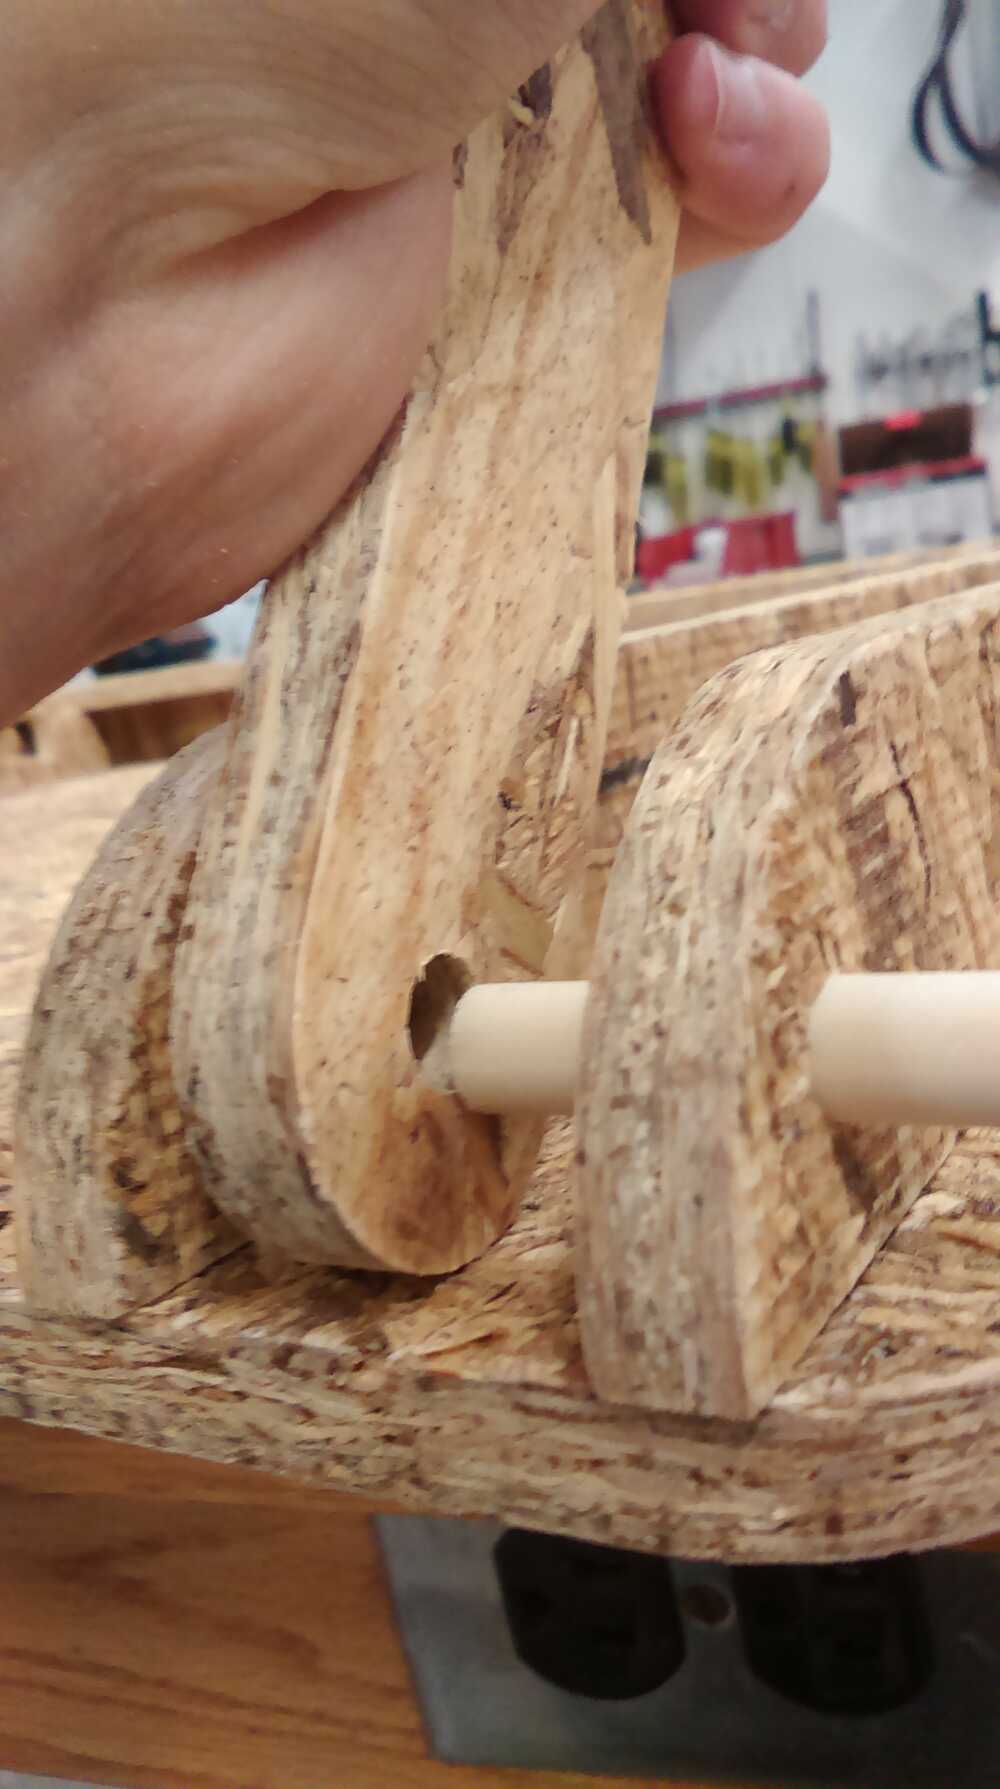
Prior to finalizing my design parameters, I ran some test cuts in order to check whether my tongue-and-slot and dowel joints would work correctly. I cut a sample of representative parts, and also cut a series of holes with radii changing by 0.25 mm from one to the next.
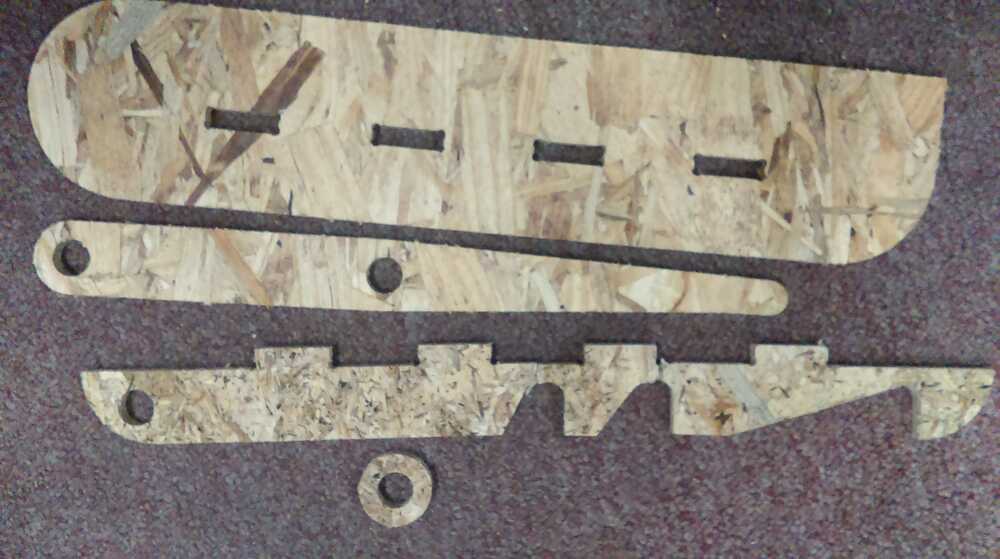
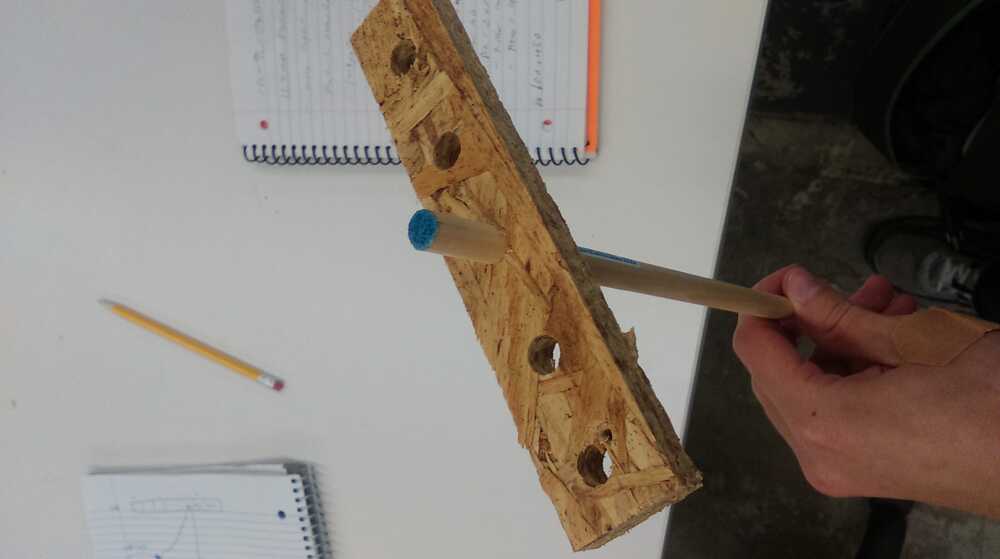
I discovered that OSB is more fragile than I realized by breaking some of the test parts while assembling them, so I increased the thickness of some critical areas in my design. The tongue-and-slot joints were great with no clearance, so I left them. I also decided that a 0.25 mm change in radius of a hole was enough to go from snug to loose for my joints.
The final result of the design phase was an SVG file containing all of my parts laid out in 18"x24" rectangles (to match the size of the ShopBot Desktop bed).

I used ShopBot's Aspire software to do my toolpath design.
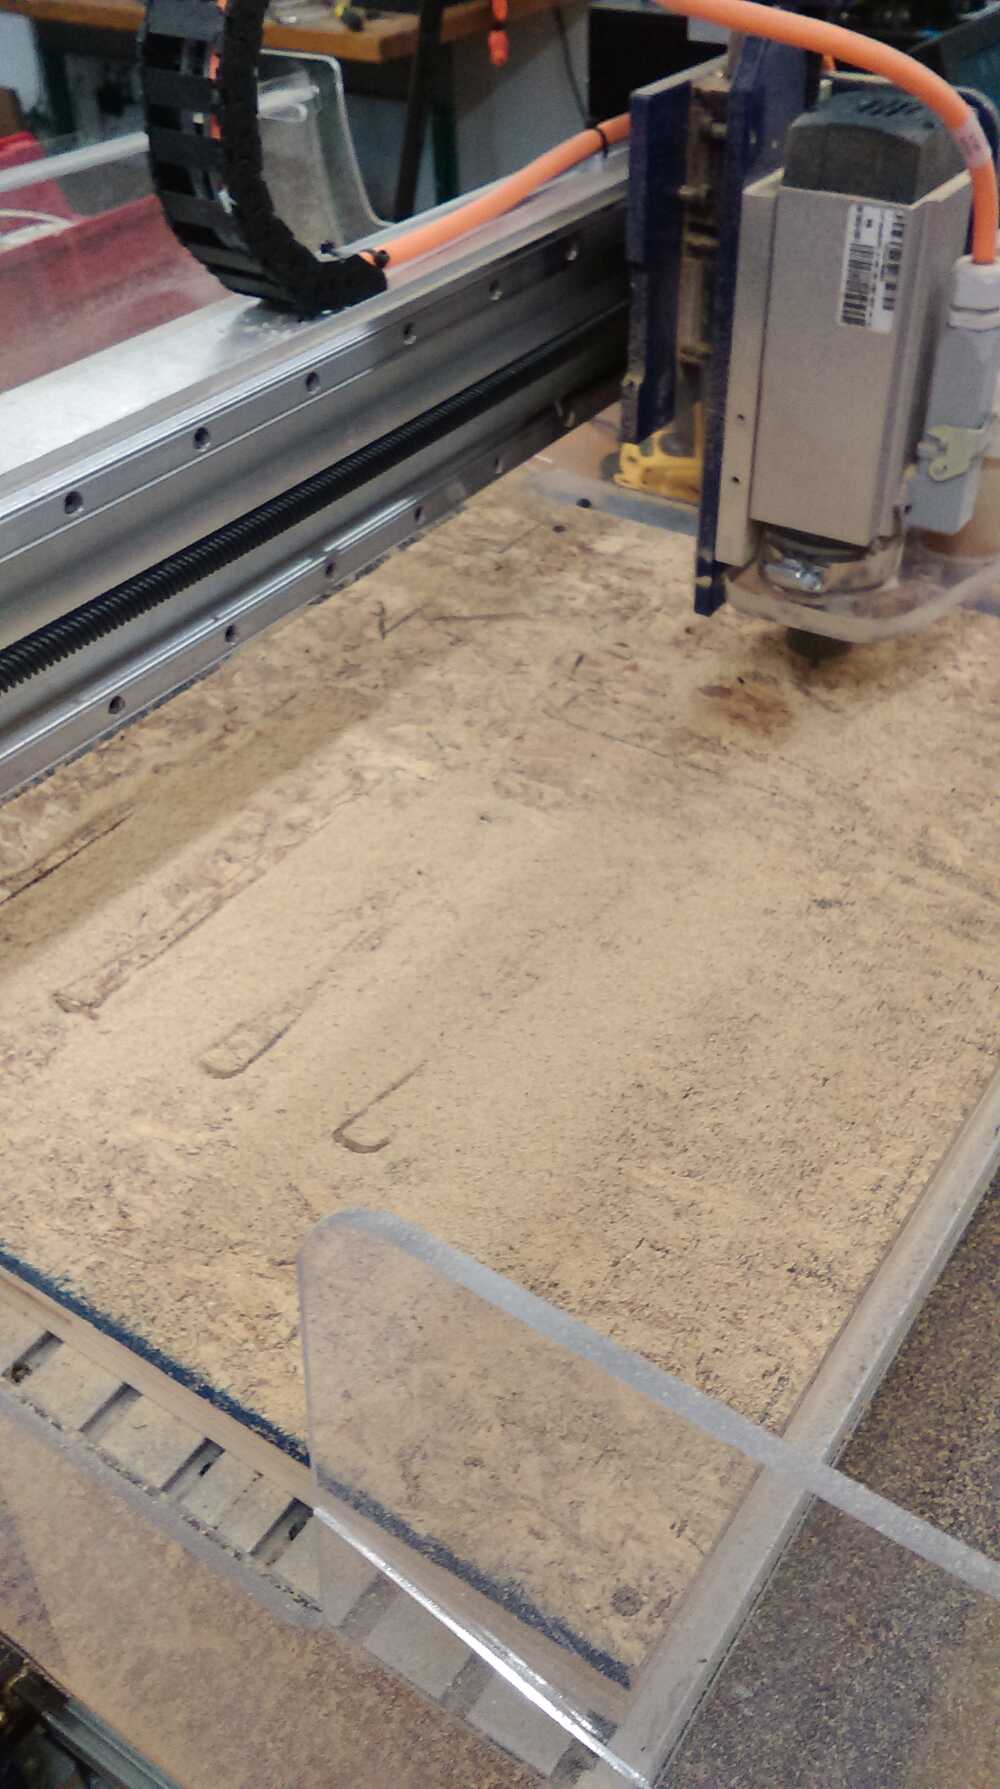
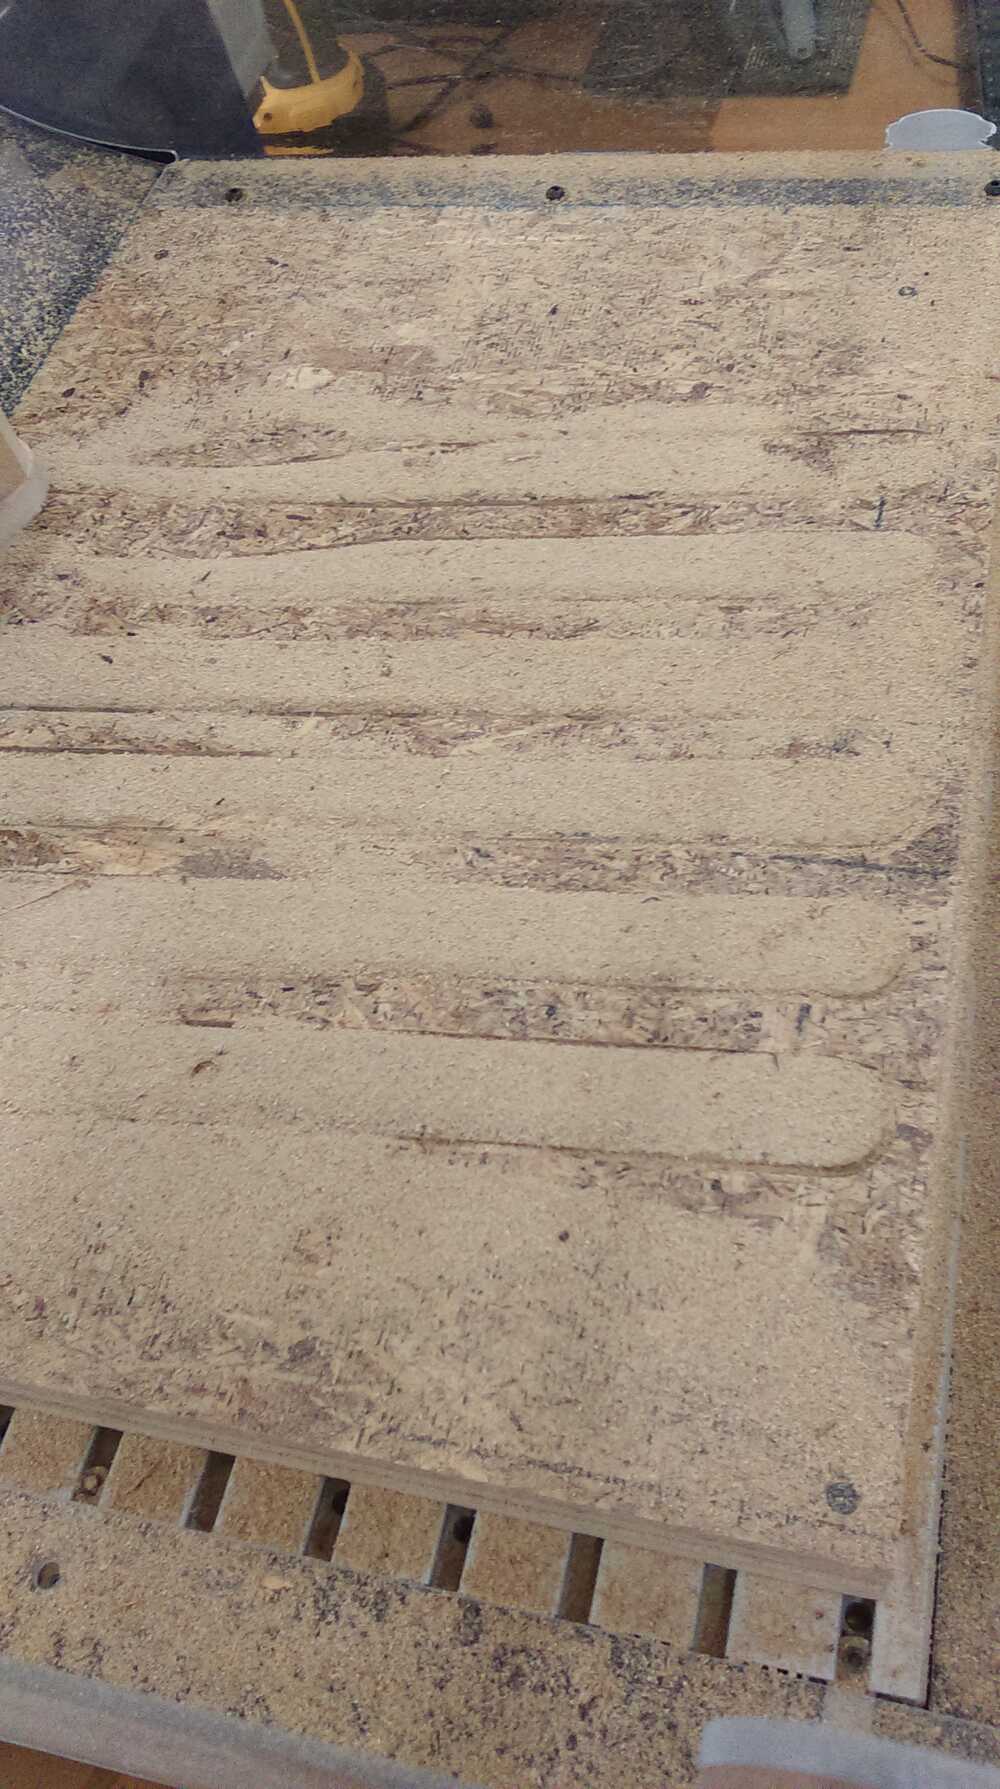
I cut all of the parts from 18"x24" sheets of OSB (Obnoxious Splinter Board) on the ShopBot Desktop. Because I wanted the desk to be as large as possible within those limits, I needed to cut a desktop with almost no clearance around the edges. This mean there would be no room for screws to hold the piece down. I therefore used screws at the very corners to hold the piece while I cut out the interior slots, and then used scrap wood to clamp the piece through those slot holes so that I could remove the corner screws and cut the profile around the edges.

While cutting some of the long arms, I discovered an interesting phenomenon; although one might think that there is no difference between the inside and outside of a cut for the tool, the vibration modes of the pieces are different for the cutouts than for the surrounding material, so the dust locates preferentially to the arms. This is just a cool thing I noticed and probably is not useful in this context.
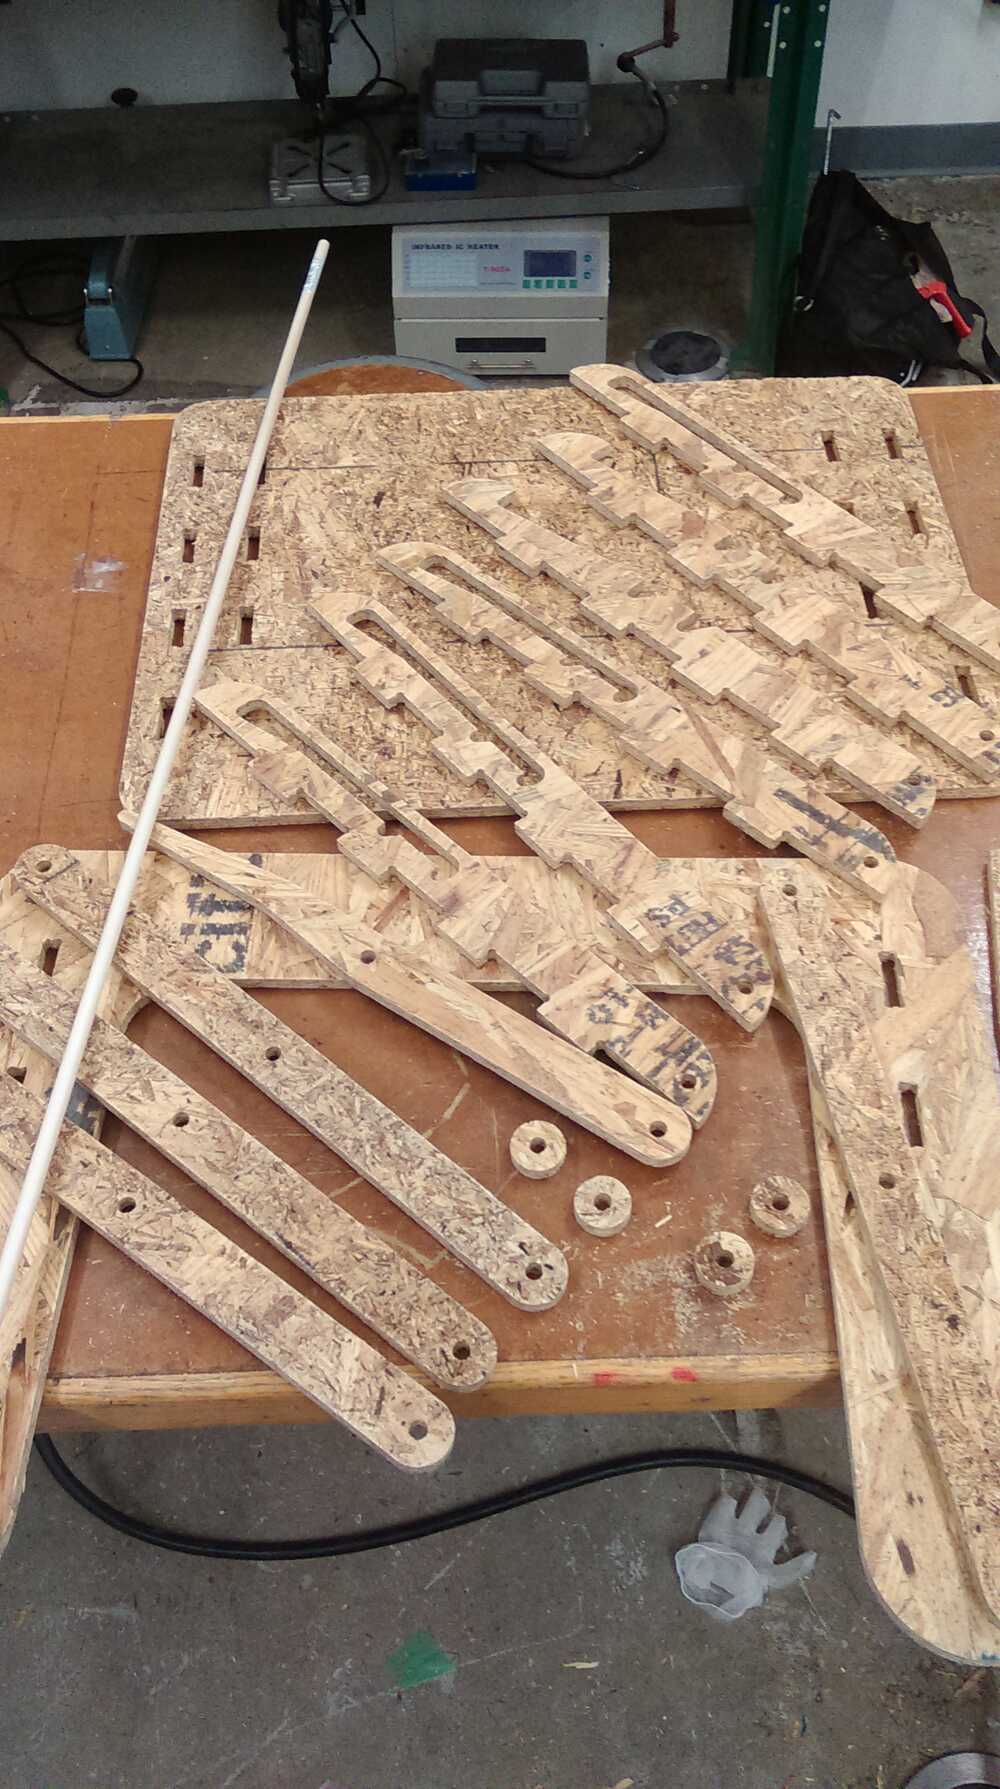
In the end, my desk parts required four 18"x24" pieces of OSB. After some sanding to remove splintery edges, they were ready for assembly.
Just a few steps in, I discovered a design error; I had moved some holes in the brackets without leaving enough clearance for the arm that would link in. This was pretty easy to fix with a little scroll saw work to make the arm head a bit smaller.
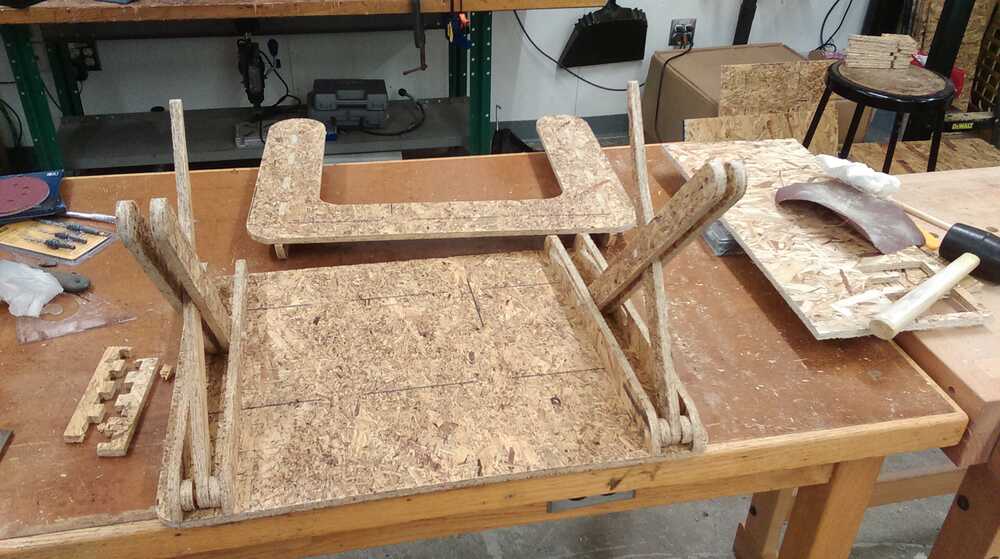
The desk looks nice in the low and high configurations!
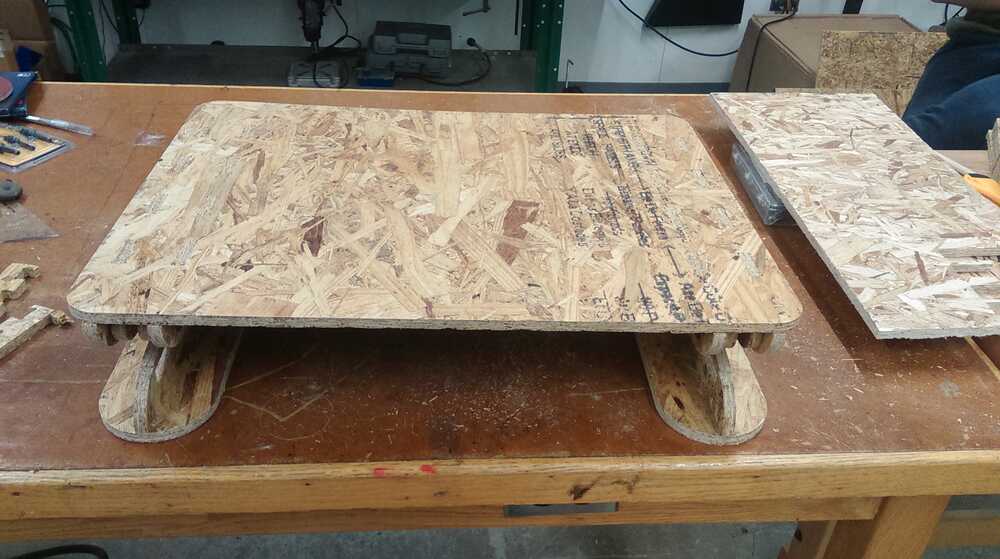
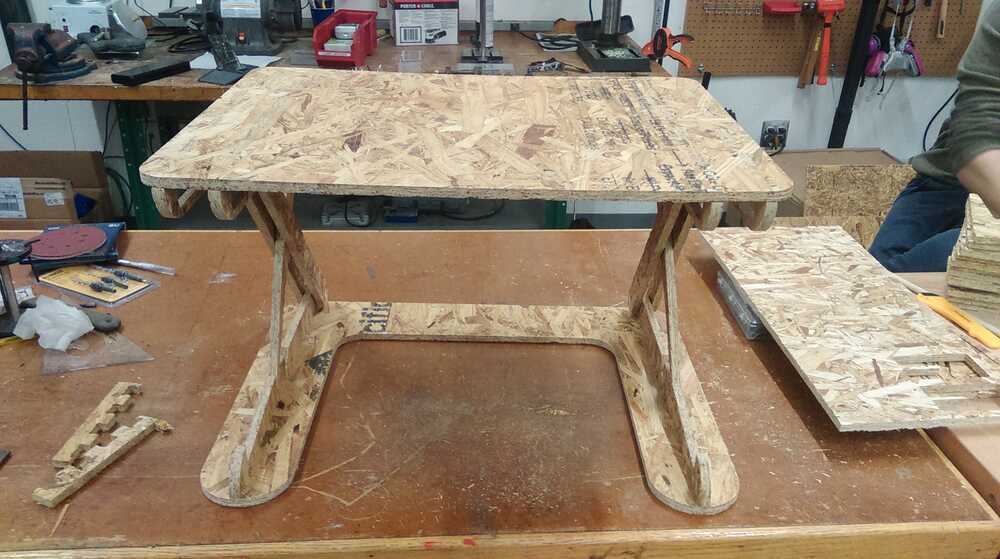
As is the goal for a prototype, I was able to discover some design flaws in this version. To start with, because my notches are fairly deep, it is somewhat difficult to lower the desk from its raised position. This could be fixed by slightly decreasing the notch depth. The desk is also a bit unstable, so I'll need to add cross-bracing in the next iteration. I also think I'll modify the lower arm-and-notch system so that it is more like the upper one becase the current system can both slip side-to-side and allow the whole desktop to flip over backwards. Finally, I'll have to figured out a counterweight system so that the desk can be raised with some weight on top.