This week we learned how to create and mill 3D toolpaths and how to mold and cast out of various materials
The goal for this week was to design and mill a mold out of machinable wax that could be used to cast a flexible mold out of OOMOO, from which we could then cast a plaster final product using US Gypsum drystone or hydrostone. This may seem roundabout, but the flexible mold should make demolding easier than it would be if we were casting plaster directly in rigid wax.
I had some trouble thinking of what I could make from a plaster-like material which isn't very strong in tension. Plaster doesn't make very good mechanical parts, so I couldn't think of a way to use it for my desk final project. After some thinking, I decided to make a small box with a lid.
Although we had been shown a design process in which the desired part was made in a CAD program, and the necessary mold-design was done in ShopBot Aspire, I wanted to do the whole mold design in FreeCAD, leaving only the toolpath planning for Aspire.
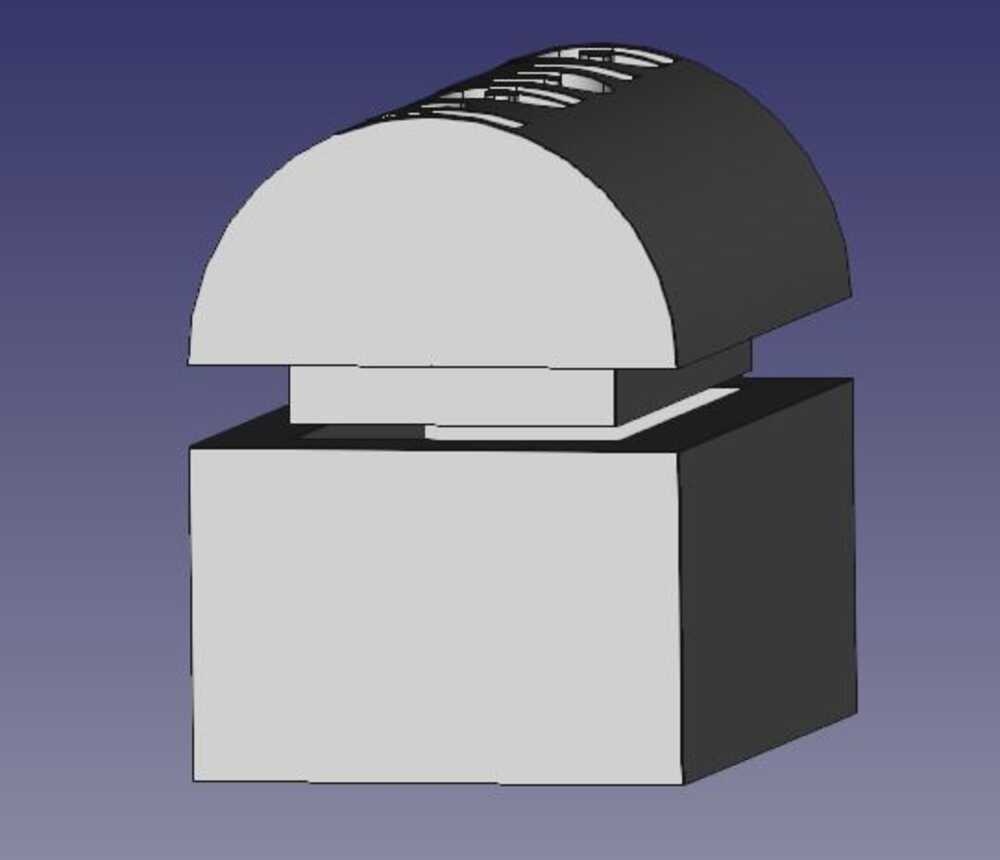
First, I made a model of the box itself. I found a font for the text on the lid that looked like it would be easily machinable (BauHaus93).
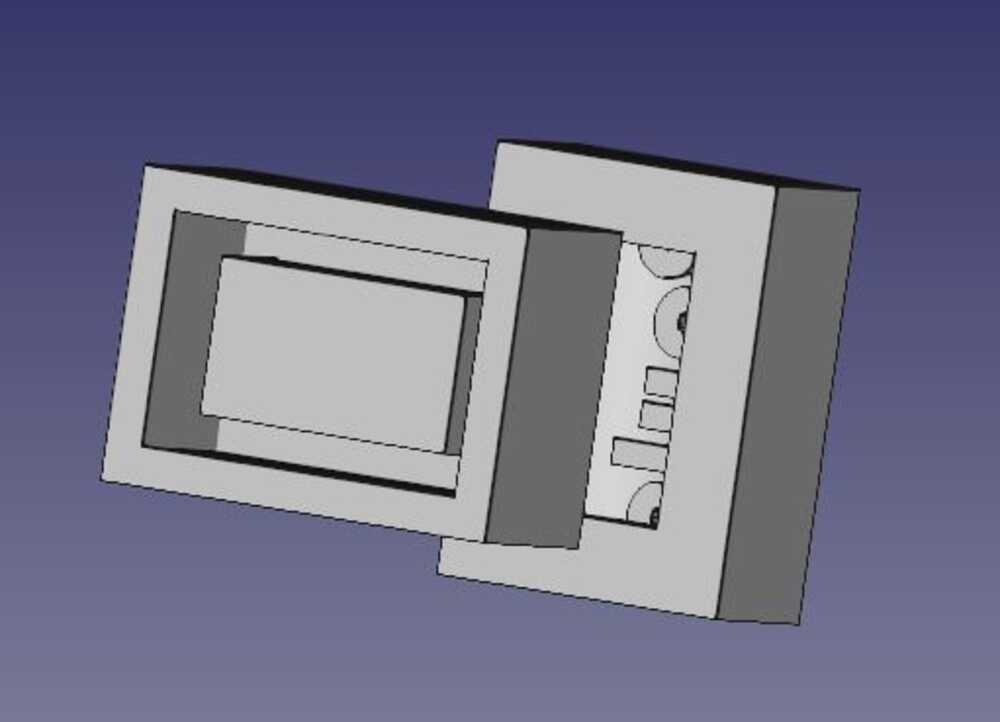
Then, I used this model to design the silicone molds that I would need to cast the plaster. I was planning on doing open-top molds, so I didn't need a sprue or vent.
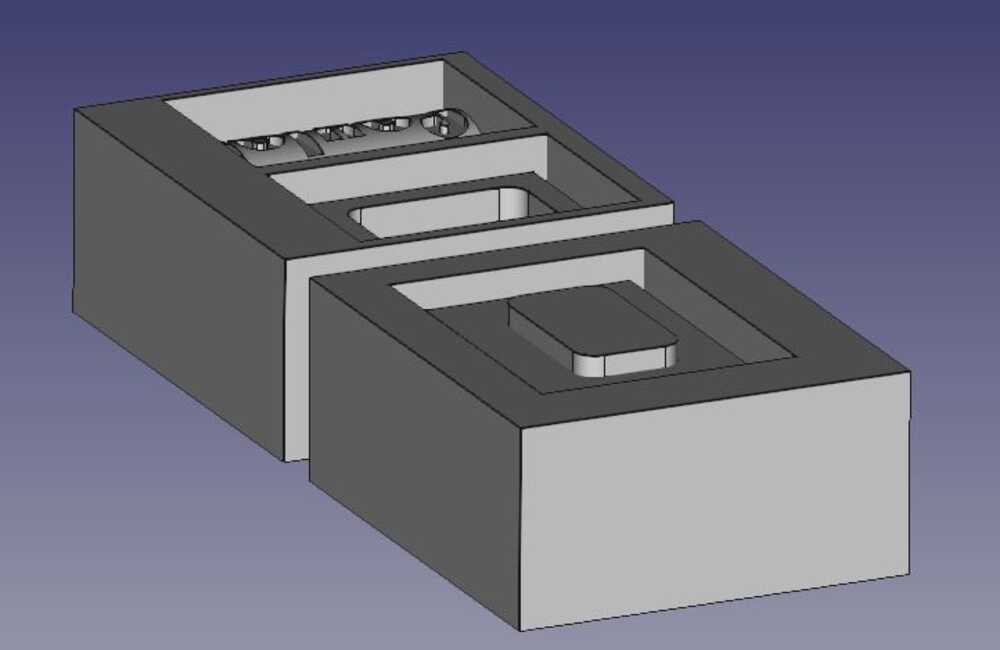
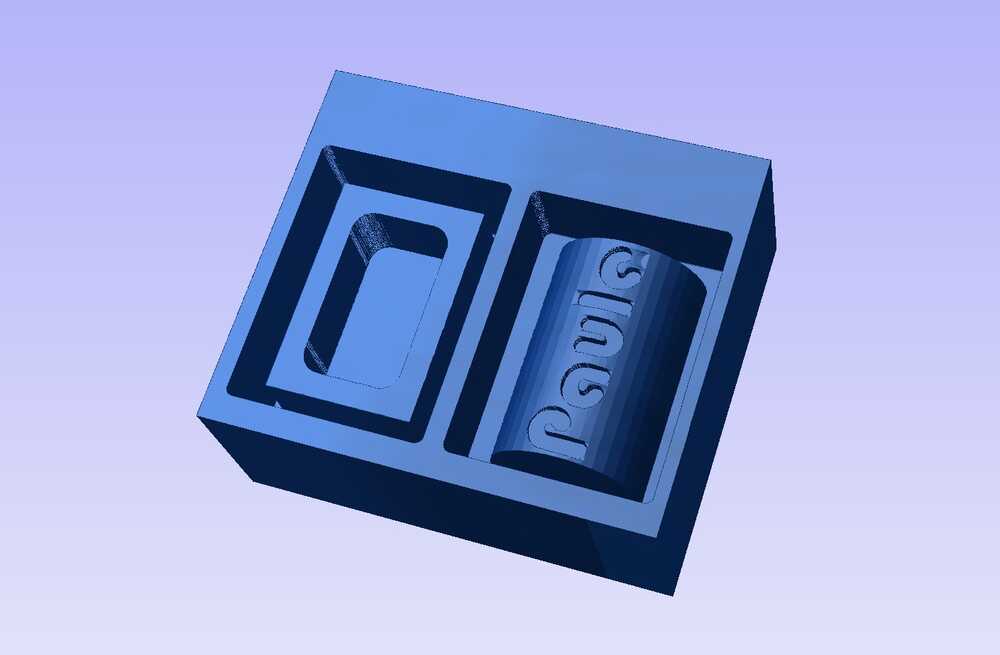
Then I modeled the block of wax and the profiles I would need to cut in the wax to cast the silicone molds. I split the mold for the lid so that I could cast the more complex structure. I also added a lip around the second part of the lid mold to help with registration. Finally, I added fillets in the inside of the box (which cannot be machined as a corner) and on the lid, so that it matches the inside of the box. The other inside corners wouldn't matter because they would just affect the outside of the silicone mold.
In the spirit of doing everything possible in FreeCAD, I played around a bit with path planning in the built-in path workbench, but I found that Aspire was really easier to use for this, so I didn't go very far with this.
In Aspire, I set up a rough cut and a finish cut. Since my piece had fairly deep straight edges, I had to make sure my tool could cut to these depths. Due to limited tool choice, the only tool I could find (besides very large diameter mills) that could cut deep enough was a ball-end 3-flute 1/8" endmill, so I set up my paths for this tool. Using the preview tool, I could check to make sure the details (like the text) were going to be correctly milled.
I started milling on the ShopBot Desktop. Immediately, though, the tool started whining loudly, so I stopped it. After some thinking, I realized that the machine was set up for a one-flute tool, while I was using a four-flute tool. That meant I should decrease the RPS and increase the feed rate. Having decreased the RPS from 240 RPS to 80 RPS, and set the feed to 2 in/s, I started again. This time it went great, except for a bit of whining whenever the tool slowed down to change direction.
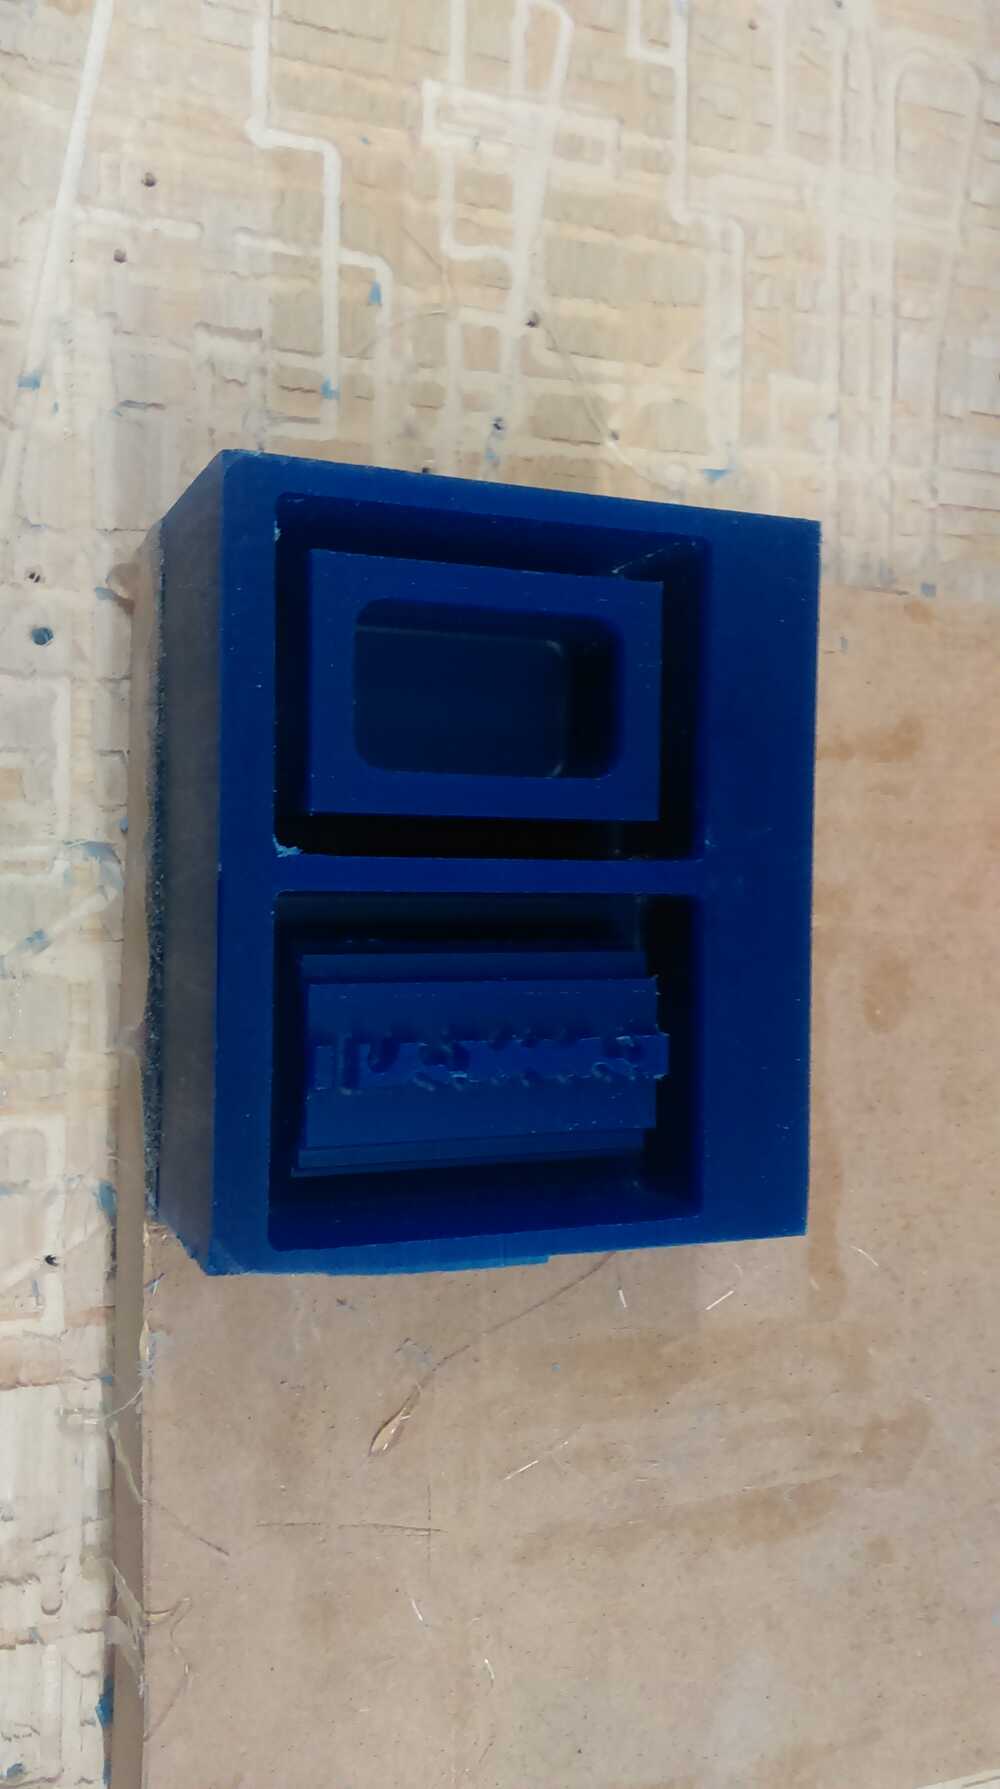
After the rough cut, I did a finish cut with the same tool, but with 10% stepover. This gave a very nice finished surface, but did take a while.
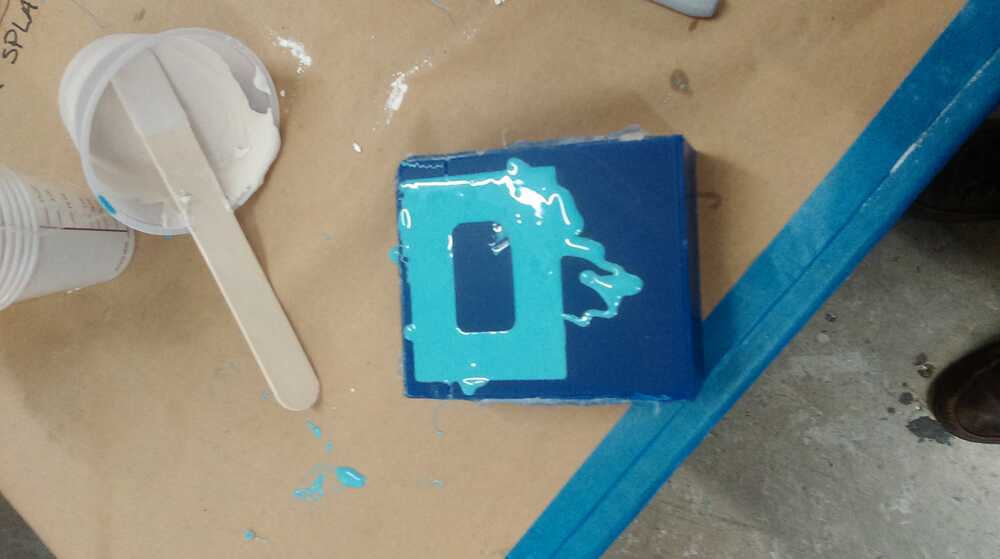
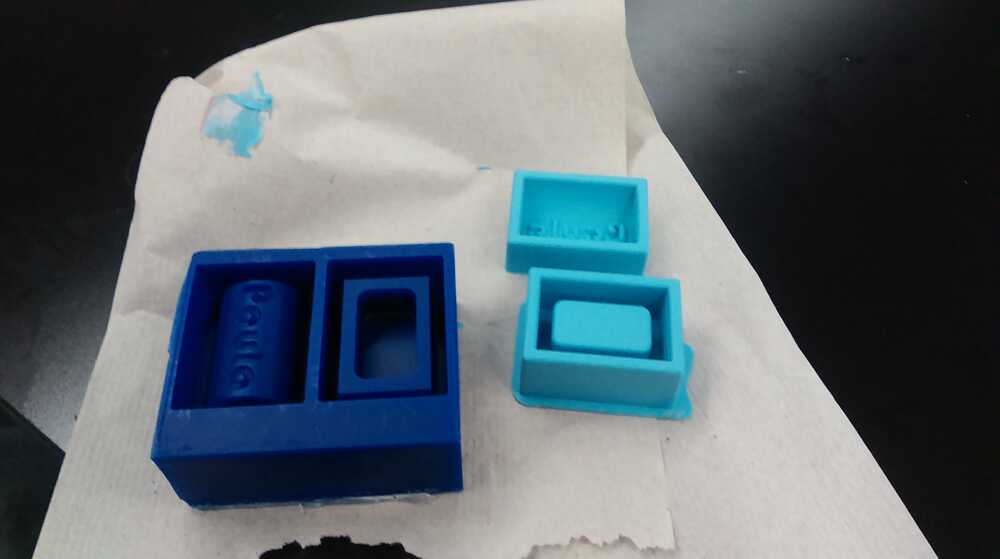
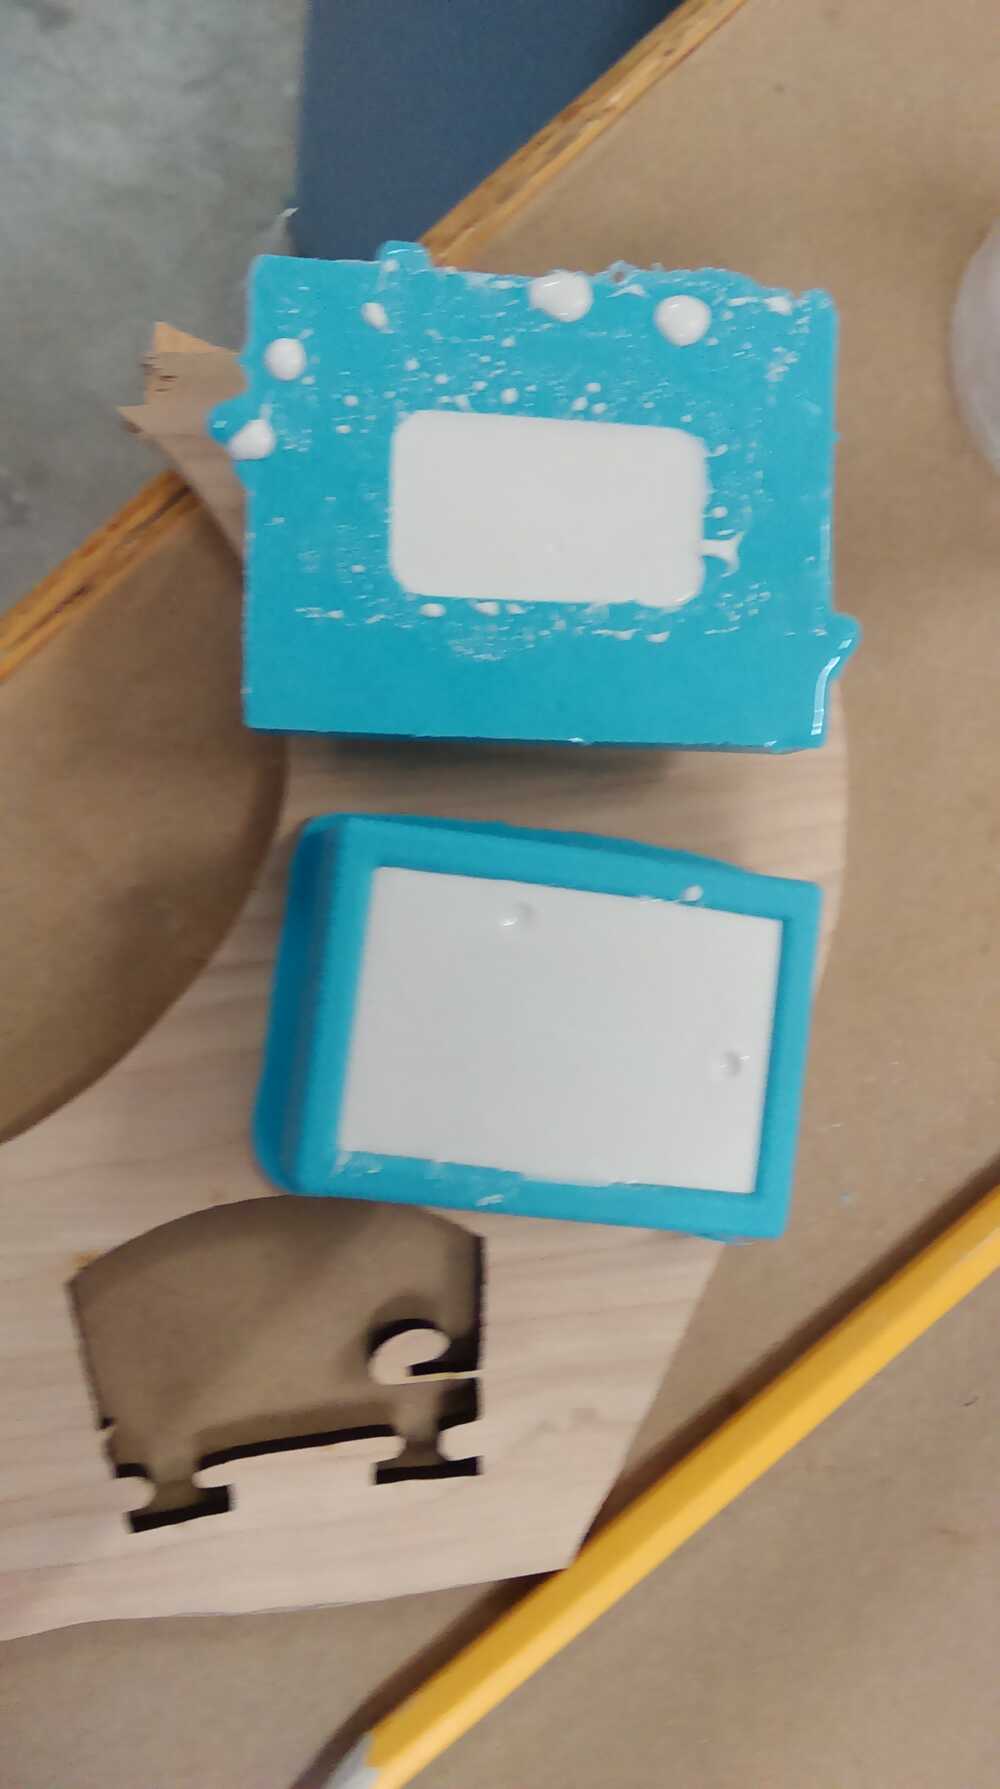
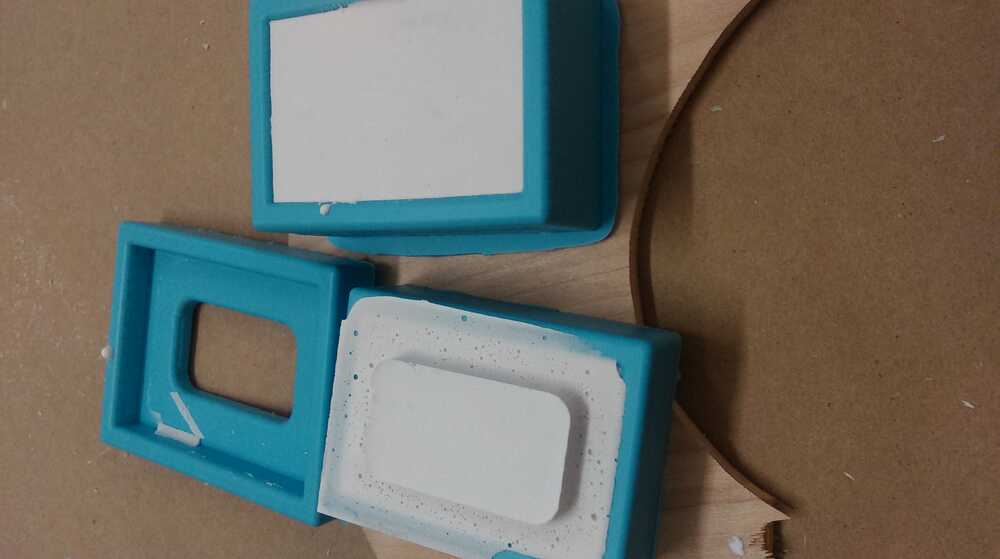
Now it was time to pour the silicone (OOMOO). I mixed the two components in equal proportions by volume until the striations disappeared. Then I poured into the wax molds and let them set (overnight for two, 90 min for the third). The resulting parts were very nice, without bubbles ( except for a few on the surface, which doesn't matter).

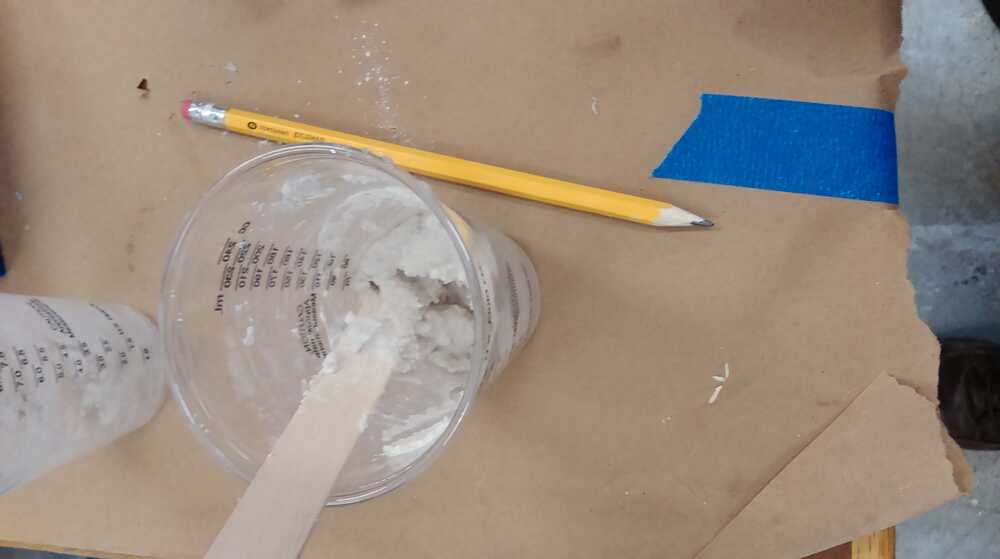
Now it was time for the final pour. I decided to use drystone, which is a more modern material than hydrostone, and is specially designed for molding and casting without requiring a drying step after removing it from the mold. The directions said to use 20g of water for 100g of powder. When I first mixed the powder and water, it formed a very thick sludge that definitely would not pour:
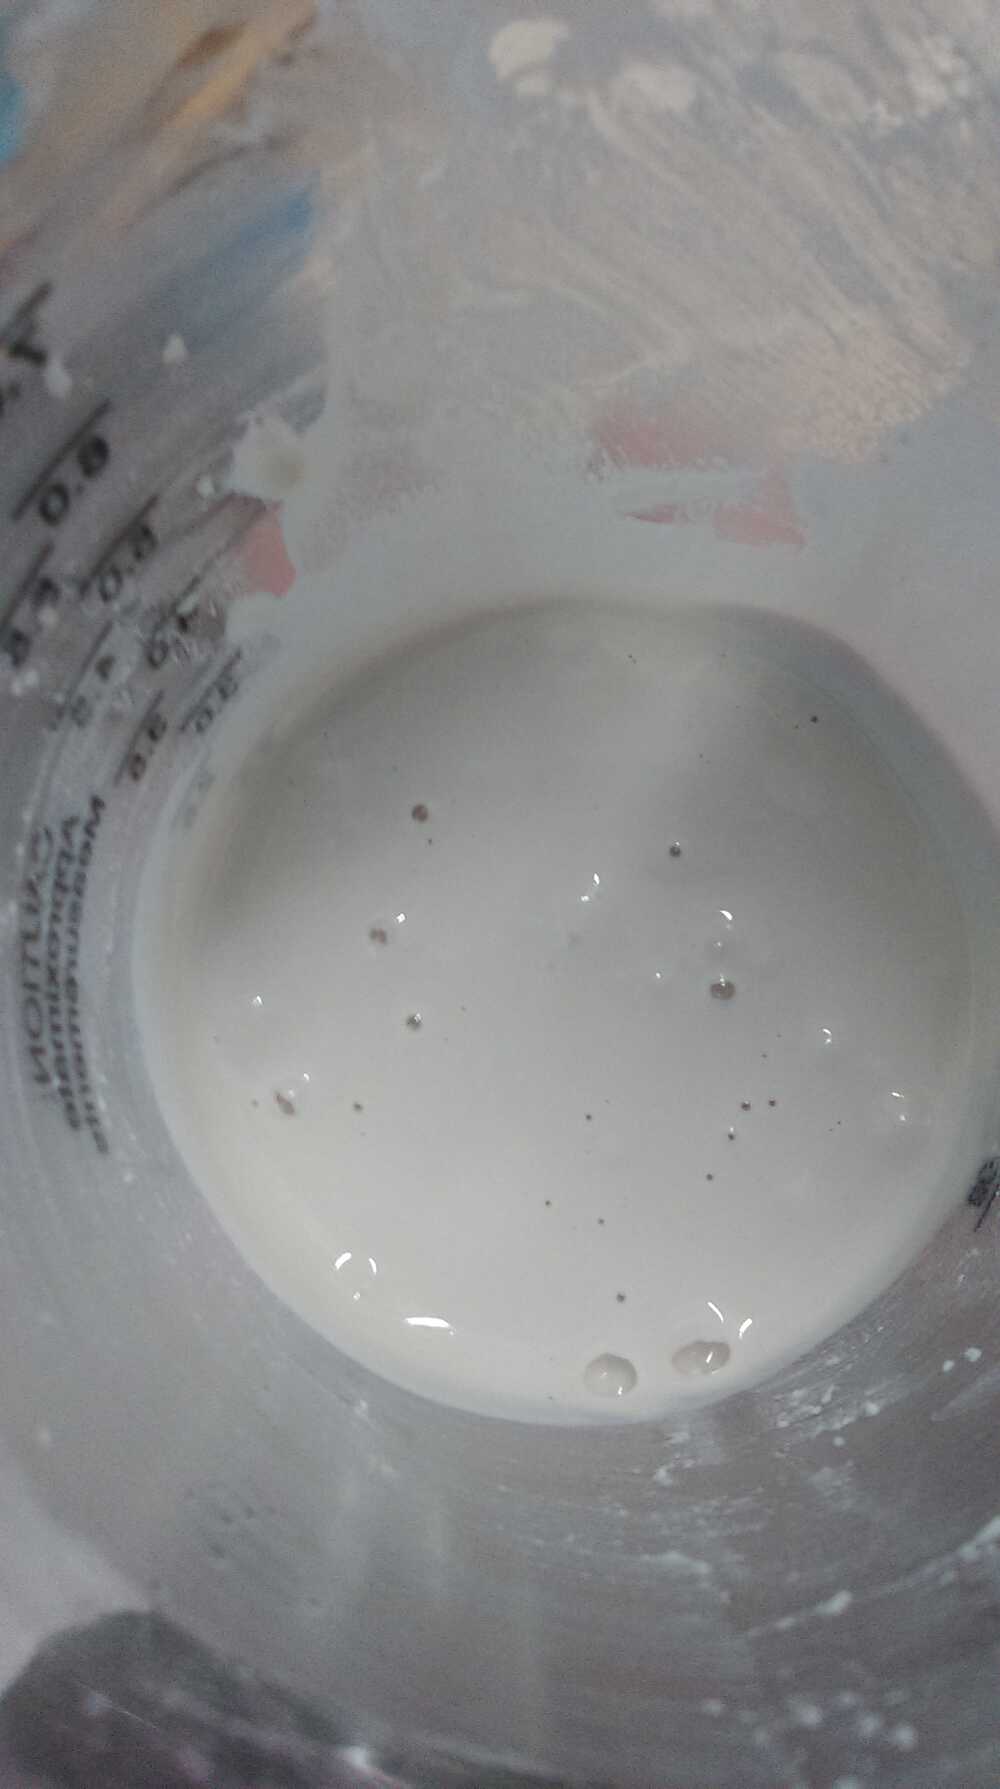
I thought about trying to add more water, but I decided to follow the directions and see what would happen after stirring for five minutes. It wasn't easy to stir the thick sludge for five minutes, but when I was done, it had formed a non-newtonian fluid that would stiffen up when being stirred or poured, but would liquefy upon letting it set or vibrating it.
I then carefully poured (or scooped, since it's hard to pour a non-newtonian fluid) the drystone into my molds, tapped and shook them to liquefy the drystone and let bubbles rise out, and let them sit in the Harvard shop to set.
I didn't get to the drystone pouring step until 12:00 PM on Wednesday, so the drystone is currently at Harvard setting. After class, I'll go see whether I have a box, as planned! Check in later for an update.
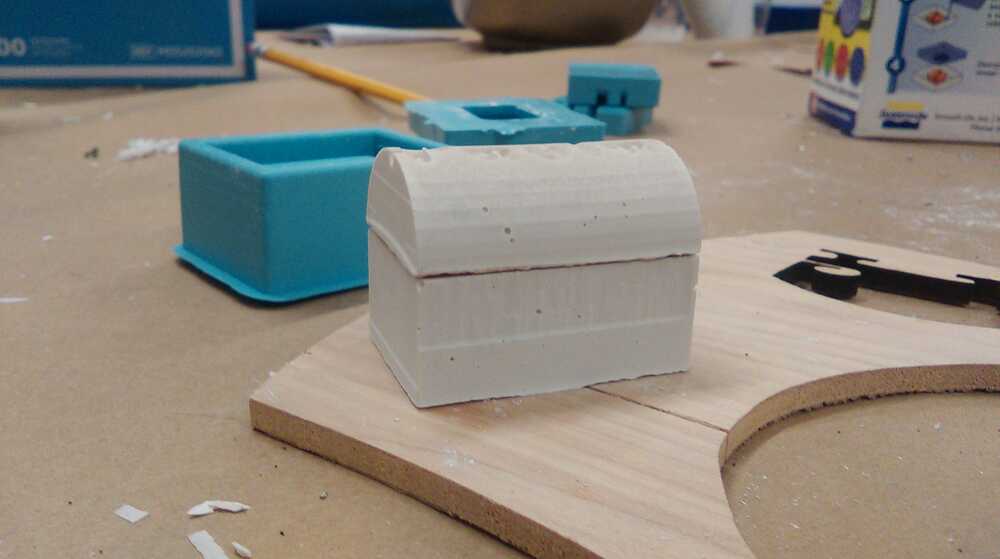
Update! After class, I went back to the shop and demolded the plaster.
The box came out nicely. There were a few casting artefacts which could be broken off easily on a metal straightedge, and the machining process had left some irregularities on the side surfaces, but the finish was good in general. The lid didn't quite fit into the box because I had made the tolerances too close, and had milled the inside corner with the balltip tool, but I was able to fix that with a straight rasp. If I get around to it, I might paint the box, but I don't mind it like it is either.