I have been waiting for this week. Reading in an audio input is the crux of my final project, so getting something up and running is critical.
For my final project, I will need to use a different processor than the ATTiny, so I am going to make that jump now.
This week I am going to play around with the ESP32.
It has 32 pins, 2 cores(!) and Bluetooth and WiFi capabilities. The ATTiny has lots of fun stuff built in, but the ESP32 is certainly more powerful — and to handle audio processing (which requires sampling and saving a signal at 44k hertz) it is the right choice.
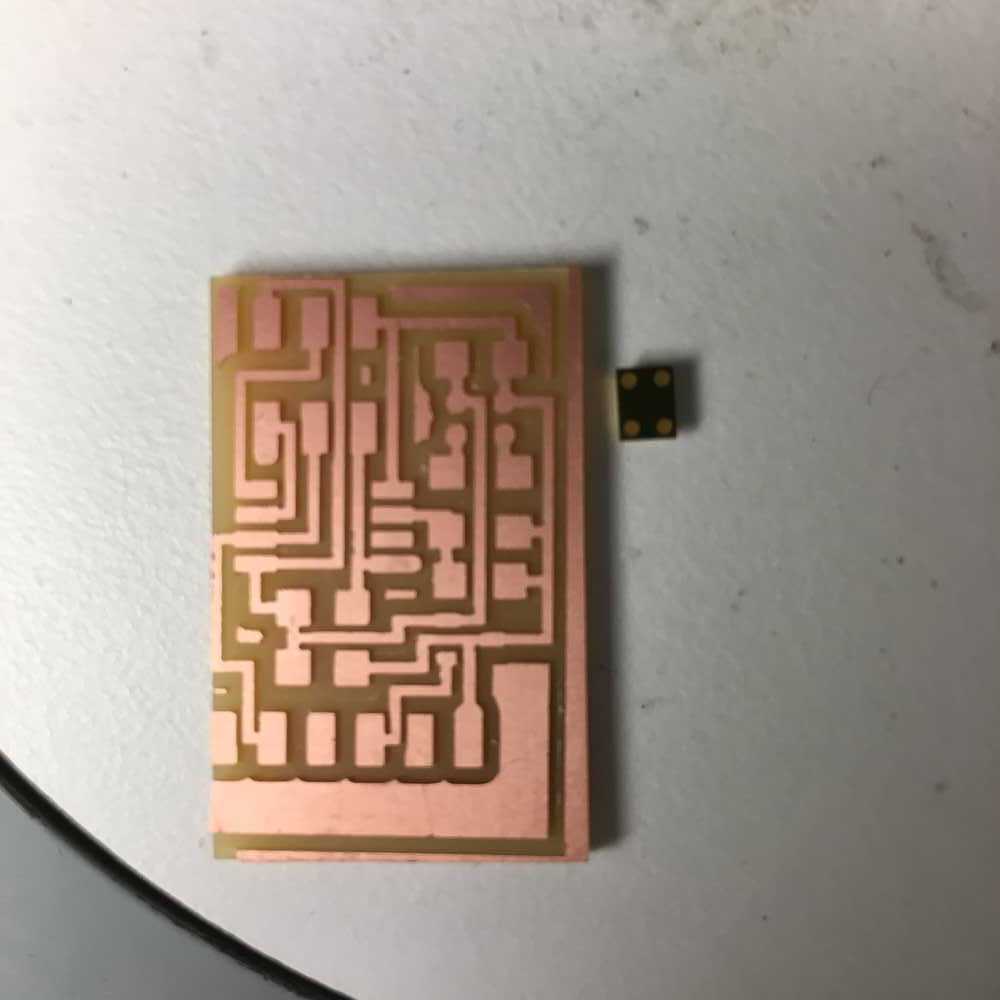
The other fun think I picked up is a VM1000 MEMS SMD microphone. It is small, low power and apparently has incredible dynamic range and signal to noise processing.
I just realized that I got the wrong ESP32 model -- the ESP32-WROOM-u. It doesn't come with a built in antenna. This is already feeling like a lot of work that is unrelated from this weeks task, so I might just try to get an audio sensor working on an ATTinty.
I decided to first get the microphone working with the ATTiny example code.
Milling Notes: x135y100z4(X130.5y104.5z4)x100y124z4(x95.5y128.5z4)
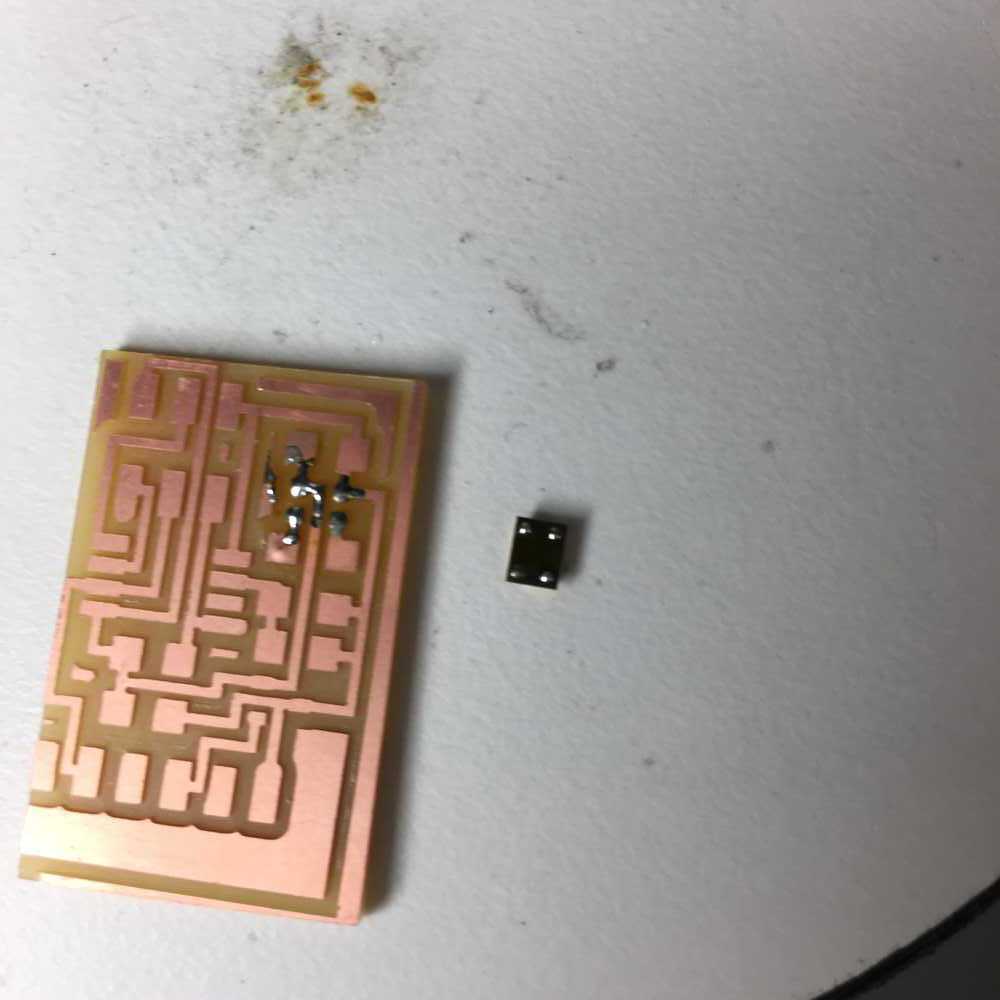
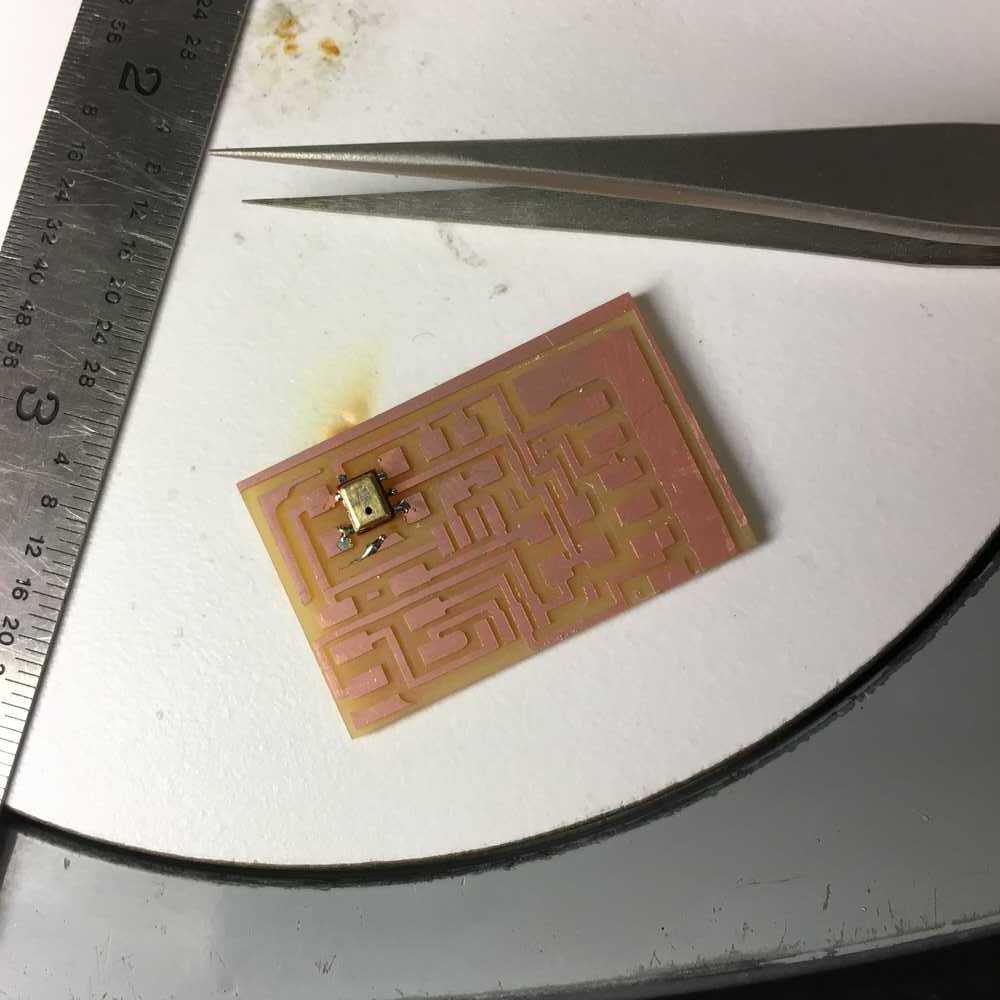
The only difficult part was figuring out how to solder the microphone to the board because all of the pins were located underneath the component itself.
Reflow soldering is possible.
Tin the bottom of the chip and the pads.
Position component as accurately as possible and hold down with tweezers.
I found this quite challenging actually.
Use a heat gun until solder melts creating a joint
Some tips for AVR programming on Mac:
ls -lha /dev/tty* 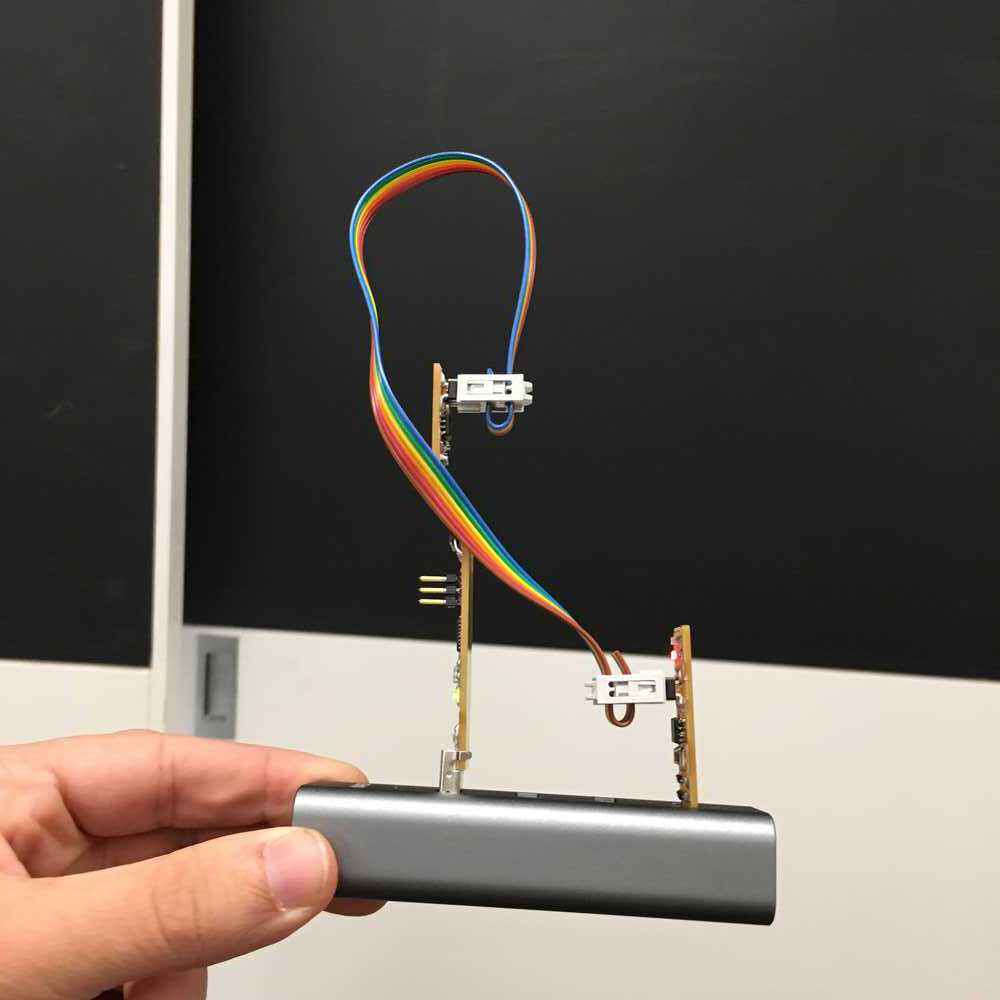
I used Neil's example code and makefile. I've finally managed to get everything set up so I can program on my own computer. Also I built my own FTDI connection — with 50% smaller surface area than the old version, basically the same size as the FabISP! This was my first time testing it out and it worked!
Does anyone get the emoji choice here? Cereal like serial... hehe.
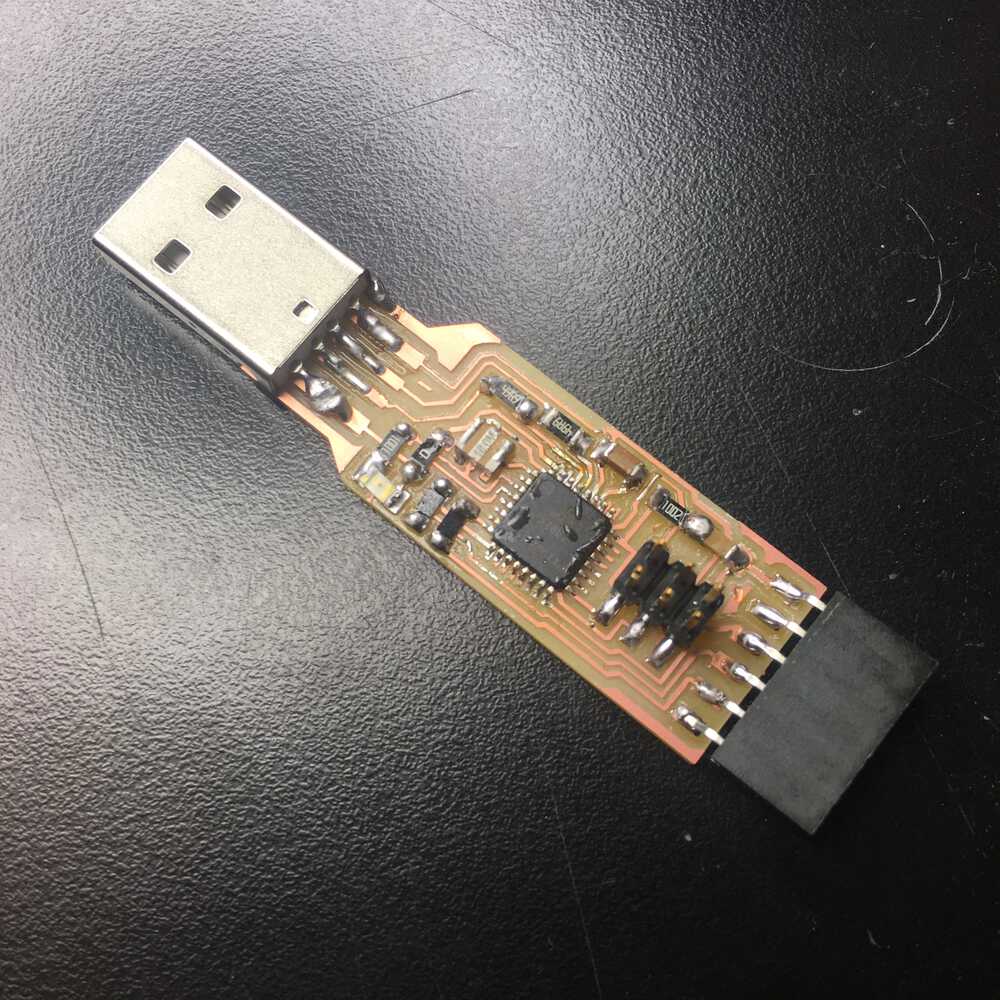
I tried to make a version that supported USB-C directly and spent a lot of time reading the USB specifications. It is possible to make USB-C behave like a USB-2 connection by adding a 64k Ohm resistor between the USBC pin A5 (CC) and VBUS.
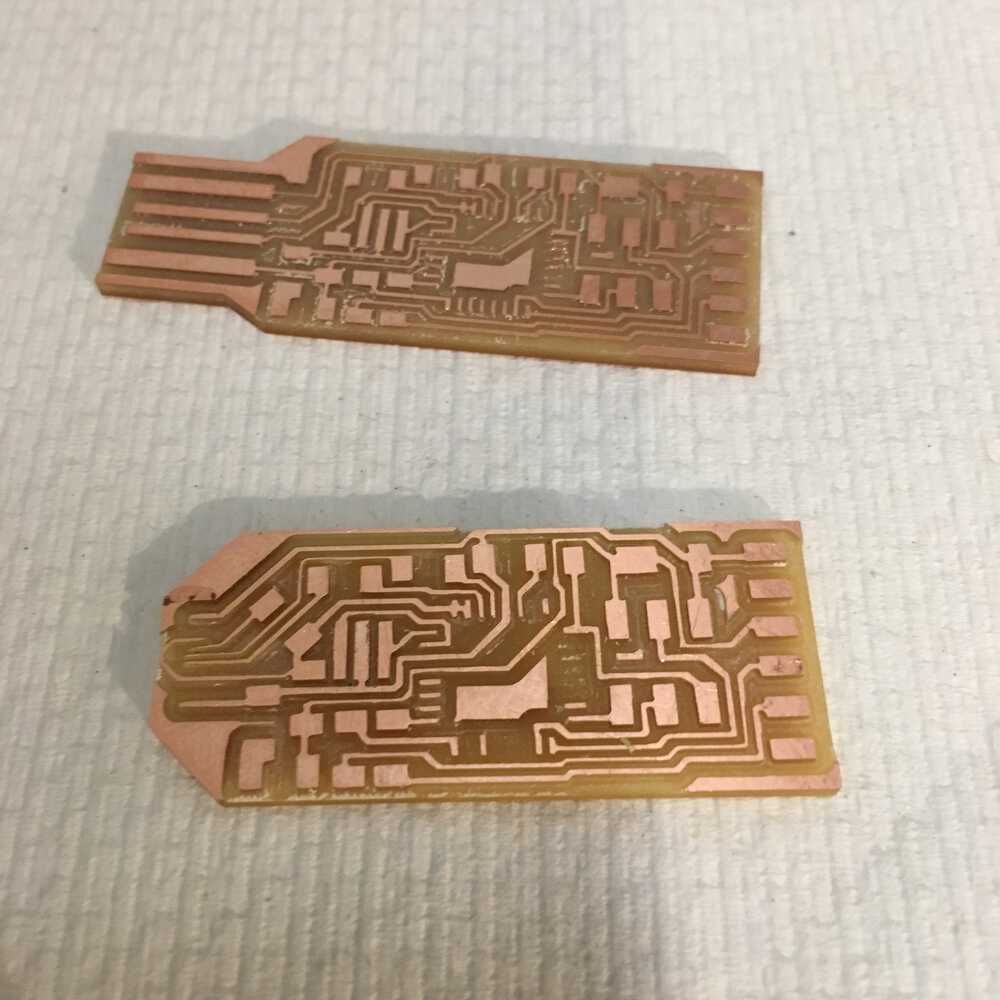
But, in the end, the USB-C footprint proved to be slightly to small to mill with the 1/64th inch endmill.
I eventually did get it to work (as you can see above) but the pads were very fragile.
Some other lessons I learned.
Apparently you can't have a single schema with multiple boards in one project. If you want to do this, just create a new KiCad project and copy the .sch file over.
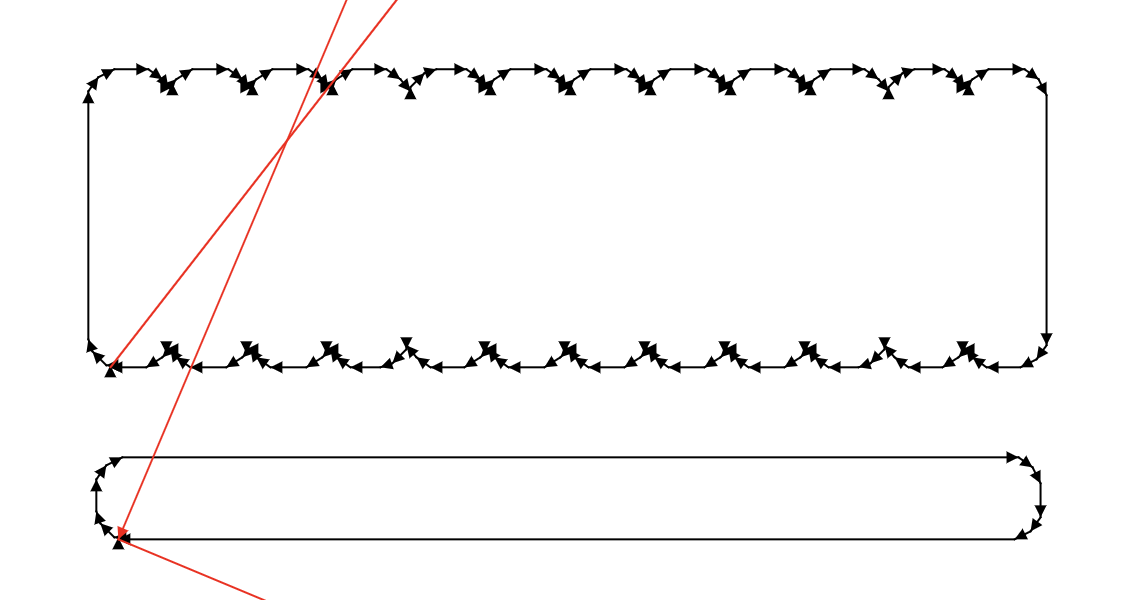
Mods is a little finicky with the traces for the USB C. Try tweaking the dpi (small variations of 1 or 2px made a difference) as well as removing unused footprints from the trace.
How to make custom footprints in KiCad.
It is actually not that hard but just requires spending some time with the datasheet which lists the dimensions.
I followed ppatil's tutorial and used his code.
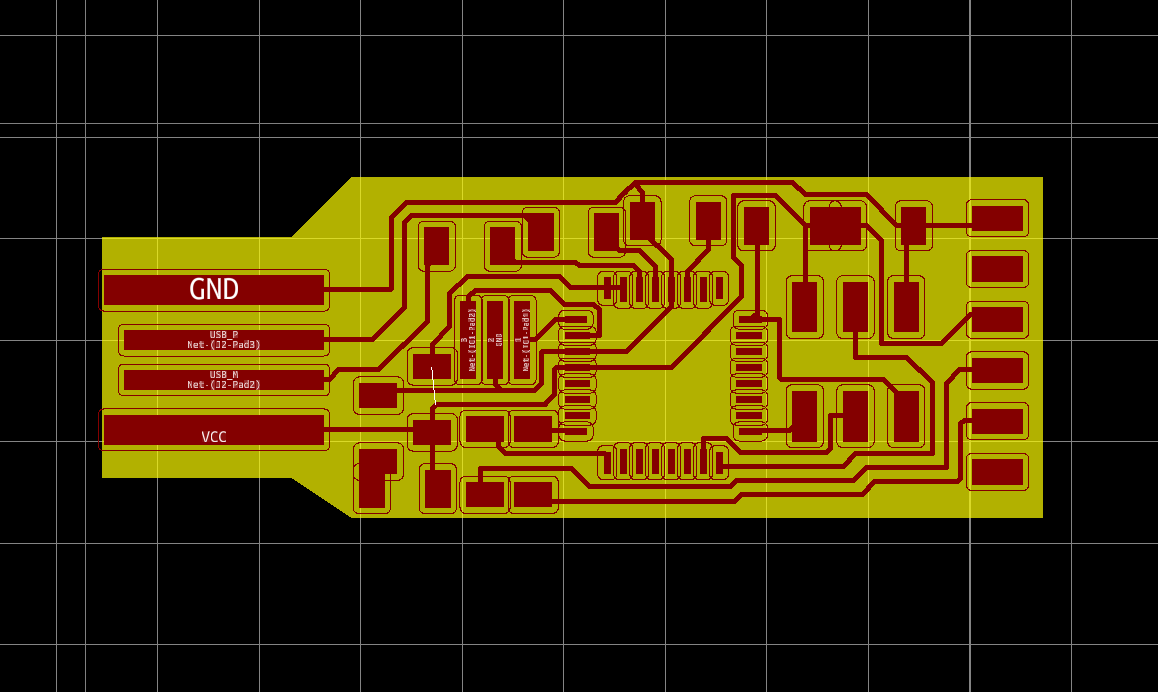
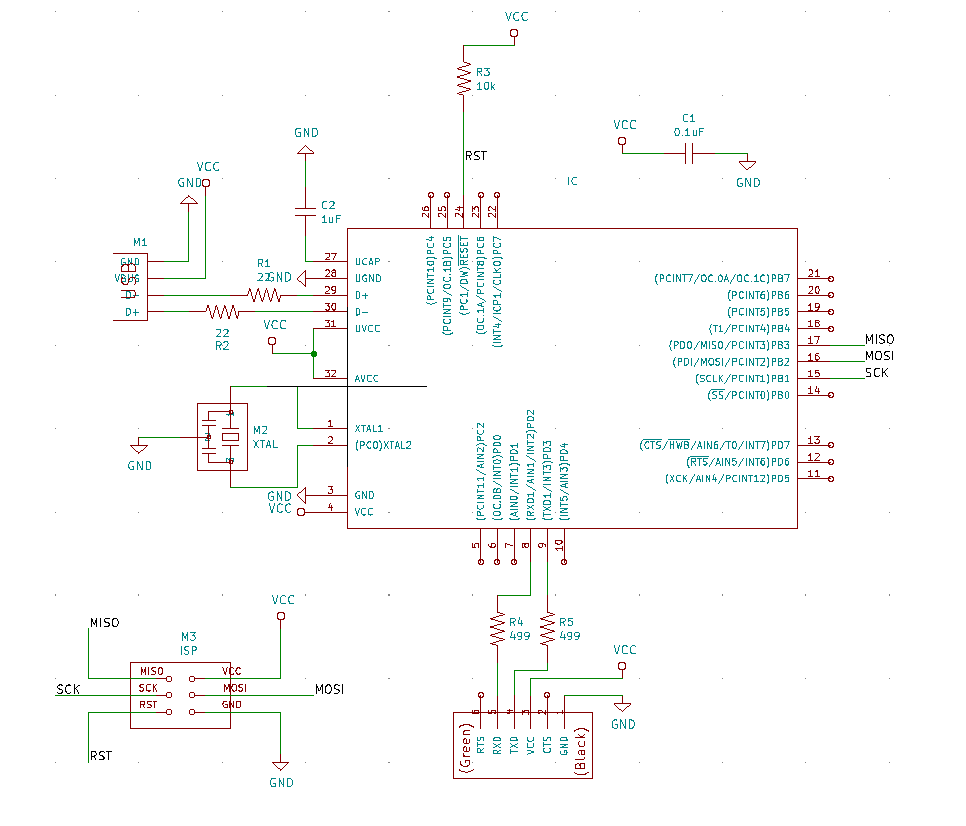
Here are the KiCad Schematics for my version.
The BOM and code is the same as ppatil.
Looking ahead, these are some resources I found that might help me when I try to reproduce the microphone example with an ESP32.
ffmpeg -i IMG_1510.mov -vcodec libx264 -crf 25 -preset medium -acodec libmp3lame -q:a 4 -ar 48000 -ac 2 -filter:v "crop=in_w:in_w:0:(in_h)/4" -c:a copy out.mp4
For other useful command lines snippets, go 📸 here.
mogrify -quality 50% -resize 1000 -auto-orient *.JPG