For week 5 our task is to design and machine a mold, and then cast something with it.
I deviated slightly from a literal interpretation of this week’s assignment (granite instead of machining wax and epoxy instead of silicon). The results came out neat though!
For my final project I want to use a surface plate as the bed of an OMM. Because surface plates are feature-less and often made of granite, the first hurdle here will be to find a way to attach linear motion stuff to the granite, which can’t be drilled and tapped like a plastic or metal.
The approach I wanted to take here was to machine holes directly into the granite, and then pot in threaded inserts. I have seen lots of videos where people drill into granite countertops with hole saws (they cut abrasively where the “flutes” are particles of diamond that have been brazed or electroplated), so I know this is possible, but haven’t seen it done via CNC.
Another option would be machining our mounting features into a piece of steel or aluminum, and then epoxying that piece of metal to the surface plate itself. This would probably work well, but would necessitate having a very precise machine capable of ensuring the flatness and parallelism of that intermediate mounting plate. We could also epoxy it, and then machine everything into parallelism with the surface plate, but that similarly requires a machine capable of holding ~5 micron tolerances. What’s nice about the threaded inserts is that you could conceivably install them with hand tools, no access to a high end machine required.
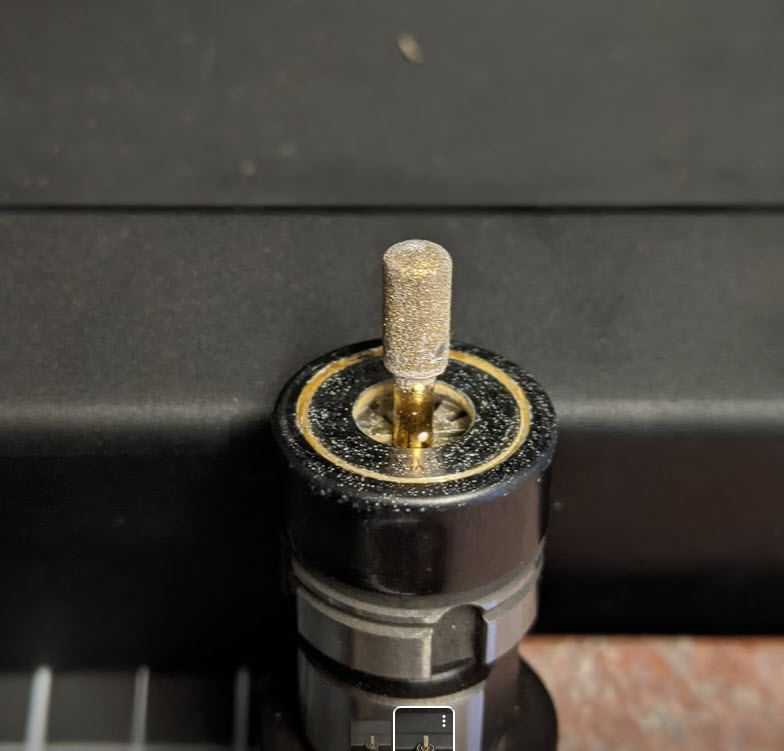
If you google around for people machining stone/ceramics, the consensus seems to be that it’s possible, but requires a very rigid machine. Intuitively this feels wrong considering you can cut granite with a diamond abrasive tool and a dremel. I programmed the helical interpolation shown below, moving at ~60mm/s, with only 25um step down, and it actually worked beautifully on the first try.
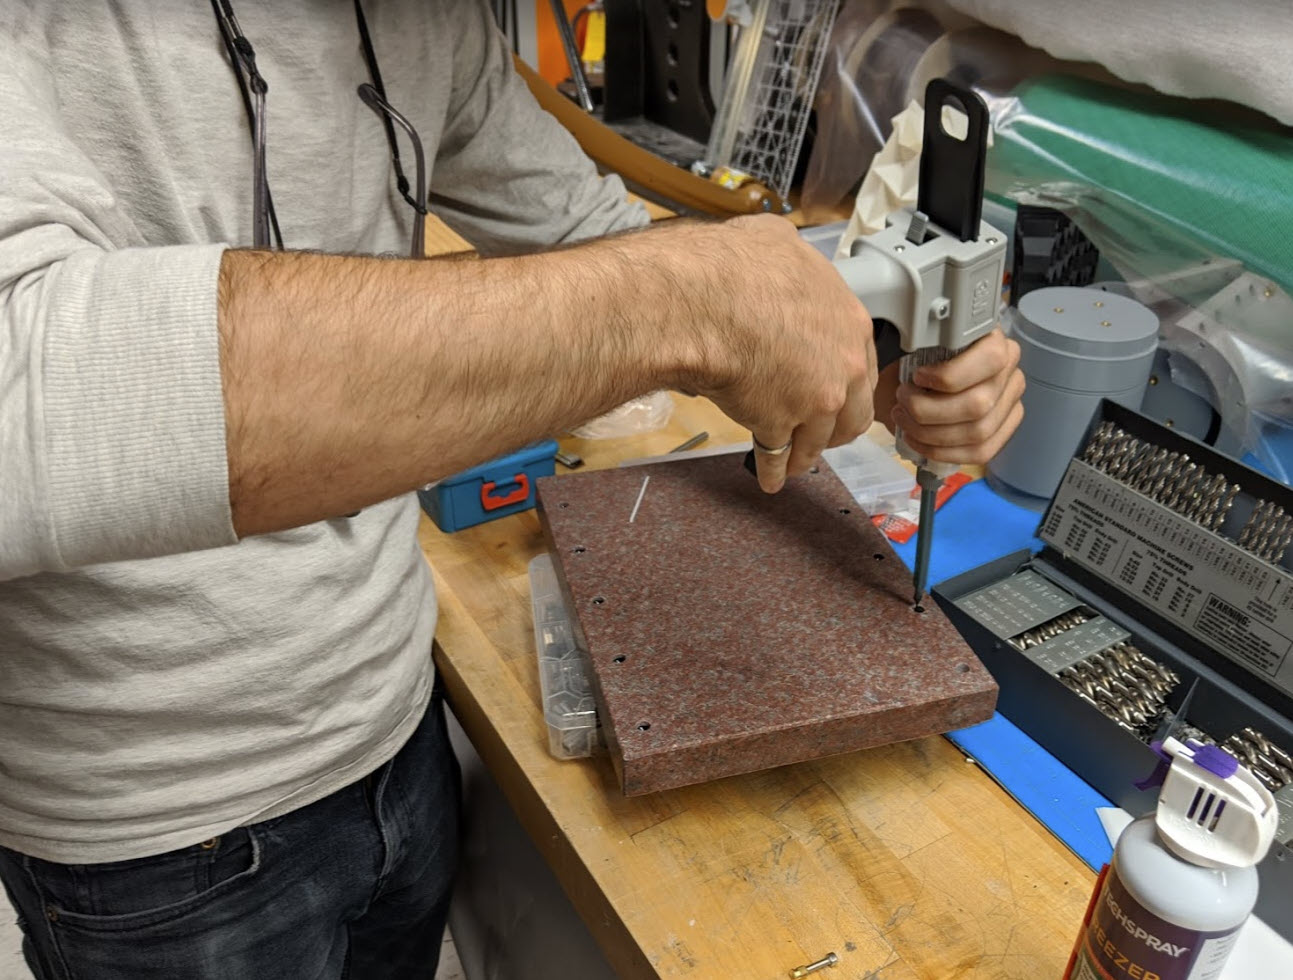
Zach was kind enough to stick around late on a Friday to give me a rundown of the Roland MDX-540 in 023. The Roland is strange machine - they call it a mill which I was excited about, but as it turns out it isn’t rated for cutting metals / doesn’t support coolant, so I think it definitely qualifies as a router. The machine does have a tool changer, so there was a slight learning curve here. I toolpathed in Fusion which went great despite being a little rusty (one moderate tool crashing incident that required re-indicating in the front of the granite, but that was while using their control software).
I also built the dams you can see in the videos above out of aluminum ducting tape and hot glue. The water helps with cooling, but I think more importantly evacuates and lubricate chips, which prevents you from re-grinding granite dust into smaller and smaller particles and ruins your tool. They were very easy to setup and remove, and are probably something worth exploring more.
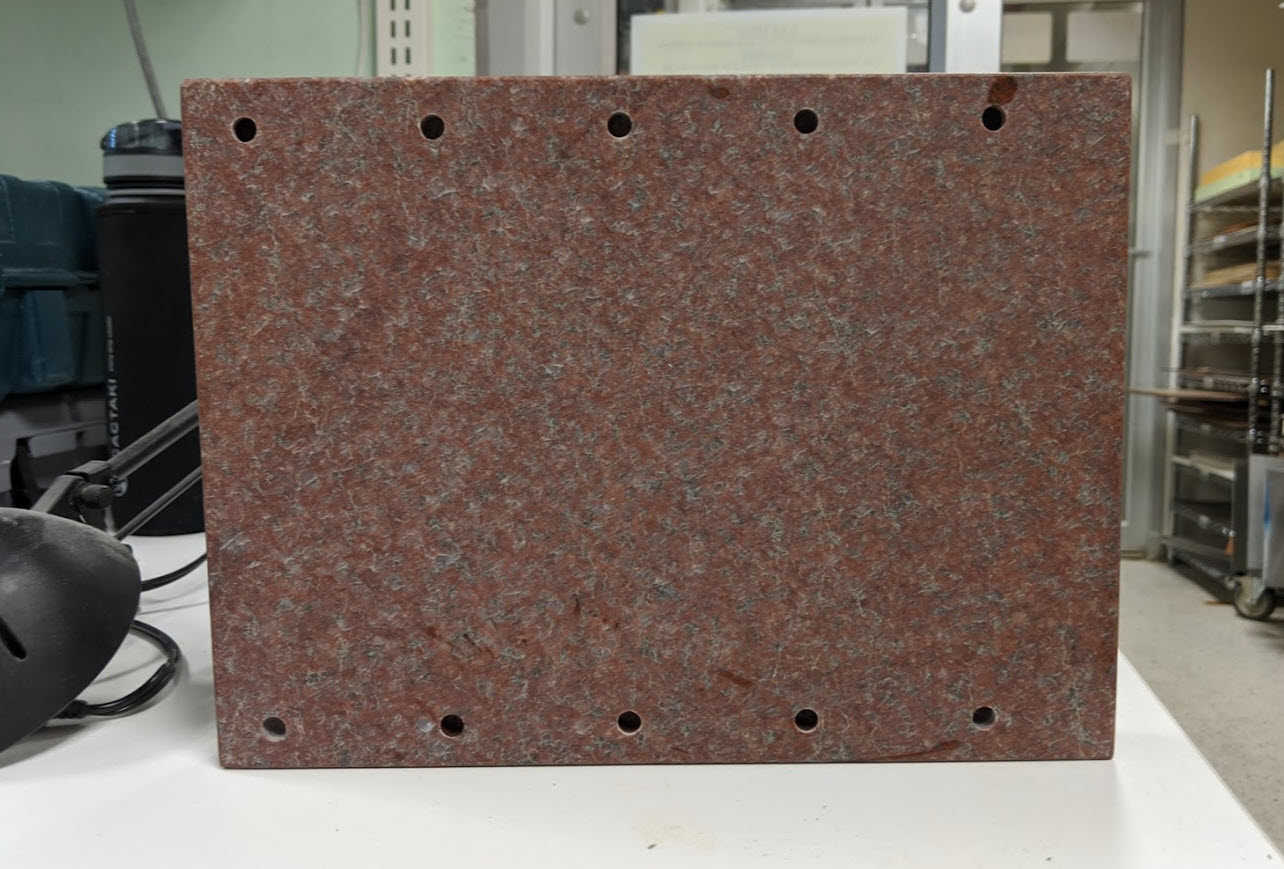
After machining the holes above, the bit still looked reasonable. I was contemplating adding a lot more holes in the scanning area for attaching fixtures, but decided to skip it this round as they would be easy to add in later. The Roland has one very nice feature which is that they give you a coarse (~3 bit) display of cutting forces while machining. My forces were staying within the ~10% of maximum window so I would assume this bit still has plenty of life in it. Unfortunately I don’t know the exact make of the bits (Graham from the architecture shop was kind enough to donate a few for this project). I bought some $10 brazed coring drills off of amazon that looked incredibly sketchy, but I do think the forces are low enough that I would try with one of them + an enclosure.
I cleaned everything up in the sink, and then rinsed the holes/inserts with IPA. I also used another diamond bit + dremel to scuff up / add some concavity to the holes for better epoxy bonding. The epoxy I used was 3M DP420, which I dispensed directly into the holes using mixing tip. DP420 was the highest shear strength 2 part epoxy I could find/recognize in 023, so that wasn’t a particularly informed decision. I’d imagine there are definitely better choices and would love to talk if you have strong opinions on this!
Also for lack of trying, I used standard brass heat-set inserts, when I really should have gone out and purchased some made out of steel + with better mechanical engagement. Fortunately these ones did have a big shoulder which I put at the bottom of the hole, as well as some vertical slots, which helped with resisting pullout and tightening torque respectively.
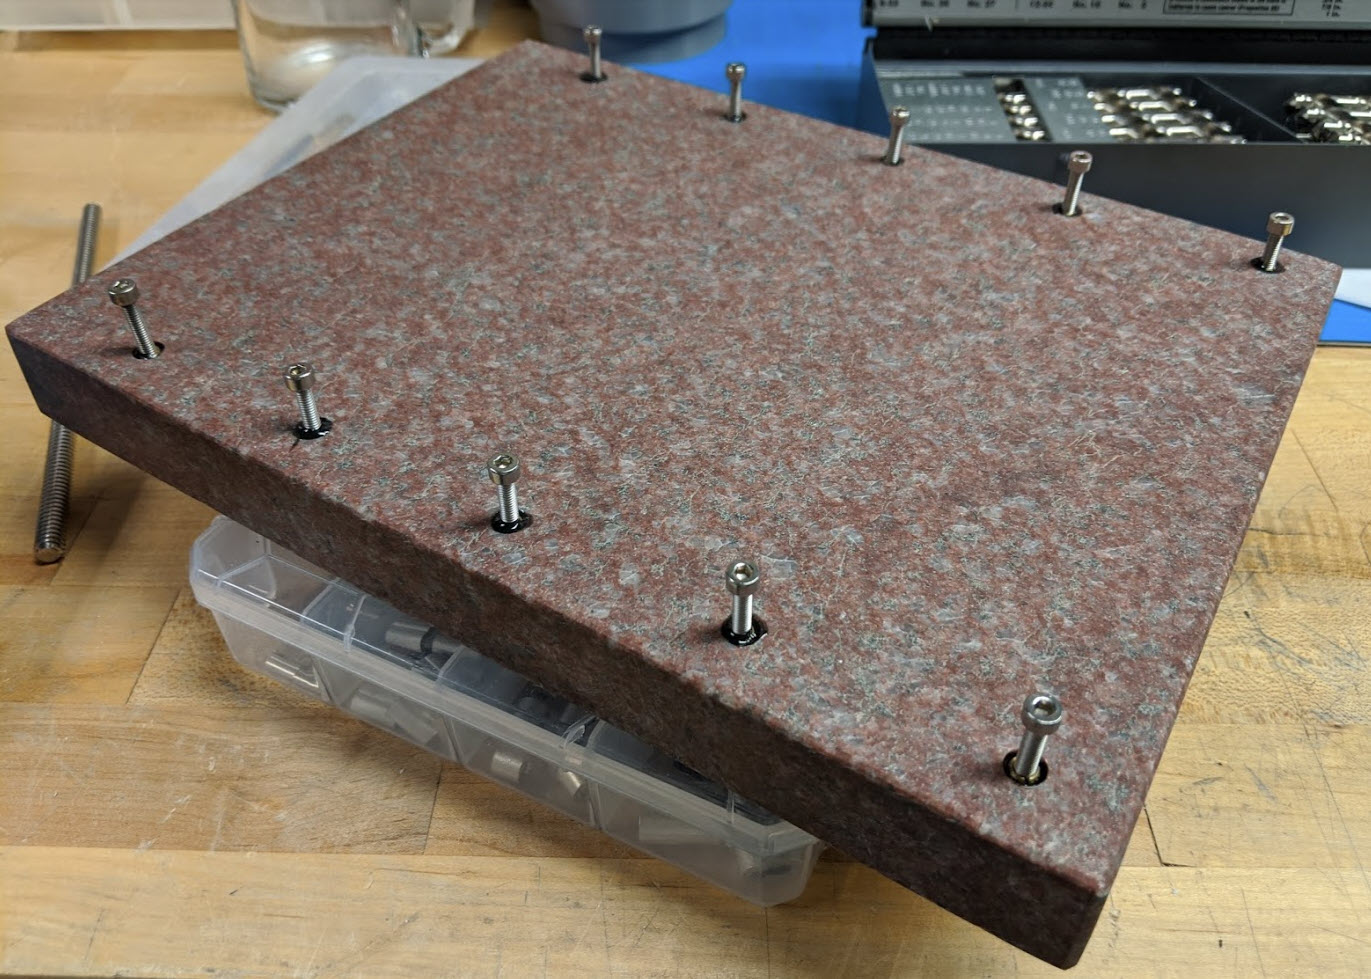
To prevent the inserts from filling with epoxy, I dipped some screws in 3 in 1, sprayed them with compressed air to remove most of it, and then threaded them most of the way into the inserts (this also helped with ensuring they were mounted vertically). In the future I will definitely lasercut a jig to do this (and tap known vertical holes in it) to ensure they go in/set orthogonal to the surface plate.
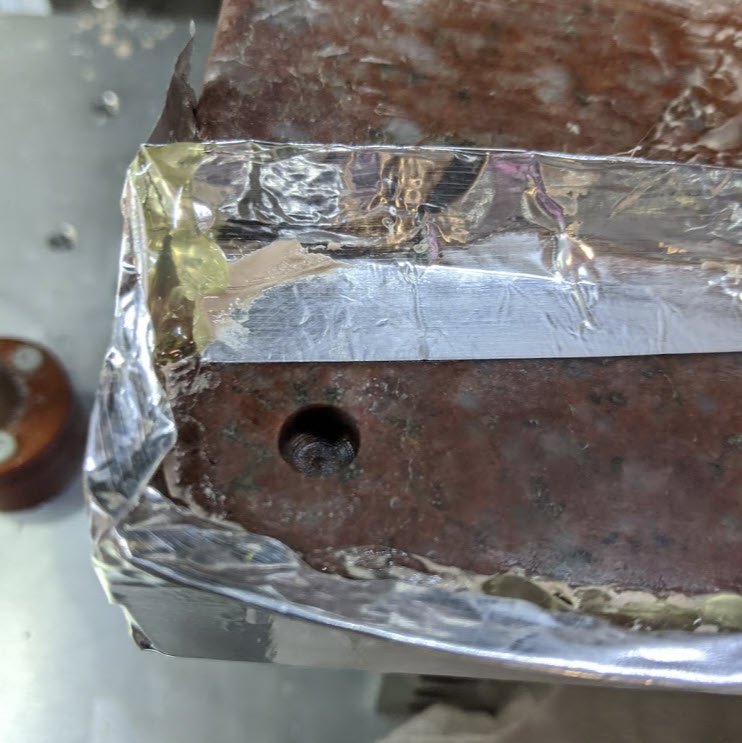
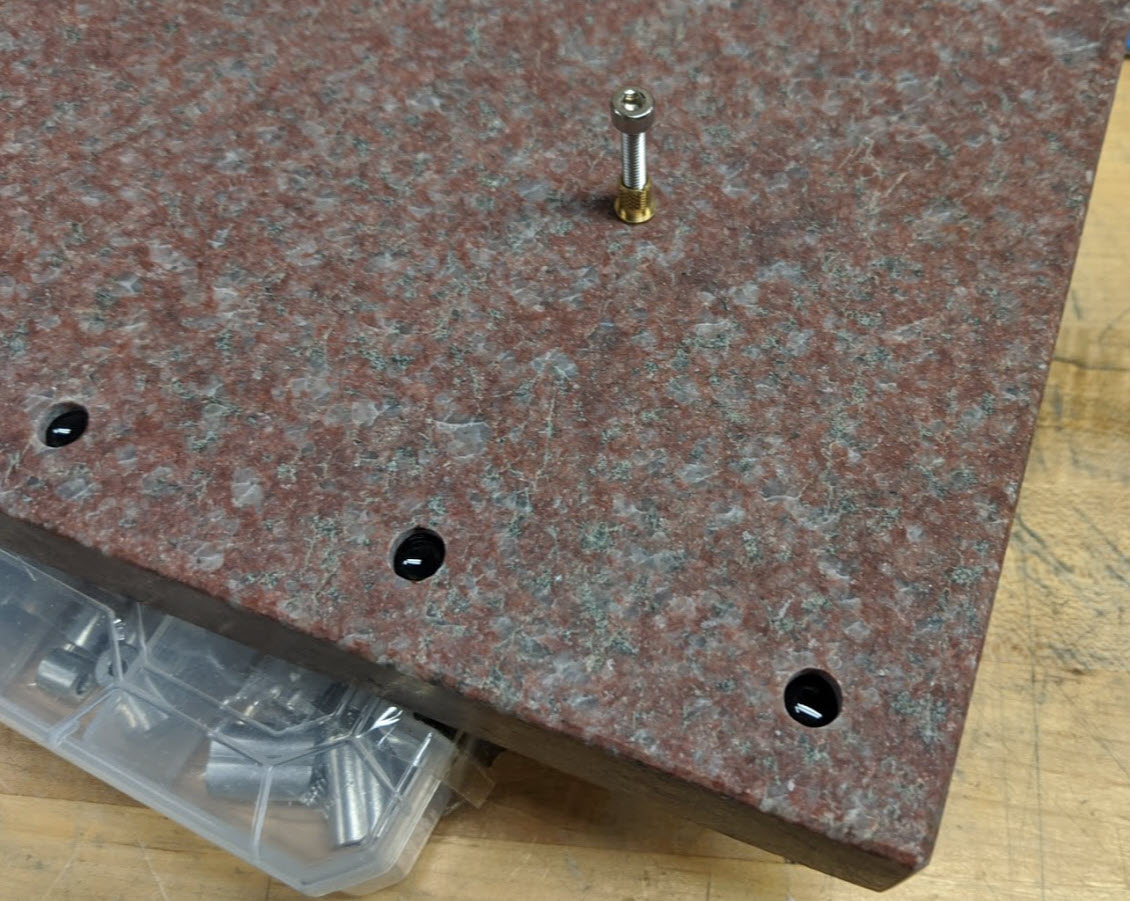
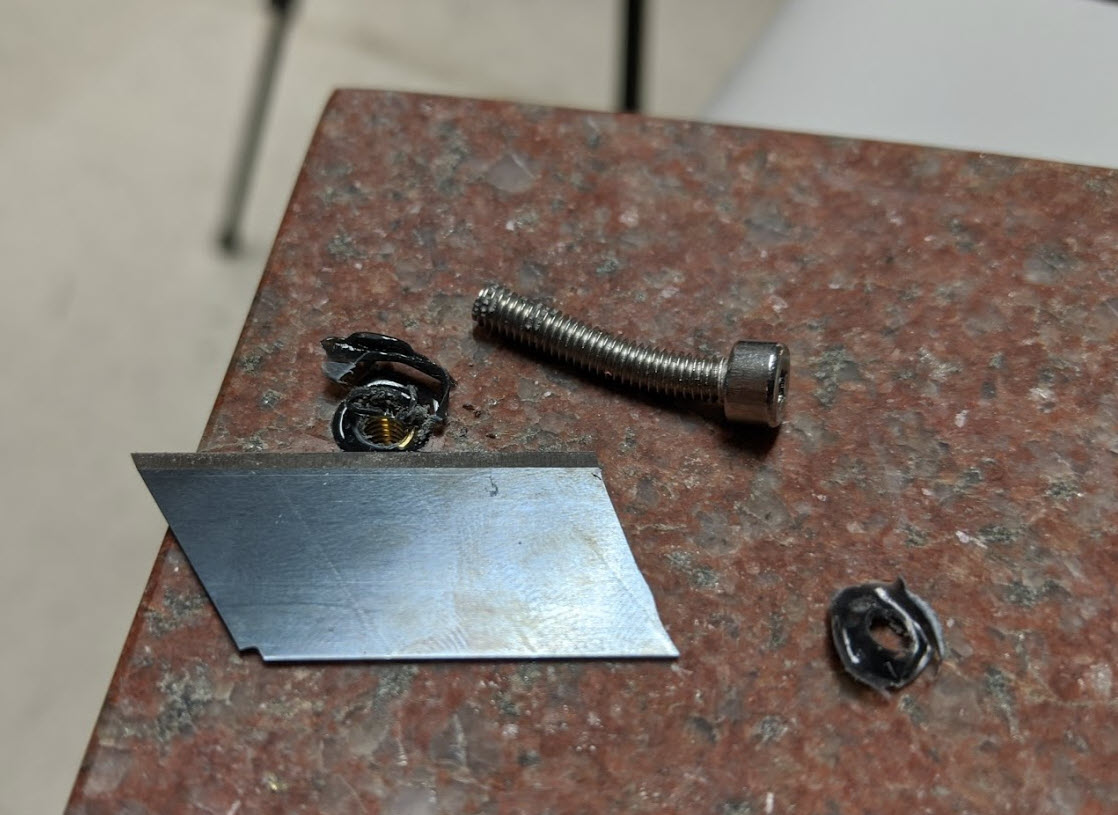
I went back and forth on whether to cover the perimeter of the inserts in epoxy. At the last minute I did, which I think it the way to go here. Below you can see one of the screws after being removed (they turned out to be incredibly cheap SHCSs I found in a box in 023, and all immediately twisted like that). After they were out, I scrape off the excess material with a blade, and gently countersunk the epoxy/insert. Here’s a note to definitely wait for the epoxy to cure before scraping it out, as it won’t leave a glossy sheen (maybe filling the pores of the granite?) and comes off easily if you do.
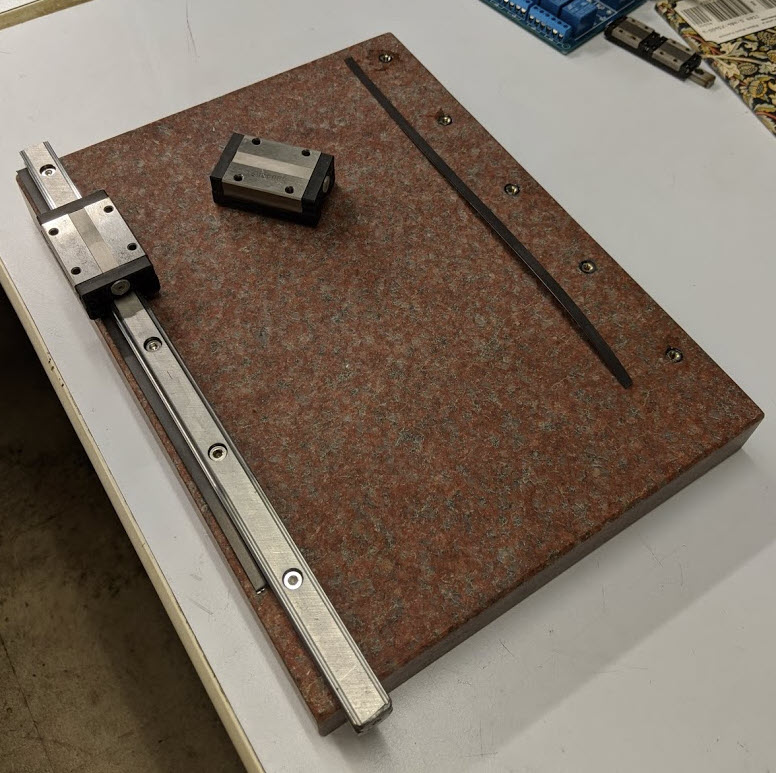
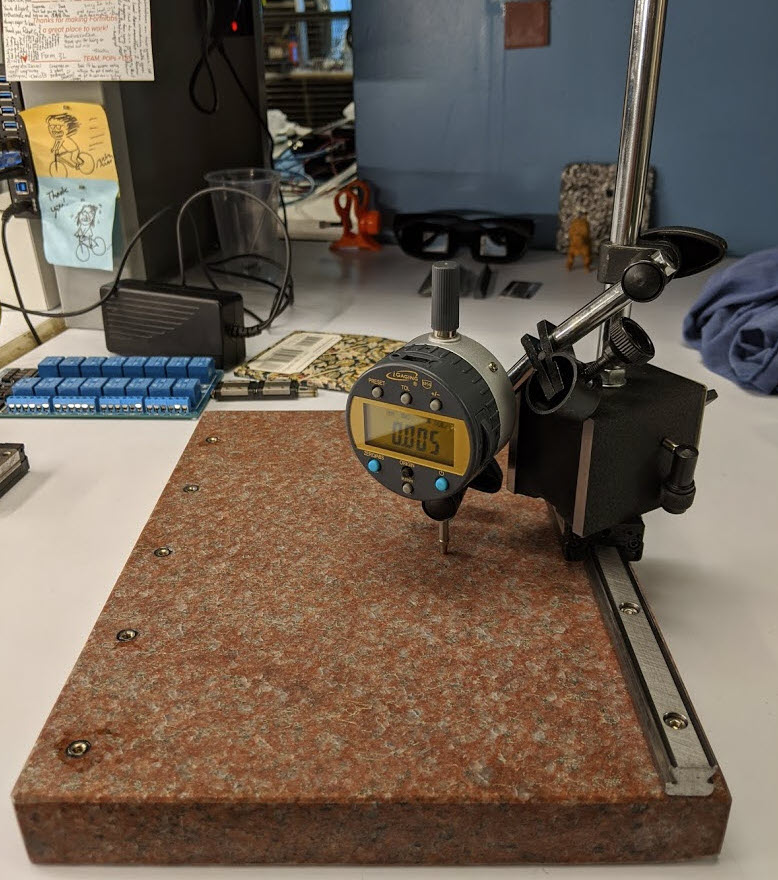
And here’s a final picture with one of the rails attached! The header photo is a better reference here, but I was able to achieve 5um parallelism between the block and the surface plate without too much adjusting (that’s a single um indicator not a 5um/division). I have not really validated the flatness of this plate which I will do before using it for the final project.