Molding and Casting
This week, we learned all about molding and casting, which is an extremely useful way to take any object and copy it over and over in a relatively short amount of time. By creating a mold around the object, you create an inverted impression of the object, which can then be used to cast those replications of the original object using a variety of materials. While any existing object can be used to create a mold, we have a variety of digital fabrication tools we can use to create an intial object, then mold and cast it multiple times thereafter.
In order to accomplish this, we used the Desktop ShopBot Mini CNC Mill to create our initial objects. The ShopBot mills our object out of a hard block of wax. This is an extremely convenient method of creating an object because the wax block gives us built in walls to contain our mold material, as well as giving us exposure to a three-dimensional subtractive manufacturing process.
Tom gave an excellent training on how to use the Desktop ShopBot, then Graham who runs the ACT portion of the shop showed us how to mix, pour, and cure all of our molding and casting materials. Between everyone in the section, we were able to test a variety of the characteristics of these materials, which is showcased here.
To begin, you want to hot glue your wax block to a piece of wood so that it can be screwed down to the sacrificial layer of the mini CNC mill. The mill won't be going all the way through the material, but this is mostly to keep it stable in place. Using the PartWorks software on the shop computer, you can take a 3D file (STL files in our case) and create a toolpath for the ShopBot to cut of the object. You can define the size of the material you will be cutting into, the size of your object, the margins between the object and the walls of the material, the depth of the cut, and many other things. It's important to submerge your object slightly into the material so that the mold will actually be able to fill the whole inverse space of your model. You can then create both a roughing and finishing toolpath that will quickly cut out the general shape of your object or slowly define the exact shape of your object, respectively. Once the toolpaths are created, the process is very similar to using the larger ShopBot. This software makes the shift from 2.5-axis to 3-axis milling very easy.
After being inspired by one of the TAs (Anthony in the EECS) department, I decided I wanted to mold and cast a shield of some sort. I began thinking about the most iconic shields in pop culture, and decided to create the Hylian Shield from The Legend of Zelda. Everything was going well until I realized that because of the size of the wax block, the shield was small enough that the details on the face of the shield were smaller than the diameter of the endmill. After previewing how the cuts would look, I didn't like how it was going to turn out, and didn't want to mess with the proportions of the details on the shield, so I went back to square one.
I decided instead to make Captain America's Shield. I mean, how much more iconic can you get than that? The model of the shield I used worked very well within the software, and the toolpath planning went smoothly.
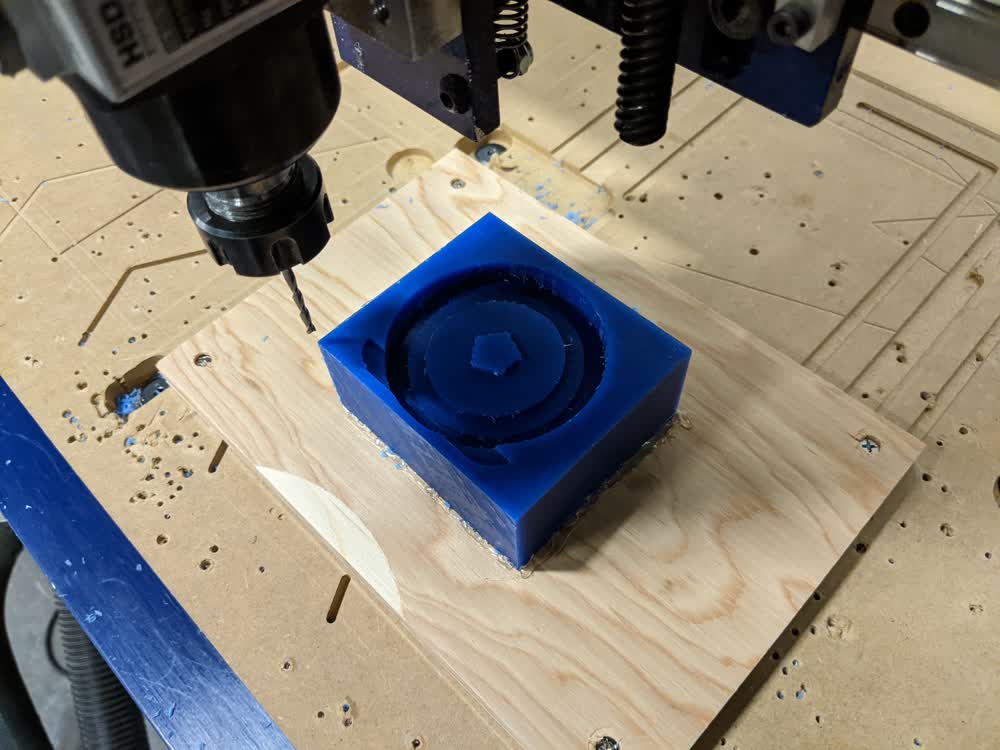
I accidentally had started cutting another student's roughing cut instead of my own, but quickly realized the mistake on the first layer, so I avoided any big disasters there. That is what gave my cut the two tabs along the bottom edge of the top face of the wax block. The roughing cut went well enough, and then I began my finishing cut.
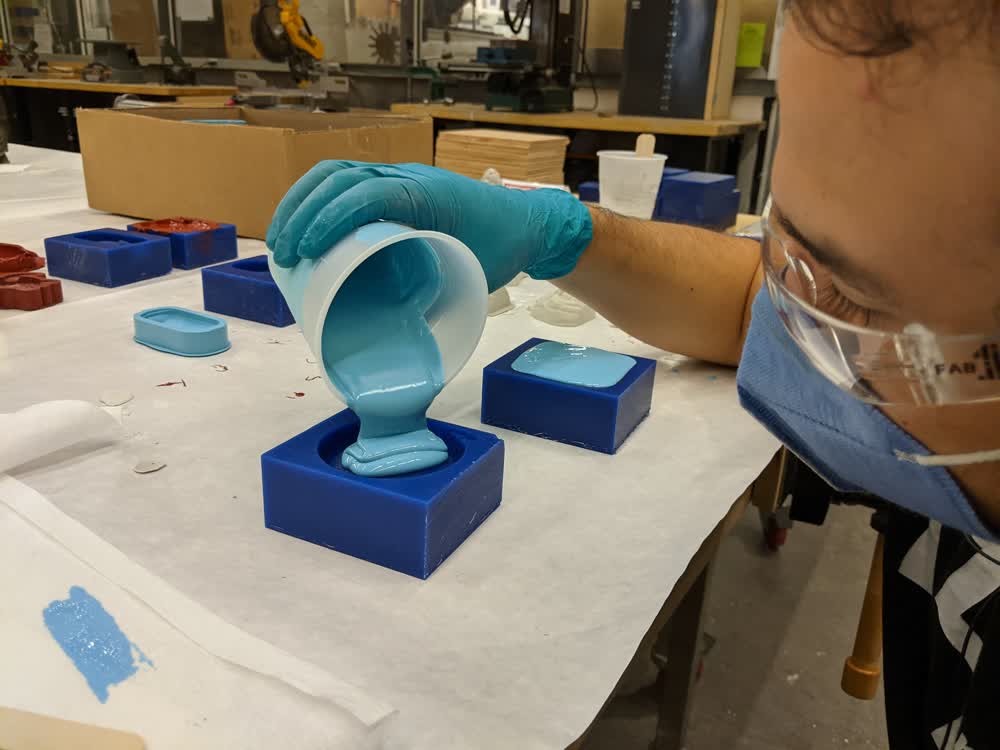
My finishing cut ended right when Andres had finished mixing his Oomoo for his mold. He had mixed some extra unintentionally, and he was willing to share it with me and fill my mold since I had helped him mill his wax block earlier. With the Oomoo poured, all I could do was wait for it to cure before continuing.
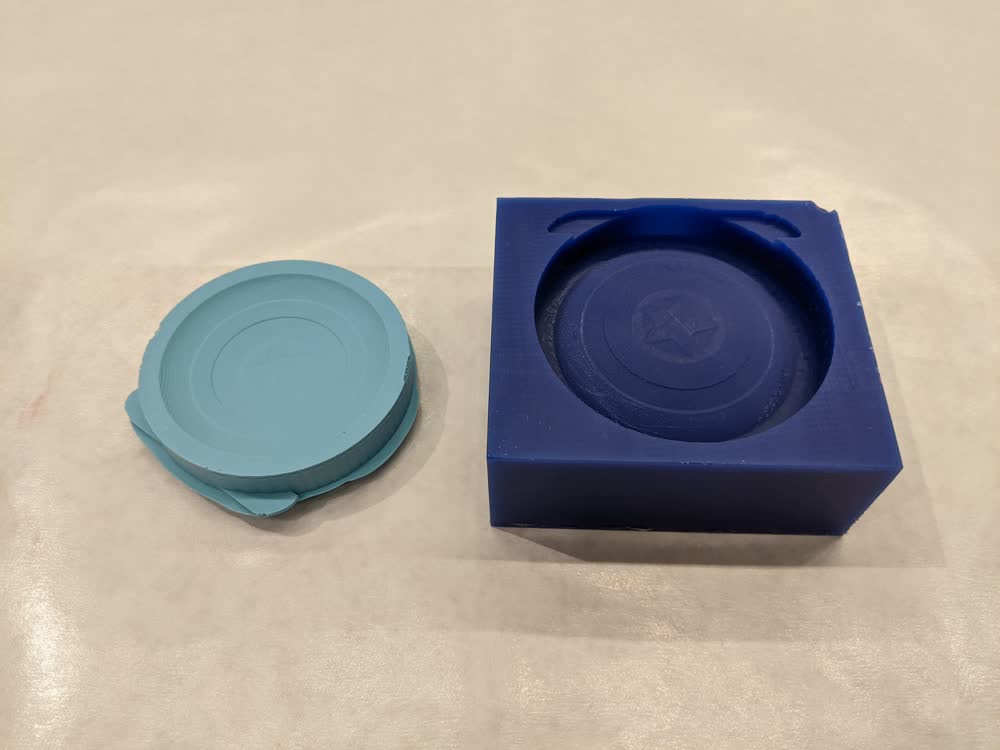
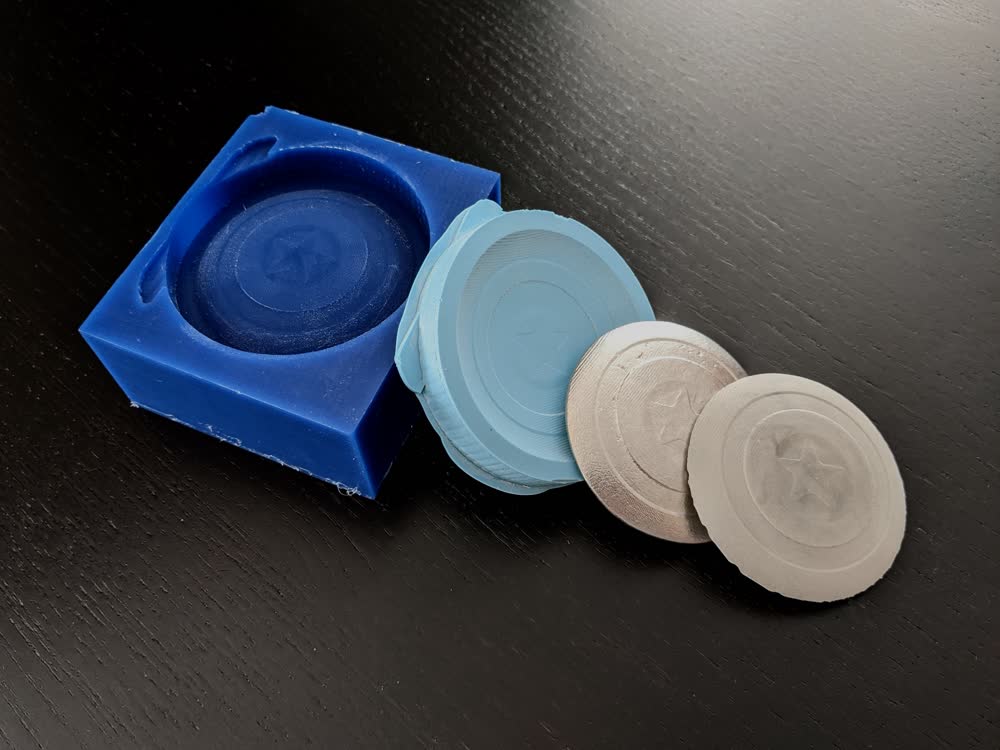
I was extremely satisfied with how the mold came out. There were no bubbles on the important surfaces, and the detail of the wax came through very well. Plus, the tabs I had added by accident came in handy to pull the mold out of the wax block. One thing I wish I would have done, though, is to have the mill continue to cut deeper around the perimeter of the shield so that the mold would have had slightly taller walls around the perimeter of the shield to make it easier to cast into, but I digress.
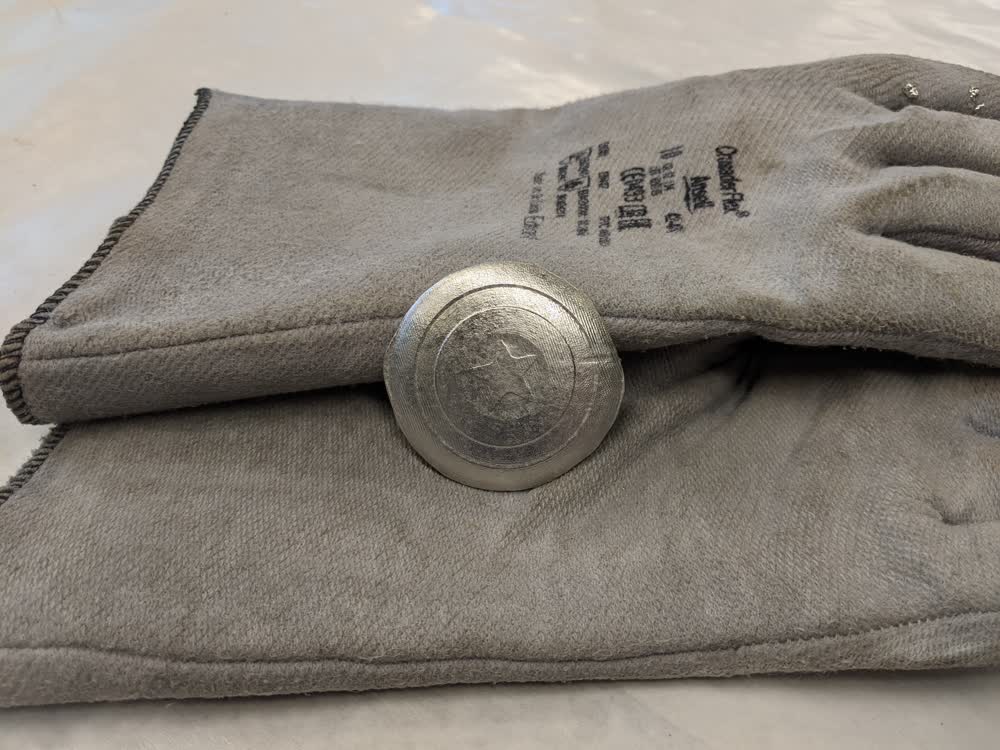
After finding out we had access to casting with metal, of course I wanted to do that with my shield. The metal alloy we were using has a very low melting point (about 281°F), which the Oomoo can handle, so I didn't need to create a separate mold using a more heat-resistant material. The mold just needs to be coated lightly with baby powder to create a buffer between the metal and the mold so they don't stick to each other. After putting on all the necessary PPE (gown, apron, face shield, and gloves), I was ready to pour the molten metal into my mold. The first attempt turned out great!
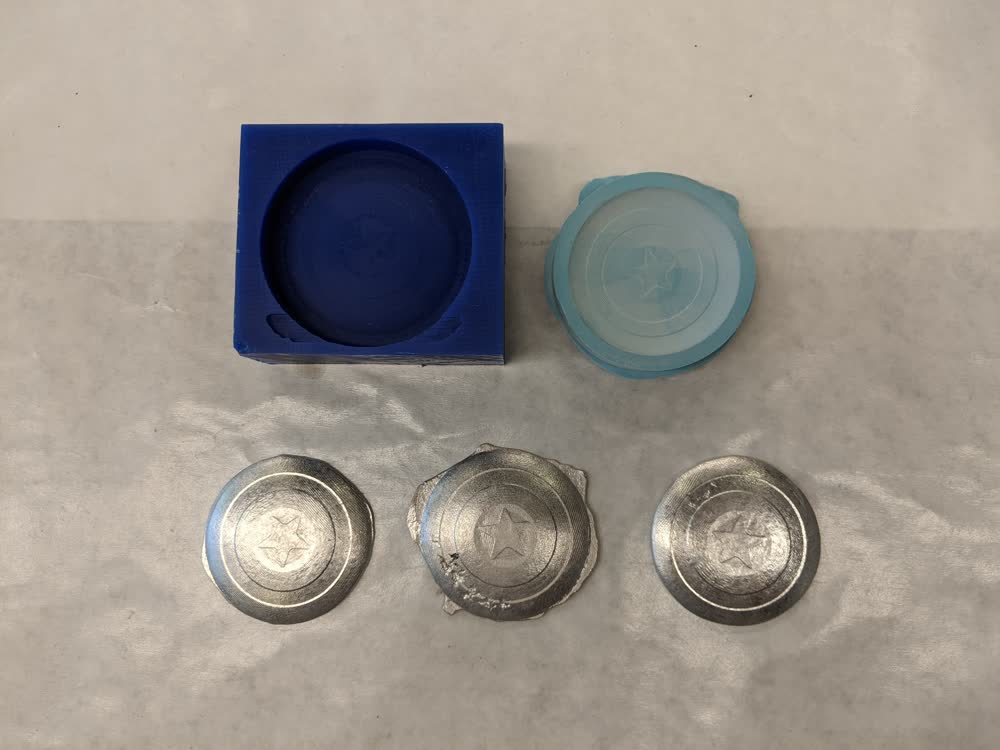
After waiting for the metal to cool, I noticed there were a few rough edges with my first attempt, mainly from the mold not being completely level and not having high enough walls on the mold, therefore forcing me to rely on surface tension in the liquidized metal to keep the proper edges of the shield and not spill over. So I tried again, but didn't wait long enough for all of the metal to be completely molten, so it created some weird air bubbles when I poured and moved the mold around a bit. I also overflowed really badly. So I tried one final time, and it came out practically perfect.
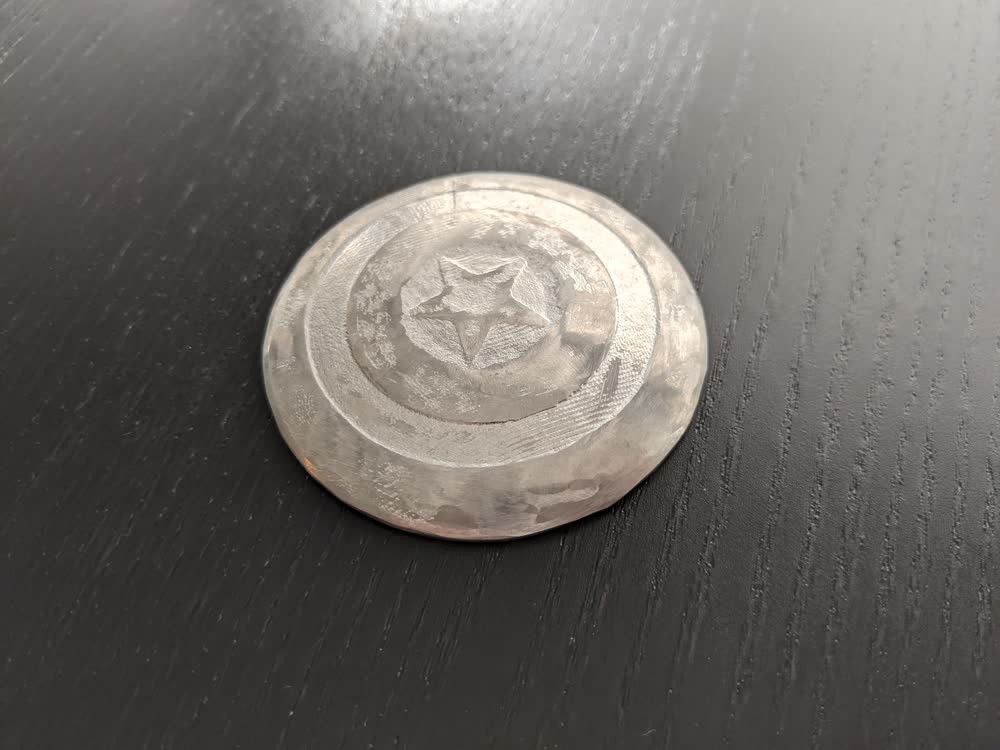
After putting that last one to the side, I used the belt sander to touch up some of the rough edges of the first cast I did, then I used it to give the top of the shield a polished-looking surface. That actually showed some promising results had I had the patience to buff out the whole thing. I mostly was just doing it as an experiment, though, so it was cool to see the difference in finishes.
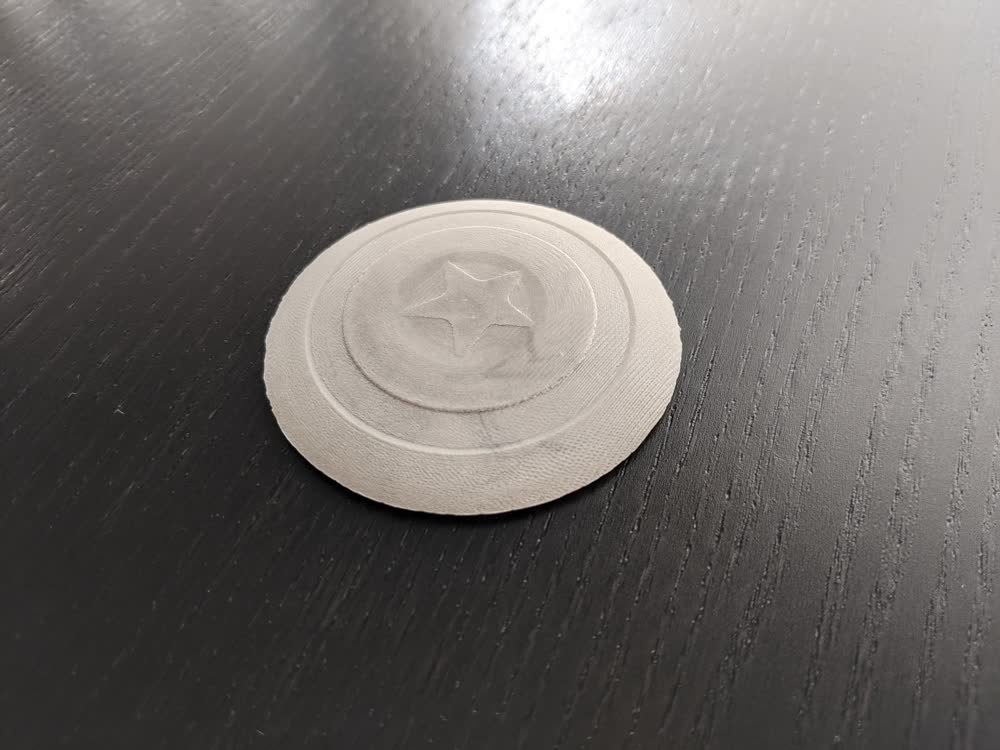
Finally, I mixed up some hydrostone plaster to pour into my mold to compare how that material came out. It looks pretty good, but it's really hard to beat how cool the metal looks. I will say that the plaster is easier to touch up and finish, though, and it certainly will be easier to paint if I choose to do so.
The process of creating these objects, their molds, and then casting them is pretty straight forward. I didn't realize how big Smooth-On (the molding material vendor) was, and I'm totally going to be trying out more of their products for my own projects sometime. The hardest part of the whole week was to wrap my head around thinking about the inverted solids we would need to create and think about in order to create a proper mold, and subsequently a proper replicated cast of the original object. Still hurts my brain a little bit, but I'll keep pondering on that!
I had all sorts of crazy ideas over the weekend of objects that I wanted to mold, but I just didn't have the time to get to them this week. One idea that really excited me, though, was molds that were foodsafe in order to cast edible objects. I hear you can use them to make ice, gelatin, chocolate, and many more types of molds. Combining that with the idea of creating more complicated shapes by splitting the model object in half and maxing two molds that would mate well enough to create a solid object in the middle really intrigues me. So, once I get my hands on that foodsafe mold material, my idea is to create molds for chess pieces in order to make an edible chess set where you get to eat the pieces you capture. I think it would be perfect to melt white chocolate and milk chocolate for the two different sides. It would bring a whole new meaning to the idea that victory is sweet! Is it too late to go back to the chess set idea for my final project, but make it edible? Haha another project for antoher time... Seems to be a theme in this class...
Along that same note, though, I just wanted to share one more cool thing: holographic chocolates (two separate links). I've done a lot of research into holography, and have wondered what the best techniques are to create hologram molds, and am very curious as to what cool holograms I could make with the tools available through my lab, and how many of them I could mold onto chocolate. To be continued...
Here is the file I used for this week (not including the .sbp toolpath files for the ShopBot due to their size):
- captain_america_shield.STL - Captain America Shield Model STL File