Well if you didn't know already I like to climb! So I found this cool picture on the internet.

Then I tried pixelmator to turn it into a binary picture, but failed. Then I was told to try Gimp. On my first try I tried to turn it into a 2 color picture, but it just all turned black. Then I found I could threshold the image and once I got that threshold correct I was able to extract this nice black and white, binary image.

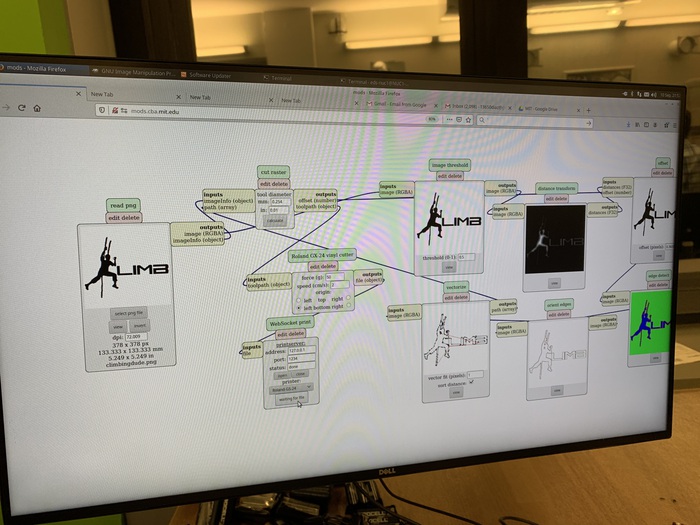
After getting the binary image off of gimp I uploaded the file to the mods software running in the lab and had to calculate, open the socket, and send it to the vinyl cutter.
The vinyl was cut and I was surprised to see how quickly. It'll be really interesting if I try to get this to print circuits later...
Next step was the transferring process which requires patience ensuring that the all the pieces of the vinyl have been transferred properly. This ensures that all the pieces come off and adhere to the new surface properly.
A still image of transfering the vinyl to the adhesive transfer paper.
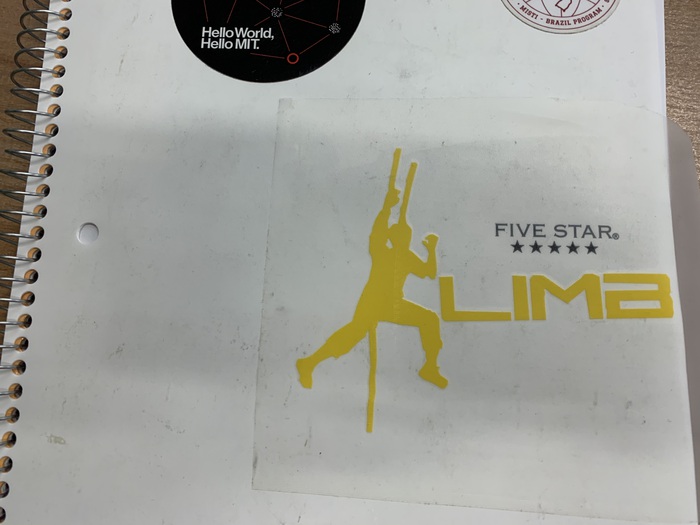
Last step was transferring the vinyl onto the notebook, and it looks great!
Next it was time to make a parametric construction set! I was inpired by lincoln logs and I have a kind of nostalgia for them. So I made my pieces using many of the same measurements as lincold logs.

Then someone told me to make Maseeh... So why not?

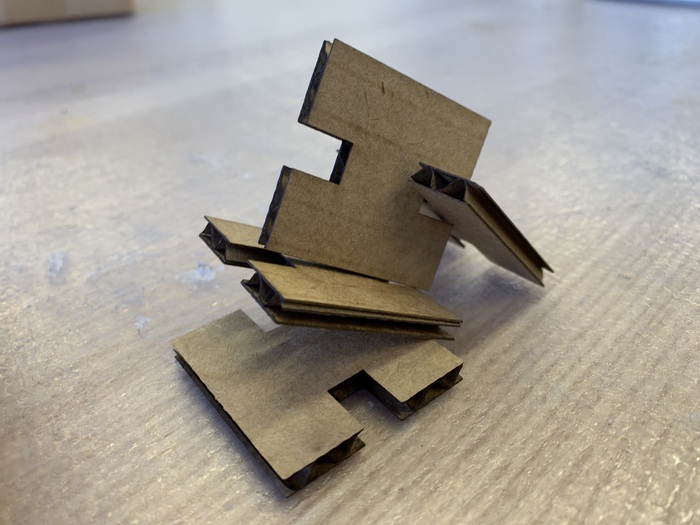
I made sure to account for kerf (.254mm) and calculate the thickness(7mm), but I got the thickness wrong as you can see in the picture. I made press-fit joints first and once I adjusted the thickness to 4.4mm they fit nicely. I also started using 100% power and 20% speed, but that was too fast. I reduced the speed to 9.5% and that worked nicely for the rest of the cuts. I focused the lasercutter by using the little tool on the side and moving the table up until it pushed away from the lasercutter head.
Then I shrunk the thickness a bit more and added chamfers to the slots for some chamfer joints. I also had my friend Megan show me how to speed up my cad process and make circular and rectangular patterns, which allowed me to start making more interesting things. I wanted to go past the plain connectors so I added some living hinge features to some pieces in order to get the more rounded features I saw on the Maseeh building.
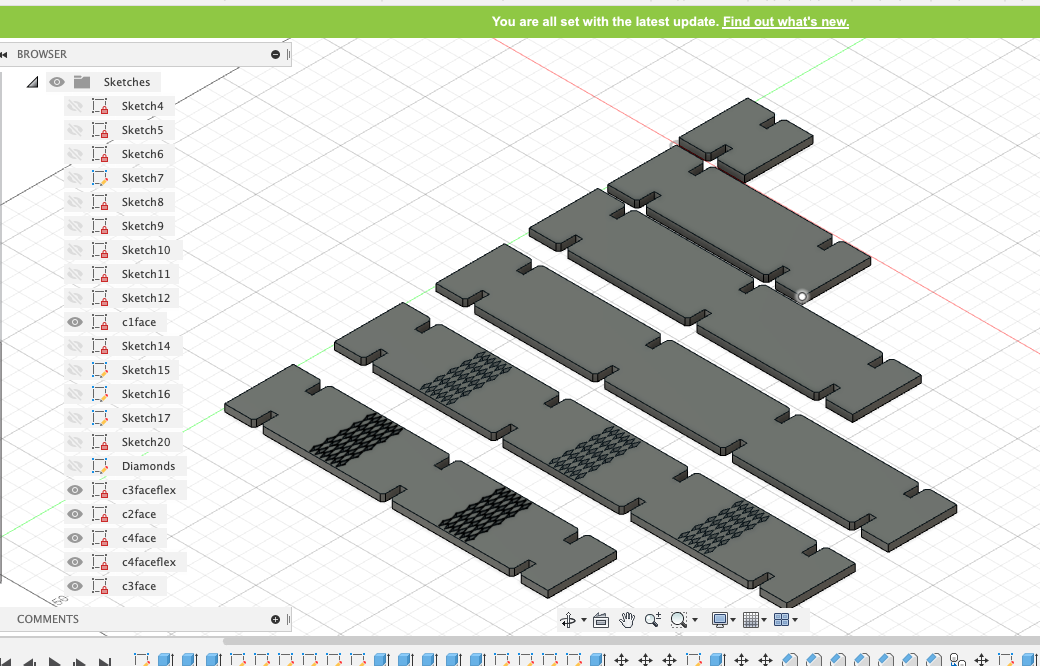
Finished the CAD after a while and then exported the dxfs of the faces of the figures to the lasercutter.
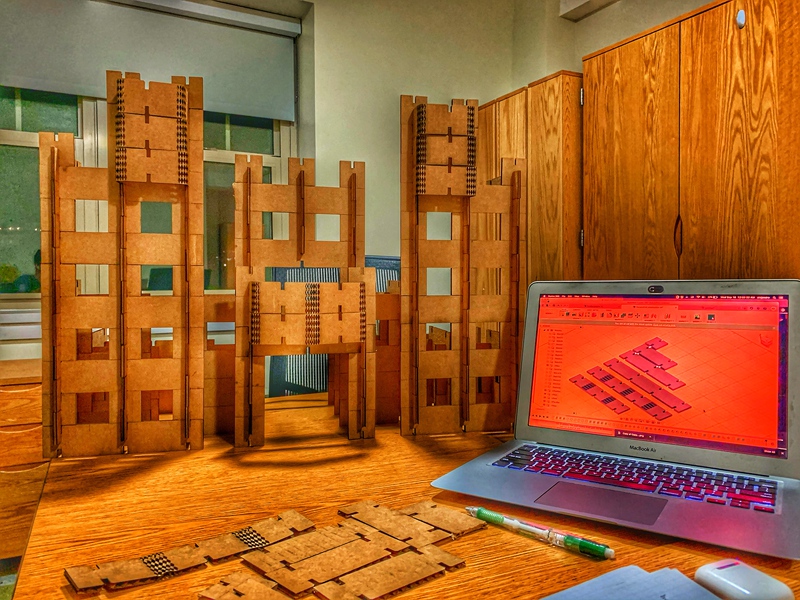
Printed them all out and was pleasantly surprised the bendy hinge actually worked!!!

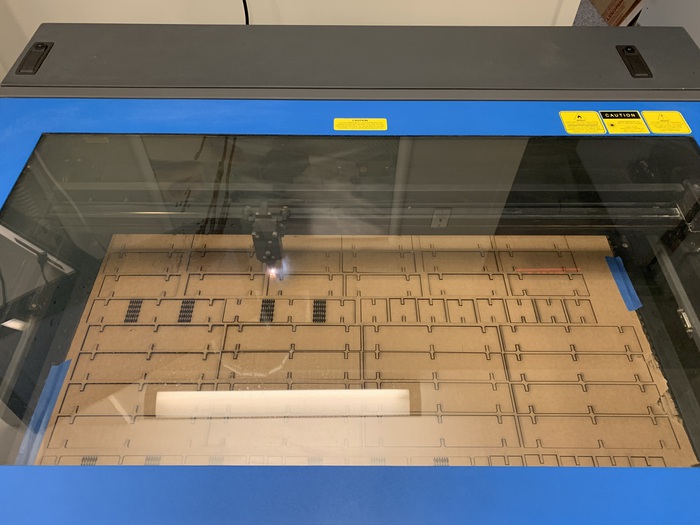
Now it was time to start printing more and building! A full sheet of parts took me about 15 minutes to print and the living hinge pieces took forever because of all the tiny little diamonds.
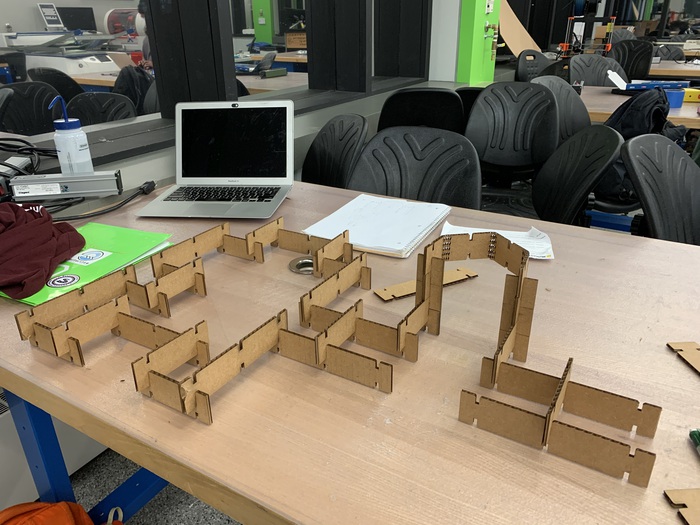
I printed out a couple more sheets and then took them home to assemble. I ran out of time to make the pieces, so unfortunately it wasn't as big or elaborate as I wanted. It was still super fun to make though!
This was my final product!!! Would have been nice to have more pieces, but it was cool!
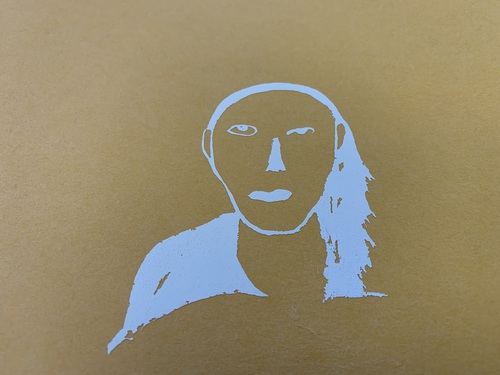
I decided to do some more vinyl cutting 9/18/20 so I just thought I'd put it in here since this is the vinyl cutting section. I took a drawing I made during one of my zoom classes and tried to cut it out.
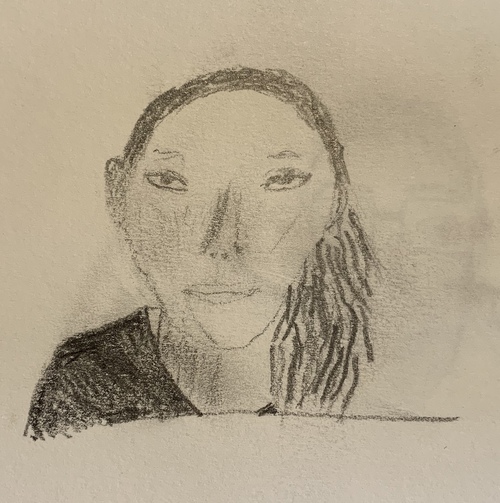
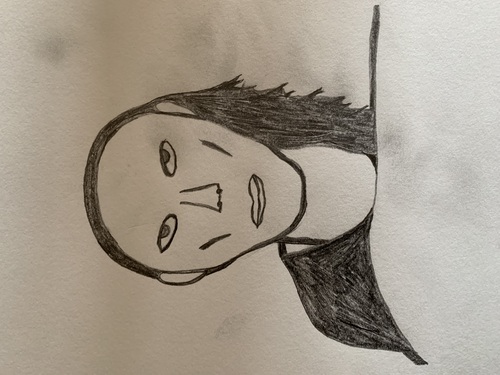
I tried cutting out this first print, but the lines weren't hard enough. Thankfully I drew this second one with harder lines that worked much better.
I tried, taking off the sections, but some of them were so small it was difficult to keep the pieces I actually wanted. In the future I am going to try to have longer, more connected, and thicker pieces that way it is easier to take off the excess. Although the etching that was produced was kind of cool, but just not visible.