Week 5: B I G
Instrument/Programs used: MasterCAM, Onsrud CNC
mortice: a hole or recess cut into a part which is designed to receive a corresponding projection (a tenon) on another part so as to join or lock the parts together.
Week 5 Lecture notes
mortice: a hole or recess cut into a part which is designed to receive a corresponding projection (a tenon) on another part so as to join or lock the parts together.
Week 5 Lecture notes
This week is interesting because while I've done some "wood-working" before, it was in the context of an art class. I had been instructed on how to use saws, end mills, various large size wood cutting materials. But the professor of said class encouraged "artistic design," and discouraged exact sizes, straight lines and anything she thought was "constricting." So I've never really used a CNC. I've SEEN one being used in a machine shop, but really, these are my experiences in full..
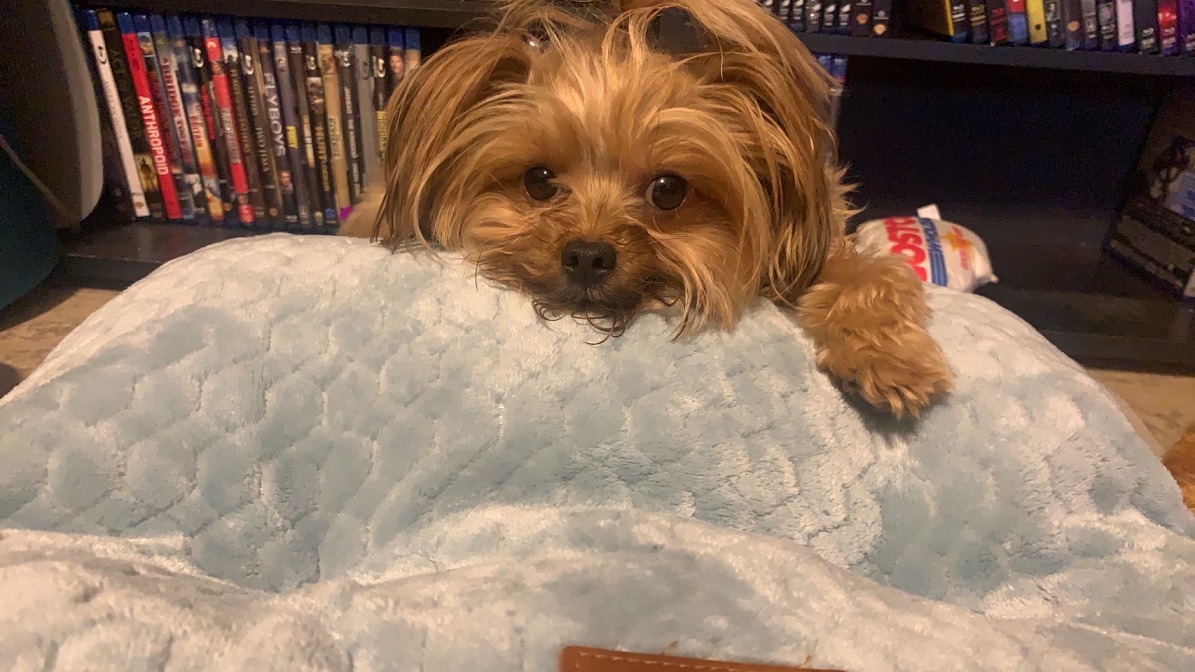
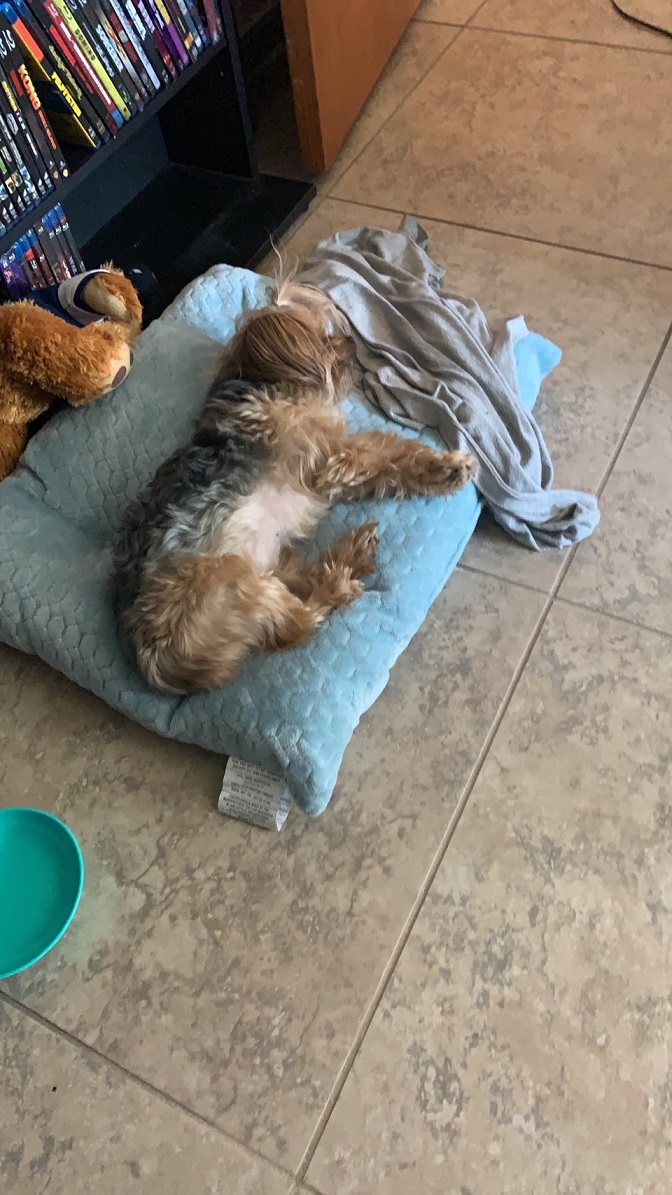
After last week, I decided to try to keep it simple. I'm still no CAD expert, although I certainly feel like I'm learning a lot of details. Anyway, I decided I wanted to do something for my dog, Zubey. She's a tiny dog, so I thought maybe a house. However, when I realized just how far the machine shop was, I knew it'd be tricky for me to transport it back. Not to mention I currently live in a ~150 sqft room, I didn't want anything too big for now.
Group Assignment
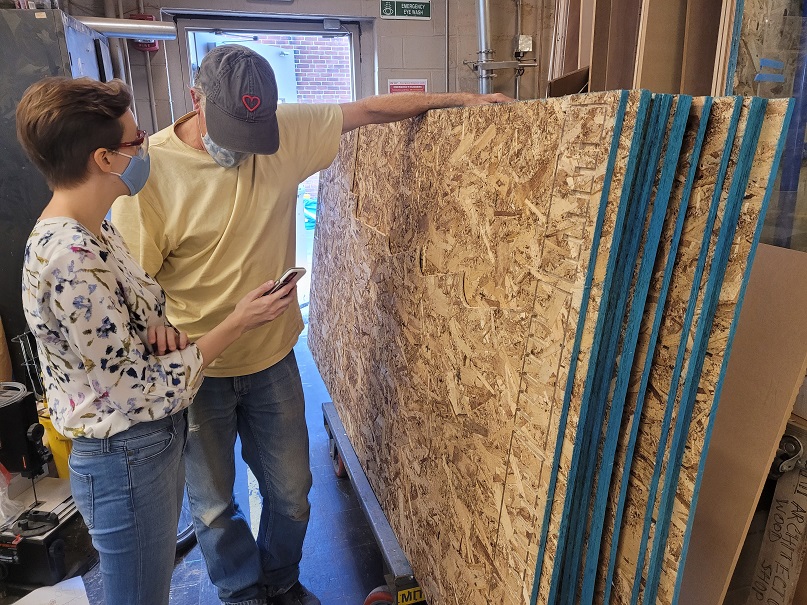
I had gone to visit Chris when available. He chatted with me about the general process and logic for designing a good CNC project, and reiterated ideas of press fit kids and showed us the machine and material we would be working with.
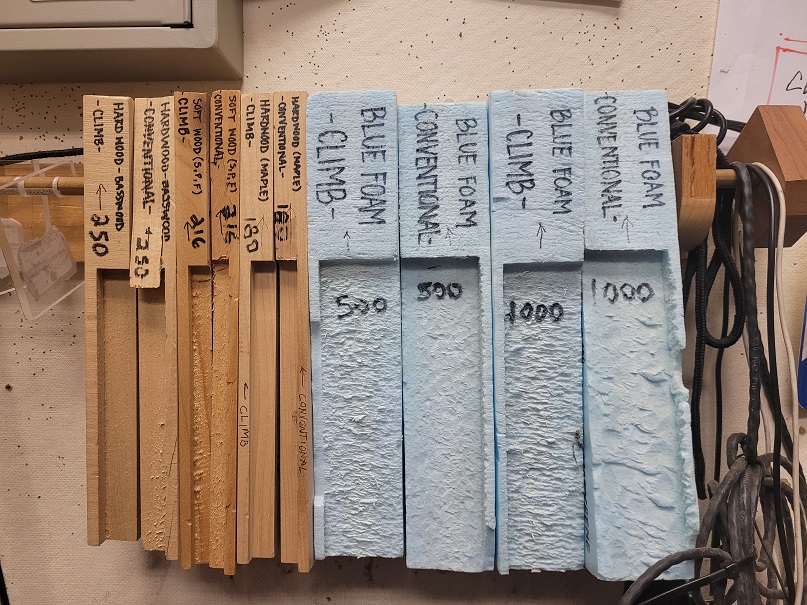
In group project trials, we saw that 0.49 inches left very tight fits, but 0.5 was allegedly better and closer to the size of our material.
Additionally, samples of what the CNC could do were in the office of the shop, shown below.
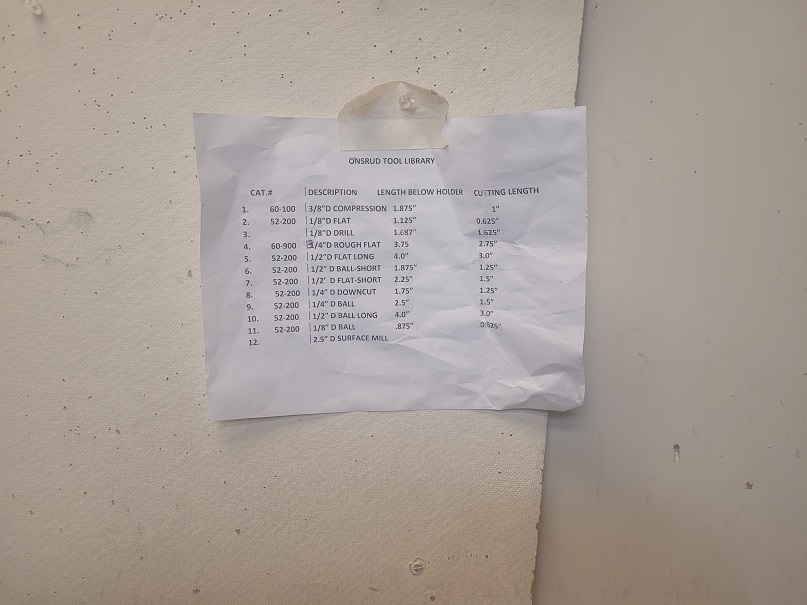
There was also a poster of the tool library.
However, I found that 0.5 worked for my project. I will discuss in more detail below.
Individual Assignment
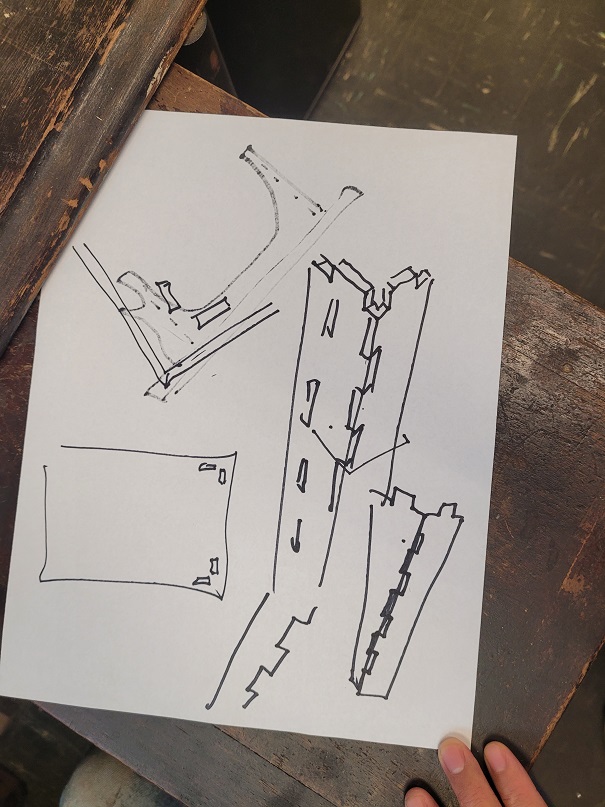
I spent a day drawing various design ideas. Having just switched to Fusion360, I took some time to learn to adjust to it after using OnShape for the previous weeks in class. It's nice that Fusion360 can be used even without internet, but it is a bit hard on my computer (i guess my graphics card isn't good enough to handle it).
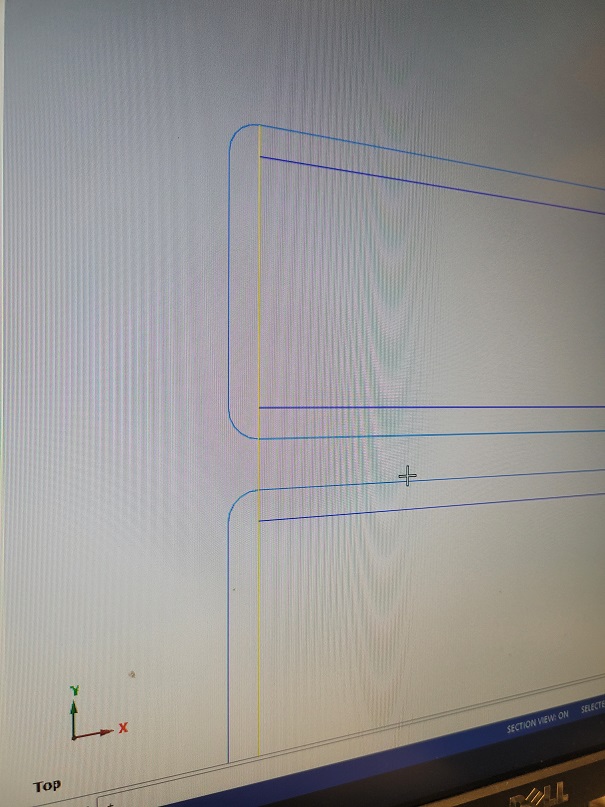
Anyway, here was my initial design, moved with suggestions by Calvin to fit onto the 48x96x0.5 boards provided.
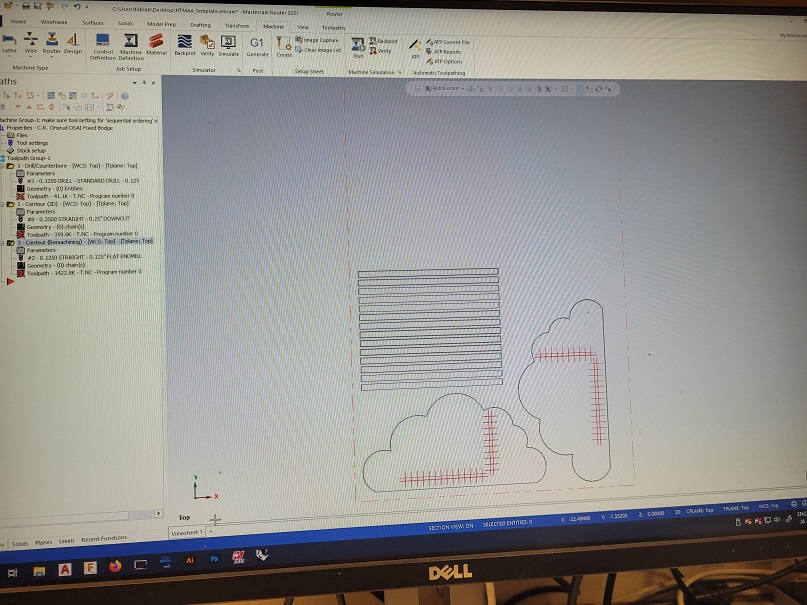
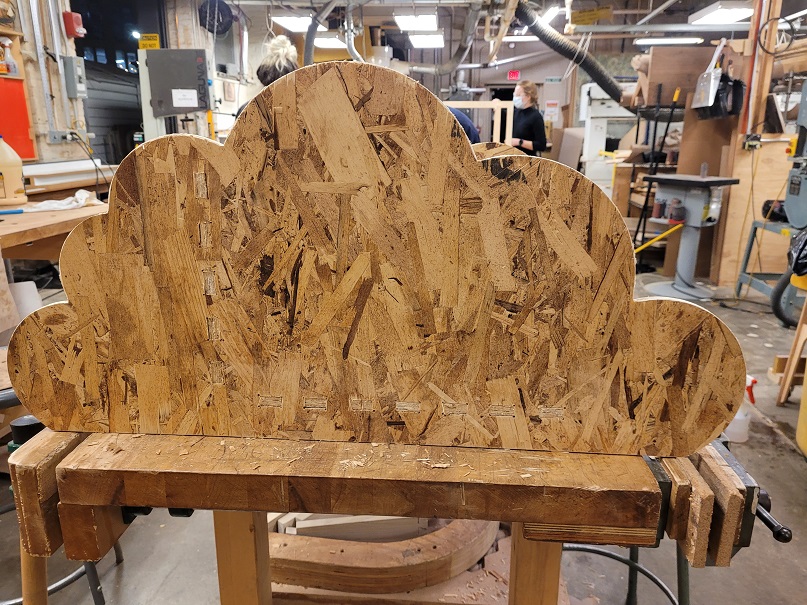
I had the cloud shape at 30 inches across and ~16 inches tall and I made holes in the cloud for 12 slats (at 1 inch by 0.5 inch). I made slats measuring 24 inches across and one inch wide, and decided to cut extra in case of emergency or disaster (lessons learn from last weeks).
After I submitted to /went over my design with Calvin, we talked about what the process of machining is.
He explained a bit about how in these types of cutting, corners cannot simply be cut out without missing portions or overcutting. As such, first the corners are drilled out and then the rest done by a smaller drillbit. He also explaind toolpaths and how ONsrud CNC is similar to the mods program we used for vinyl cutting and pbc milling.
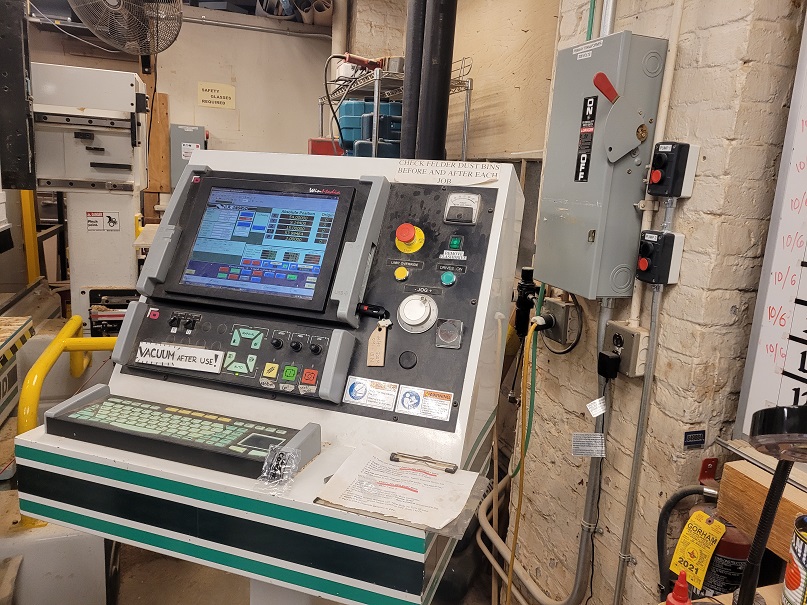
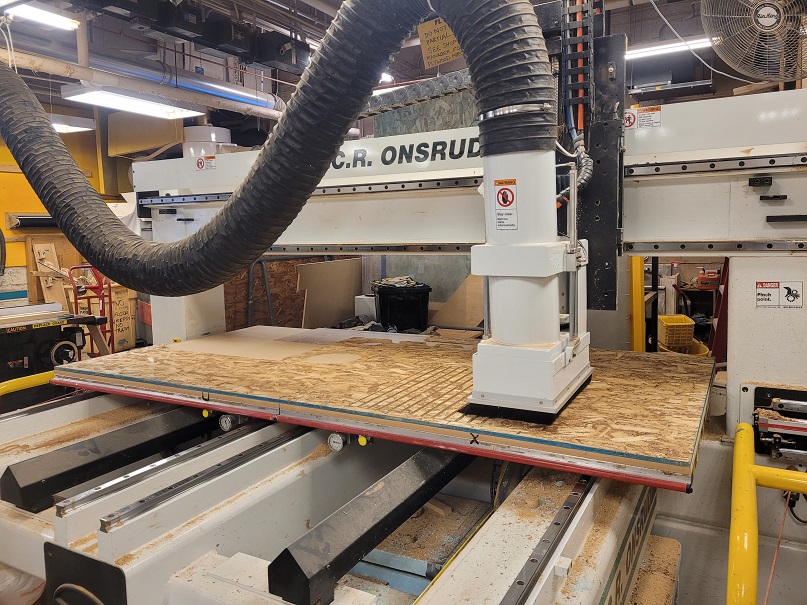
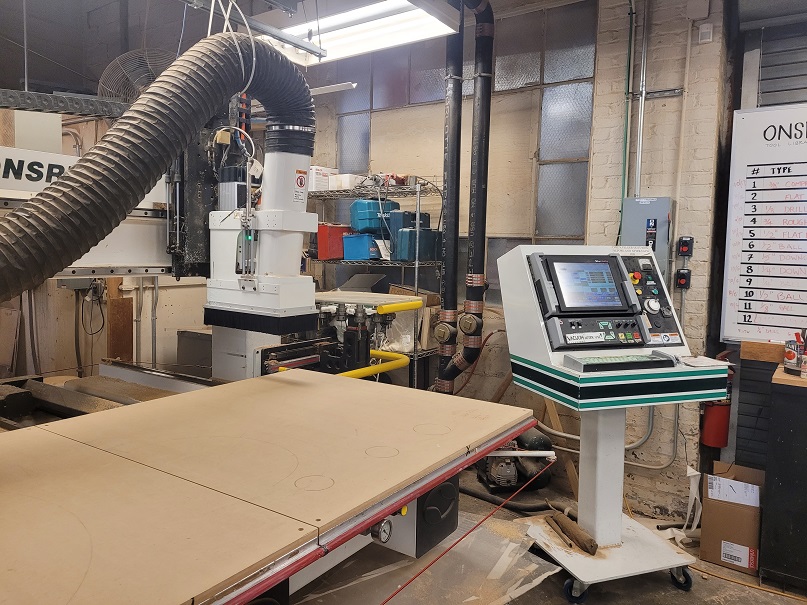
Finally, we finished, put the full steps on a usb and brought it to the CNC. The CNC uses a large computer to input your fiels into. It works by selecting the associated bit size you defined in the toolpath, and starting cuts after you assign x, y and z values. The cutting is hidden by a brush, which works to vacuum up excess material that is shaved off.
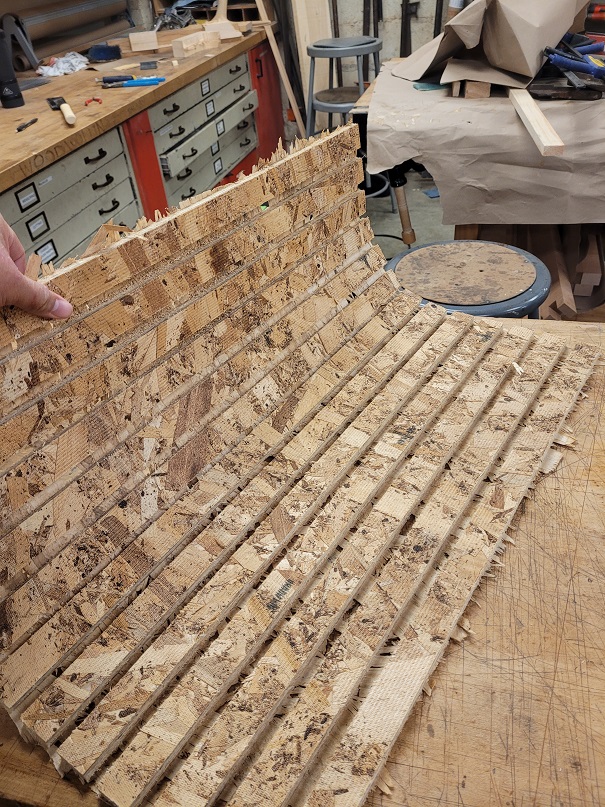
My finished product had a layer at the bottom that I could easily pop my shape out of. Unfortunately, I did lose a slat to the removal process but luckily I had the foresite this time to design extra. Hah! Learning!
Calvin pointed out that I technically had designed a curve with my slats, pictured below. While I can't say I planned on it, it was honestly fairly sturdy as cut.
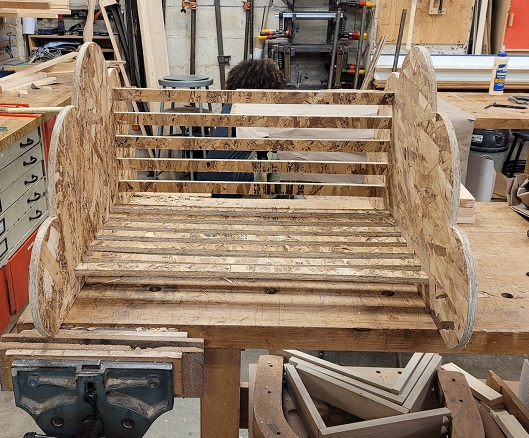
After I sanded down the rough edges--a process I now wish I had taken a picture of--I was able to press my slats into the holes of the cloud ends. I first put all the slats in on one side, then lay it on its side and pressed the other end in, which was slightly tricky. However, it was an extremely tight fit! No uncertainty about the slats falling out as I transported it.
Final Notes and Lesson Learned
1. Plan for parts to break, if possible! It'll make things easier than if you have to print it again.
2. Ask lots of questions.
3. If you have skin issues or hand issues like I did this week, gloves could be a good idea. You WILL have to sand down your material as the CNC doesn't leave smooth edges.