This week, I extended the capabilities of the simple ESP32 webserver created last week. Eyal Perry and I have been developing a React web app called Fabublox that will be a standalone tool for visual blockwise development of micro-/ and nanofabrication processes. However, this web app will also seamlessly integrate as the control interface for the IoT capabilities of my final project, the Fabubox . We integrated both the in-browser display of particle count, shown last week, into Fabublox, as well as a button to turn on and off the motor controlling air flow through Fabubox.
2. Serial Connection and Protocol between ESP32 and Box Flow Control Board
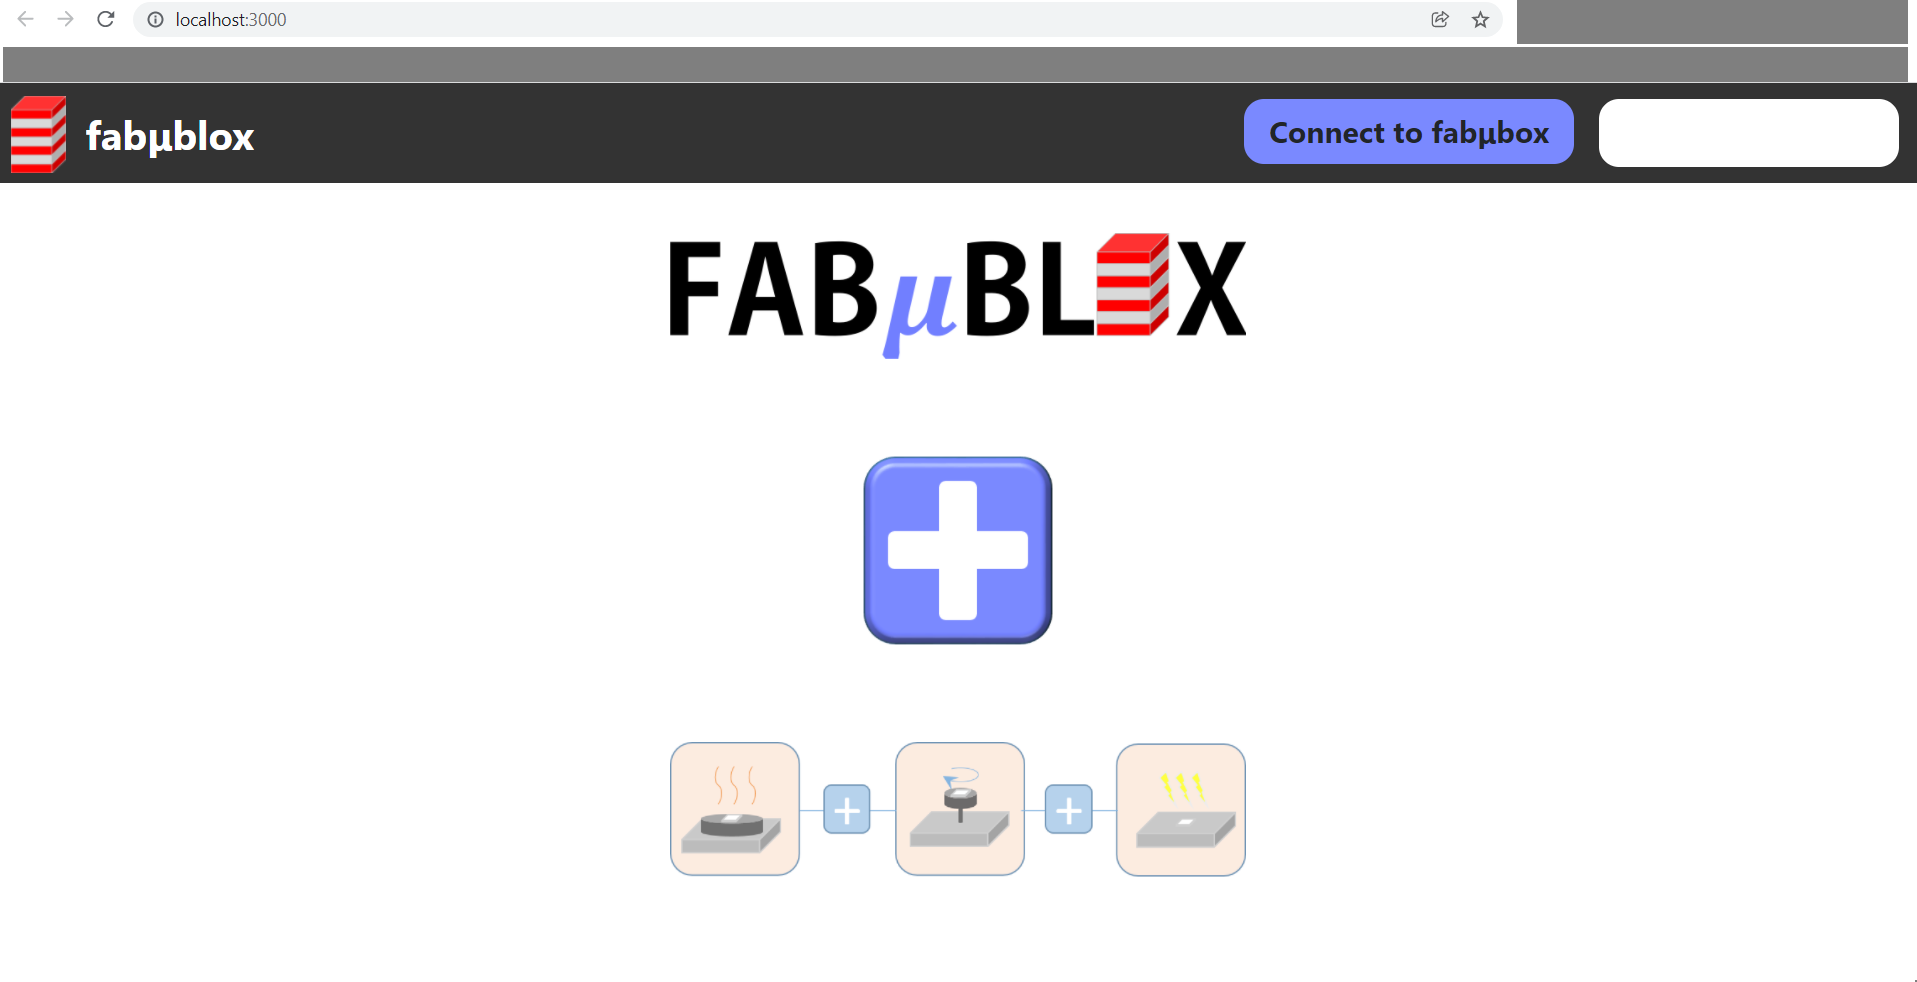
Fabublox Interface: Client Request Setup
The code on the ESP32 enabling processing of GET requests from the client, in this case our React app fabublox, and the web server hosted on the ESP32 is pasted below. Setup of the web server and requests received from the client to get particle count from the PM2.5 are received via software serial, as desribed in networking week, and the excerpt below is integrated with above mentioned parts. Commands to turn the motor on and off running the fan for blox flow are sent via a UART hardware serial connection to the box flow PCB and described in the section below. The schematics and layout of the box flow PCB can be found in my final project documentation.
          if (client) {                             // If a new client connects,
          currentTime = millis();
          previousTime = currentTime;
          Serial.println("New Client.");          // print a message out in the serial port
          String currentLine = "";                // make a String to hold incoming data from the client
          while (client.connected() && currentTime - previousTime <= timeoutTime) {  // loop while the client's connected
            currentTime = millis();
            if (client.available()) {             // if there's bytes to read from the client,
              char c = client.read();             // read a byte, then
              Serial.write(c);                    // print it out the serial monitor
              header += c;
              if (c == '\n') {                    // if the byte is a newline character
                // if the current line is blank, you got two newline characters in a row.
                // that's the end of the client HTTP request, so send a response:
                if (currentLine.length() == 0) {
                  // HTTP headers always start with a response code (e.g. HTTP/1.1 200 OK)
                  // and a content-type so the client knows what's coming, then a blank line:
                  client.println("HTTP/1.1 200 OK");
                  client.println("Content-type: text/plain");
                  client.println("Access-Control-Allow-Origin: *");
                  client.println("Connection: close");
                  client.println();

                  // turns the GPIOs on and off
                  if (header.indexOf("GET /status") >= 0) { //indexOf returns -1 if string cannot be found within header string
                    client.println("OK");
                  } else if (header.indexOf("GET /particles") >= 0) {
                    client.println(part05um_cuft);
                  } else if (header.indexOf("GET /fan") >= 0) {
                    // TURN FAN ON HERE, or OFF, depends on the state
                    Serial.println("Received fan flow request.");

                    char Tx_char = 'f';
                    Serial2.print(Tx_char);
                    Serial.println("Sent box flow primer.");
                    delay(5);

                    if (fanStatus == 0) {
                      // turn on
                      Serial2.print(flow); Serial2.print("\n"); // Terminate message on \n for correct parsing of int at Rx
                      Serial.println("Sent flow speed command.");
                      client.println("ON");

                      fanStatus = 1;
                    } else {
                      // turn off
                      Serial2.print(0); Serial2.print("\n"); // Terminate message on \n for correct parsing of int at Rx
                      Serial.println("Sent flow speed command.");
                      client.println("OFF");

                      fanStatus = 0;
                    }

                    delay(500);
                  }


                  // The HTTP response ends with another blank line
                  client.println();
                  client.println();
                  // Break out of the while loop
                  break;
                } else { // if you got a newline, then clear currentLine
                  currentLine = "";
                }
              } else if (c != '\r') {  // if you got anything else but a carriage return character,
                currentLine += c;      // add it to the end of the currentLine
              }
            }
          }
          // Clear the header variable
          header = "";
          // Close the connection
          client.stop();
          Serial.println("Client disconnected.");
          Serial.println("");
        }
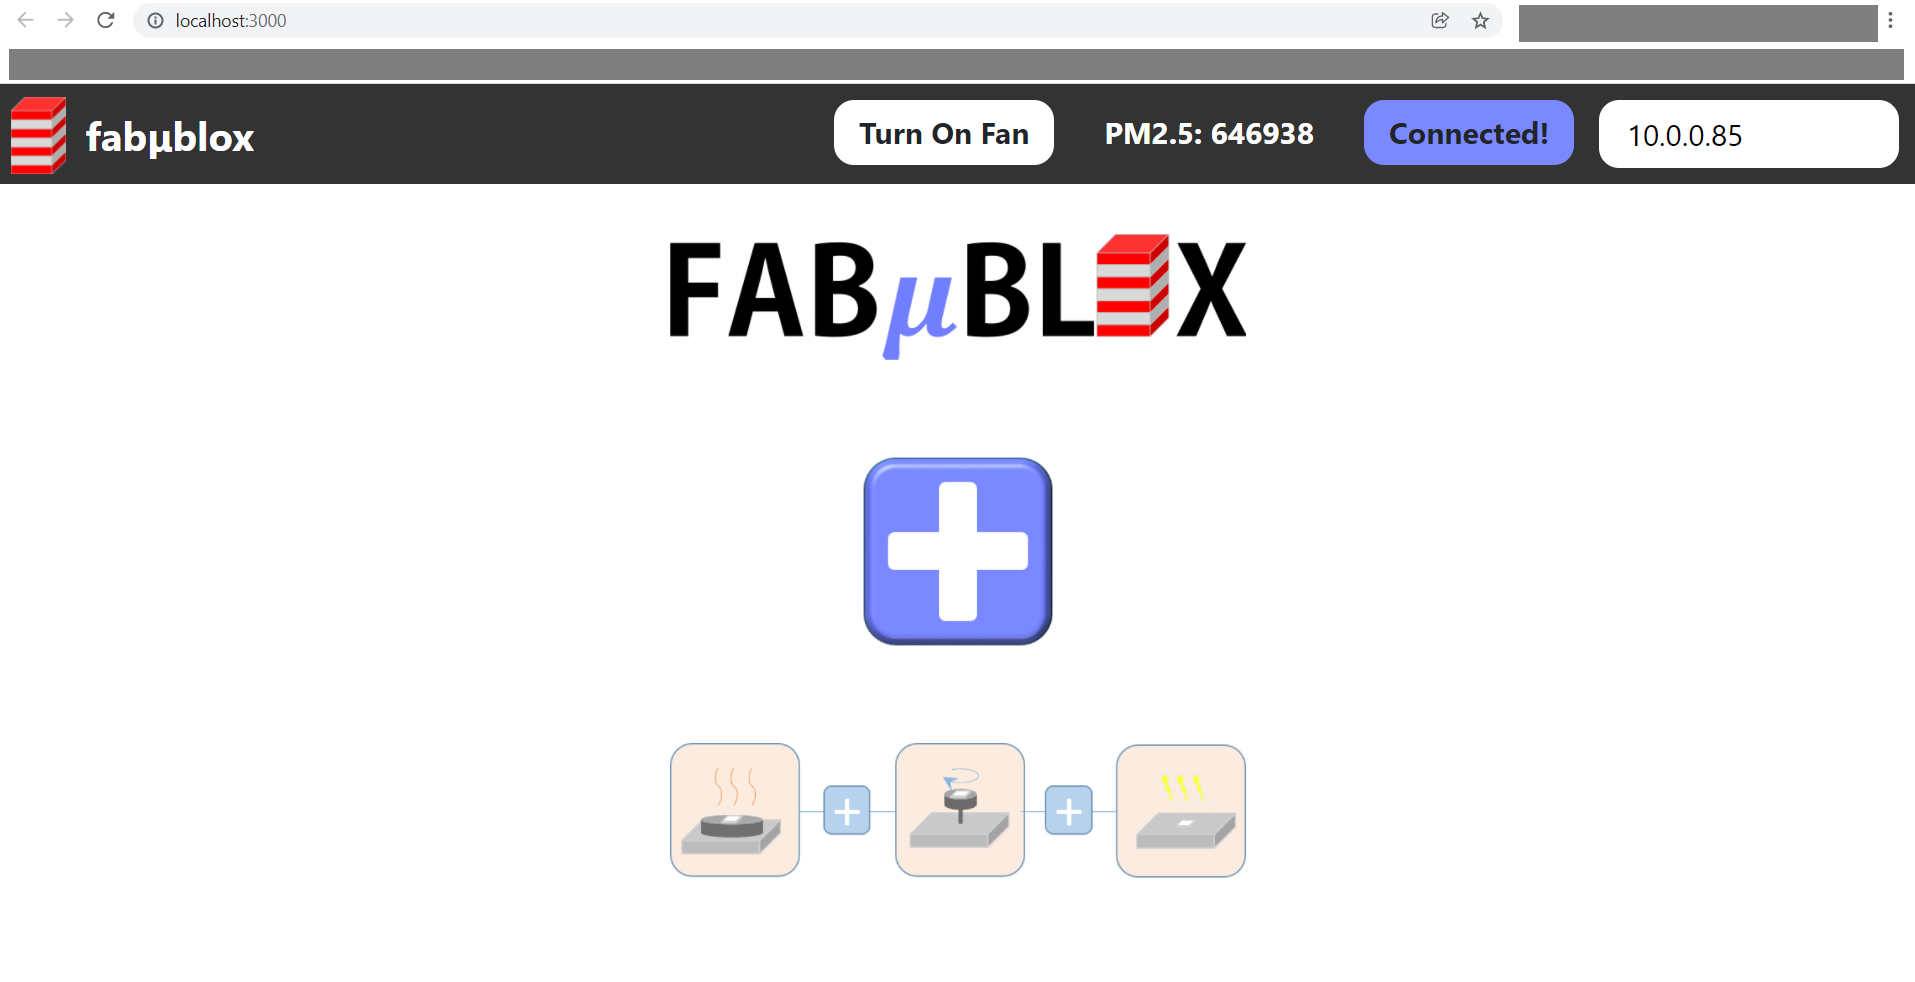
Screenshots of the fabublox interface below visually show how the server responses are processed in our React app. First, allows for pasting of the ESP32's IP address into a text field, as shown to the left below, in order to connect to Fabubox. Clicking "Connect to Fabubox" establishes a connection with the ESP32 triggering client-side requests for particle counts that are responded to on server-side as shown in the code above. The particle counts are then displayed in fabublox, as shown on the right-hand side below. Further, a button to turn the box flow motor and off appears, the interaction with which is described in the following section.
Serial Connection and Protocol between ESP32 and Box Flow Control Board
The protocol that establishes serial communication between the ESP32 and the box flow board is the following. On the Tx side (the ESP32) the following excerpt from above code highlights messages sent to the box flow board:
        char Tx_char = 'f';
        Serial2.print(Tx_char);
        Serial.println("Sent box flow primer.");
        delay(5);

        if (fanStatus == 0) {
          // turn on
          Serial2.print(flow); Serial2.print("\n"); // Terminate message on \n for correct parsing of int at Rx
          Serial.println("Sent flow speed command.");
          client.println("ON");

          fanStatus = 1;
        } else {
          // turn off
          Serial2.print(0); Serial2.print("\n"); // Terminate message on \n for correct parsing of int at Rx
          Serial.println("Sent flow speed command.");
          client.println("OFF");

          fanStatus = 0;
        }
On the Rx side (the box flow board) the commands are parsed as fllows to turn on and off the motor for air flow through Fabubox:
          // define UART2 hardware serial pins
          # define TX 4
          # define RX 5

          // define motor pins
          # define MOT_IN1 14
          # define MOT_IN2 15

          int mot_speed = 0;

          void setup() {

            // Set up communication pins
            pinMode(TX,OUTPUT);
            pinMode(RX,INPUT);

            // Set up motor pins
            pinMode(MOT_IN1,OUTPUT);
            pinMode(MOT_IN2,OUTPUT);

            // Wait for serial monitor to open
            Serial.begin(9600);

            // Set up hardware serial with TX and RX pins as defined above
            Serial2.begin(9600);
            while (!Serial2){
              delay(10);
            }
            Serial.println("Serial communication to Fabubox components is ready.");


          }

          void loop() {

             while(Serial2.available()){
             Serial.println("Something here to read");

              char Rx_char = Serial2.read();
              Serial.print("Received on Rx:");Serial.println(Rx_char);
              // delay(10);
              if ( Rx_char == 'f'){
                Serial.println("Received box flow command.");
                Serial2.print('k');
                Serial.println("Sent ACK");
                if (!Serial2.available()){
                  delay(10);
                } else{

                  // Use Arduino library function parseInt to receive motor speed.
                  // Terminates reading when a non-digit is read, e.g. \n
                  mot_speed = Serial2.parseInt();
                  Serial.print("Received motor speed:"); Serial.println(mot_speed);

                  break;
                }

              }
             }
            Serial.println("Writing speed command to motor");
            analogWrite(MOT_IN2,0);
            analogWrite(MOT_IN1,mot_speed);
            delay(1000);

          }
Description of the implentation into React on the fabublox side is beyond the scope of this week's assignment. The functionality of the created interface to turn on and off the box flow motor is shown in below video.