Computer-Controlled Cutting
This week's assignments:
1) Cut something on the vinylcutter.
2) Design, lasercut, and document a parametric construction kit, accounting for the lasercutter kerf, which can be assembled in multiple ways.
[1] Vinyl Cutting
As a warm up, I started with a relatively simple design to vinyl cut -- the iconic duck character from the YouTube channel Kurzgesagt. I looked online for a SVG of the duck, but unfortunately I only could find some relatively low-quality JPEGs. I ended up redrawing the duck in Microsoft Paint 3D (don't worry, I ended up learning Inkscape) to produce a pair of decently high quality PNG files to vinyl cut -- one image for the body of the duck, and another for its beak and feet. Using the PNG vinyl cut program on mods, I cut out the body of the duck from black vinyl and its beak/feet from red vinyl. The final result looks pretty nice on my laptop!

[2] Laser Cutting
Before moving on to my own laser cutting project, I first had to complete the group project where we characterized the kerf of the laser cutter in relation to power and speed. The results are here. From the group project results, I decided to use a kerf value of approximately 0.4 mm, so for example if I were to use a press-fit joint, one piece of the joint would need to shrink dimensions by 0.2 mm in all directions.
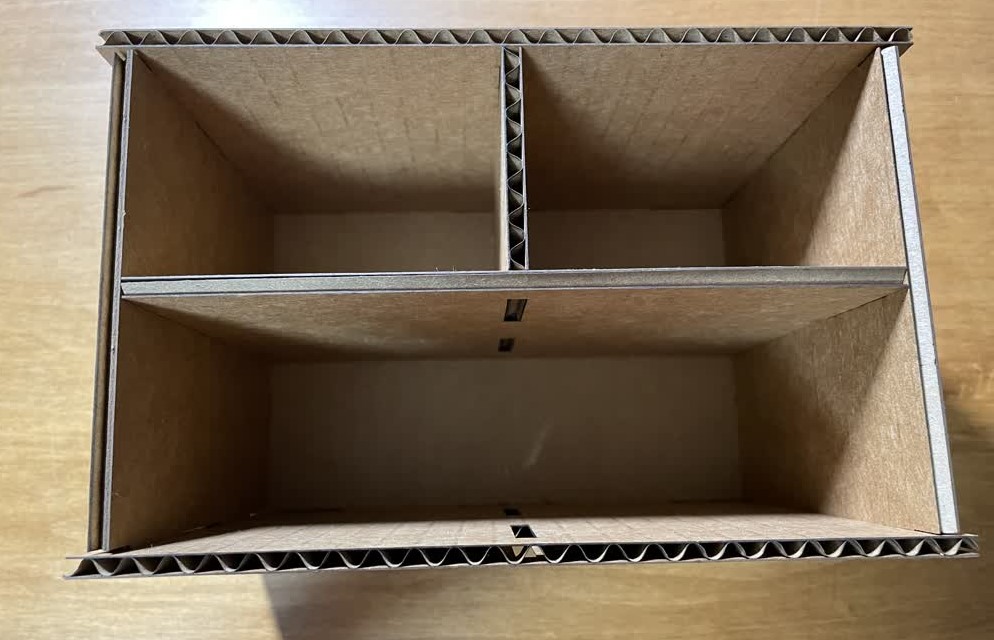
For my press-fit construction kit, I designed a parametric modular drawer set. I started with a parametric model for a basic open-top box, using a style of press-fit right angle joints that were mentioned in class. The CAD model includes adjustable parameters for the X, Y, Z dimensions of the box, as well as adjustable kerf and material thickness. After cutting out and assembling my initial design, I had the following:
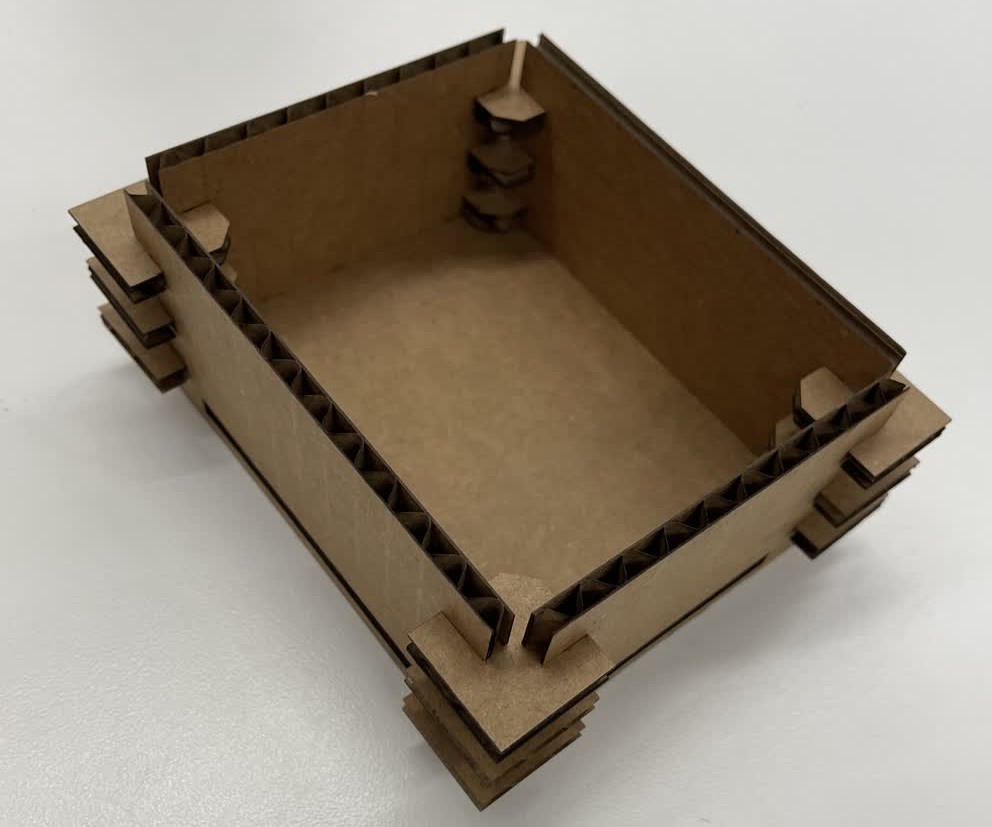
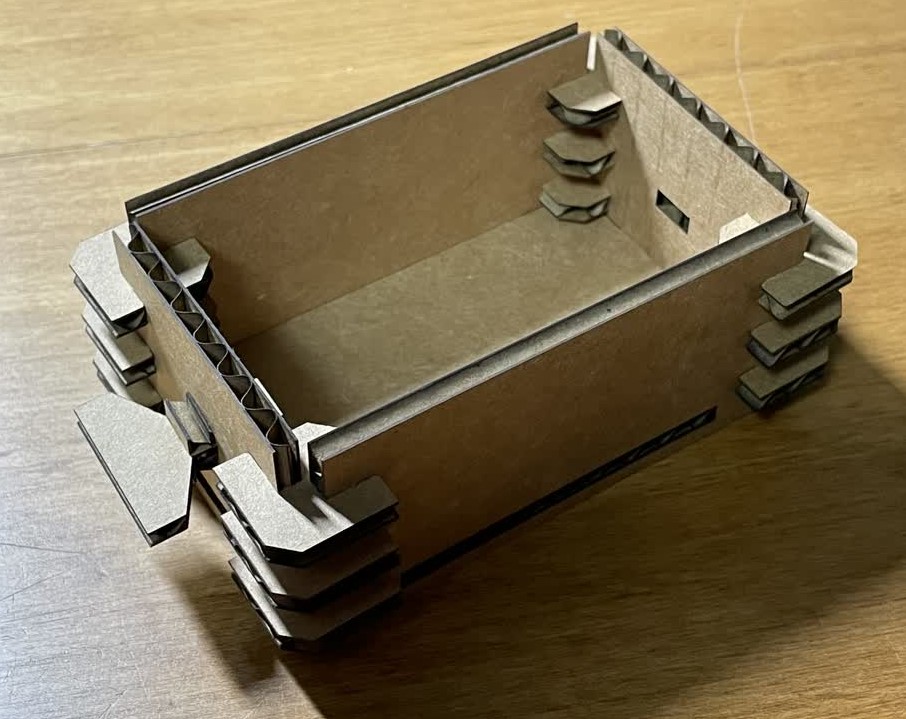
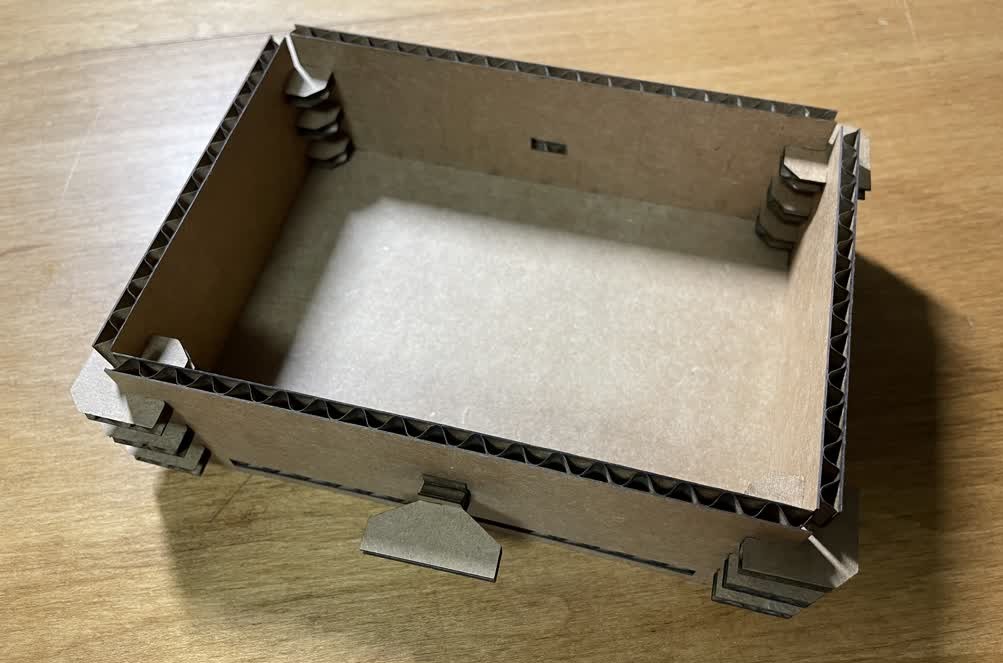
I then added a few adjustments to the basic box design: chamfered the corners of the joints, added a small handle on the front face of the box, and increased the kerf to 0.25 mm since it turned out that the initial choice of 0.2 mm on all sides was too small.
 |
 |
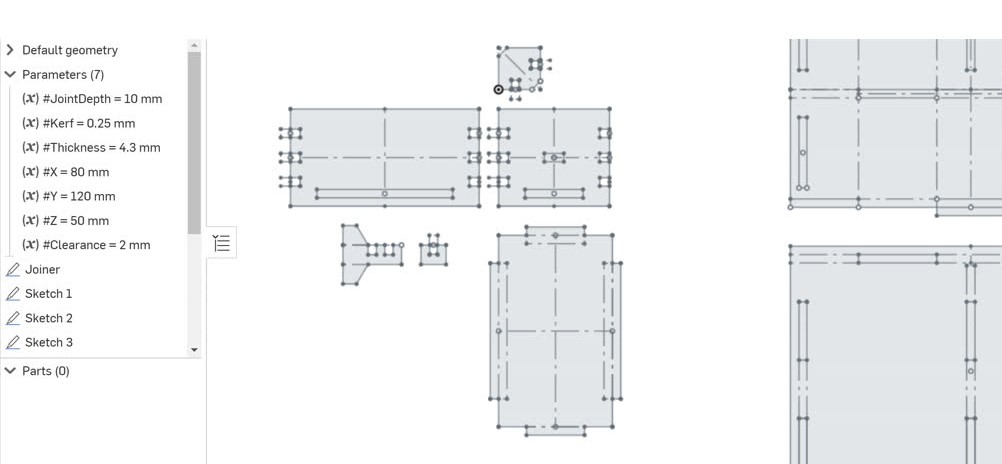
For the last step, I created a "frame" in which multiple of these drawer boxes could fit, and assembled the final product. The screenshot below shows the parameters available in the CAD model.
 |
 |
 |