Interactive lighting

Lighting that interacts with people by controlling the brightness and the size of shed according to the distance

01_Sketch & Insperation

For the final project, I want to make an installation of lighting which interacts with people. I got inspiration from the structure of the satellite, which has the origami structure of folding and expanding. I want my lighting to be interactive by turning the LED on or strengthening the brightness and changing the shed's size as the people get close to the lamp.
I wanted to use the ceiling lamp to show the folding structure better so that people could see the beautiful folding movement under the light.

02_Prototype

First, to prove my idea, I made a rough prototype. I copied the folding structure of the satellite from the NASA homepage. And I made several paper prototypes to check the size and test the design. Also, I made the frame structure using a metal rod. The low-fidelity prototype was working quite well. And I decide to use the motor in the middle to rotate the lamp shed.

03_3D modeling

I designed the whole lamp shape and structure more detail using Fusion 360.

04_Paper Cutting and folding

I want to use the fabric to make a shed of the lamp. But the material needs to be more vital to have a folding structure. So I decided to use thicker paper inside and fabric outside to make a folding structure.
I used the Zund machine to cut and score the paper during the wildcard week. Zund machine was terrific because it could do various jobs such as cutting, scoring, and marking in multiple materials such as metal, paper, and fabric.
So I cut and scored the paper. Also, I mark the sewing line using the Zund machine.

05_Sewing

I used the sewing machine to make the shed, which I also learned from wildcard week. I put the thicker paper that I folded inside and layered two fabrics outside. And I sew them all together following the folding line. It took a lot of time to finish the sewing.
I made the fabric pieces to cover the dirty edge and attached them to the shed.

06_Metal bending & welding

To make the frame, I wanted to use metal. Since I have never used metal before, TA Grahm helped me to make the frame ring using metal.
I used metal rods (3.2mm), which we cut in the exact size and bent using the bending machine. And we welded together to put it together. Learning to weld and the whole process of making something with metal was enjoyable.

07_3D print

I used the rest of the parts using a 3d printer. I printed parts from my 3d modeling.

08_PCB design

I designed a PCB board. I integrated all parts in one PCB board: a sonar sensor, servo motor, and Neo pixel LED. Successfully soldered and programmed it.

09_Embeded programming

After flashing my board, I started programming. First, I connected each component to check that each part was working with the board, and I attached all elements to connect them.
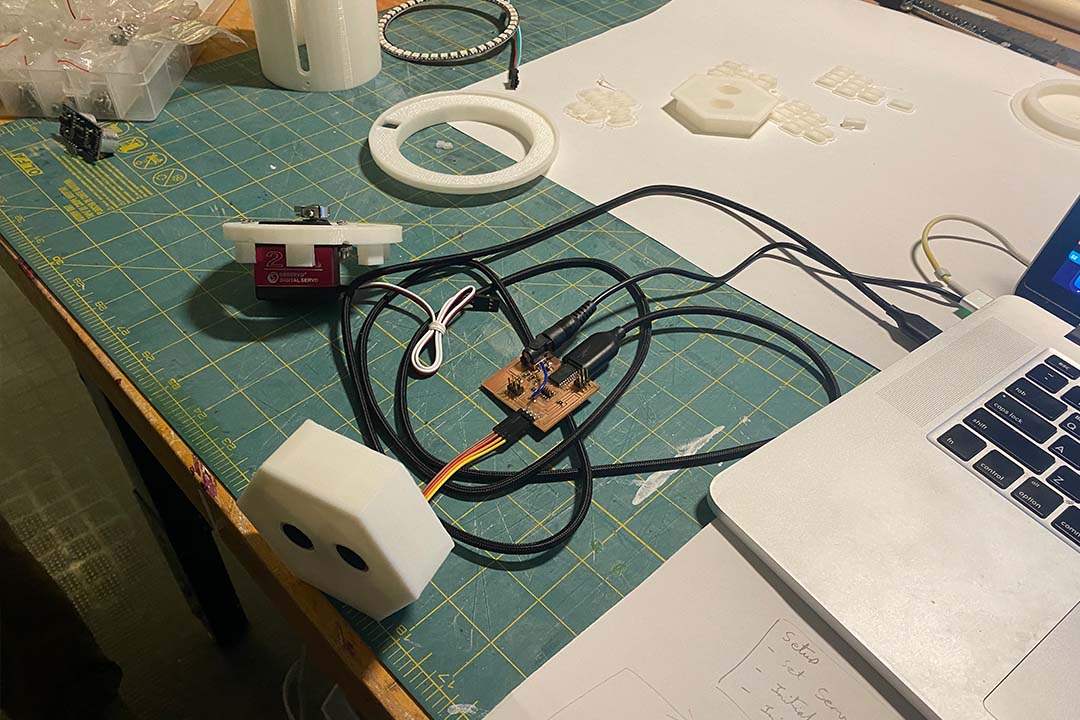
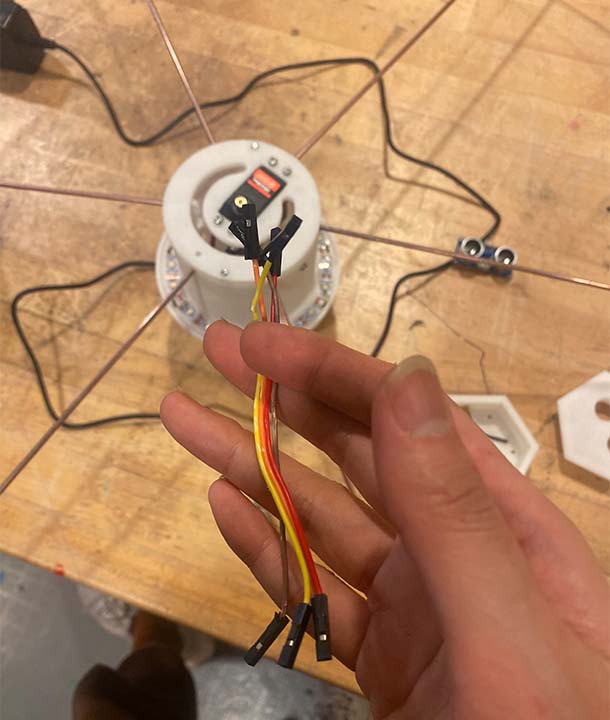
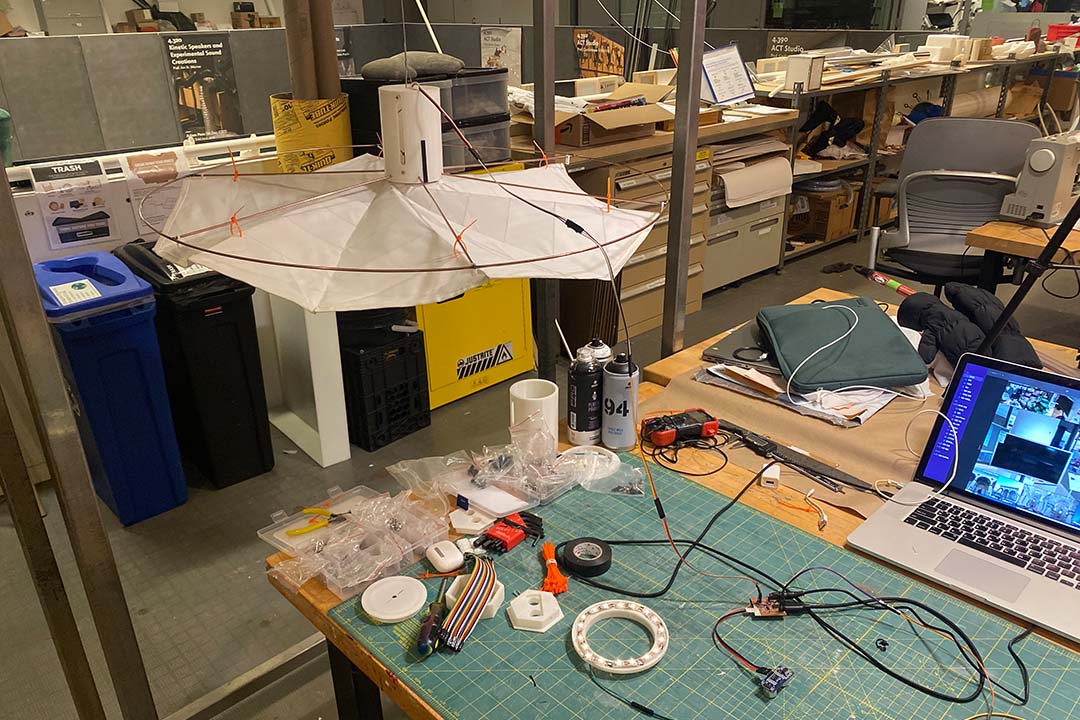
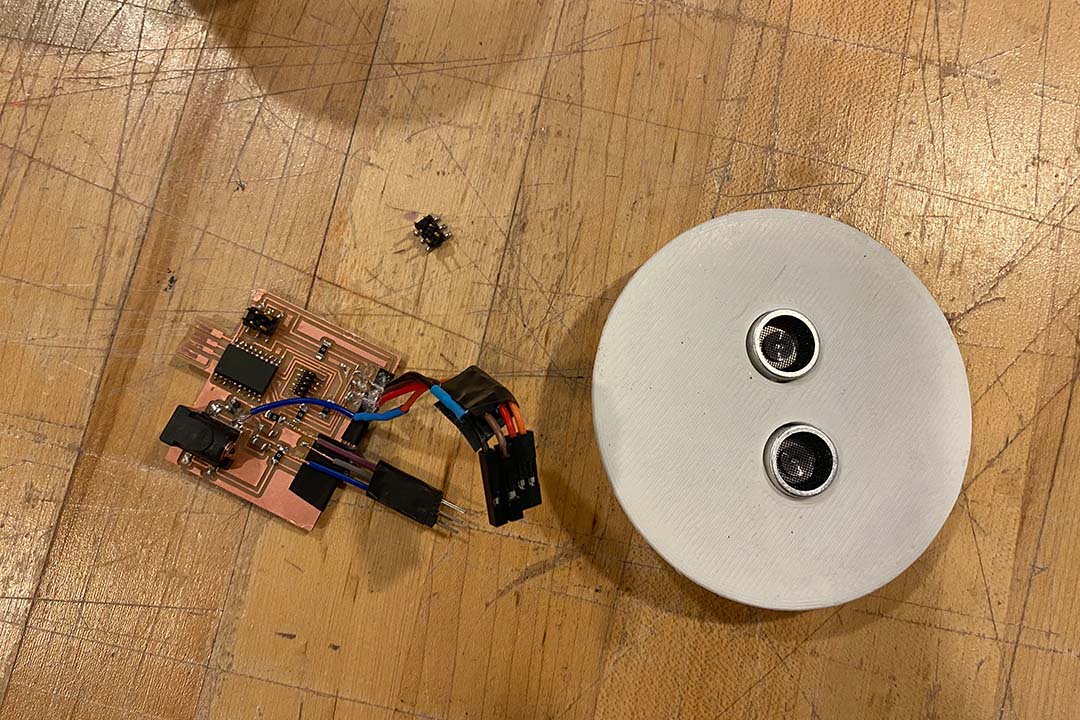
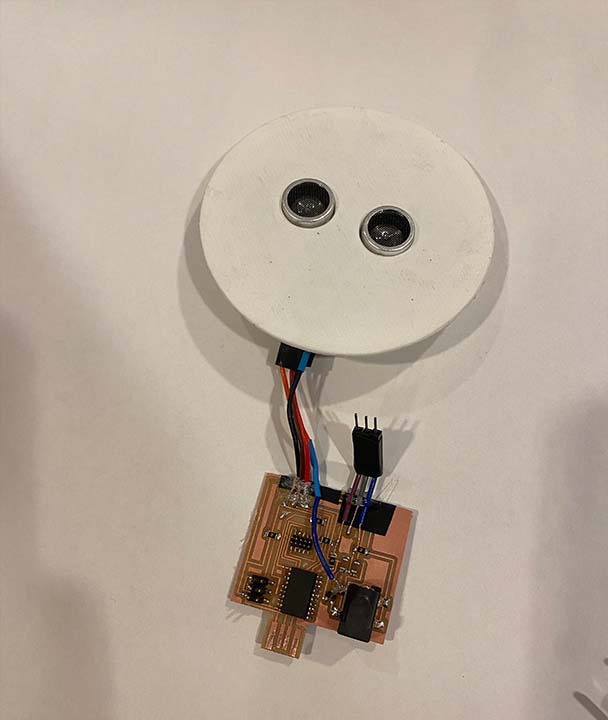
Here I found a few problems. First, the sonar sensor didn't work with my PCB schematic. Later I found out the sonar sensor requires the 5V. So I had to use a jumper wire to connect sonar power to 5V. Second, I realized the microcontroller I used, which is SAMD11D, was not compatible with Neo pixel LED. I had to change it to an LED strip. Also, I had to use PWM to program the LED strip, and one pin must be connected to the microcontroller, which uses 3.3V. So the LED brightness wasn't strong enough.
Also, SAM11D has a limited amount of memory. I couldn;t upload my code since it kept saying that it was out of memory.. so I had to delete the code to control the LED's brightness.

10_Integration

I started assembling all parts to check all parts could fit together. But I figured the motor could fit better. So I had to cut the original part and re-design the parts, and 3d print again.
Also, I had a problem with the sonar sensor. The original idea was to attach the sensor under the shed, which rotates together with the lamp shed.
But The sonar sensor doesn't detect the distance precisely if it's turning. So when I integrated the sensor in the center, which I planned and designed originally, Weirdly, the motor kept spinning 360 degrees (even though it was only a 270-degree servo motor). Wires kept winding up with the motor head.
So I had to change the design and decide to make an individual remote controller with a sonar sensor inside.
\
After all of the problem was sorted out. I successfully assembled metal framed and fabric shed and hanging on the ceiling.

11_Testing & Debugging

I start debugging the code to make it more concise by changing the angle of the motor and the distance and brightness of the lamp to make beautiful movement and interaction.

12_Spraying

For the quality product, I sprayed the parts in black. Before spraying it into the black, I coated it with primer spray and sprayed it into black. And I reassembled all parts again.

13_Remote controller

To integrate the controller with the sonar sensor, I put the PCB and sonar sensor together in the case.
But while I was putting it all together in the case of a remote controller, because of the wire..one pin fell apart.. so I had to re-solder again using a jumper wire.
PCB was fragile since I had too many jumper wires, so I couldn't put it in the case because I worried that other components might have torn apart again. Later I want to do better in managing the cable.

14_final

Finally, I made a beautiful interactive ceiling lamp that can control the light's brightness and size of the shed using hand gestures. As your hand gets close to the remote controller, the shed will be folded, and LED will turn off. And As your hand gets far away from the controller, it will fully open, and brightness will be the maximum. And also using the distance from the hand and sensor, you can also control the shed's size.
Since I have no background in software, electronics, and coding, I have struggled a lot every week and every work. However, I learned so much, and I enjoyed the process. I was pleased that I saw my product was working. Now, I feel Like I can make almost anything! I would say It's the beginning of making stuff, and I want to learn more and make more:)