Electronic fabrication

This week we're making a PCB (printed circuit board). I used the Roland SRM-20 to mill the board. 

01

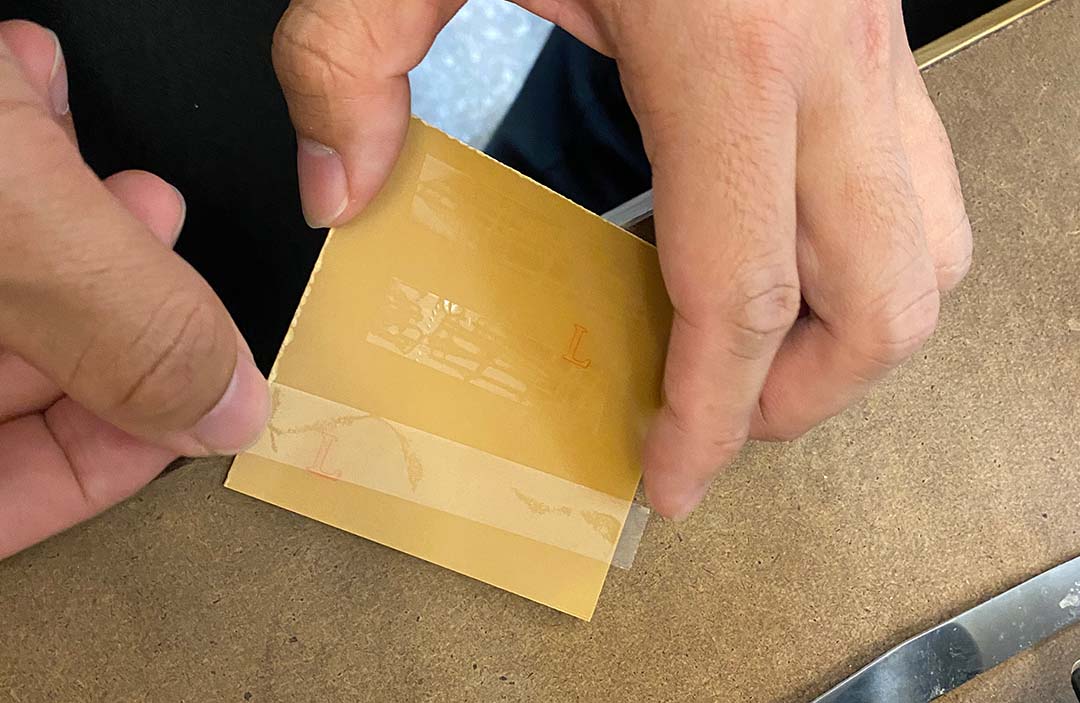
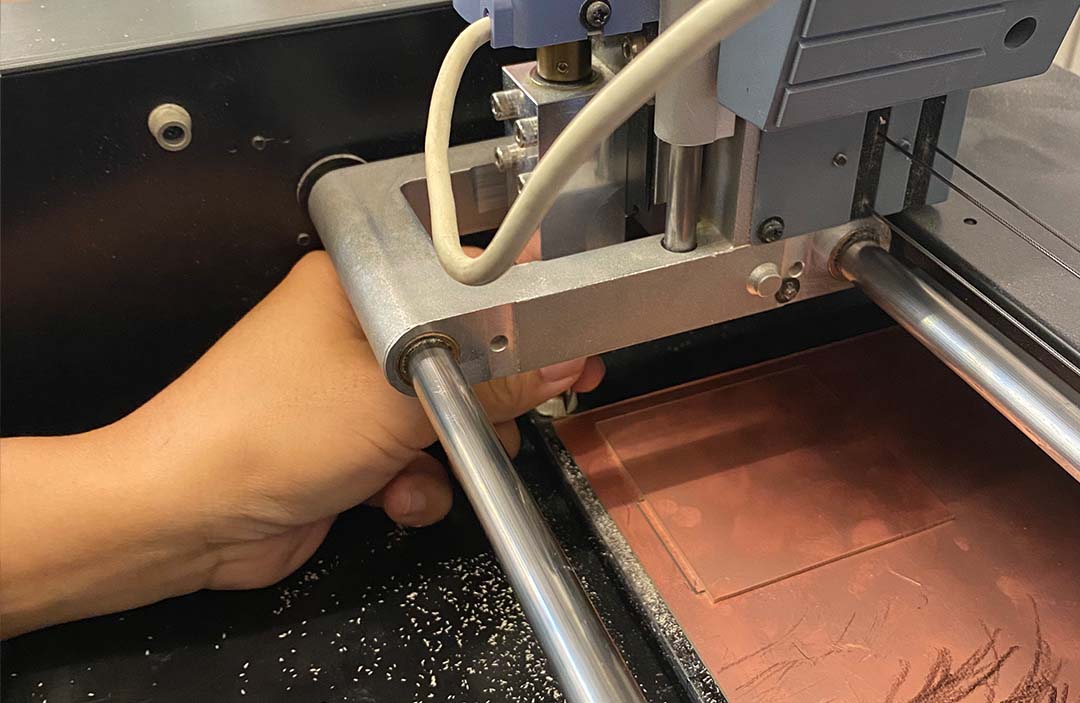
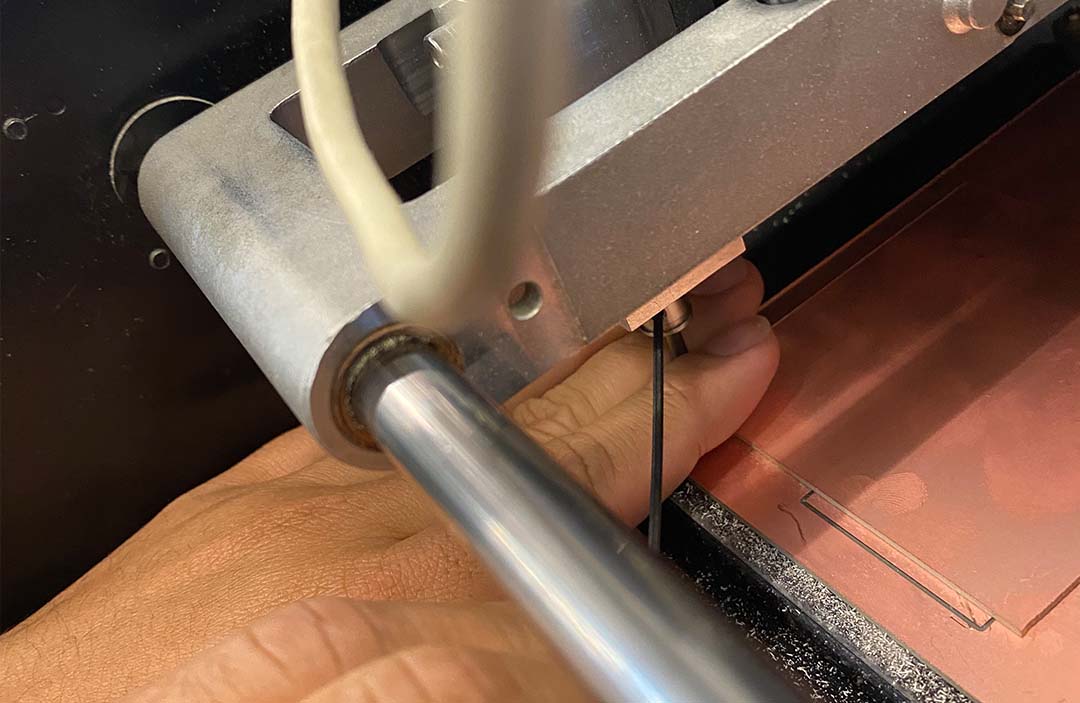
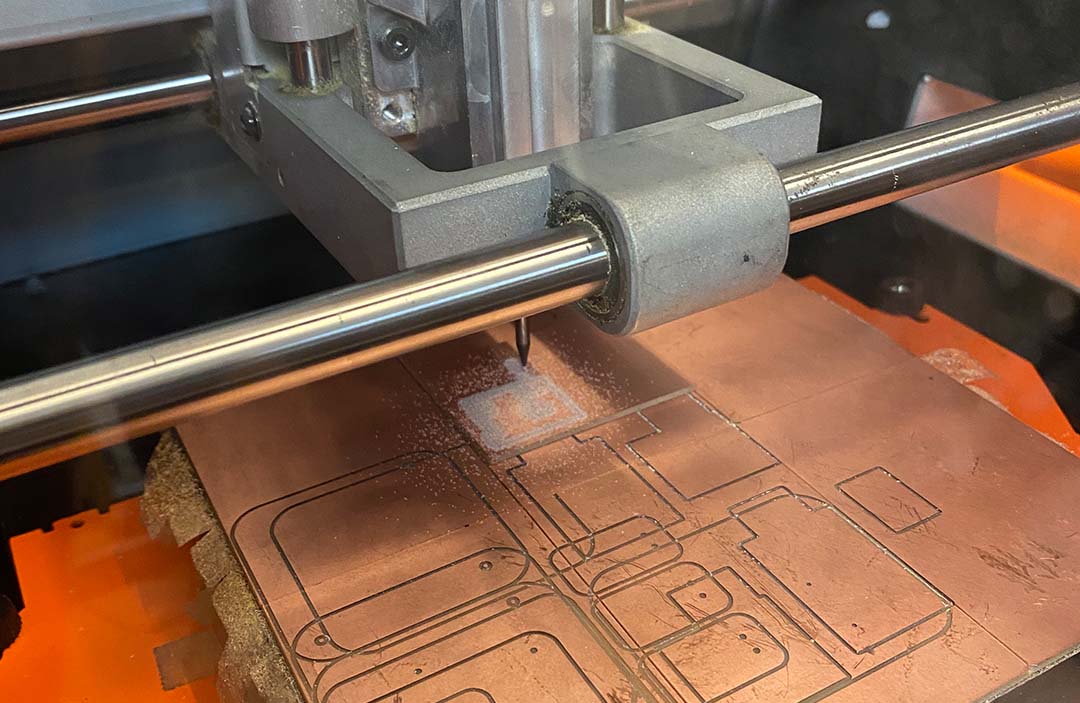
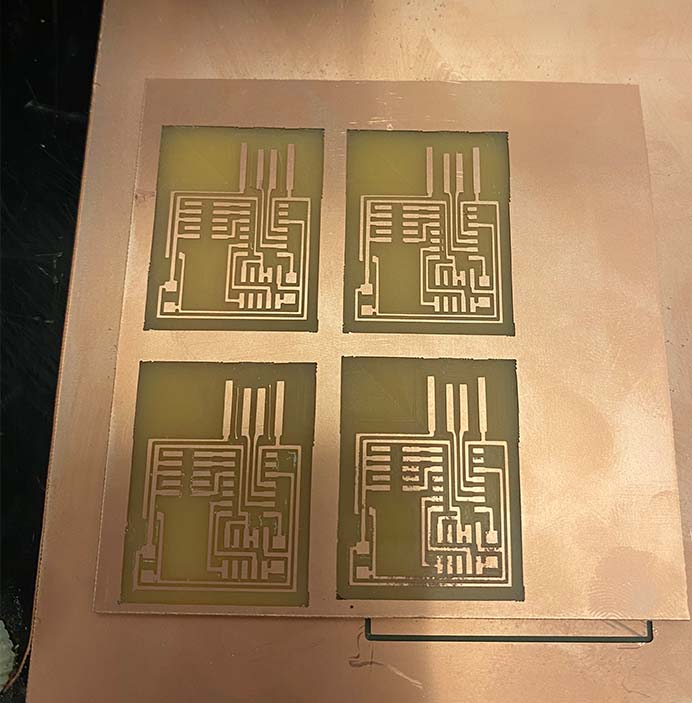
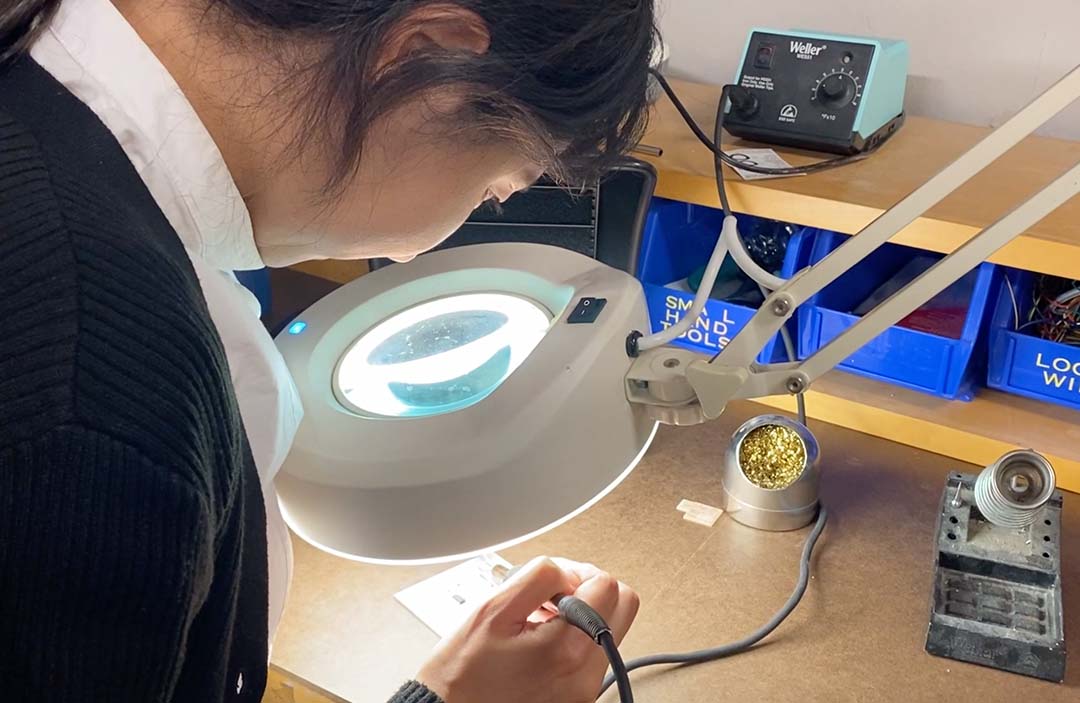
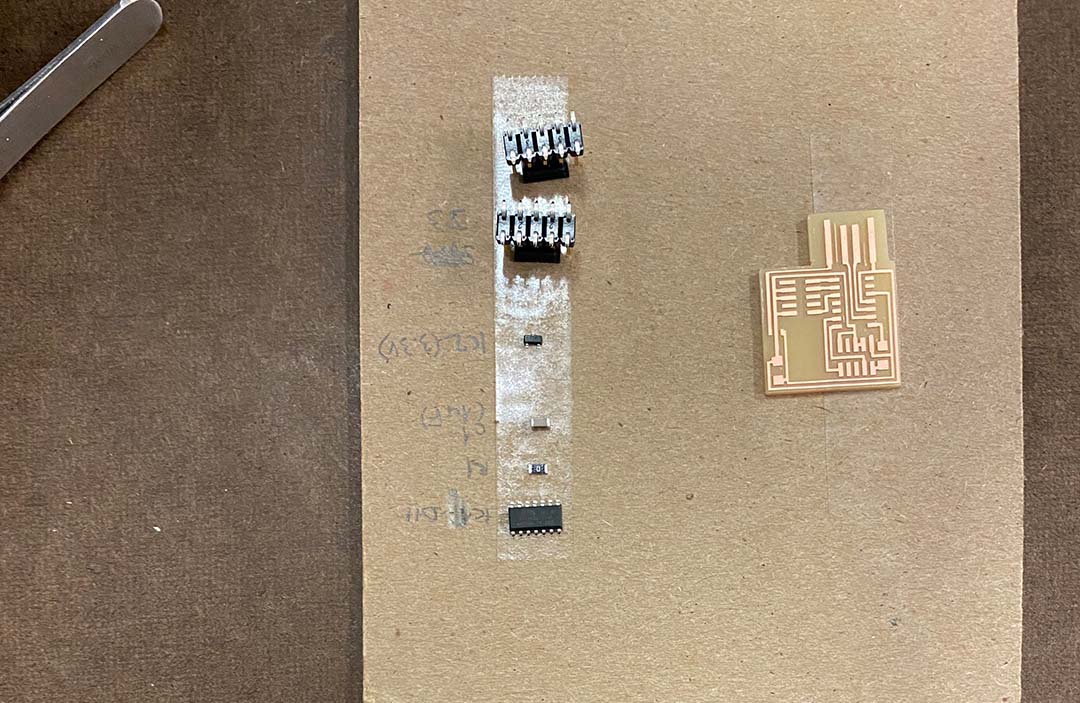
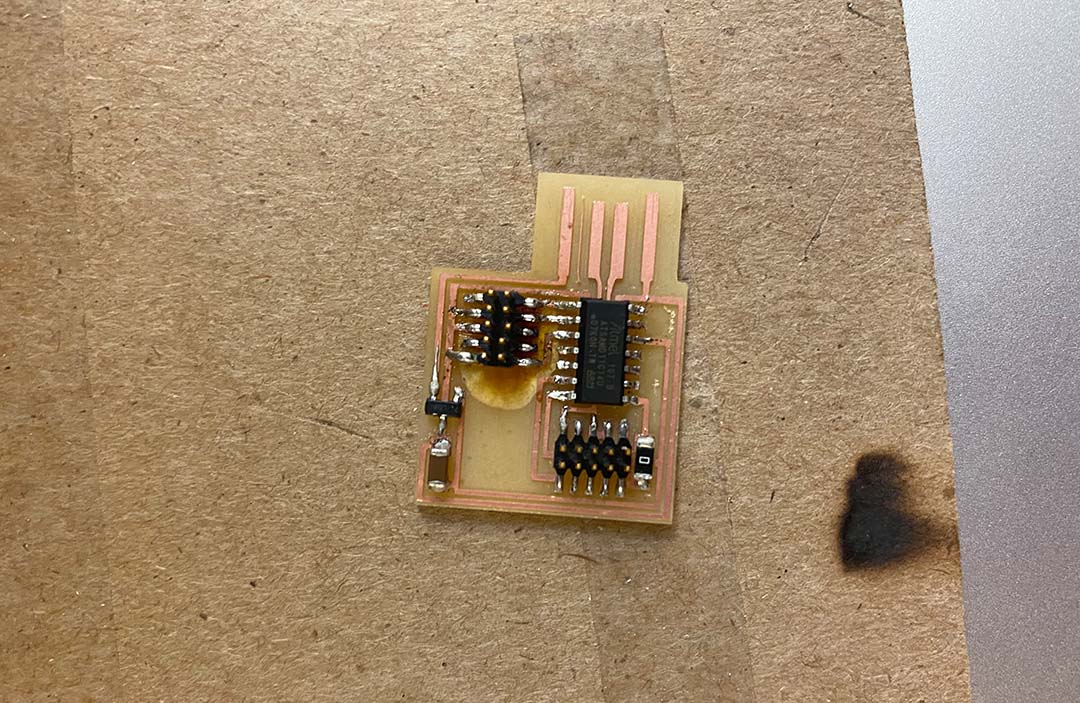
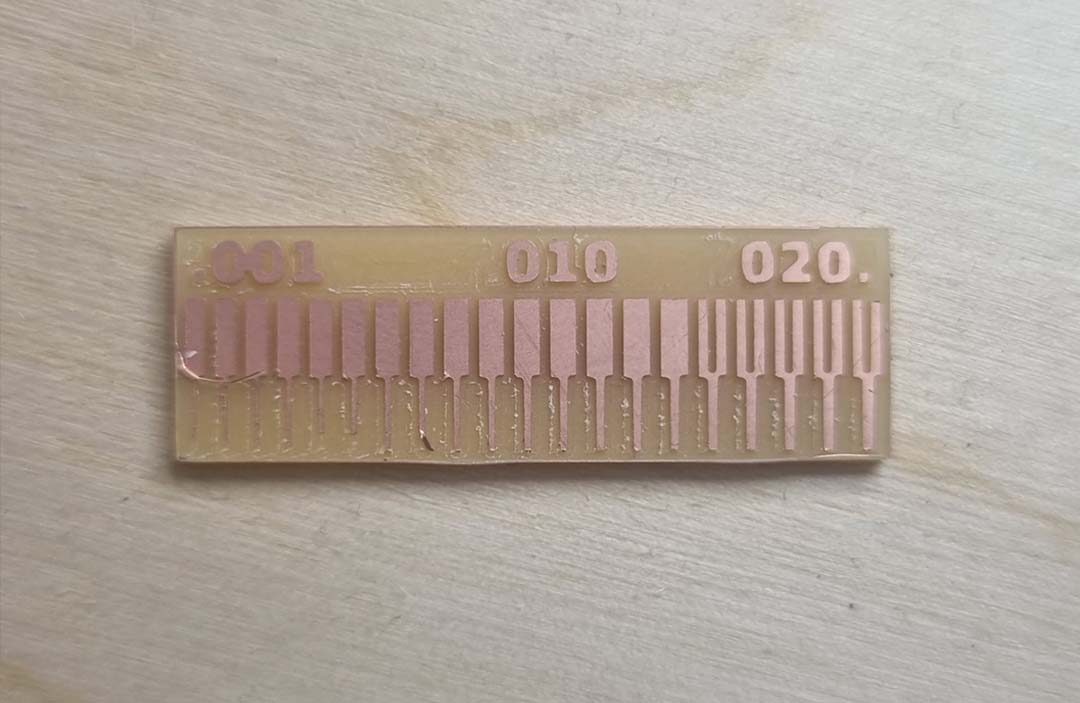
First, I attached the double-sided tape on the back of the copper board. The copper board can also be taped perfectly flat, so it is in the same XY plane with no gap underneath - clean, flat board layers that were taped down very flat, very carefully, are super important.
After that, I inserted the 1/64" end mill for milling the trace. 
I uploaded the trace png image on the mode and adjusted the X, Y, Z locations to place the end mill at the edge of the board. 
I had to adjust the endmill's Z location because the endmill's tip should touch the copper board. And I started milling. 
After milling, I vacuumed the dust. I milled four of them.
After milling the trace, I changed the end mill to 1/32" mill to mill the outline. 

02

After finishing milling, The copper surfaces must be cleaned immediately before soldering for good results - we've found that the pumice soap by the sink in 3-402 works well for this. Rub a bit in, dry (no water) for 20-30 seconds, rinse and dry thoroughly.
I gathered all the components to solder.  And I soldered them. 

03

After soldering, I connected to Atmel to boot load.  But I couldn't boot loaded. I had a keep error message.
I figured out the rotation of the microcontroller was upside down.  So I de-soldered the microcontroller and resoldered them.
I slightly burned my board. So I was concerned that It might not work.  But I successfully boot loading my board! Group project.
Group project