Computer-controlled machining

This week’s prompt was to “make something big.” I wanted to make two shelves for my roommate and me. We need one bookshelf and one shoe rack.

01

First, I designed the shelf and did 3d modeling using Fusion 360.
We're only allowed one 96x48 on the OSB board. Luckily two shelves fit into that size of the board. I exported it in a 2D dxf file.

02

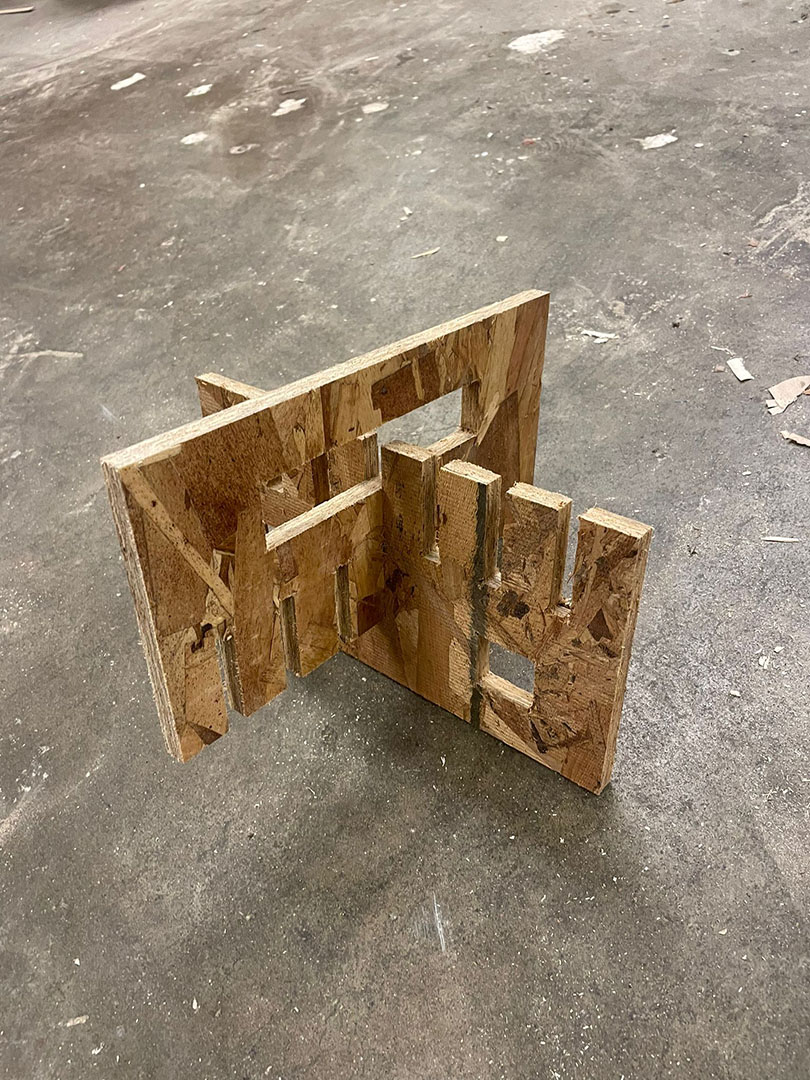
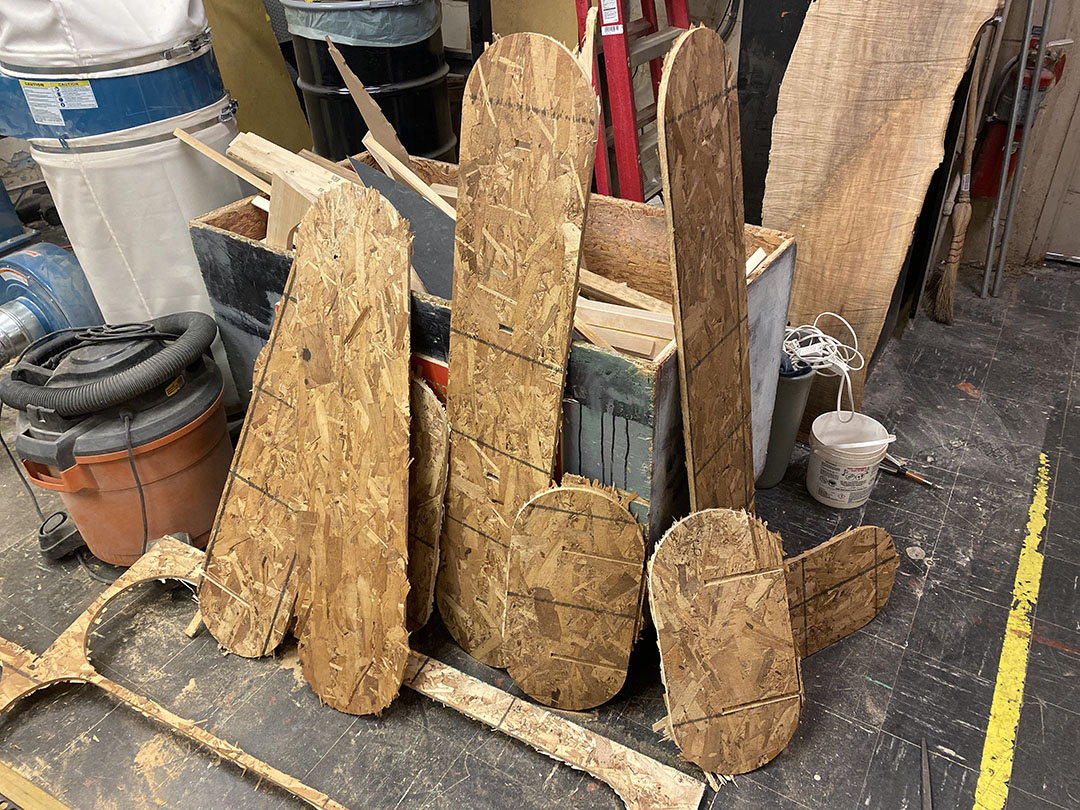
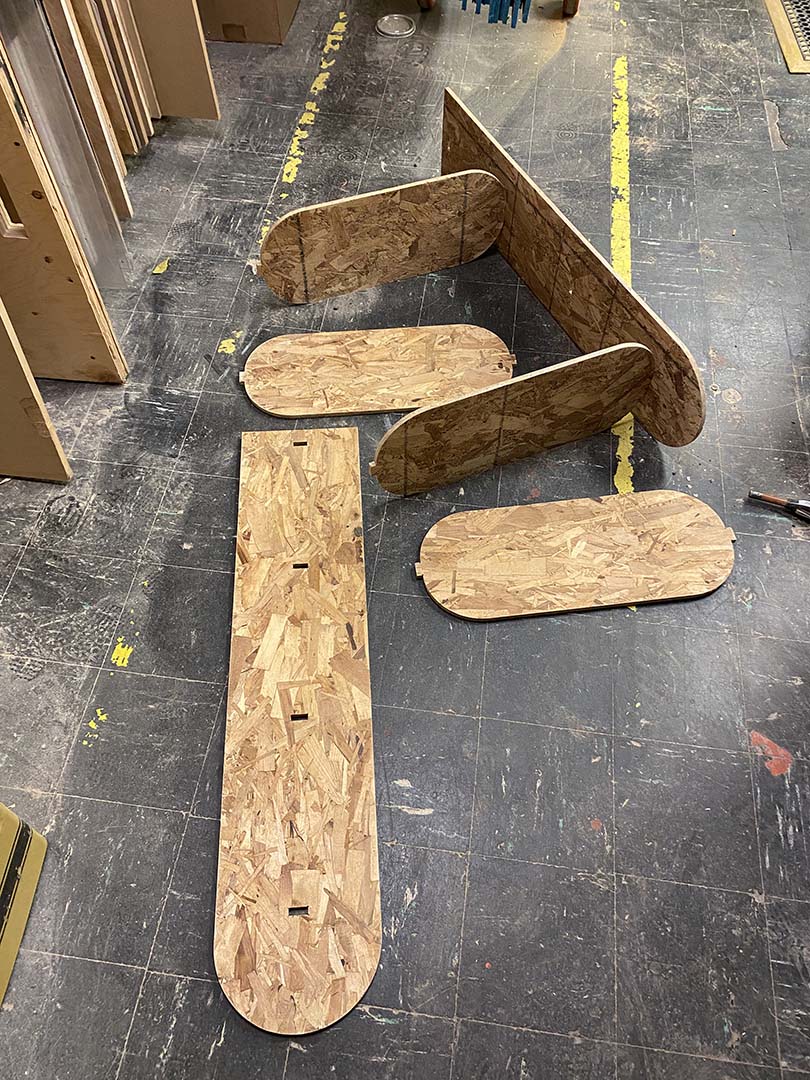
After cutting out the test joints, I played with the cut pieces a bit. The tightest slot (0.425'') is actually the best. I could insert it with my bare hands, and there seemed to be good friction. The OSB board was very rough; if you slid your finger even a short distance along the edge, you would surely get splinters. So I immediately put some gloves on.
I brought my file to the Architecture shops at N52 and had Chris Dewart help me set up my MasterCAM file.
We ran the file from the ONSRUD computer. Thanks to the automatic tool changer, we only had to export one NC file, and the machine did all the rest. Because I wasn’t cutting any small pieces, we could rely on the vacuum bed to hold the piece down.
After cutting, I had to trim the edges.
All parts are ready to assemble!
I don’t like the rough look of the OSB and the mark on the face of the wood. So I spent a lot of time sending all of the black marks. I did a thorough sanding of the edges and surfaces.
After sending them, I assembled them.
because of the round shape, I design it on the bottom. They can’t stand alone without leaning on the wall. So I had to cut the bottom. I liked the whole rounded design of my shelf, but even if I cut the bottom straight, I was satisfied with the design.
In the end, the table turned out super well and sturdy. I was able to carry it home in one piece. People told me OSB wasn’t sturdy enough to hold anything, but the shelf is very sturdy, and I’m delighted with it.