Machine design

01_Ideation

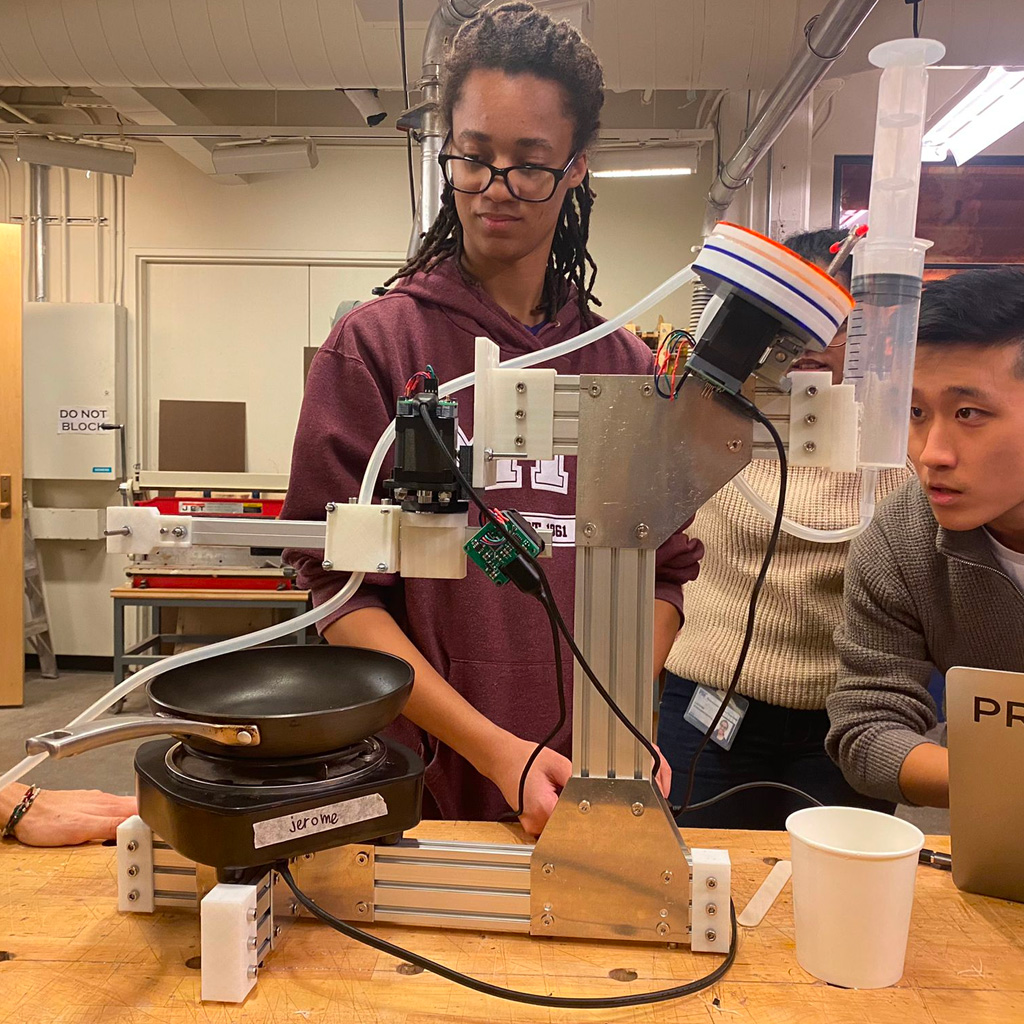
This has been the most challenging week we had and the first project 
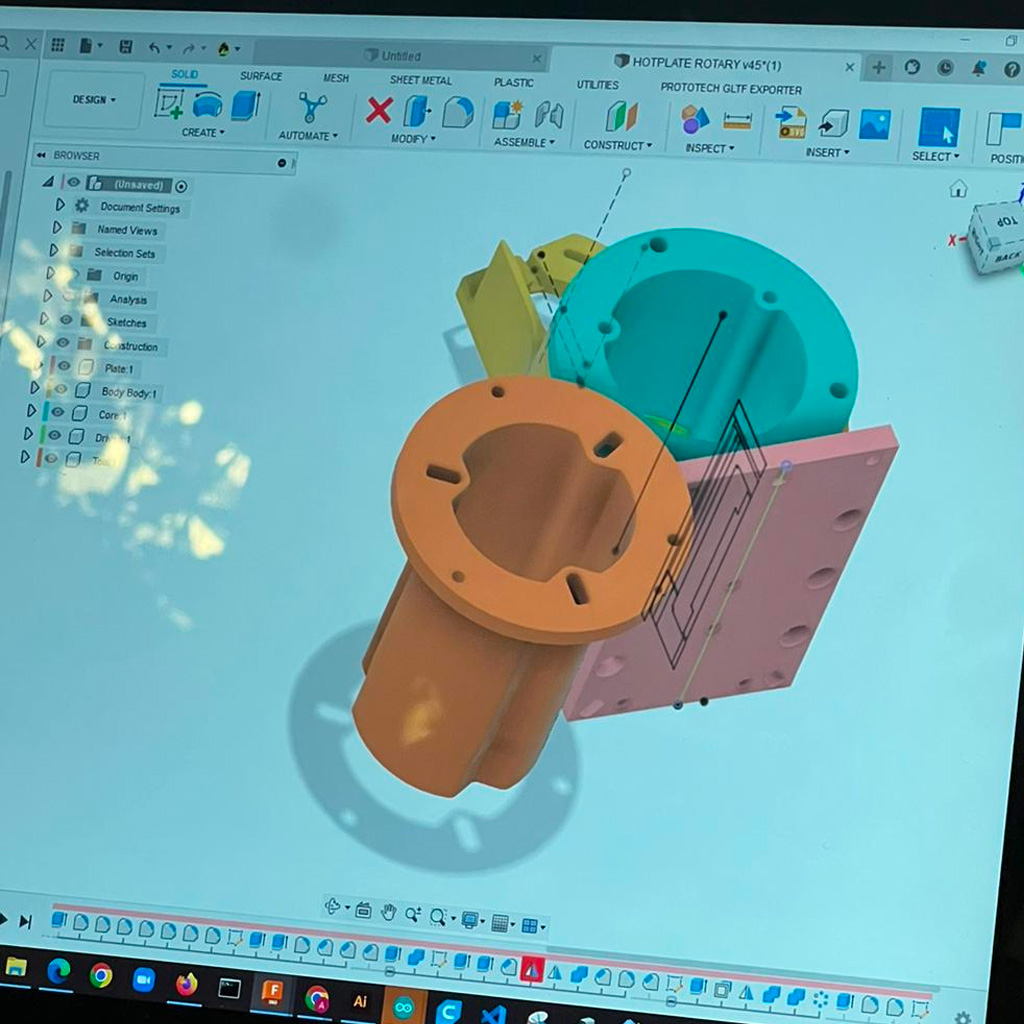
that should be entirely done in group. In less than 7 days, we had to design, build and operate a machine. Although it was only project per section and there were some shortcuts we could use(e.g., modular things, 3D printing design, etc.), it was not straightforward to create a machine that was automated and controlled by a friendly interface.
After a few tests, we were relatively confident about the first option.

02_Building parts

After defining the project, the machine should have a metal structure with a radial system for drawing and a small grill with a pan on the base part.
Then, Jerome cut all the parts according to the required sizes. We used the triple metal rails and connected them with aluminum plates
At the shop, we were able to connect the pieces and build the basic structure to which all the motors and other components should be connected.

03_3D printing

With the structure partially done, we figured out some 3D printed parts we needed. We used the documentation available at Beehive documentation to adjust dimensions. For example, we printed a few end caps to make the machine more stable and a few mounts to support the motors and rails.
Some of them didn't work as expected and, in some cases, the pieces that we needed to fix them were not available. So, we had to reprint or adapt, cut and fix some of them.

04_Extruder mechanism

This was one of the most challenging parts, especially because it depends on the viscosity of the pancake batter and the accuracy of the arm movements. The team decided to test some potential alternatives for the extruder mechanism. Using a plastic tube and a few laser cut parts, we built a peristaltic pump that control the flow of the batter using one of the motors.
As a backup plan, the team also built another peristaltic bump but using the 3D printer.
After a few tests, we were relatively confident about the first option.

05_Linear and Radial Arms

To drive the movements, we needed to build two mechanisms - linear and radial - that would be individually controlled by motors. The linear part was built using another smaller rail that we had and mounting the motor connected to a rubber band.
In order to connect both motors, it was necessary to 3D print some additional parts.

06_Software

The software team started to work in parallel to learn how to use the modular things project. In the first few days, they were able to create a code that could control the drawing movements based on the 2 motors we were using.
Also, they created a basic interface that could translate a hand drawing to the right coordinates used to drive the movements. Lately, they updated the visual and create a more friendly interface for the user's drawing.

07_Combining the work

With all parts almost done, we started combining all the individual parts.
We were finally able to see the whole machine assemble and could start testing how the different mechanisms worked together.
We had a few issues on controlling the machine and extruding the pancake batter. But, after some adjustments, we finally got our first personalized pancake.