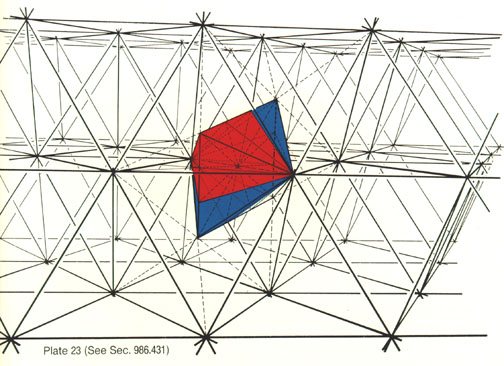
buckminster fuller subdivided the tetrahedron and octahedron.
he called the resulting components "quanta modules"
and believed they were the building blocks of the universe.
these are positive and negative
quanta A and quanta B modules.
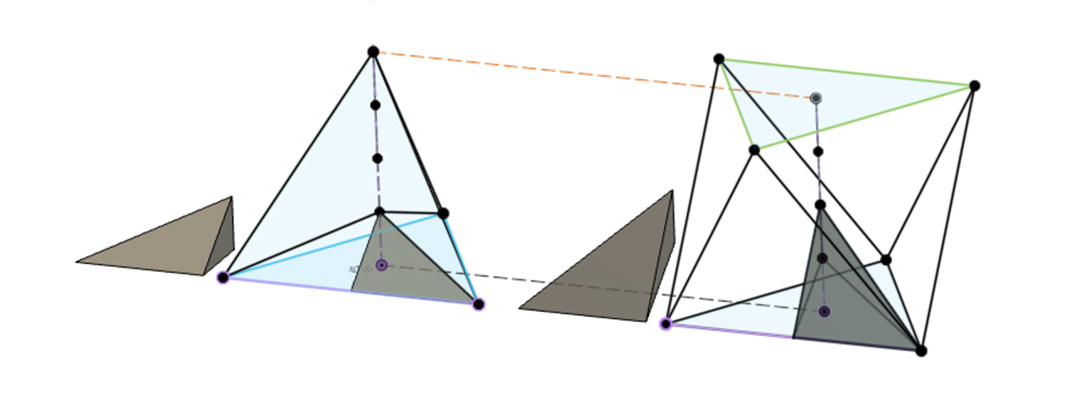
cad in fusion 360
interestingly, fuller always derives the quanta B modules from the octahedron, though it can just as easily be derived from the tetrahedron as well. notice that the centroid of the tetrahedron lies at exactly a 1/4 of it's altitude. this is a progression from the equilateral triangle, who's centroid is exactly a 1/3 of it's altitude.
the positive modules are mirror images of the negative modules.
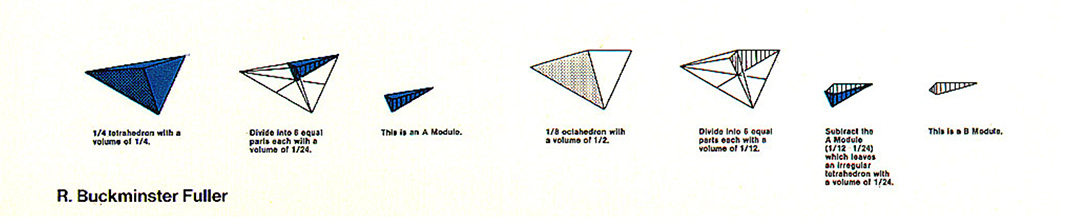
excerpt from "color plate #3" of fuller's synergetics (1982)
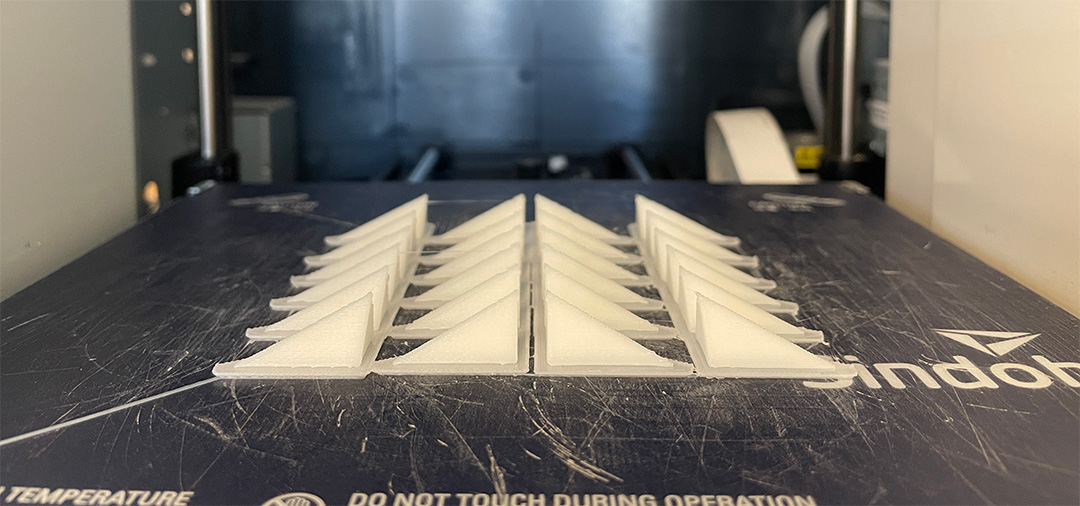
i chose to 3D print tetrahedra because they are suprisingly hard to mill subtractively
i've milled individual aluminum tetrahedra before on a bridgeport
but would like to be able a print a whole tray of these building blocks
Quanta A - Positive
Quanta A - Negative
Quanta B - Positive
Quanta B - Negative
the file size for each tetrahedron is 284 bytes which is the minimum size binary STL file to 3D print. 84 bytes is the header, and each of the 4 triangles is described by 50 bytes.

excerpt from wikipedia page on "STL format"
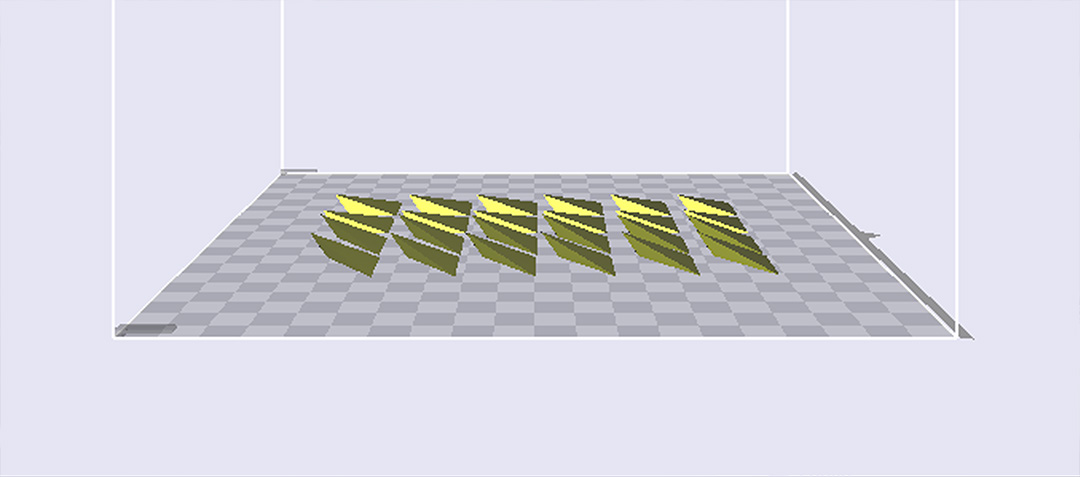
quanta b's. slicer is 3DWOX
sindoh plate is removable
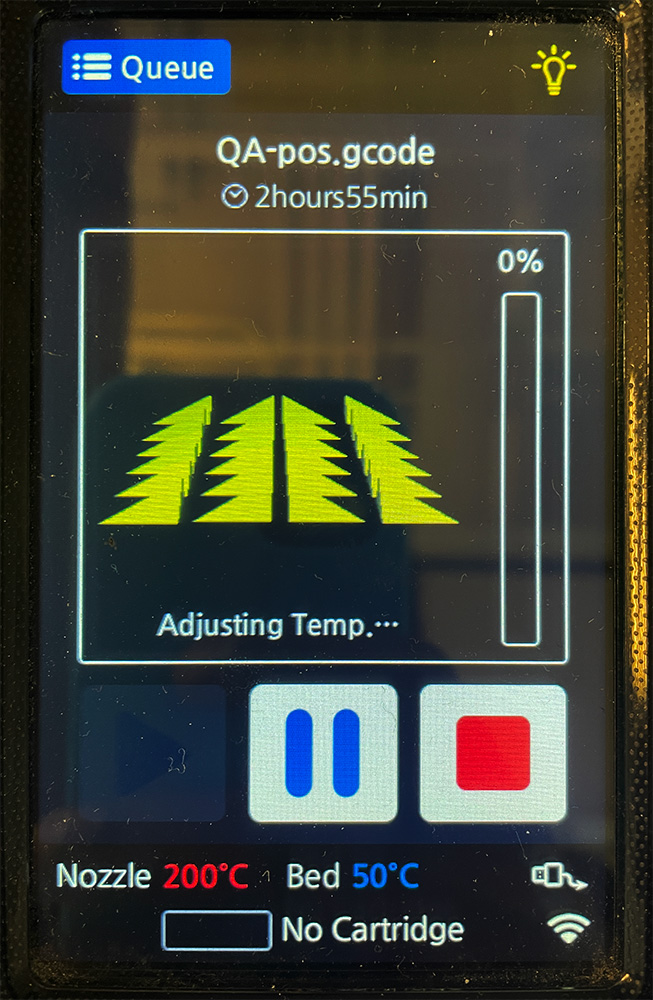
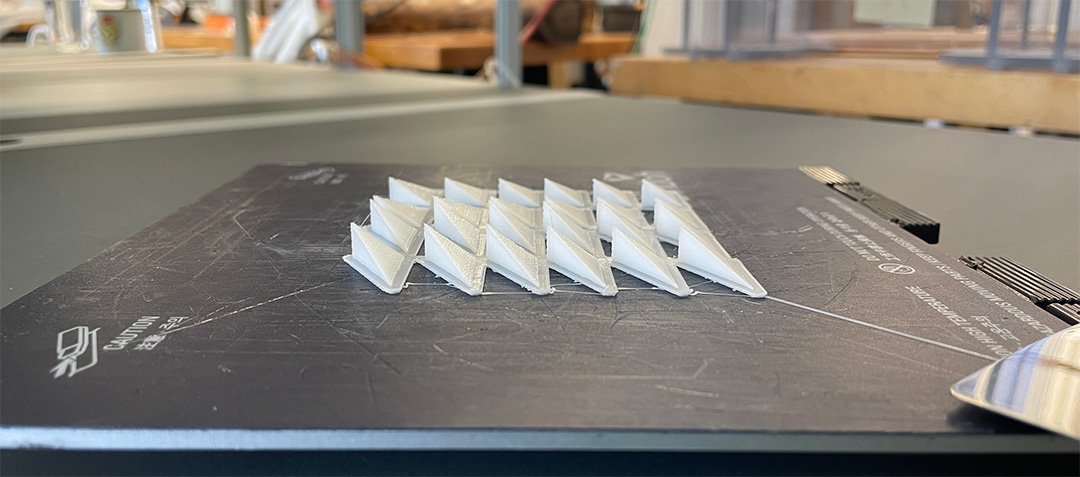
quanta a's. prints on the sindoh
post-processed on 3DWOX.
it wasn't easy laying out multiples
and very little functionality beyond print settings.
• use rafts.
• no supports on these.
the sindoh's were easy to use.
• bring a usb-stick.
• ignore "no cartridge".
less than 3hrs for 24 units
i want to assemble one of fuller's "coupler" polyhedra
which is an irregular octahedron
refer to synergetics
and starting at 954.10
source: r.w.gray, fuller’s synergetics.
insert tet assembly here insert octa / coupler assembly
3d scanning
i wanted to scan a bust that i had sculpted out of plasticine. it was the perfect size for the revopoint turntable.
the bust is a sculpture of a political figure.
used the revopoint 2
it's pretty straightforward:
• rotary table needs power from usb
• scanner hooks up to revoscan software via usb
• recommended to do one rotation of scan,
• bump up scanning brightness if needed
• model can then be put on its side to scan bottom and top
• output is .ply model
the .ply model is a point cloud, so i need to make faces between the vertices, using meshlab.
fabacademy meshlab tutorial
use these two commands:
• Filters -> Normals, Curvatures and Orientation -> Compute Normals for Point Sets.
• Filters -> Remeshing, Simplification and Reconstruction -> Surface Reconstruction: Poisson.
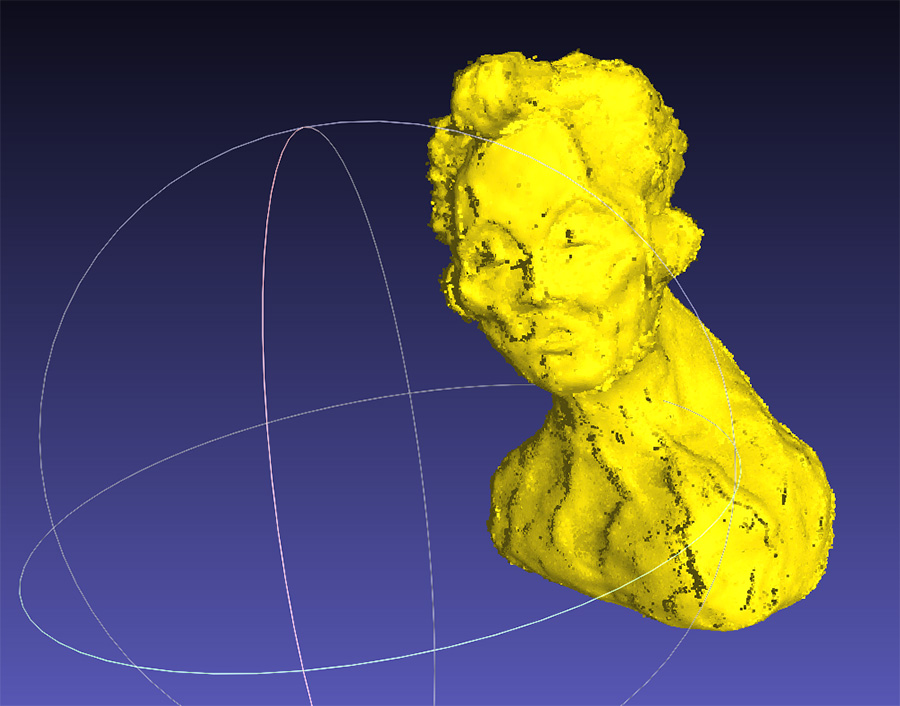
point cloud in meshlab
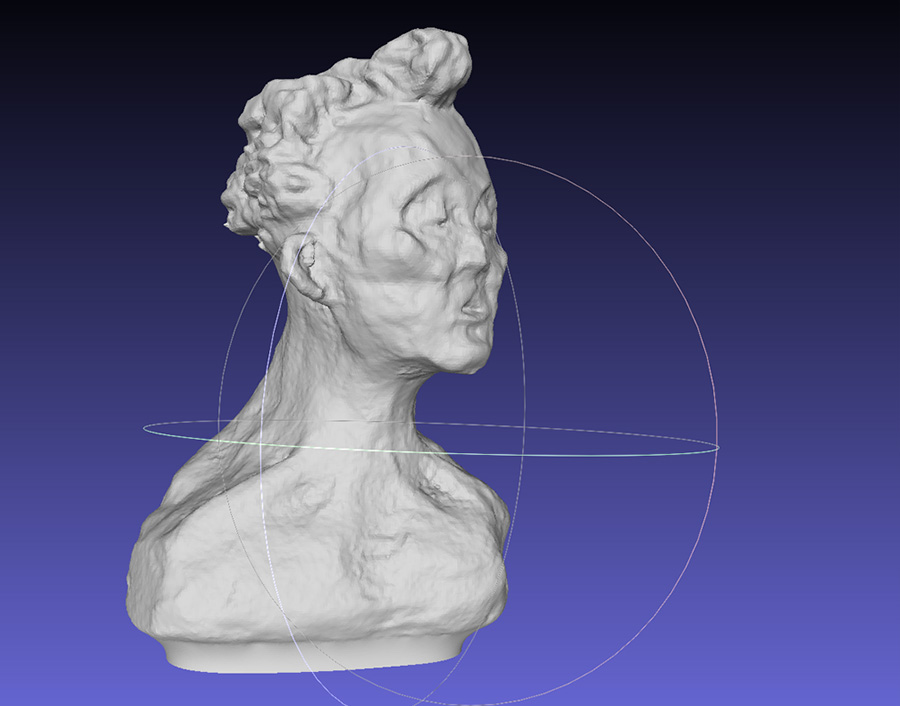
with faces in meshlab
remember: meshlab doesn't have an UNDO function, its terrible.
do one or two commands, then get out of there.
• export as stl
import .stl into fusion.
go to Meshes tab
Repair meshes > stitch / remove
this will close up the mesh

closed mesh
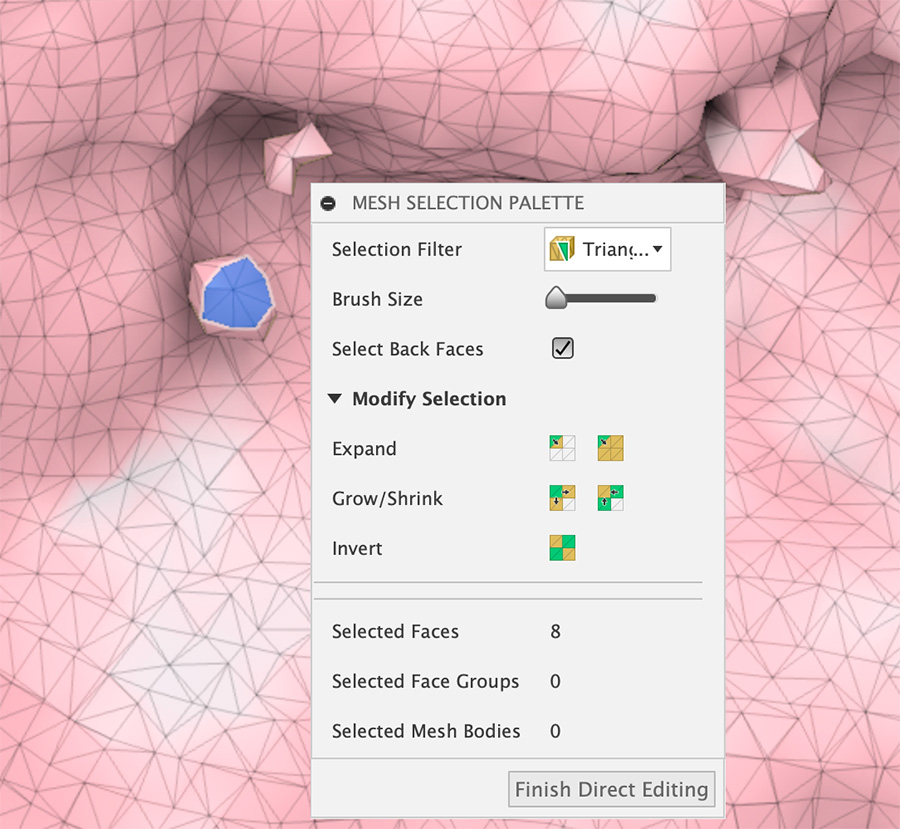
Direct Mesh Edit
there's some lumpy spots, artifacts from the scans.
use Direct Mesh Edit
the smallest size of brush with let you select individual faces
which you can delete
you can "close" the mesh again
"simplify" doesn't seem to work well.