Project Management + Computer-Controlled Cutting
Overview
Workload: ● ● ● ● ●
Previous Knowledge: ● ● ○ ○ ○
Current Knowledge: ● ● ● ● ○
Concepts
Git, Web Dev, Vinyl Cutter, Laser Cutter
Software
Illustrator, Fusion 360, Rhino
Assignments
A. Project Management
1. Work through a git tutorial
2. Build a personal site in the class archive describing you and your final project
B. Computer-Controlled Cutting
1. Characterize your laser cutter's focus, power, speed, rate, kerf, joint clearance and types
Vinyl Cutter: Cut sometHing
Laser Cutter: Design, lasercut, and document a parametric Design
Documentation
A. Project Management
My experience with Git and web development was very limited. I created a Github account a long time ago, but never actually used it. Also, I learned the basics of HTML and CSS by myself, but my knowledge was far from what was required for creating a website. The recitation was extremely helpful to learn about Git and I spent a lot of time with tutorials and videos that helped me a lot.
Git: Open source distributed version control system.
Gitlab: Web-based git manager that allows the project to be hosted in the cloud or on a secure server for global access.
Instead of managing with the online interface, it is better to "clone” the directory to your computer.
When you create a git directory on your computer, you periodically “commit” versions of your directory as a snapshot stored in a hidden ‘.git’ directory that behaves like the “backup” folder from our story example
Commands:
• Clone: copying a global repository from GitLab to your local directory
• Pull: update your local branch to match the changes that have been made in the global repository
• Stagging/Add: the limbo state when files have not yet fully been committed to a branch, but a snapshot of their current state has been saved.
• Commit: the snapshot that is saved to the git history.
• Push: send local commits to the global project. whatever you push will be visible to everyone and downloaded onto everyone else’s computer on their next pull!
Cloning GitLab:
1. Set up a SSH key: I followed the tutorial, but probably missed something, so I had many issues trying to setup the SSH key. These are some links that were useful to debug: How to create SSH Key; Use SSH keys to communicate with GitLab.
2. Include SSH Key in Gitlab
3. Clone repository: Also challenging for me. Another useful link: Git on the command line
Cloning GitLab: Always follow this sequence:
git pull > git status > git add . > git commit -m"" > git push
Web Development: After cloning and becoming more comfortable with Git, I finally started to build the website.
I chose to use a Bootstrap template, but decided to customize it not only to change the visual but also to practice HTML and CSS again.
I still think that there are more efficient ways to input the texts and images, but I'm happy I could create my own version during the second week.
B. Computer-Controlled Cutting
Vinyl Cutter: the vinyl cutter uses a tiny drag knife to cut material that must remain sticking to a backing.
Tutorial: Arch Shop Tutorial - Vinyl Cutter
Machine: Roland CAMM-1 Servo GX-24
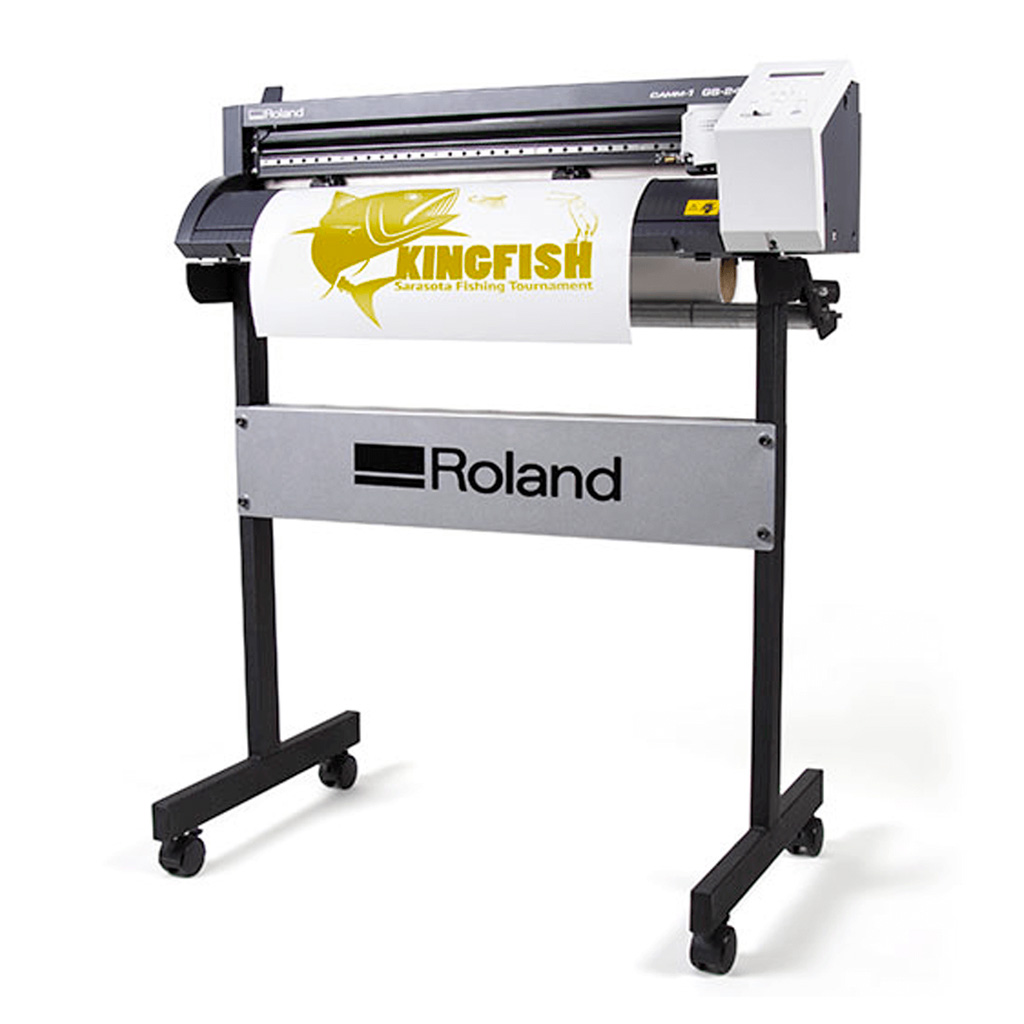
Settings
• Edge: measures the distance between the pinch wheels and moves the blade to the far left edge of the material.
• Piece: measures the length and width of your material via all three sensors. This is especially helpful if you are working with a scrap piece of material.
• Roll: measures the distance between the pinch wheels and the blade will not move into any position once it has reached the far left.
Testing
Before cutting my own design, I followed the Arch Shop Tutorial to run a test a figure out the right force.
After the test, I concluded that I could use force = 50 on software configurations and pen force = 2(image).
Printing
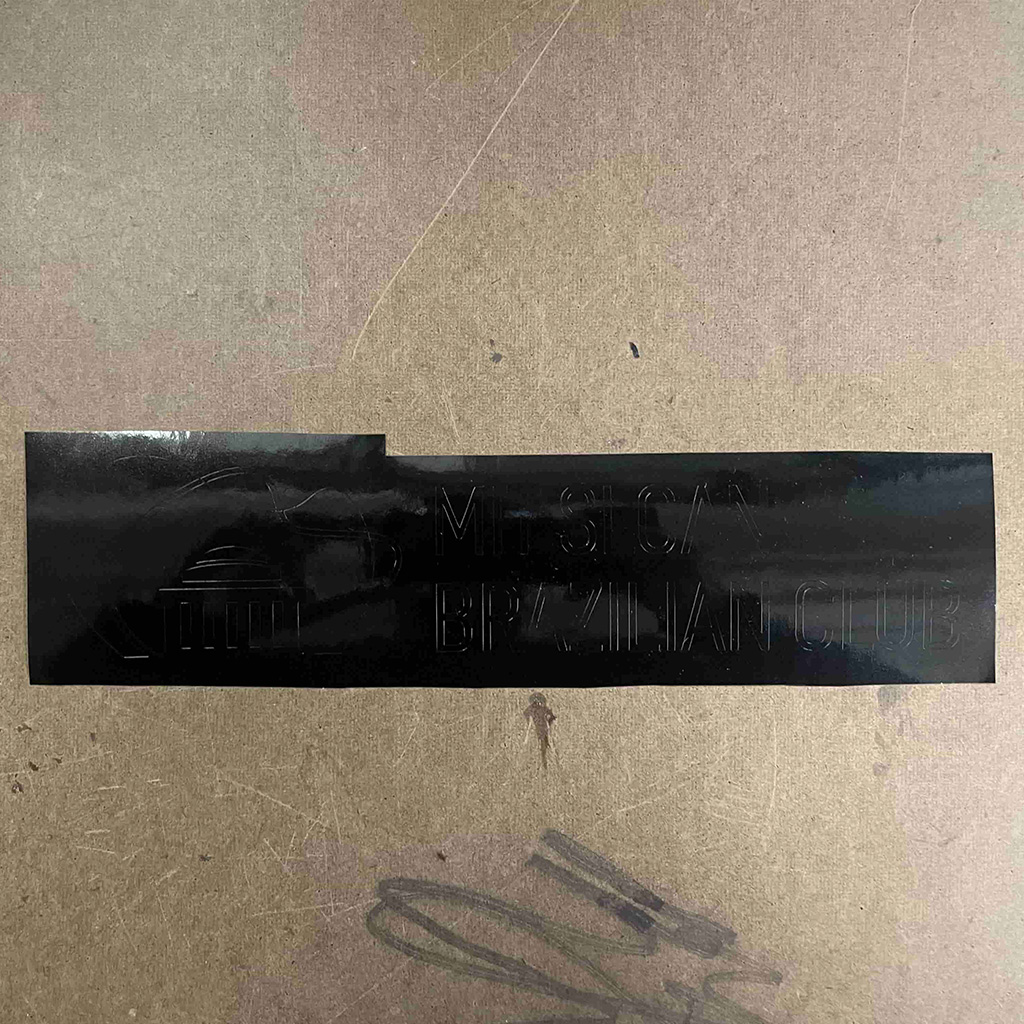
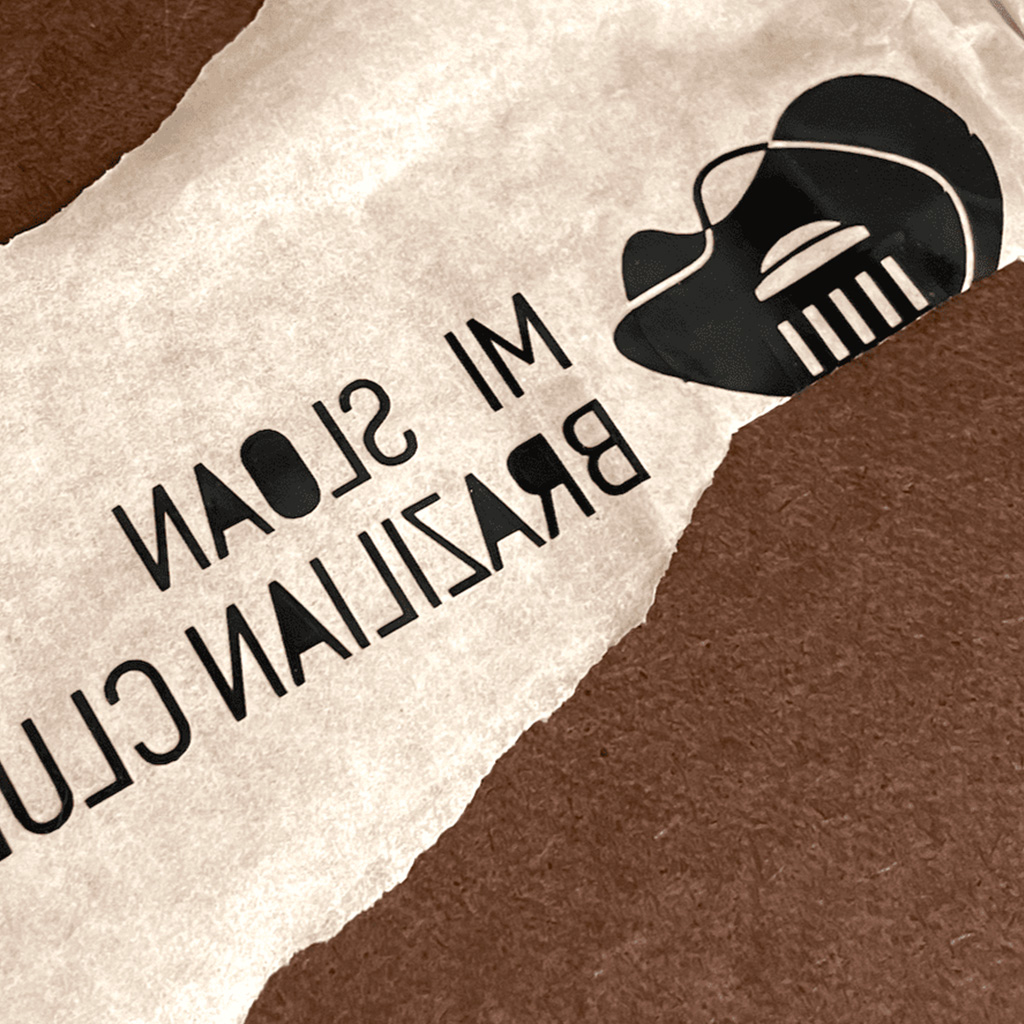
I decided to print a logo I recently created for the MIT Sloan Brazilian Club.

1. Created a black and white version on Illustrator:

2. Transfer the file for the computer and followed the steps for sending the image for the vinyl cutter.
select .png file > check size > update force > calculate > send to printer

4. After printing, I used the arrow buttons to bring the sheet out and cut it will scissors.
5. Then, I applied the masking film and used the squeege to press the film to the vinyl.
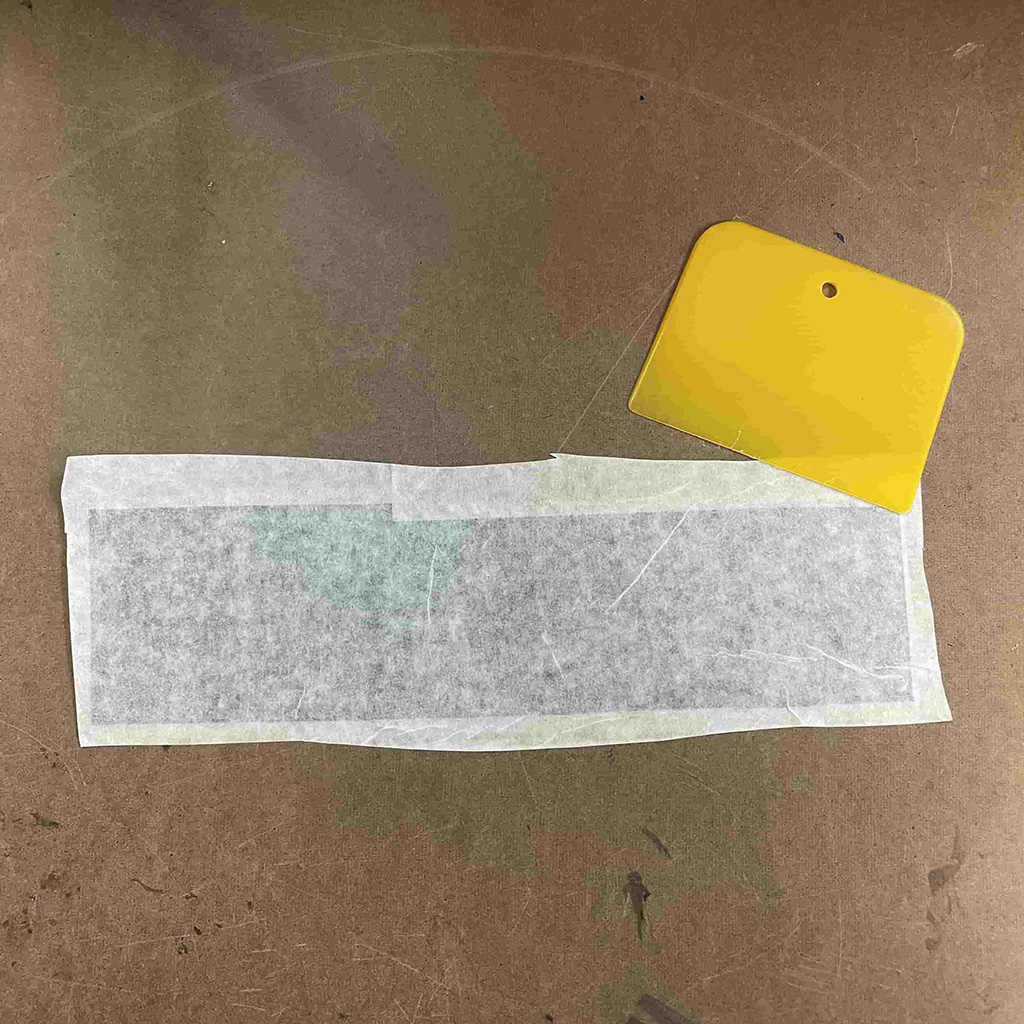
6. Since the image was very detailed, with relatively small parts (especially in the letters), I had to carefully removed the vinyl and finally got my sticker!
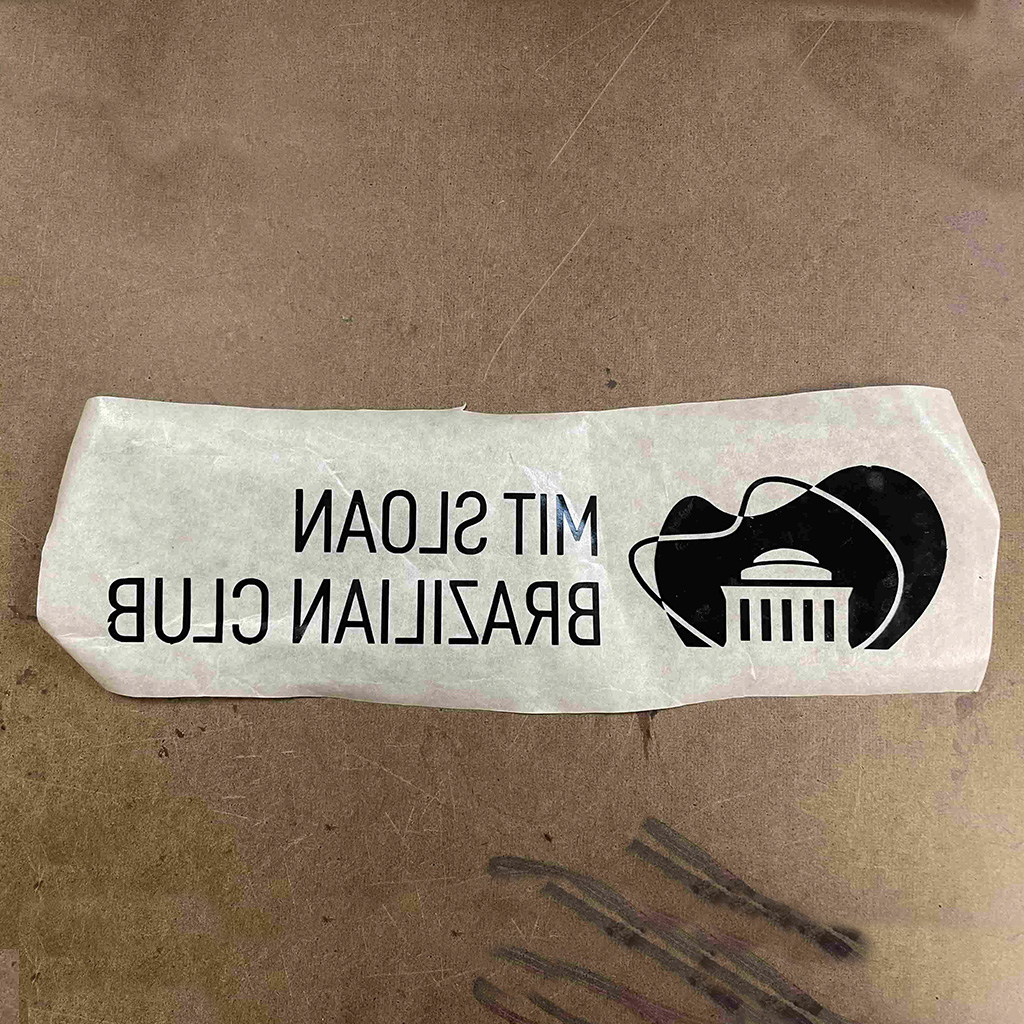
*The first version I printed was only 10cm long. After following all the steps, I tried to remove the vinyl from the film but ended up removing more than I should - the following image shows my sticker without part of the logo and the letter T. The final version was 20 cm long and was relatively easier to work.
Laser Cutter: A laser cutter is a device that creates patterns, shapes and designs in materials such as wood, glass, paper, metal and plastic, by cutting into them with a high-power laser. The precision of a laser makes for a clean cut and smooth finish.
Tutorial: Arch Shop Tutorial - Laser Cutter
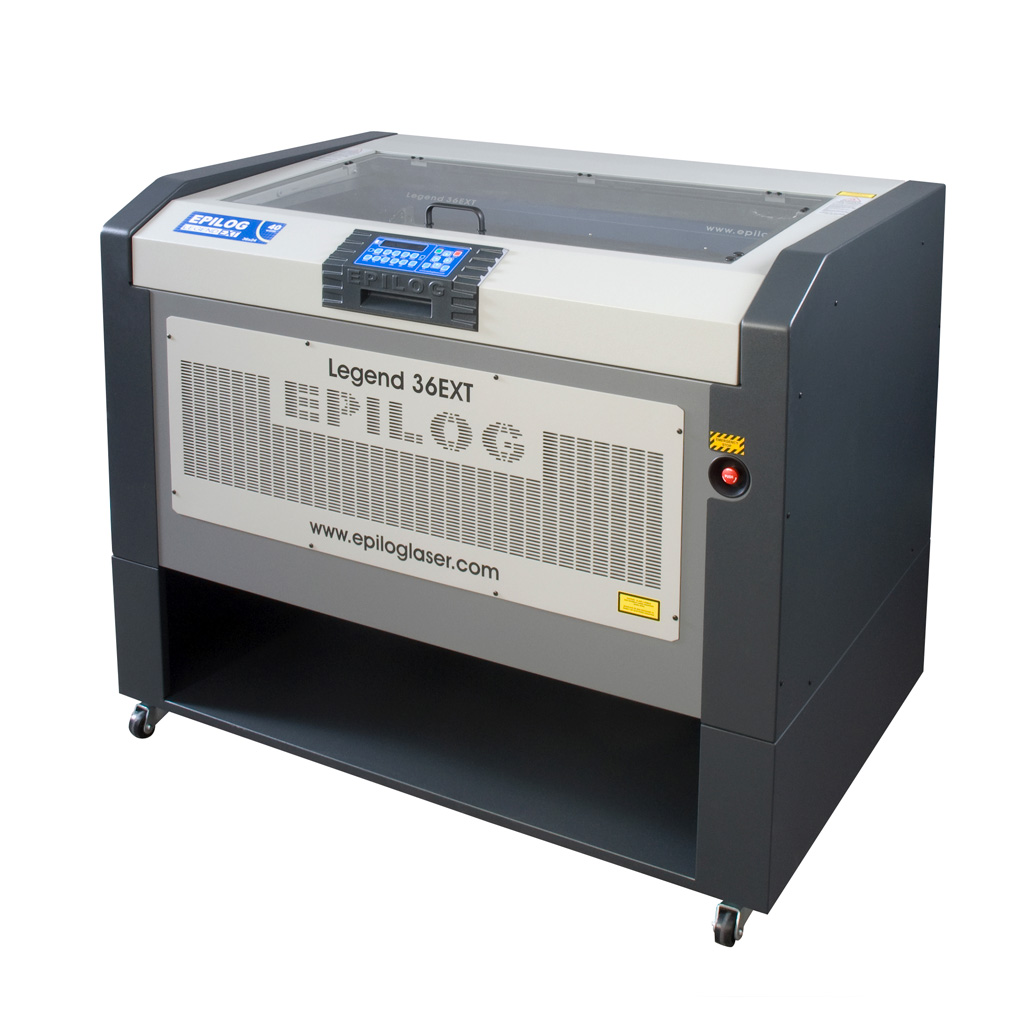
Machine: Epilog Legend EXT 75W
• Workspace: 36x24in
• Laser Wattage: 75W
• Maximum Material Thickness: 305mm
Printing
• Focus: The focus position (Z) refers to the distance between the focus and the upper surface of the material to be cut. Generally, the focus on the plate surface is called zero focus, the focus above it is called positive focus, and the focus below it is called negative focus. When the focus is on the plate surface, the slit width is the smallest. Changing the focus position, whether it is positive defocus or negative defocus, the slit width will become wider.
• Power: The power value controls the amount of energy contained in the cutting beam. For cutting thicker materials more power is required, and often times less speed. CO2 Laser tubes degrade over time so a setting that worked once, may not work the same again.
• Speed: This value controls the speed at which the lens will move while cutting. Reduce it value to obtain better edge and cutting quality.
• Frequency: Frequency is the rate at which the laser pulses. High values mean more pulses per inch, low values mean less. For paper stock materials lower frequency provides a better cut
quality while plastic materials require a high frequency for high edge quality. A really low frequency results in a dash pattern convenient for folding operations in thin materials.
• Kerf: When a laser cuts through a piece of material, the laser’s own width displaces a little extra material than is specified in the original design. The amount of material that is burned away is known as the kerf in laser cutting.
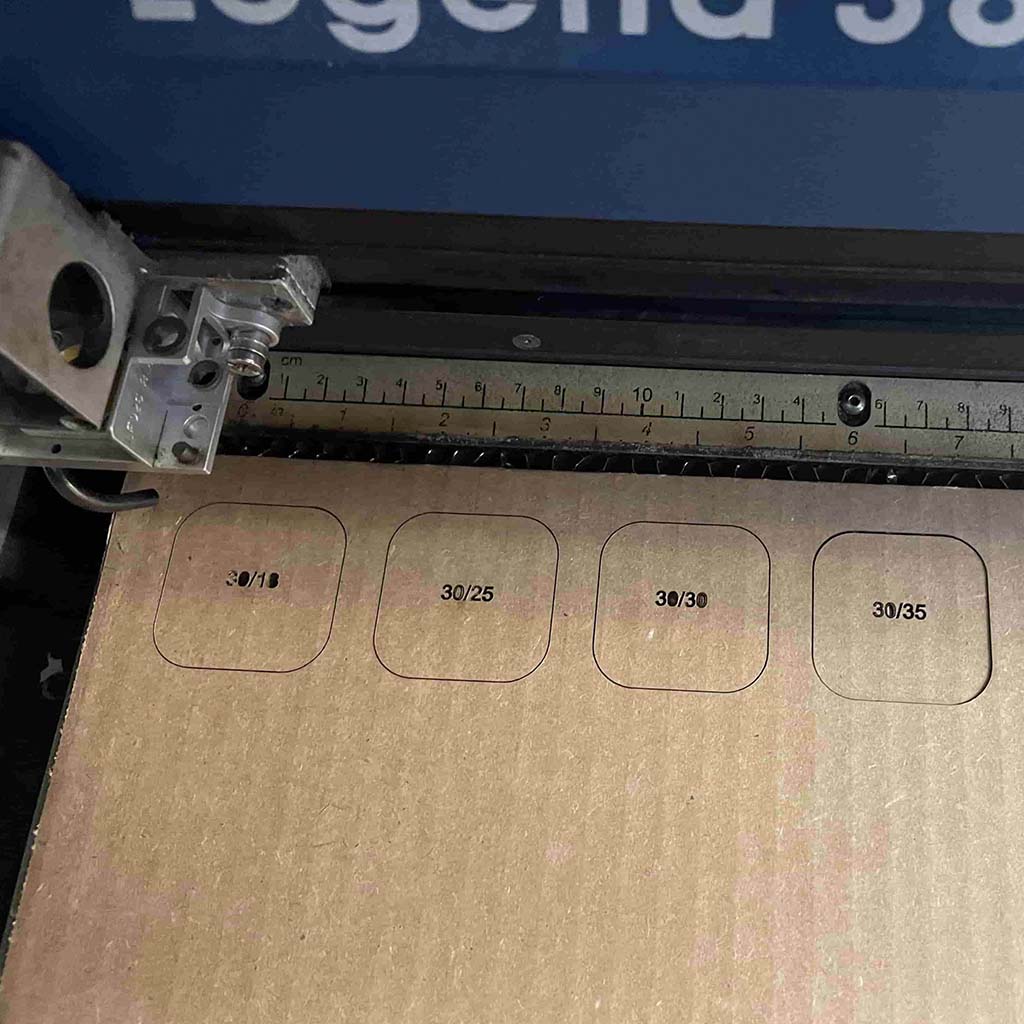
1. First, I run tests varying the power, speed and frequency to figure out the best settings for cutting cardboard.
The starting point was based on the suggested material settings available at the shop. Then, I created multiple layers with different colors and different specifications. I ended up using power = 30; speed = 35; frequency = 500, which delivered the clearest and easiest to remove cut.
2. Then, I printed a rectangle with multiple pockets - from 3mm to 5mm, with intervals of 0.1mm. I decided to use exactly the middle one - 4mm.
At this point, I realized the importance of the kerf concept. Depending on the machine and settings I used, a rectangle with the same dimensions ended up having a different gap when cut.

3. I was struggling with parametric design, so I decided to create a very simple object that could be used at home - a sofa arm tray that could fit a glass and a mug.
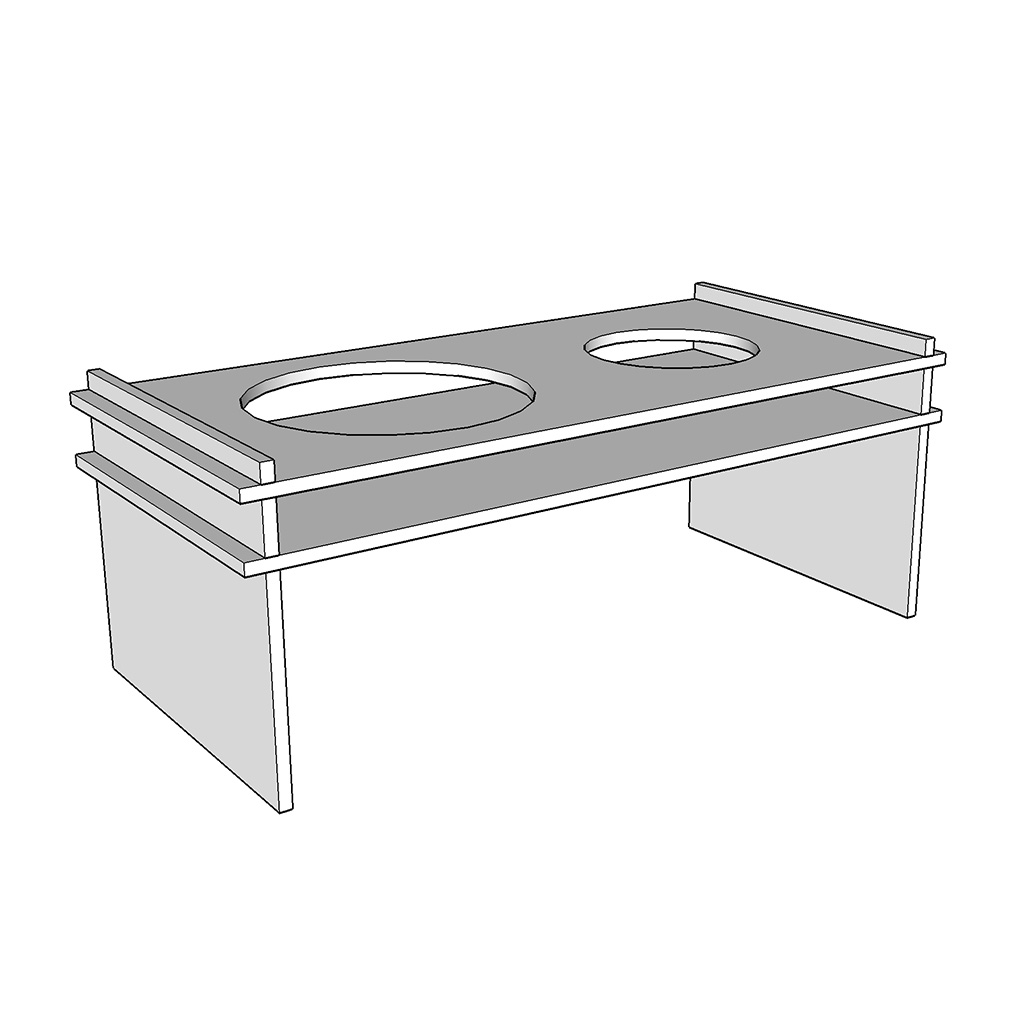
4. I defined the following parameters that could be adapted to any sofa:
• dim_x: length of the sofa's arm = the gap bettwen side parts of cardboard.
• dim_y: width of the entire object.
• dim_z: height of the entire object.
• thickness: thickness of the material (cardboard = 4mm).
• margin: remaining part of the cardboard after the joint.
• gap: distance between the two horizontal pieces.
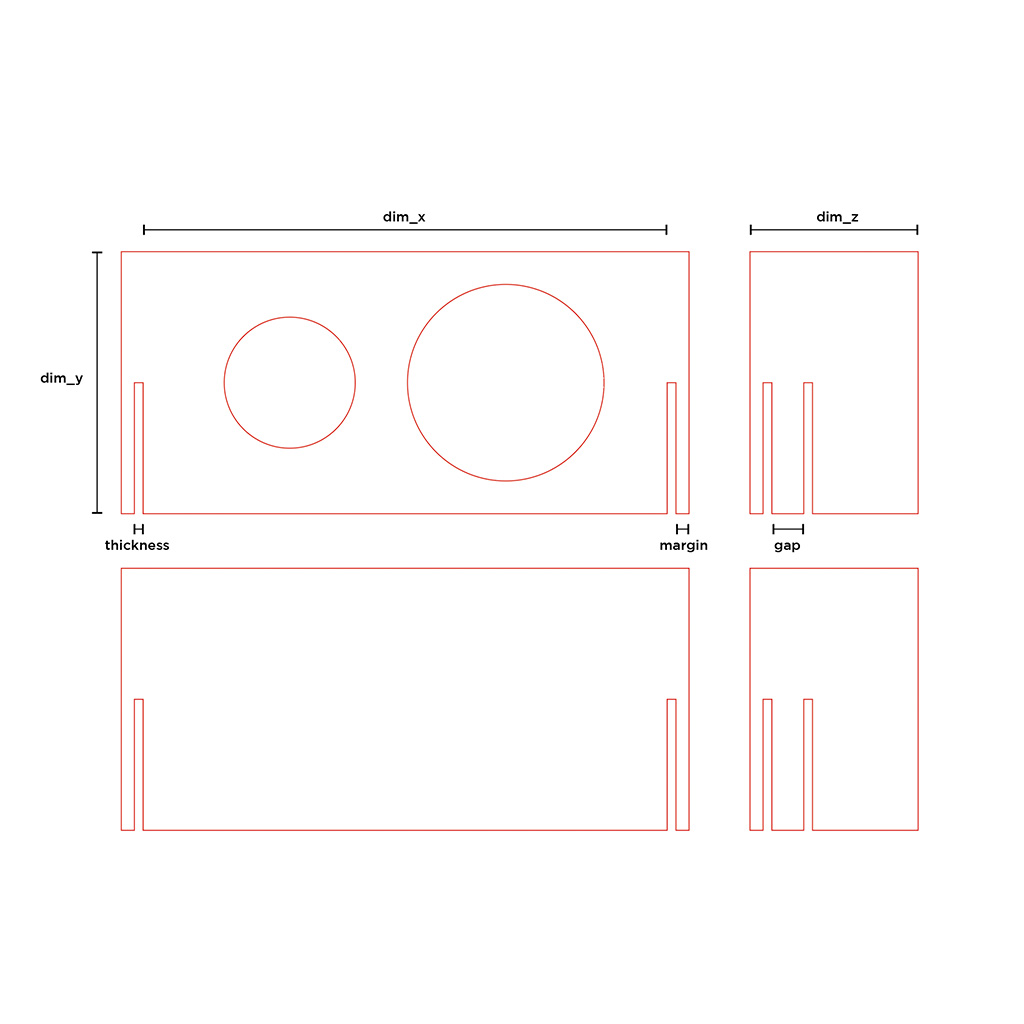
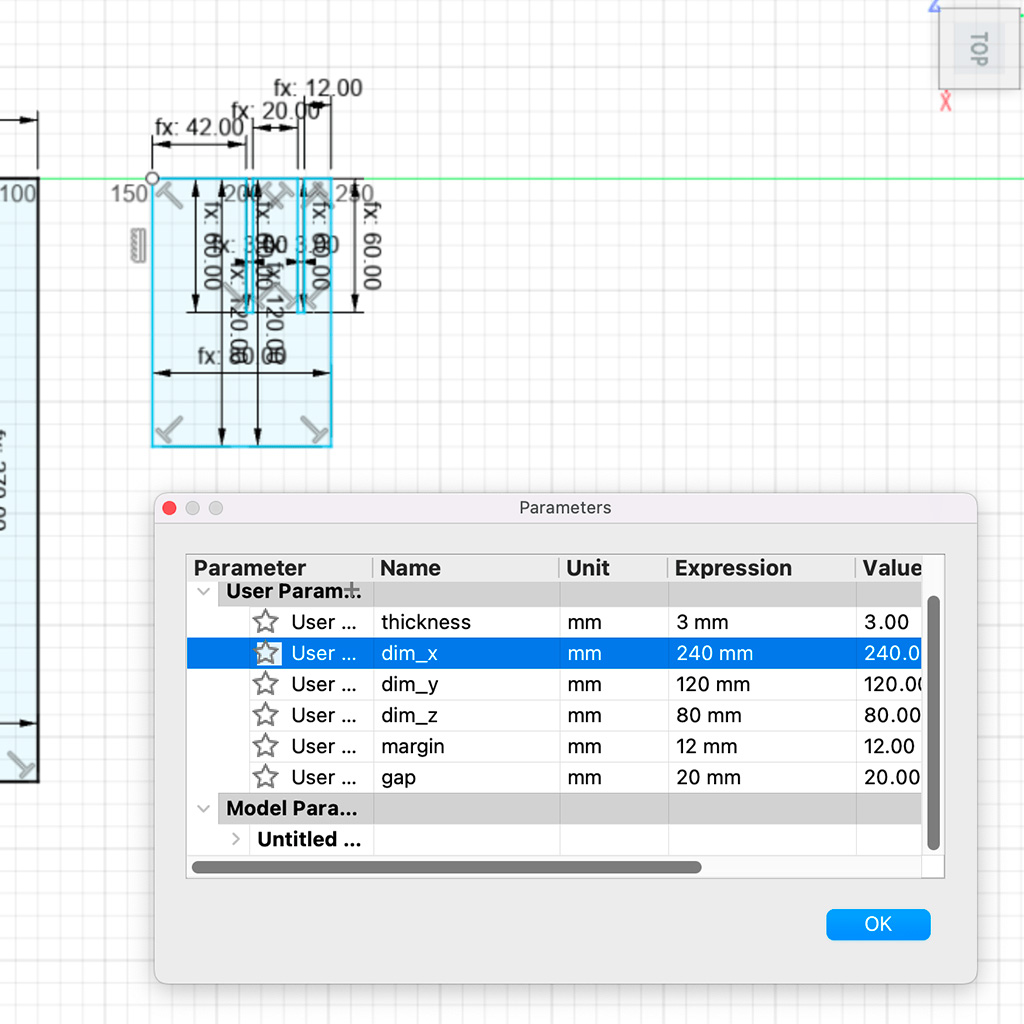
4. I defined the parameters on Fusion 360 based on my sofa's dimensions and created the design based on these parameters.
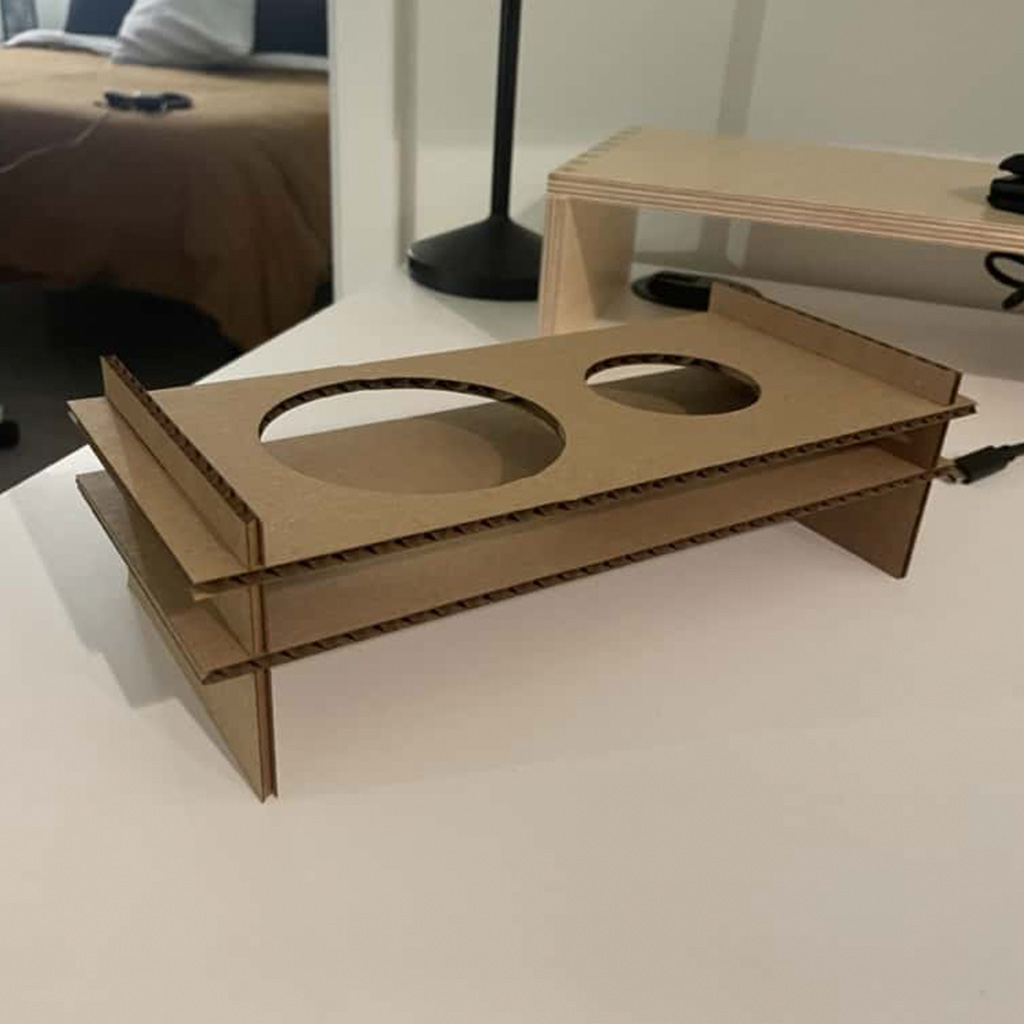
5. The first piece I cut was relatively stable, but with some minors adjustements to do. For instance, the margin was too small for a cardboard (the following image shows that it should be wider).

6. After changing the parameters (margin from 6mm to 12mm and gap from 15mm to 20mm), I obtained a much better tray.
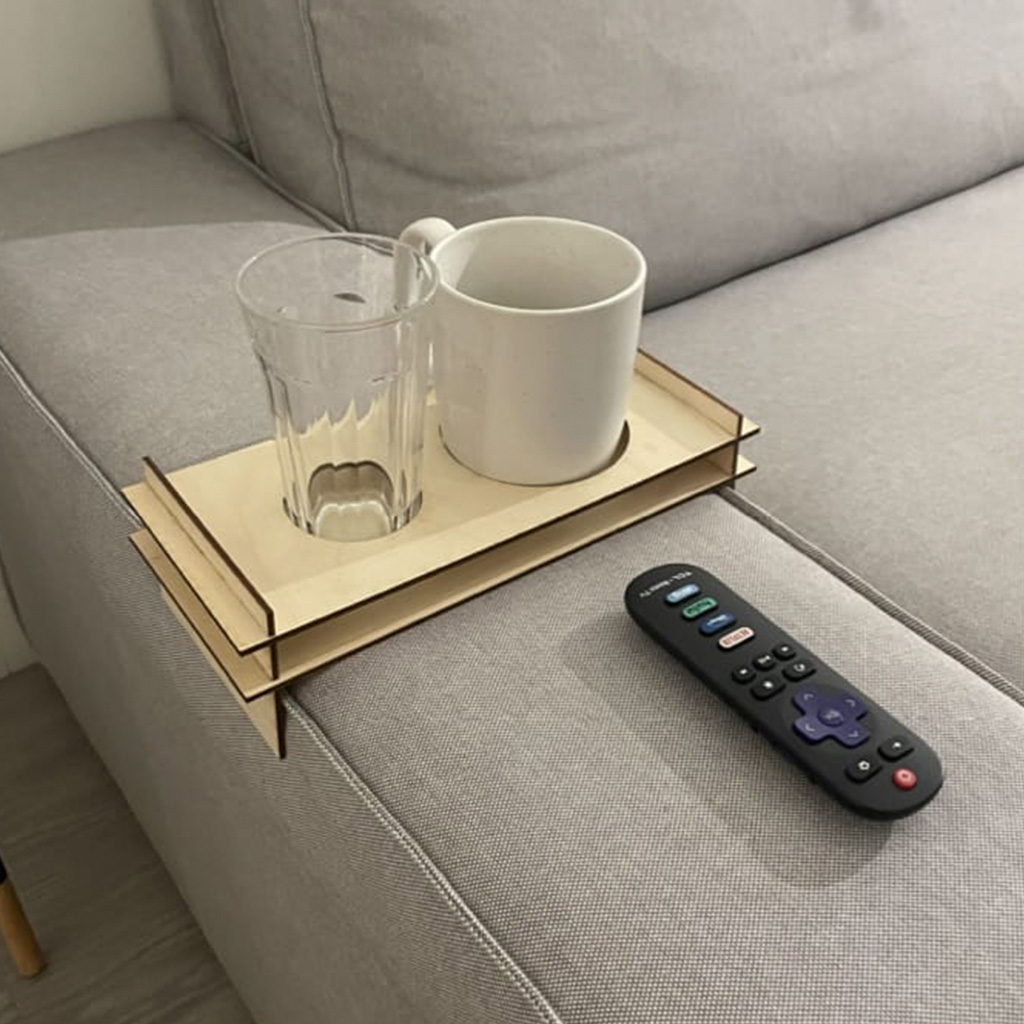
7. Since I had done the parametric design, I decided to test it with another material. I found some scraps of plywood in the Arch Shop and run the same test to define the settings for cutting it. Also, the thickness parameter was updated to 3mm.

8. In the end, I'm very happy with my new wood tray! I know that it is a very simple design, but it was great to learn a lot about the process of using the laser cutter. I hope I can learn how to work with more complex objects over the next few weeks!
Files