3D Scanning and Printing
Overview
Workload: ● ● ● ○ ○
Previous Knowledge: ● ○ ○ ○ ○
Current Knowledge: ● ● ● ● ○
Concepts
Additive Processes, 3D Scanning, 3D printing
Software
Fusion 360, Blender, 3DWOX, Scaniverse
Assignments
1. Test the design rules for your 3D printer [Group]
2. Design and 3D print and object that could not be made subtractively
3. 3D scan and object (and optionally print it)
Documentation
This was the first time I used a 3D printer. I had some experience with 3D modelling and already tried to use 3D scanner apps before, but my knowledge about additive process was very limited. So I decided to work with different ideas that could bring me learnings about the fabrication process.
Tutorial: Arch Shop Tutorial - Sindoh 3 Printer
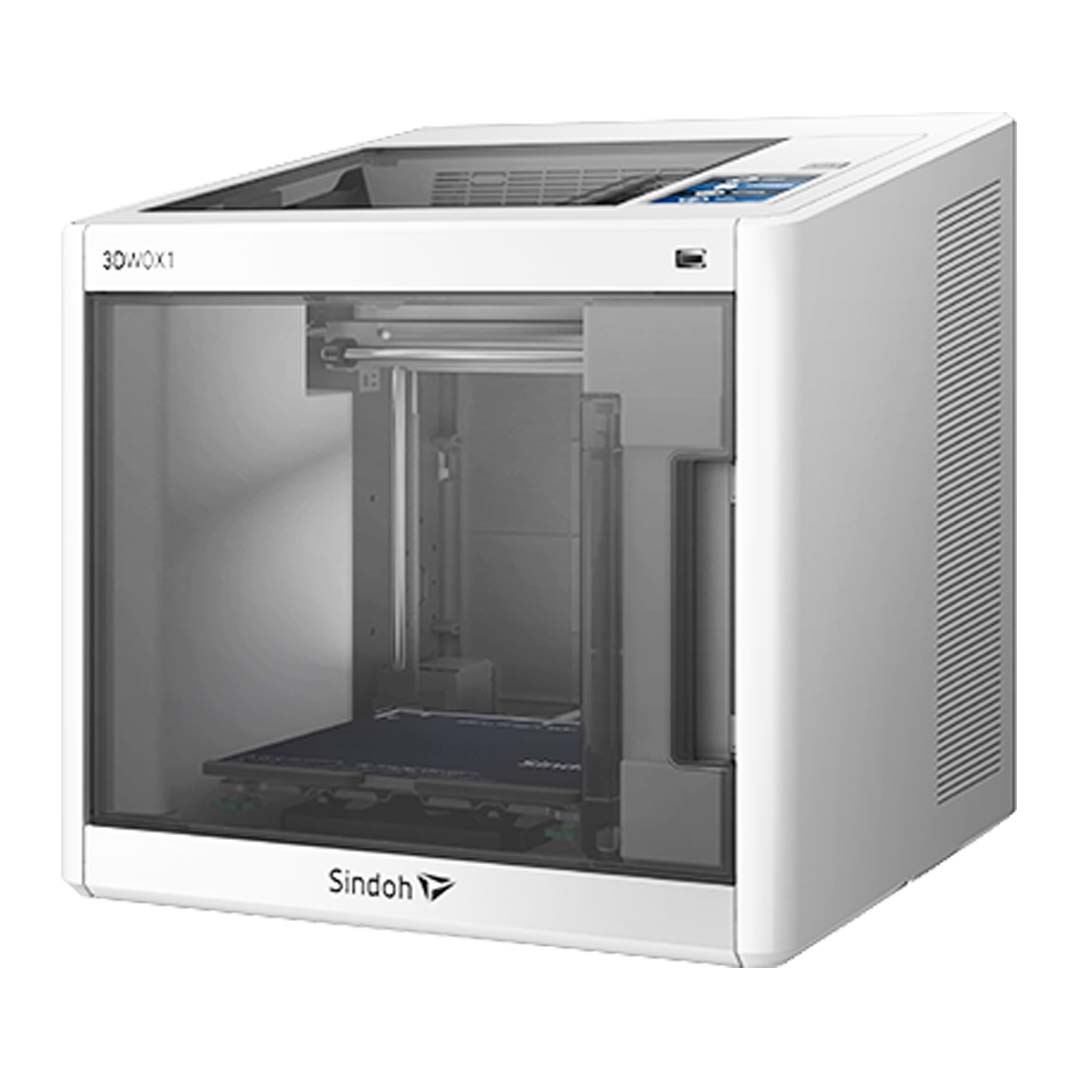
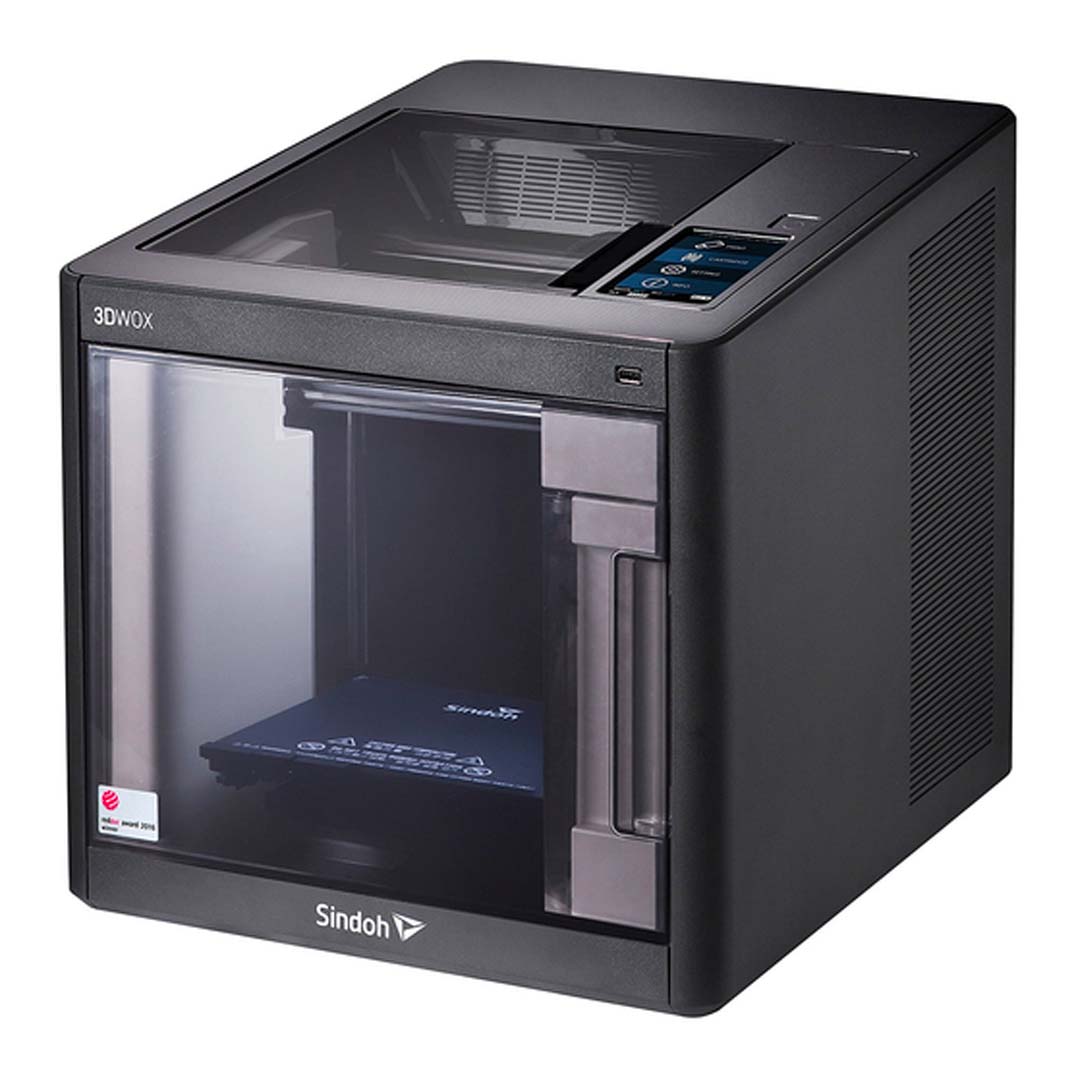
Equipment: Sindoh 3DWOX1 (white) and DP200 (black)
1. Group Assignment
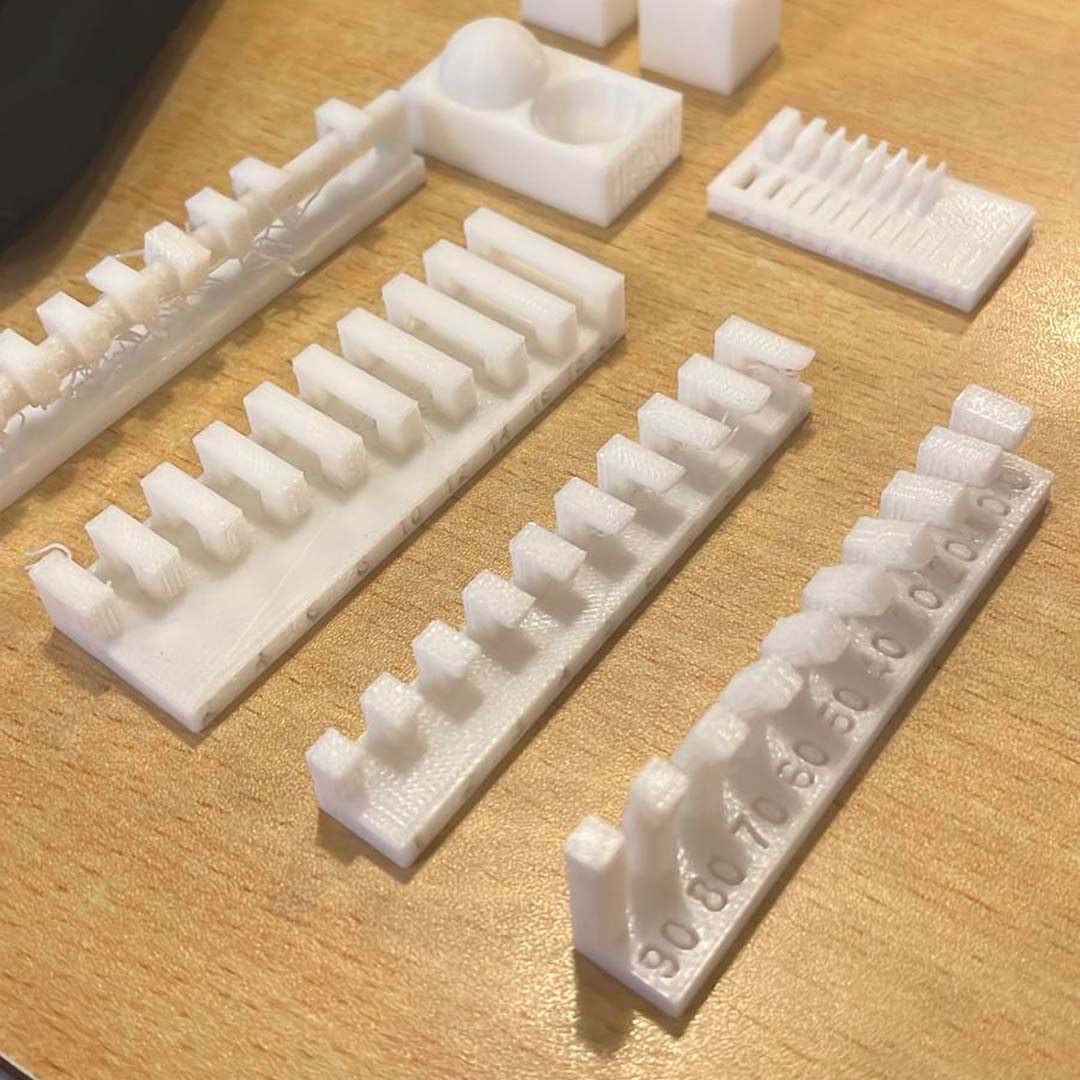
Before printing our own design, we run a few tests to understand the design rules for our printer.
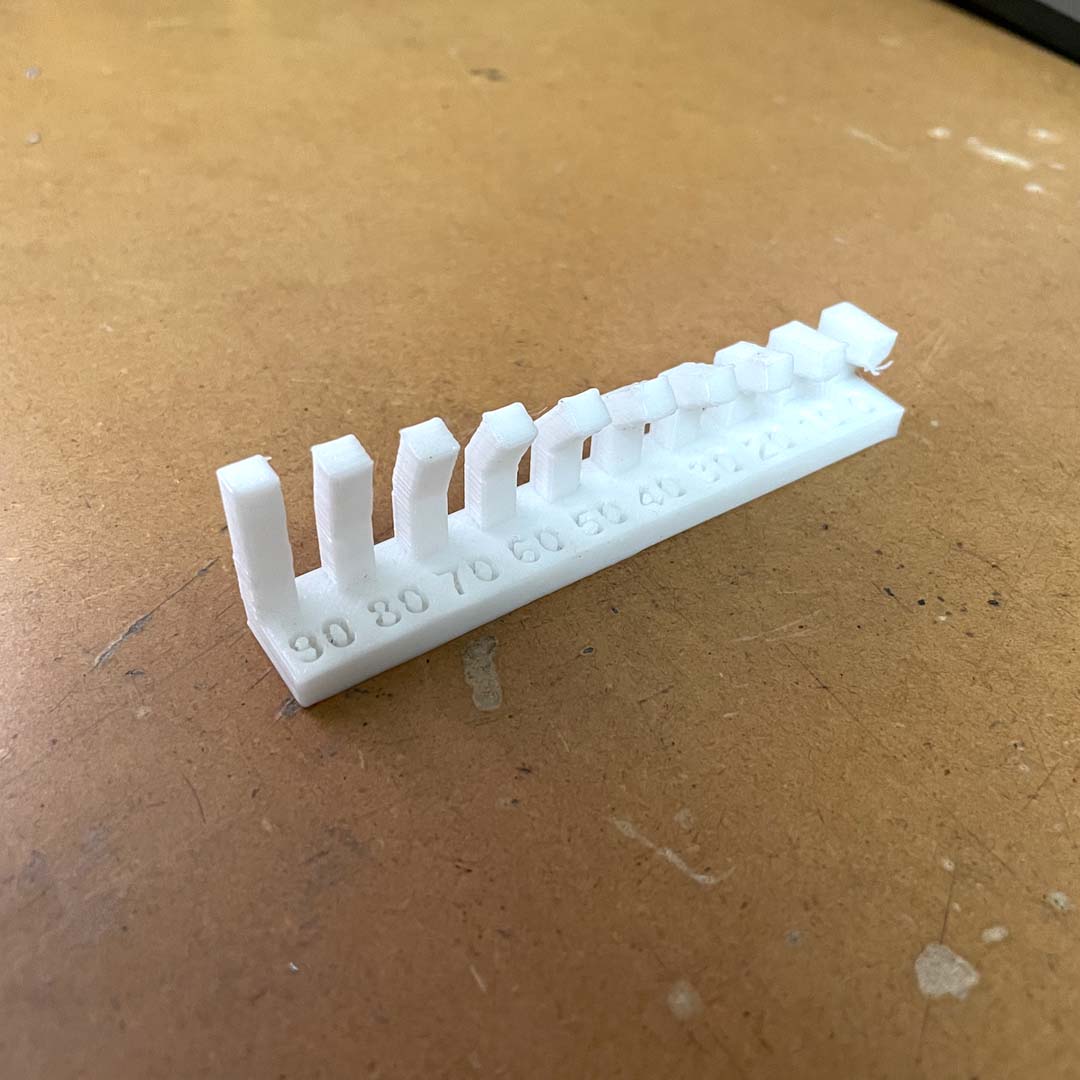
It is essential to figure out the angle that could be printed without requiring a support. Also, it is possible to vary some settings (wall thickness, infill, etc.) that affect not only structural aspects but also printing time.
For instance, the maximum angle that resulted in a piece without issues was 50o.
2. Design and 3D Printing
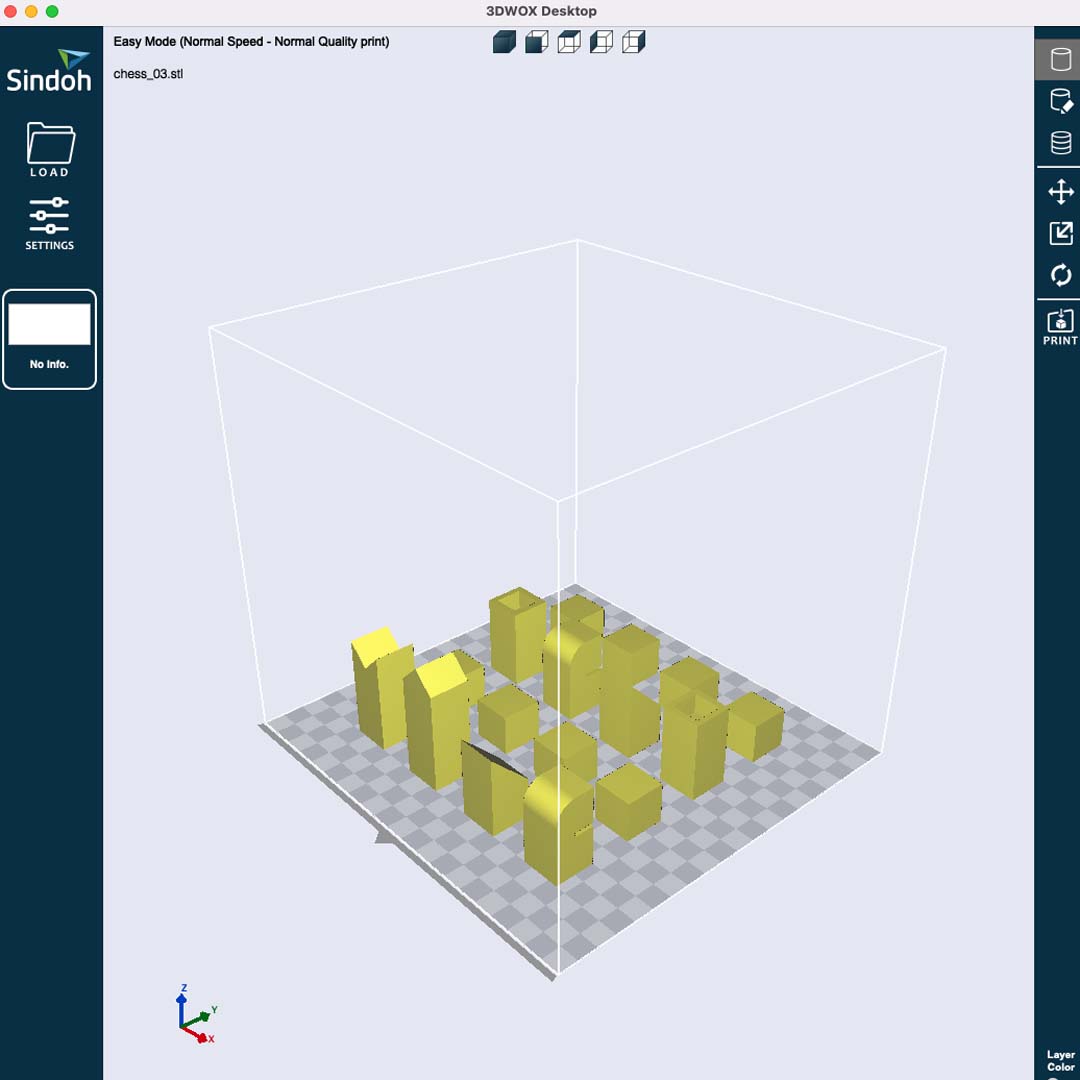
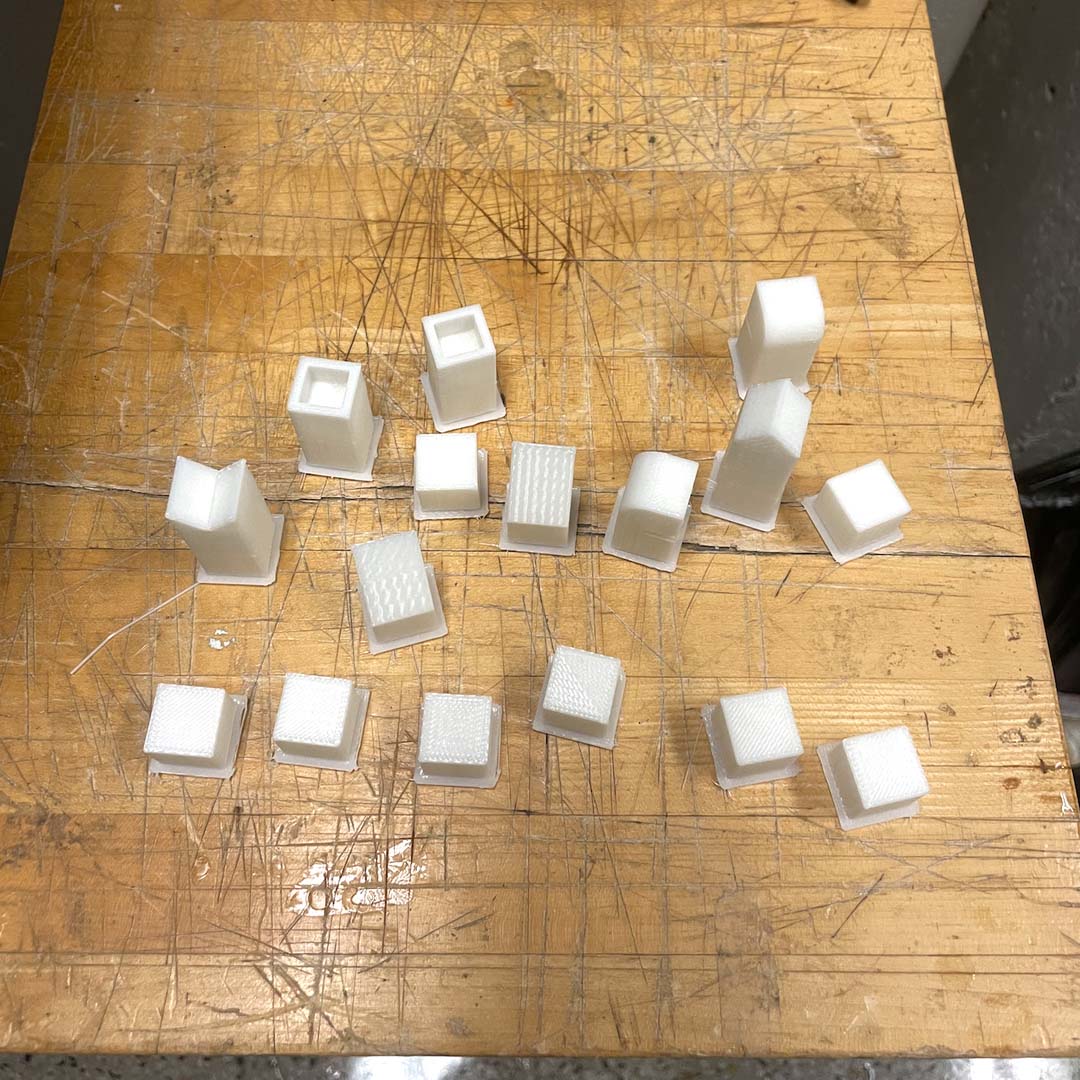
In order to learn how different shapes would be printed, I decided to make chess pieces using a simplified design.
In different pieces, I included specific aspects to test. For example, the rook has a thinner wall, while the knight has an overhang part that would require support.

After designing all pieces in Fusion 360, I exported the .stl file and open with the Sindoh 3DWOX software.
* The .stl file is imported as a single object. For this reason, I had to rearrange my pieces in order to fit in the printing area (I could have exported individual .stl files also arrange them in the Sindoh software as well).
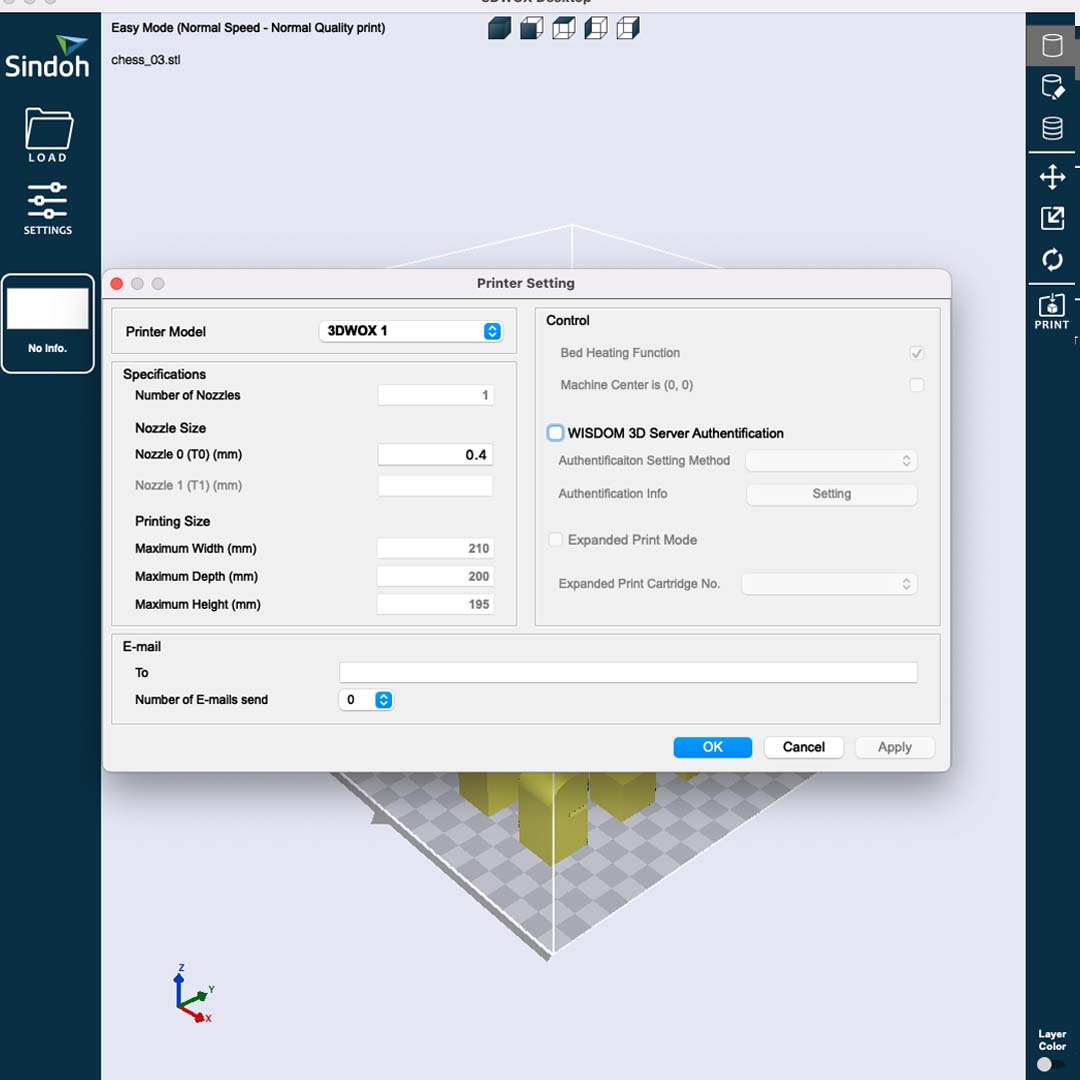
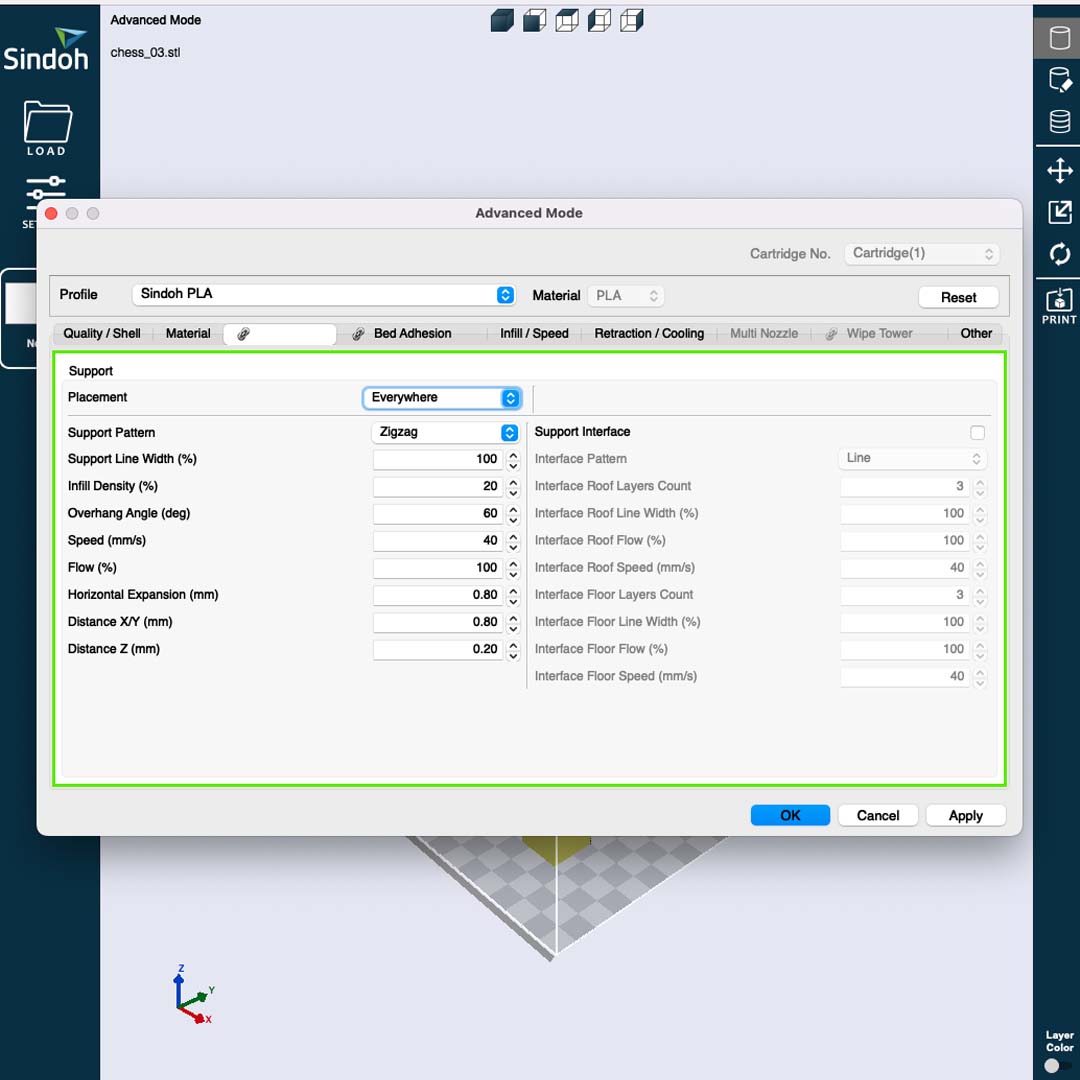
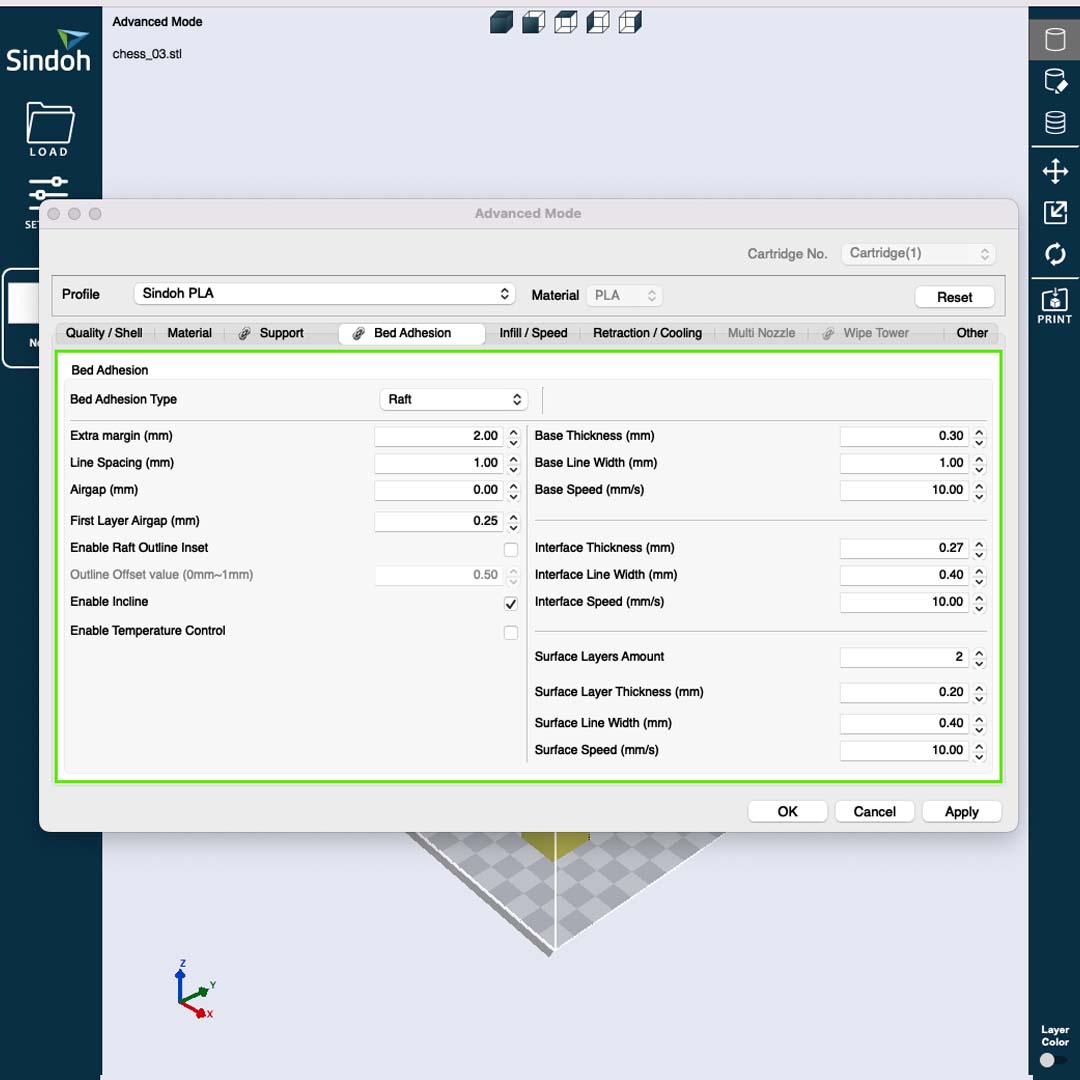
There are three important settings before saving the final file:
• Printer Model: In this case, I could use 3DWOX1 or DP200.
• Support: Prints support when needed.
• Bed Adhesion: Creates a bed to reduce potential adhesion problems
After exporting the g.code file and plugged the flash drive in the 3D printer. Before printing, I run a nozzle test to check if everything was working correctly. Then, I hit the print button and waited.
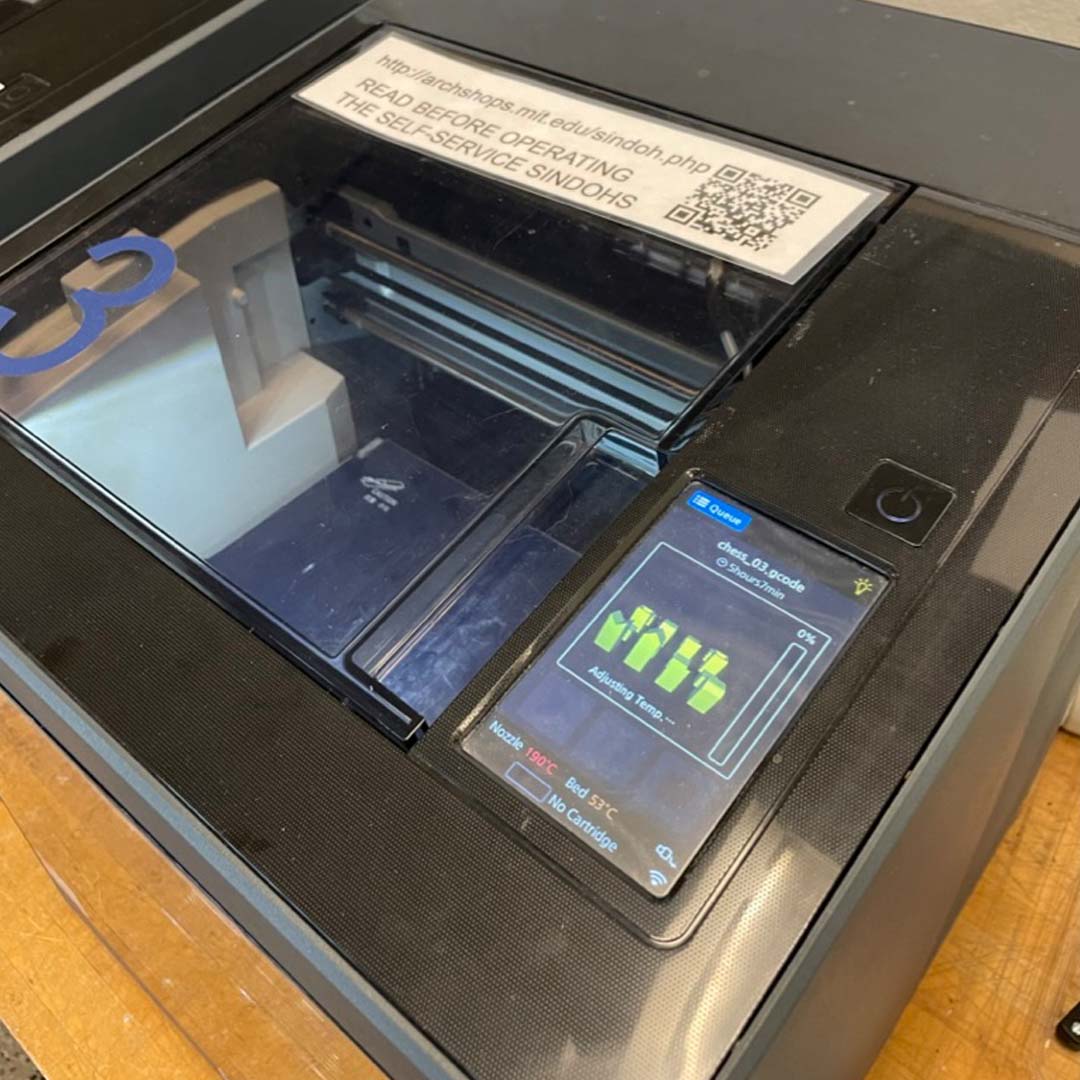
After more than 5 hours, I finally took all the pieces from the bed and removed the support and the draft part.
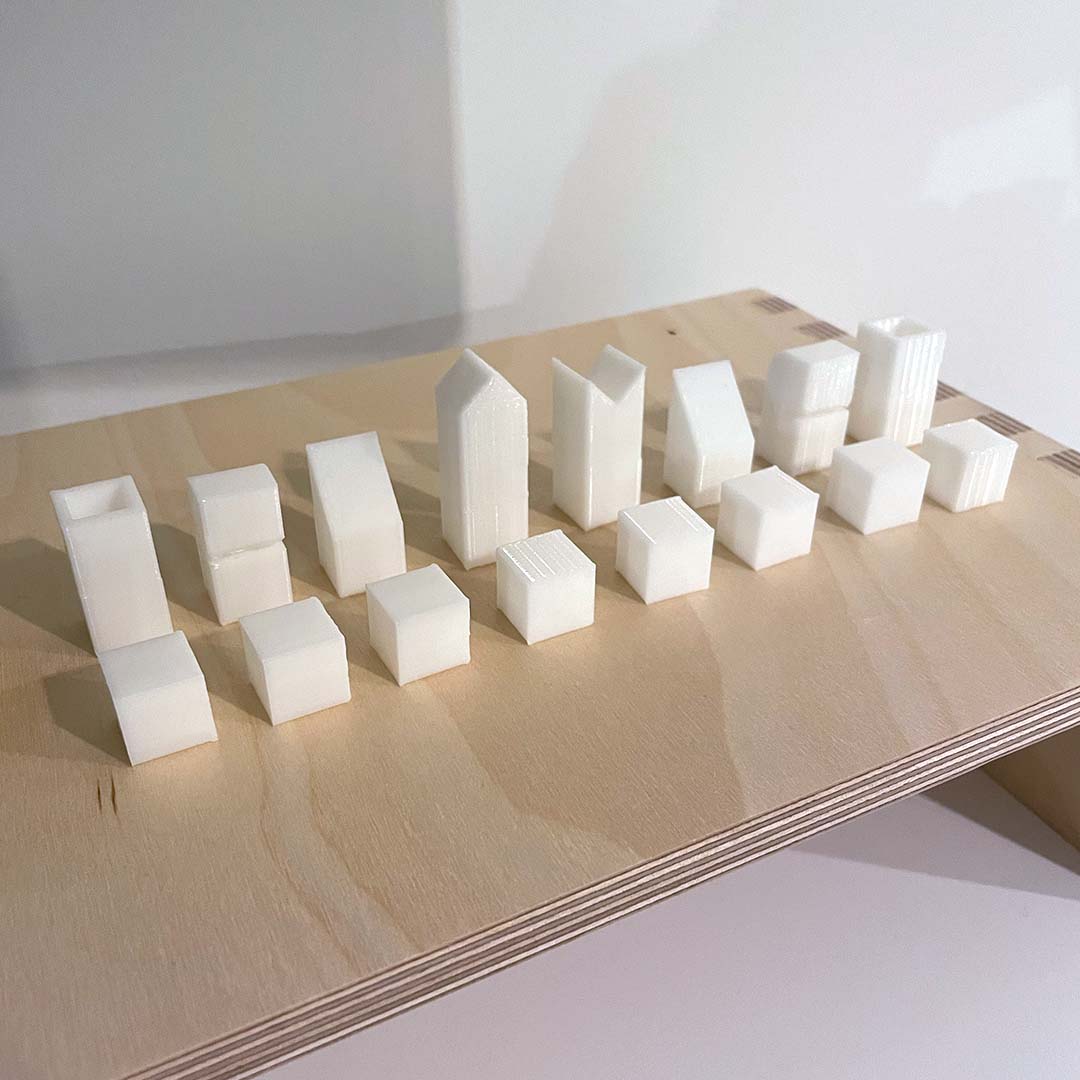
And these are the final pieces! (Now, I'll have to find another color of PLA to finish this project).
3. 3D Scanning
For the scanning part of the assignment, I wanted to test the capabilities of the new iPhone 14 Pro. Since iPhone 12 Pro, Apple has included a Lidar sensor, which add depth for better photos and can be used for scanning objects, people or places.
I downloaded the app Scaniverse and started testing. I tried to scan my wife's face multiple times and, surprisingly, the quality i usually very good.
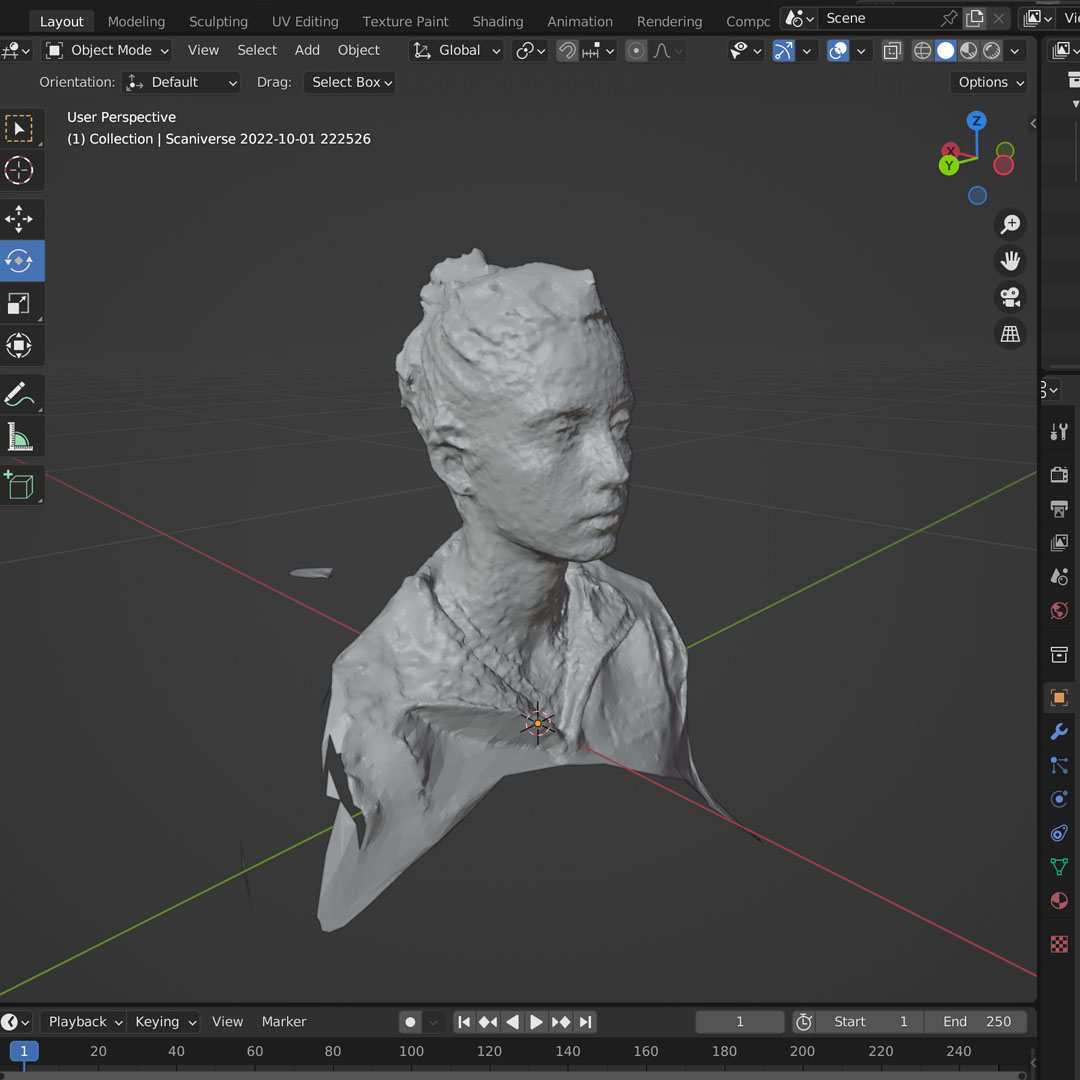
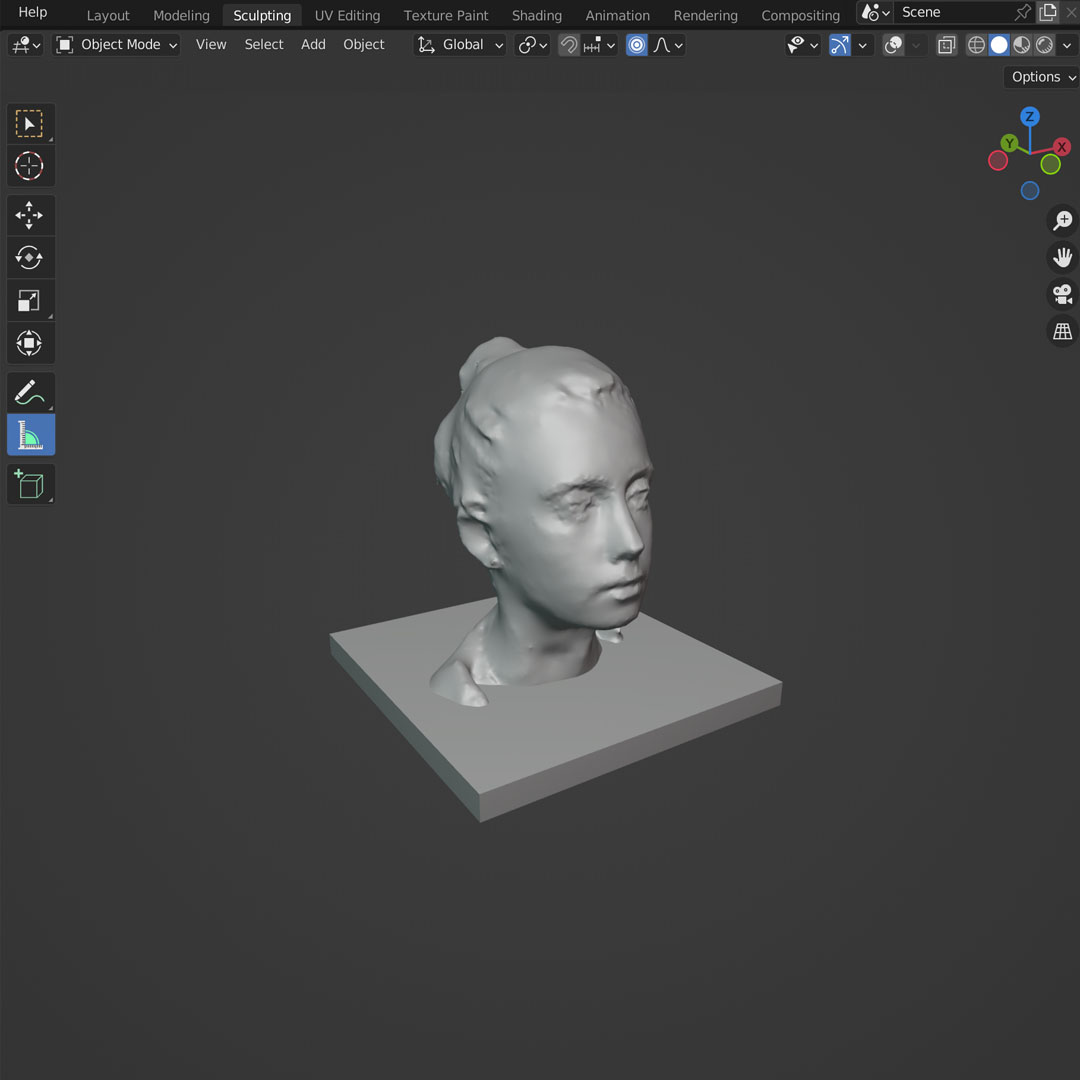
I exported the .stl file and used Blender to post-process the image. The initial version was not smooth and it includes some parts that should not be printed. So the most important steps were:
• Remove vertices below the neck and shapes that were not part of the head.
• Use sculpt mode to smooth the face and adapt some shapes for a better printing.
• Close the shape. In this case, I included a square base for the head.
I followed the same steps for printing and removing the support parts and ended up with a small head that has a much more precise shape than what I thought a phone camera would be capable of creating.

Files