Overview
Workload: ● ● ● ● ●
Previous Knowledge: ● ● ○ ○ ○
Current Knowledge: ● ● ● ● ○
Concepts
3D Design, CAM, Joinery, Material Properties
Software
Illustrator, Fusion 360, SketchUp, Mastercam
Assignments
1. Do your lab's safety training [Group]
2. Test runout, alignment, fixturing, speeds, feeds, materials, and toolpaths for your machine
3. Make (design+mill+assemble) something big (~meter-scale)
Extra credit: Don't use fasteners or glue
Extra credit: Include curved surfaces
Documentation
This is the week I've been most excited about. For more than a year, I've been learning about woodworking and doing a few projects with computer-controlled machine (e.g., CNC router, Shaper Origin,etc.)
However, I still need to improve my skills on parametric design and also improve my technical knowledge about different materials, their properties and how to apply them in the most effective way.
Designing
My initial idea was to make a piece a furniture, a work that would potentially help me to test some ideas for final project.
However, I really wanted to make a gift for my niece that will be born next January. So I started to search for some references, from pieces of furniture to wooden toys.
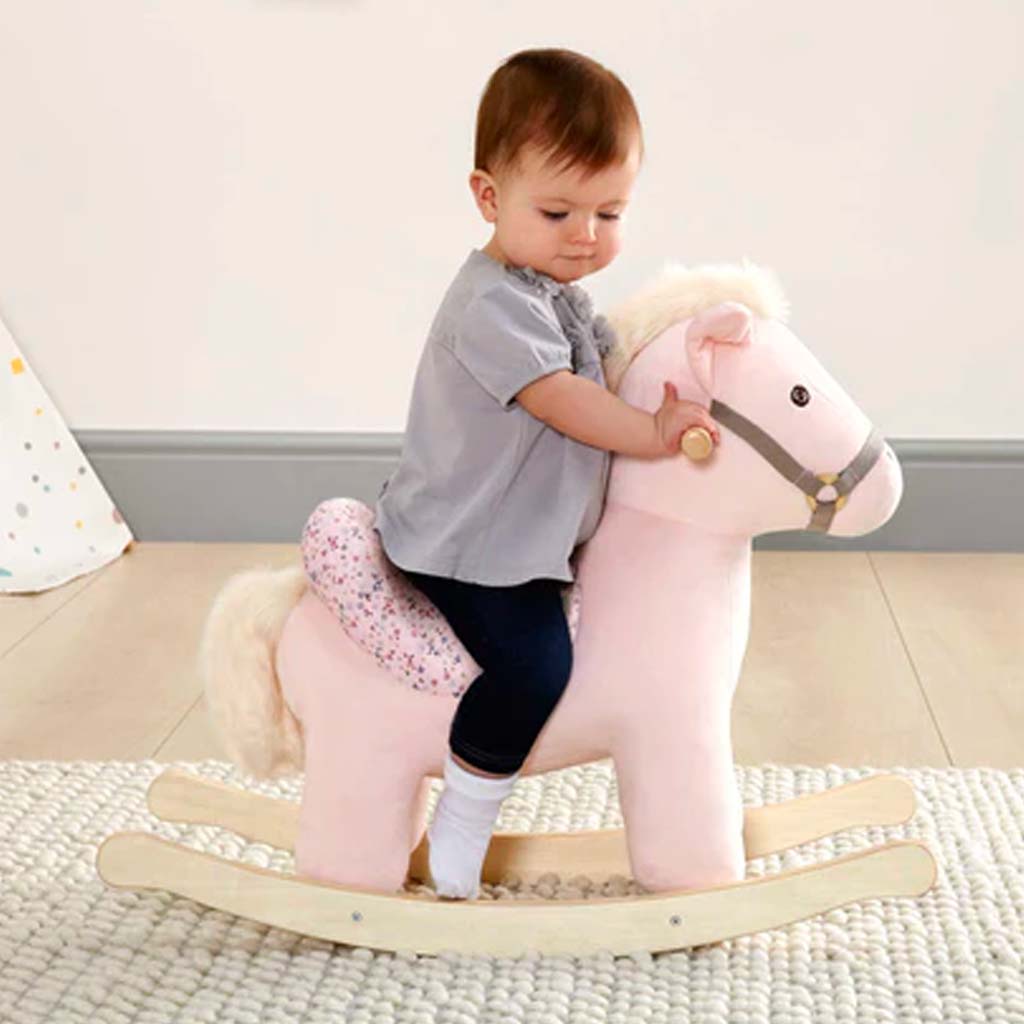
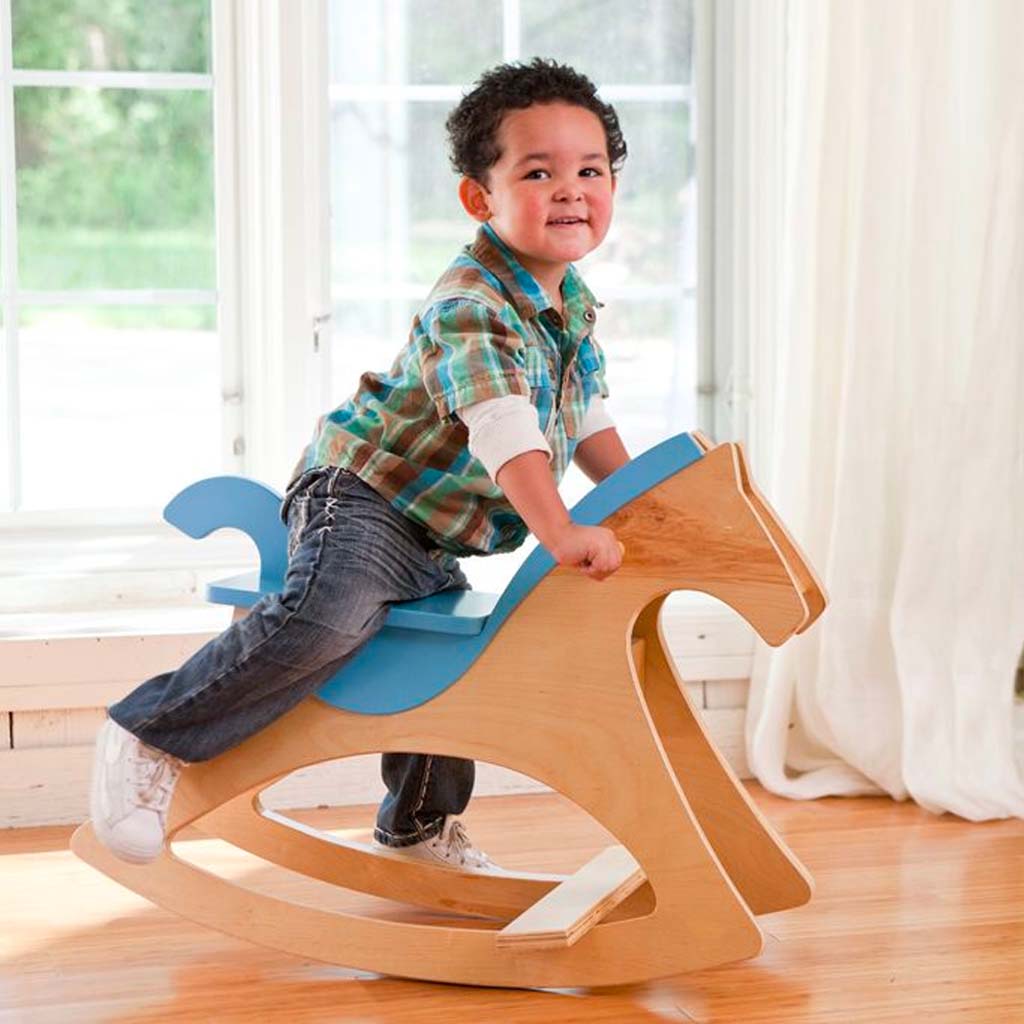
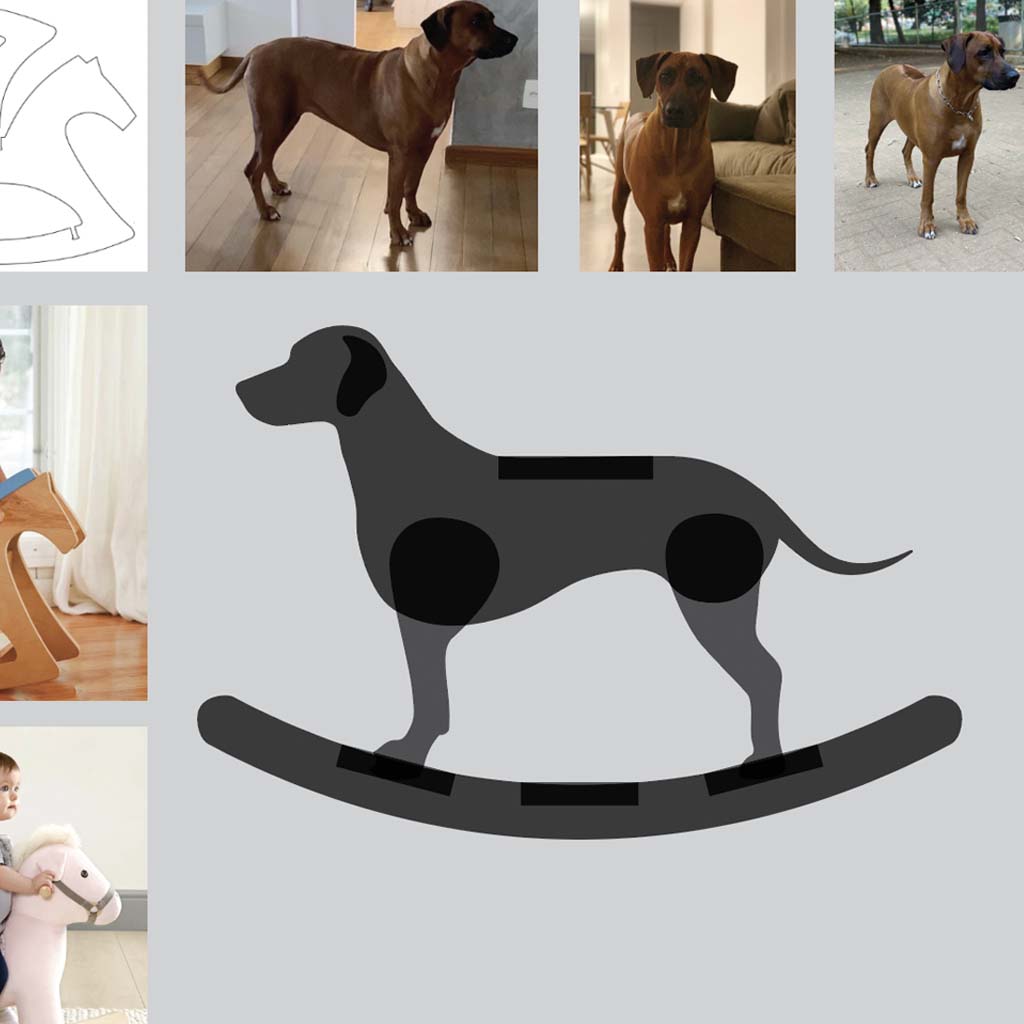
1. In the recitation, Anthony showed us a rocking horse that was made recently, and I loved the idea. Then, I started to look for some references that could help me to design my own piece. These are some images that were helpful while thinking about the structure.

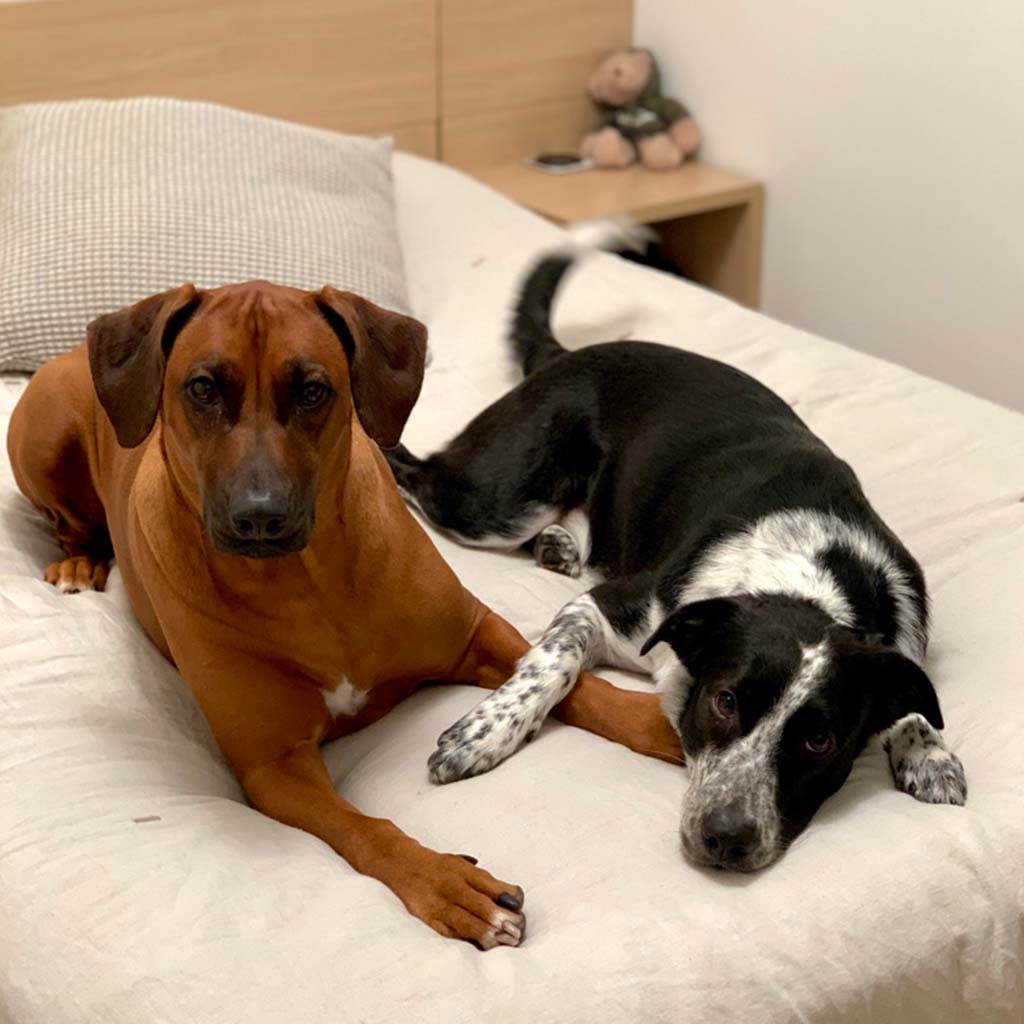
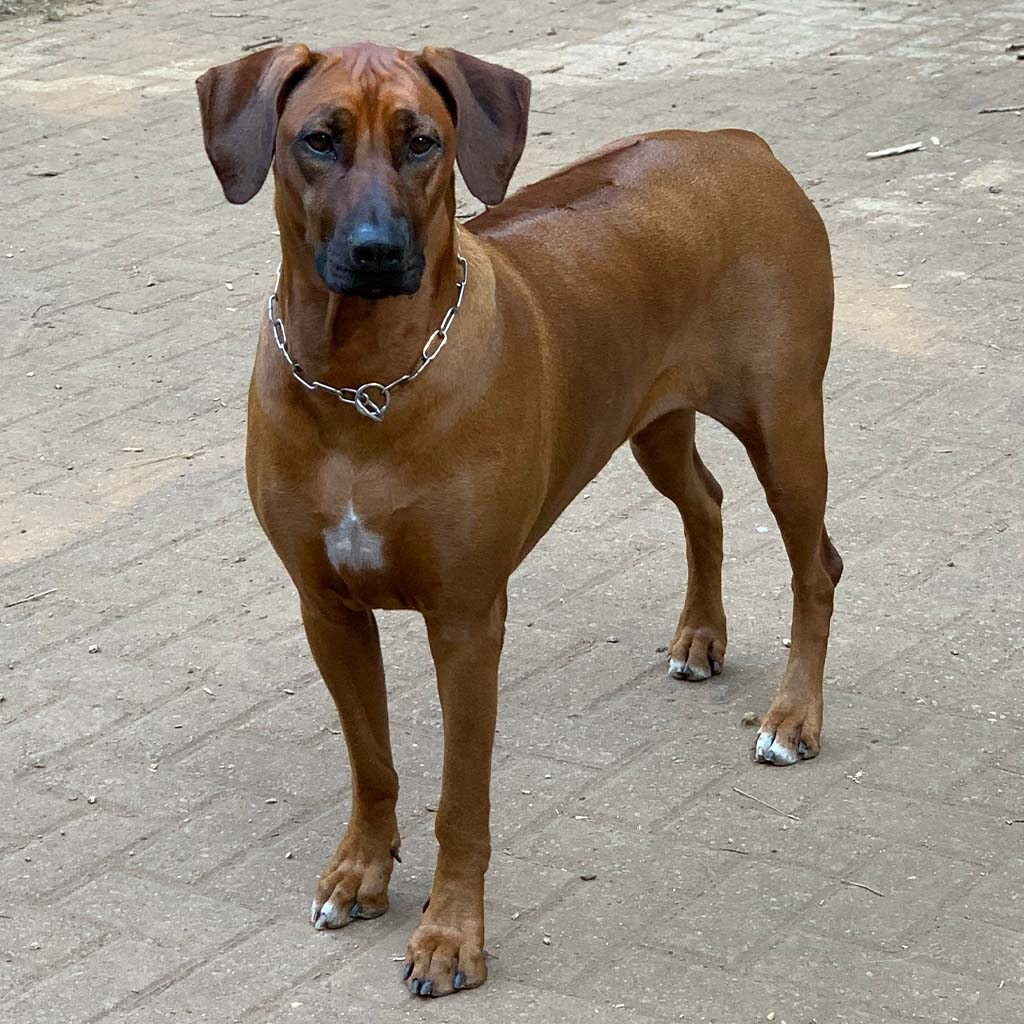
2. However, I wanted to make a personalized model. So I decided to make a rocking dog and create a model inspired in one of our own dogs. (I chose Saara, the brown one, just because she looks more like an actual horse).
3. Using all the images as references, I created a sketch on Illustrator that could be later become the 3D model.
4. Then, I exported as an .svg and imported in SketchUp to start testing some alternatives for all joints. My initial 3D design was based on some of the previous references, but it was not the best choice for the OSB.
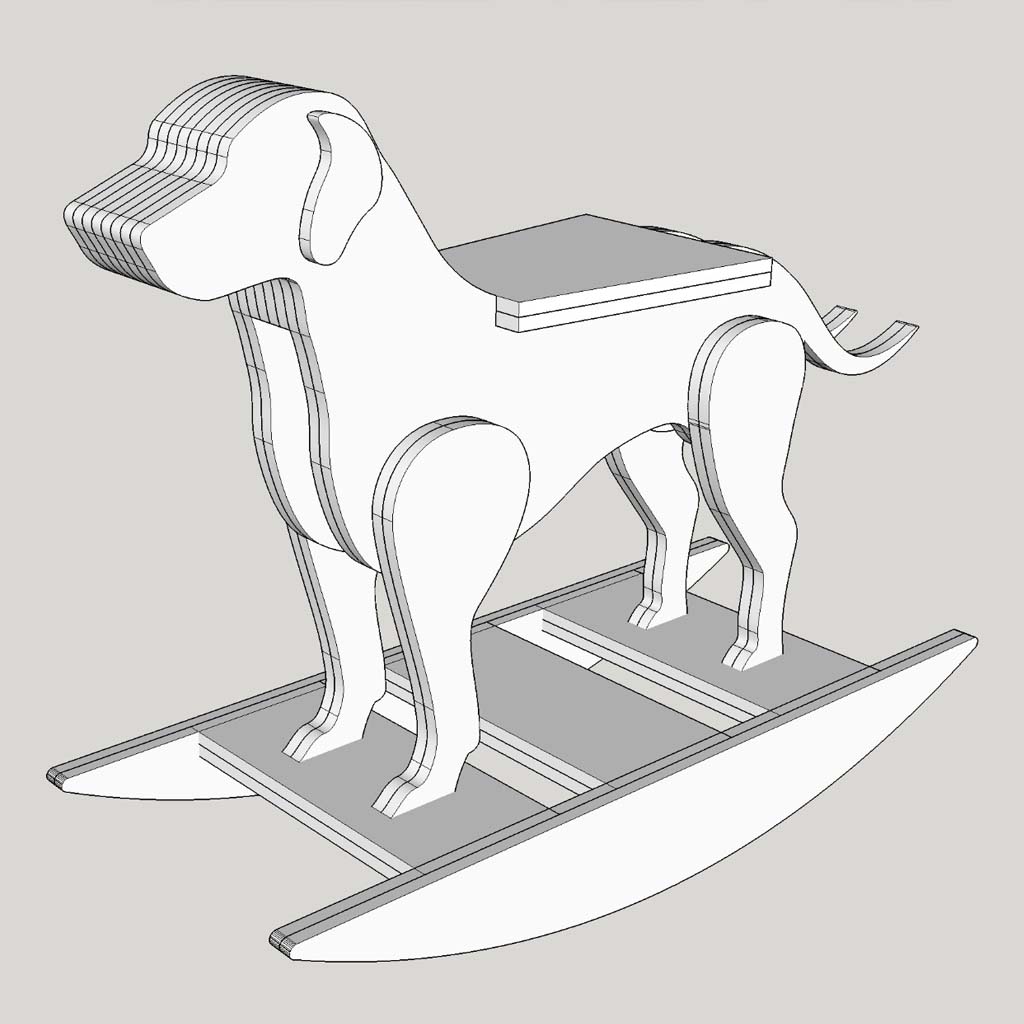
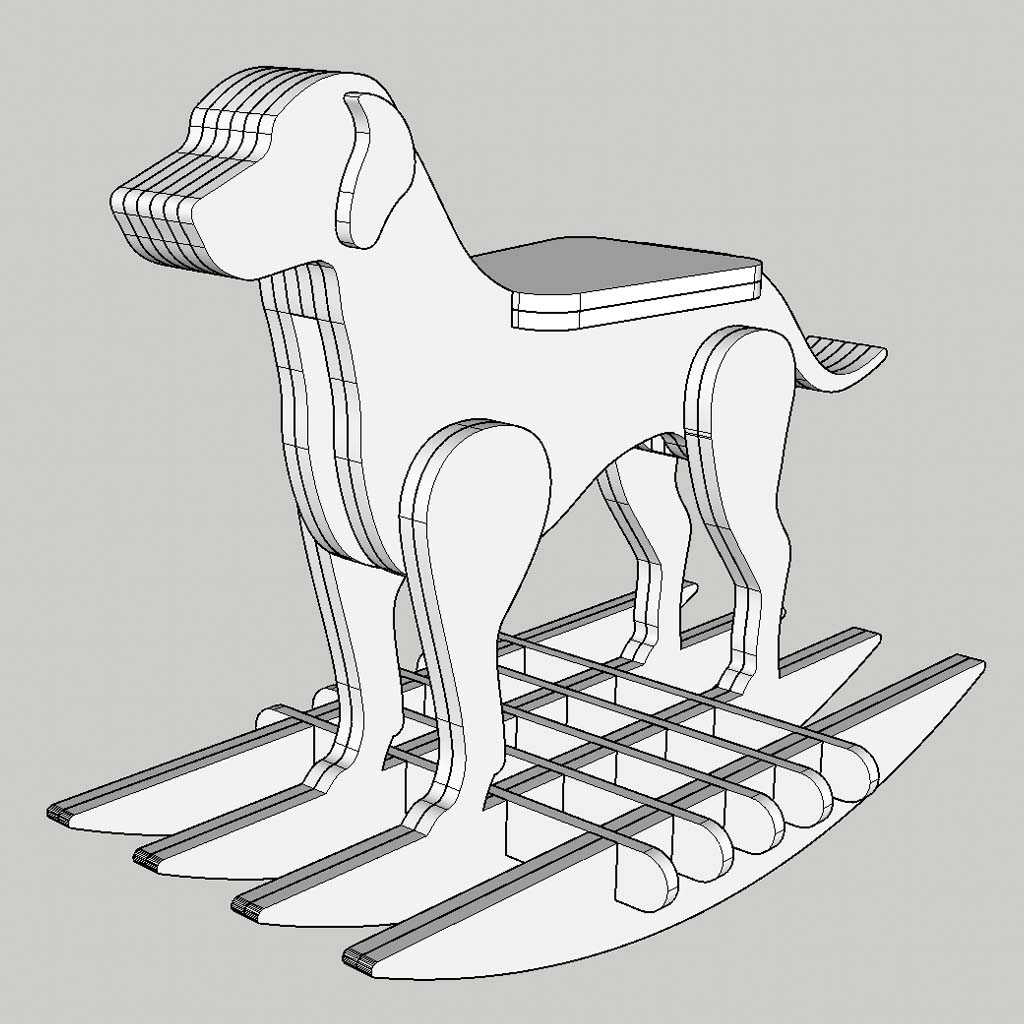
5. After getting feedbacks and ideas from Jen and Chris, I redesigned the base without having press-fit joinery and the final model was considerably stronger. Also, I decided to keep two layers of OSB in most of the structure, but connect the base with 5 pieces using cross lap joinery.
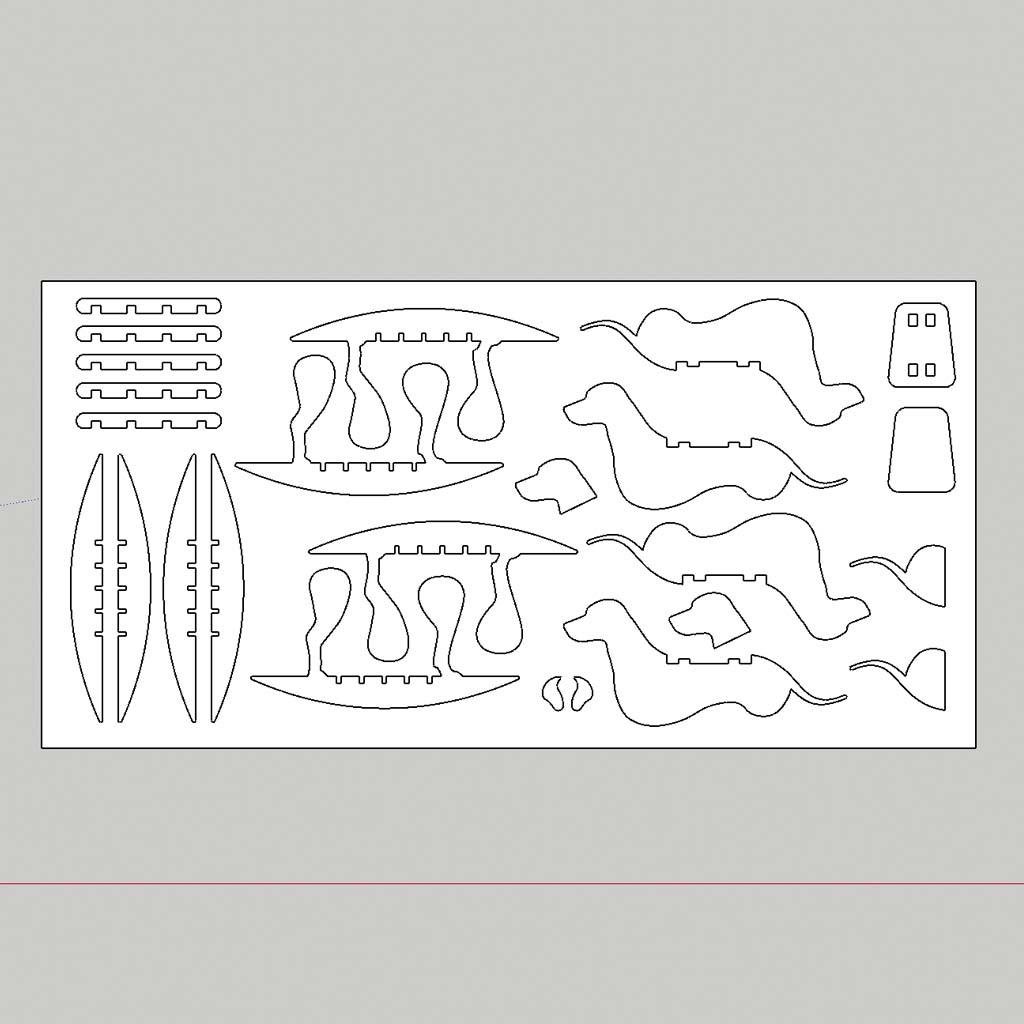
6. Then, I had to organize all pieces to fit the 4' x 8' OSB and export as .dxf.
*Note: It took me a long time to convert the model I created on SketchUp to a file format that could be used on Rhino/Fusion/MasterCAM. Alfonso helped me a lot in the office hours, but I still need to improve my skills on Fusion 360 and, next time, design the model from scratch in 3D using parametric design.
Cutting
Tutorial: Arch Shop Tutorial - CNC Router (OSB)
Equipment: Osnrud CNC Router
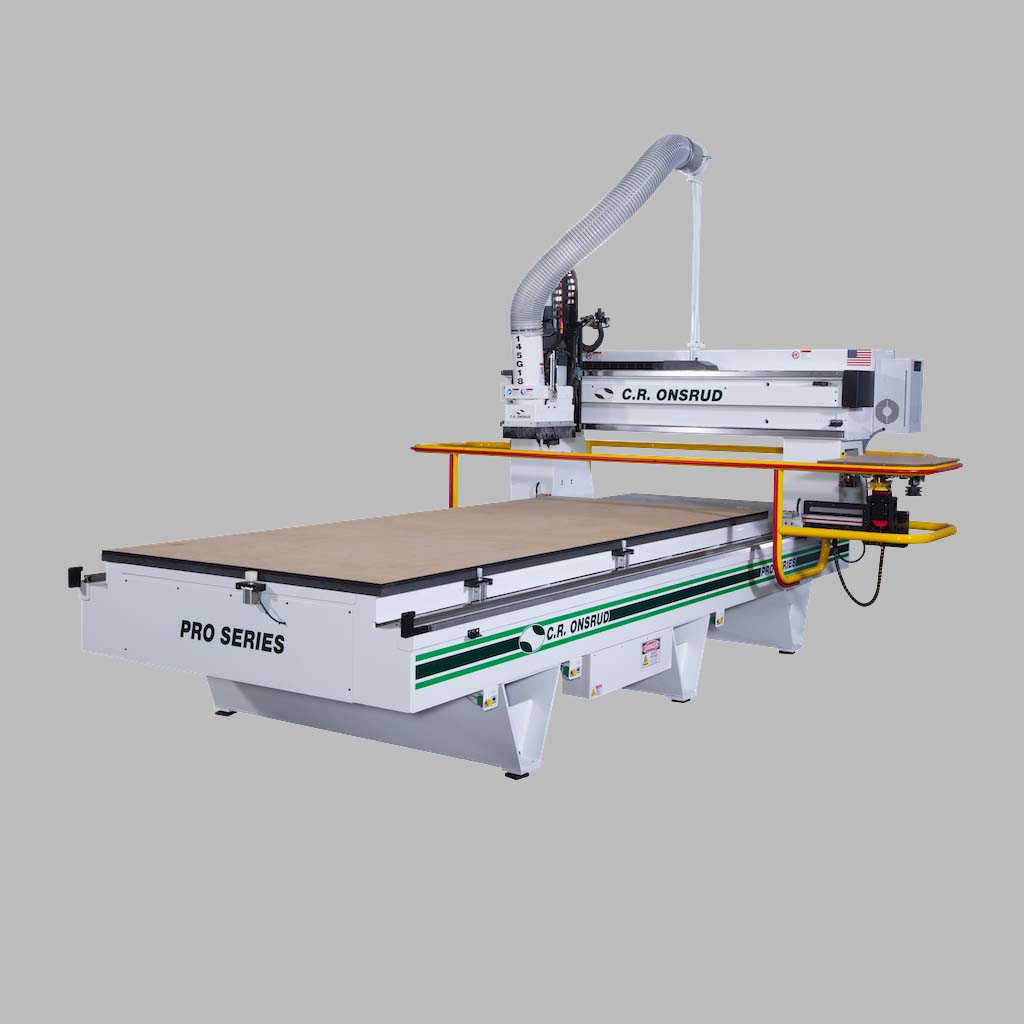
That was my first time in the Architecture Shop at N51-160. It was great to find all the tools needed for woodworking and very nice and helpful people! Also, the Onsrud CNC router is different from the CNC I worked before, especially for its vacuum bed and the tool carousel, which is extremely useful when using multiple bits in the same project.
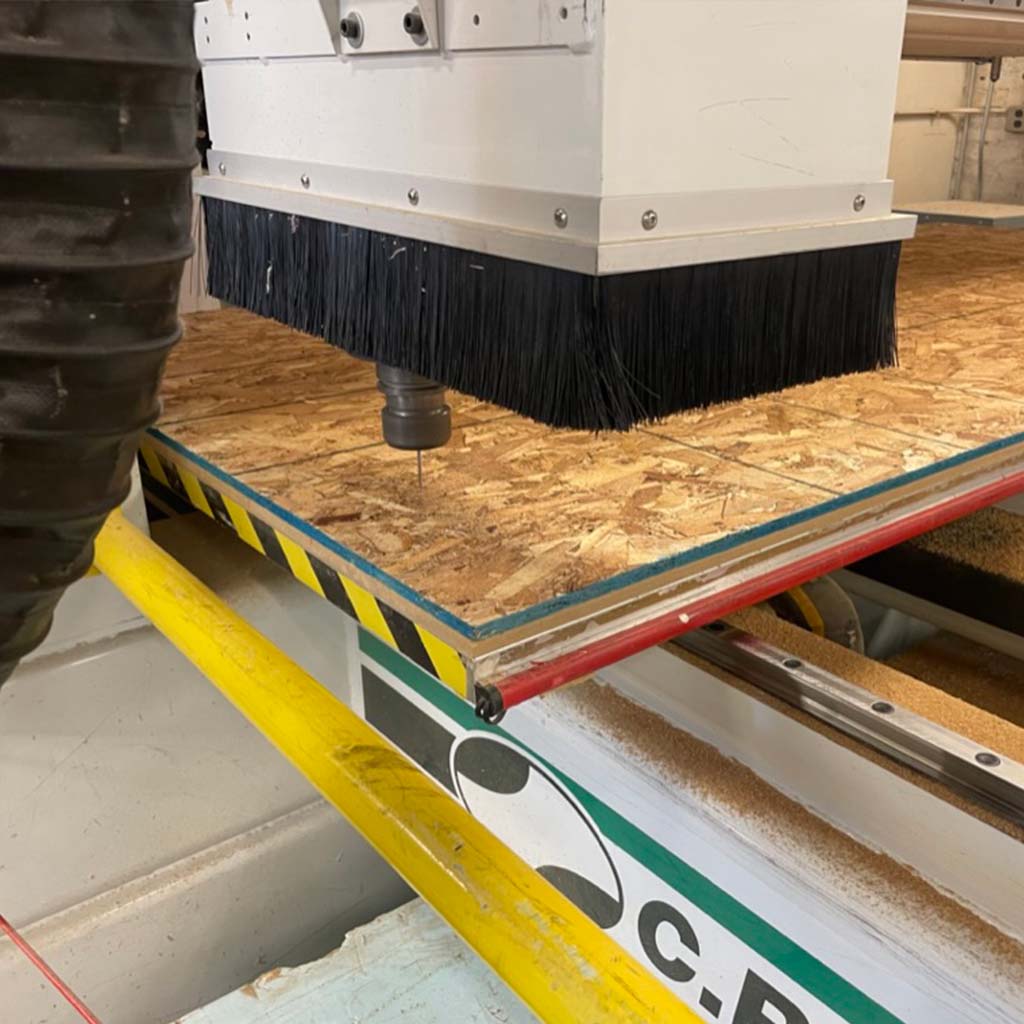
1. First, we run the test file to check the correct thickness for the project. Although the best result was obtained with 0.46" cut, we couldn't rely on that given the different thickness of all OSB sheets (I measured them with a digital caliper and found values from 0.42 to 0.46).
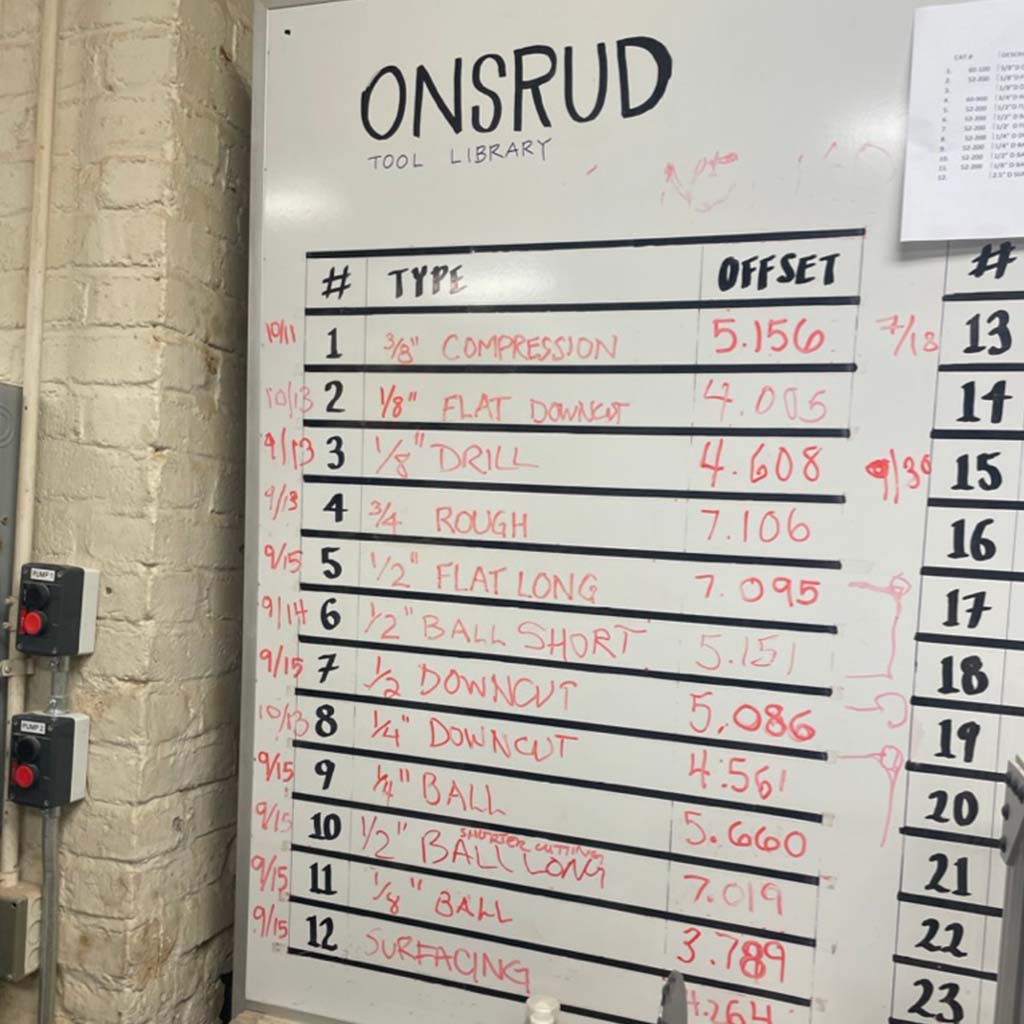
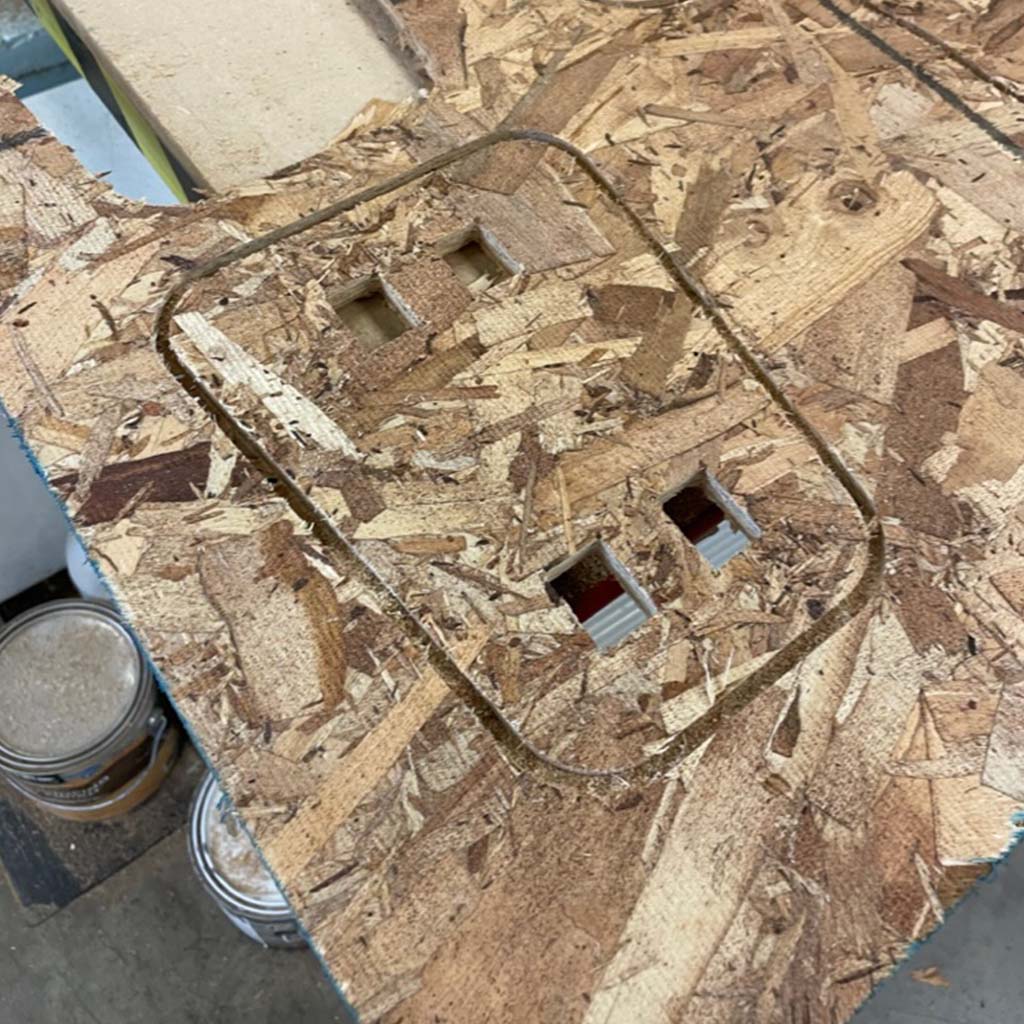
2. Finally, I started my project. Chris helped a lot to configure the different settings of the machine. Basically, 4 cuts were necessary (in the following order):
1. Small "dog-bone" holes in all inside corners with joinery (1/8" drill)
2. Inside cuts - in this case, only 4 for the seat (1/8" flat downcut)
3. Outline cuts (1/4" downcut)
4. Finishing cuts (1/8" flat downcut)
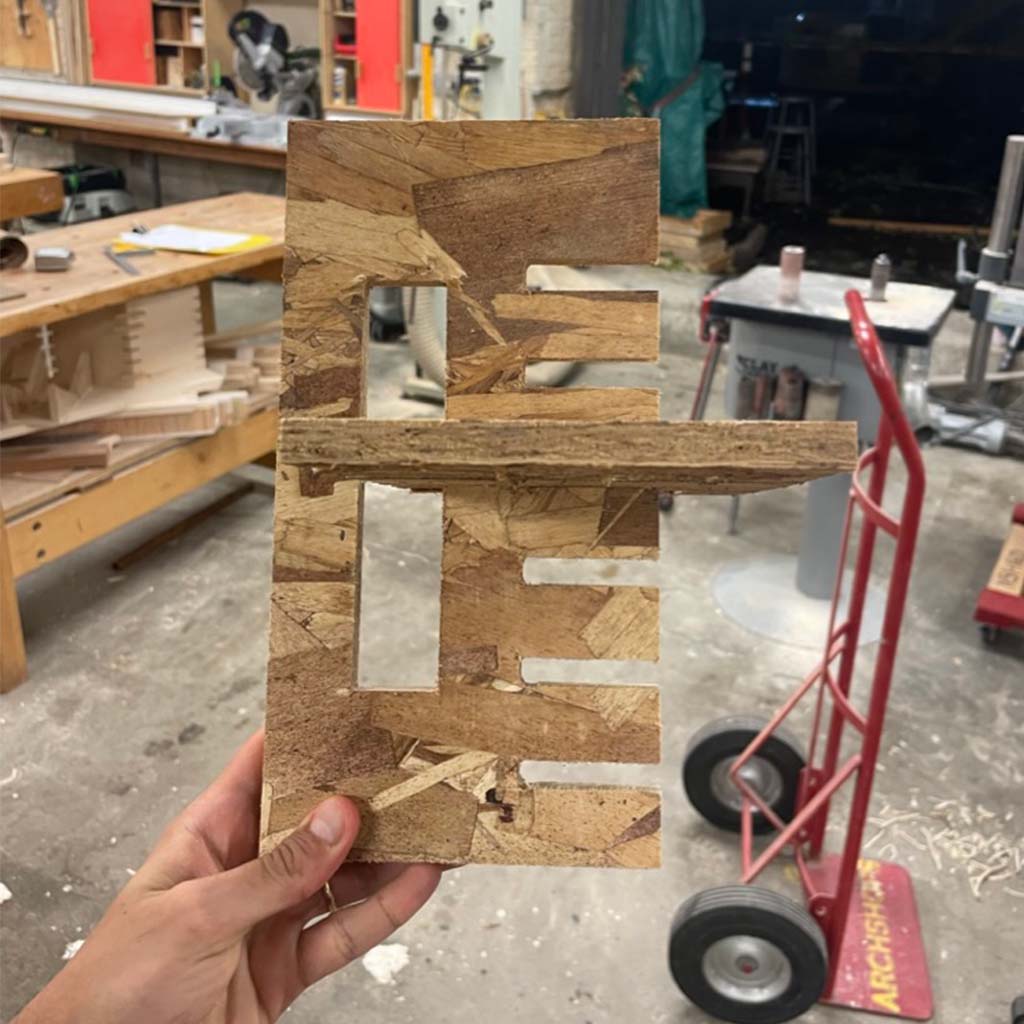
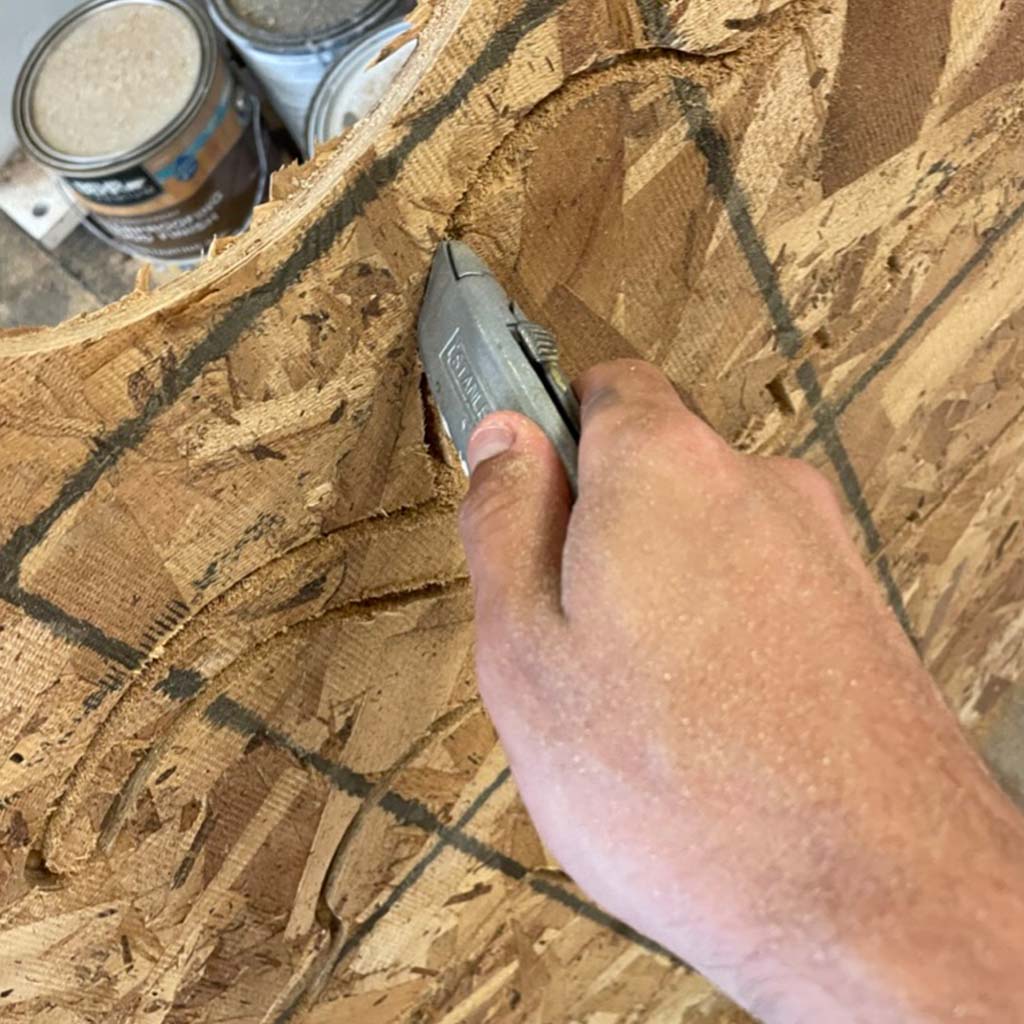
3. After ~20 minutes, the machine completed the job. Most of the pieces could be removed very easily (which is not necessarily good - the onion skin didn't work and the pieces could have moved while cutting).
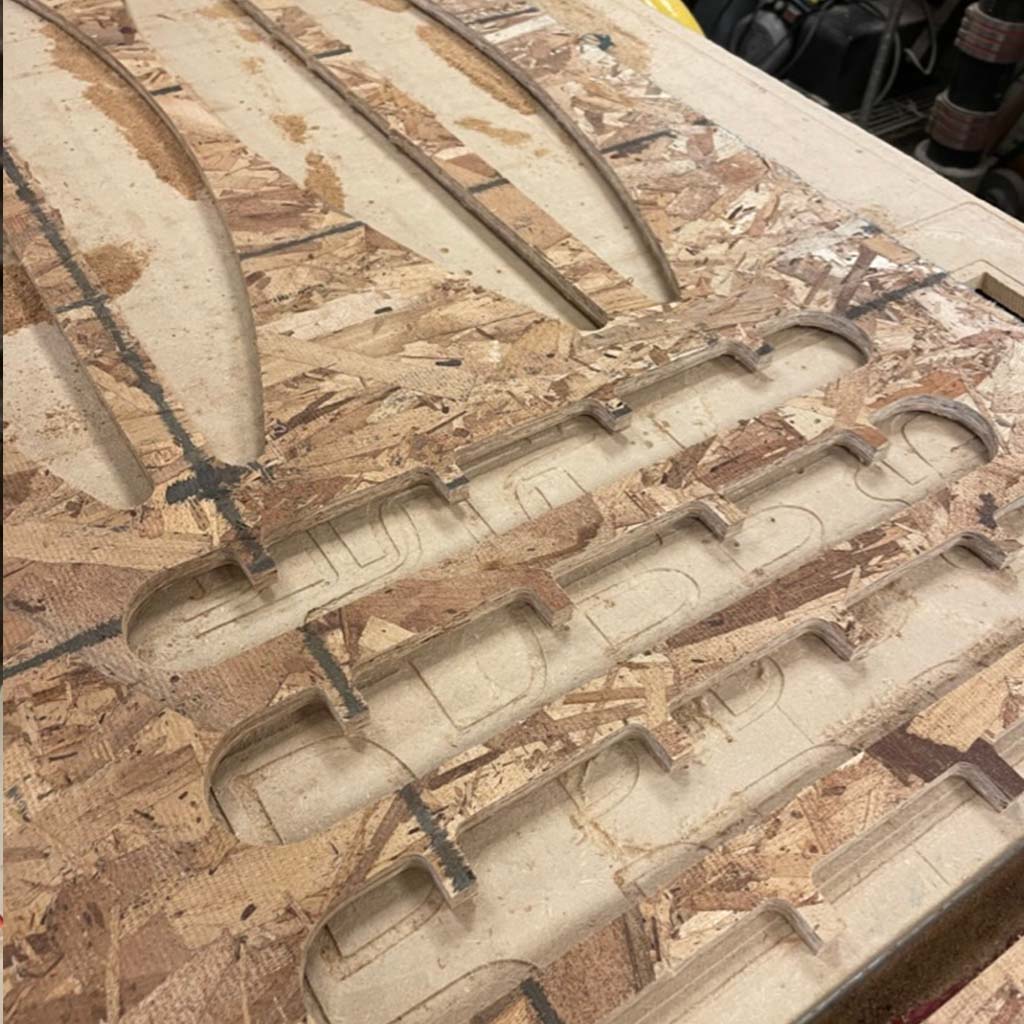
But some of them were still fixed because of the onion skin and I needed a knife to take them off and the sander to remove the remaining parts of OSB.
Assembling
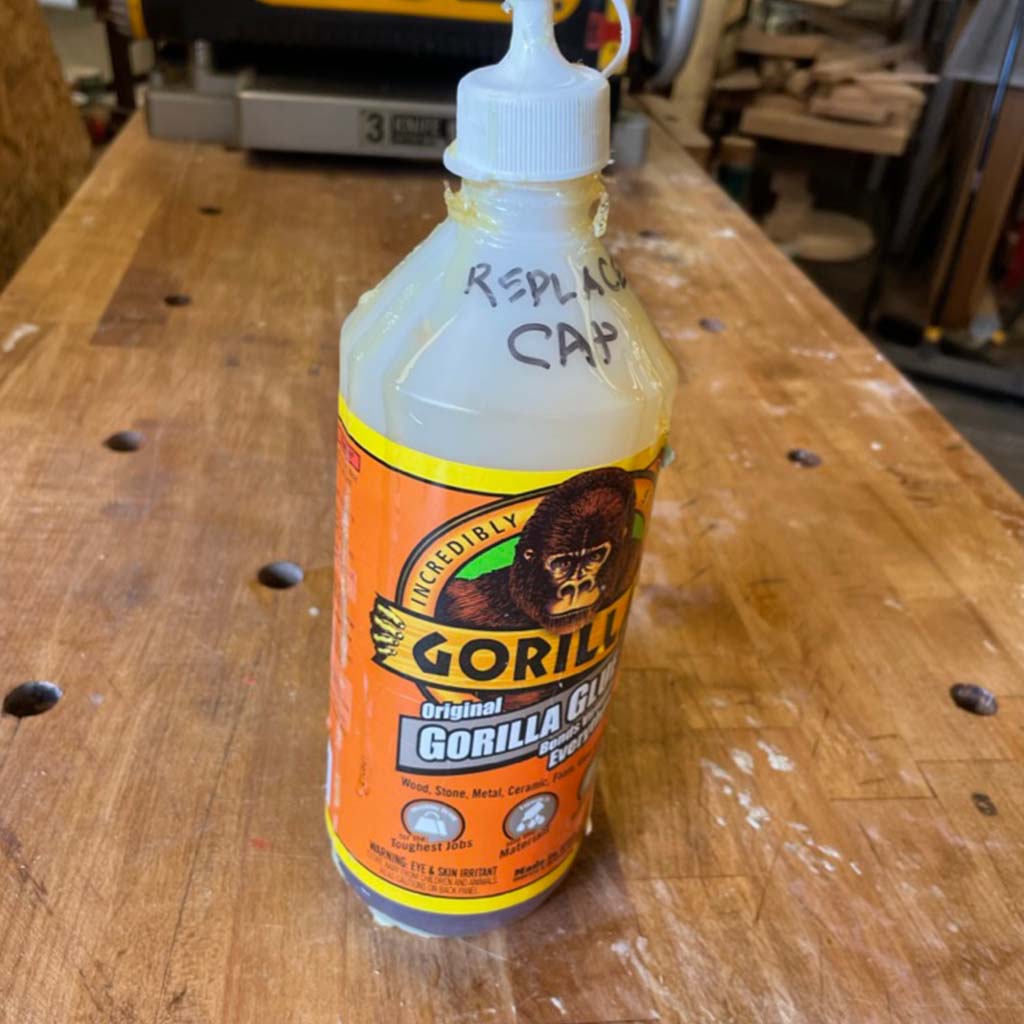
1. Since I decided to make all the structure with 2 layers of OSB, the first assembling step was to glue them together. I used a Gorilla glue that must be activated with water. After putting water and glue on one slide, I clamped the pieces and waited for 2 hours until it was dry.
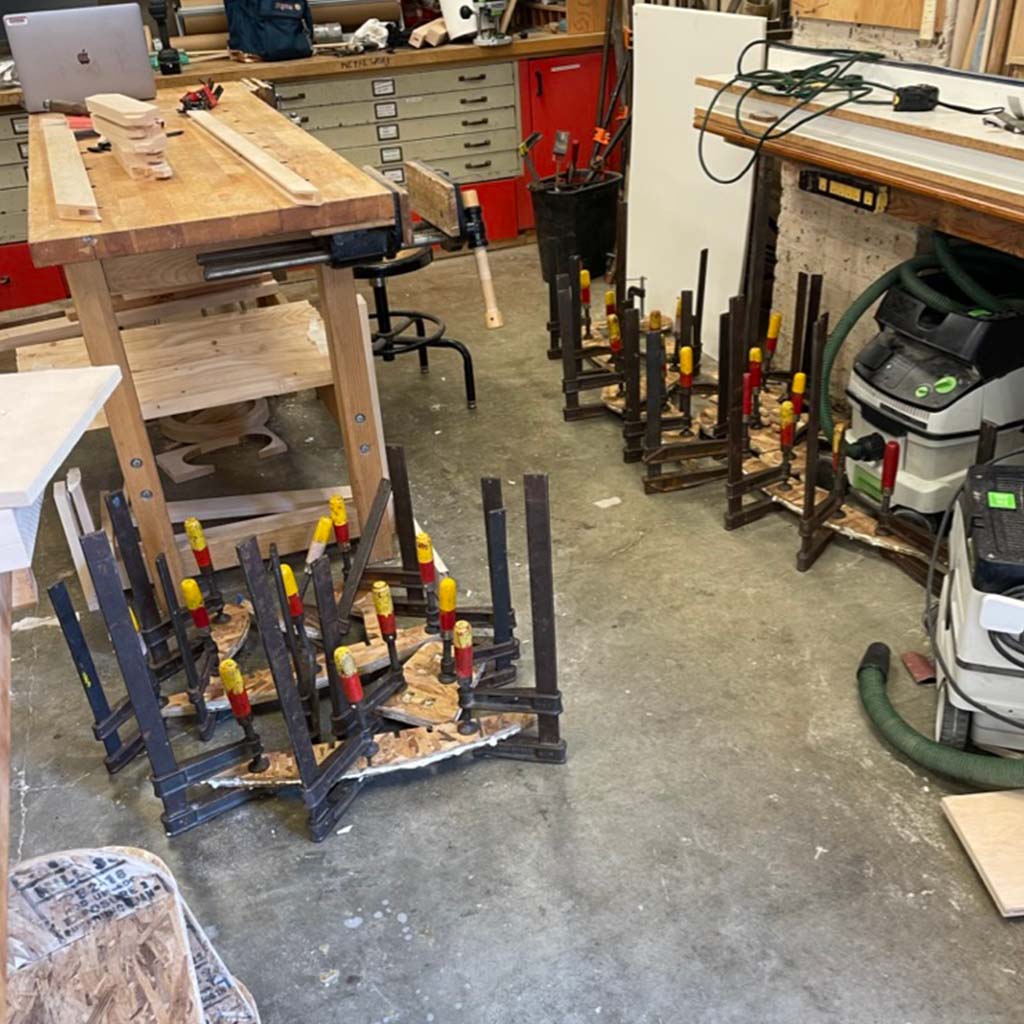
*Note: Because of the many pieces, I had to use most of the clamps available in the shop. A good update would be to make a design that works with just one layers. For instance, it would make sense to find a thicker material, such as 18 or 25mm plywood.
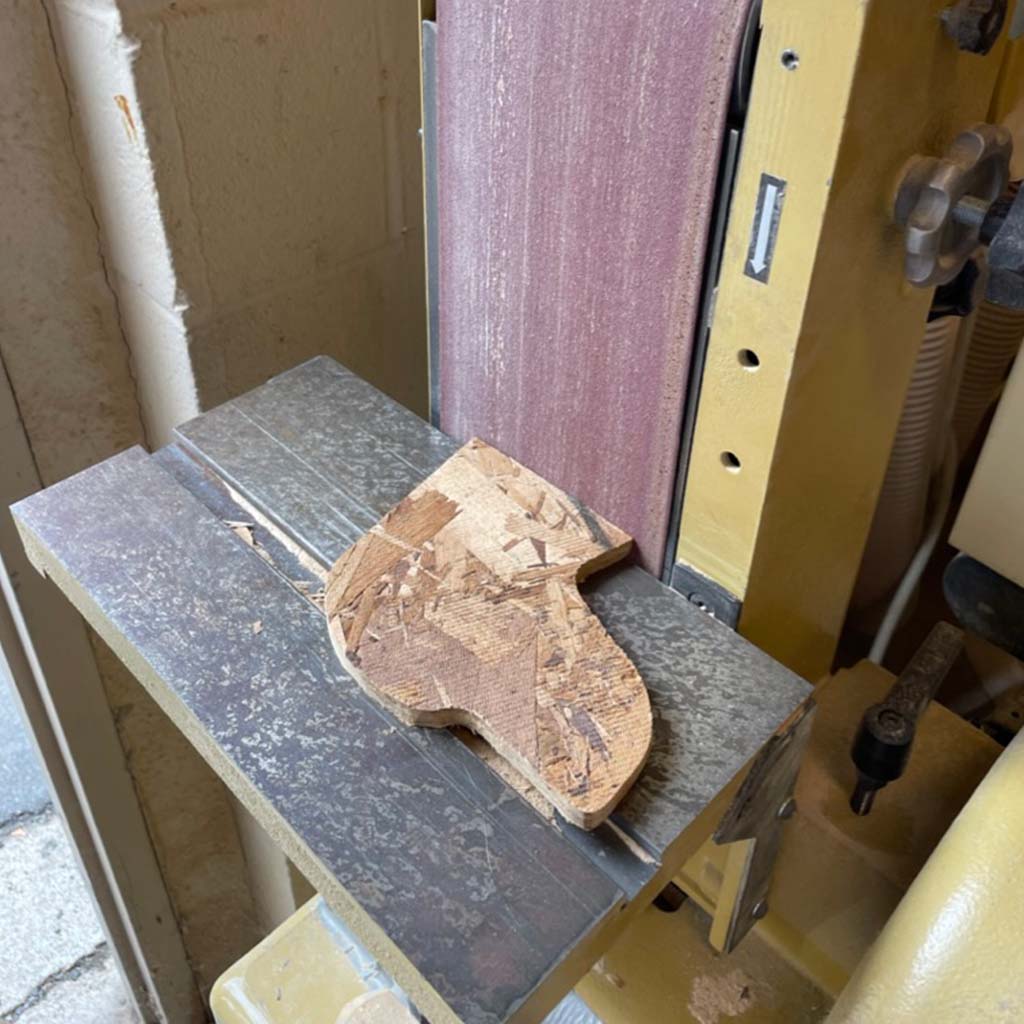
2. To remove glue residues, I used the bandsaw and then made the edges smoother with the belt sander.

3. The last assembling step was to put screws to connect the legs with the rest of the body. But, before doing that, I tried to make my pieces look a little better.
Finishing
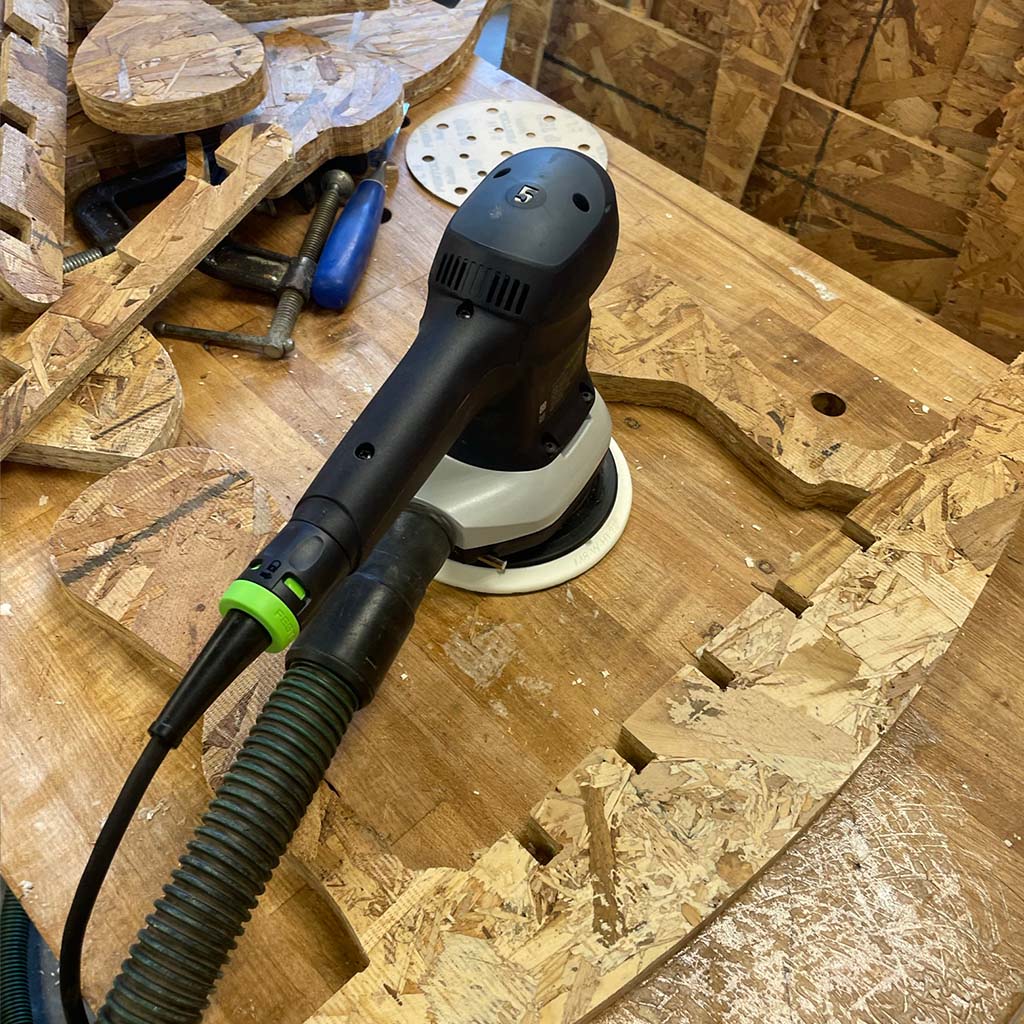
1. Finishing is always the most time-consuming step. First, I sanded with the Festool Orbital Sander, using a 60 grit disc followed by 150 grit. Also, I used the belt sander again to smooth the edges.
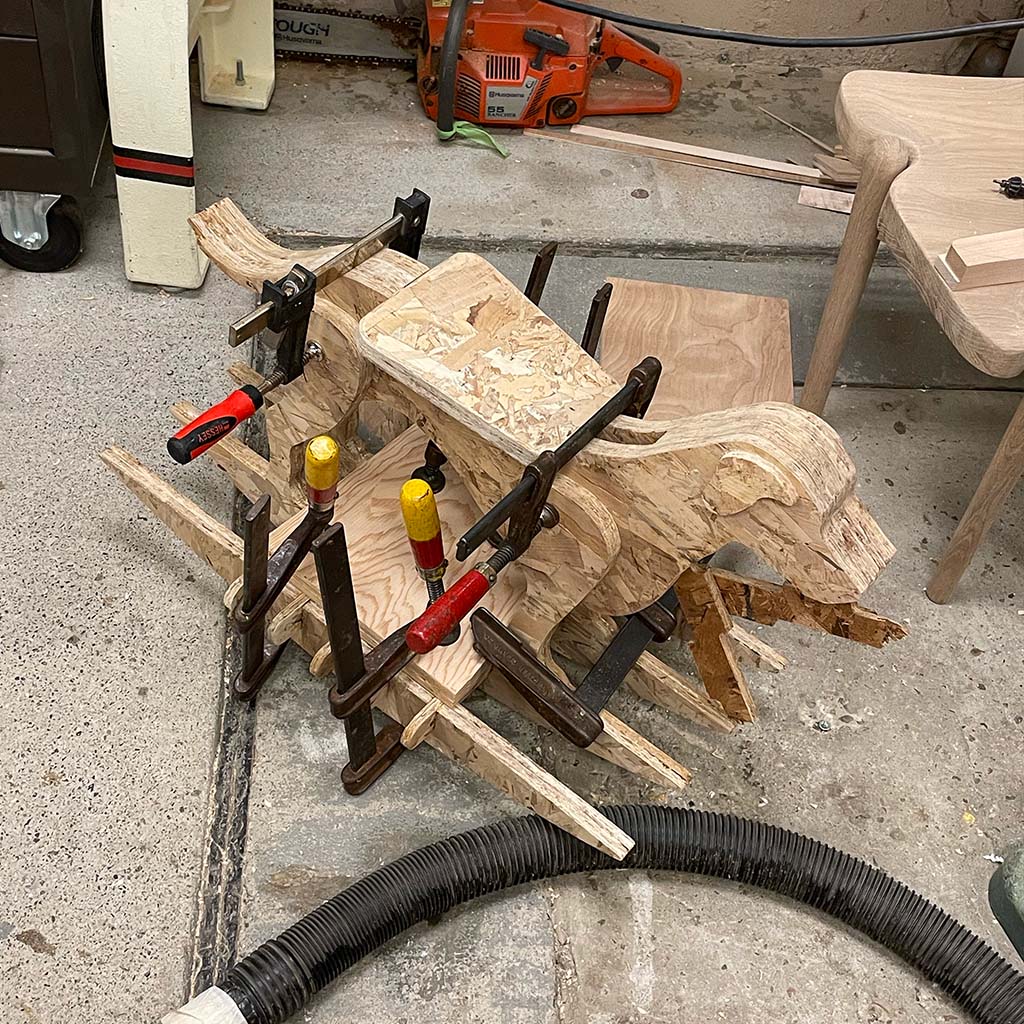
2. With all the pieces finished, I finally clamped the base and waited to dry. As I mentioned, I choose to put screws on the legs and that was the last step.
*Note: Clamping non-parallel surfaces can be tricky. Another challenge was to make the legs parallel and all the base touching the ground. To make that easier, I should have made a longer "internal head" to support the front leg better, making the clamping process much easier.
And, finally, I finished the project! This is the final rocking dog with OSB:
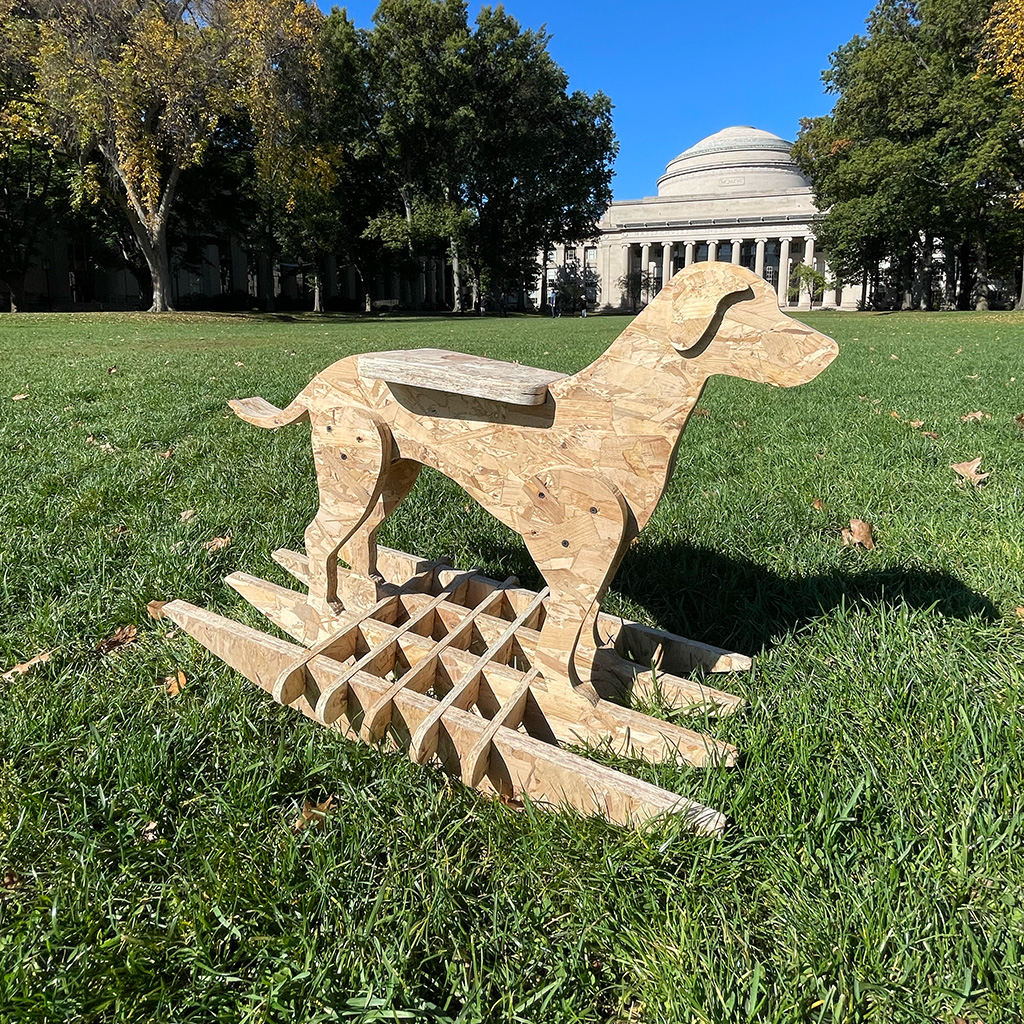
Although I like the visual aspect of OSB, my plan is to recreate this project with a stronger material and maybe personalize the seat with a colored surface or fabric.
Anyway, that was definitely the most exciting project so far, and I can't wait see Luísa playing with this - though it might take a while :)
Files