Overview
Workload: ● ● ● ● ○
Previous Knowledge: ○ ○ ○ ○ ○
Current Knowledge: ● ● ● ○ ○
Concepts
3D Molding Design, Milling, Casting
Software
Fusion 360, Mastercam
Assignments
1. Review the safety data sheets for each of your molding and casting materials, then make and compare test casts with each of them [Group]
2. Design a mold around the stock and tooling that you'll be using, mill it (rough cut + three-axis finish cut), and use it to cast parts
Extra credit: Try other molding and casting processes
Extra credit: Use more than two mold parts
Documentation
Molding and casting has been one of the most creative and fun weeks. However, this was probably the technique that required detailed thoughts throughout the whole processes - while designing, milling, molding and casting, there were several kinds of mistakes that could have been made.
Although I had only one and a half day available the week to work on the assignment, I was able to make my own design, mill the mold and cast a personalized piece.
Designing
Given the restricted amount of time I had this week, I decided to move forward with the first idea I had - create a spinning top inspired by the object showed in the last scene of the movie Inception.
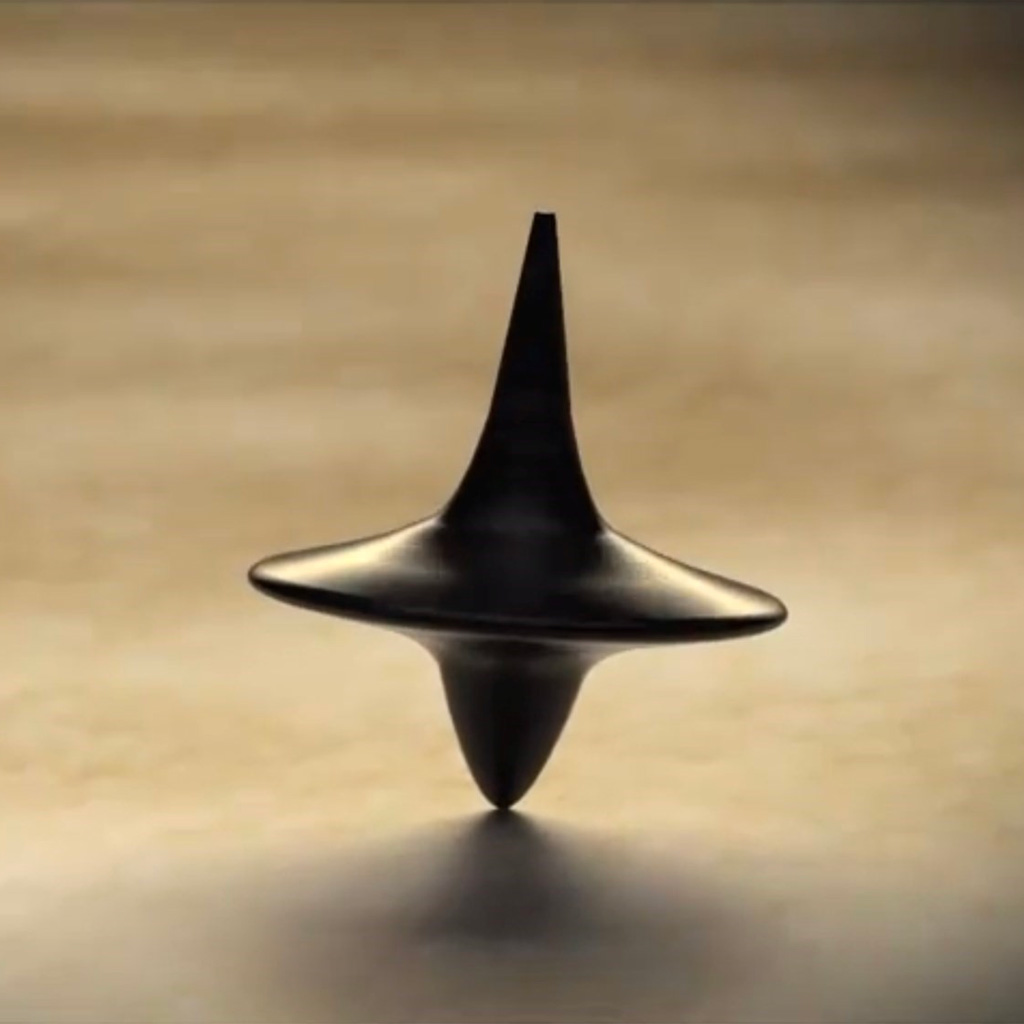
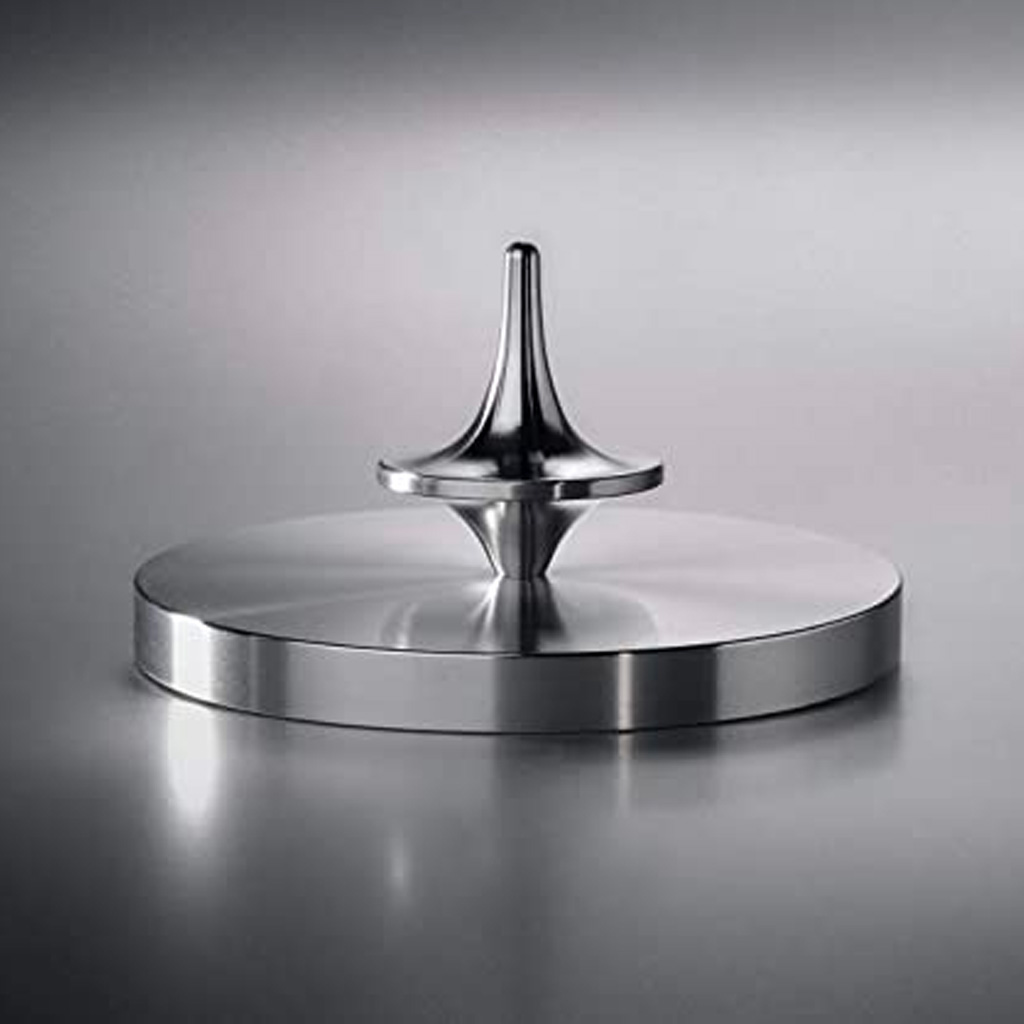
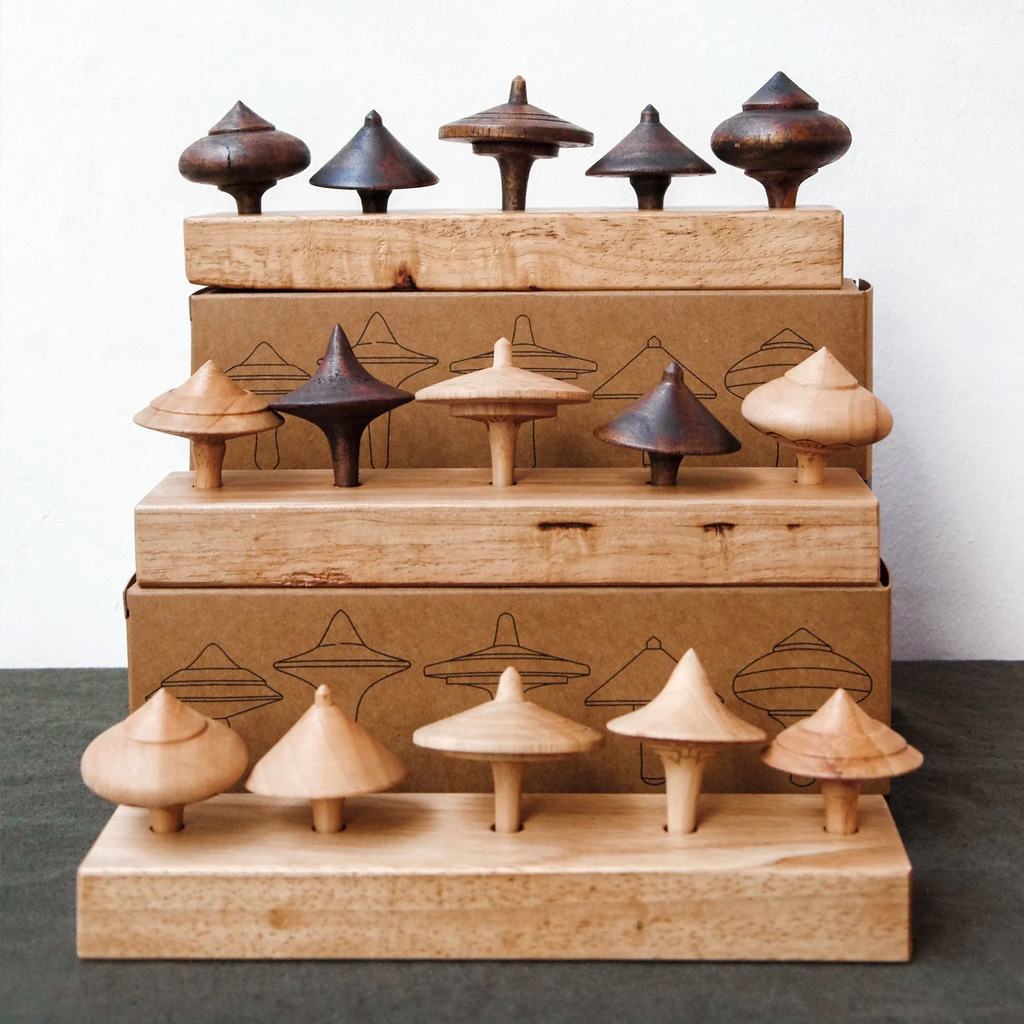
1. First, I looked for some examples of different designs and found a few options. One is very similar to what I initially thought, but there were several forms available in a wide range of materials - below, the image of a stainless steel model and other shapes of wooden spinning tops.
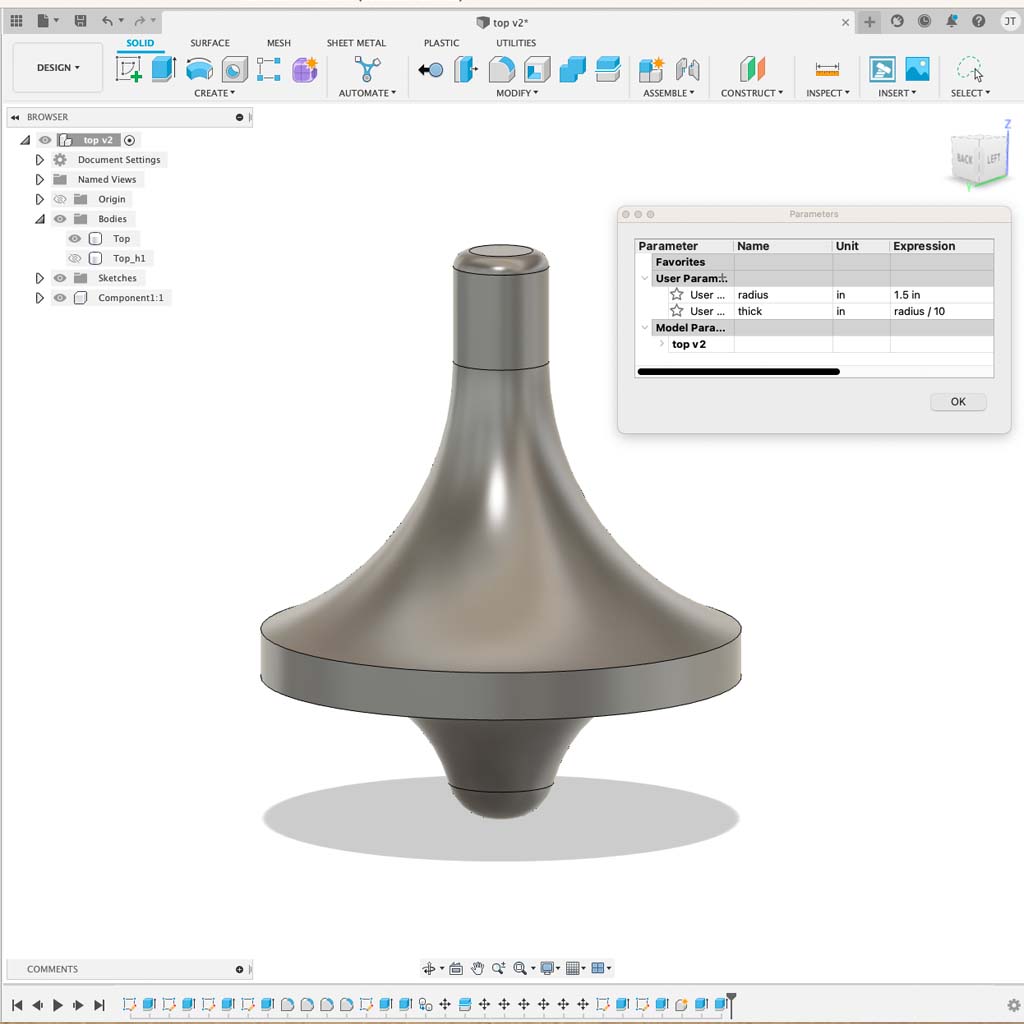
2. I tried a few drawings in Fusion 360, but ended up with a simple one that was more similar to the top showed in the movie. Also, I tried to create different forms to see how the milling and molding processes would be affected - two different curvatures and a more regular edge in the middle.
Also, I used two parameters (radius and thickness) since I didn't know the perfect size for the block of machinable wax available for us.
Molding
Tutorial 01: Molding and Casting Arch Shop Tutorial
Tutorial 02: Molding and Casting HTMAA Tutorial
Tutorial 03: CNC Toolpath Planning
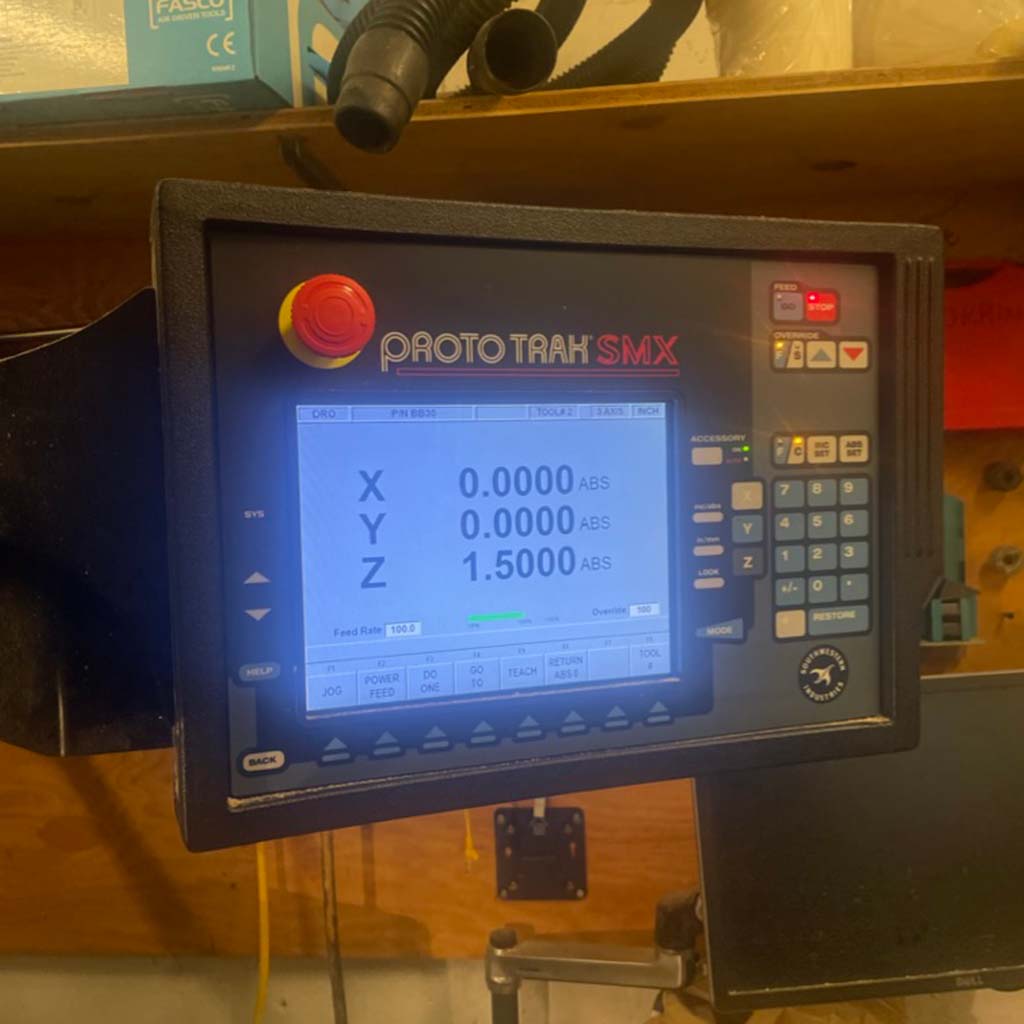
Equipment: ProtoTRAK SMX CNC
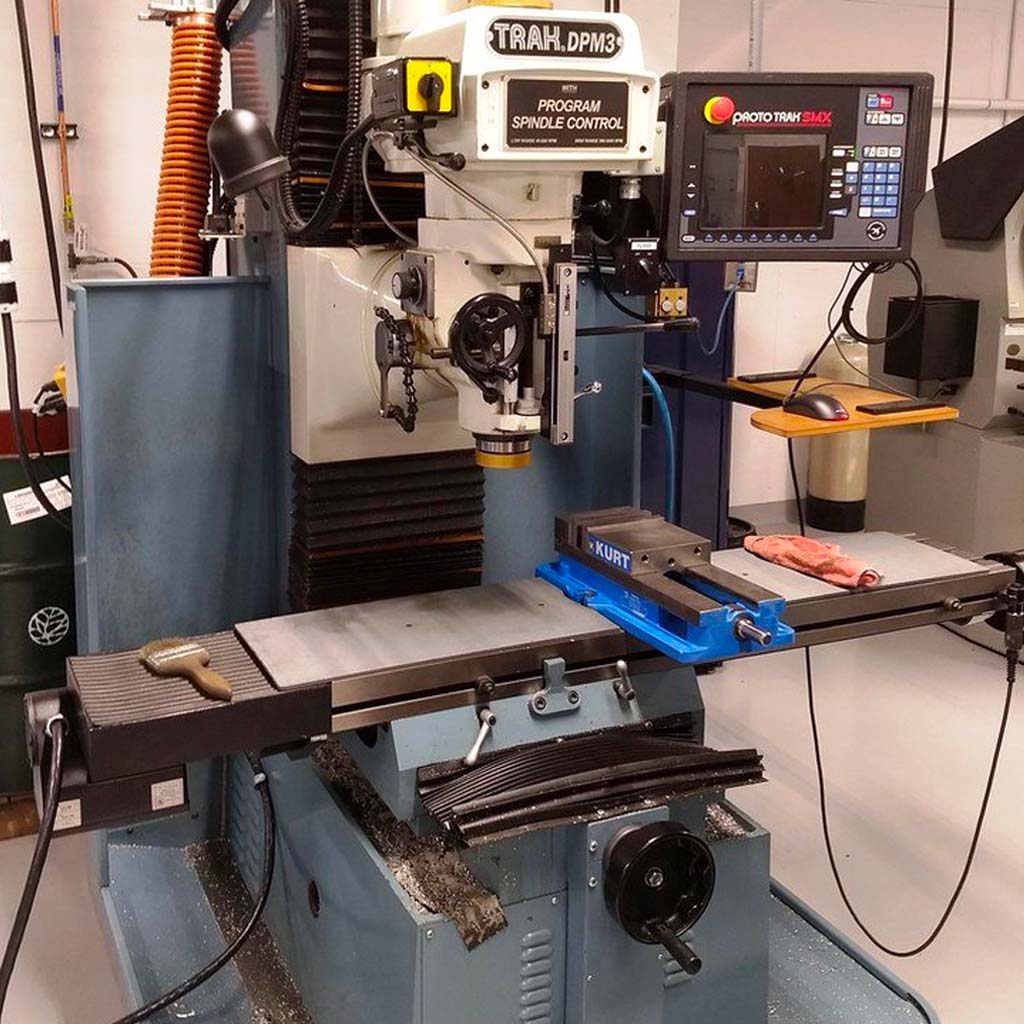
1. Before milling the wax block, I read all tutorials to understand the specifications for the CAD file. We had available a 3" x 6" x 1.5" block of machinable wax and should carefully follow the instructions in order to get a good mold.
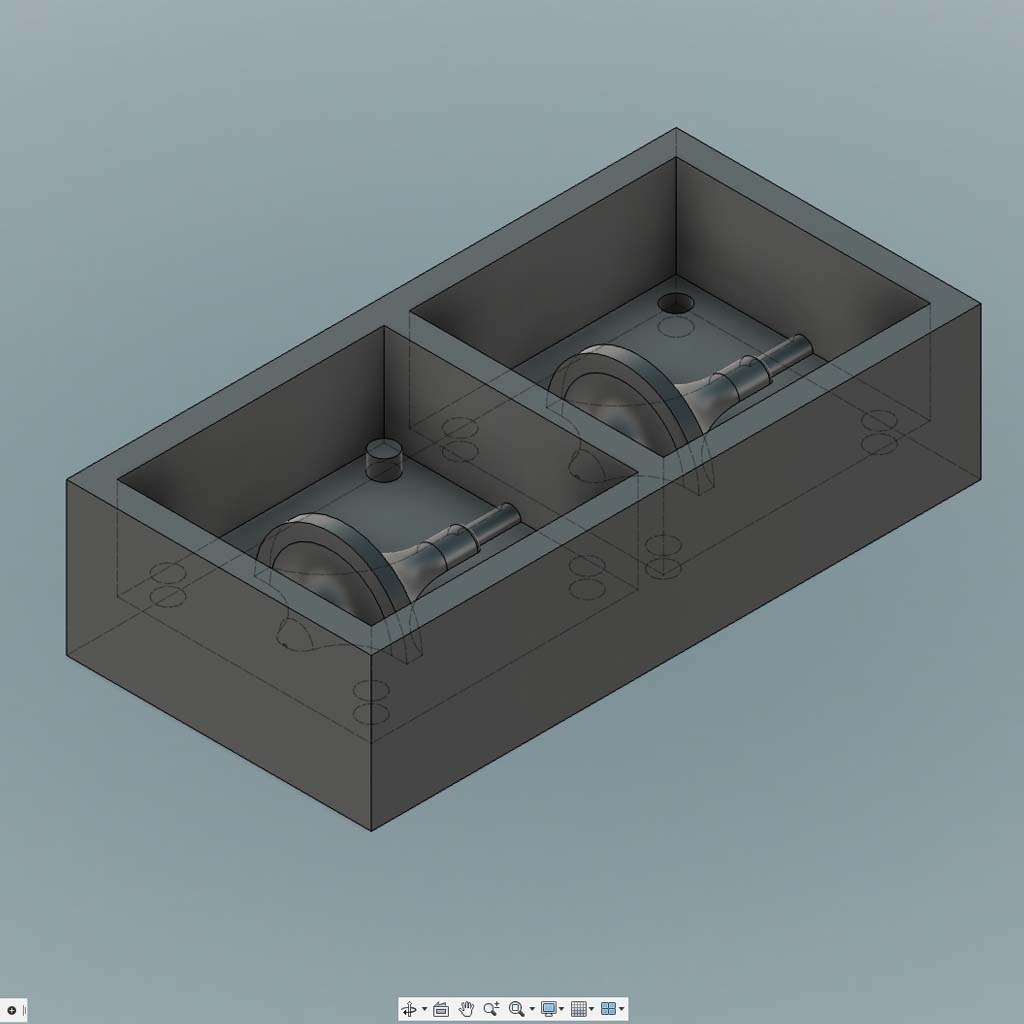
These are a few important considerations while designing the mold:
• Created positive mold (that will create a negative mold, which will be used for the final piece).
• Designed two-part mold, whose sides would fit half of the spinning top.
• Kept walls of at least .25 inch to reduce the risk of cutting/breaking.
• Ensured that all toolpaths were not smaller than 1/8", the smallest bit I planned to use.
• Left enough space on top of the shape that will be filled with oomoo.
• Included 4 positive and negative registration marks to align both parts.
• Created a channel that could be used to pour material inside the mold.
Finally, I finished the design of two-part positive mold:
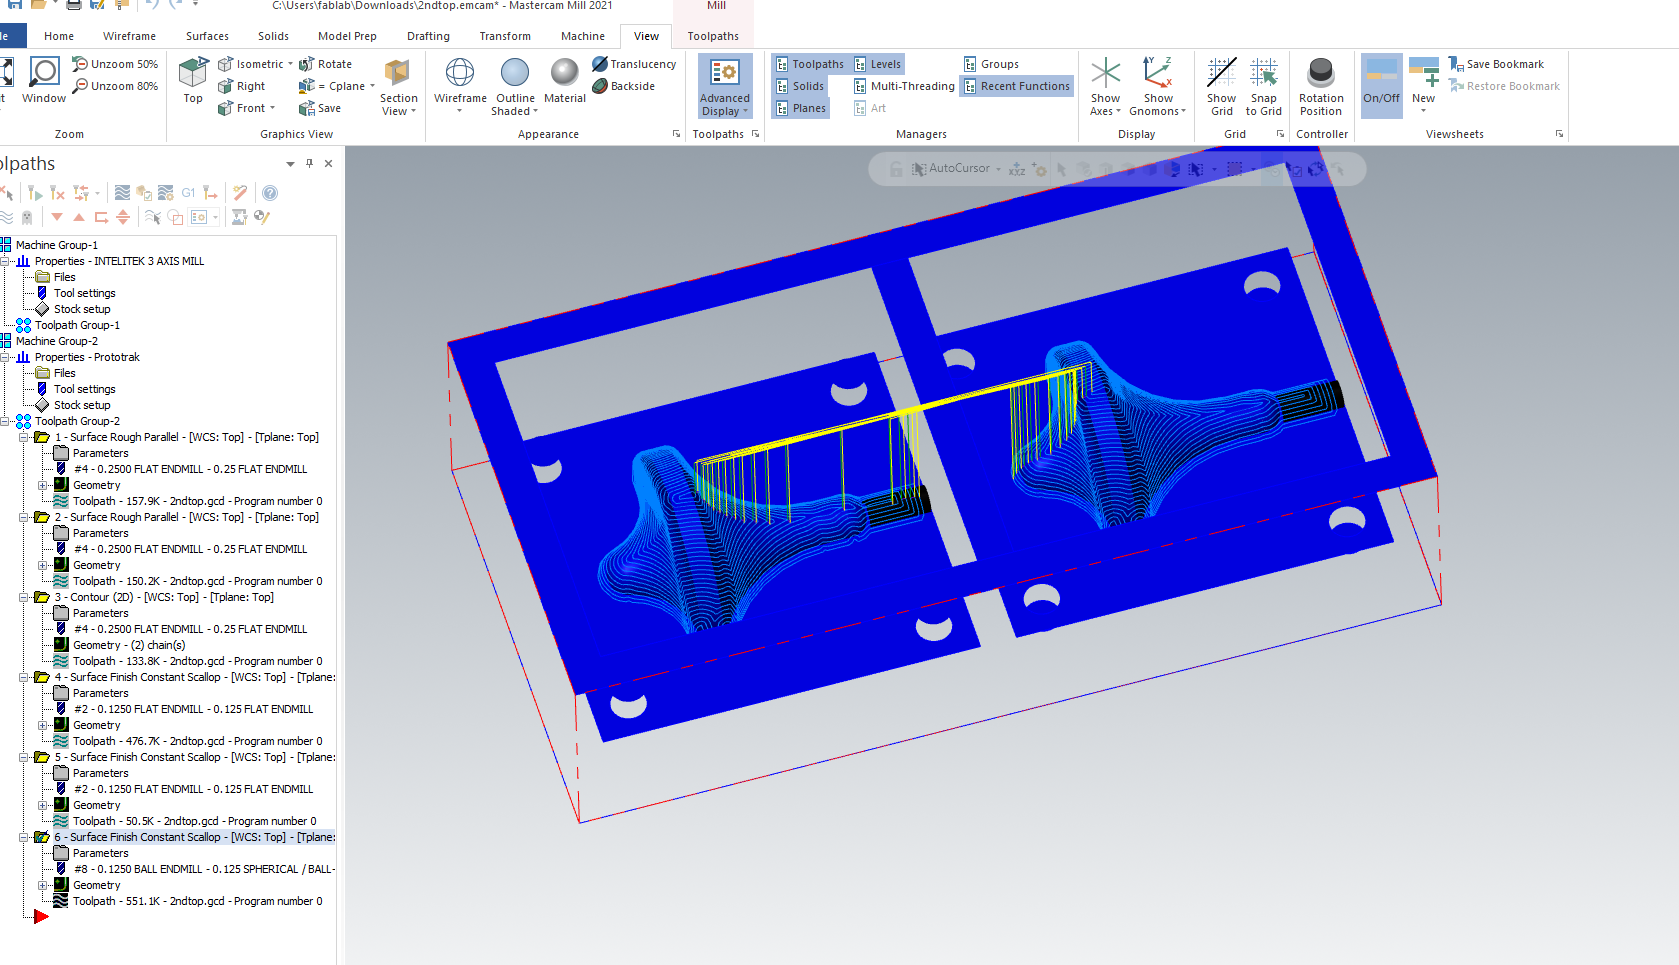
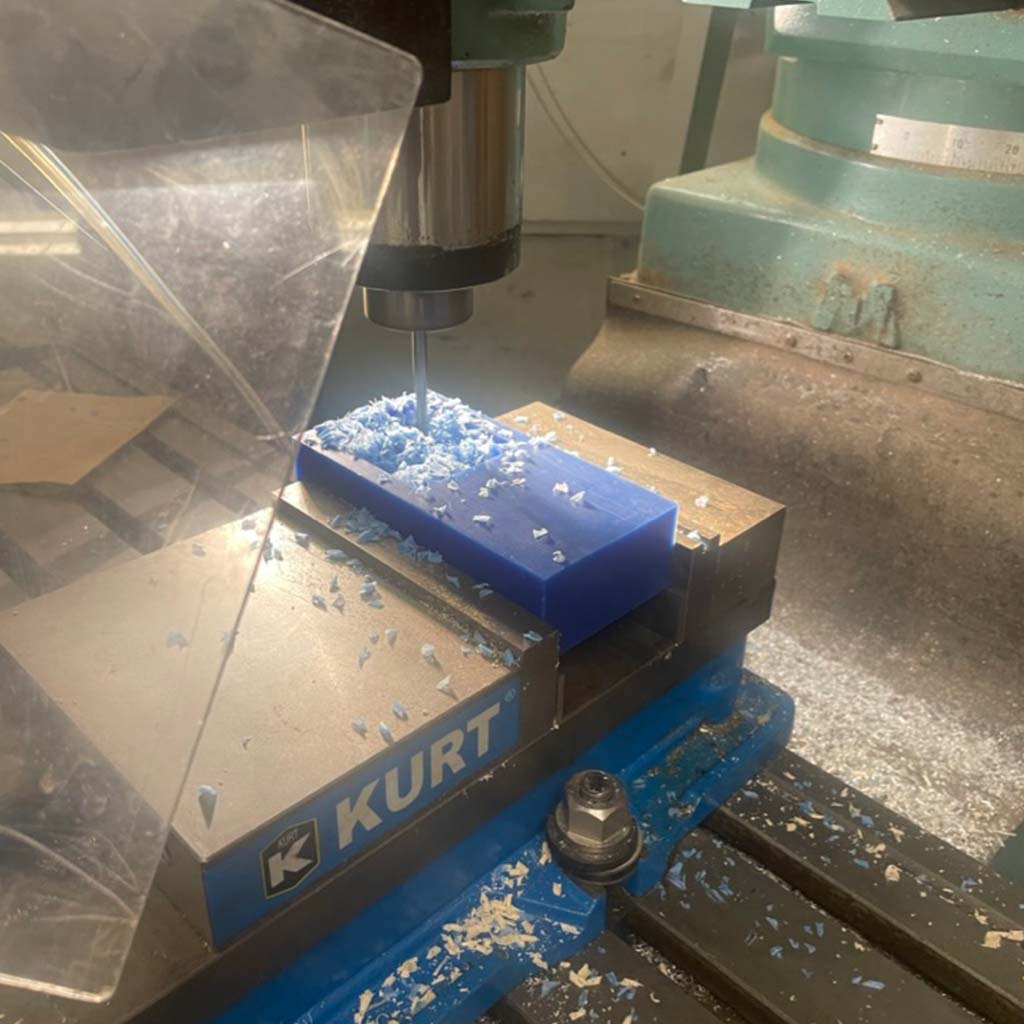
2. Then, Jen and Chris helped me to set up toolpaths on Mastercam. Given the curved shapes and the small size of the block, it was necessary to create multiple paths using 3 different router bits:
1. 1/4" Flat Endmill: for surface rough parallel cuts and contours
2. 1/8" Flat Endmill: for cutting smaller paths (e.g., around the registration marks) and some of surface finishes.
3. 1/8" Ball Endmill: for most of the surface finishes.
3. I positioned the block in the machine and defined each of the axis.
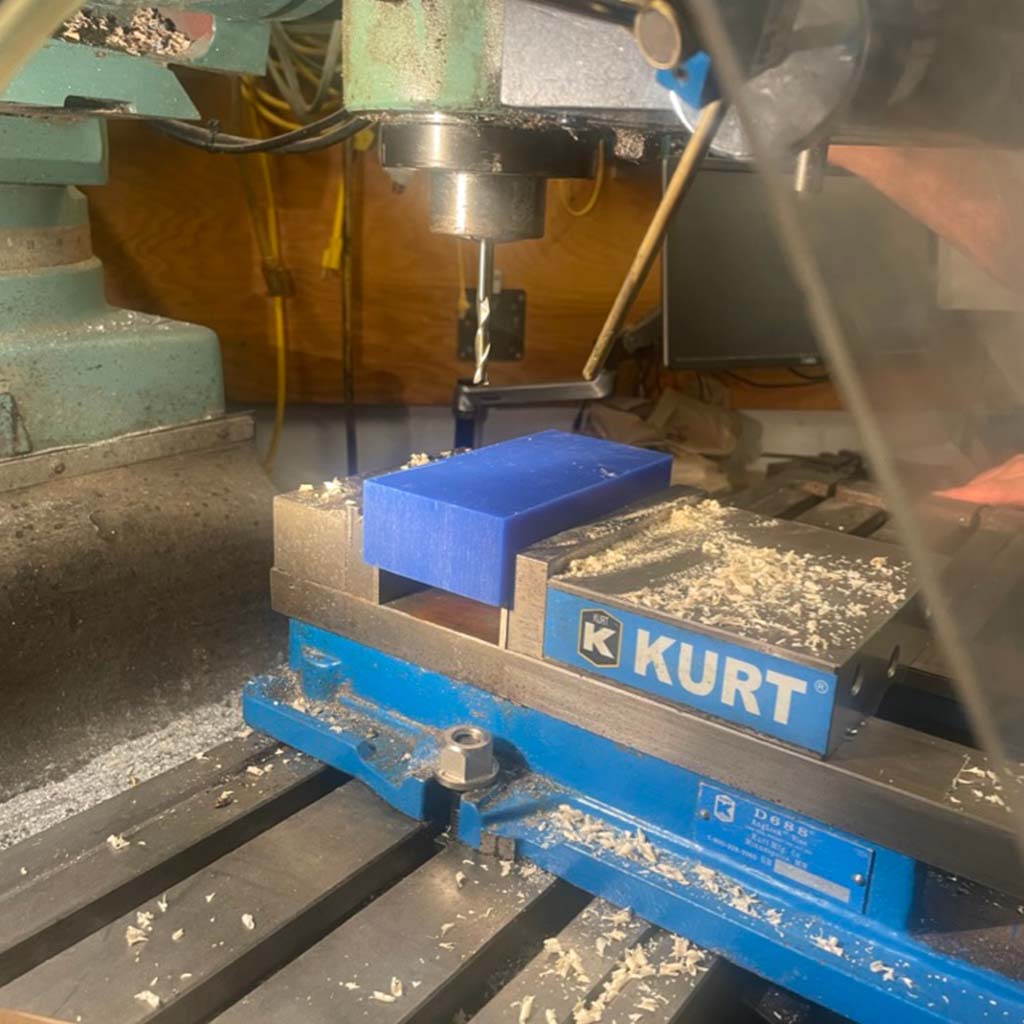
4. I run the initial toolpaths with the 1/4" flat endmill to remove most of the wax.

5. Then, I switched the router bit and run the following paths.

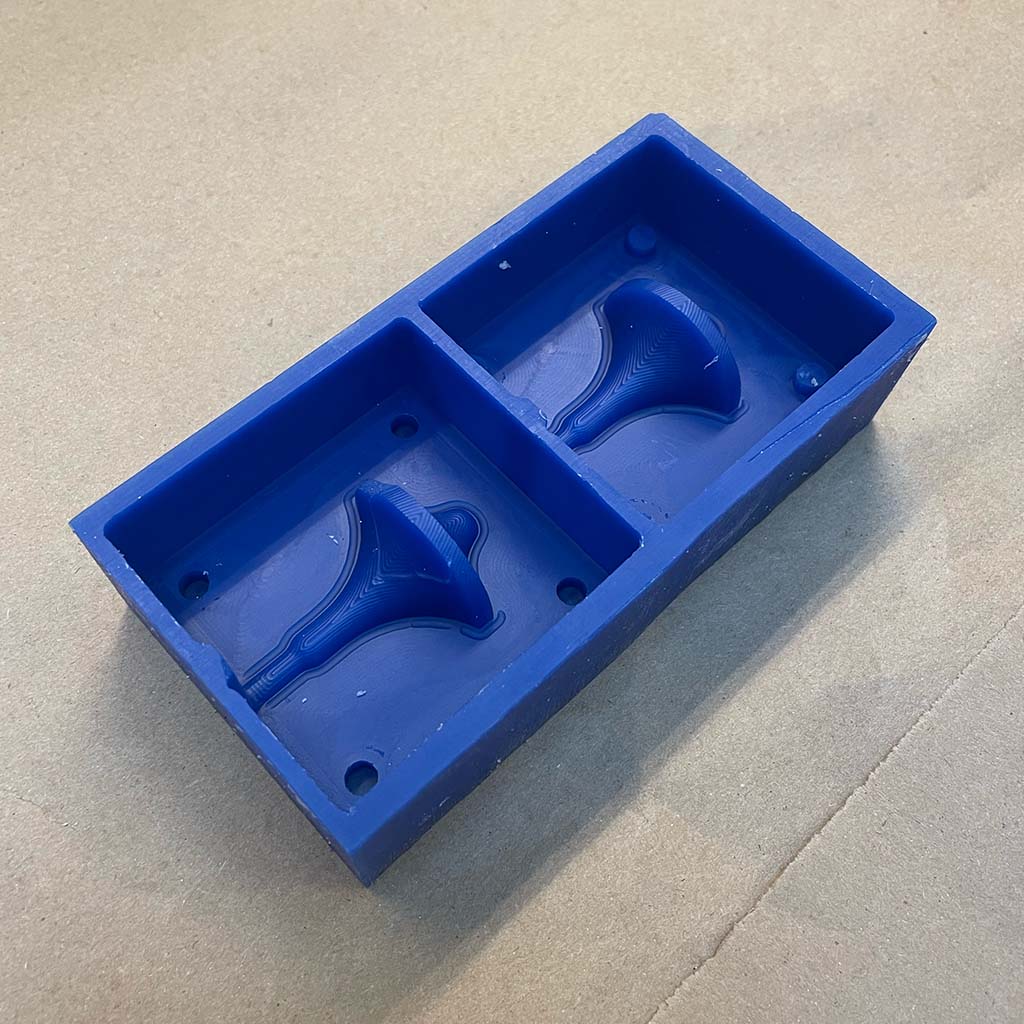
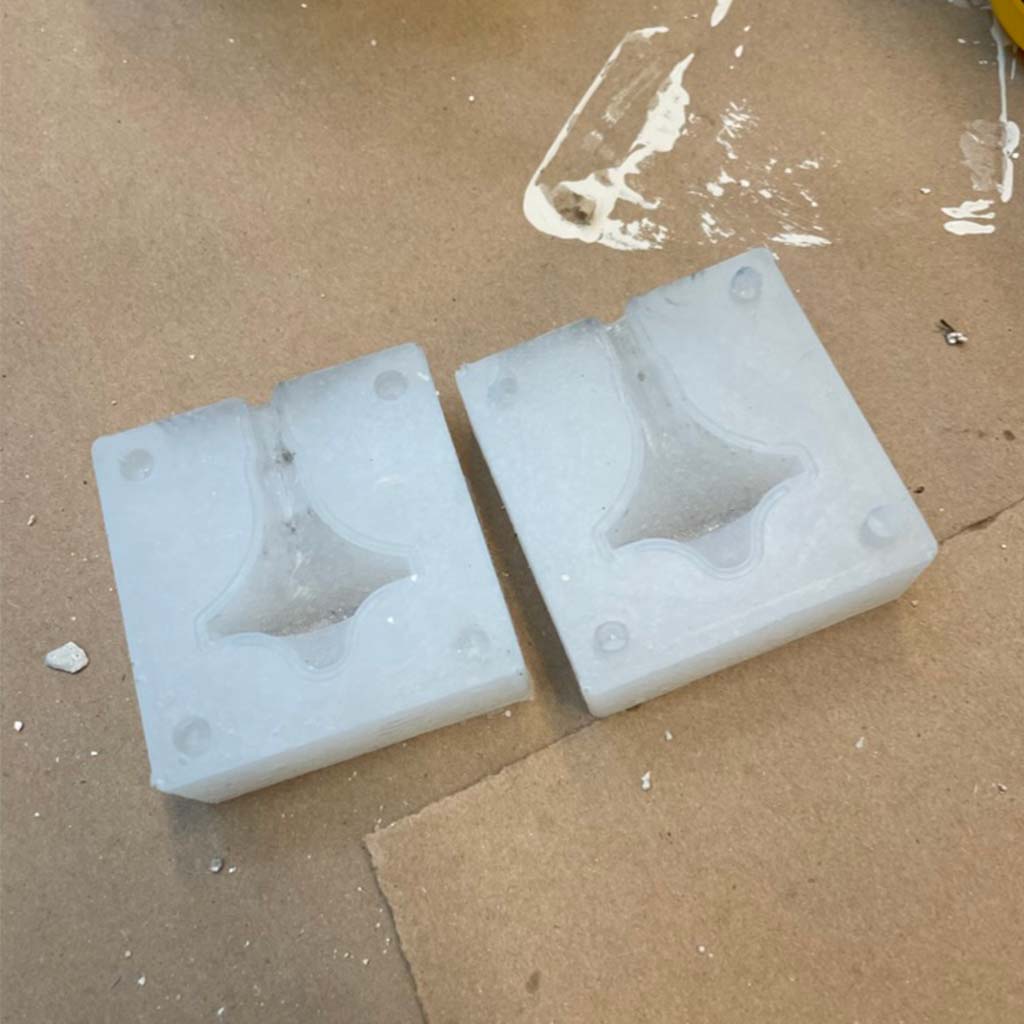
6. Finally, I used the ball endmill for the surface details and obtained the final mold:
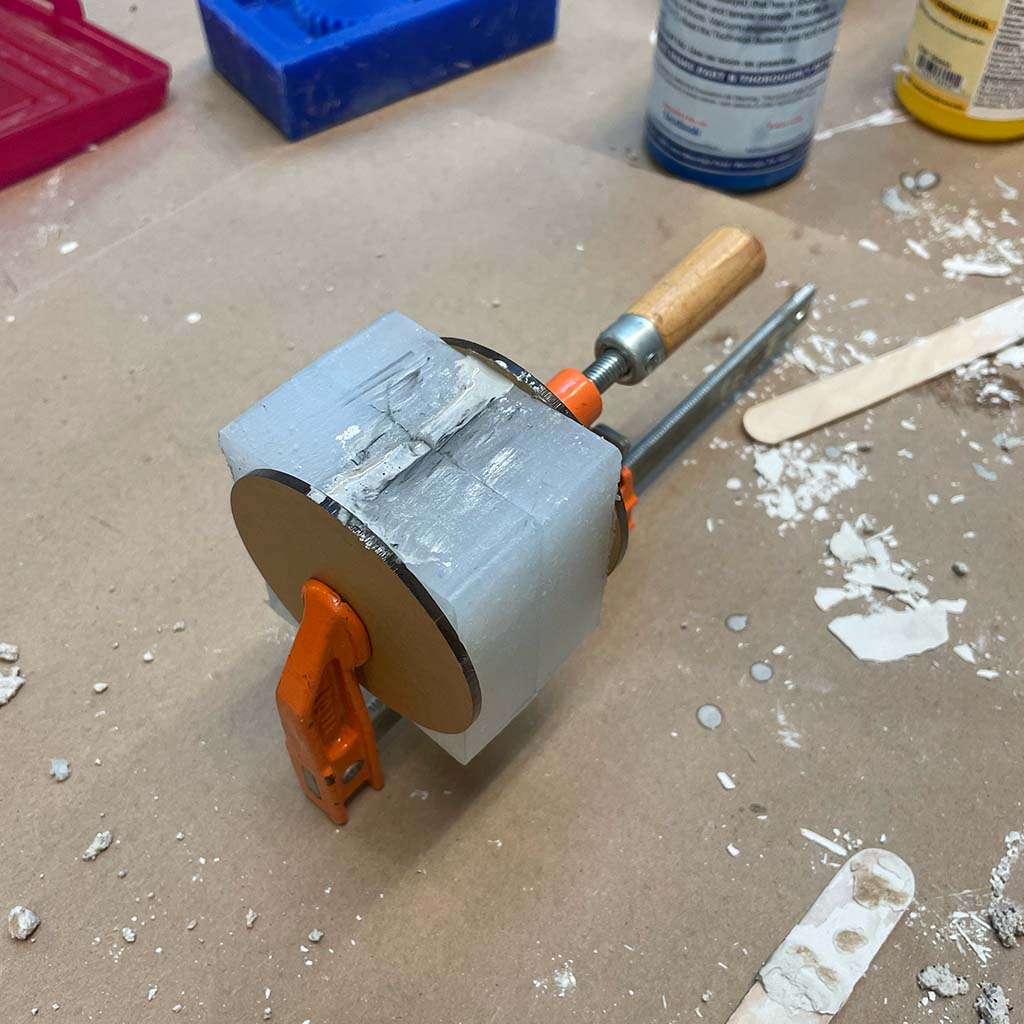
*In the middle of the process, I forgot to turn on the spindle while moving the bit and broke a small piece of the mold.
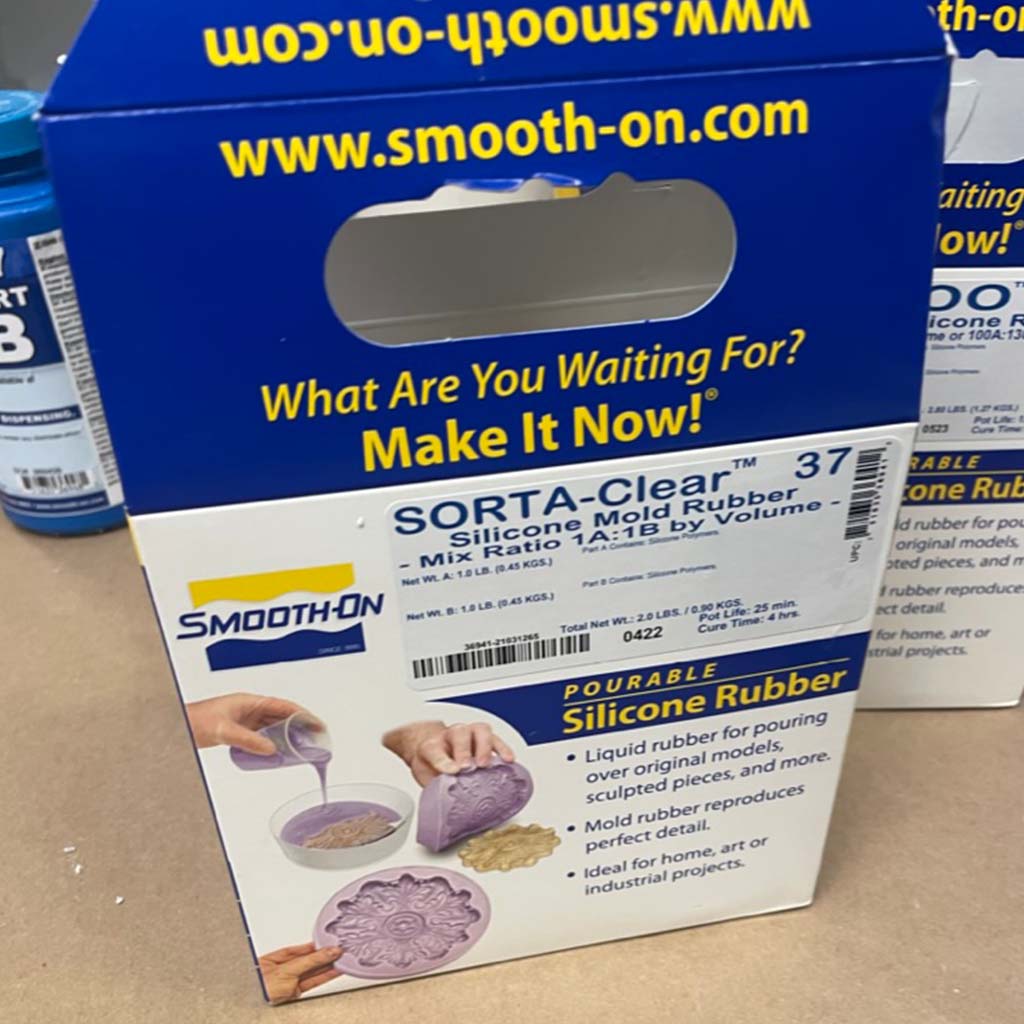
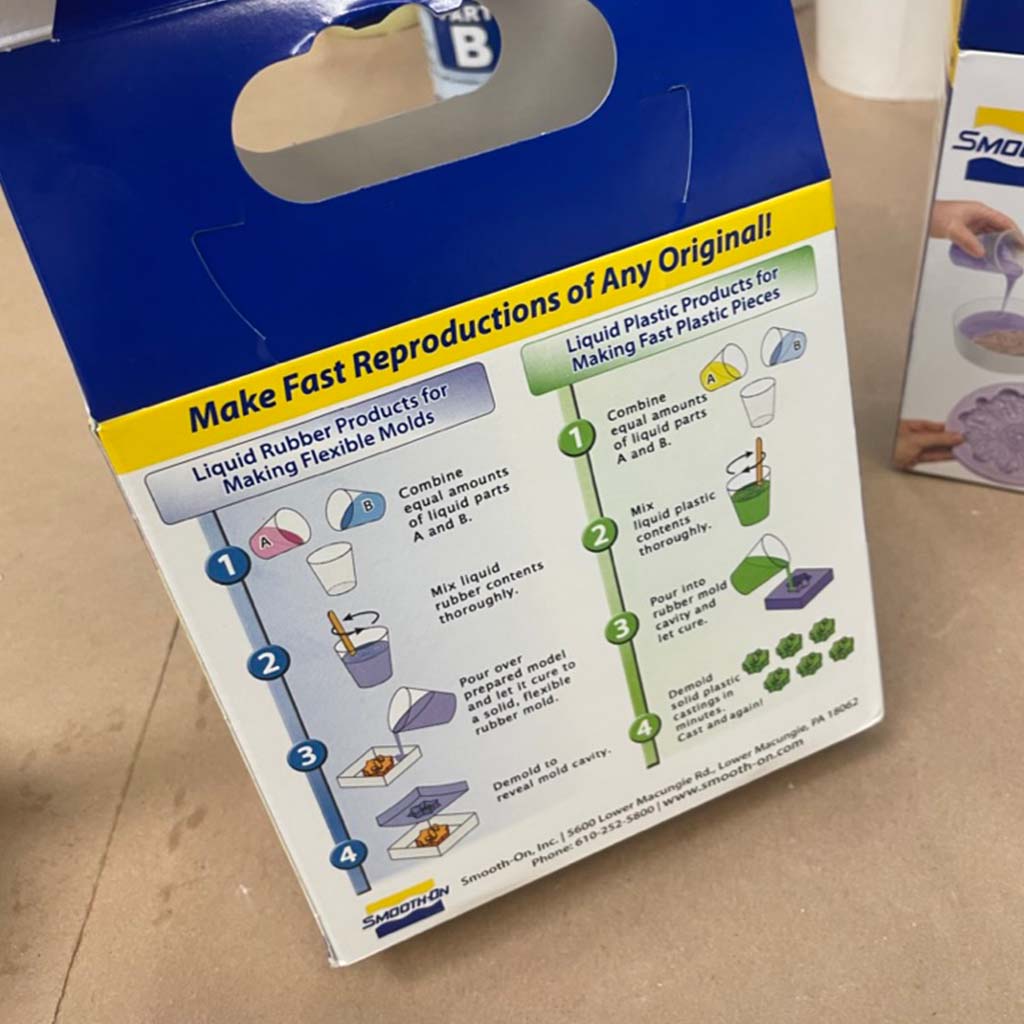
7. To create the negative mold, we used silicone rubber. The easiest one to work with was Ooomoo 25, which is more liquid and has a faster cure time.
However, I started with the SORTA-Clear 37 which was available when I was at the shop. We had to read the Safety Data Sheet and some important were very important to start molding:
• Mix 1:1 parts A and B for 3 minutes
• Vacuum degassing is recommended to eliminate bubbles.
• Cure time is about 4 hours (do not cure in temperature less than 65F/18C).
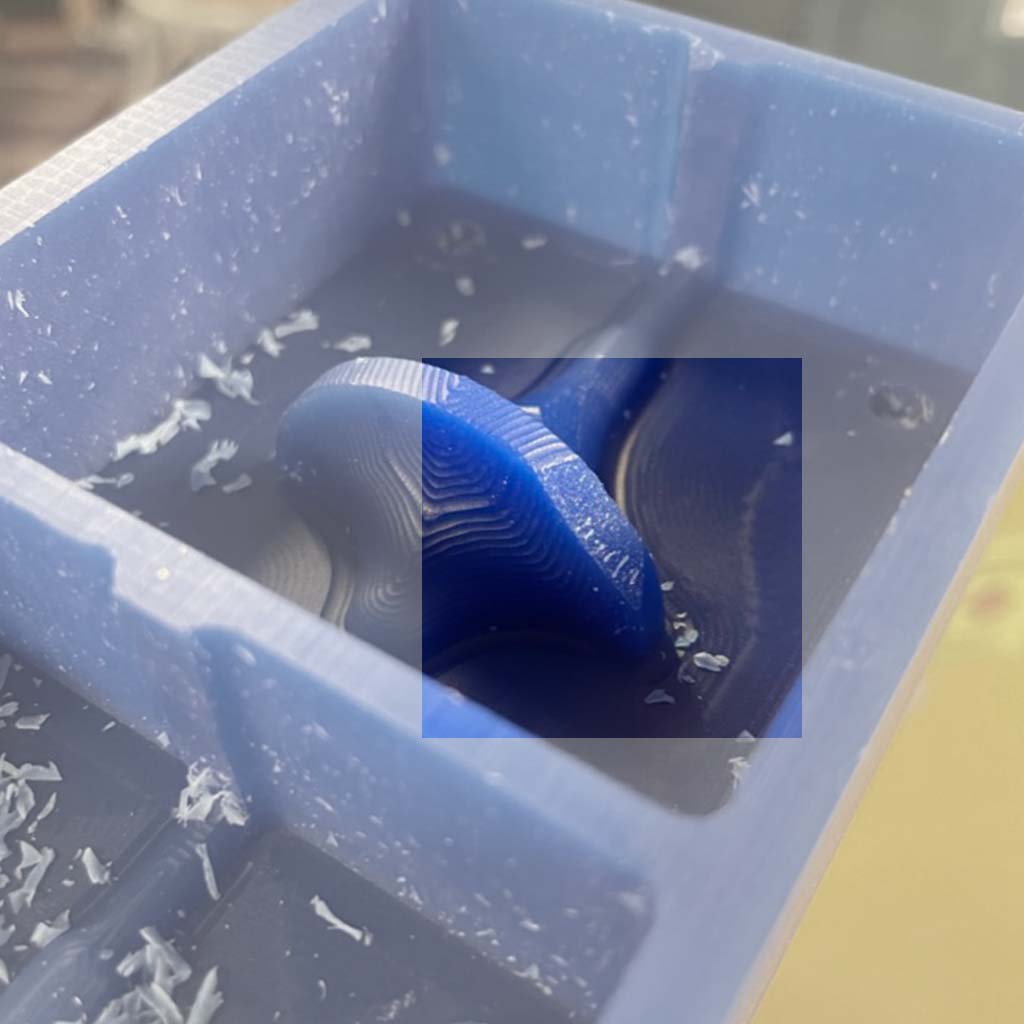
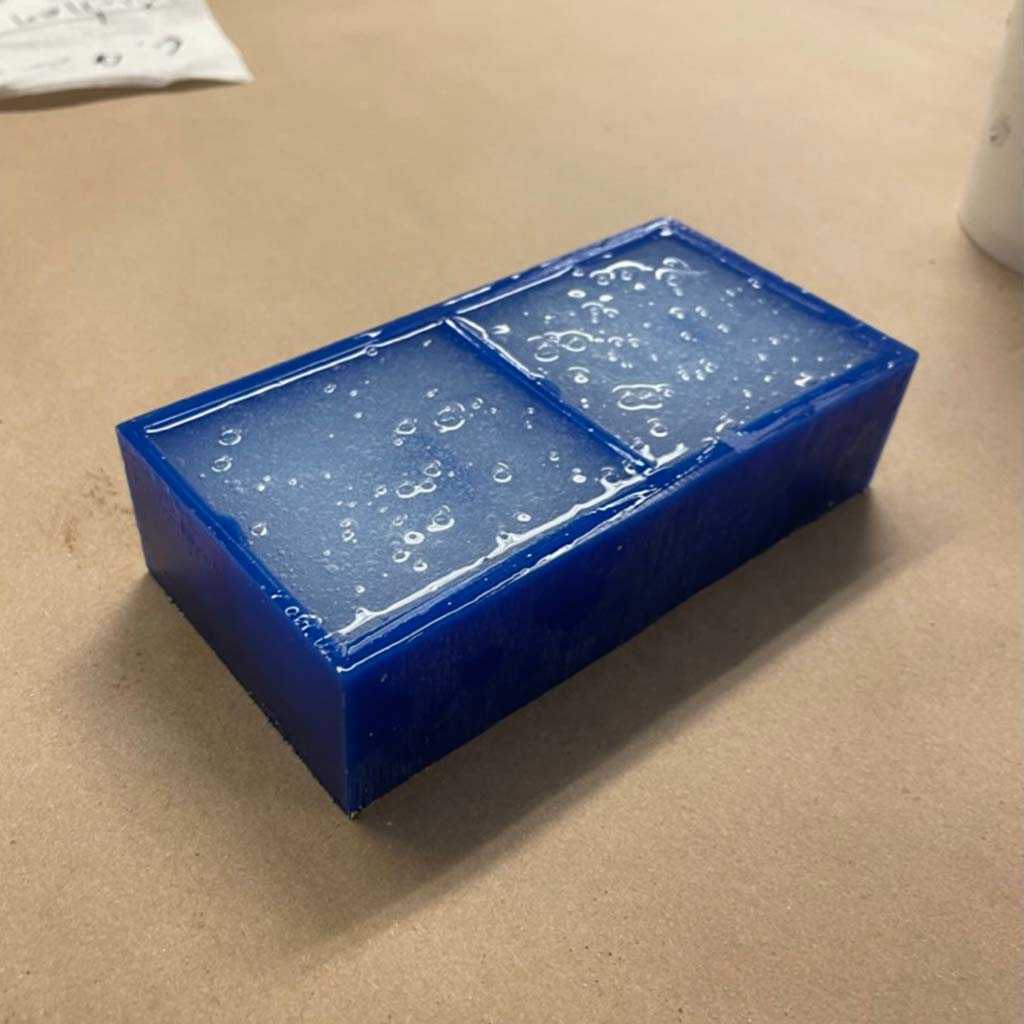
8. After mixing the parts, I poured the rubber inside the mold, left there overnight and obtained my negative flexible mold.
*I should have waited longer and tried to follow the second step described above in order to avoid so many bubbles.
Casting
1. For casting, we used Hydro-Stone Super X Gypsum Cement.
These are some important information according to the product Data Sheet:
• Hydrostone mixes roughly 3 parts Hydrostone to 1 part water by volume, but this ratio might change depending on desired effect.
• Sift or strew USG Hydro-Stone Super X Gypsum Cement into the water slowly and evenly.
• To prevent air entrainment and provide a uniform, smooth surface, careful pouring of USG HydroStone Super X Gypsum Cement slurry is necessary.
• Curing takes about 30mins with the pot life of 10 mins.
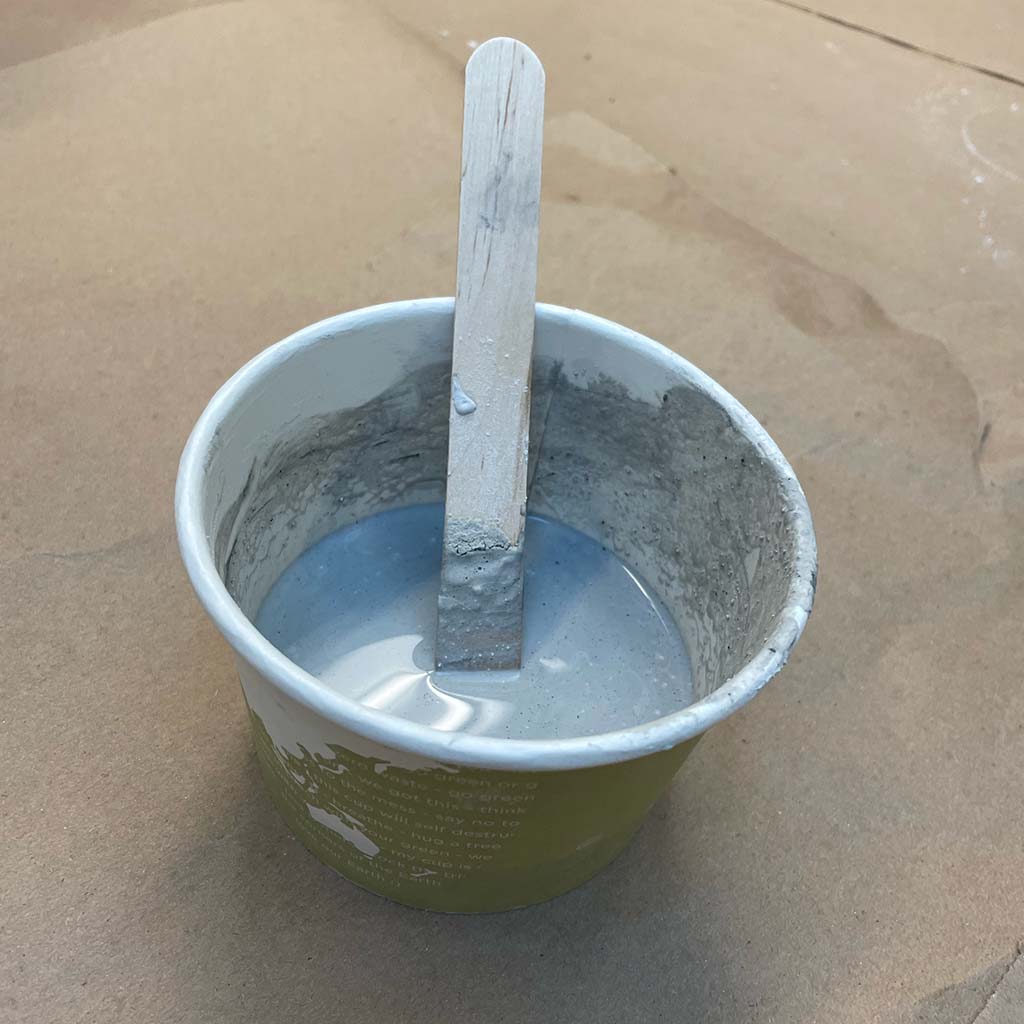
2. After mixing the stone with water and pouring inside the mold, I got my final piece. I waited for about an hour, but material was still not cured and I broke the top part of the piece. Although the form is far from perfect, it still spins:
I made a lot of mistakes throughout the process, but I'm fairly happy with the final result, especially considering the restricted time I had for this week's assignment.
Now, I want to repair or create a new mold without the broken part and try to cast different materials, potentially creating a metal spinning top. Some considerations to keep in mind for the next time:
• Design the initial mold more efficiently - I ended up milling too much wax and, consequently, using more material for the negative mold than necessary.
• Design a larger channel for pouring the material inside the negative mold. If possible, consider a funnel structure.
• Be more careful and patient while working with the silicon rubber to avoid bubbles. And, if possible, use Oomoo instead of SORTA-Clear.
• Be more conservative about cure time - the Hydrostone was not dried and, for this reason, I broke part of the top.
• Don't clamp the two part mold too hard. I deformed the interior form and my spinning top is not perfectly circular.
Files