Overview
Workload: ● ● ● ● ●
Previous Knowledge: ○ ○ ○ ○ ○
Current Knowledge: ● ● ○ ○ ○
Concepts
Mechanical design, mechanisms, modules, machine control
Software
Modular things
Assignments
For this week, all the assignments must be done in group:
1. Design a machine that includes mechanism, actuation, automation, application
2. Build the mechanical parts and operate it manually
3. Document the group project and your individual contribution
Documentation
This has been the most challenging week we had and the first project that should be entirely done in group. In less than 7 days, we had to design, build and operate a machine. Although it was only project per section and there were some shortcuts we could use(e.g., modular things, 3D printing design, etc.), it was not straightforward to create a machine that was automated and controlled by a friendly interface.
Ideating
1. The first step was to discuss potential projects to be built. We met the day after the recitation and each of us brought some ideas:
• Pancake printing machine
• Circle drawing machine
• Interactive housing
• Folding clothes machine
• Bubble making machine
2. After some discussion and feedbacks, we voted to define which project to focus on.
We ended up merging two of the projects, and decided to build a Circle Drawing Pancake Machine - aka Sketchy (Pan)Cake Machine.
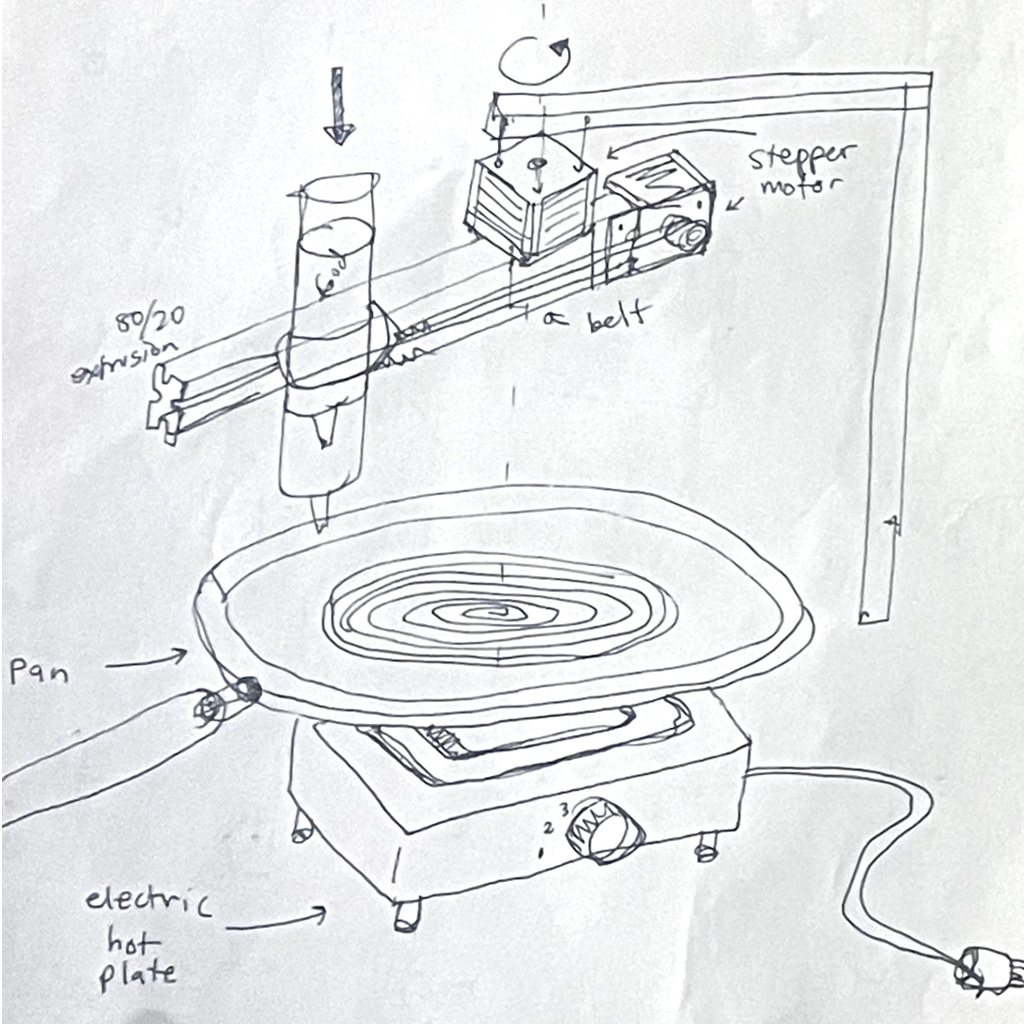
After defining the project, the team did some sketches, and we used the following as a starting point.
Essentially, the machine should have a metal structure with a radial system for drawing and a small grill with a pan on the base part.
Work Division
1. Then, we divided the project in smaller parts and allocated to different teams according to skills:
1. Form Construction: built a structure made of metal triple rails and metal sheets.
2. 3D Printed Parts: design and print plastic parts for connecting parts, finishing and supporting motors.
3. Extruder Mechanism: design and build motorized part to extrude pancake batter.
4. Linear and Radial Arms: design and build arms to move the extruder, changing the radius and the position of the drawings.
5. Software: program the machine to control electronic motors and create a friendly interface.
Building Parts
In parallel, all teams started to work on each of the project tasks:
Form Construction
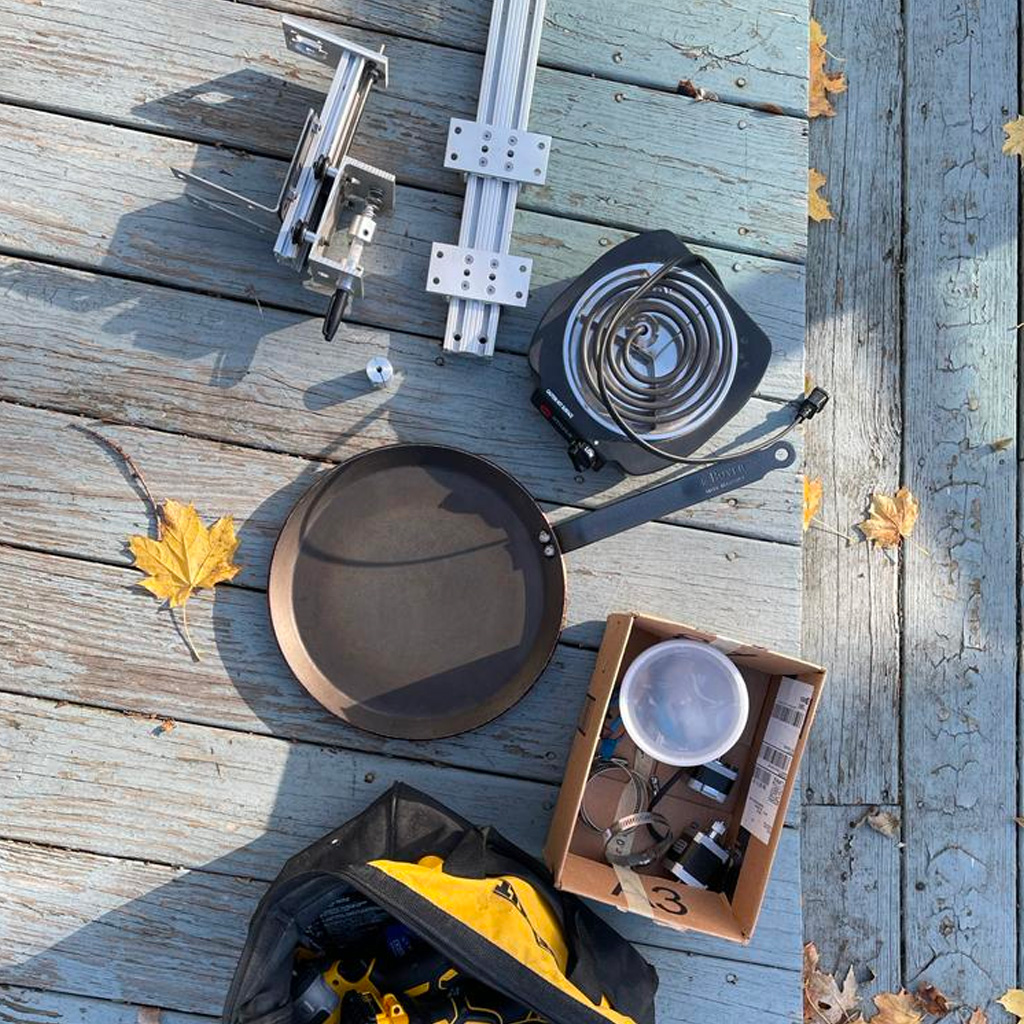
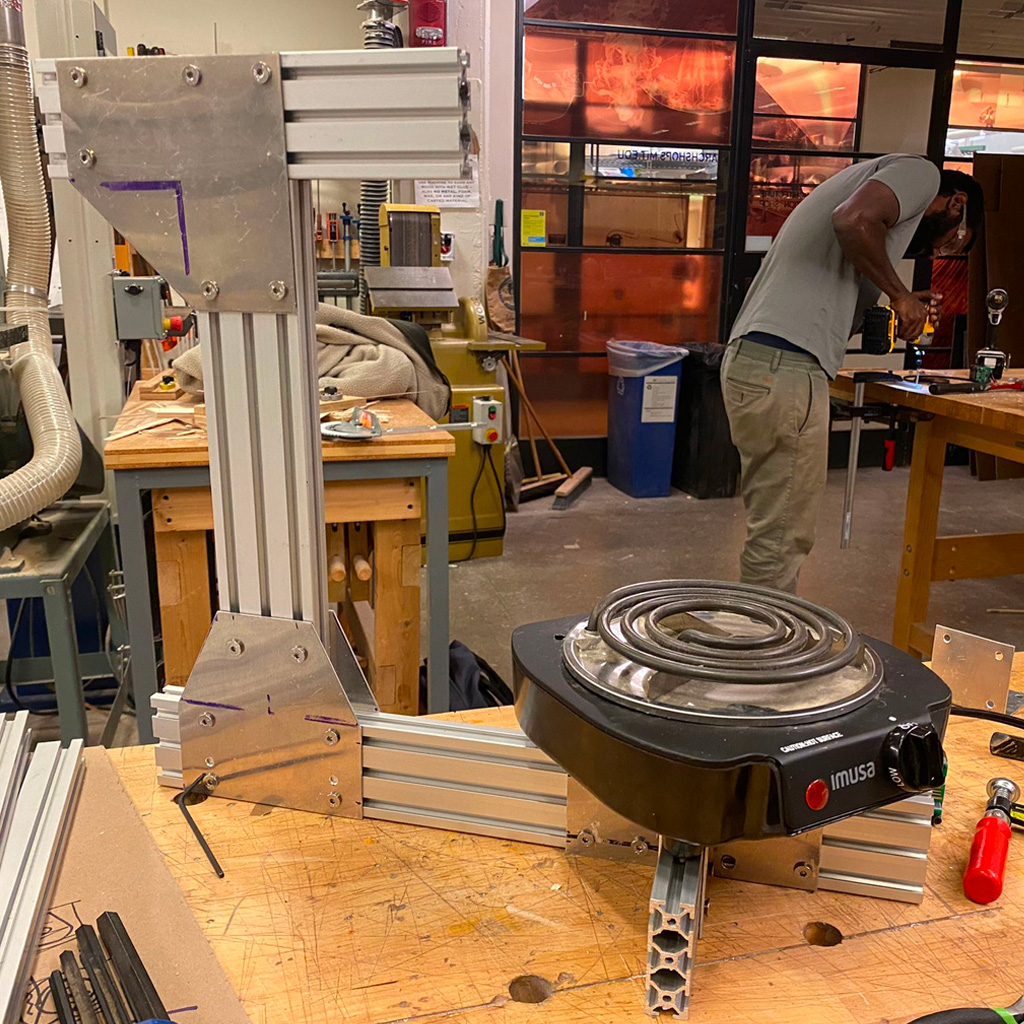
1. Following the design, we selected some parts that were necessary for the machine, In addition to the materials that were provided, we used a hot plate, pan and small structural metal parts.
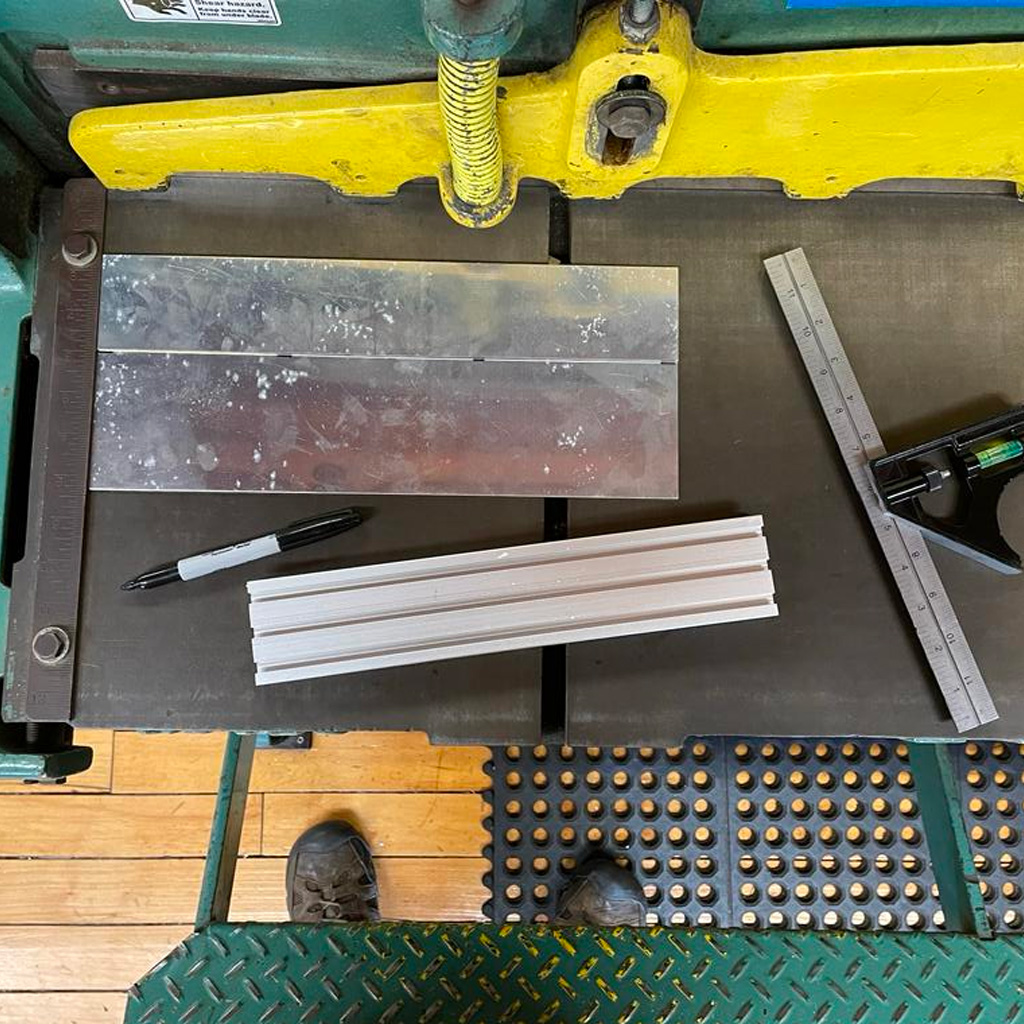
2. Then, Jerome cut all the parts according to the required sizes. We used the triple metal rails and connected them with aluminum plates.
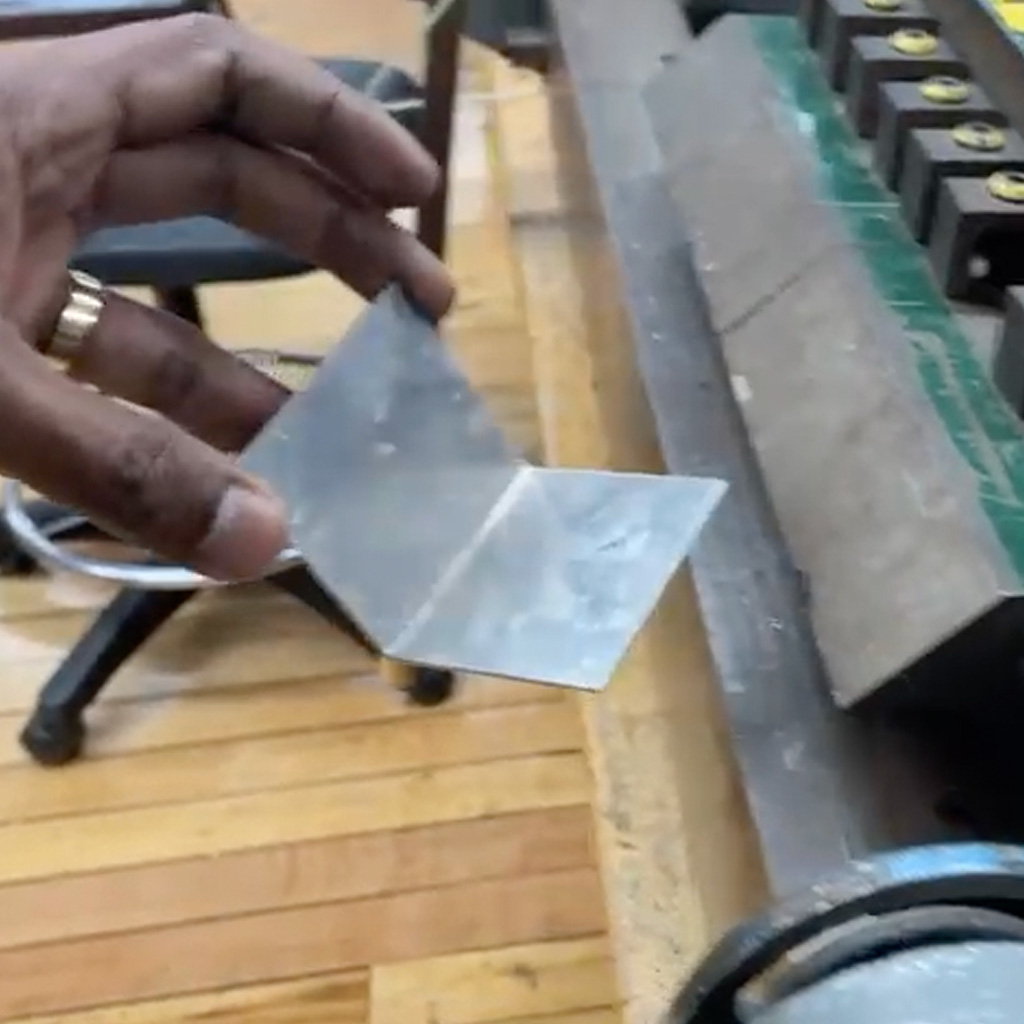
3. At the shop, we were able to connect the pieces and build the basic structure to which all the motors and other components should be connected.
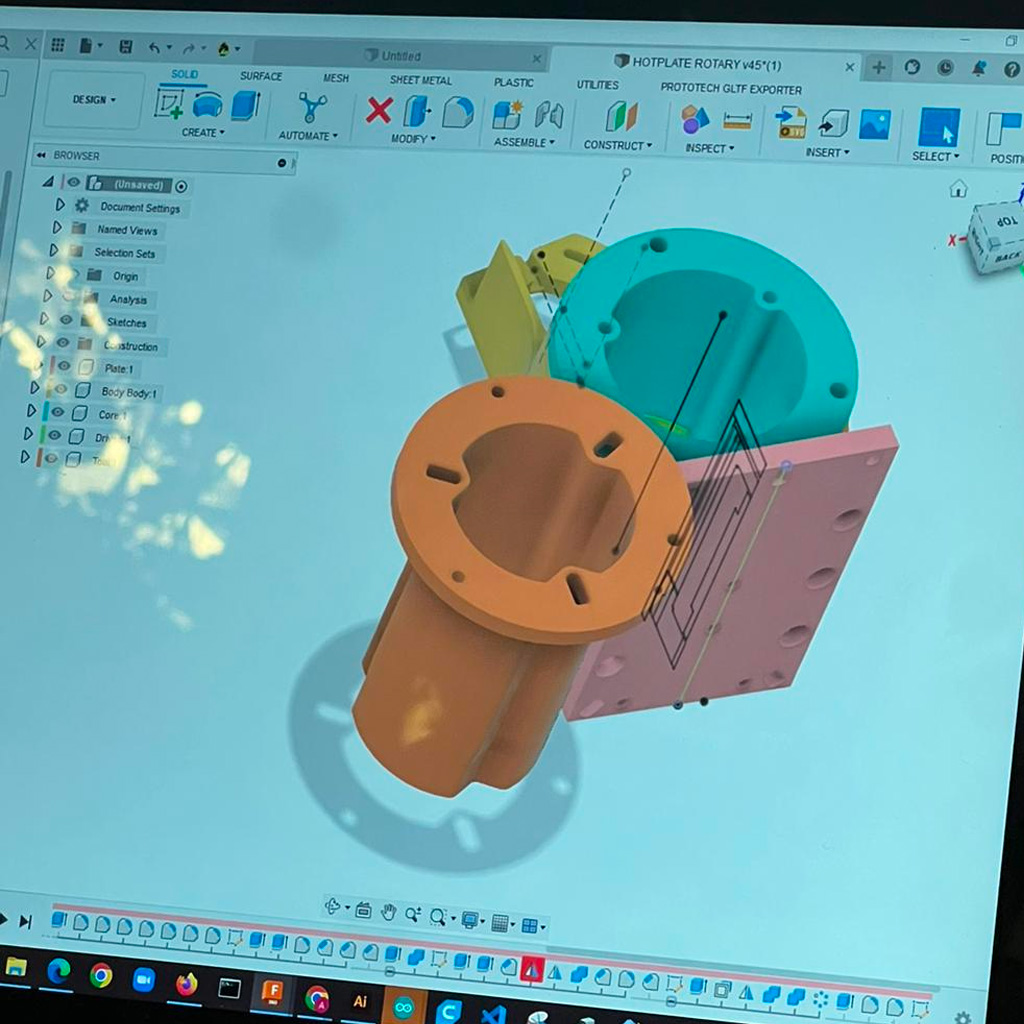
3D Printed Parts
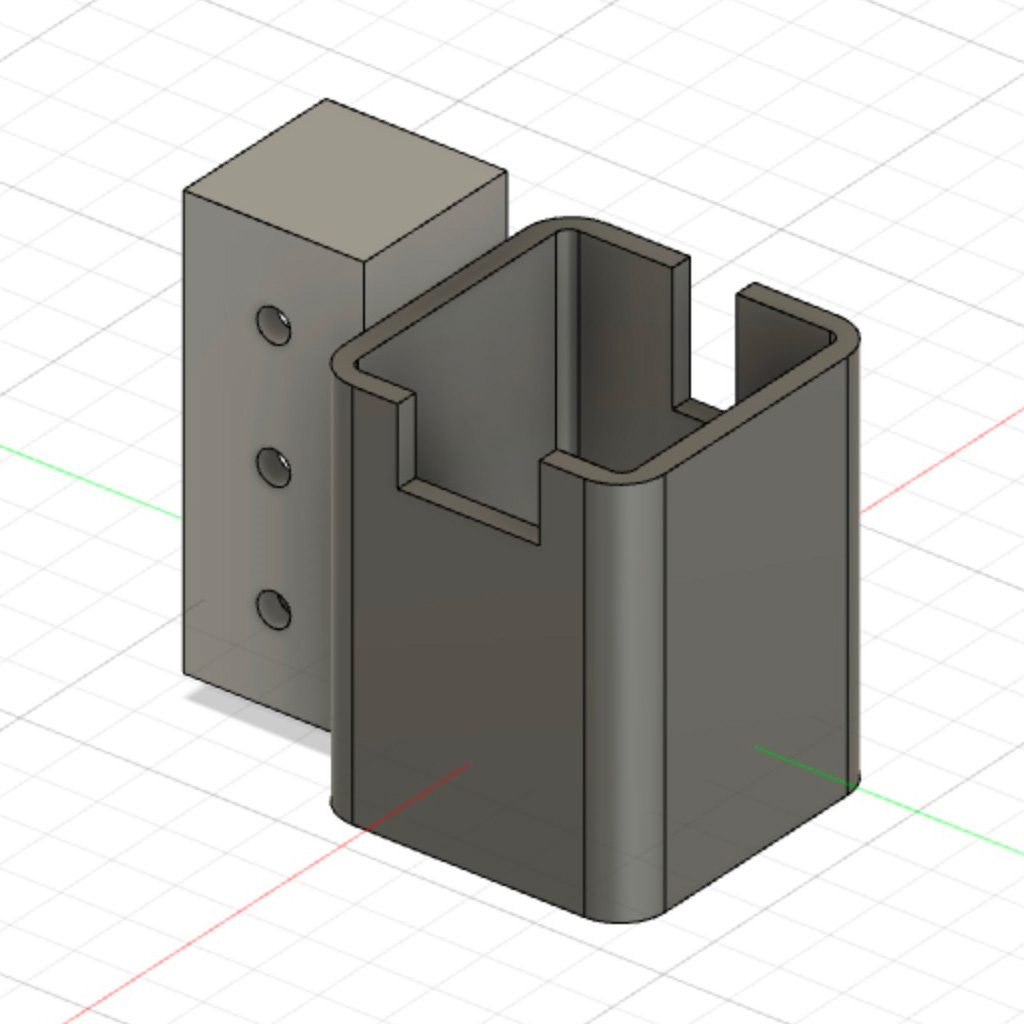
1. With the structure partially done, we figured out some 3D printed parts we needed. We used the documentation available at Beehive documentation to adjust dimensions.
For example, we printed a few end caps to make the machine more stable and a few mounts to support the motors and rails.
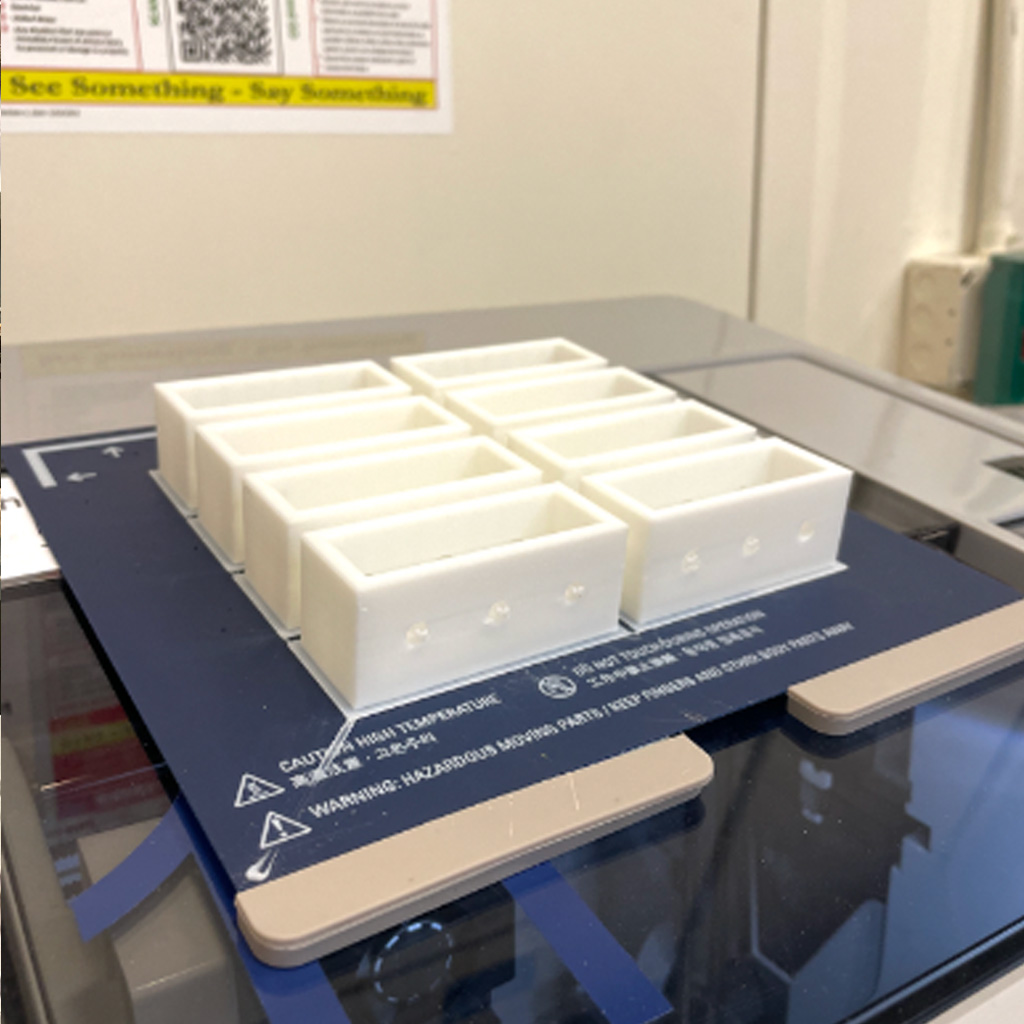
* Some of them didn't work as expected and, in some cases, the pieces that we needed to fix them were not available. So, we had to reprint or adapt, cut and fix some of them.
Extruder Mechanism
1. This was one of the most challenging parts, especially because it depends on the viscosity of the pancake batter and the accuracy of the arm movements. The team decided to test some potential alternatives for the extruder mechanism.
2. Using a plastic tube and a few laser cut parts, we built a peristaltic pump that control the flow of the batter using one of the motors.
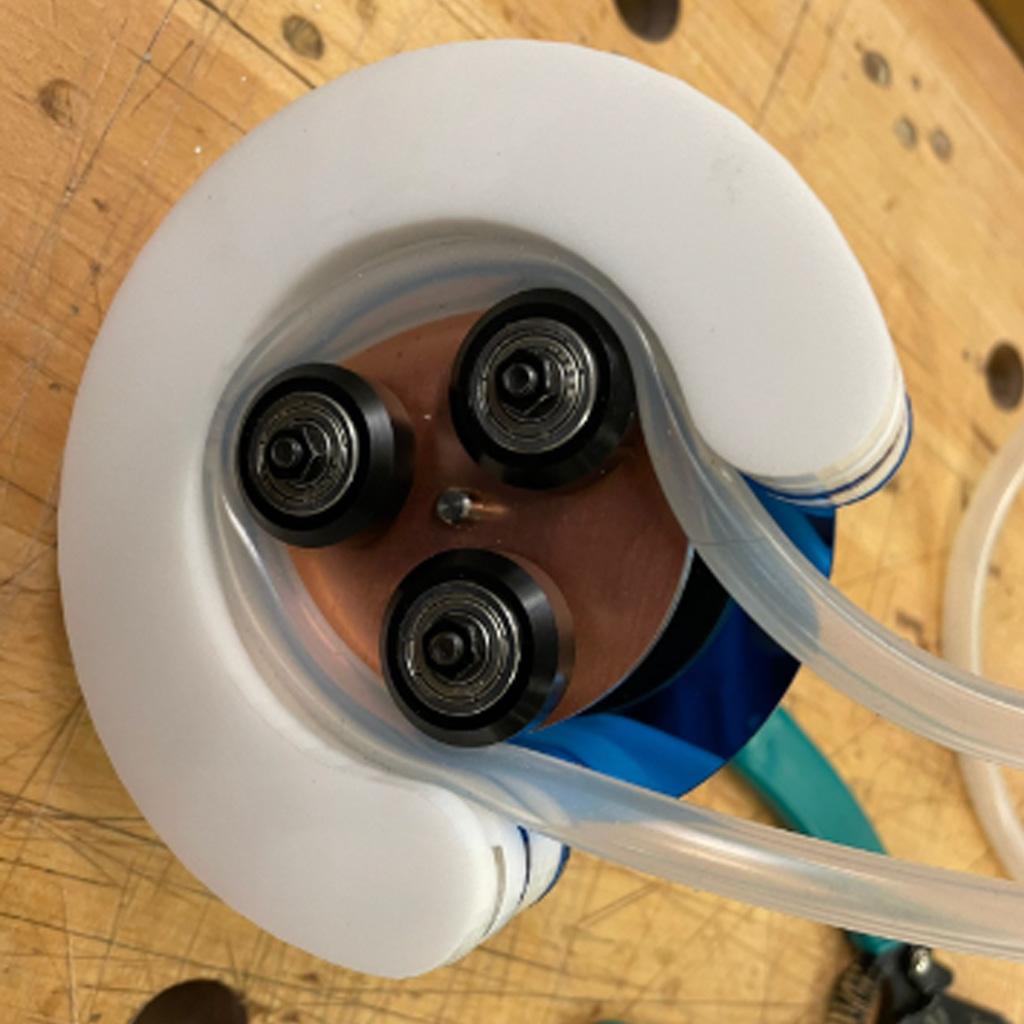
3. As a backup plan, the team also built another peristaltic bump but using the 3D printer.

4. After a few tests, we were relatively confident about the first option.
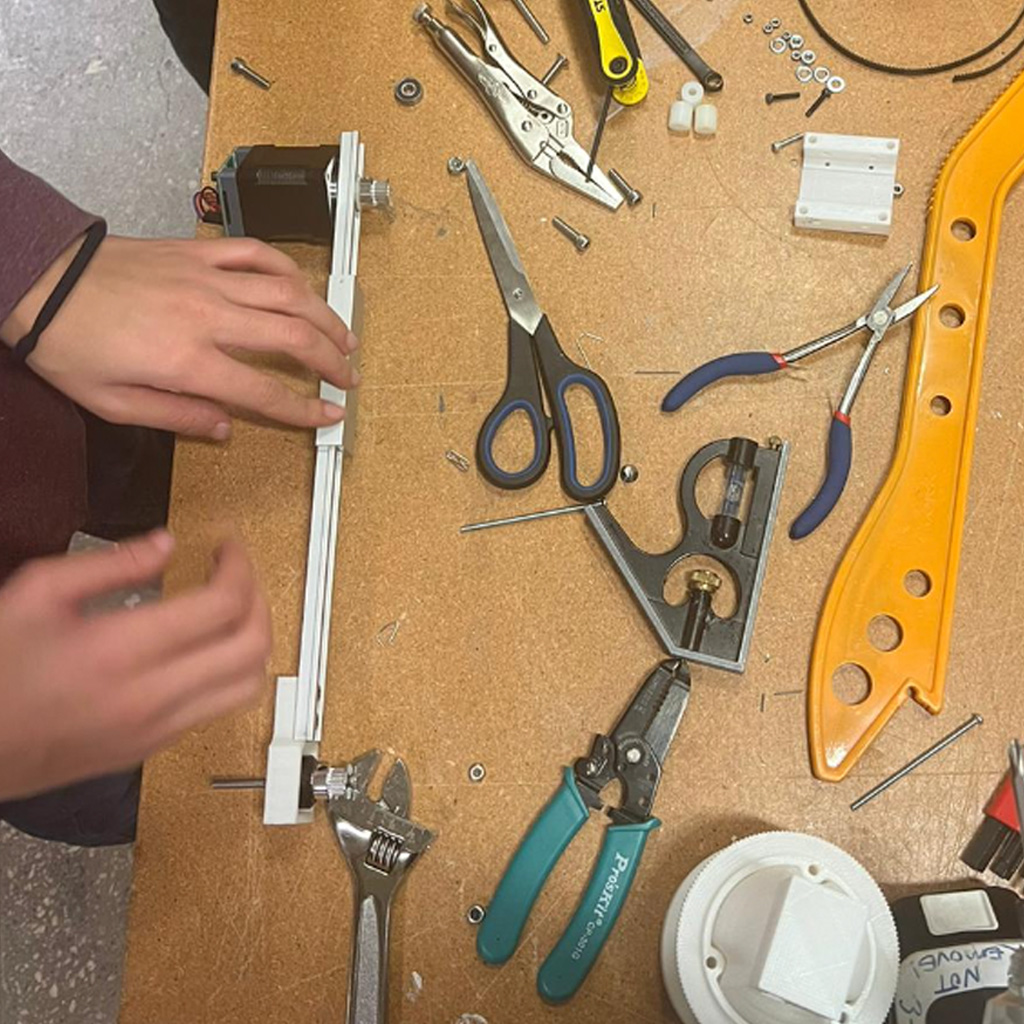
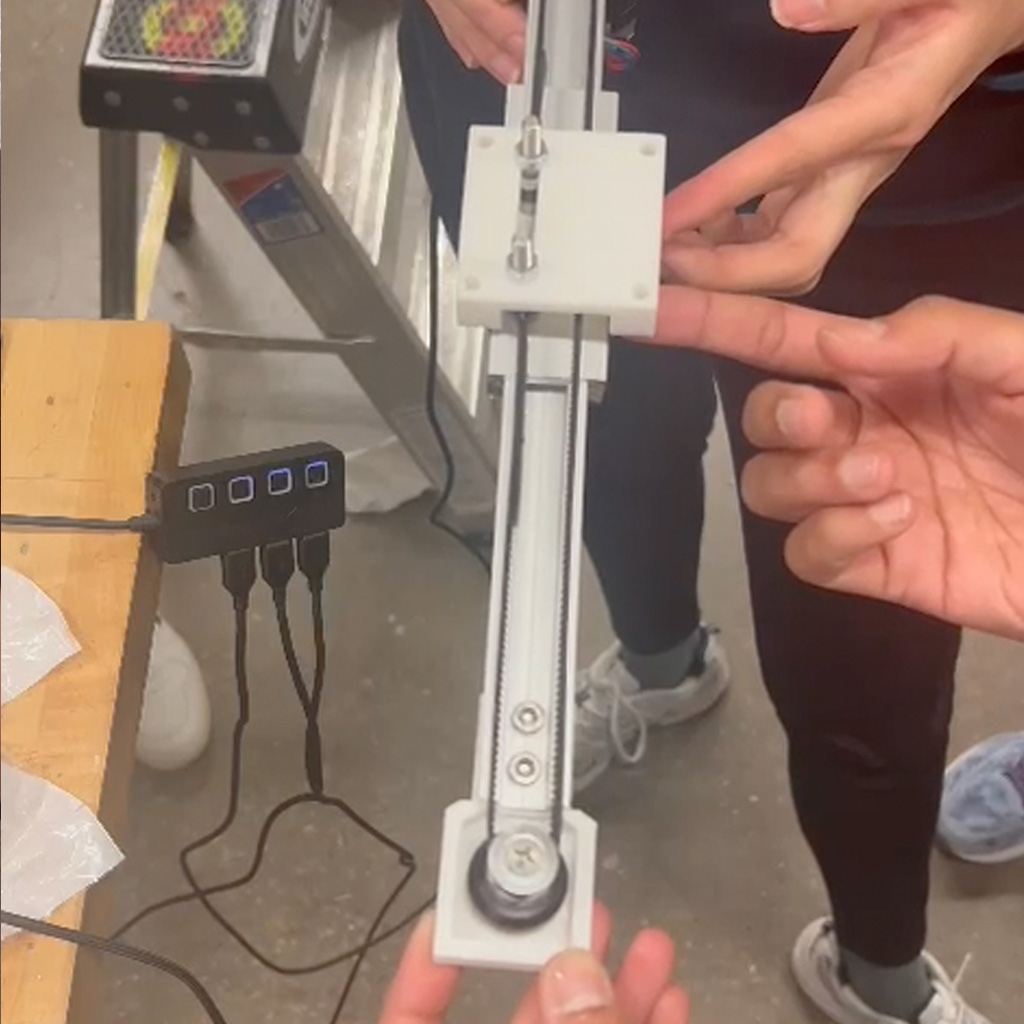
Linear and Radial Arms
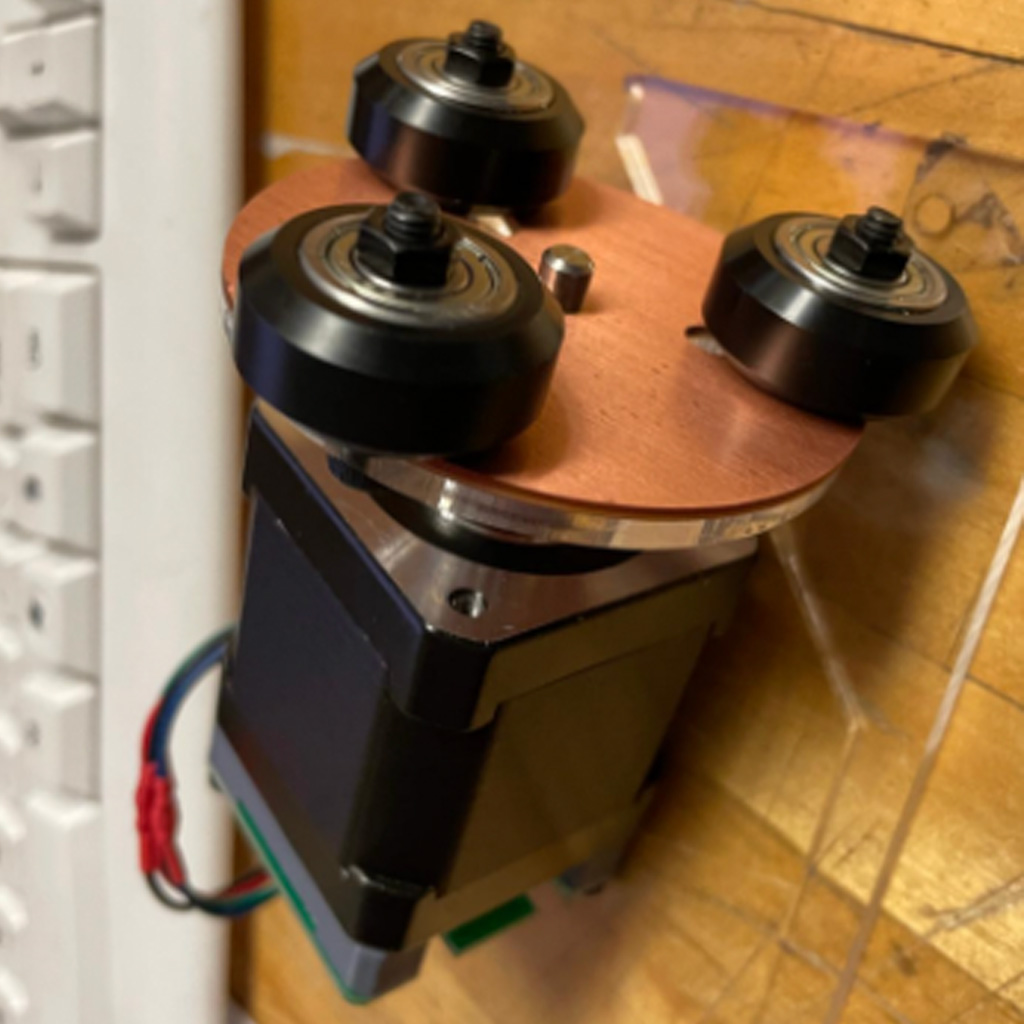
1. To drive the movements, we needed to build two mechanisms - linear and radial - that would be individually controlled by motors.
The linear part was built using another smaller rail that we had and mounting the motor connected to a rubber band.
2. The radial movement was controlled by another motors that was mounted to the top structure.
3. In order to connect both motors, it was necessary to 3D print some additional parts.
Software
1. The software team started to work in parallel to learn how to use the modular things project.
In the first few days, they were able to create a code that could control the drawing movements based on the 2 motors we were using.
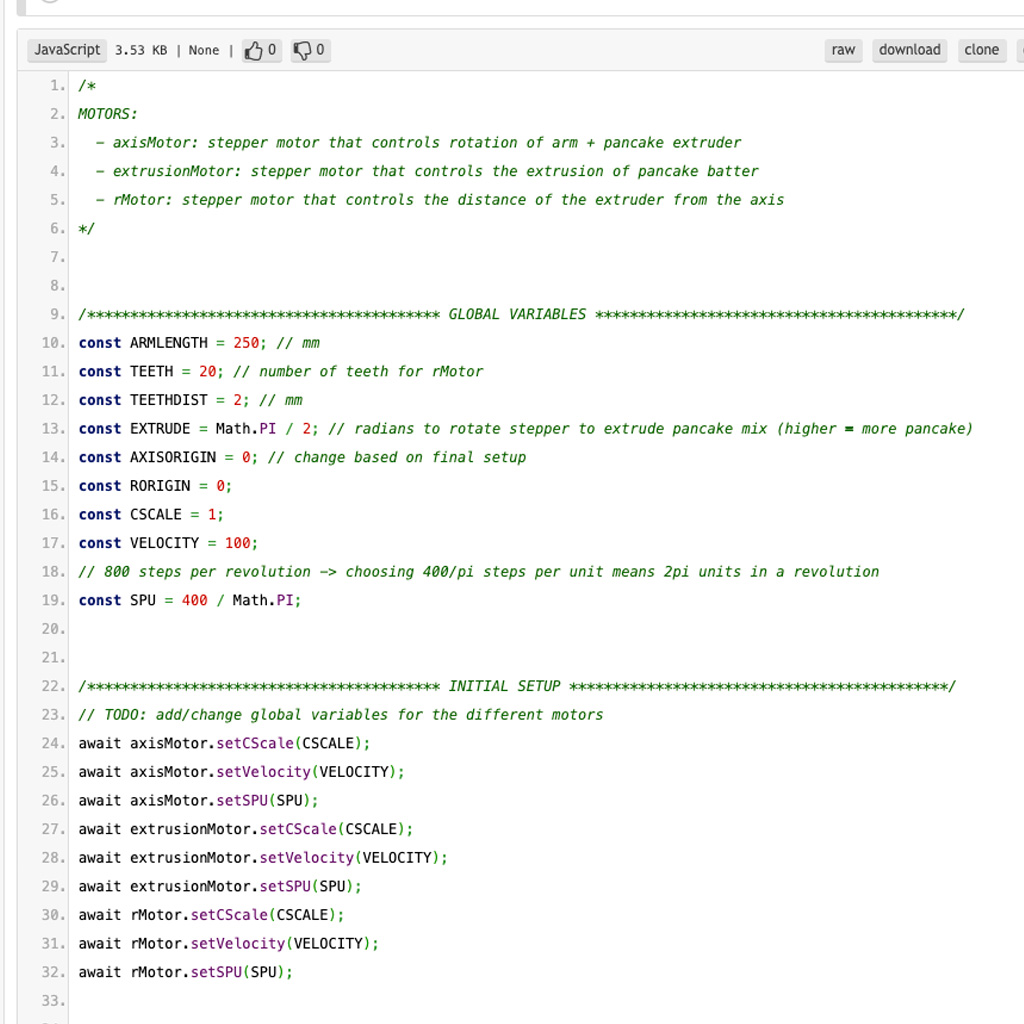
2. Also, they created a basic interface that could translate a hand drawing to the right coordinates used to drive the movements.
3. Lately, they updated the visual and create a more friendly interface for the user's drawing.
Combining the Work
1. With all parts almost done, we started combining all the individual parts.
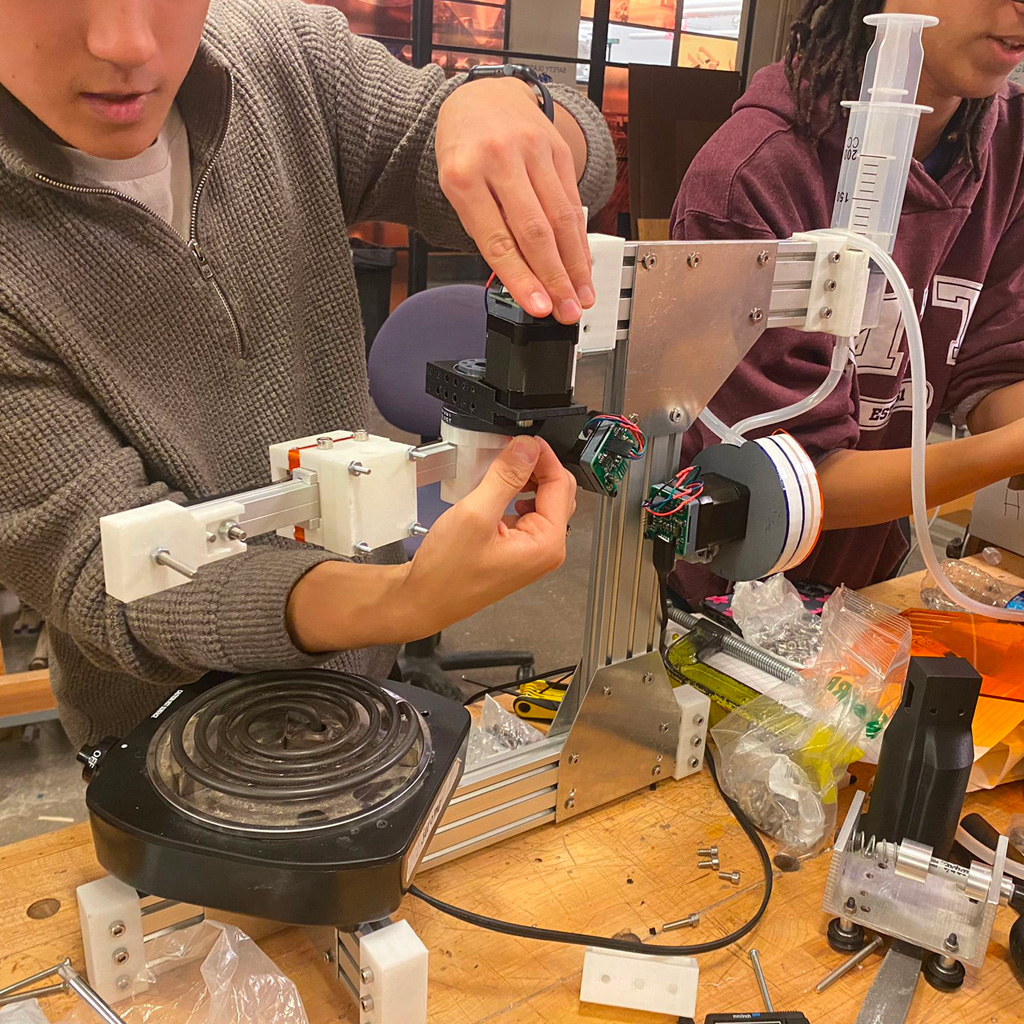
2. We were finally able to see the whole machine assemble and could start testing how the different mechanisms worked together.
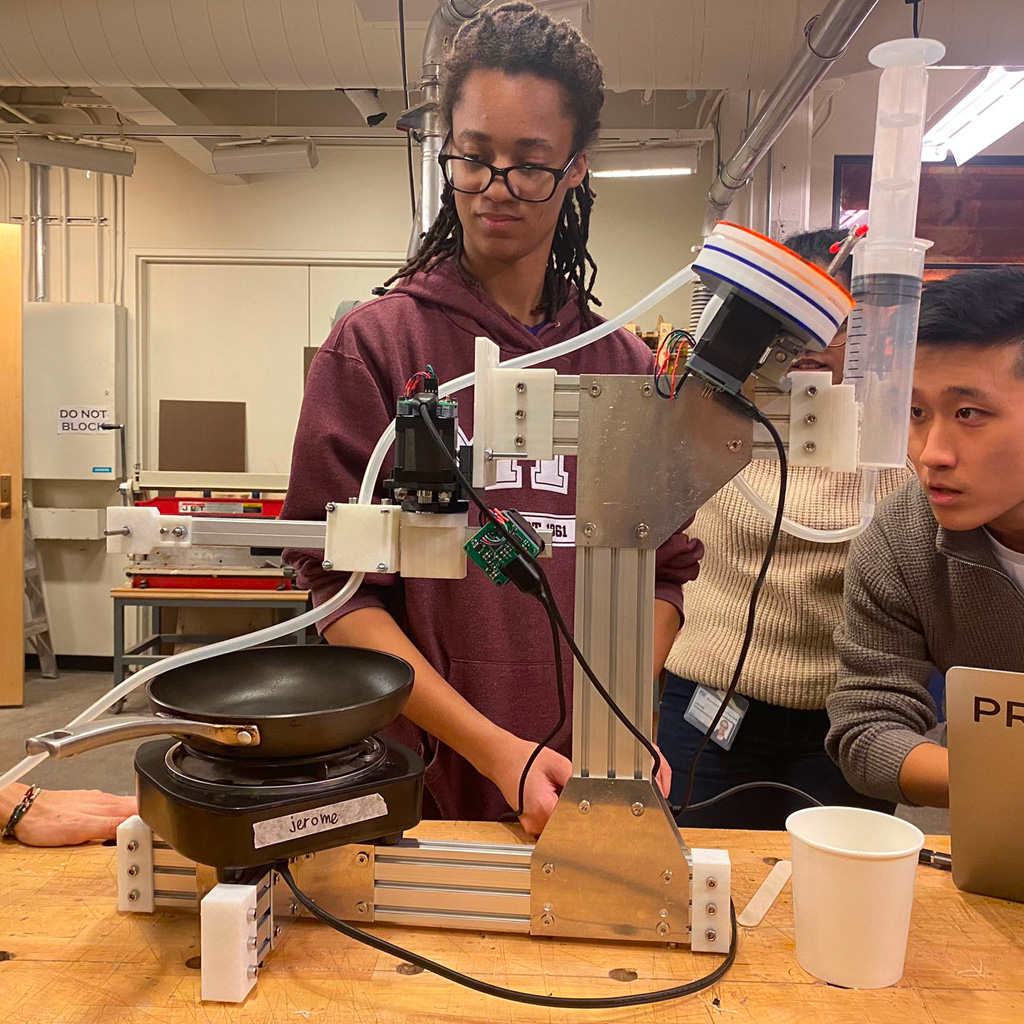
3. We had a few issues on controlling the machine and extruding the pancake batter. But, after some adjustments, we finally got our first personalized pancake.