Final Project: Marvis
December 20 2022
Special thank you to Christopher Dewart for helping me tremendously with woodcutting, and Anthony Pennes, whose immense help, dedication to his students, and formidable stamina with pulling an all-nighter to assist others simply cannot be understated. Words cannot begin to convey how appreciative I am of Anthony's help!
📕 Summary
According to a random study, the average US adult sits about 6.5 hours a day. That's about 2300 hours a year of pure sitting! But chairs have remained largely the same over the past several centuries, so I took it upon myself to redesign the chair from first principles. I present to you... Marvis (AKA Mushroom Jarvis), a wireless AI mushroom chair jam-packed with features that no one will ever use! The full product includes the following...
A sleek wooden mushroom chair. Made with plywood at roughly two feet tall, you'll have a slightly unpleasant sitting experience on a waffle-shaped top, but at least the finish is smooth and round!
A smart LED system. Your room is too dark? No problem! A line of 10 white LEDs with adjustable flashing speeds and brightnesses (it can go extremely bright) can solve it! The easy-to-use interface to control the LED properties are on a website, so there is no need to directly connect anything.
A wireless elevator machine. Inspired by the CBA's UrumbotXY and Beehive designs, the elevator can lift a container up the chair in case you are too lazy to reach two feet under you to grab something! Featuring a clear acrylic container powered by a stepper motor, some 3D printed parts, and kevlar string, you can store pretty much any regular stuff in there. The interface to control the elevator is also on the website.
An AI assistant. Curious about a topic? Want help with writing? Need to know information fast? Ask Marvis! Powered by GPT-3, Marvis the mushroom chair can answer almost any prompt you give it. Although not deployed to the website due to the fact that GitHub Pages don't allow you to hide secret API keys, you can see a version working on a locally hosted instance where I have my own API key!
Overall, I'm pretty proud of this project since I was able to do it all in one week, and the only part that I knew before this class was embedded programming (I took a course over two years ago on it). I designed almost everything myself. This final project incorporated the following skills:
- Laser Cutting: acrylic container, elevator machine acrylic parts
- Electronics design and production: mini LED boards, ESP-32 for LEDs, ESP-32 MCU and TMC2208 for stepper motors, FTDI to USB serial adapter
- 3D Printing: elevator machine parts (capstan, pulley cap, main shaft)
- Computer-constrolled machining: wooden mushroom chair
- Embedded programming: LEDs and stepper motor
- CAD: elevator machine system and wooden mushroom chair
- Networking and communications: ESP-32 via WiFi for both LEDs and stepper
- Output devices: LEDs and stepper motors
- Interface and application programming: React and Firebase
- Machine Design: elevator machine
I can confidently say I've gotten pretty far since the start of HTMAA! For more details on each of the product features, keep on reading! Take a look at my GitHub Repository for all related files (CAD designs, C++ code, G-code for 3D prints, circuit designs, React website, etc.). The sections below are divided by "part" and not by chronological order. There were many days where I was working on multiple parts at the same time.
🧠 Ideation
Contrary to the above, I actually had no idea what I wanted to do for my final project. I've recently been playing around with ChatGPT and DALL-E, and I became fascinated with them enough to want to do something with them. Also, my favorite HTMAA week has definitely been machine week, so I wanted to incorporate that too somewhow. With a solution-oriented approach instead of problem-oriented one, I wanted to built a one-arm drawing bot that can write out a poem (via ChatGPT) given a prompt from a user.
A TA told me that it was a bit too ambitious to do in just a week, so I decided to switch to something that already utilized stuff I've already made/designed in the previous HTMAA weeks. And that's how I landed upon Marvis! At some point, I still want to build a machine similar to the poem both though :). In sum, I approached the ideation in a very backwards way: first picking what skills I wanted to practice and integrate before formulating a possible "final project" explanation for it.
🪵 Woodcutting
During Week 6, I cut a mushroom chair out of OSB wood at the Onsrud in the architecture section located in the D-Lab. This time, I wanted to use a much better material, and make the chair height decently higher.
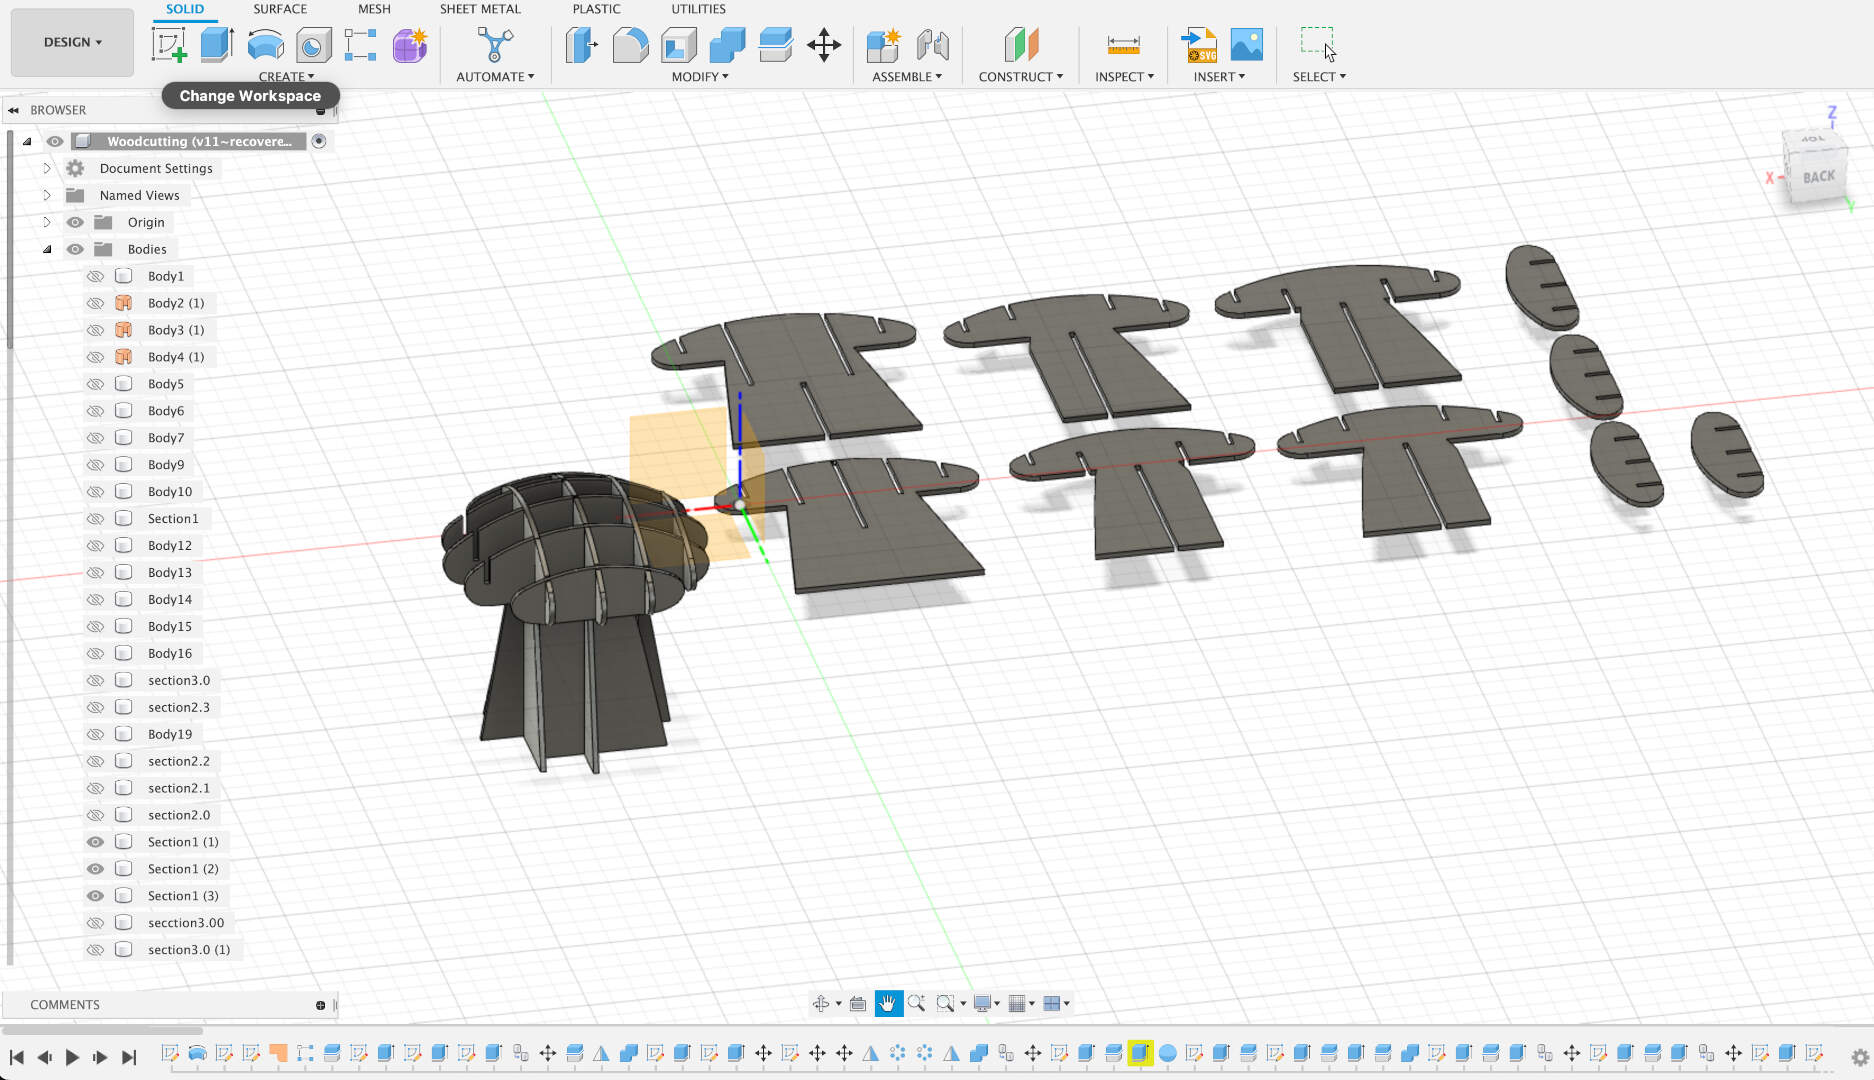
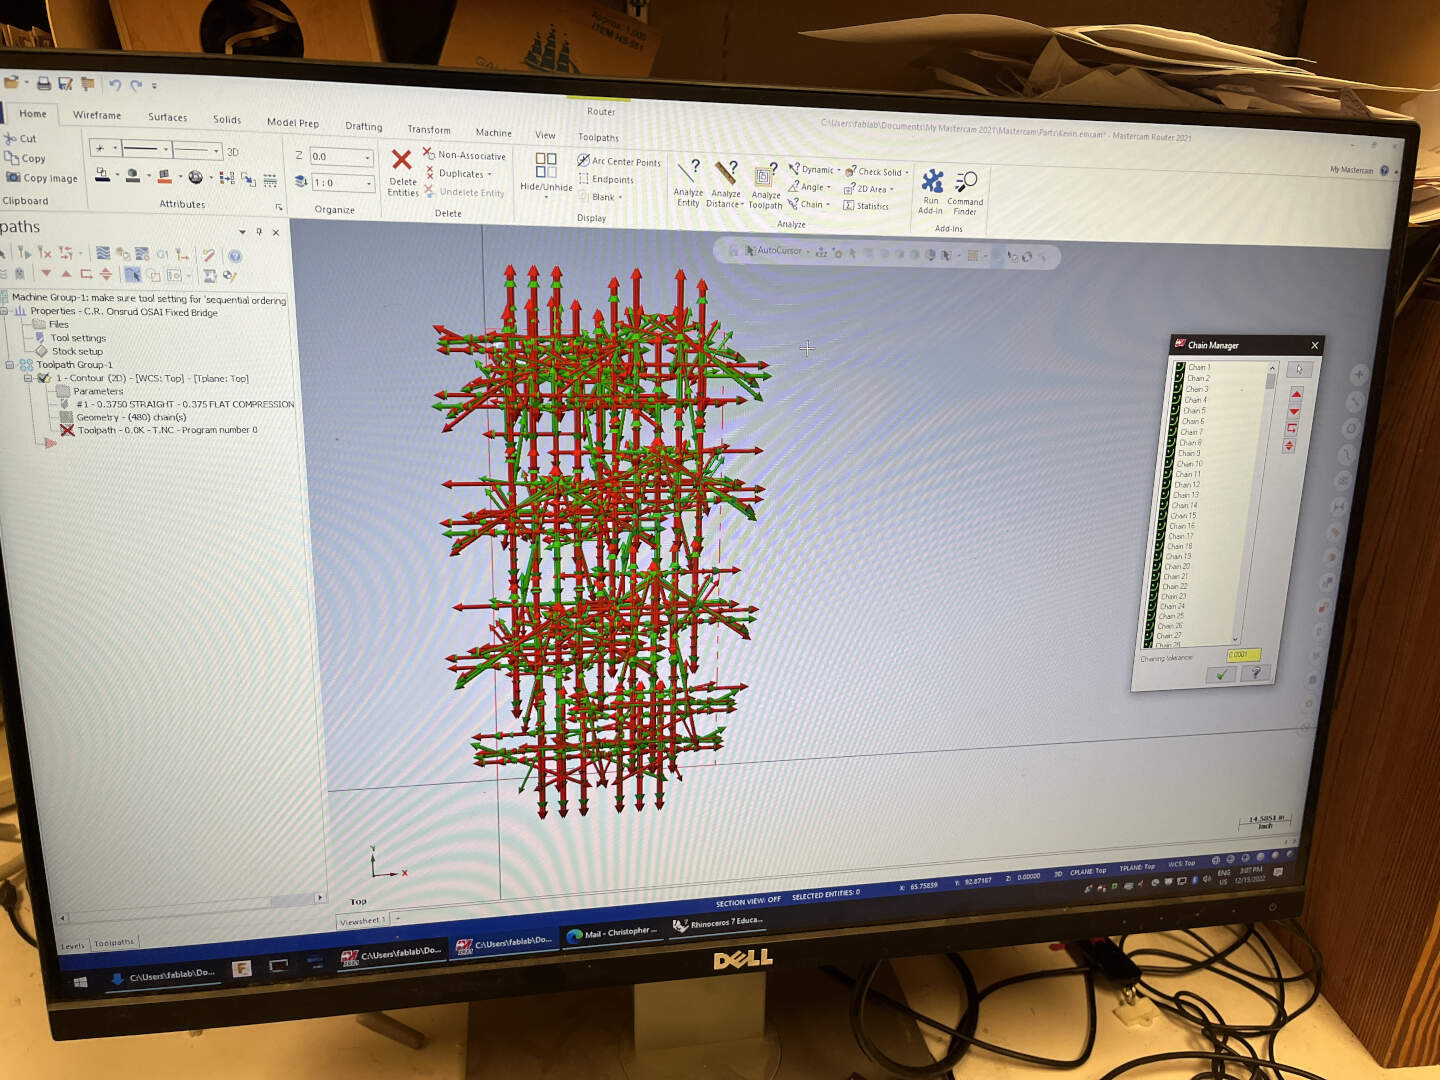
After editing the CAD to what I wanted, I exported it and brought the file to Chris, the shop manager at the wood shop. Unforunately, I ran into a bunch of file issues that weren't solved until the very next day. As an example, Mastercam was reading my DXF drawing as a series of disconnected lines, so the router showed a lot of cuts when really only 8 or so were needed.
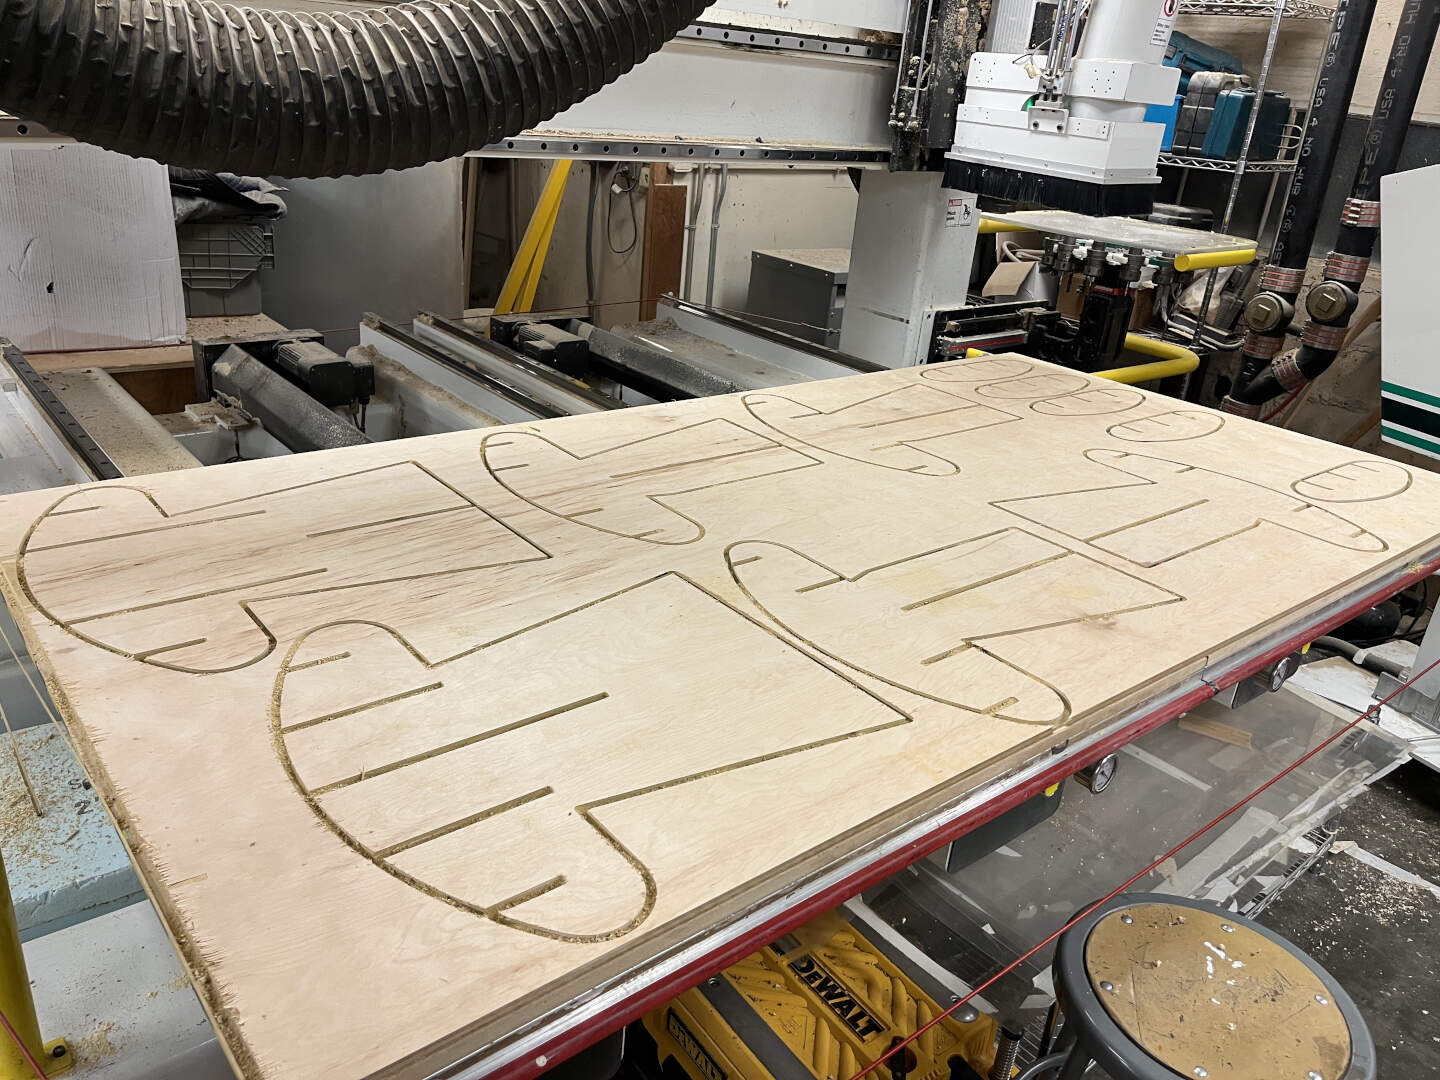
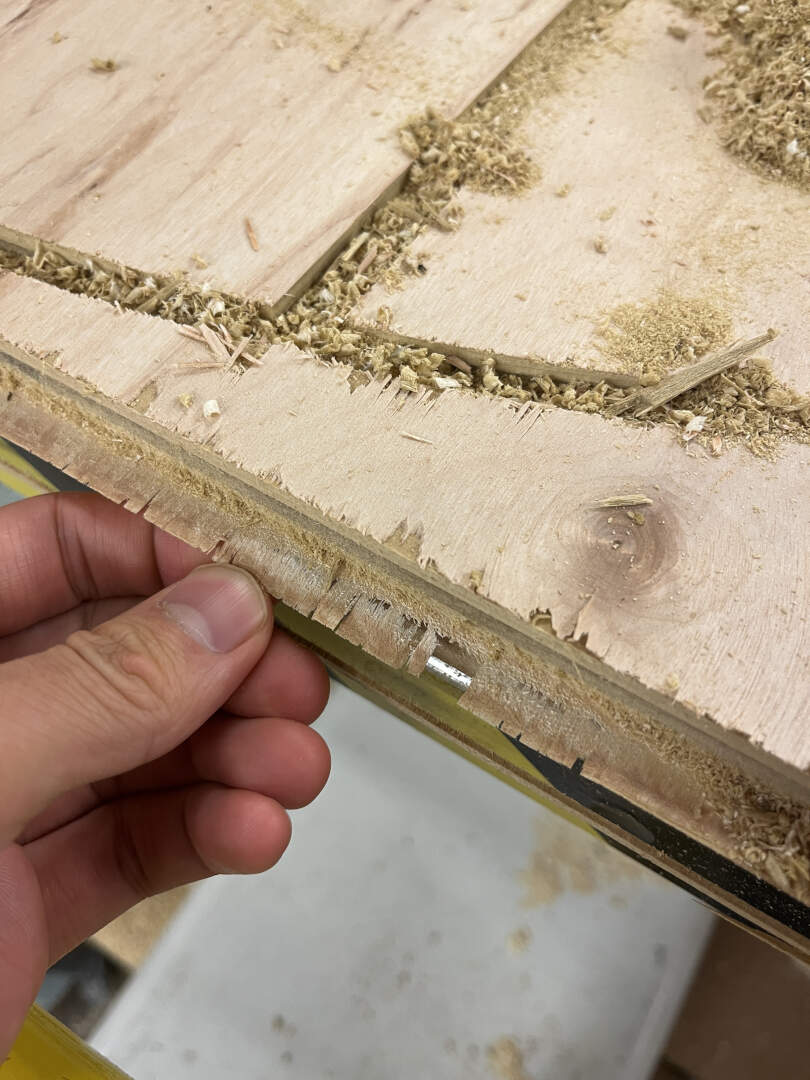
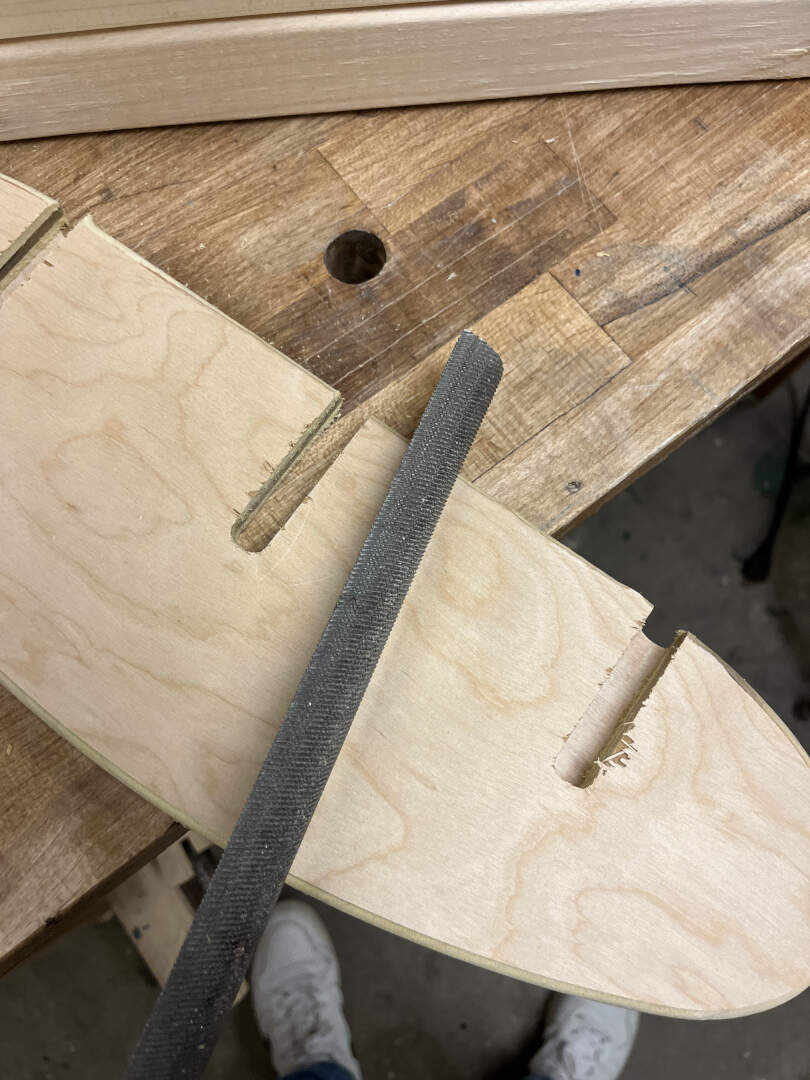
Afterwards, we executed the cut while still leaving an ultra-thin onion-skin layer on the bottom to secure the part during the CNC cut. It took a bit of time to remove all of the cut parts via an X-Acto knife (I also accidentally ripped off small parts of the side of the wood). But once that was finished, I used a wood-working tool to round off all of the edges to create a smooth, round side. I also took the time to use sandpaper and a filer to smoothen all of the edges.
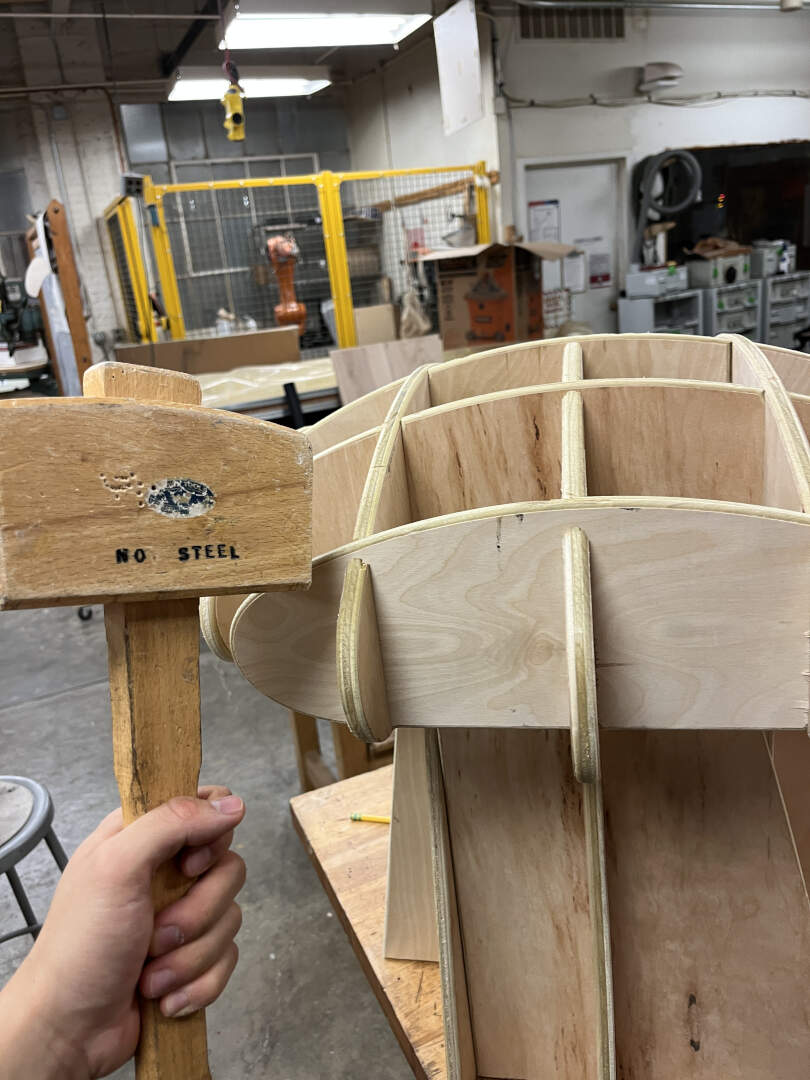
Now, assembly time! This was quite difficult because the joints were a bit too thick. The fact that I had not added drilling points to my CAD file before CNC machining did not make it any better. In the pictures below, you'll see me struggling around with massive clamps and hammers to eventually force the pieces together. I had to cut off a small edge of one of the pieces via a band saw to allow that piece to fit into the rest of the construction.

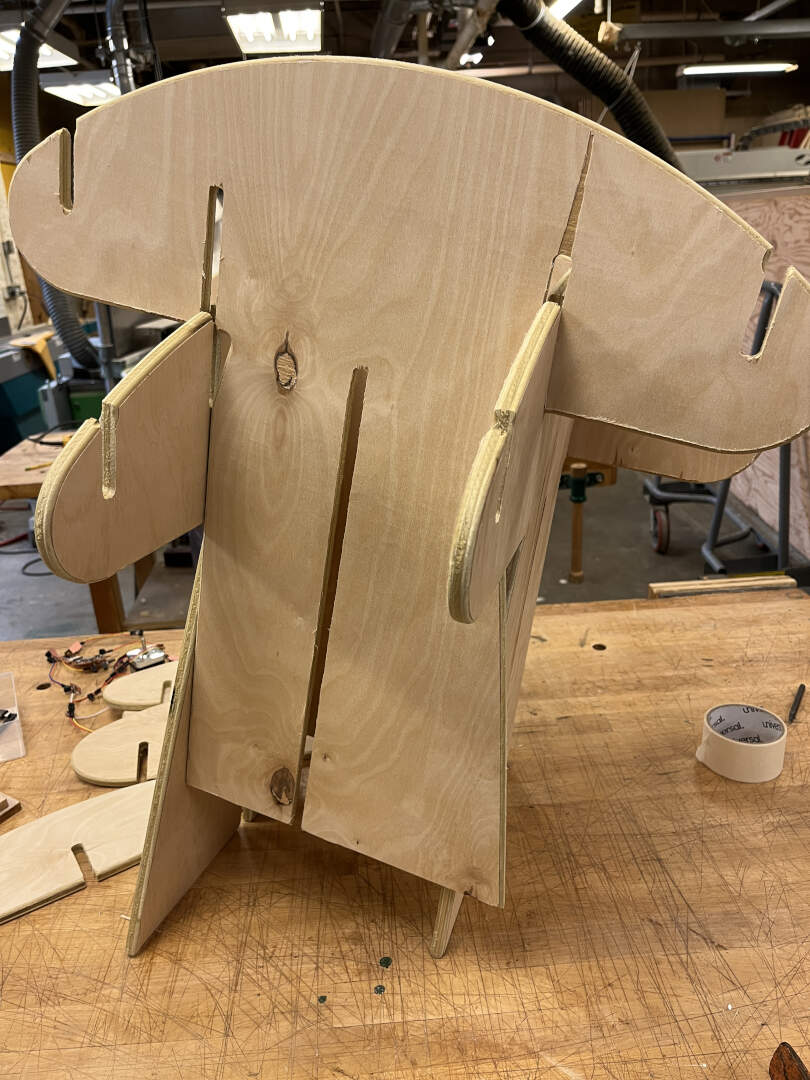
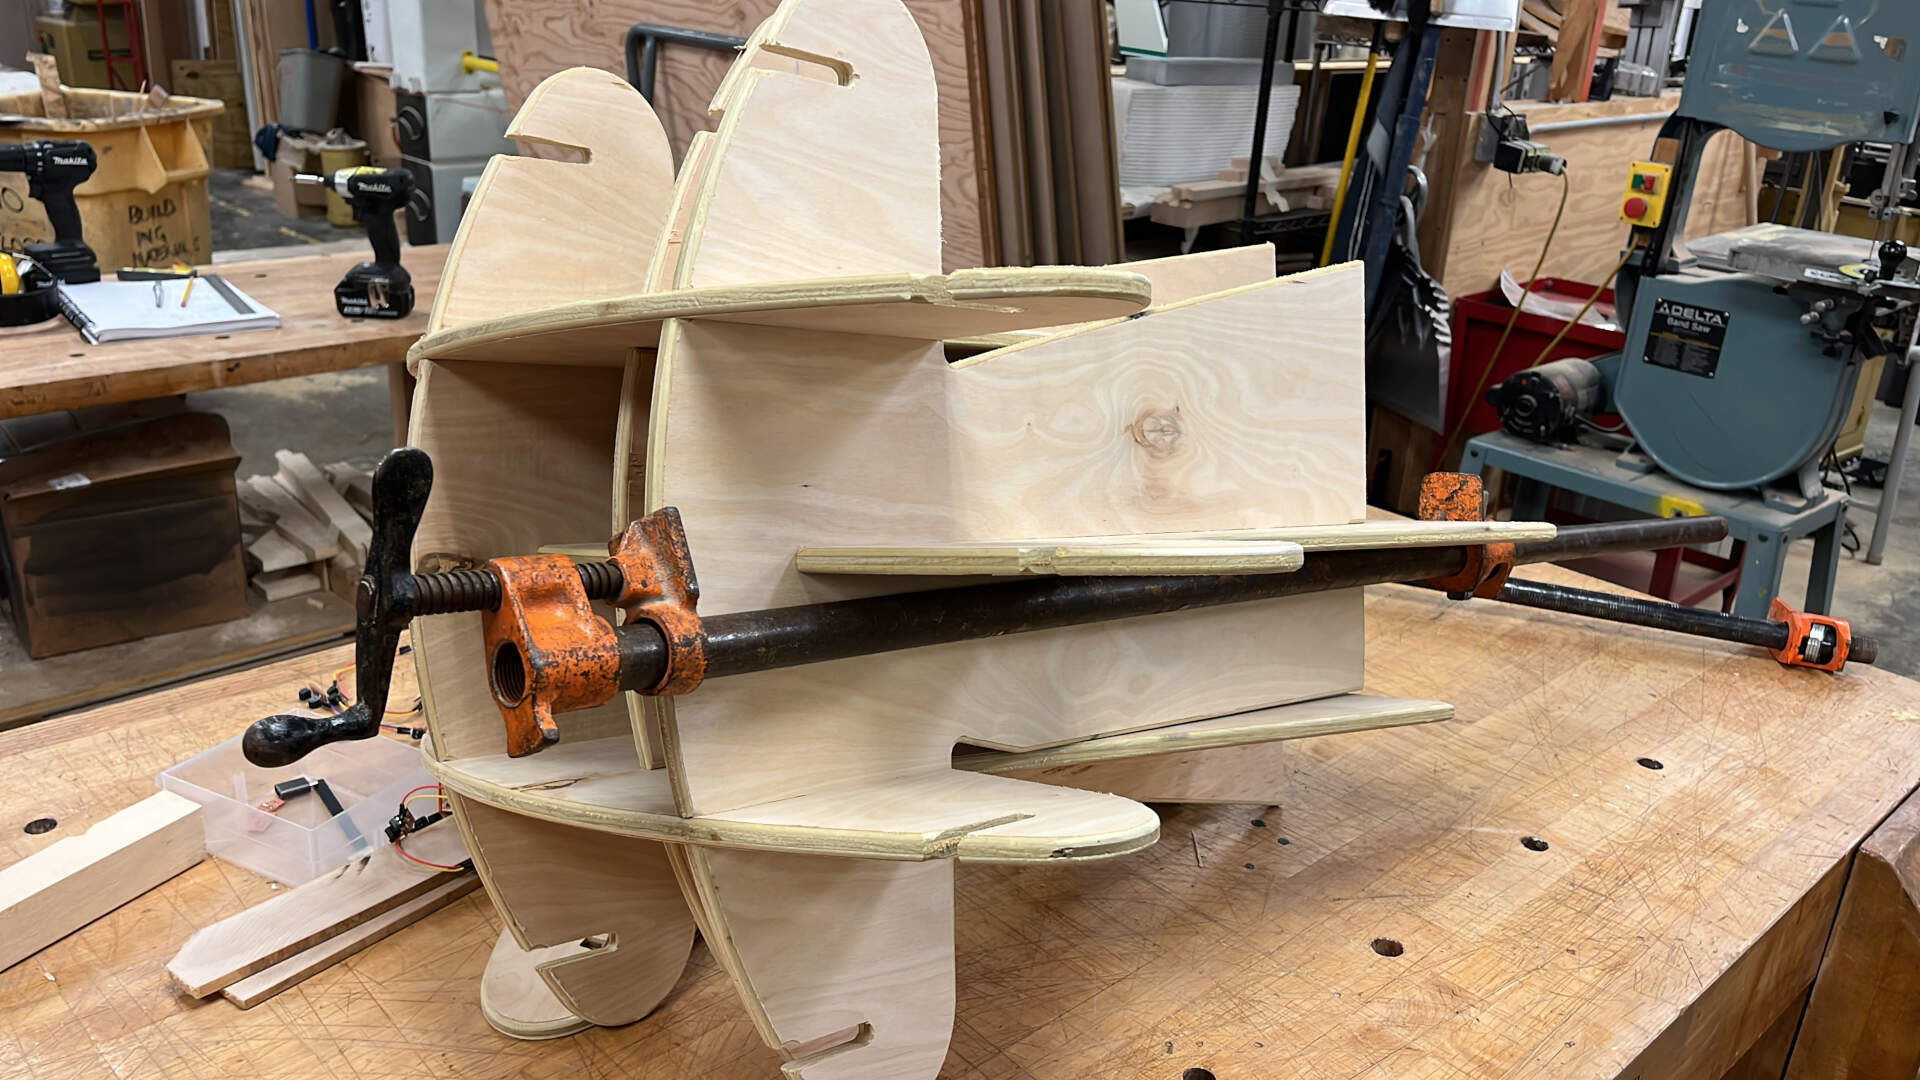
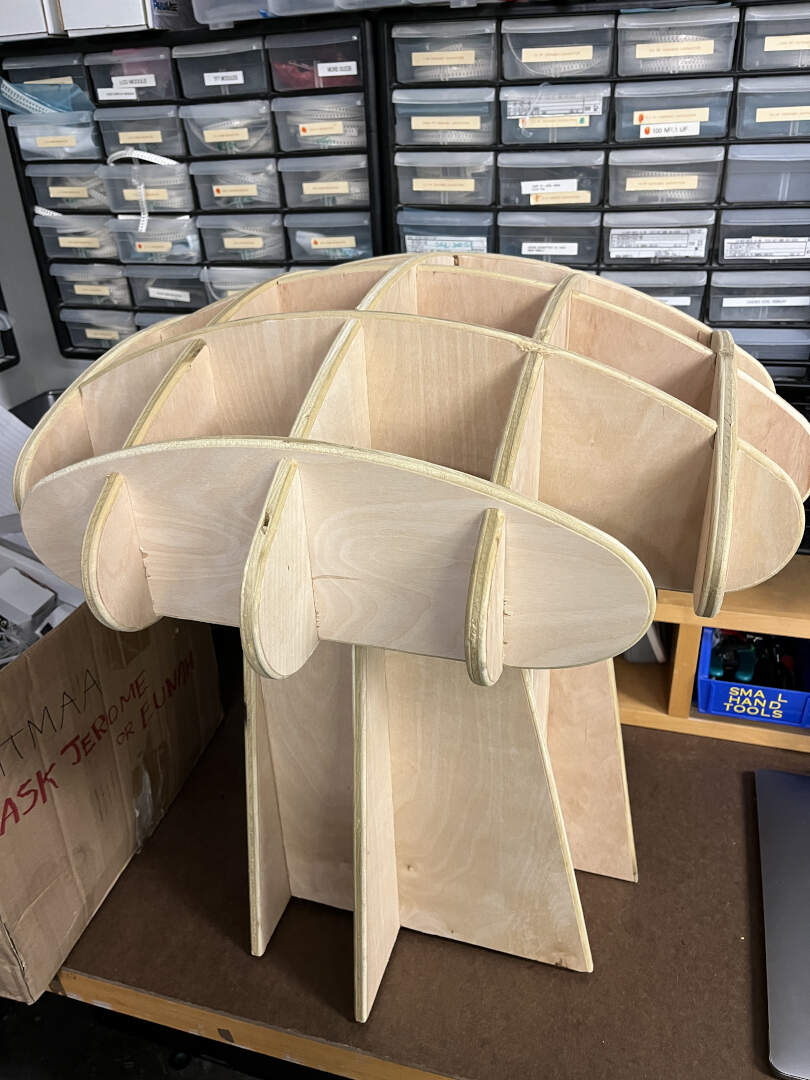
Many many many hours later at the wood shop, we finally get a plywood mushroom chair!
💡 Smart LEDs
A regular wooden mushroom chair would be very boring without any cool lights to go with it! Rather than attempting to make a complex system of different LEDs that can be individually controlled, I decided to go for a parallel design. This means that I can control all of the LEDs at once and the code/circuit isn't super complicated. I wanted to make more cool modifications to the chair, so I wanted to ration my supply-side time wisely. During the outputs week, I saw a very powerful set of LEDs being used. I wanted the mushroom to light up even in a well-lit room, so I chose to use these LEDs.
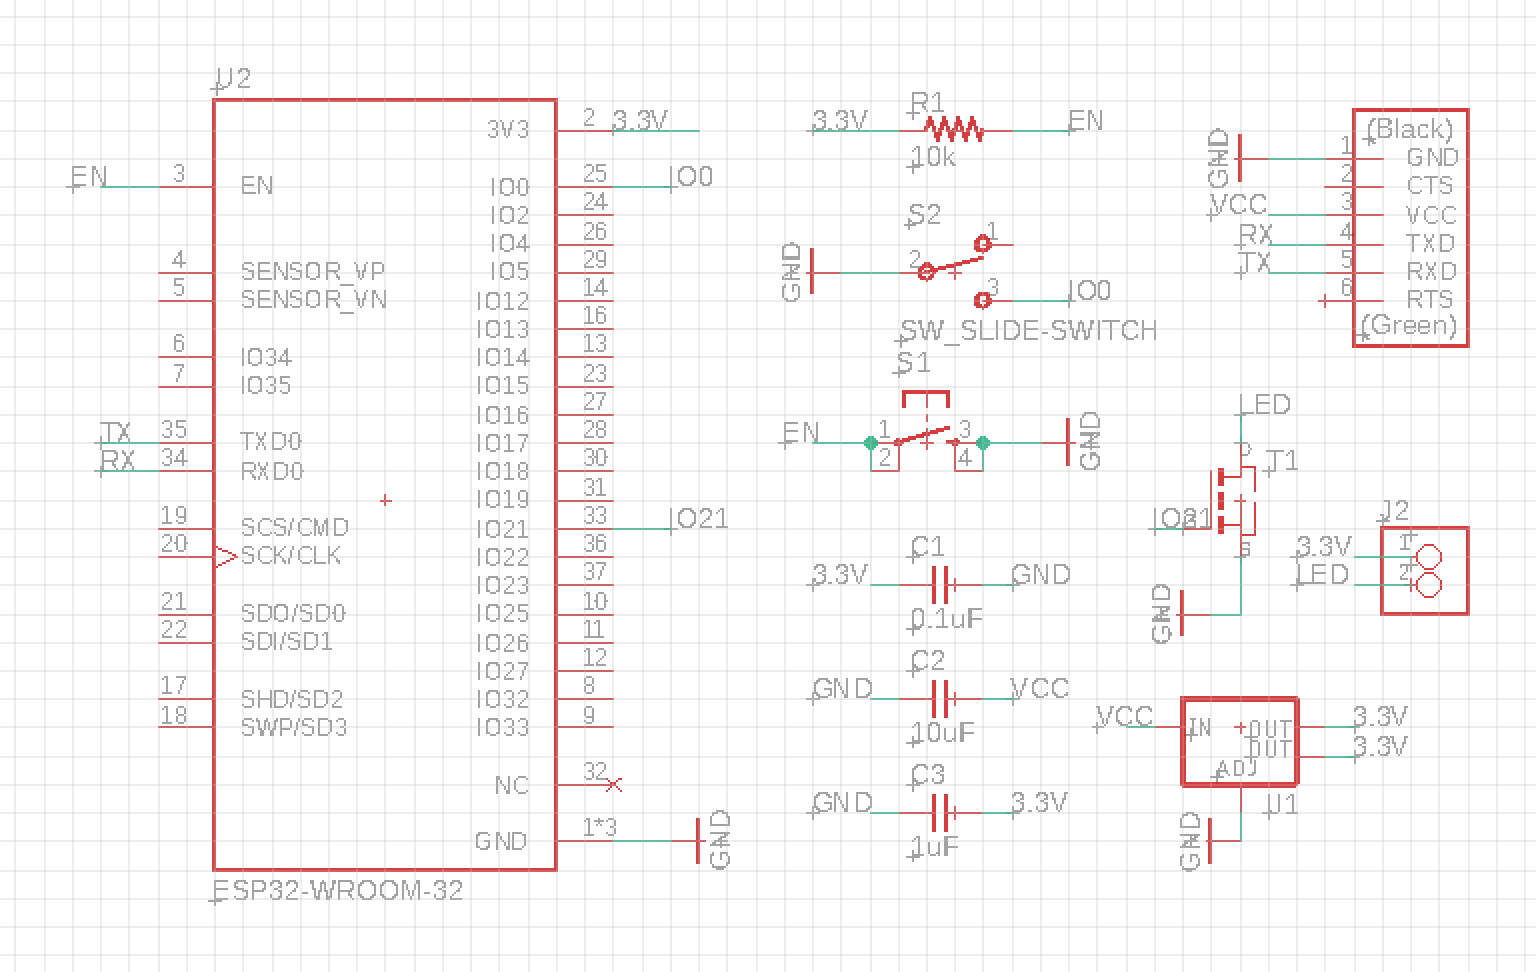
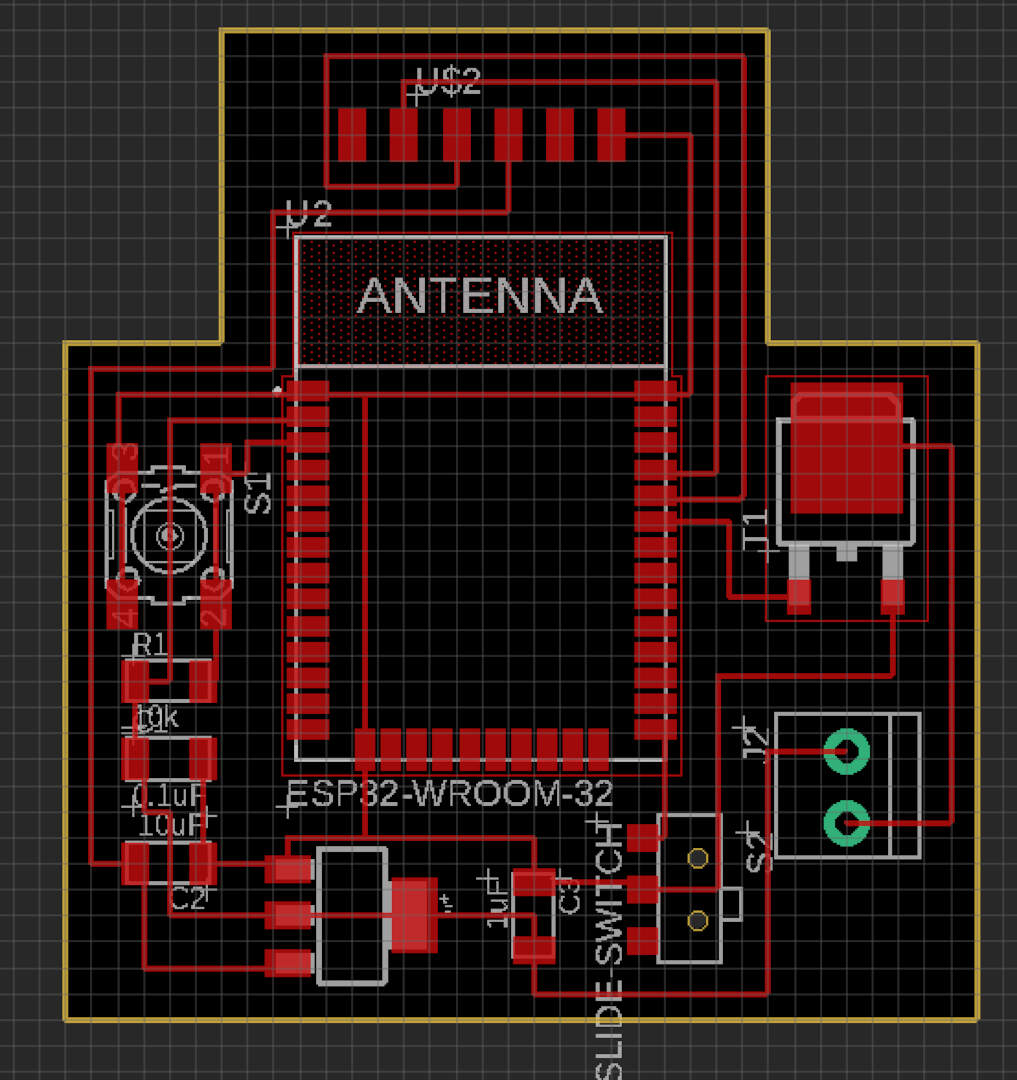
Utilizing a MOSFET and ESP-32 for wireless communication, I designed the LED circuit schematics and PCBs. I ran into several problems here including using an old fab EAGLE library, misreading the MOSFET part, and not downloading the right ESP-32 arduino library. These pesky problems are some of the reasons why the process too a lot longer than expected. I also milled the design of the FTDI to USB serial adapter on the HTMAA website so that I didn't have to keep plugging in an FTDI cable to my ESP-32.

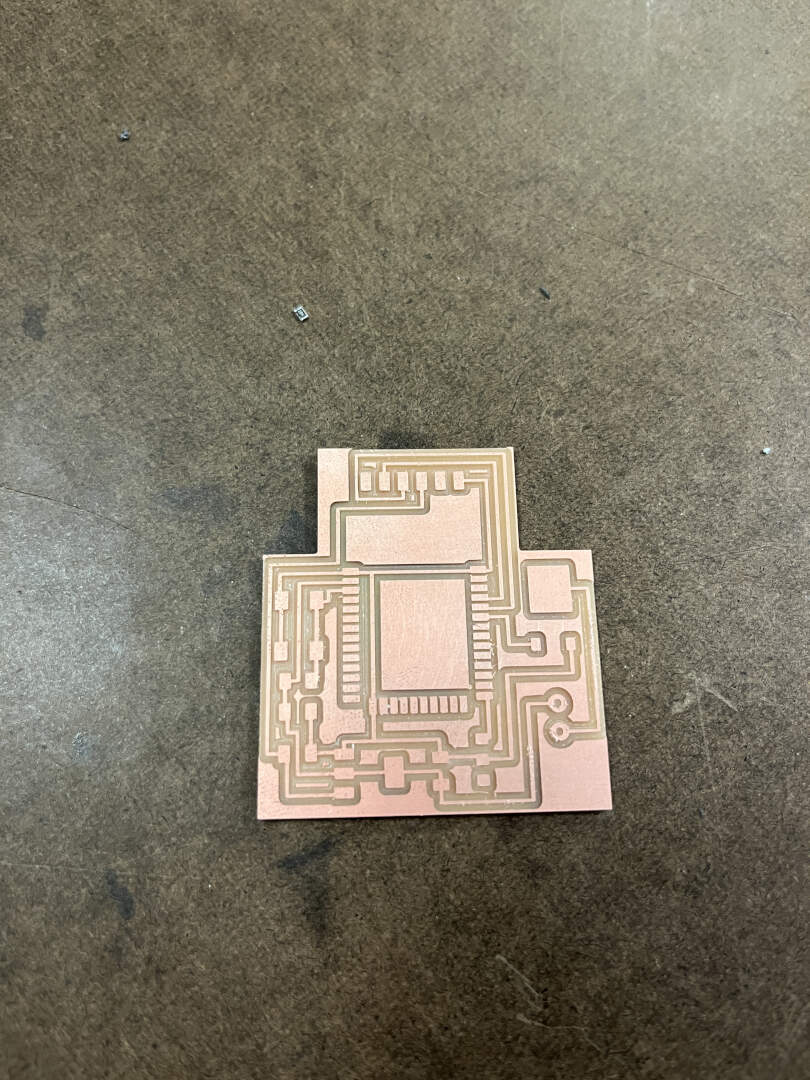
Next, I milled the controller board and 10 copies of the LED board.
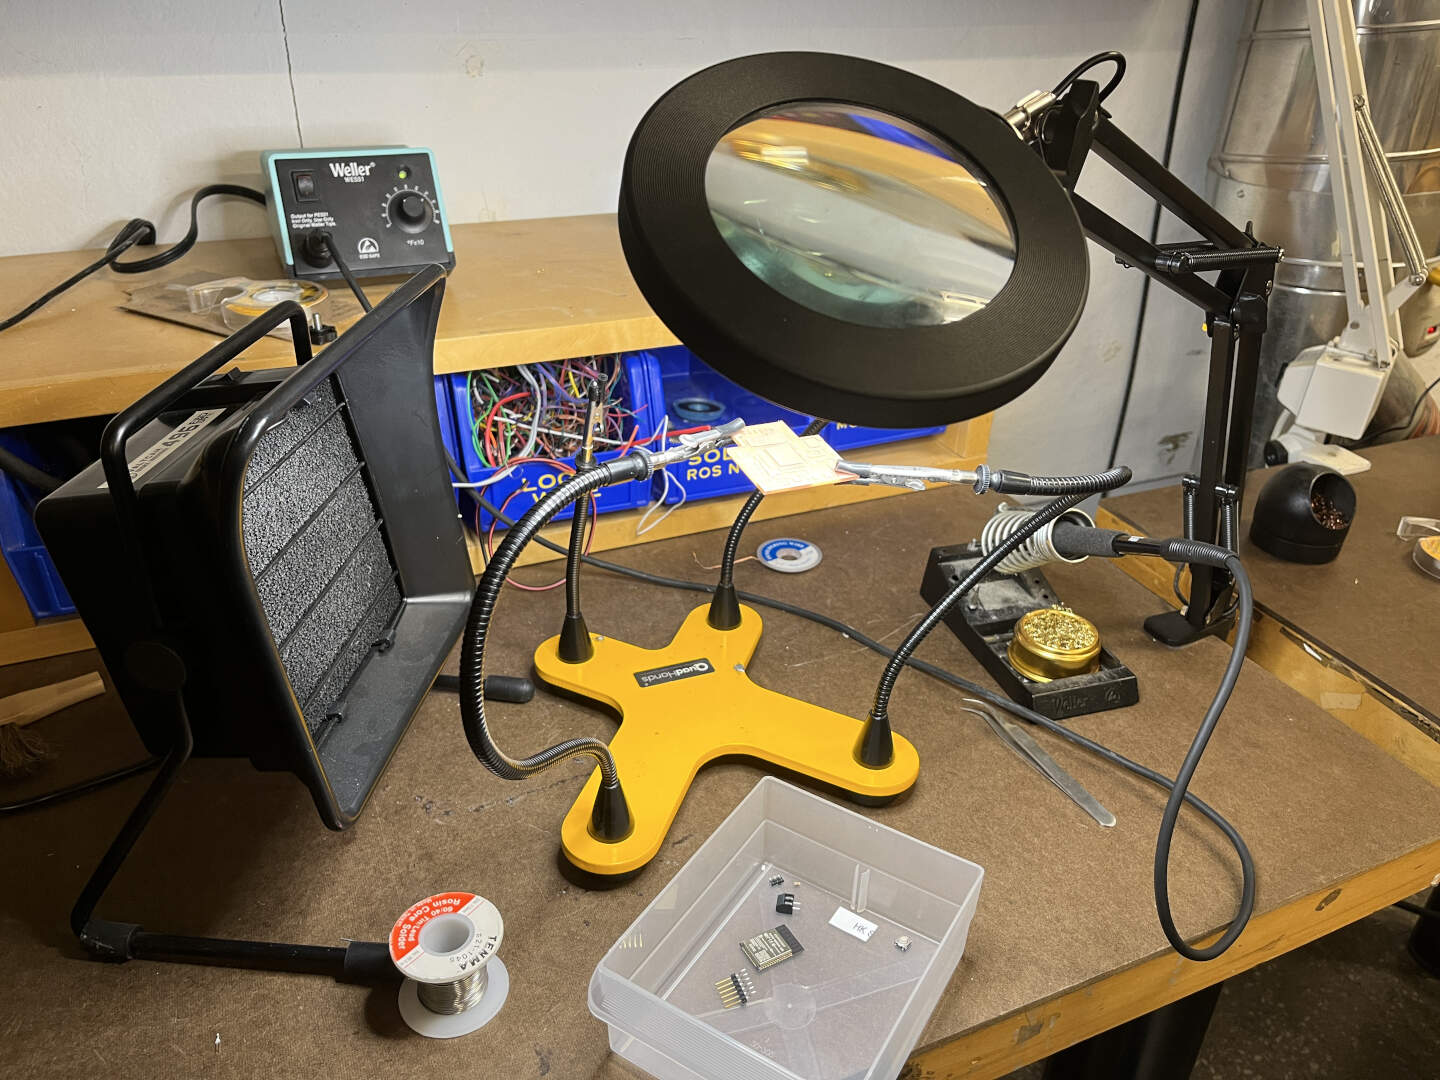
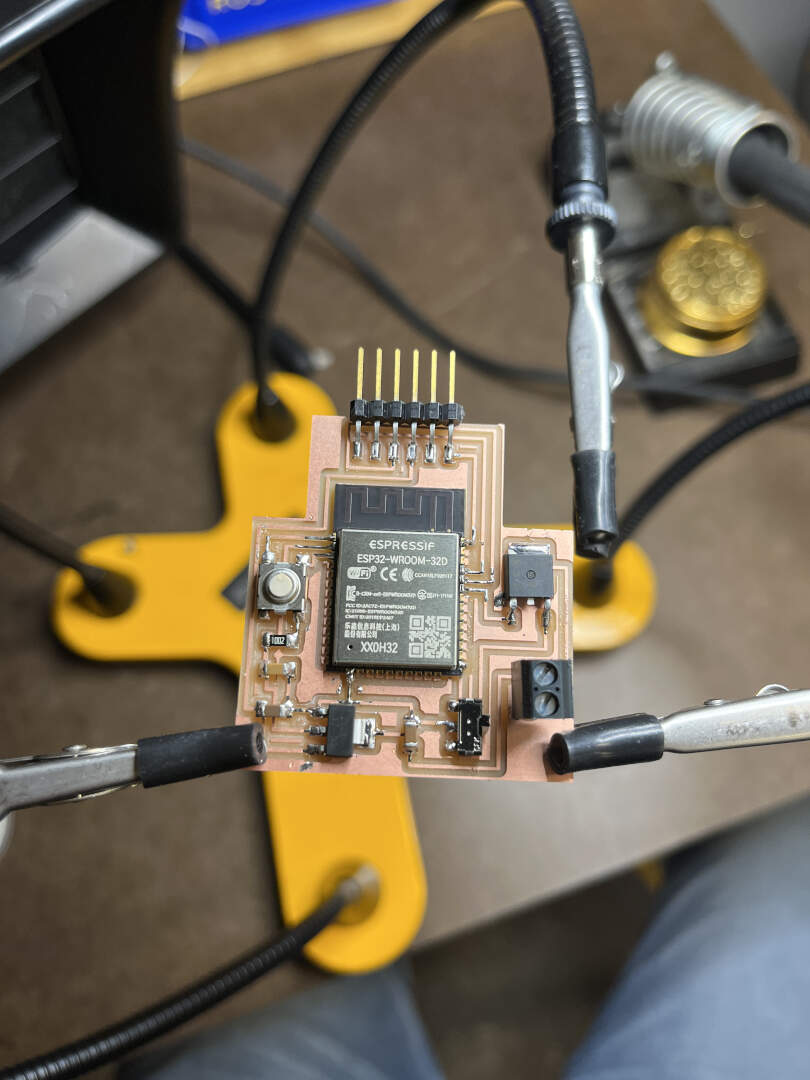
Now, I soldered the boards with the corresponding pieces. Over the course of the week, I broke a number of the boards on accident (e.g. put it in my backpack weirdly, pulled on it too hard, crushed it) and had to remake at least 4-5 extra. This entire process took a ridiculous amount of time because I kept on messing up! Murphy's Law was very true here.
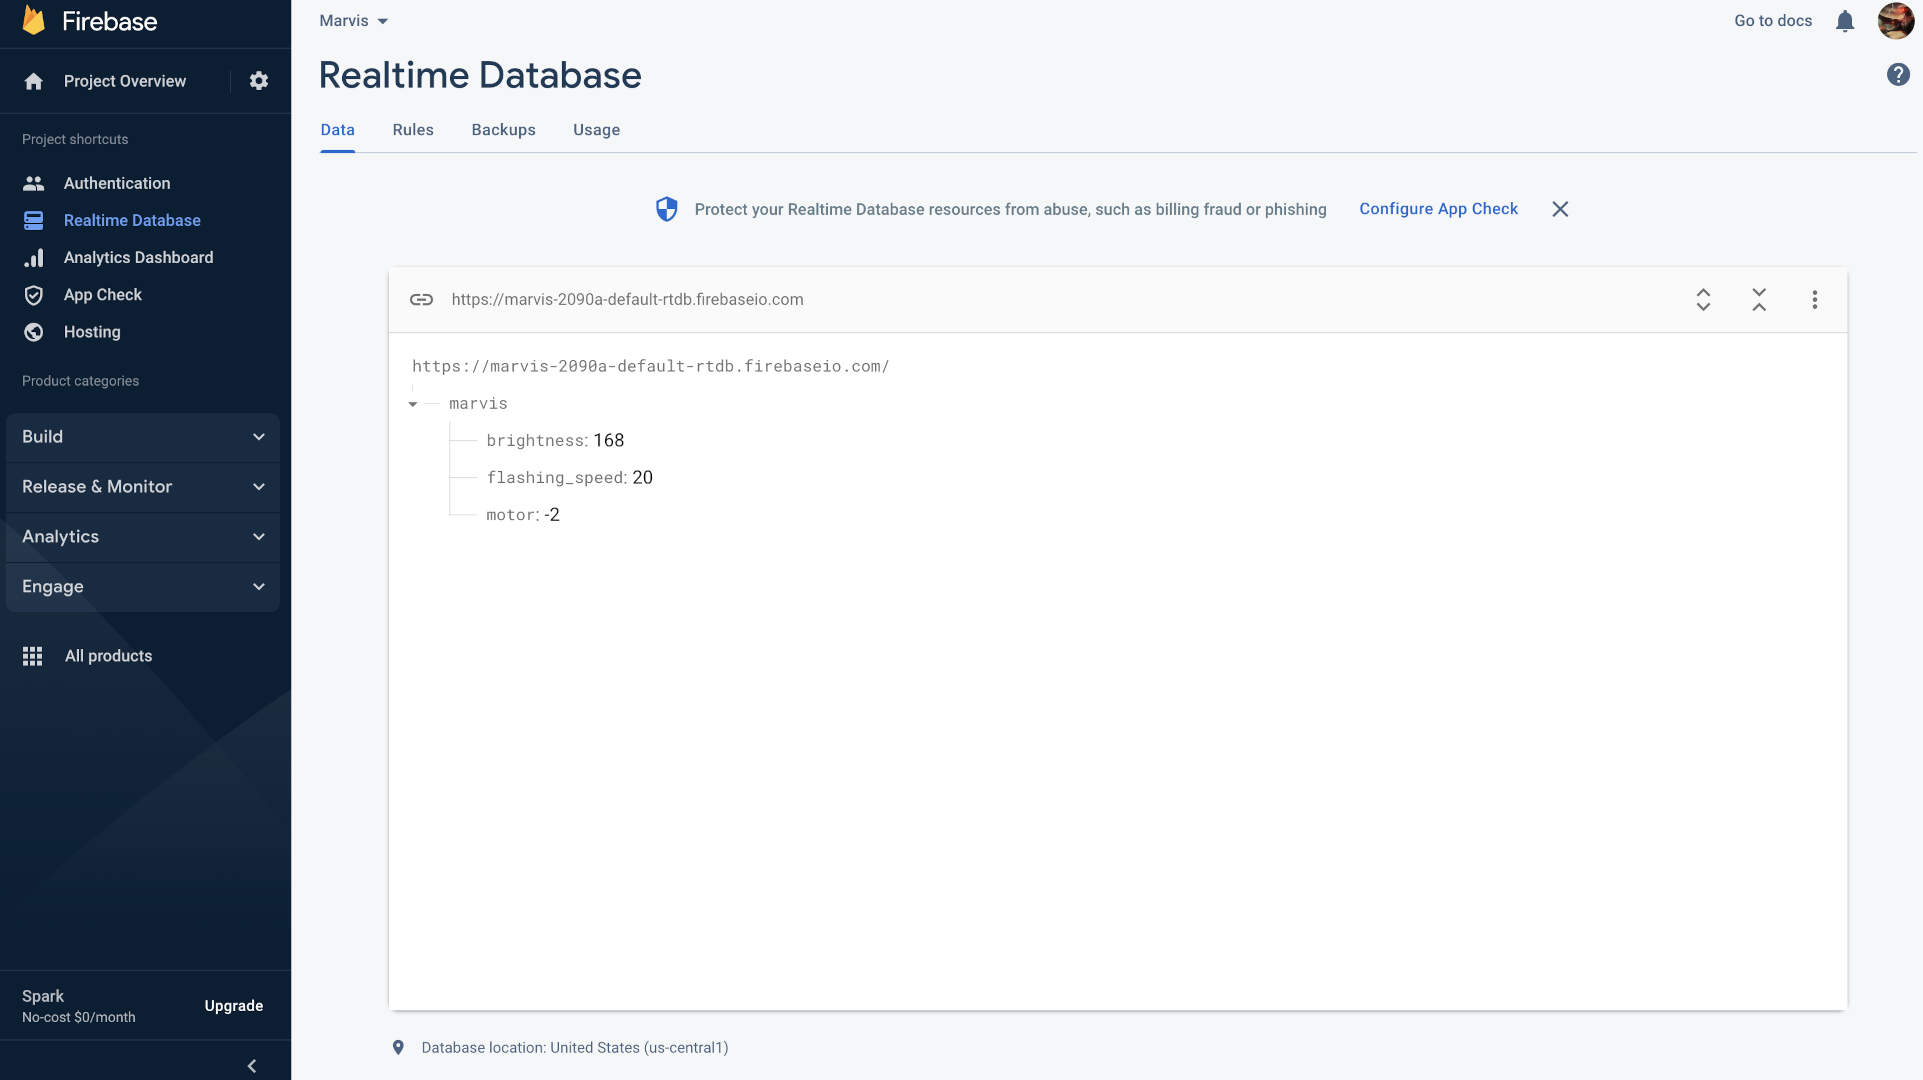
Finally, we program the boards to do what we want! Programming the LEDs was actually deceptively difficult because of the fact that I wanted to make it wireless and customizable. You can see the full LED code here. The basics of what's happening is that there is a Firebase Realtime Database that both the front-end website (see in a later section) and ESP-32 are connected to. The ESP-32 periodically checks for updates to the "brightness" and "flashing_speed" database entries and then updates the LEDs' brightness and flashing speed if there are changes.
There are two nuanced complexities to consider here. First, there are several edge cases that will make the fade go into an infinite loop if database entries are changed in the right way. You can refer to the code above to see how I chose to handle those edge cases. Second, if you have periodic API checks in the same loop as the fade, then the fade will inevitably lag because the API checks will take a bit of time, forcing the fade to update slowly sometimes. One way to solve this issue is to use FreeRTOS' xTaskCreate to run two loops on two ESP-32 cores: one for periodic API calls and one for implementing the fade with the given “brightness” and “flashing_speed”.
A number of bug squashes later, we have fully working code!
⚙️ Wireless Elevator Machine
Because I loved the machine week so much and the concept of the CoreXY, I wanted to build some sort of machine mechanism into Marvis in the remaining two days I had. I decided a fun, silly thing to build would be just an elevator shaft for a container holding some belongings. To begin, I whipped up a CAD model of the shaft which later turned out to be quite inaccurate!
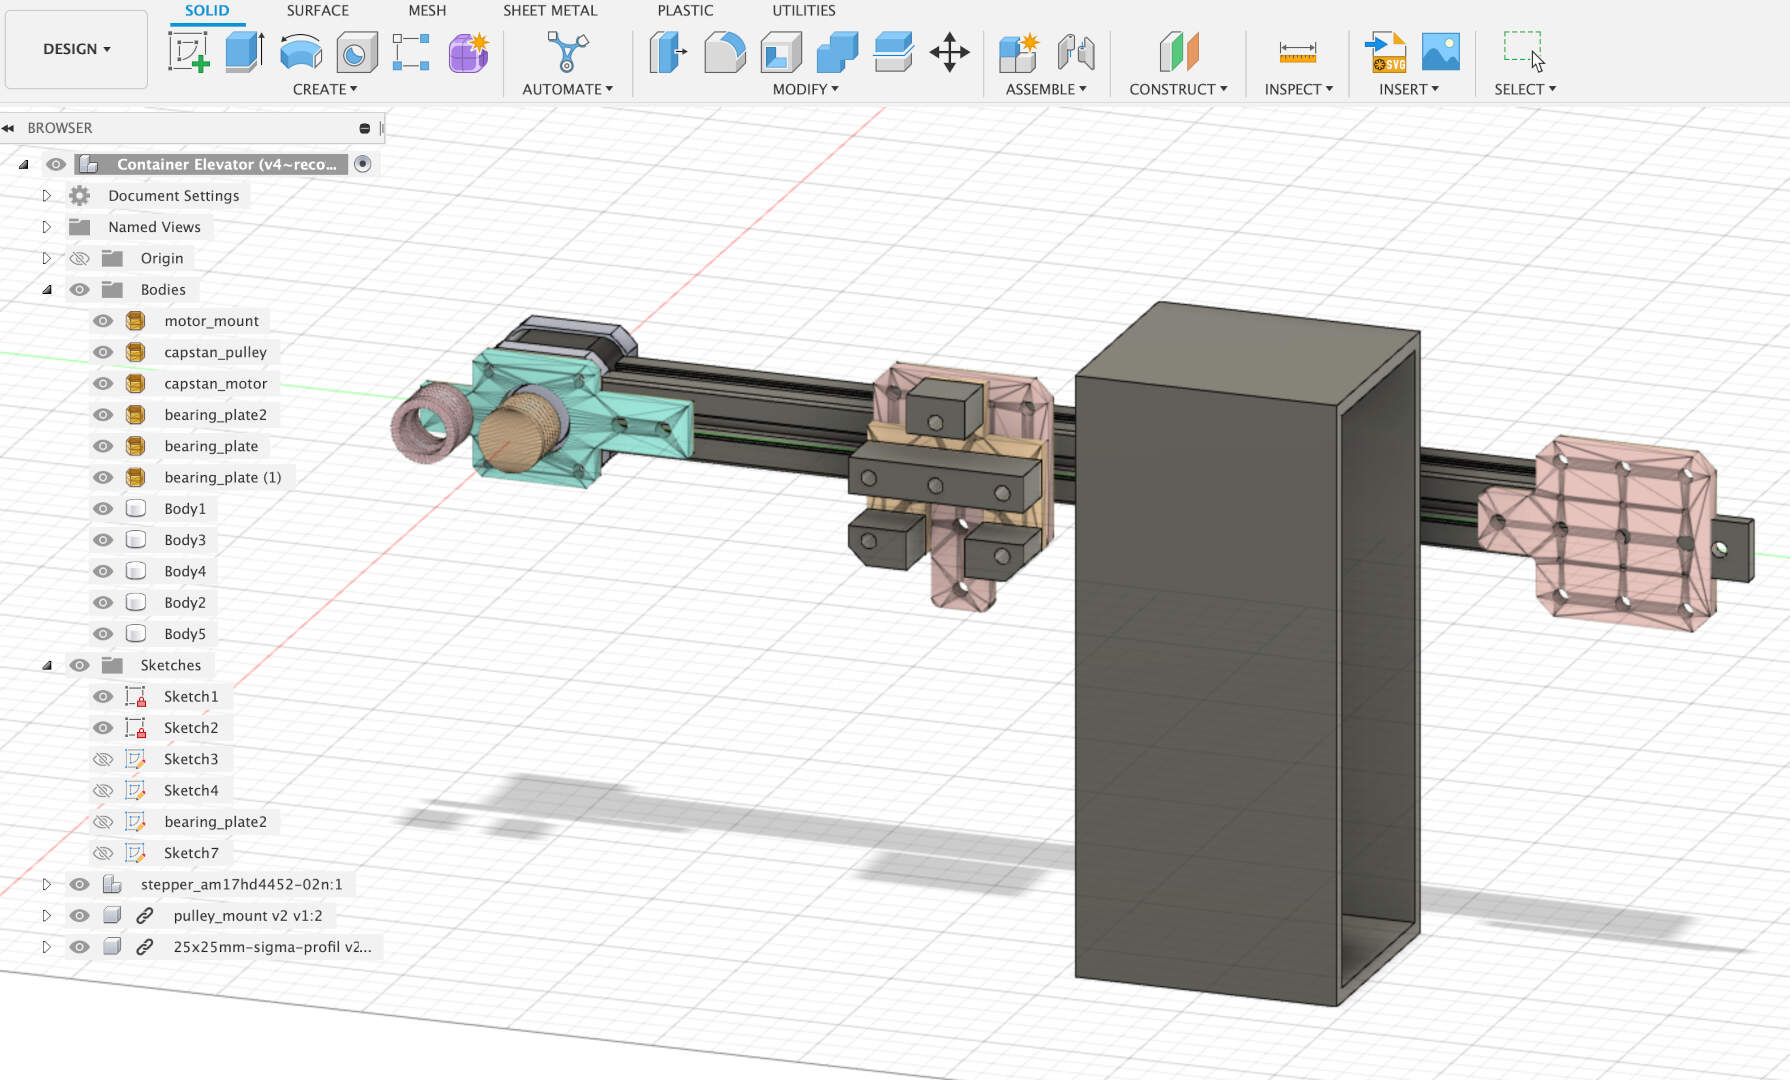
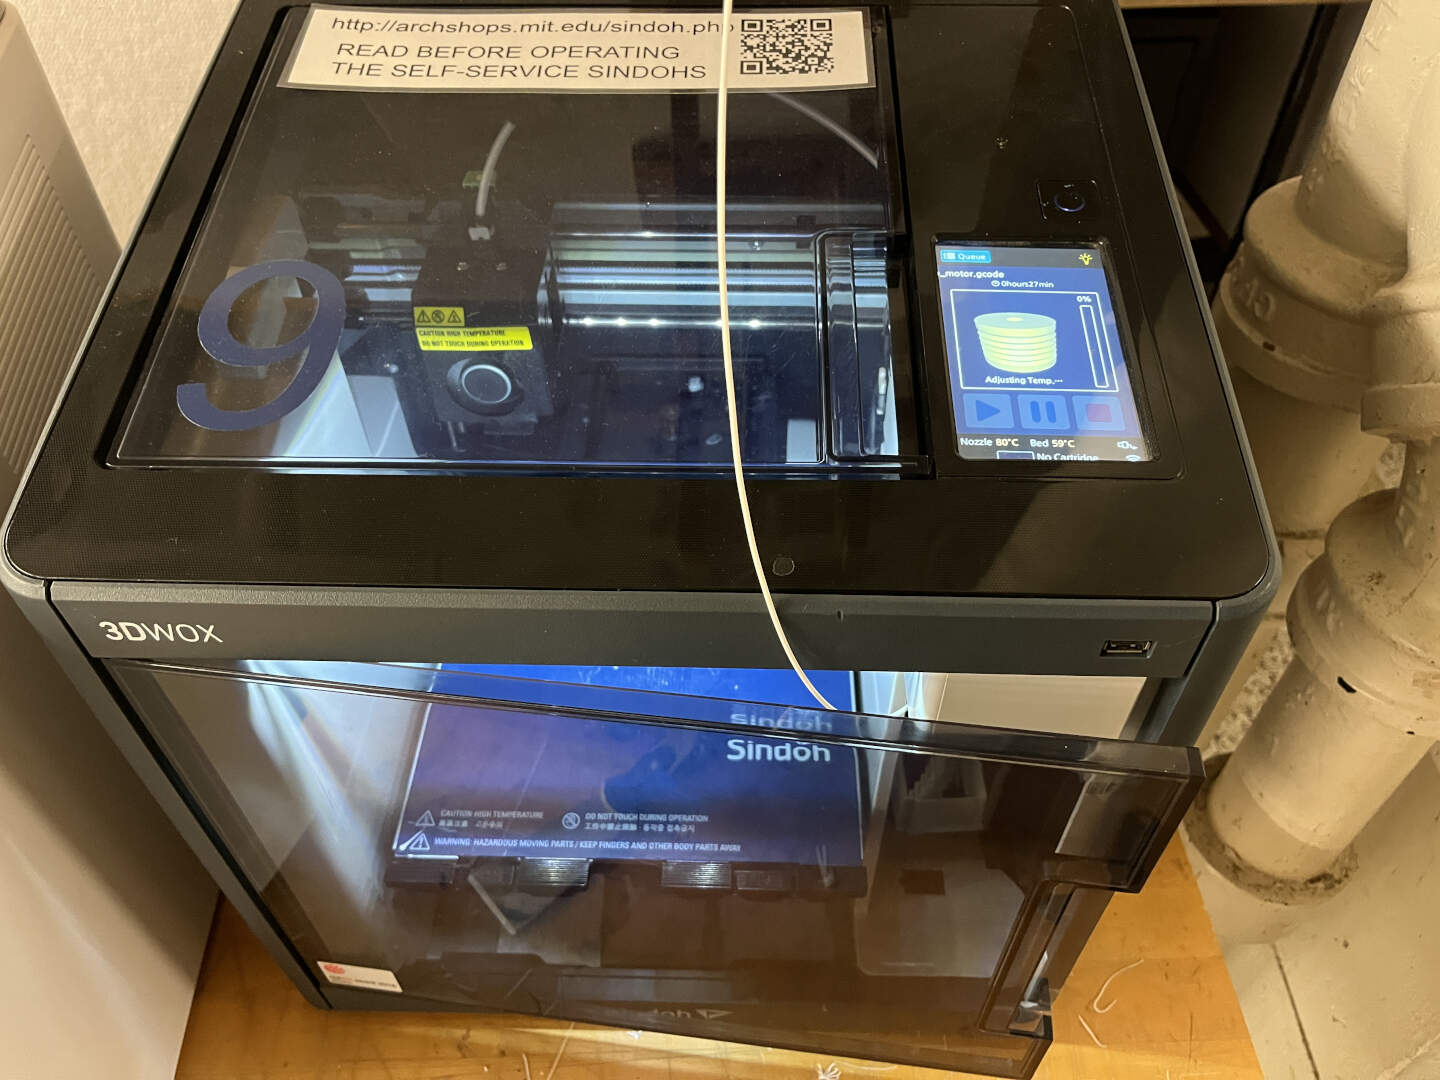
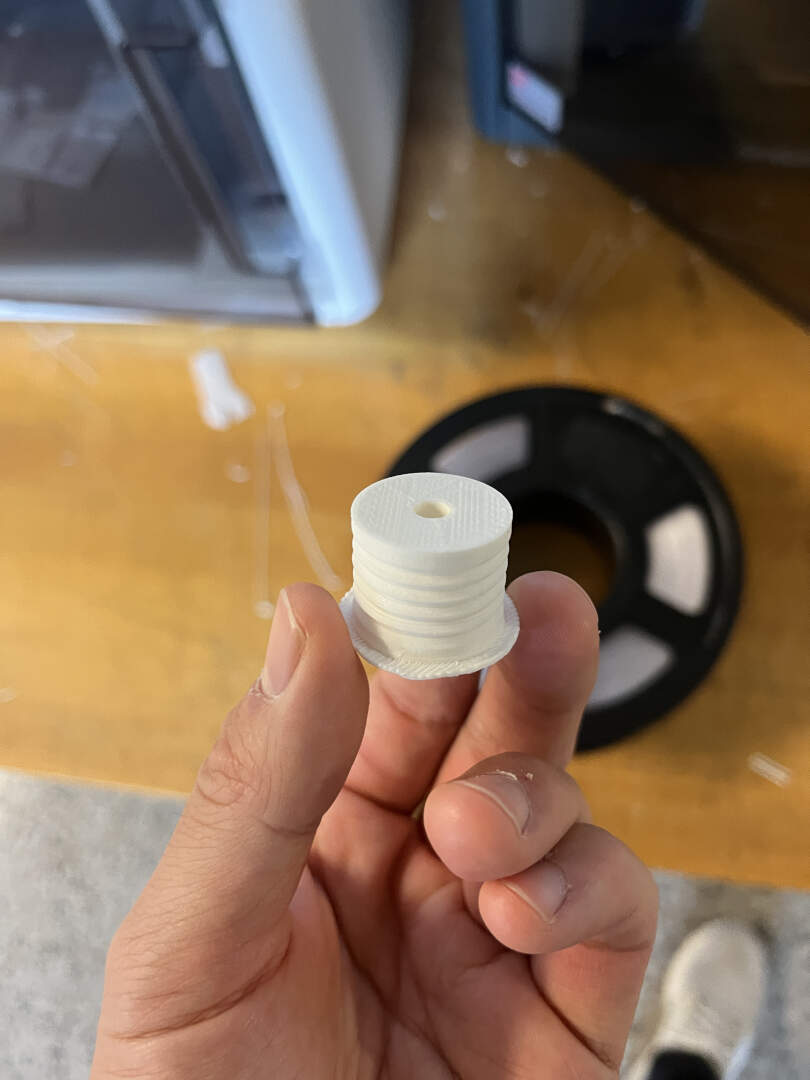
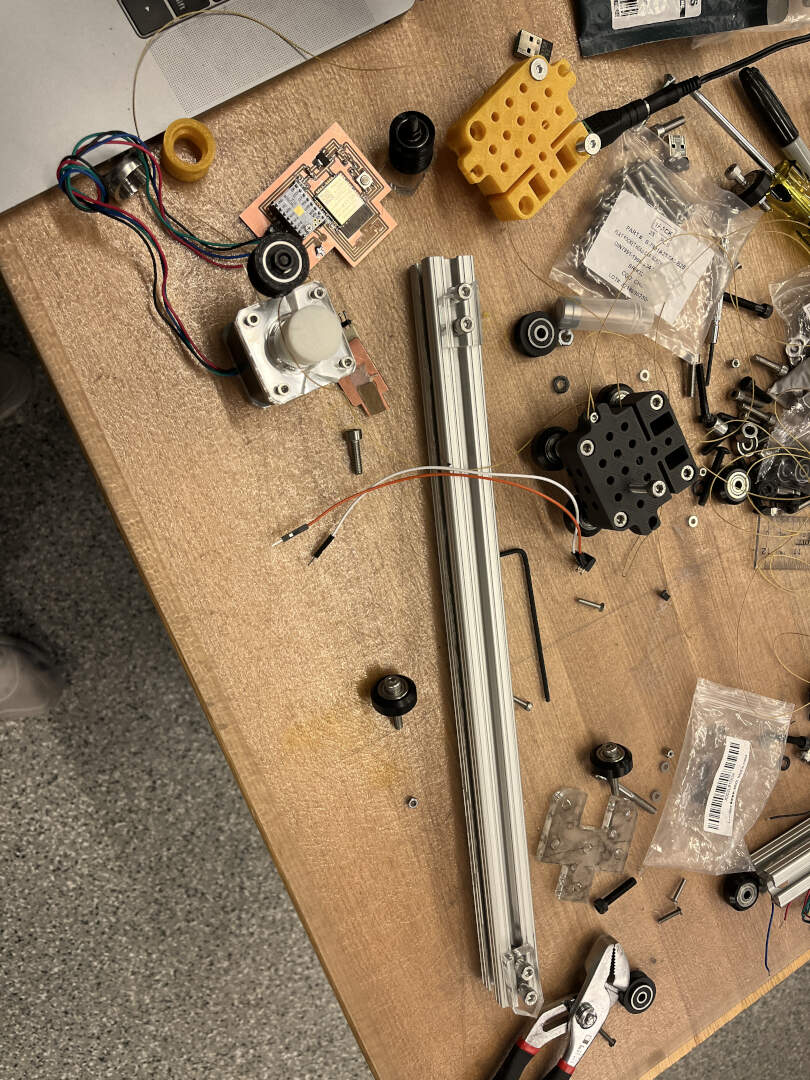
Apparently, there weren't any 20m by 20m aluminum extrusions anymore in our architecture section, so I used 25m by 25m from the EECS section. This meant that I had to scale some of the parts by a bit to achieve the right dimensions. The first parts I made were the 3D printed capstans for the pulley and stepper motor.
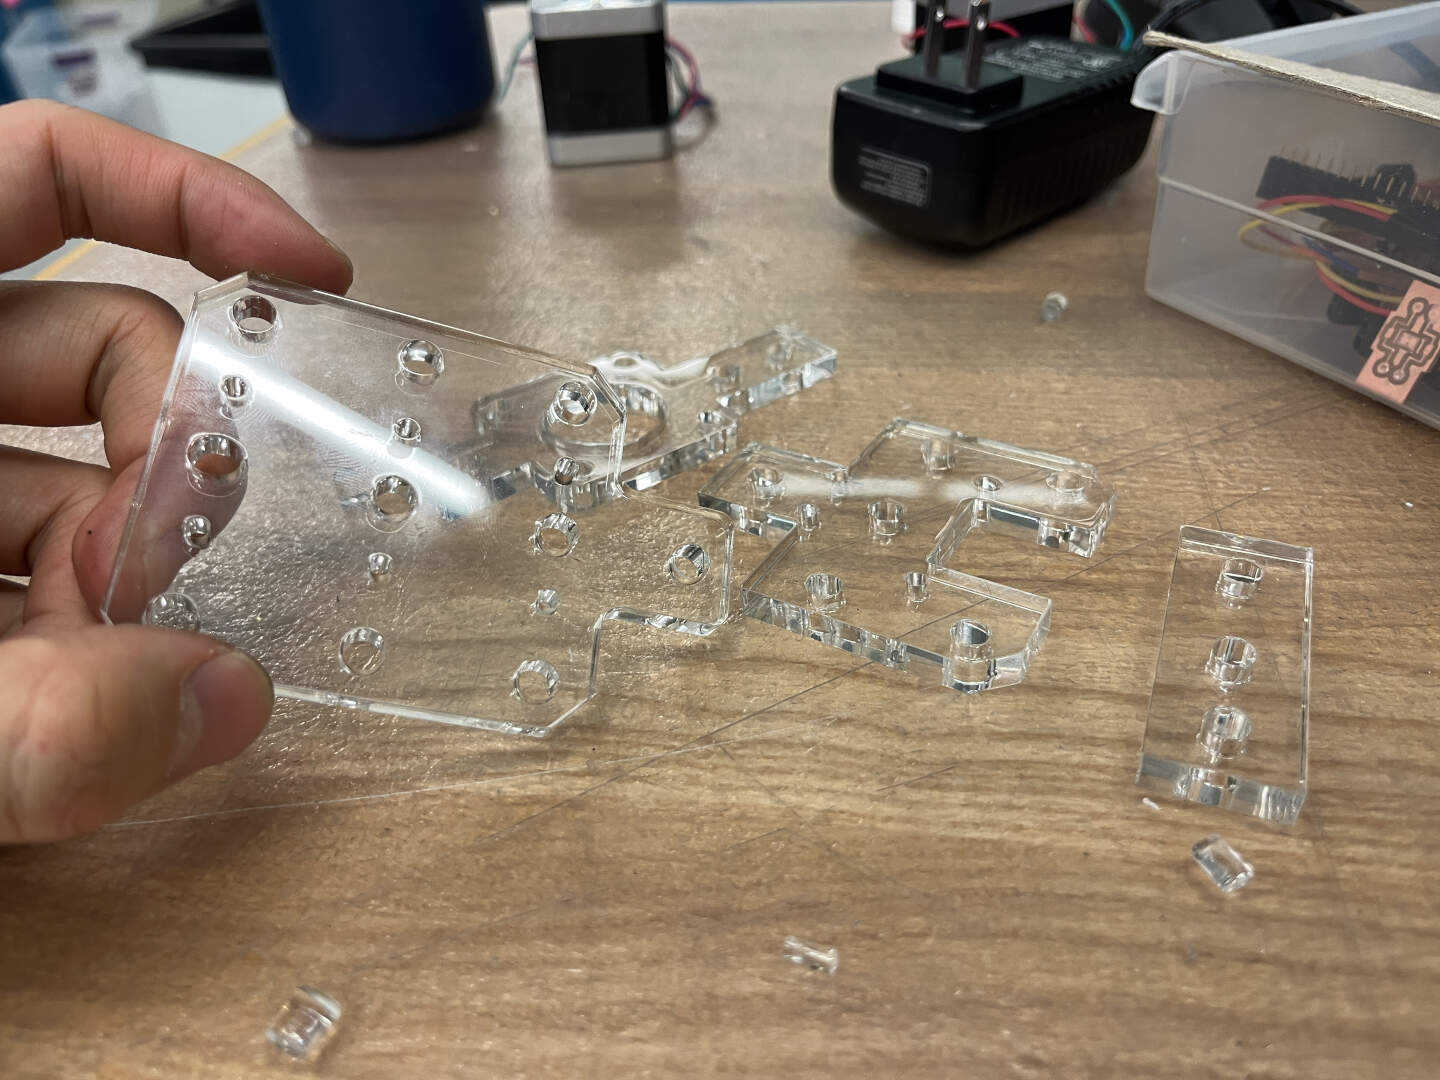
Next, I laser cut clear acrylic for the other parts of the machine. I didn't know at the time, but some of the parts were not going to be actually useful because the dimensions were still wrong for some reason!
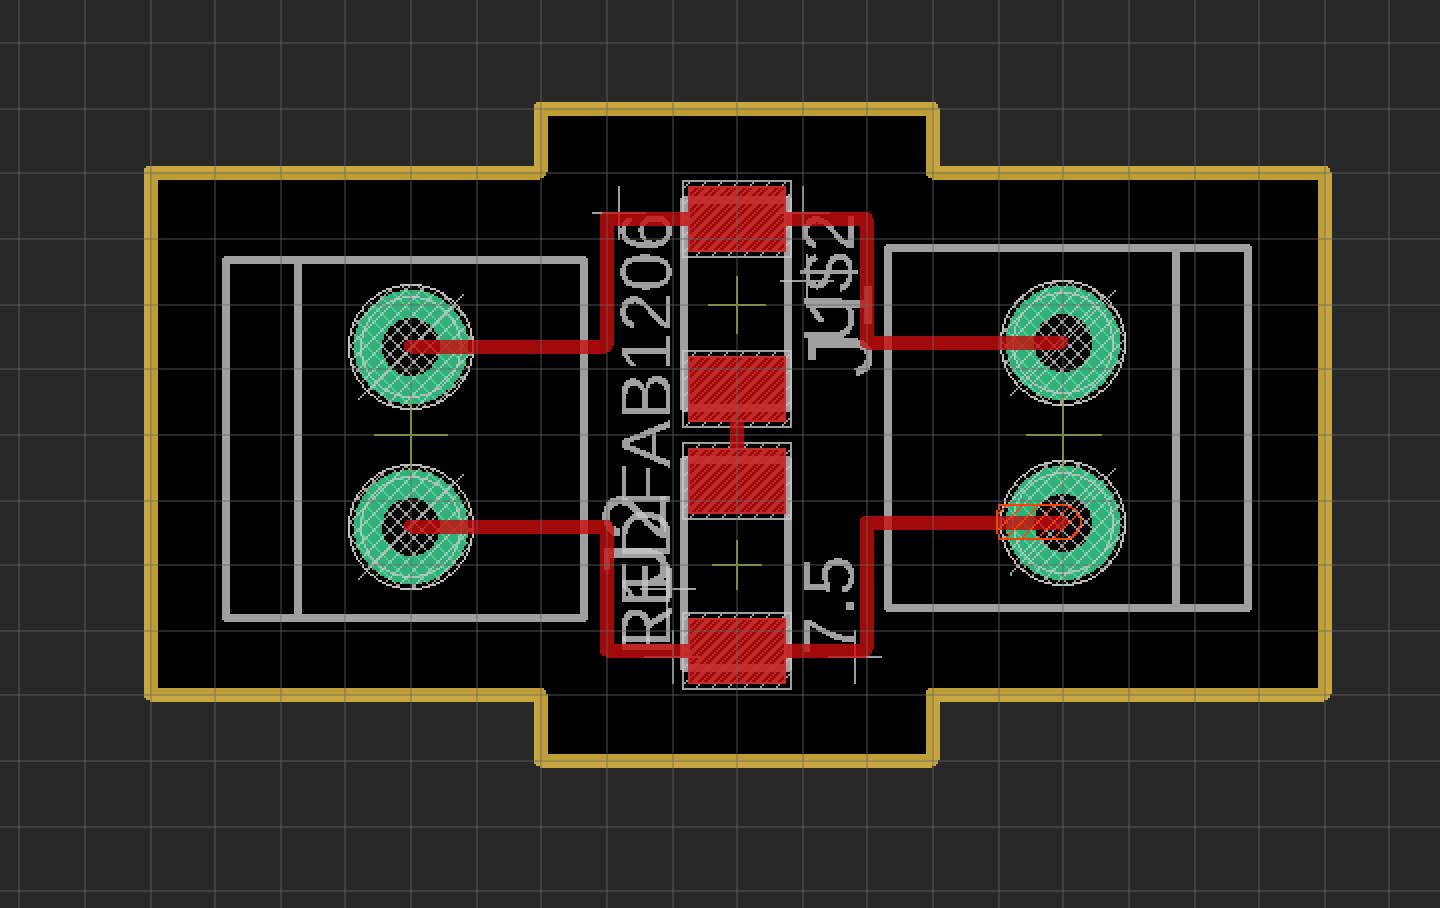
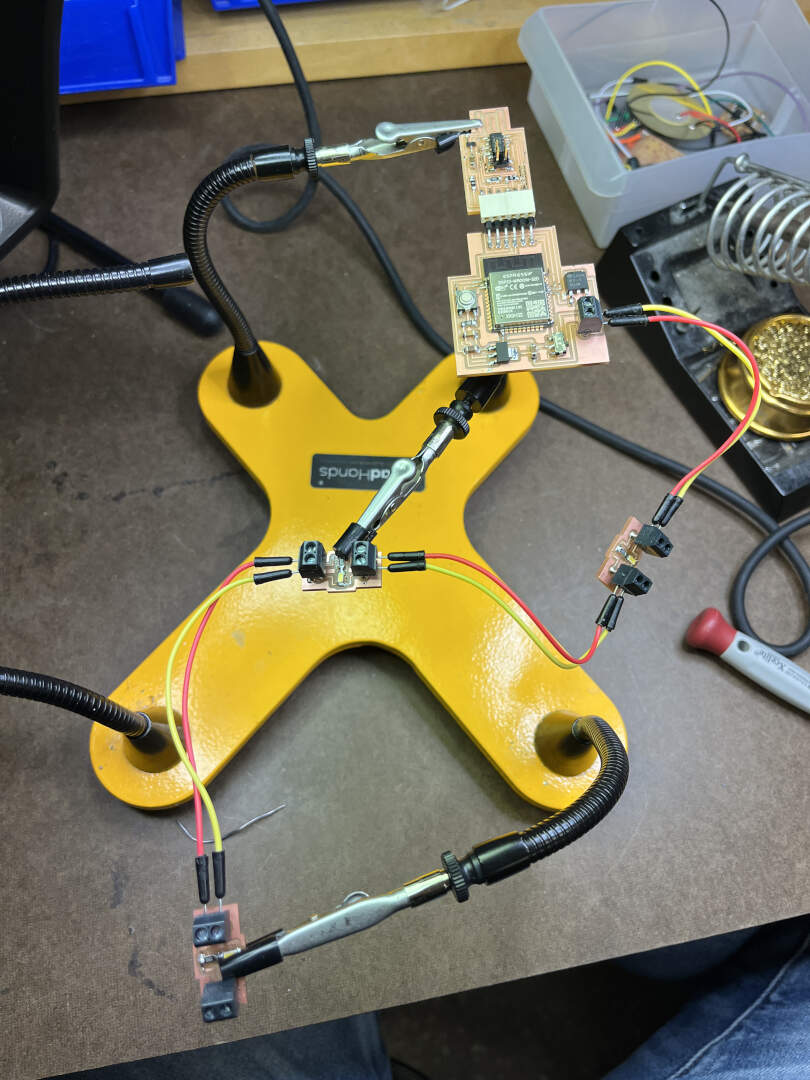
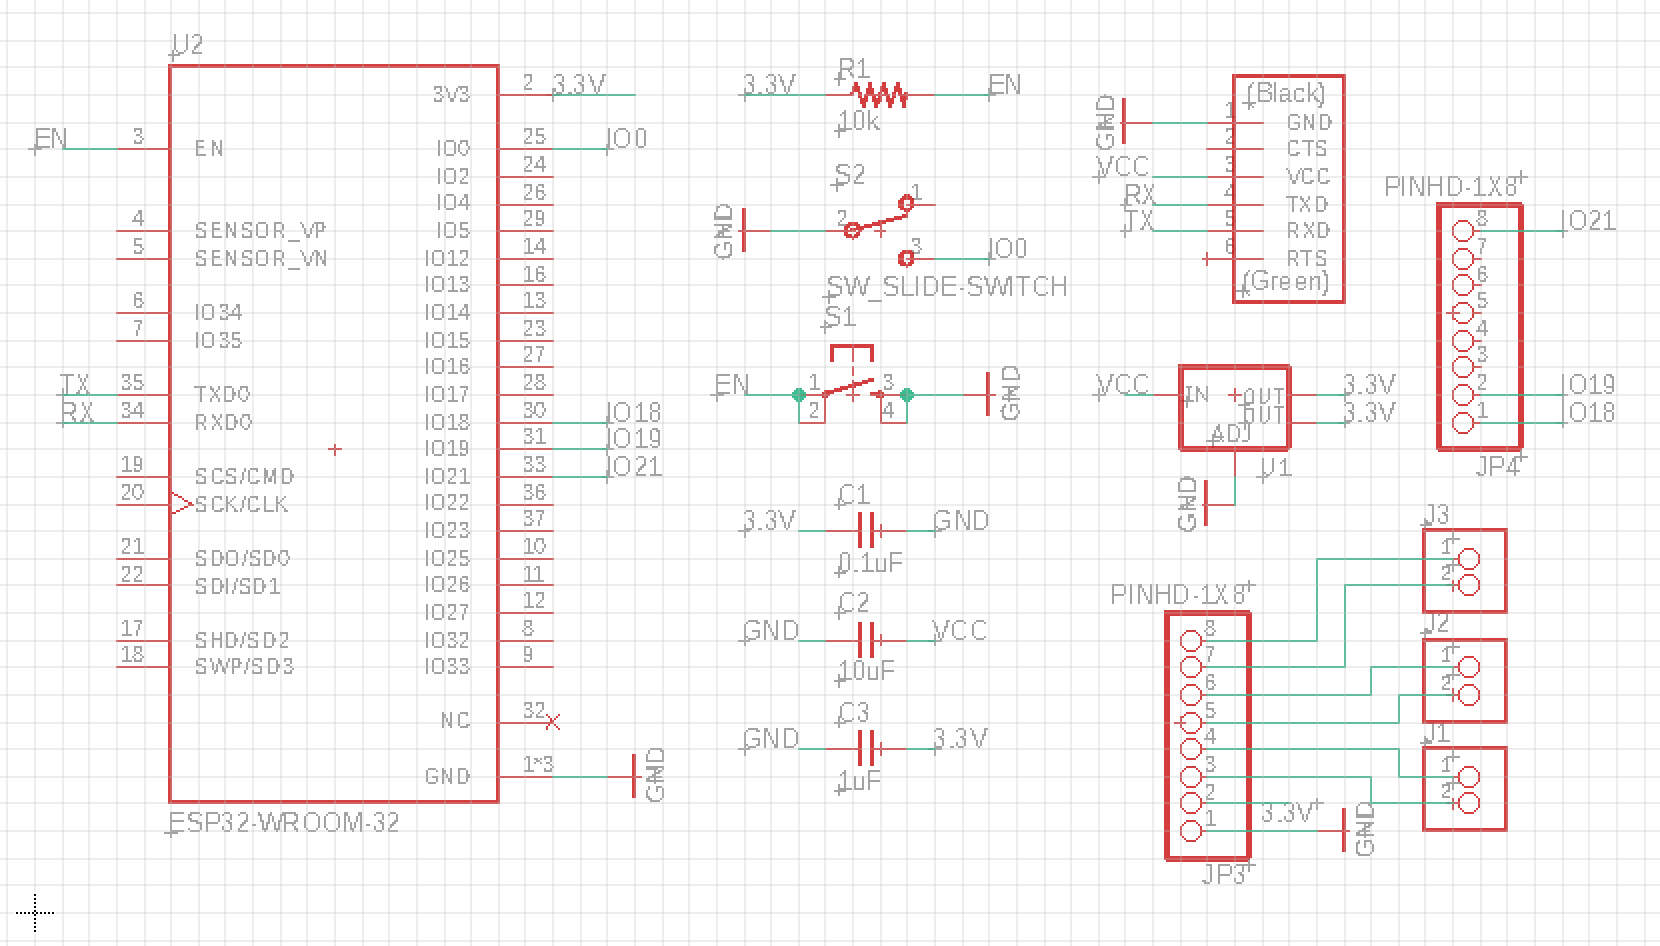
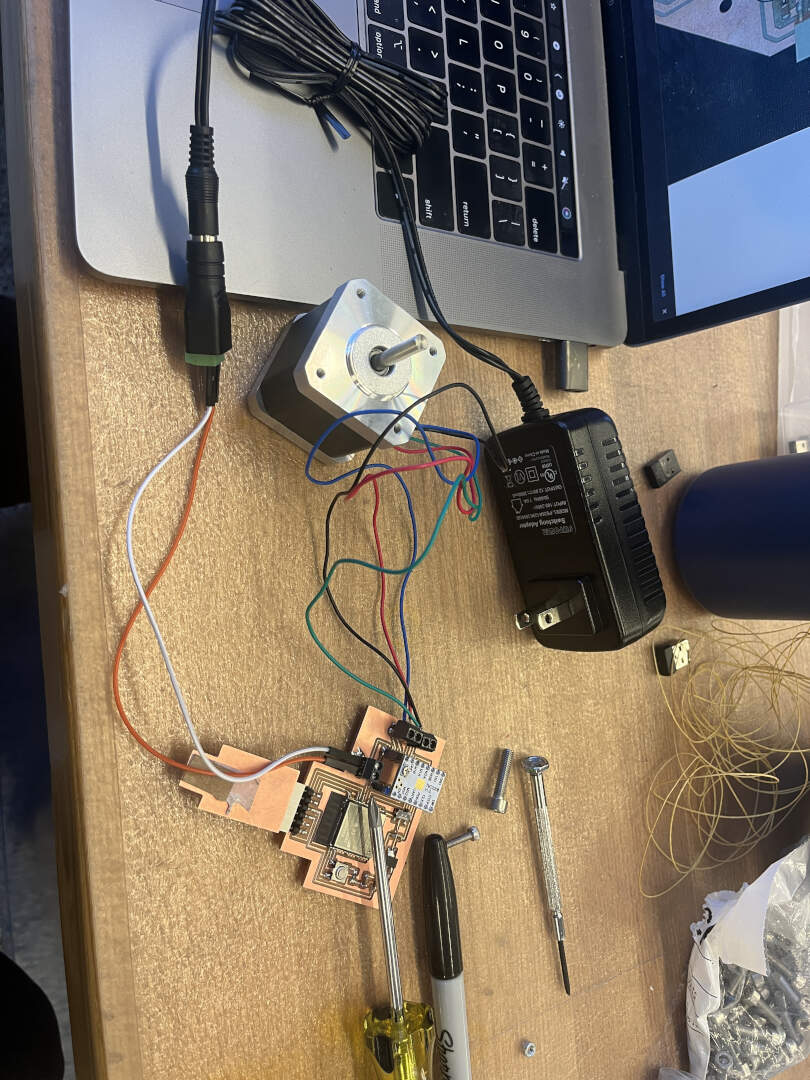
When I started assembling the parts together, I realized then that something was wrong! The wheels weren't fitting exactly, there were screws, nuts, and washers missing, and pretty much everything was not comign together. At this point, I was already sleep deprived and it was close to 12am on Sunday. This meant that I would have to figure out how to get the right things in one day. I started panicking a bit because nothing seemed to make sense then. What made it even worse was that I was also making the PCB board for the stepper motor at the same time. You can see the schematic and PCB below, which utilizes an ESP-32 and TMC2208.
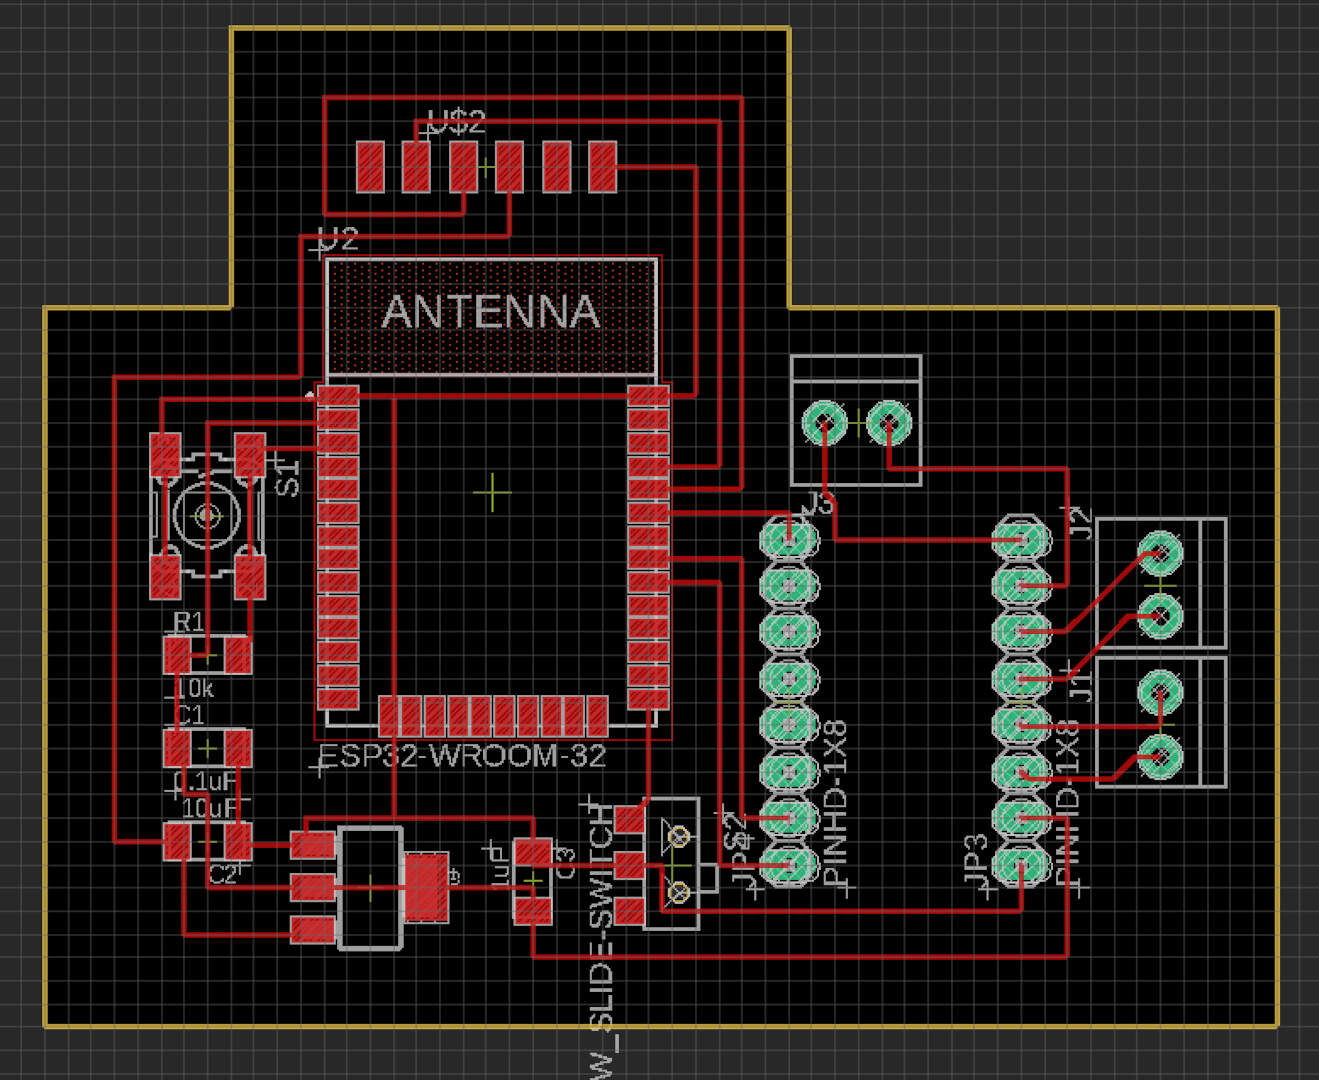
But I actually printed the above where the spacing between the TMC2208 sides were actually too thin (imagine the pin headers having a narrow width, so I couldn't actually insert the microcontroller). This was at 3am, and I was in the middle of soldering when I realized. This definitely added to my panic! But I managed to eventually solder everything well and get the following nice board. Note that one of the terminal headers is used to connect to a power source of 12V, and the other two terminal heads are used to connect to the stepper motor.
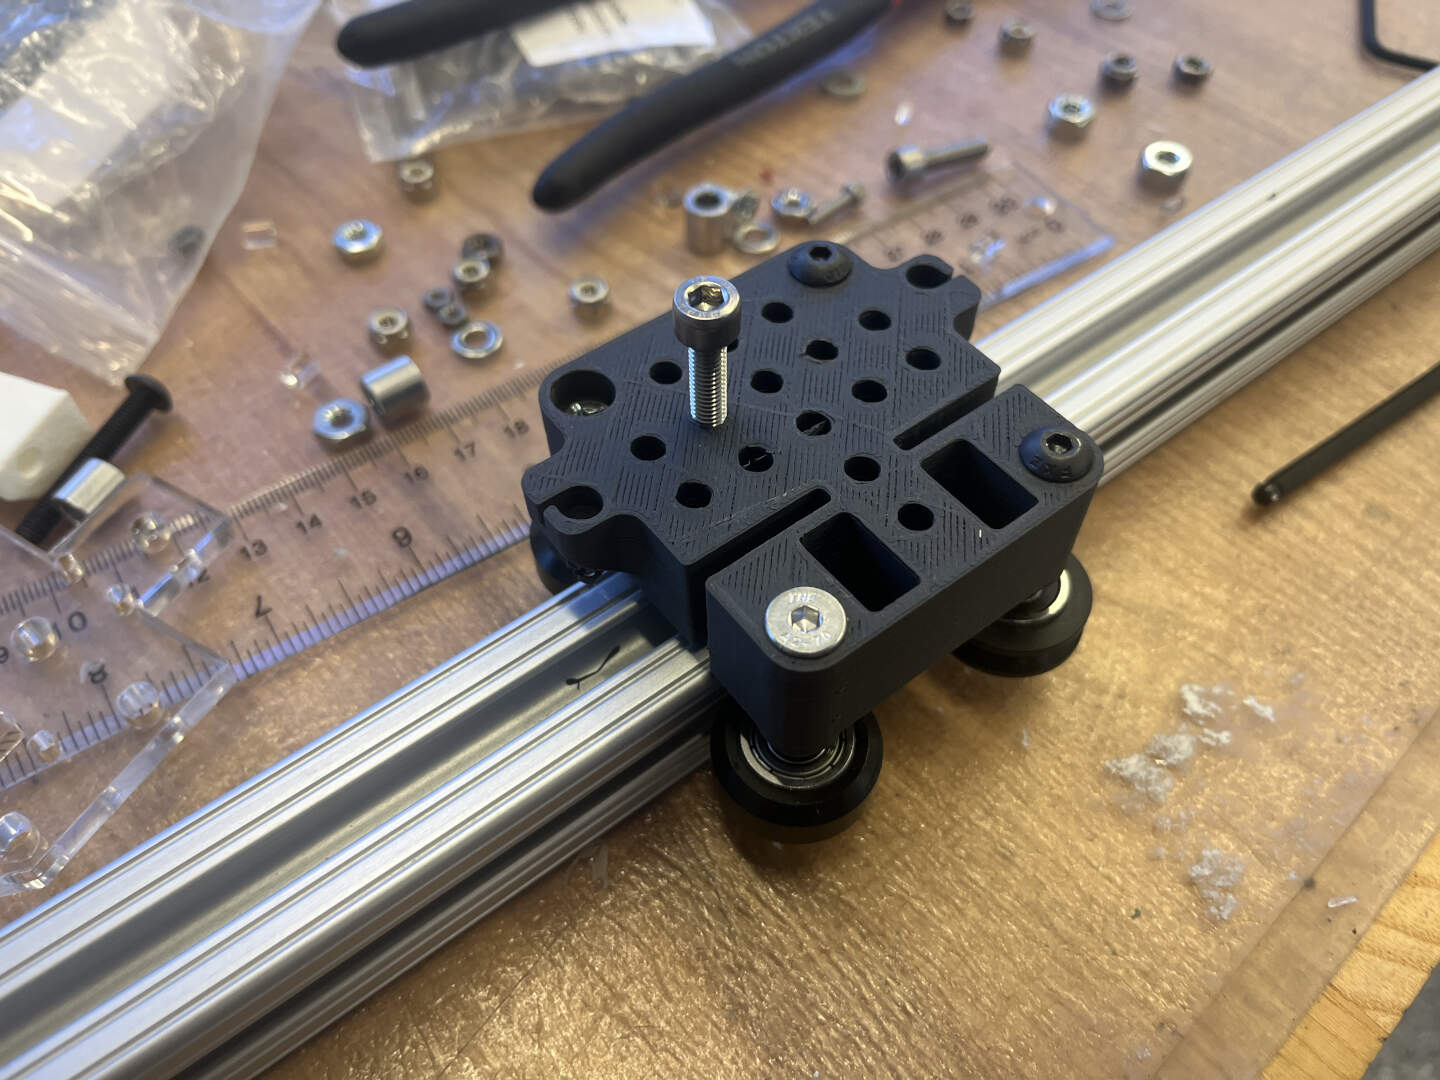
My panic also brought me to explore a bunch of back-up options for the assembly problem. Lucky for me, one of those options actually worked! I 3D printed one of the Beehive parts, adjusted for 25m extrusions, that worked perfectly the next morning.
Next, I assembled more of the parts including cutting the extrusion with a bandsaw, bolting the stepper motor to the extrusion, and tying the kevlar string around the pulley system. Another unfortunate thing happened though! As I was trying to tighten the kevlar string, I walked away for a bit, and the entire system fell on to the floor, cracking the acrylic and breaking the circuit board. Well, it took me about 2 more hours to get back to the original state!
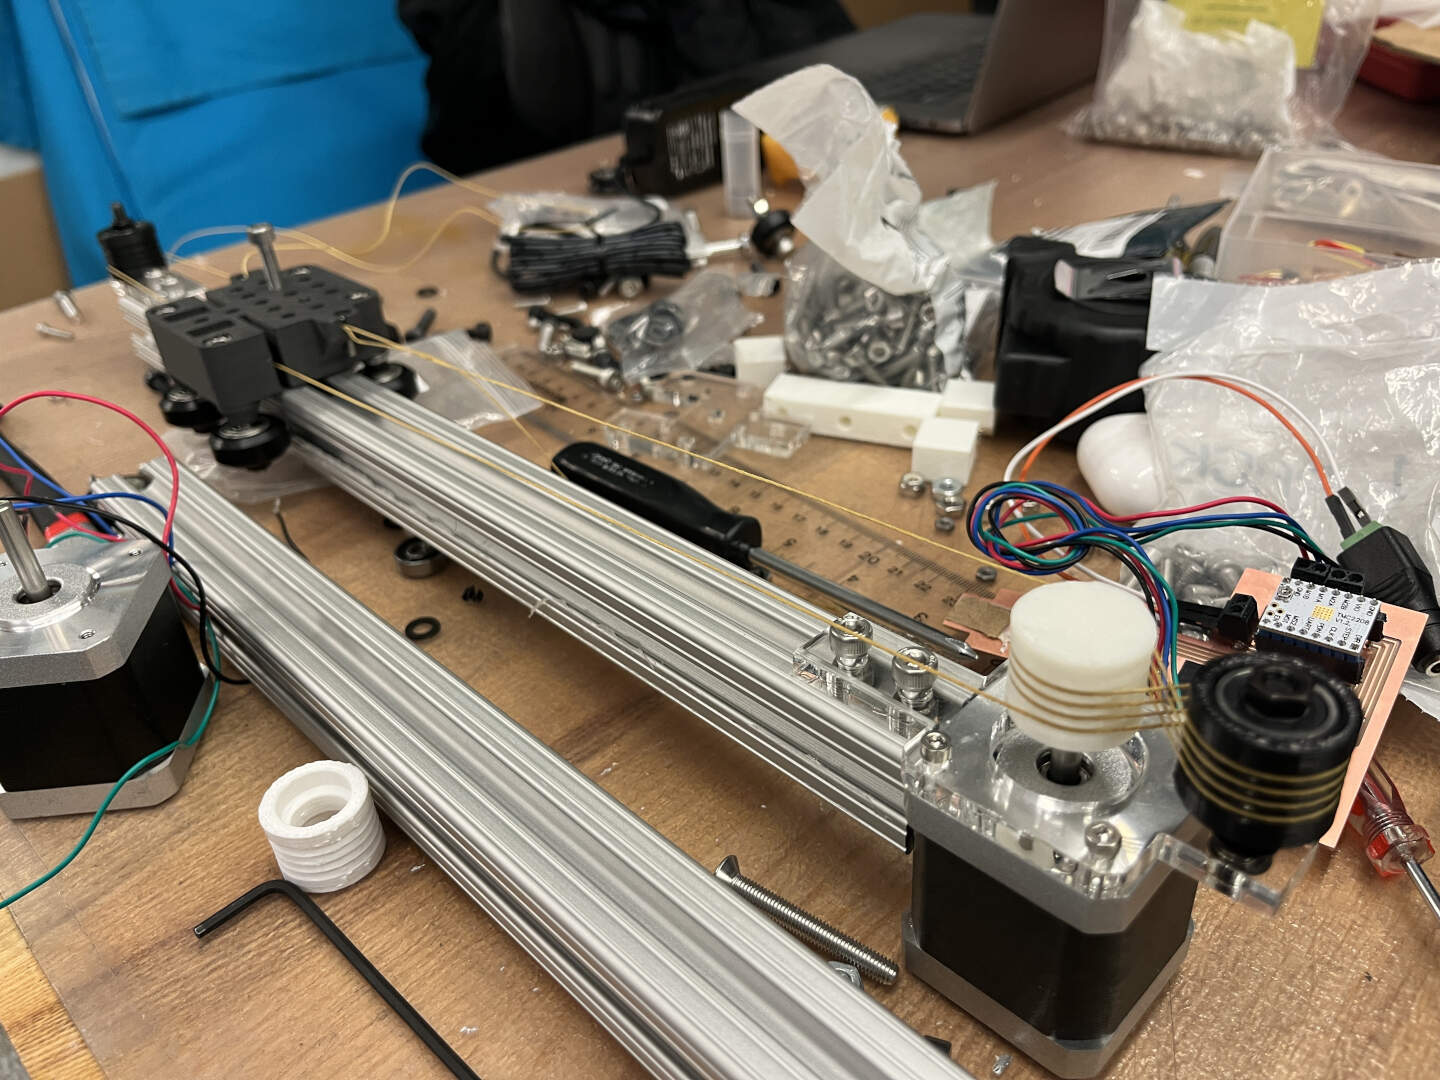
Afterwards, I tightened the kevlar string and programmed the stepper motor to do some basic movements!
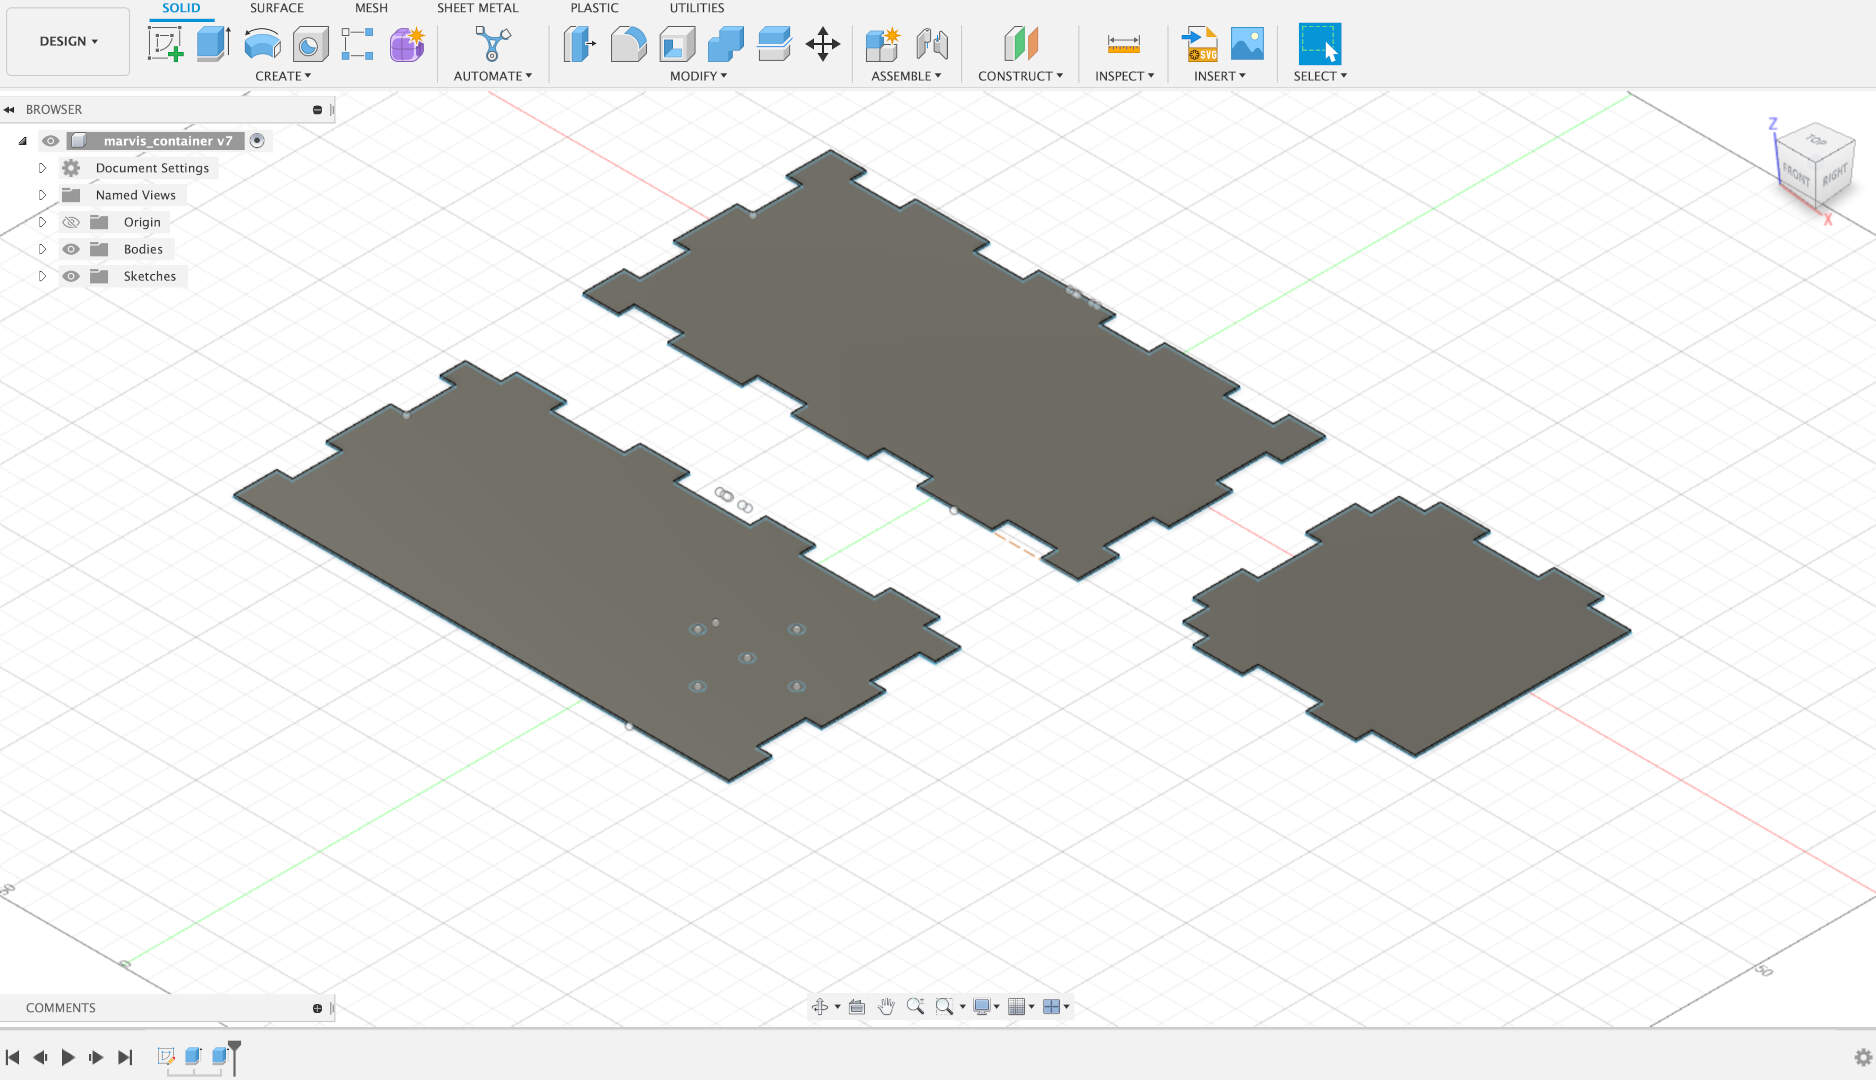
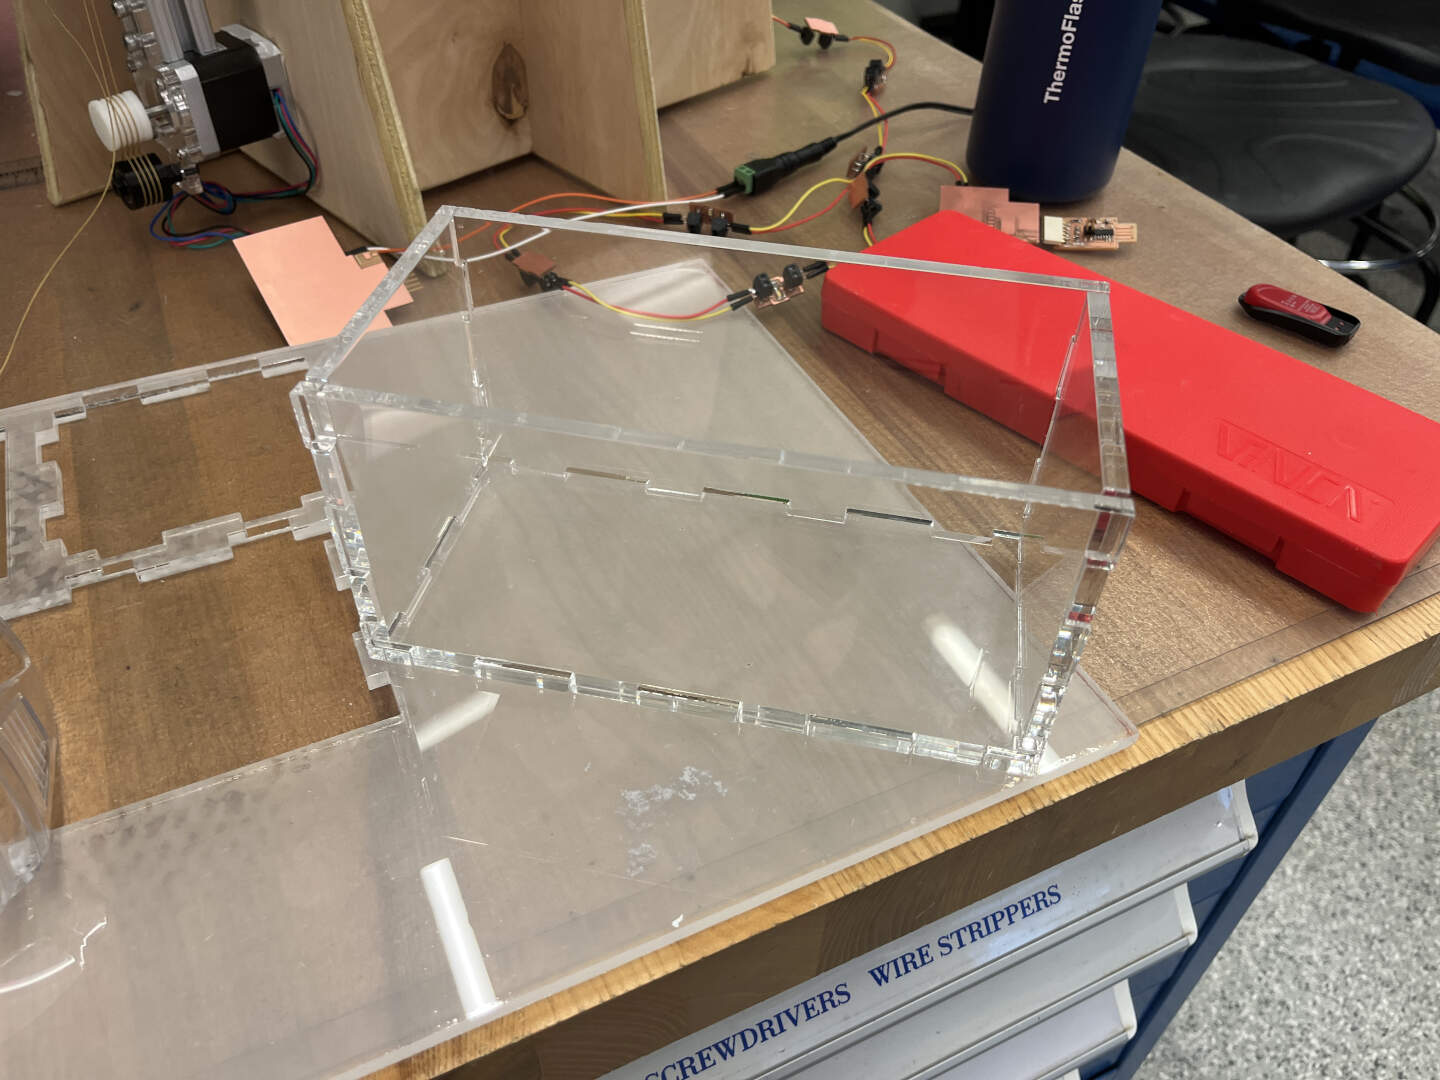
Before I changed the program, I designed and cut an acrylic container to attach to the elevator shaft. I used a hot glue gun to keep the joints together.
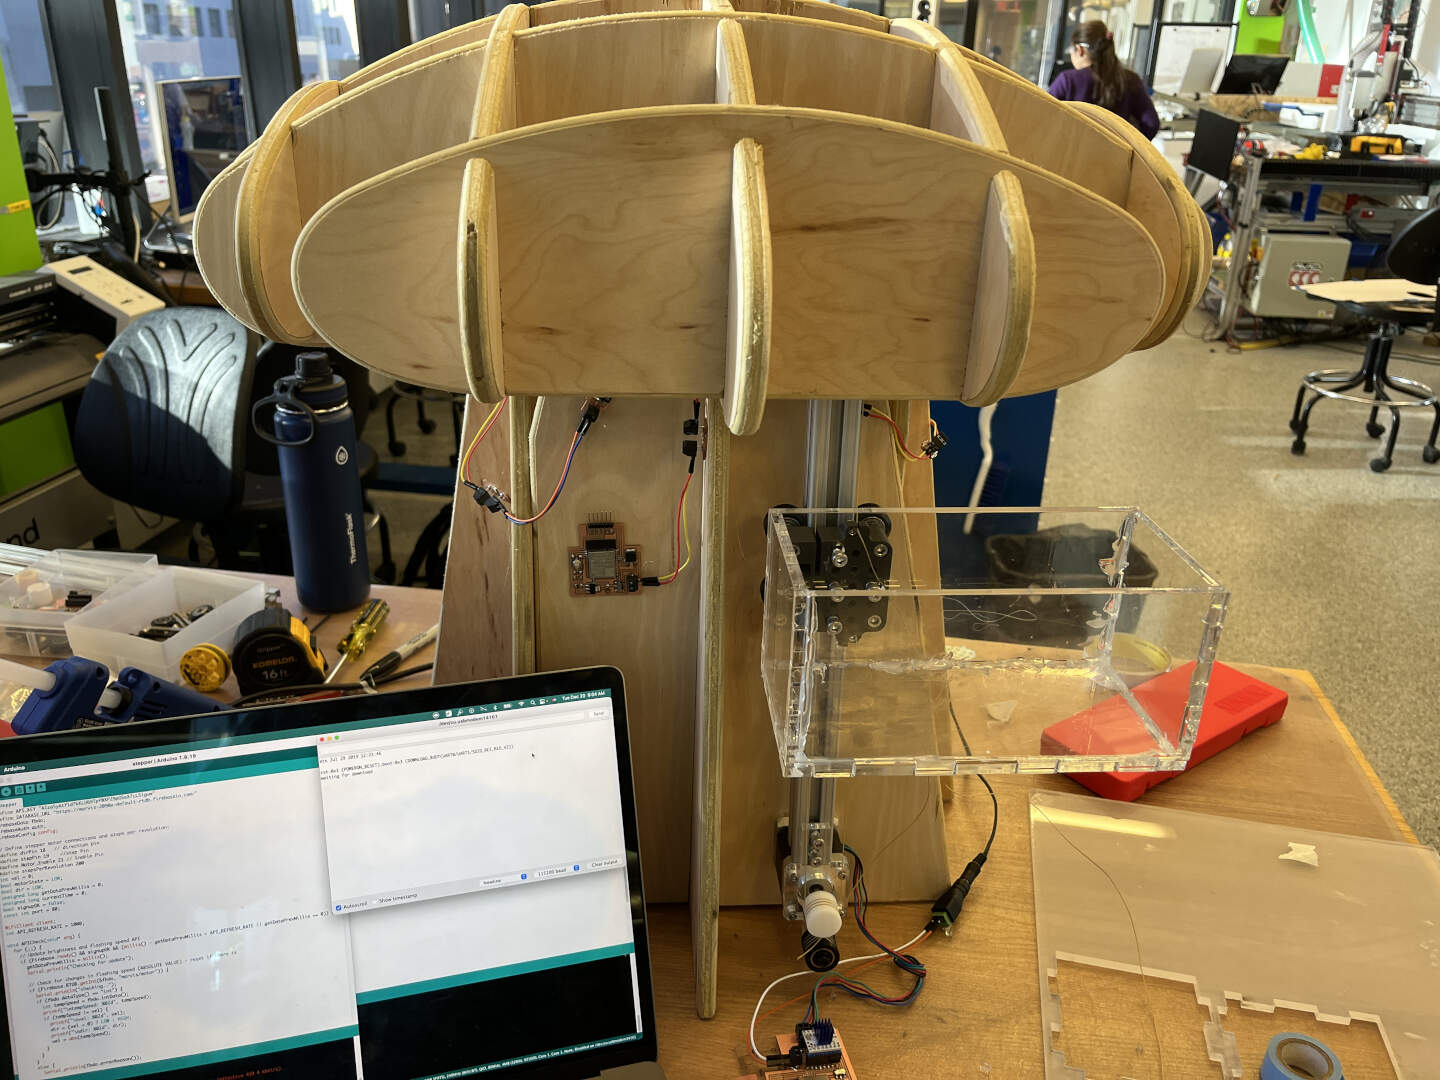
Finally, it took me a while of fixing a bunch of bugs, but I eventually got the elevator shaft program to work! You can see the code here. In essence, it follows the same footprint as the LED lights: running a constant Firebase RTDB API check loop and a movement loop in two separate ESP-32 cores. Also note that the stepper motor was hot glued onto the chair, and it works surprisingly well!
🖥 Front-End Interface
At first, I wanted to just build a vanilla HTML/CSS/JS website and have it communicate to Firebase, but I quickly realized that it wasn't that simple. I decided to take this as an opportunity for me to learn a little bit of React and built the website in that front-end framework. I had previously done some work in React, but it was a few years ago, so I already forgot everything! You can view the full code here. Basically, all of the files are the template React files after doing the init command "npx create-react-app [name]". The only important file here is the App.js under source.
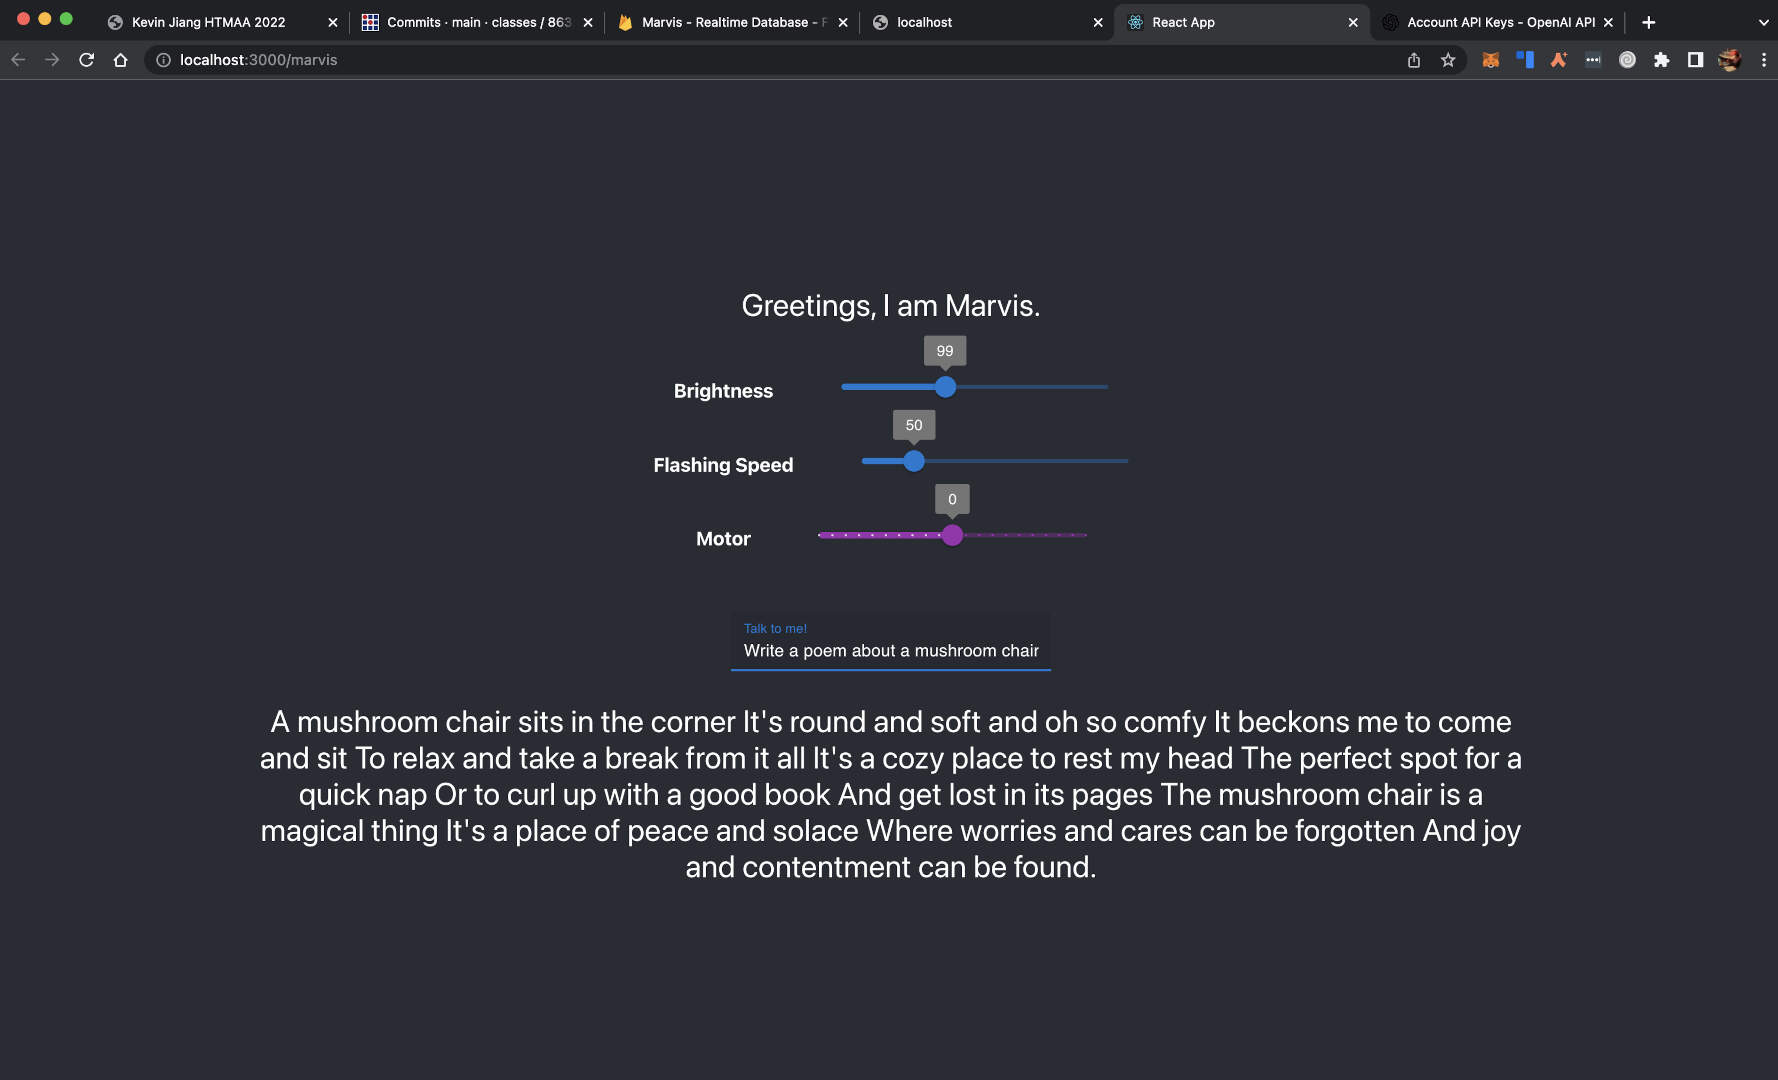
The gist of the React website is broken down into just two parts: sliders to control the LED/motor attributes and the AI talking portion. For the first part, I used some of MUI's nicely designed components to allow the user to slide values around. I would have a callback function when a value was committed, which would call the 'update' function of Firebase Realtime Database to update the entry values (which would then update the hardware too since the ESP-32s are constantly watching for any changes to the database).
Second, I wanted to use ChatGPT to have the mushroom talk to you. Unfortunately, OpenAI has no official ChatGPT API as of this time, so I tried to resort to the unofficial ones. The recent Cloudflare implementation rendered many of the unofficial APIs useless. I found one that seemed to work, but I never actually got it work on my website. Thus, I resorted to just using GPT-3 instead! More specifically, I used the text-davinci-3 model.
I used the OpenAI API to make POST requests, which meant that I was using my API secret key. Unfortunately, I hosted my website using the simple GitHub Pages, which doesn't really allow you to hide your API keys, so for my AI demo, I ran my local instance for people to type in.
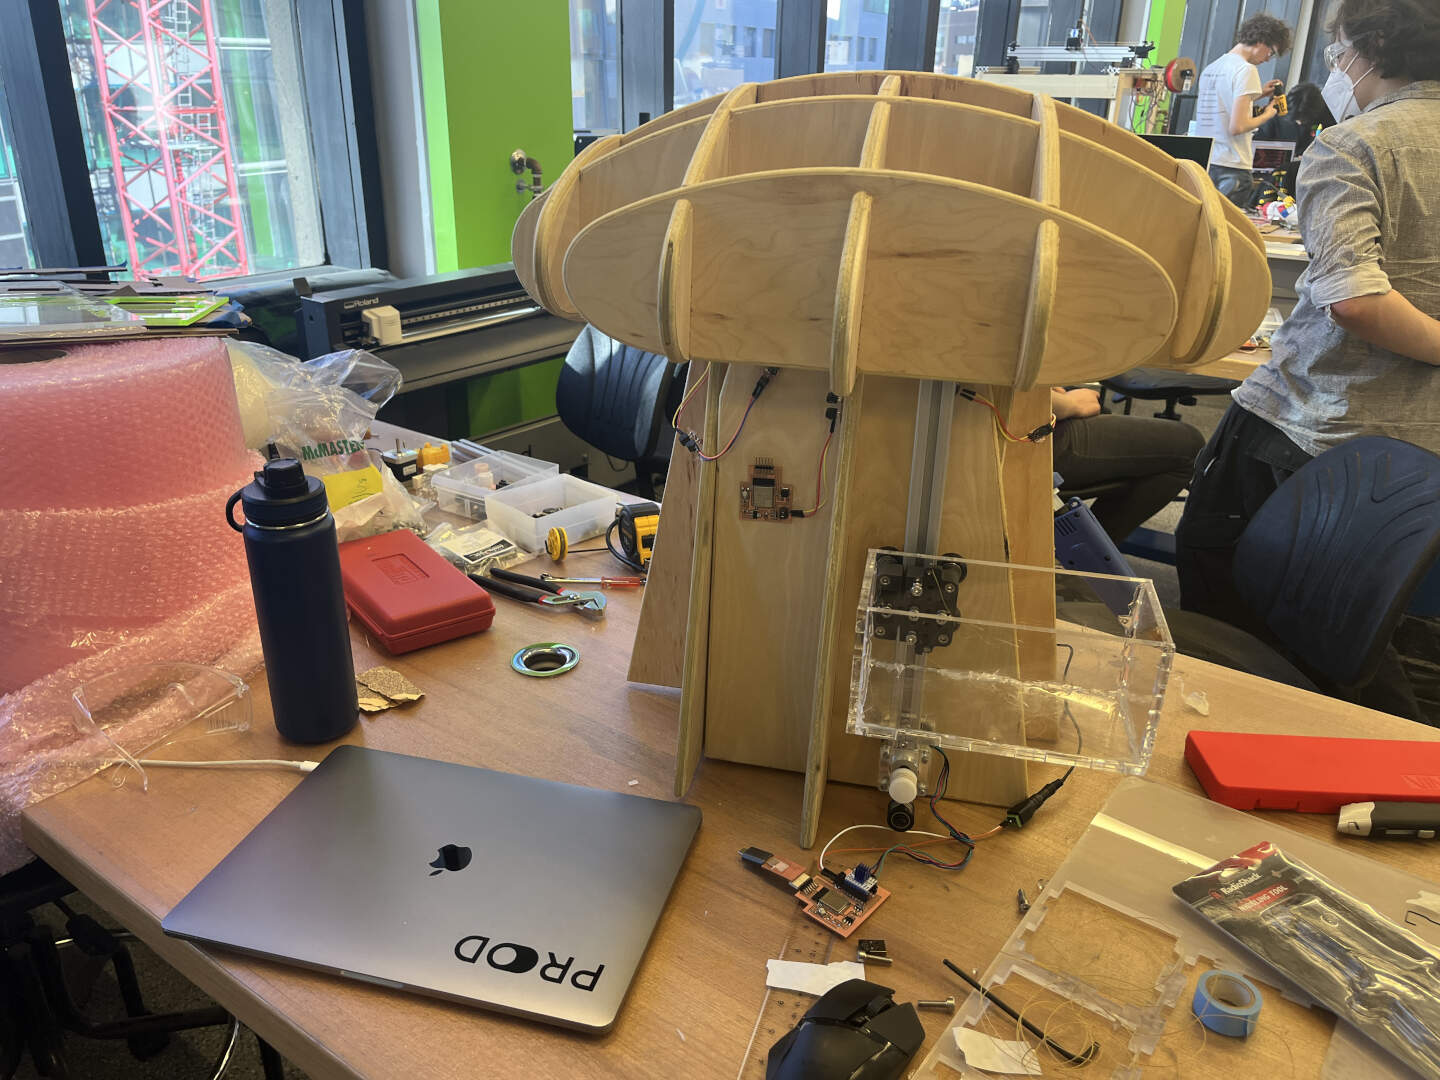
🛠 Integration
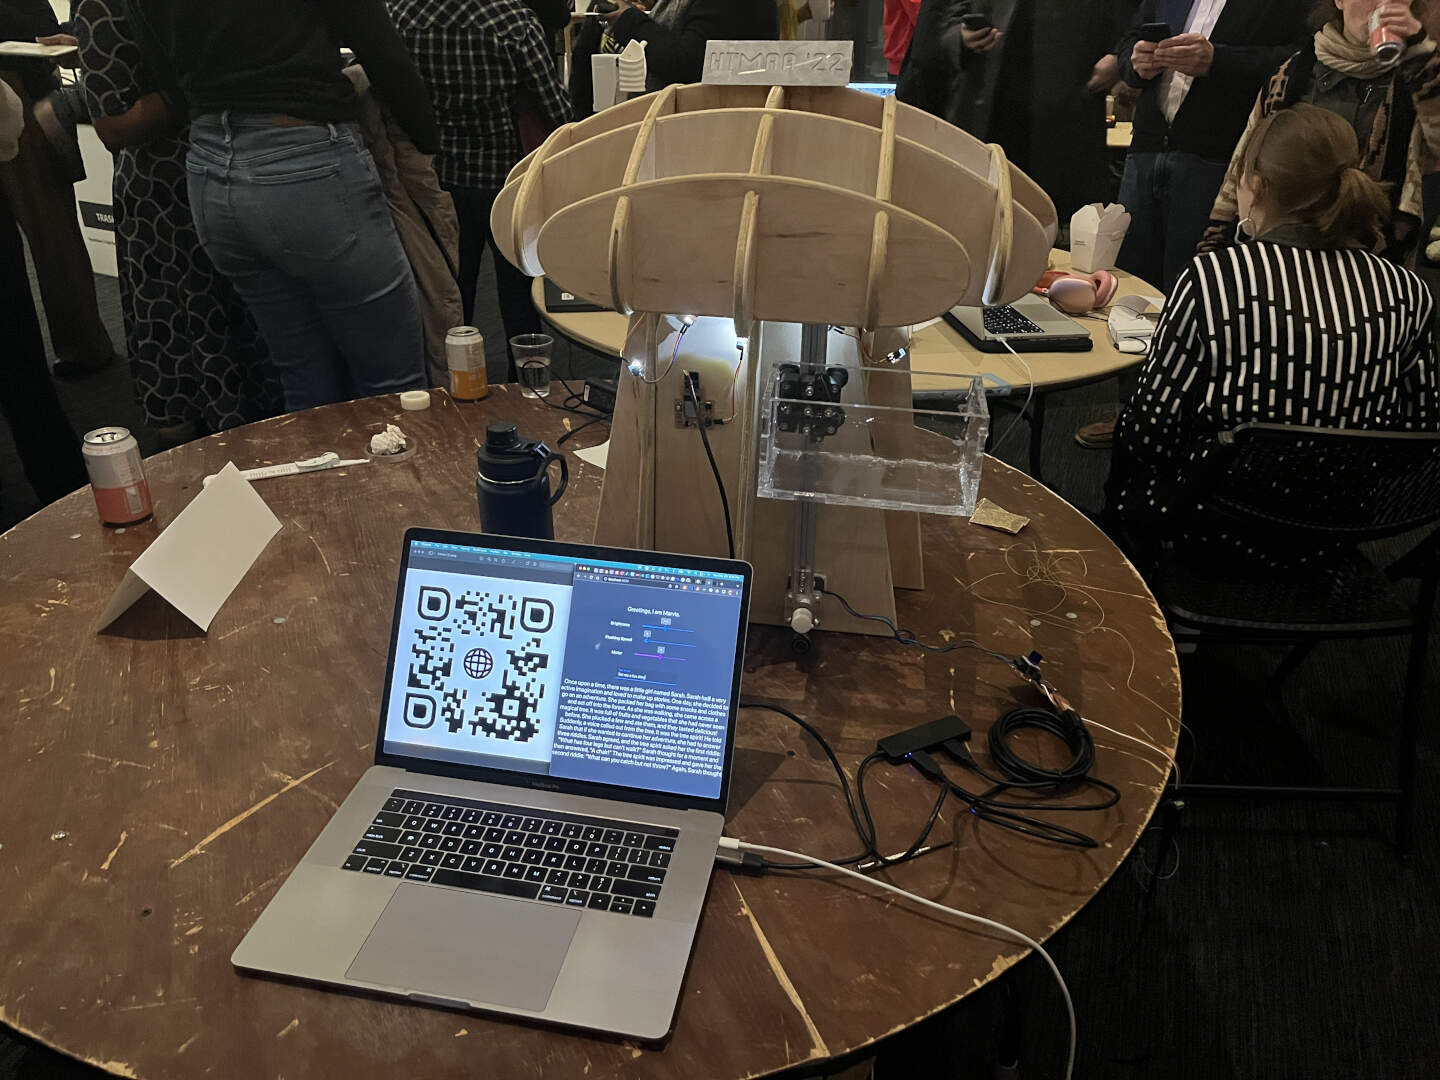
Finally, the system integration! I ran out of time to 3D print covers for the wires and boards since I pulled an all-nighter and got a grand total of 1 hour of sleep. But I did spend some time to make sure the whole system worked. I hot glued the LED system to the chair and connected the LED and motor system to my USB hub. You can see pictures of my full assembly below!
I also generated a fun QR code for people to scan and control the system on their own phones!