This week was networking week, which essentially means making something that talk to something
either wirelessly or with wires. I went with the wireless
bluetooth approach. As my
final project involves some type of motor control,
I thought it prudent to play with some sort of wireless communication protocol in case I
have the time to make my own remote control. Spoiler alert: I did not.
However, this week was still exciting. I worked with the
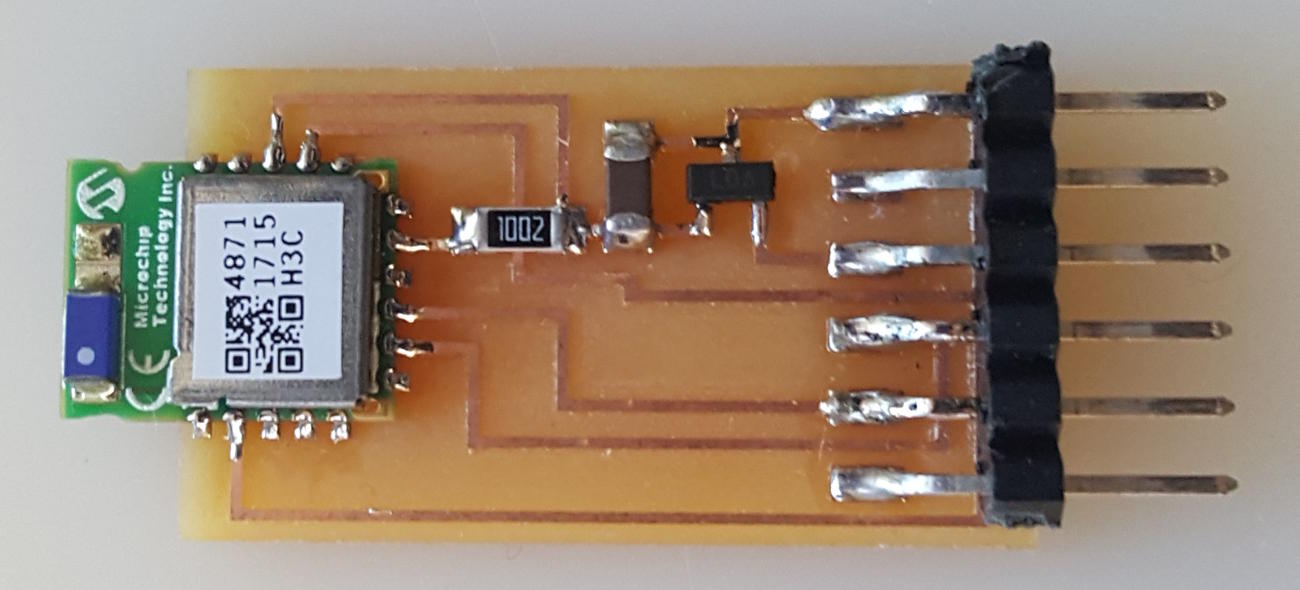
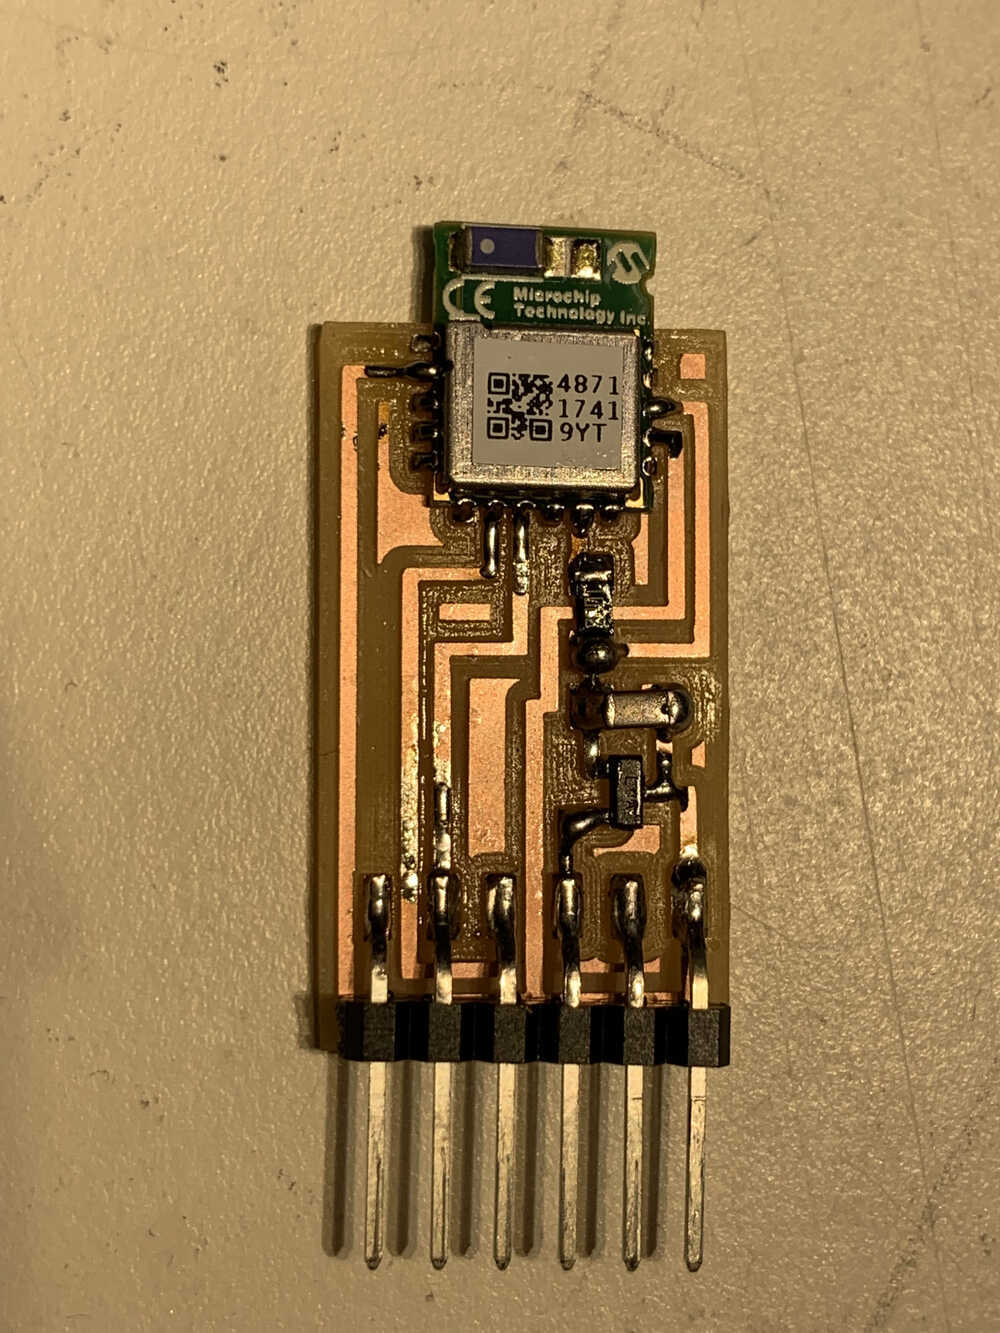
RN4871 (2.4 GHz Bluetooth) chip.
The actual component is
here.
I followed closely Neil's
demo video
.
Joris Navarro's 2018 site was also a helpful guide.
For a more detailed explanation by Neil himself,
this video from his 2018 class
talks through what he is actuall doing in the demo video. Go to around minute 55.
The first thing we can do (which I also did) is to connect the bluetooth chip to our phone and
send data both ways. To connect to a phone, I used the
nRF Connect iPhone
app, though many similar applications exist. We first need to estabish a connection between the
bluetooth device and a computer terminal, however, in order to actually interface with the chip.
To do that one needs a miniterm.py file, found on the HTMAA site. We can then establish an
interface as follows:
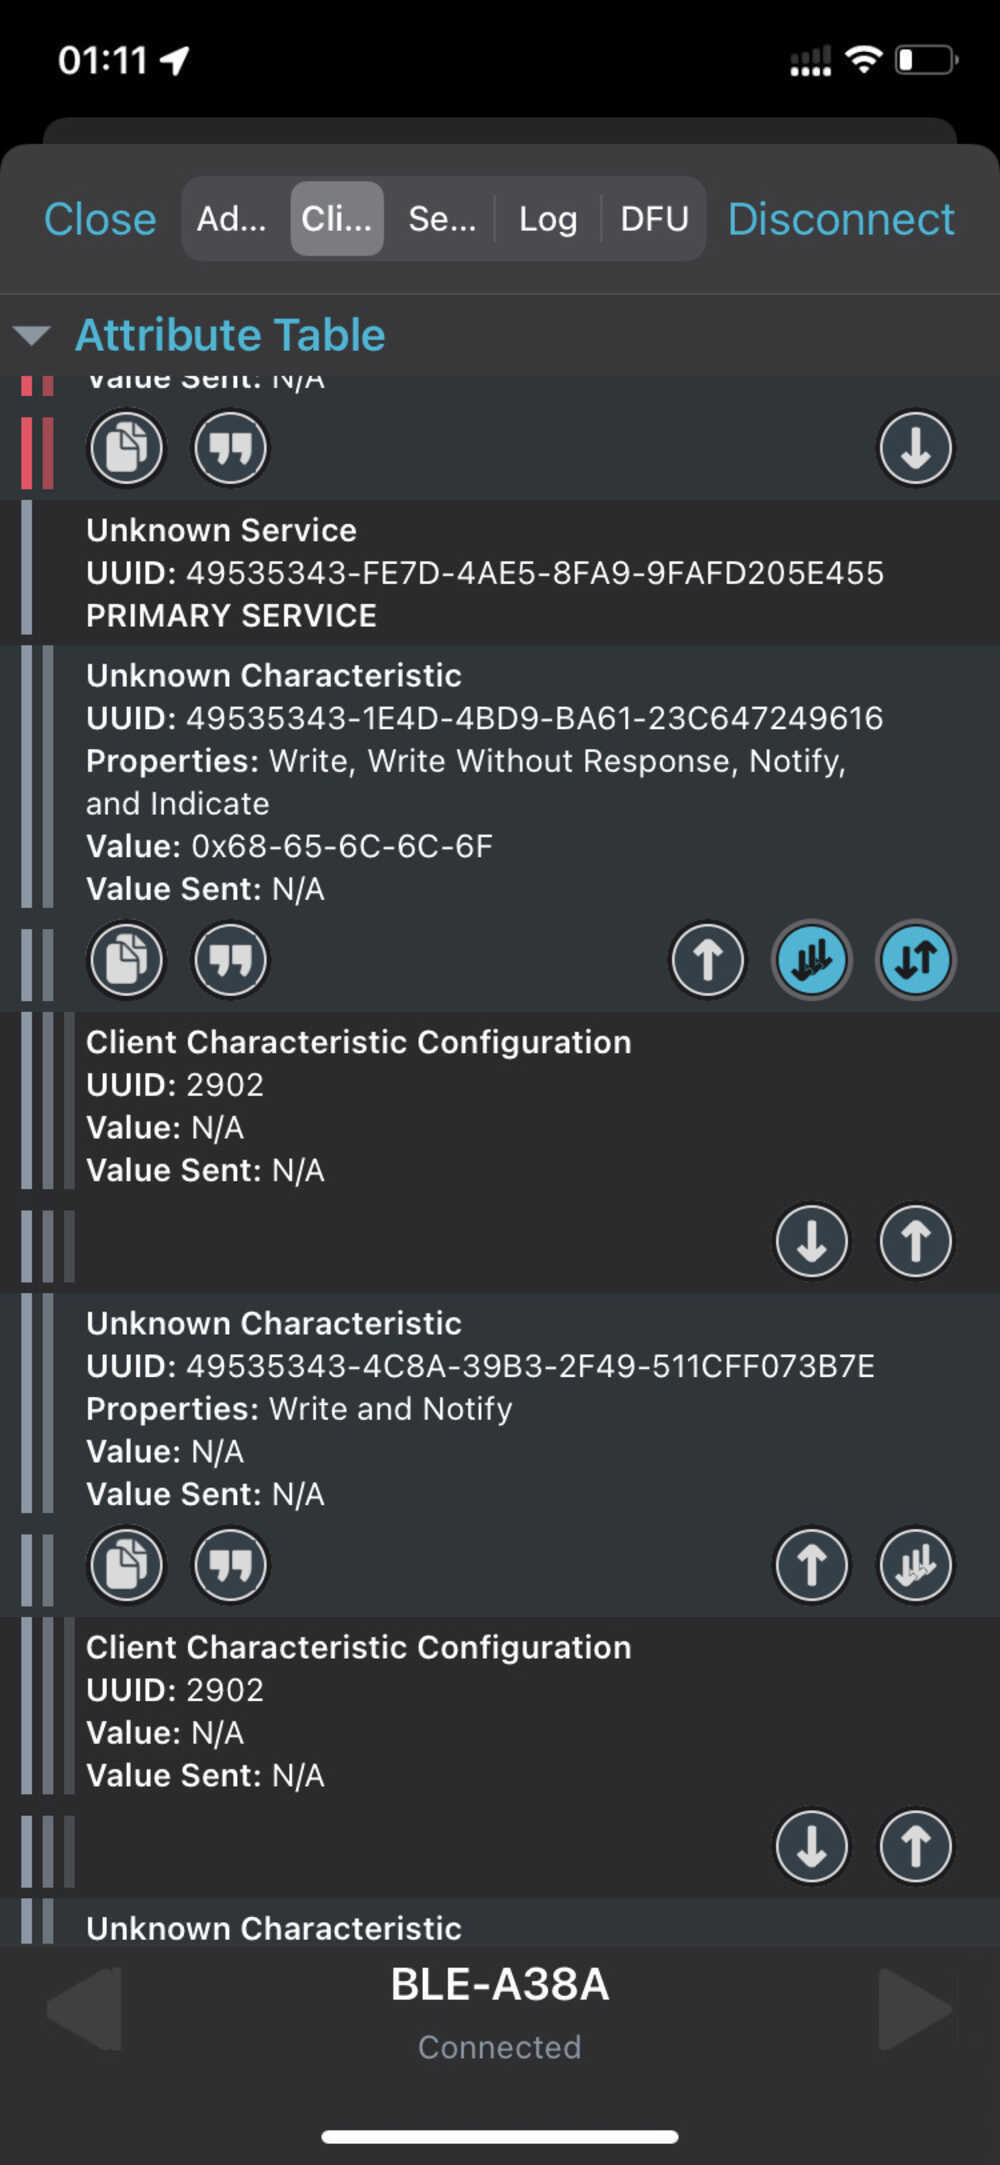
The above shows a connection being established between the bluetooth device and the host computer. We now need to connect that to our phone. To do that, we need to go to the "scanner" tab in our bluetooth application and select the appropriate device, like so:

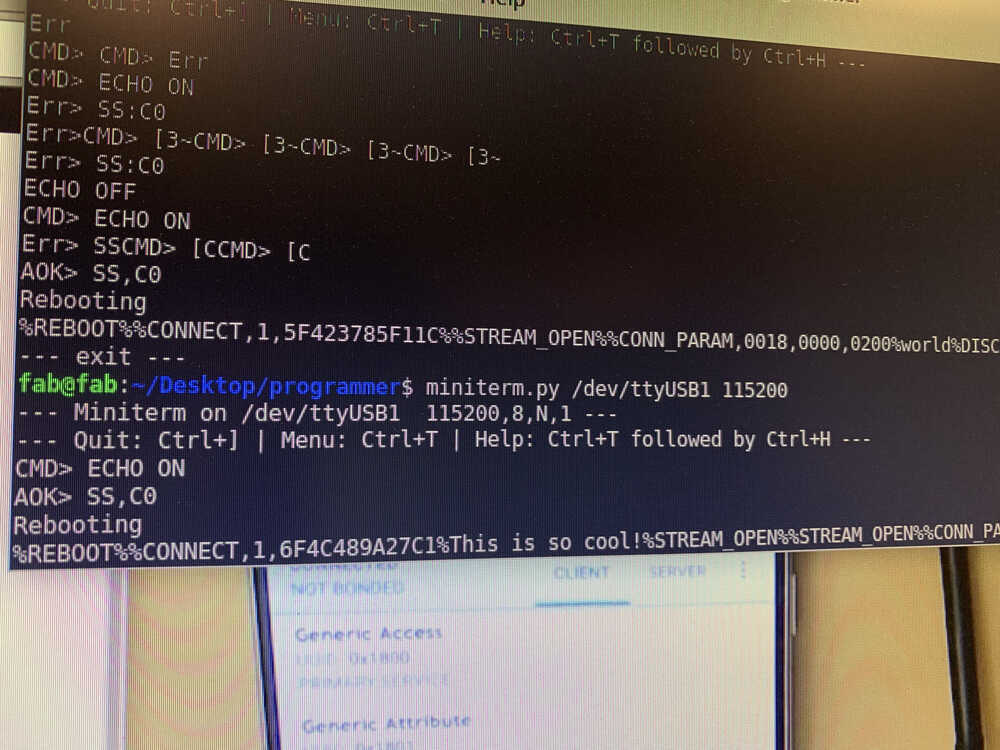
We then need to type in "ECHO ON" in the terminal prompt, followed by "SS, C0" when the next prompt appears. We can see in the below image that if we do not follow this exactly we get error messages. This should establish a connection with the phone, which then allows us to communicate between the two devices.

In the first image above we establish a connection between our phone and the bluetooth device, interfaced
via the computer terminal. In that same image we also see the word "world" appearing. This is because
we passed in that value from the phone app. Prior to that, much like in Neil's demo video (linked above),
we pass in the string "hello" in the terminal, which sends that message, encoded as hexadecimal,
to the phone. We can see that in the second image above. The value 0x68-65-6C-6C-6F in hexadecimal
means "hello" (can check so
here).
We can also pass in another message from the phone to the computer, as shown below:
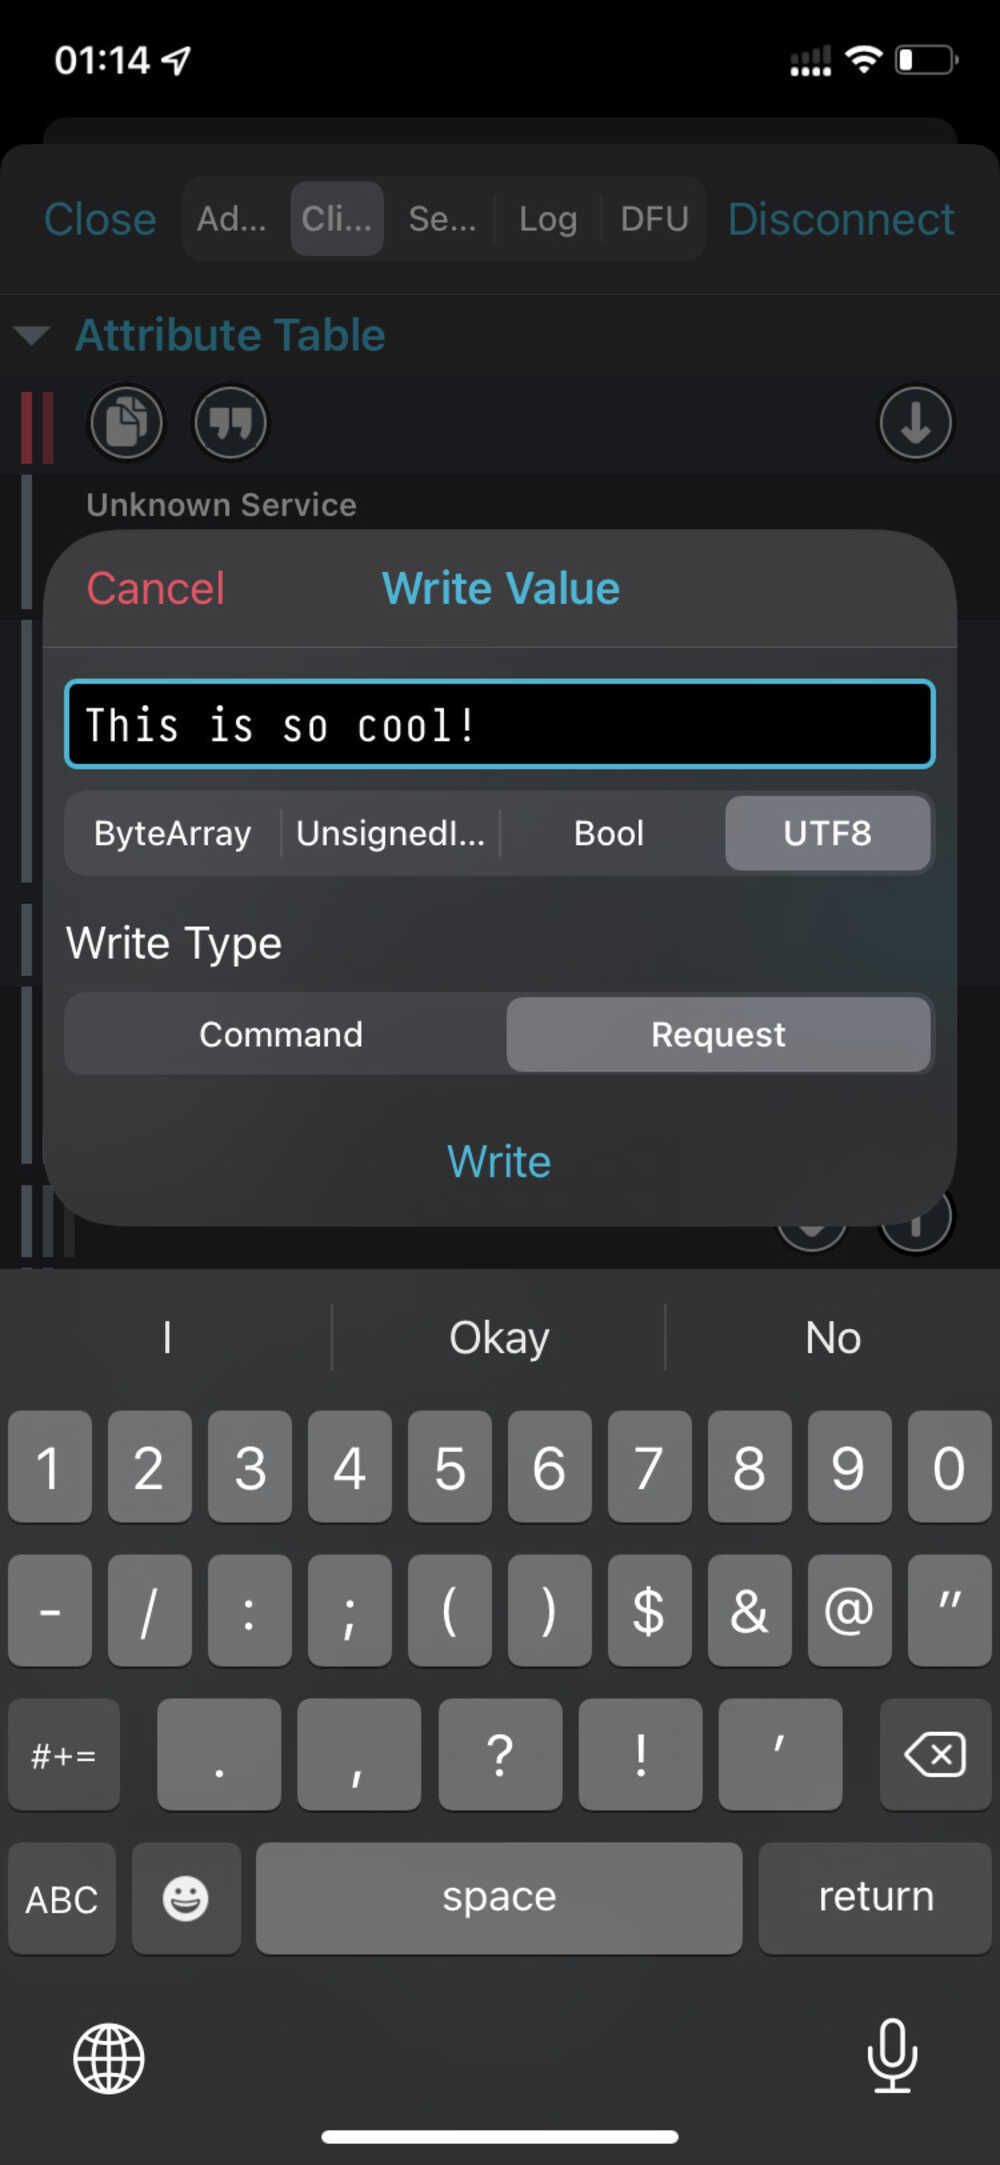
In the above pair of images we see the message "This is so cool!" being written in UTF8 encoding
on the phone to the computer, which is then decoded by the computer.
Additionally, we can connect our bluetooth chip to the computer, again via bluetooth. This should not
be confused with the connection established with our computer via usb. The latter merely provides
a terminal through which we can interface with our bluetooth device, whereas now what we are doing
is additionally connecting that to our computer via bluetooth as well. So although we are passing signals
from terminal to terminal on the same computer, that communication is happening via the bluetooth
device. To do this we first need to scan for all available devices on our netweork which are
visible to the computer. This is done with the command "sudo hcitool lescan" after initial
configuration ("hciconfig -a"). This is just like in Neil's demo video.
We can also see this below:
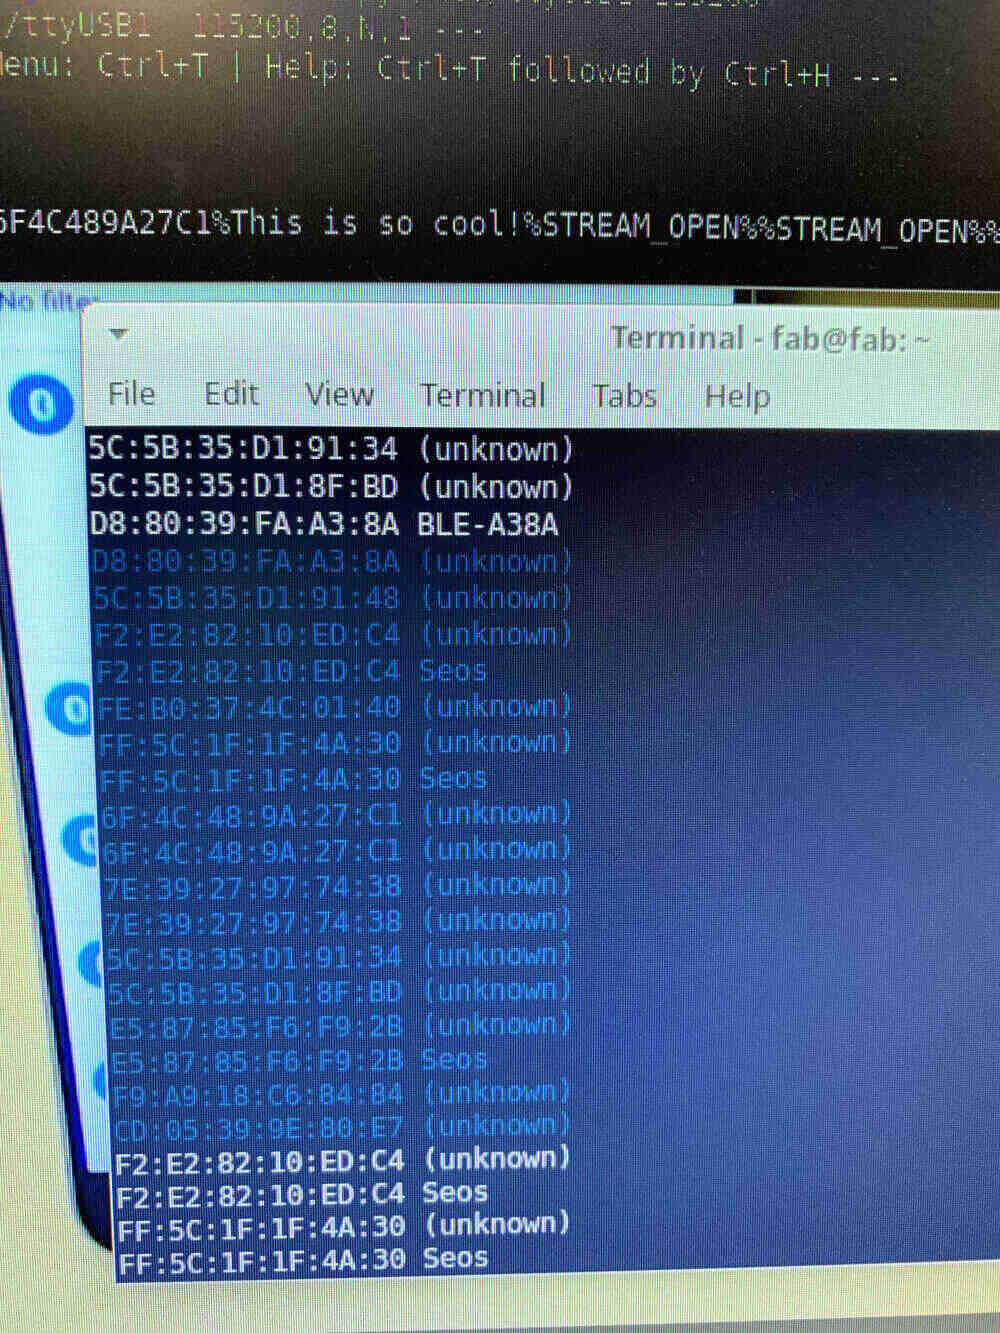
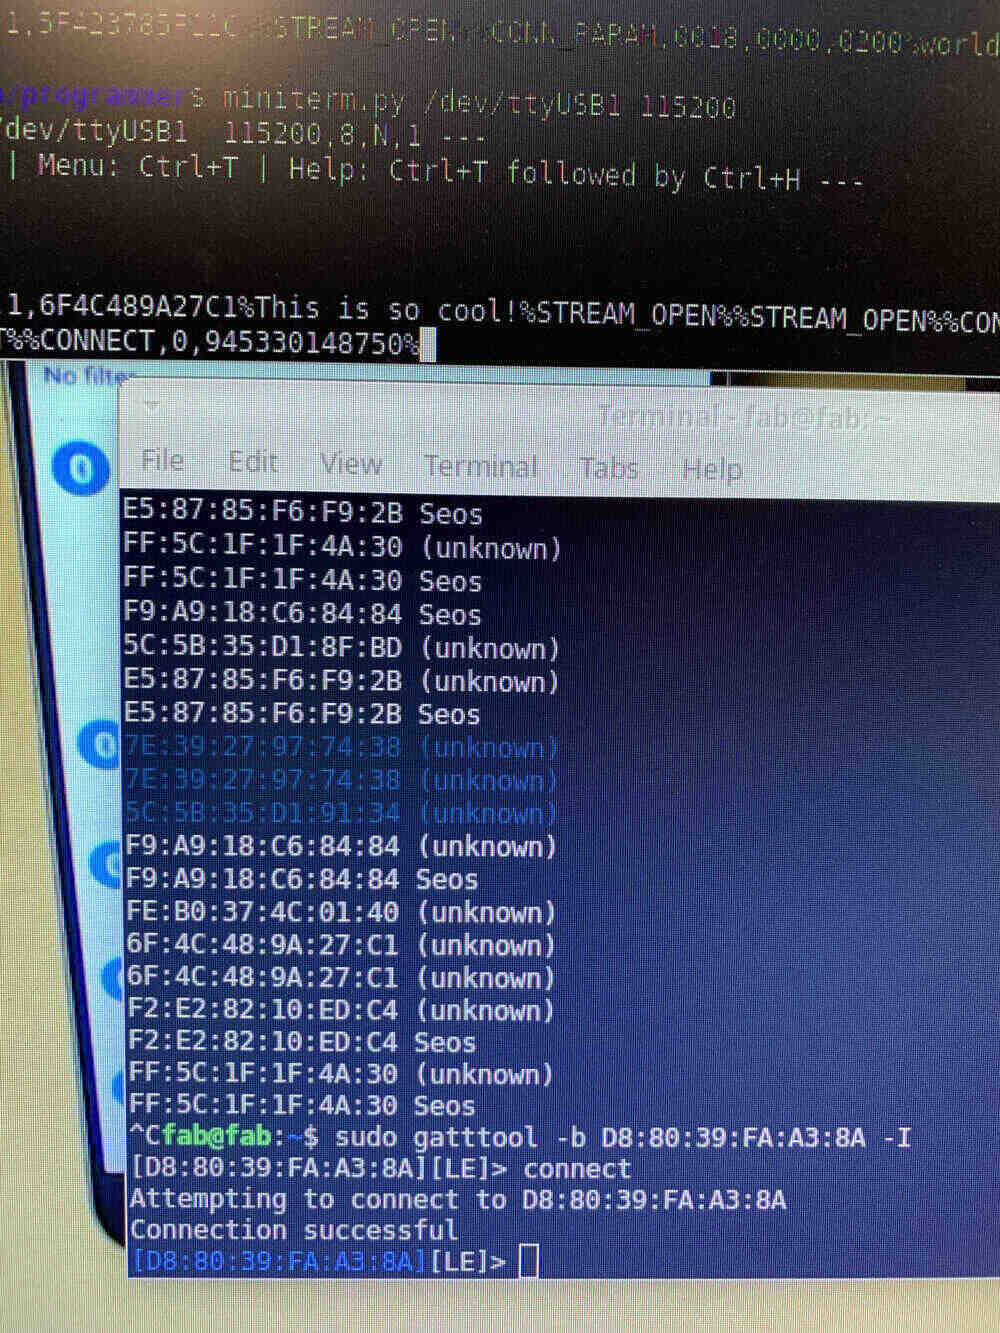
In the first image above we see that the computer can locate the appropriate bluetooth device
on the network. We can also see that the computer assigns a unique identifier to each device it
finds on the network, so this command is primarily to find this identifier to be passed into the
following "gatttool" command (as shown above).
After this connection is established, we can write a string of characters through the bluetooth channel
to the other terminal on the computer, which interfaces directly (via USB) with the chip. This can
be seen below:
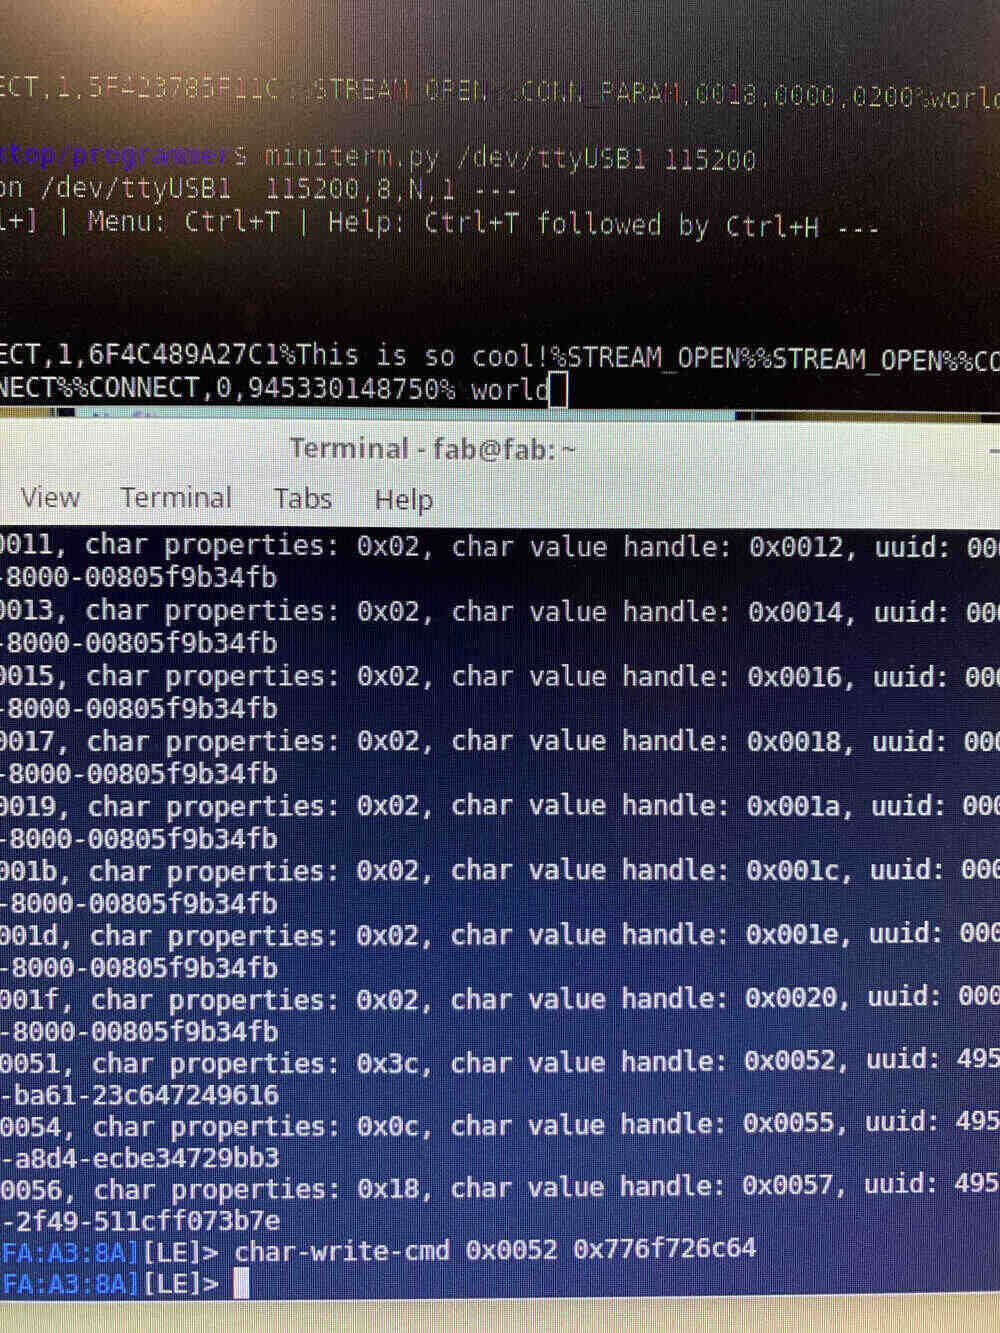
In this example we are writing the hexadecimal for "world" from the chip to the computer via
its bluetooth connection.
As an aside, because I am using one of Neil's board to test this out for this week,
below is a comparison of the two solder jobs. As expected, his is much cleaner, so I have much
to learn!
Epilogue: As a brief aside, I decided to use one of Neil's boards since for my model
rc airplane I will very likely be using either a premade receiver-to-remote control connection
or be controlling the plane's motors directly from the computer, due to time constraints. As such
I went with using one of his boards to get some basic practice with network communications as I
have never done this before.
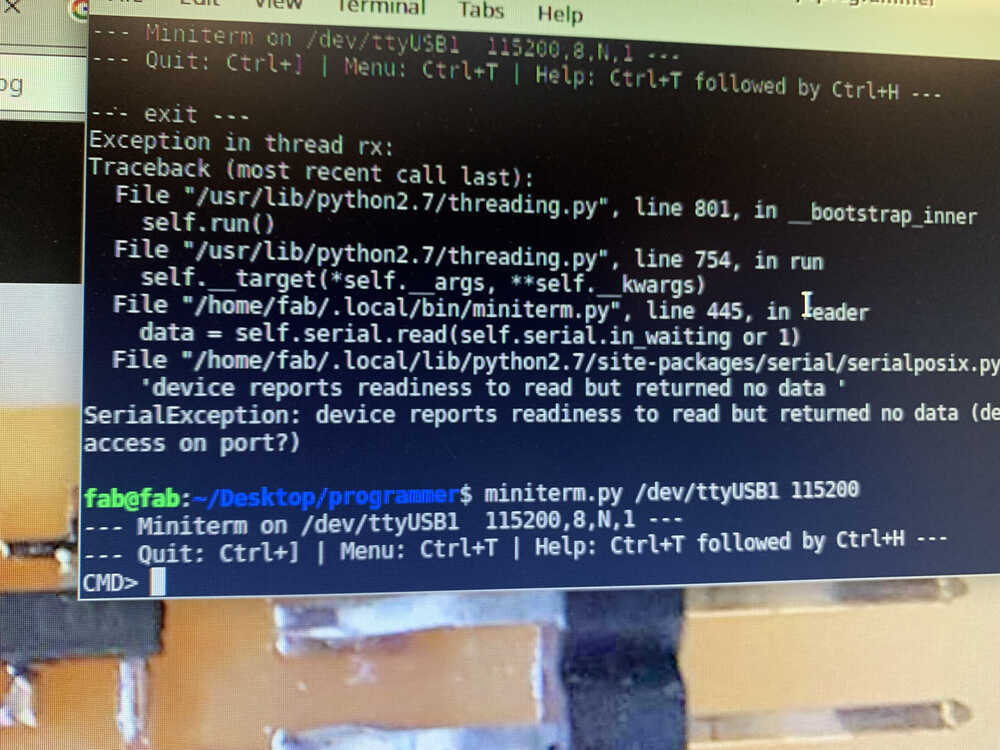
Aside 2.0: If the "CMD>" prompt does not appear after running miniterm.py, but there is no
obvious error, then it is very likely there is a hardware issue with the board.
Indeed, I myself ran into this exact issue and had to re-solder a brand new board. This is another
reason I went with using Neil's board, as it at least limits the degrees of freedom I have to
make errors. I don't show the bad board because there is no visible error. My best guess is that
I somehow shorted it when first booting up since I performed a vast diagnostic test after, resoldering
the same bluetooth chip from scratch basically.
Well that's it for this week! Hope you enjoyed.